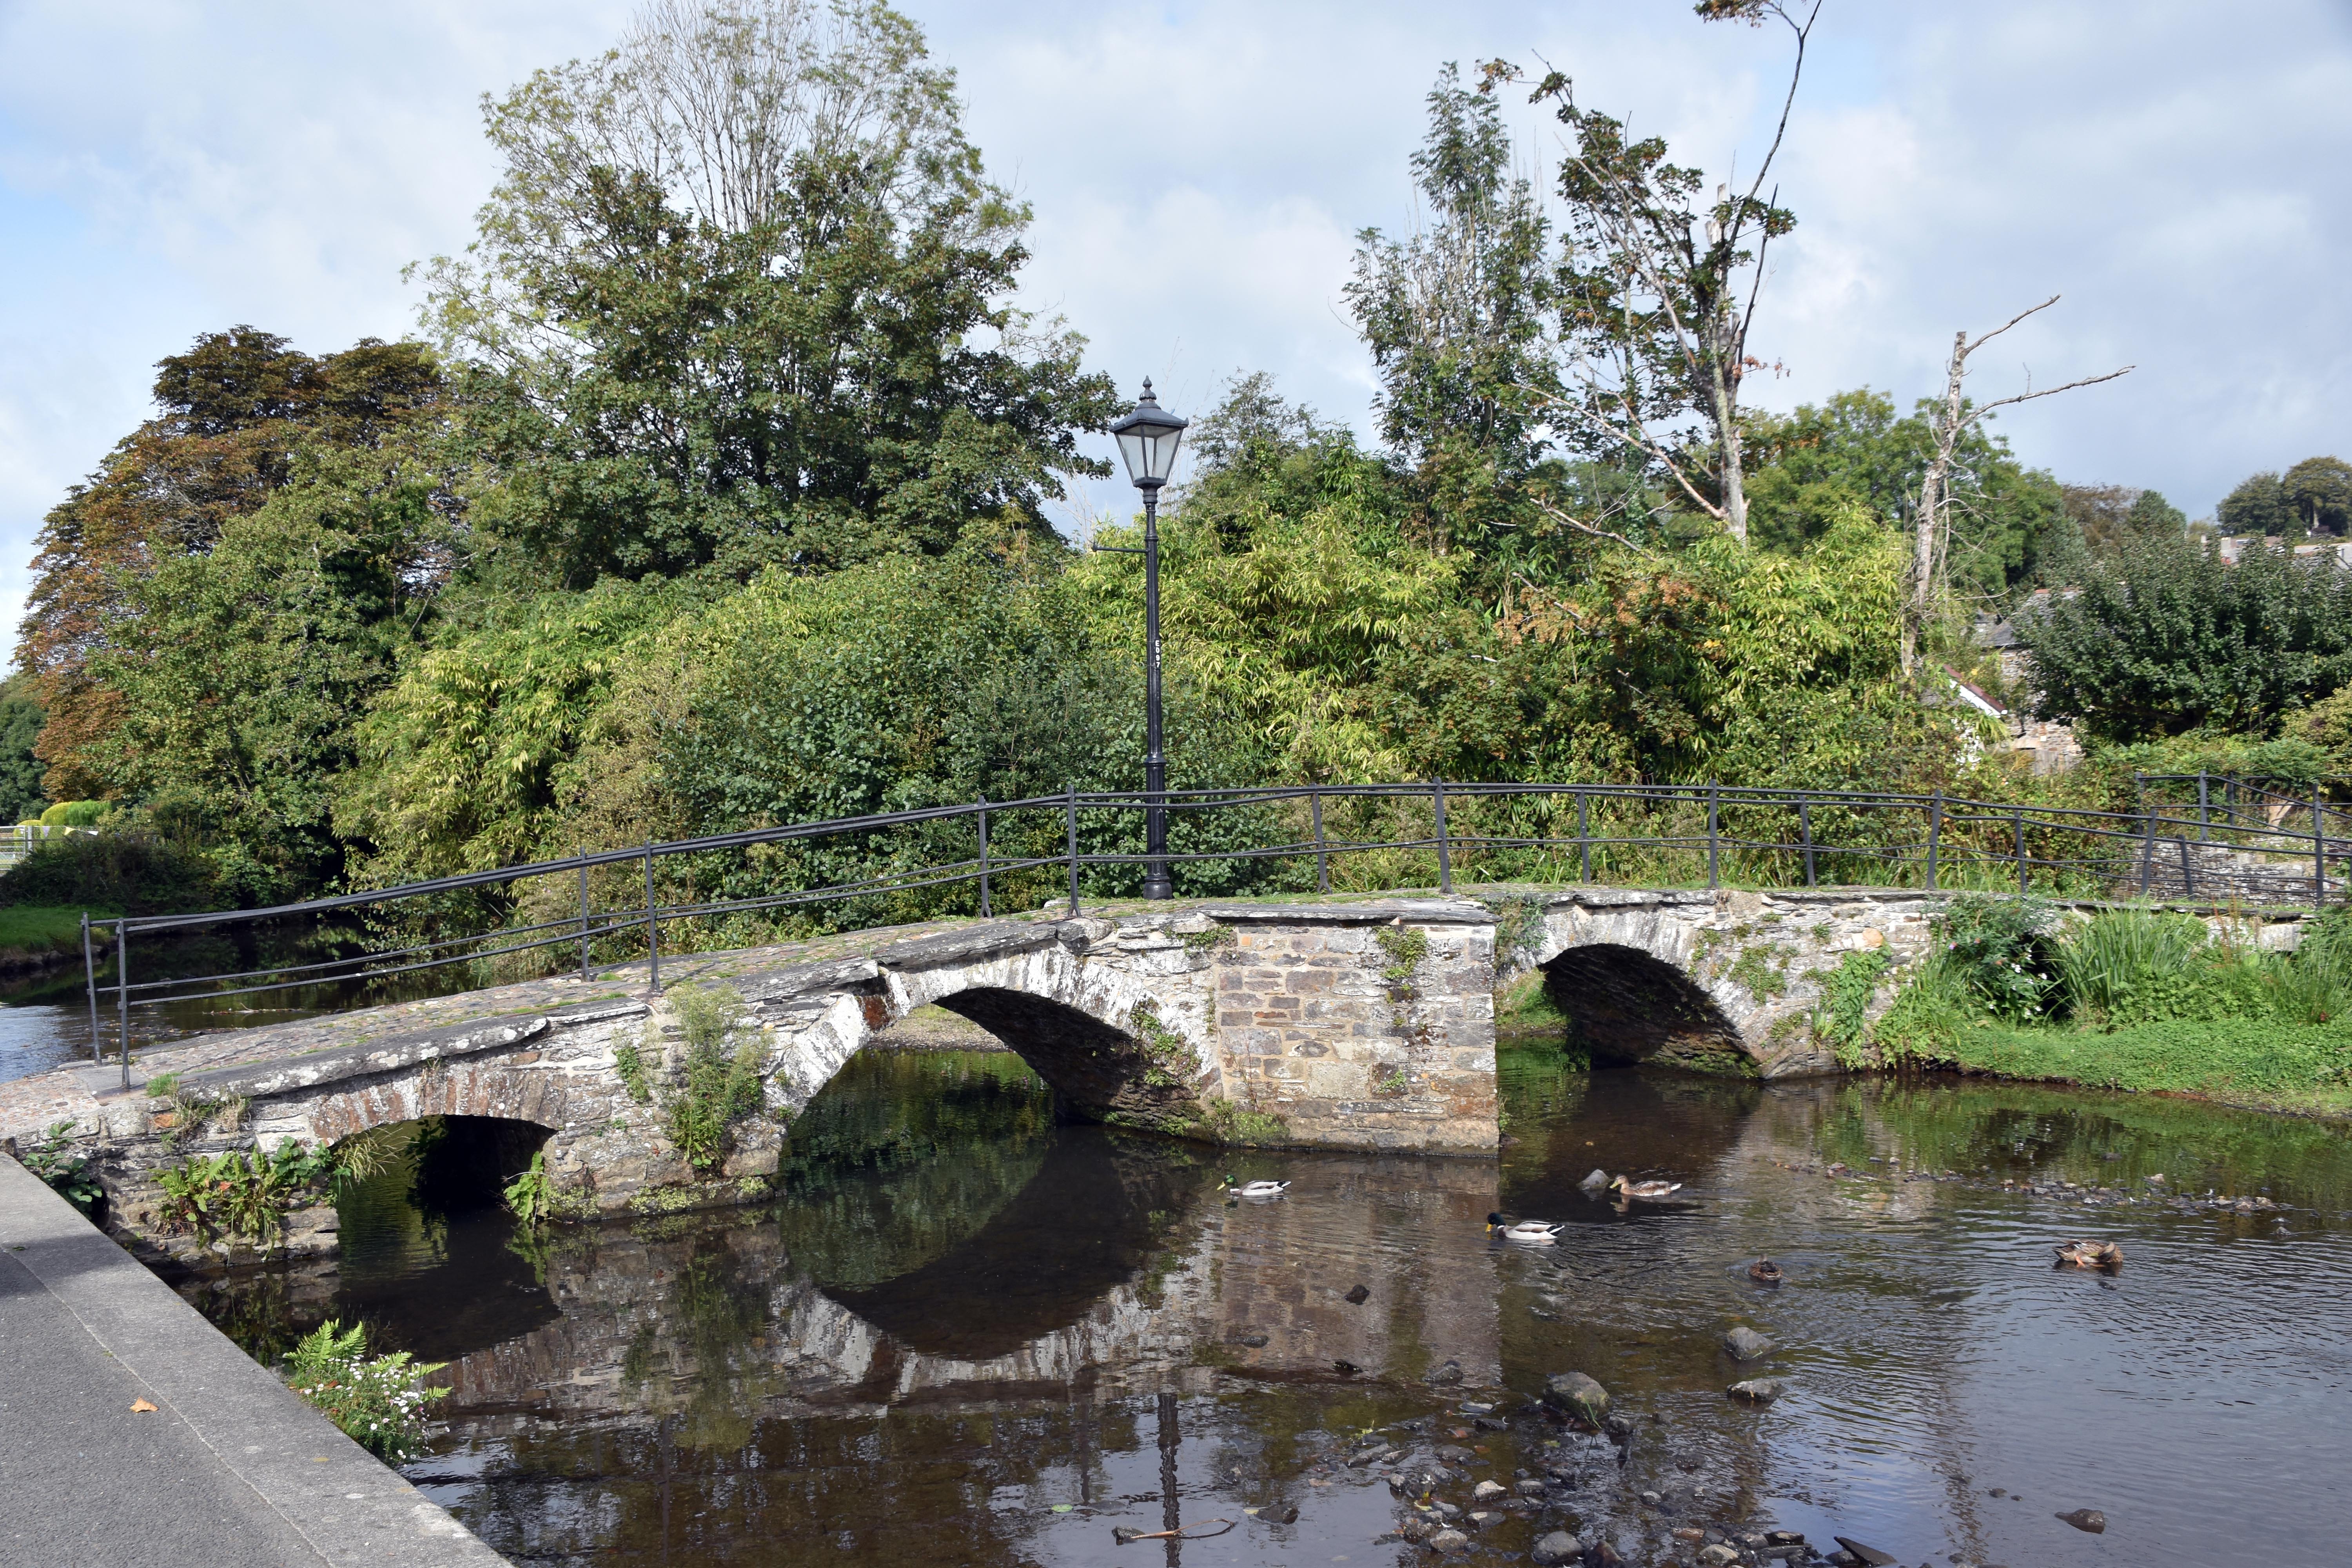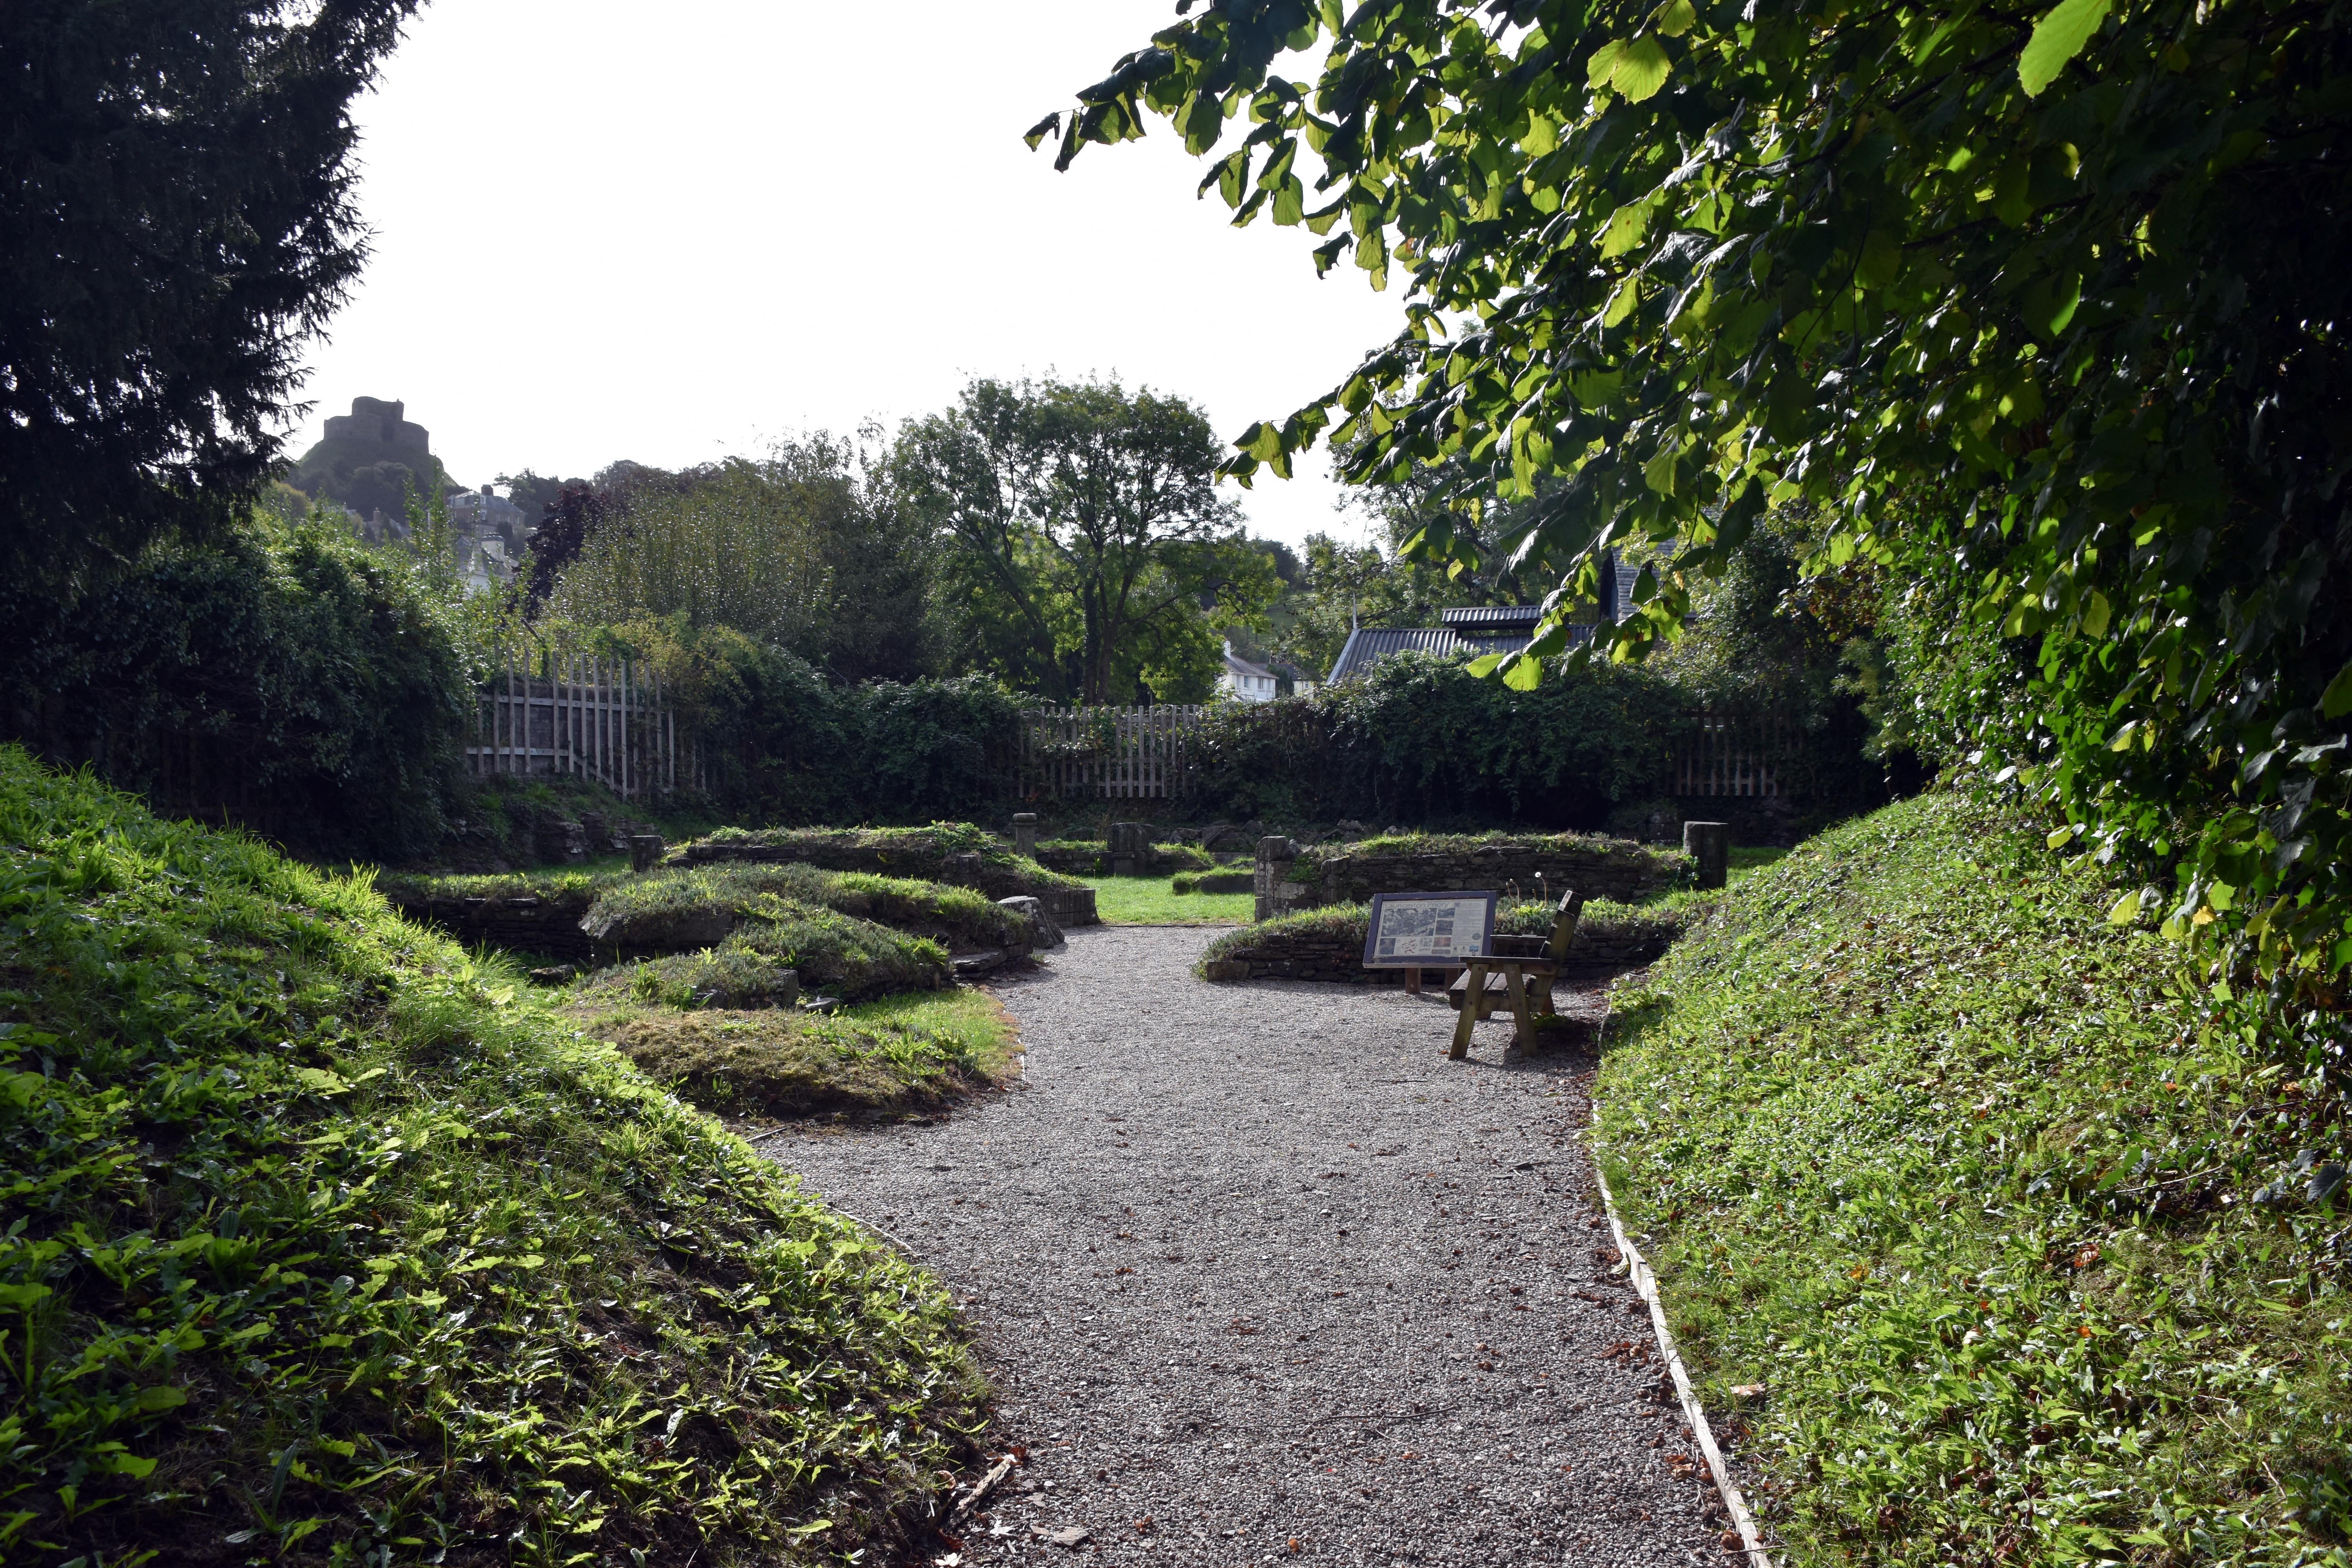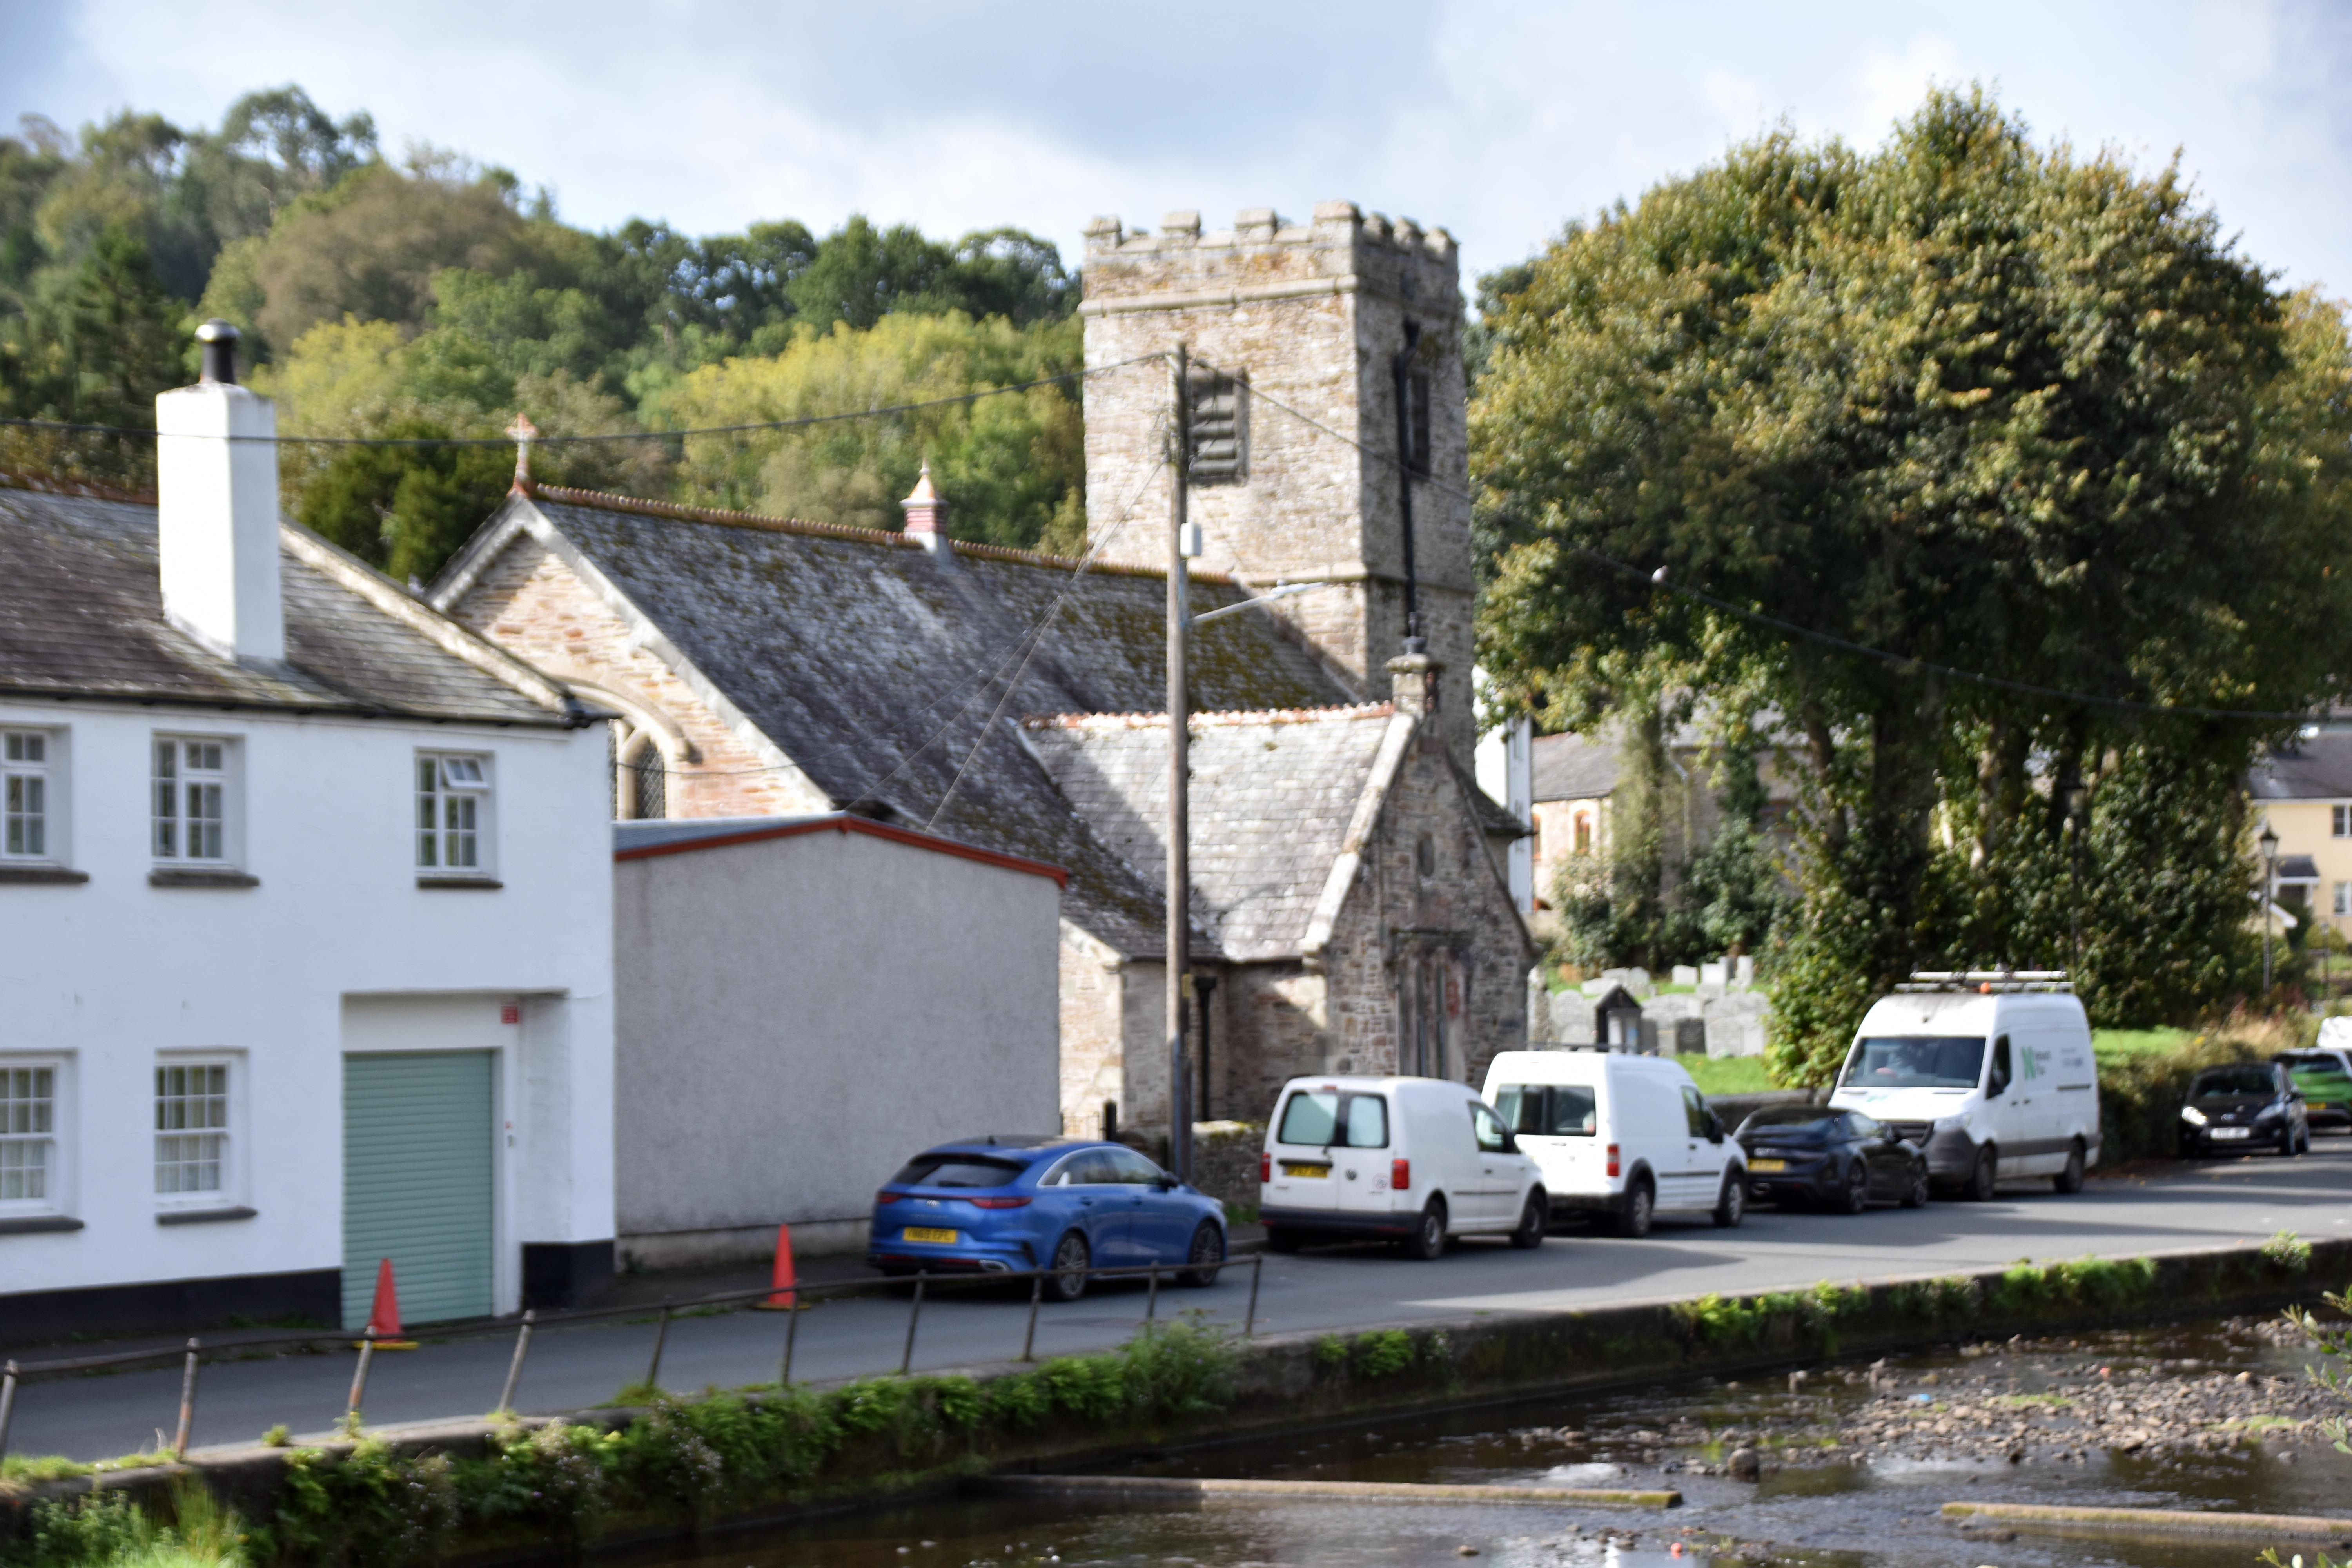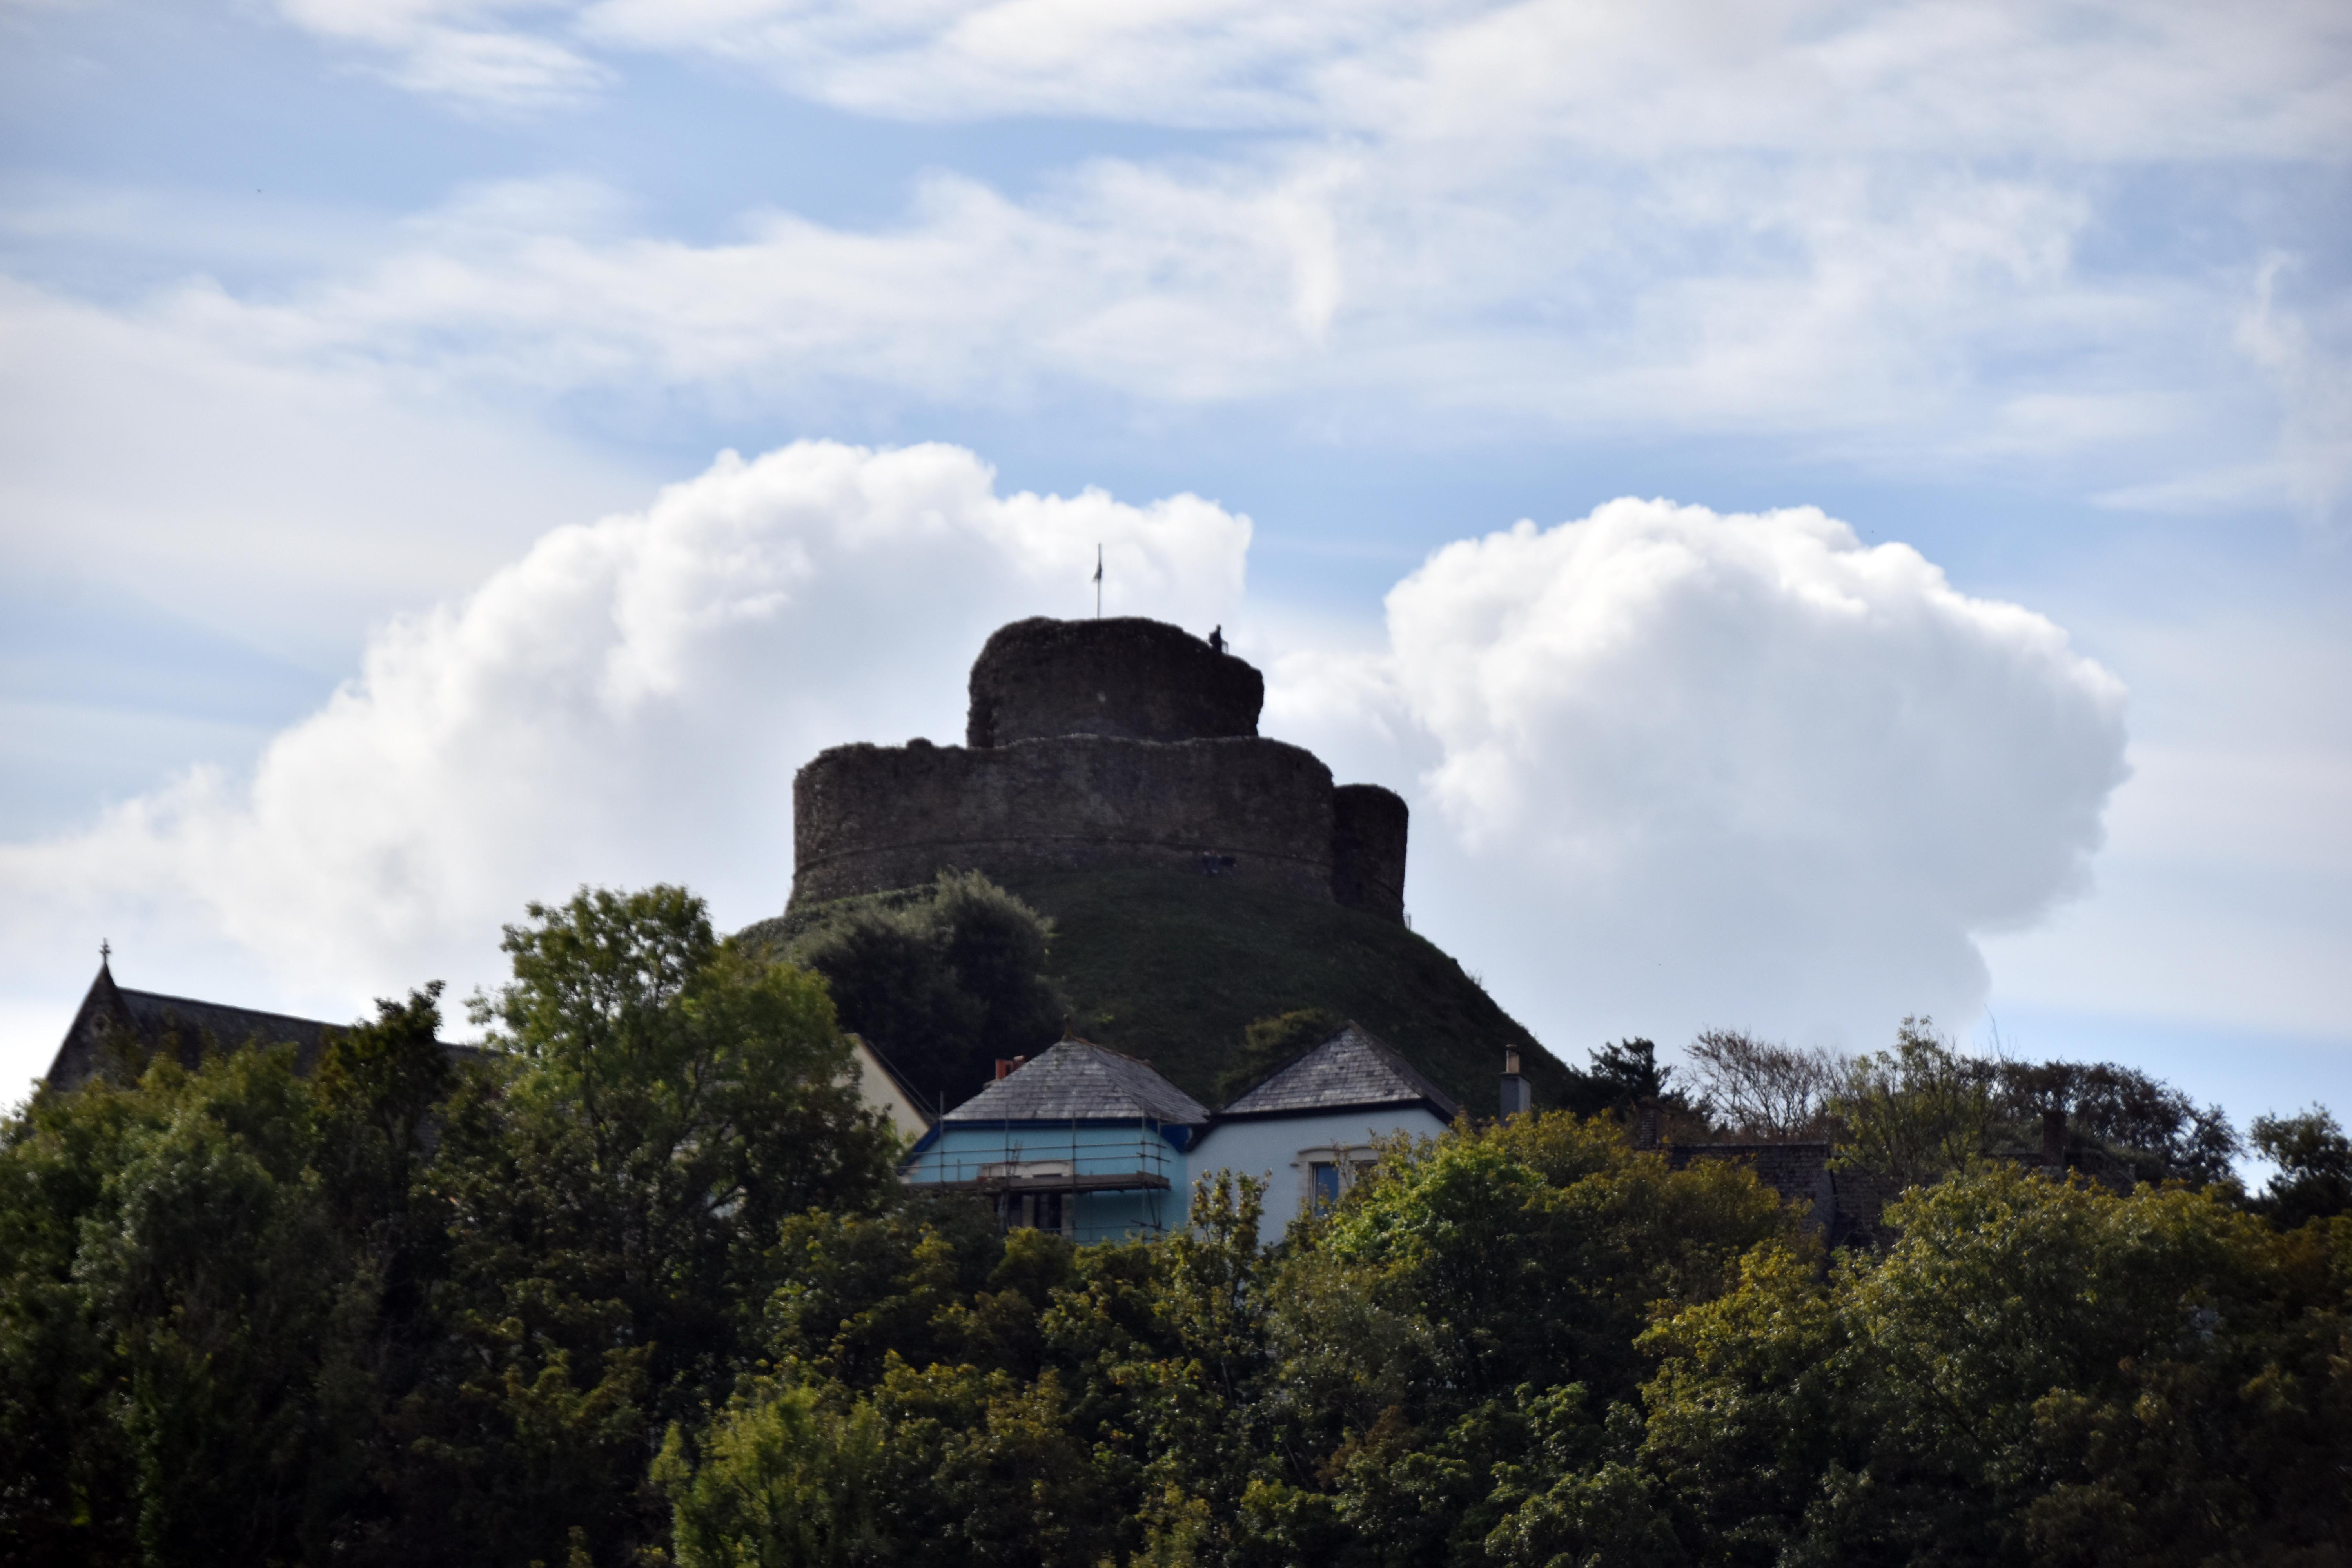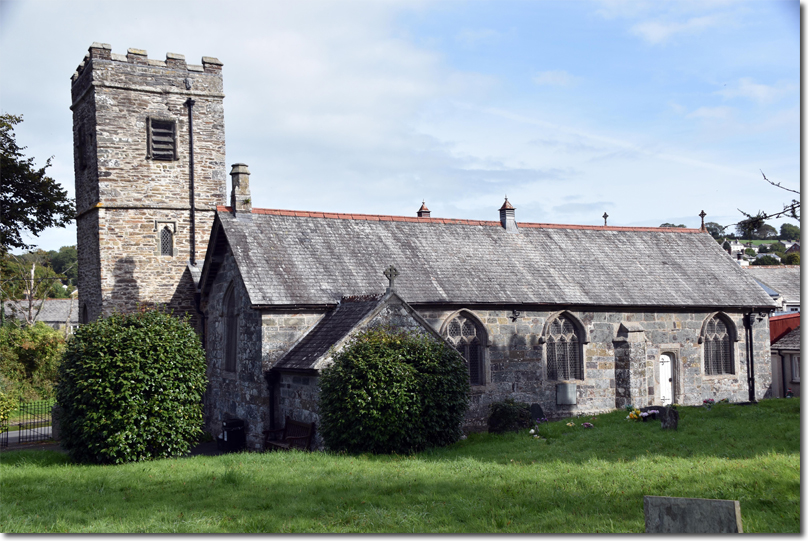
The original local centre of Lanstephen set up in Saxon times lay to the north of the Kensey valley where the church of St. Thomas the Apostle was located. As I have explained elsewhere St Stephen’s up the hill had a Royal Mint, a market and accommodated a religious order who were far more secular at this time, as likely to wield a weapon or a farm implement as a rosary. However, when the Normans took control of this area they were to move their military and administrative centre to the other side of the Kensey Valley to the south where their old Motte and Bailey castle still dominates the skyline. This new settlement, known as Dunheved, would see Lanstephen’s market migrate across the valley. Newport, it would appear, had some kind of church built just opposite the bridge crossing the River Kensey between the old settlement of St. Stephens and the new settlement of Dunheved. Newport’s position alongside a river between the old and the new settlements would allow it to thrive. The river provided not just fresh water but also would power mills and tanneries. Even more consequentially for the church at St. Thomas, in the 12th century the Bishop of Exeter gave permission for a House of Augustinian Monks to be established virtually in its backyard. St Stephens Priory would grow to dominate the small parish church which was left totally in its shadow. St Stephens Priory would grow to be one of the wealthiest landowners in Cornwall and its influence would be felt from the north shore to the south shore of Cornwall. History literally swirled around the church at Newport but its location would see it survive and thrive despite the priory looking over its shoulder. Saxons and Normans alike identified this whole area as a key strategic point as it lay close to one of the main access points in and out of Cornwall where the formidable River Tamar could at least be seasonally forded and from the 12th century Polson Bridge would make this route even more dependable and critical.

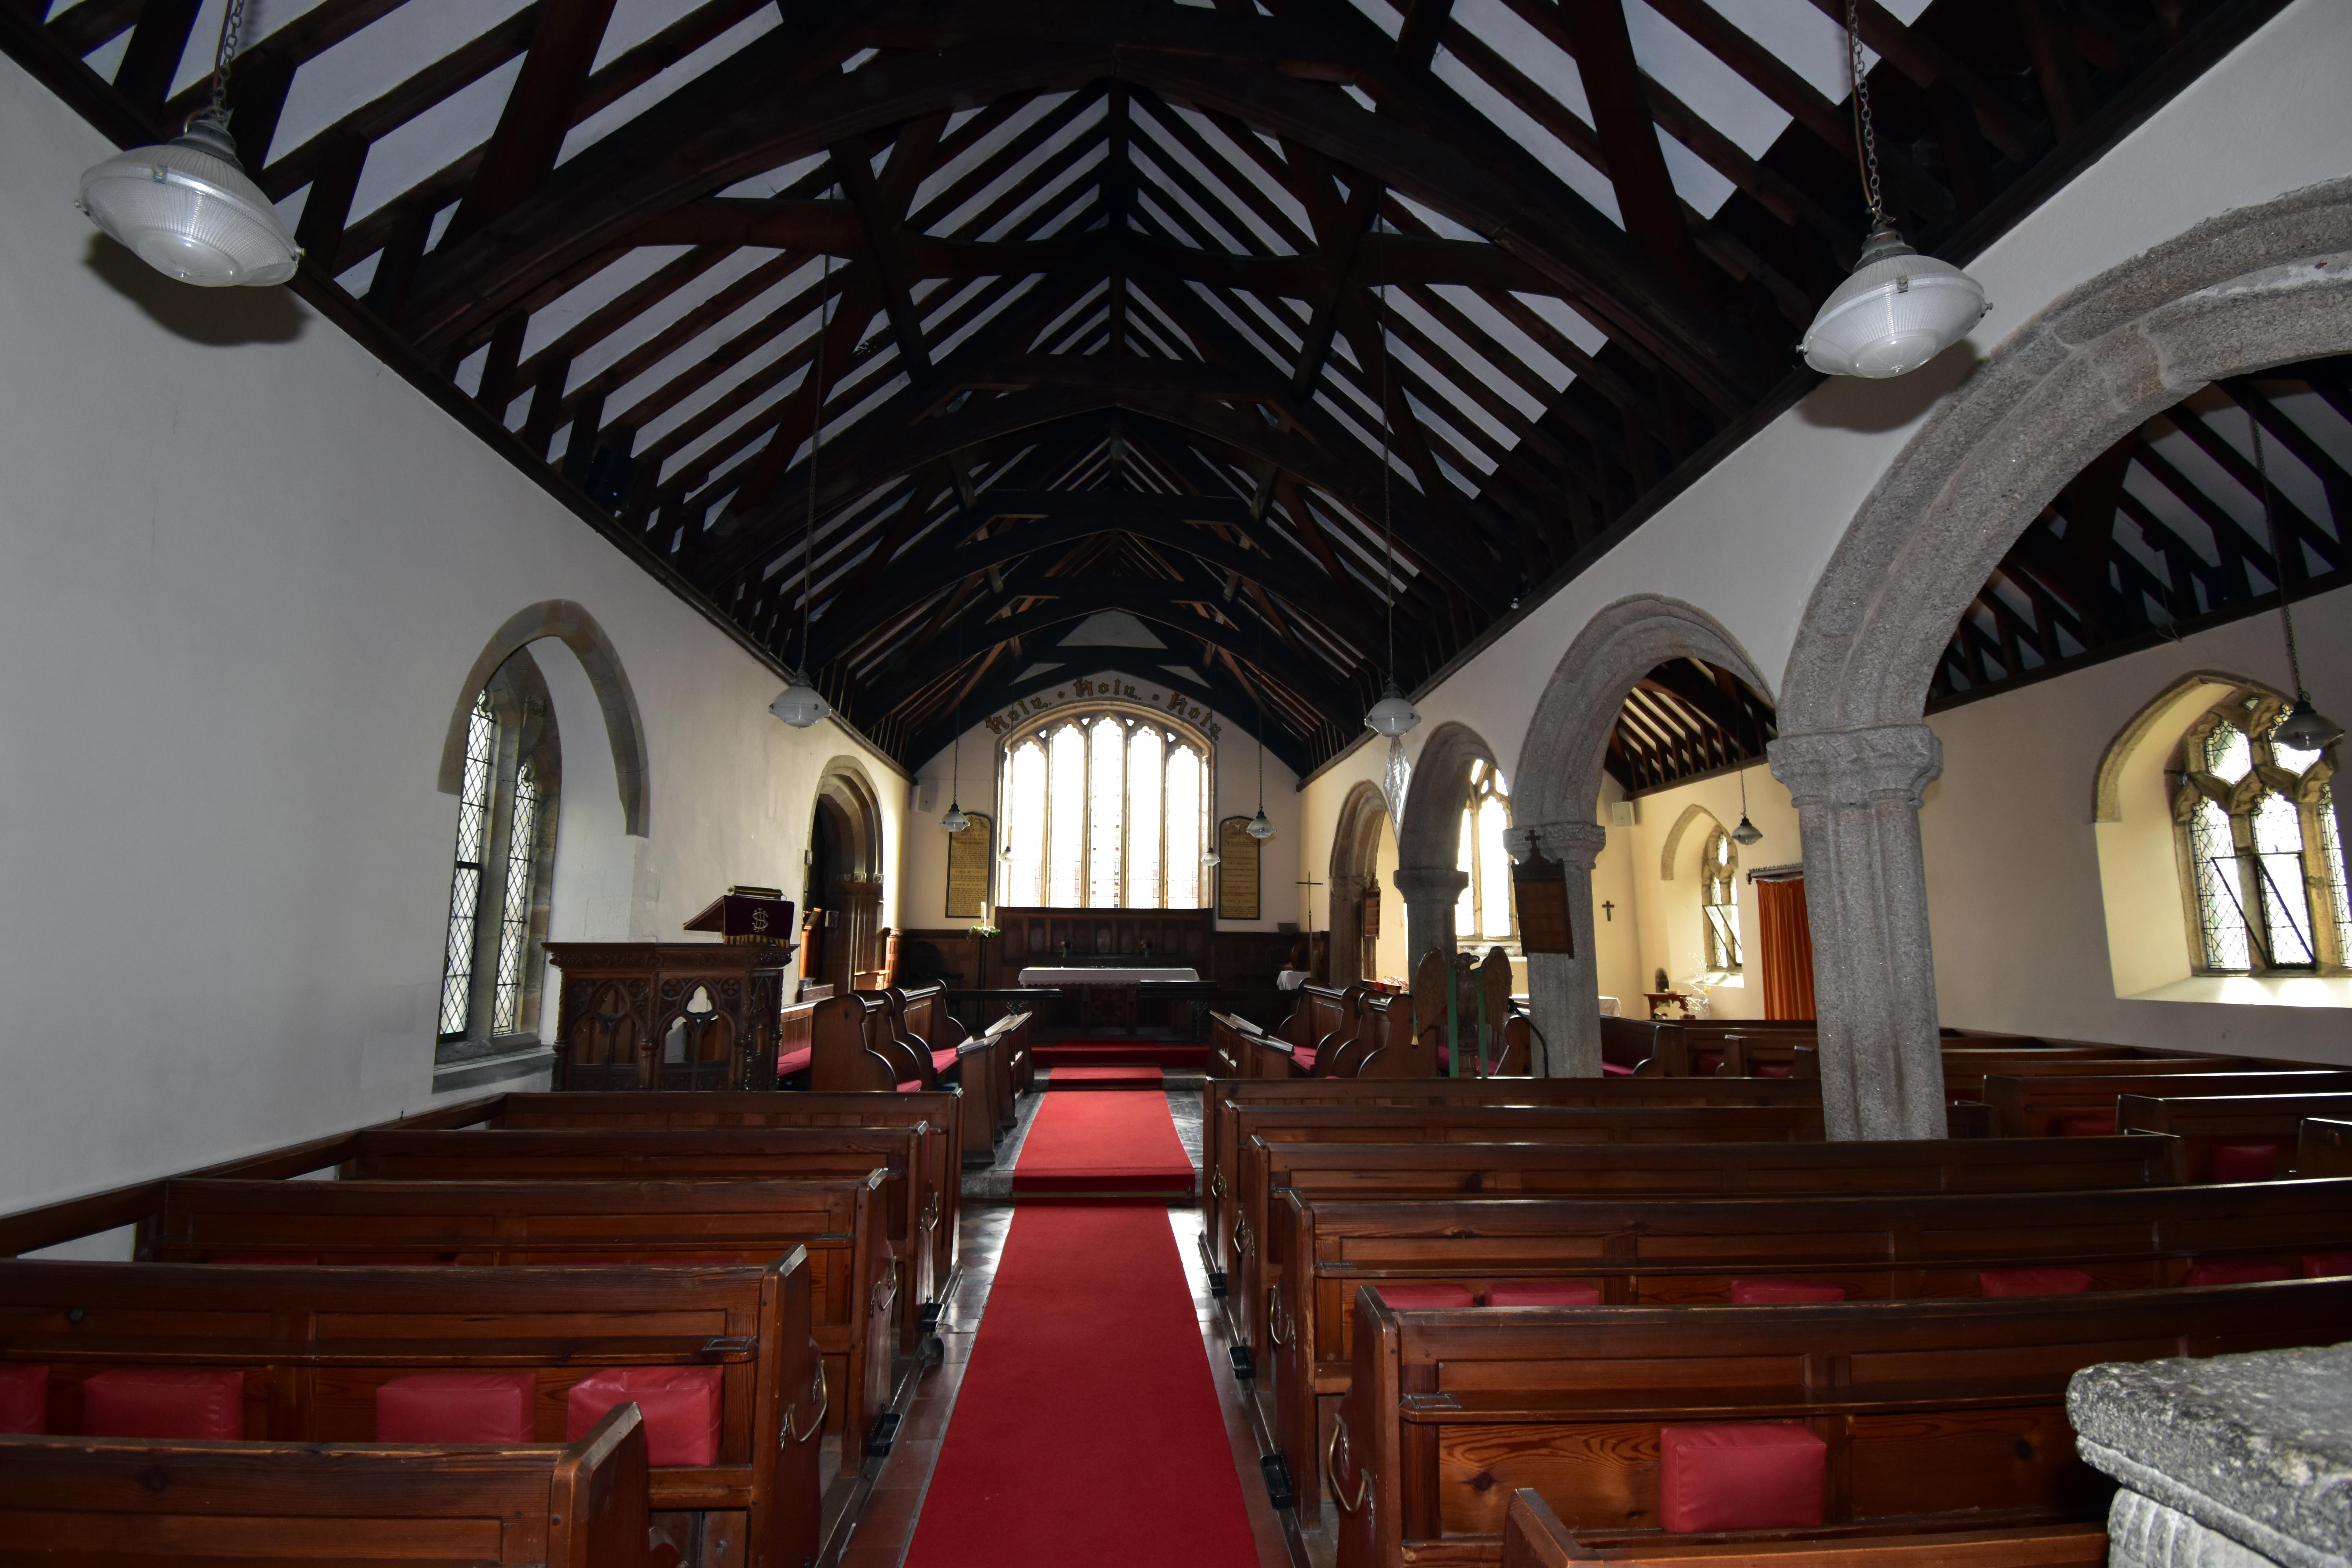
We had previously explored much of the churchyard of St. Thomas and the priory remains uncovered in the late 19th century by the construction of the railway nearby but we had been unable to access St. Thomas’s church itself. Fortunately I was able to get in touch with the key holder who very kindly agreed to meet us and let us inside the church. Now, this Kensey valley in general and this church in particular have another surprising connection that you might not expect: Leprosy. Leprosy was a much-feared disease in medieval England although its causes and spread were not understood. Fortunately for lepers, Jesus had set a precedent for the treatment of lepers and so the church took on that role despite the dangers that it posed to the individuals involved. There is evidence that a leper house already existed somewhere in Newport although its exact location has never been identified. It does appear that the church at St. Thomas may have accommodated lepers through the provision of a squat leper window in the west tower. This would have allowed lepers to have watched communion services from outside the building. Over time, sadly, lepers faced increasing persecution based largely on the assumption that leprosy was far more contagious than it actually was. In 1175 a Council of the English Church organised at Westminster ordered that lepers should no longer be allowed to live amongst healthy people. In 1179 the Lateran Council decreed that lepers should have their own churches and cemeteries. It appears that the Prior of St. Stephen’s, Robert Fissacre, was responsible for moving the lepers out of Newport and to a new purpose built hospital at the end of the Kensey Valley near where the Kensey empties into the River Tamar. This leper connection was to form the basis of our walk as we would later walk down the valley to find the location of this leper hospital.
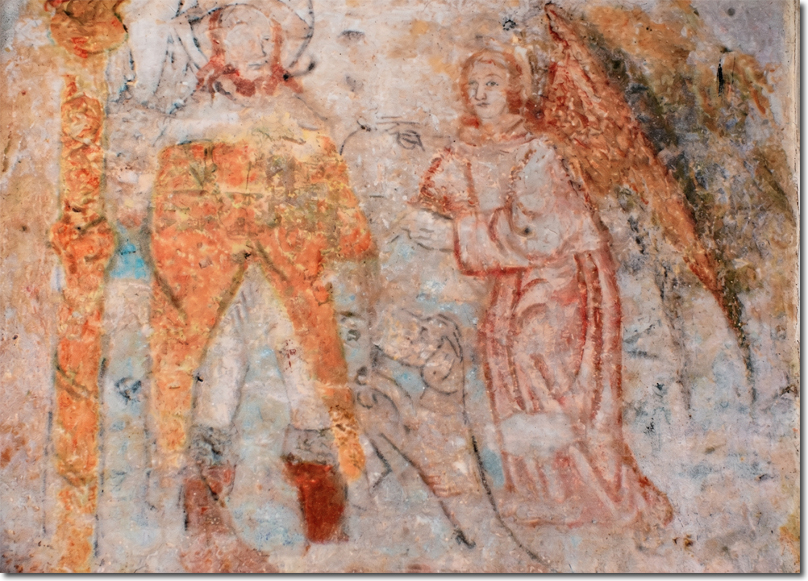
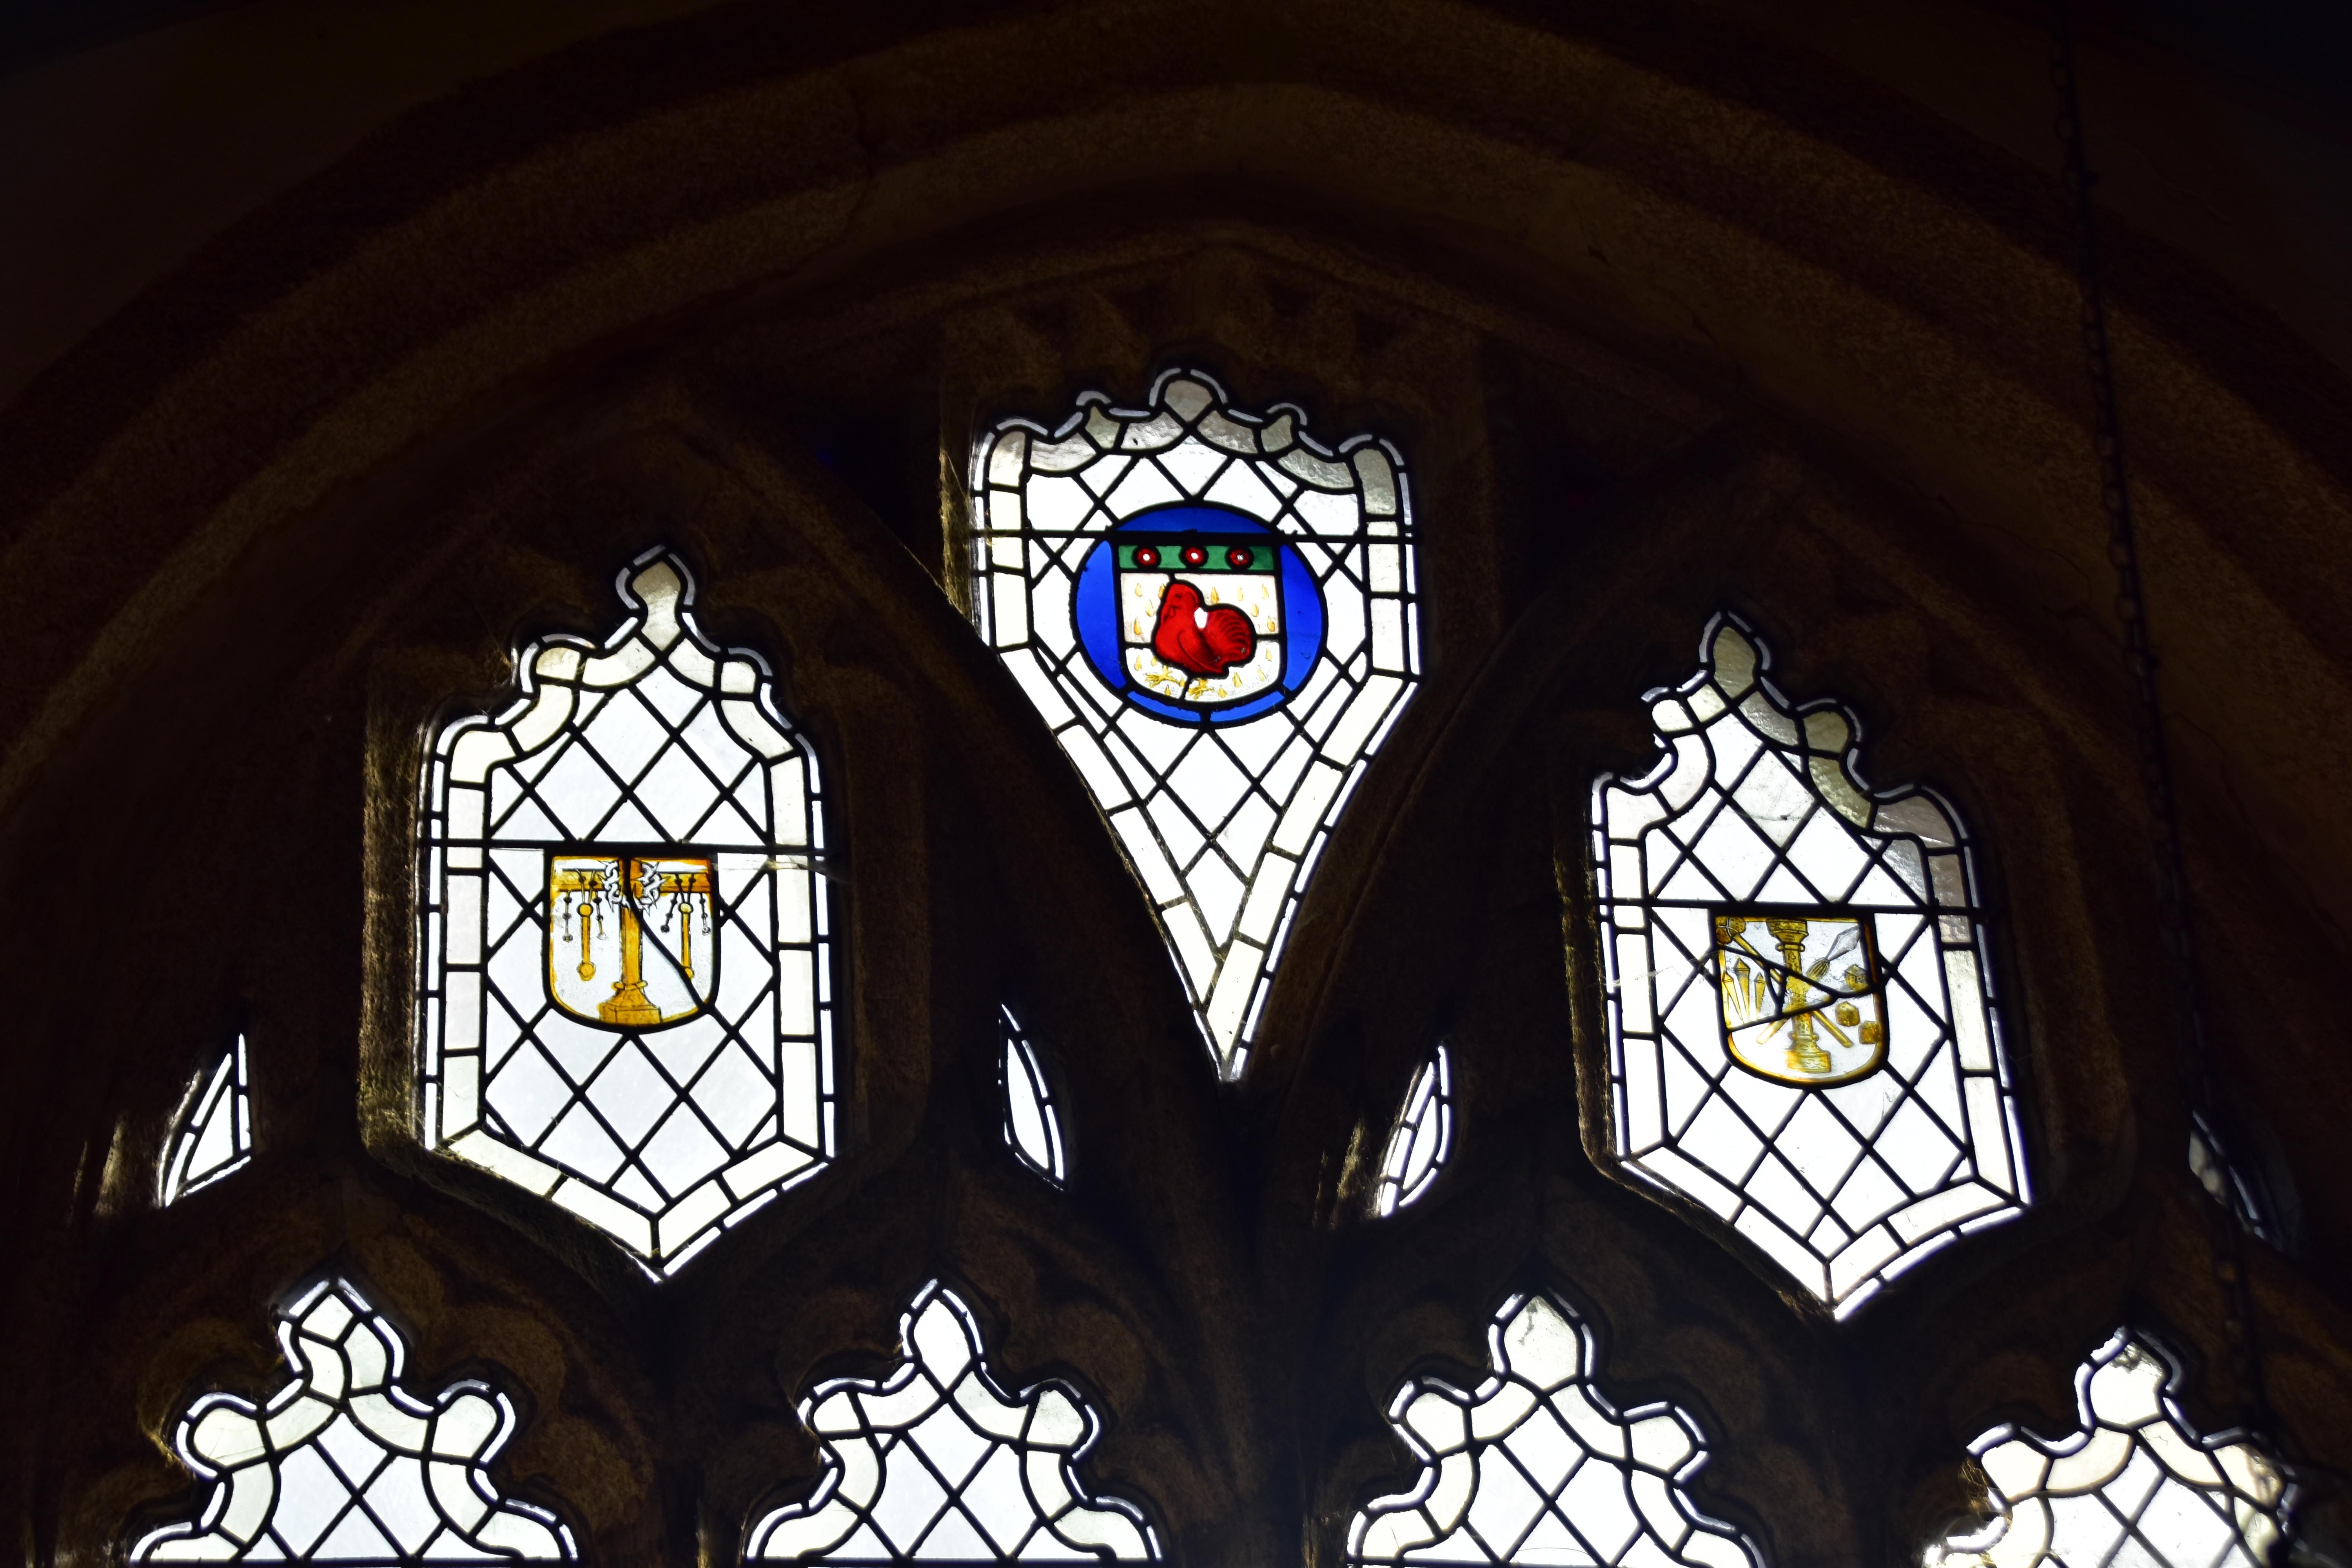
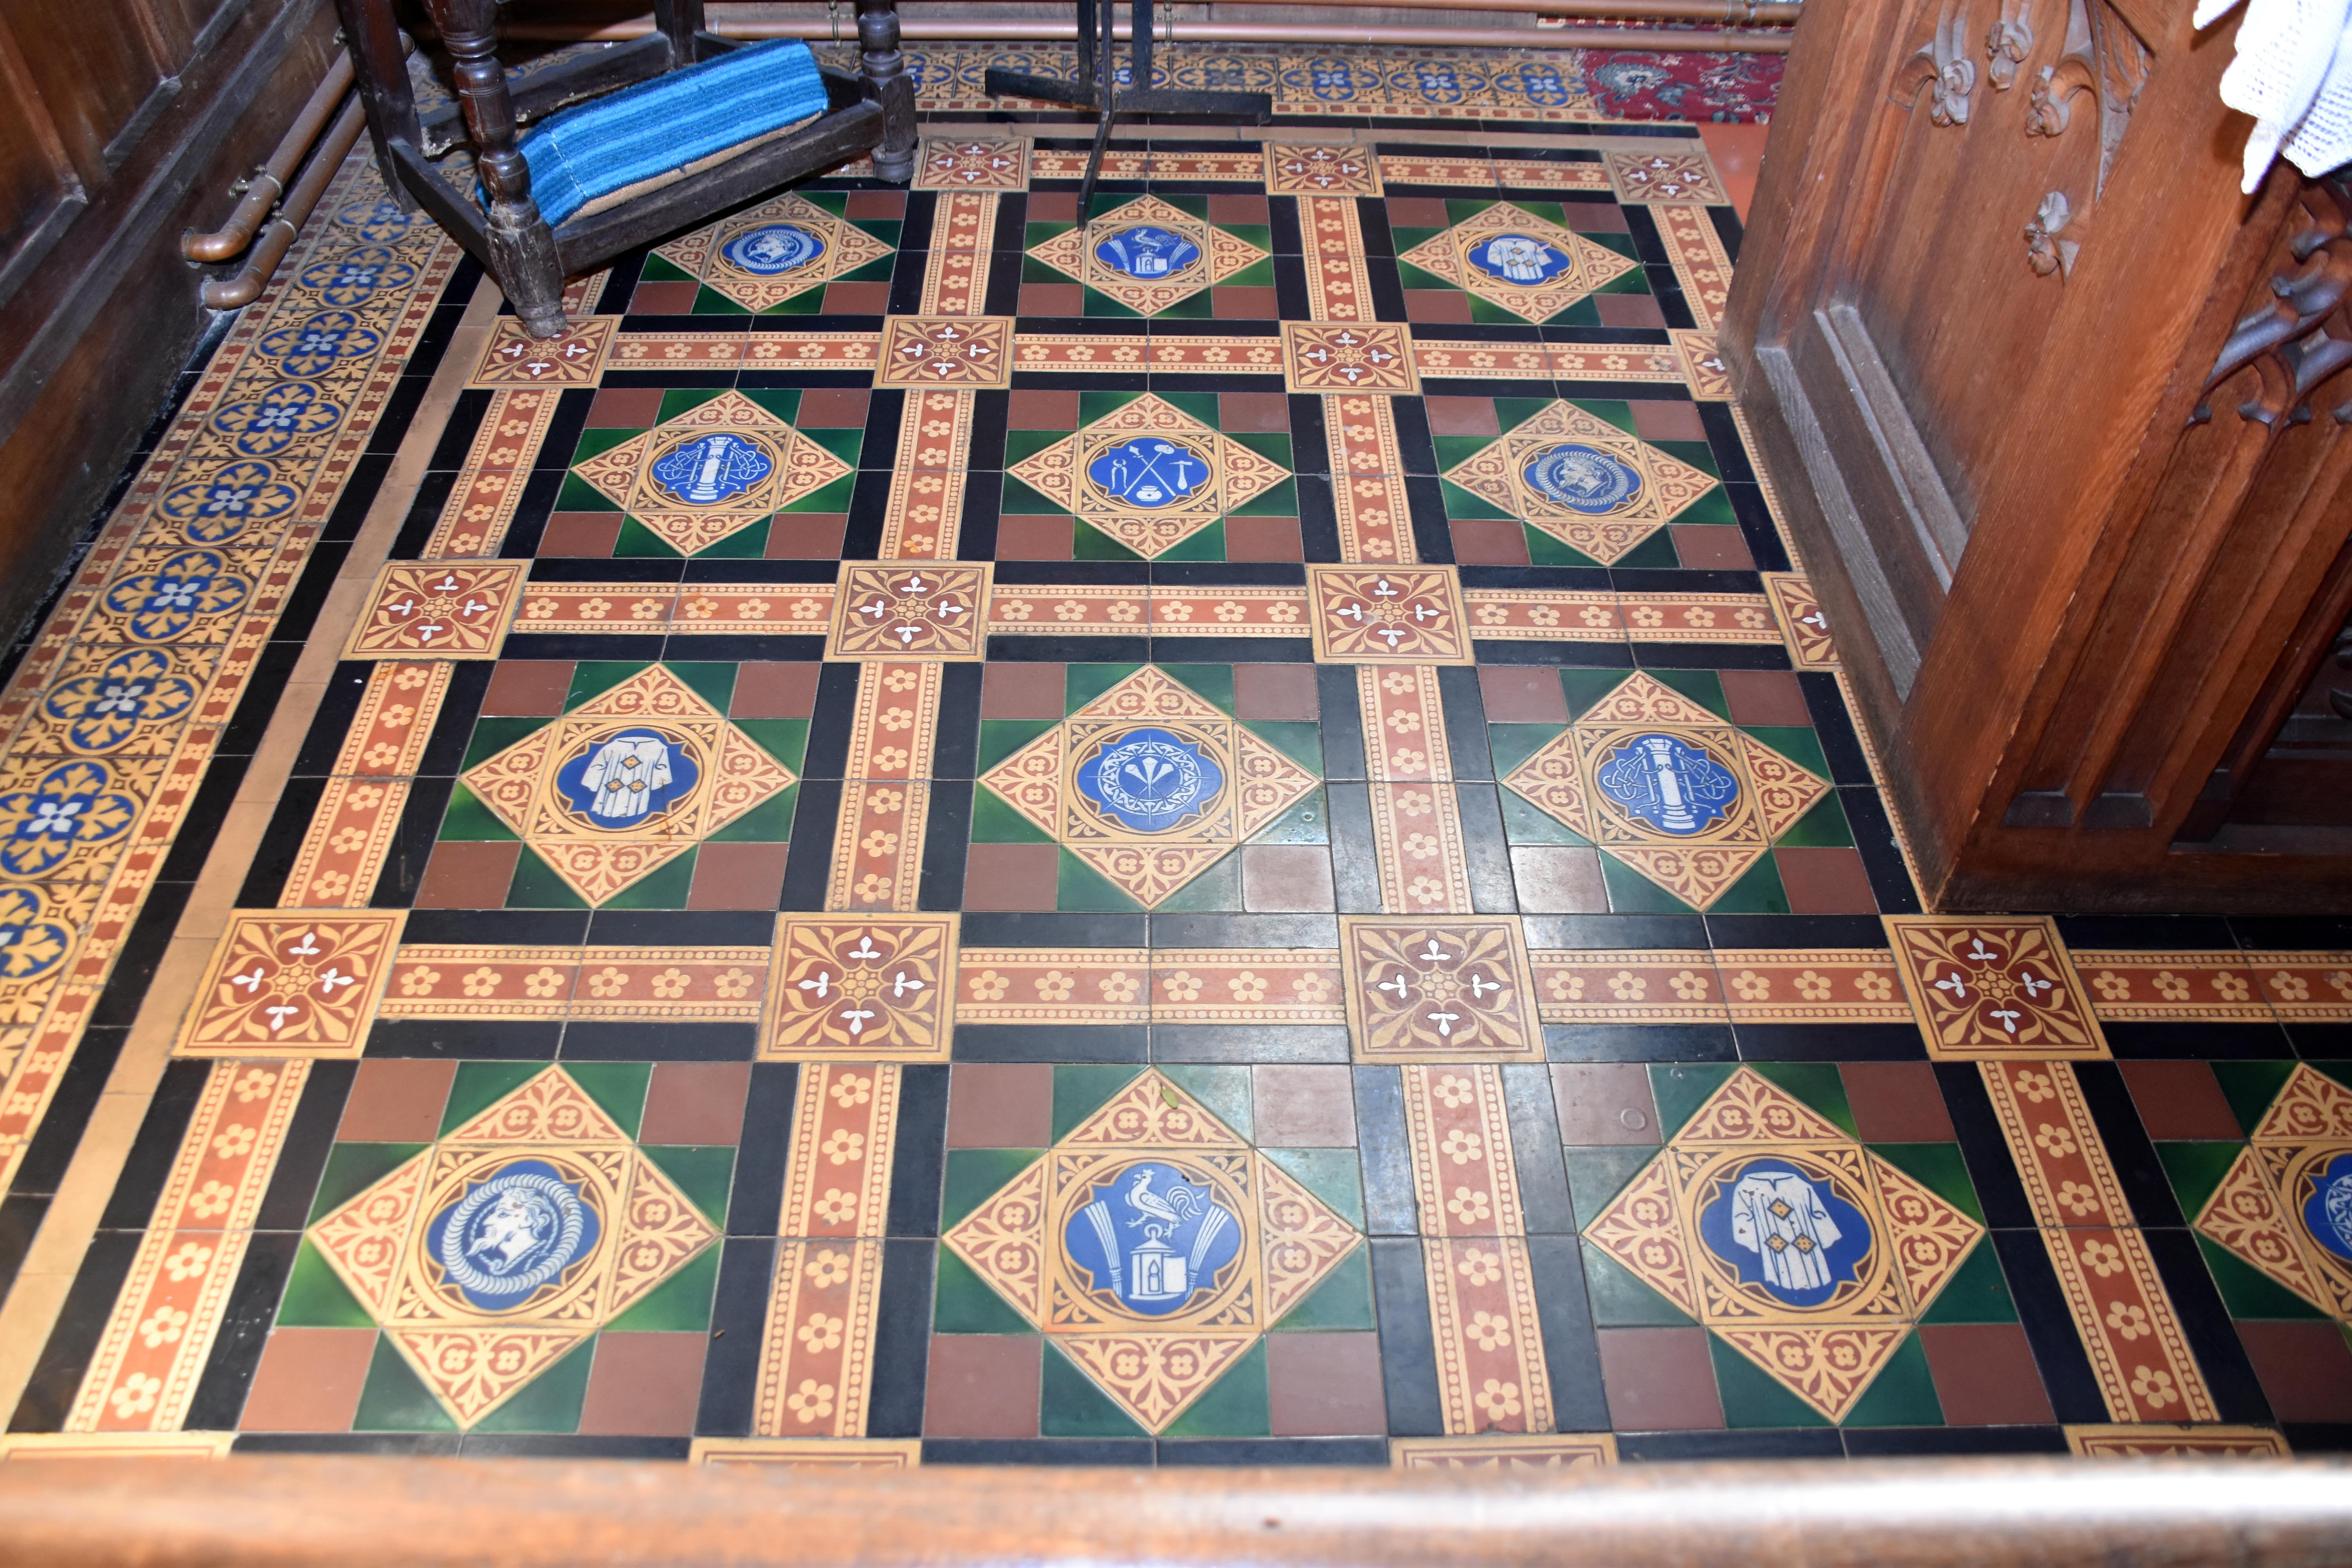
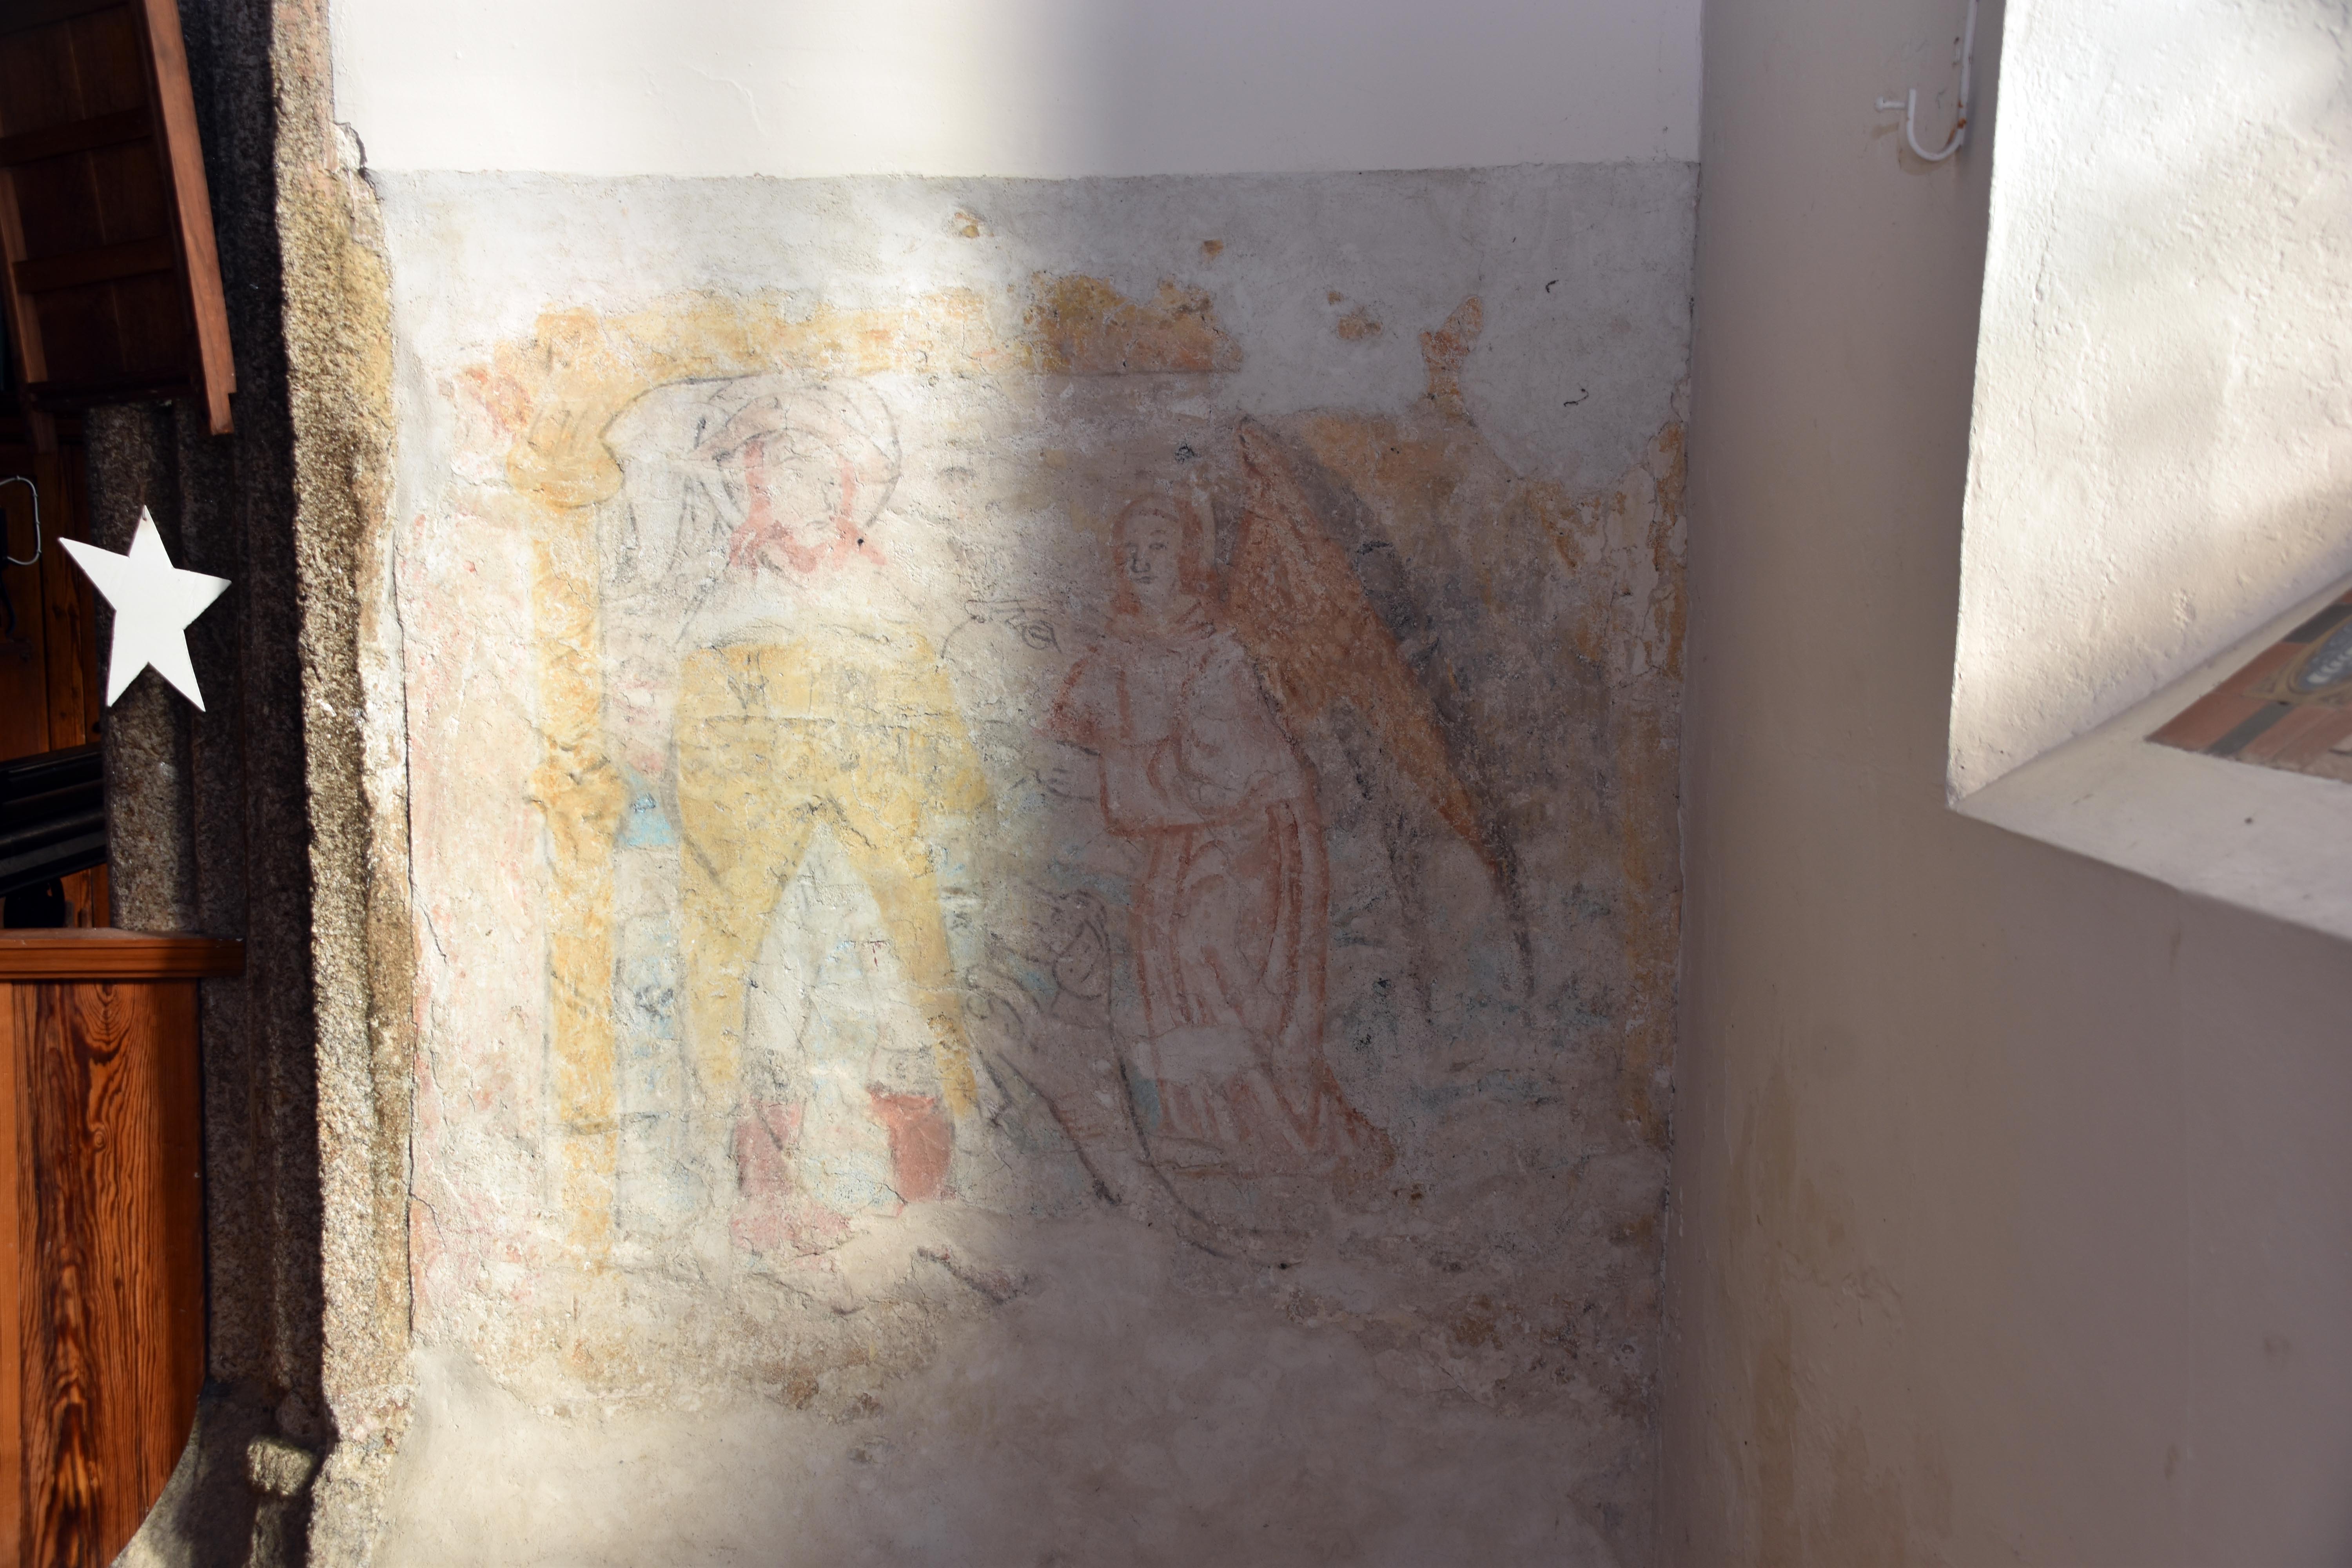
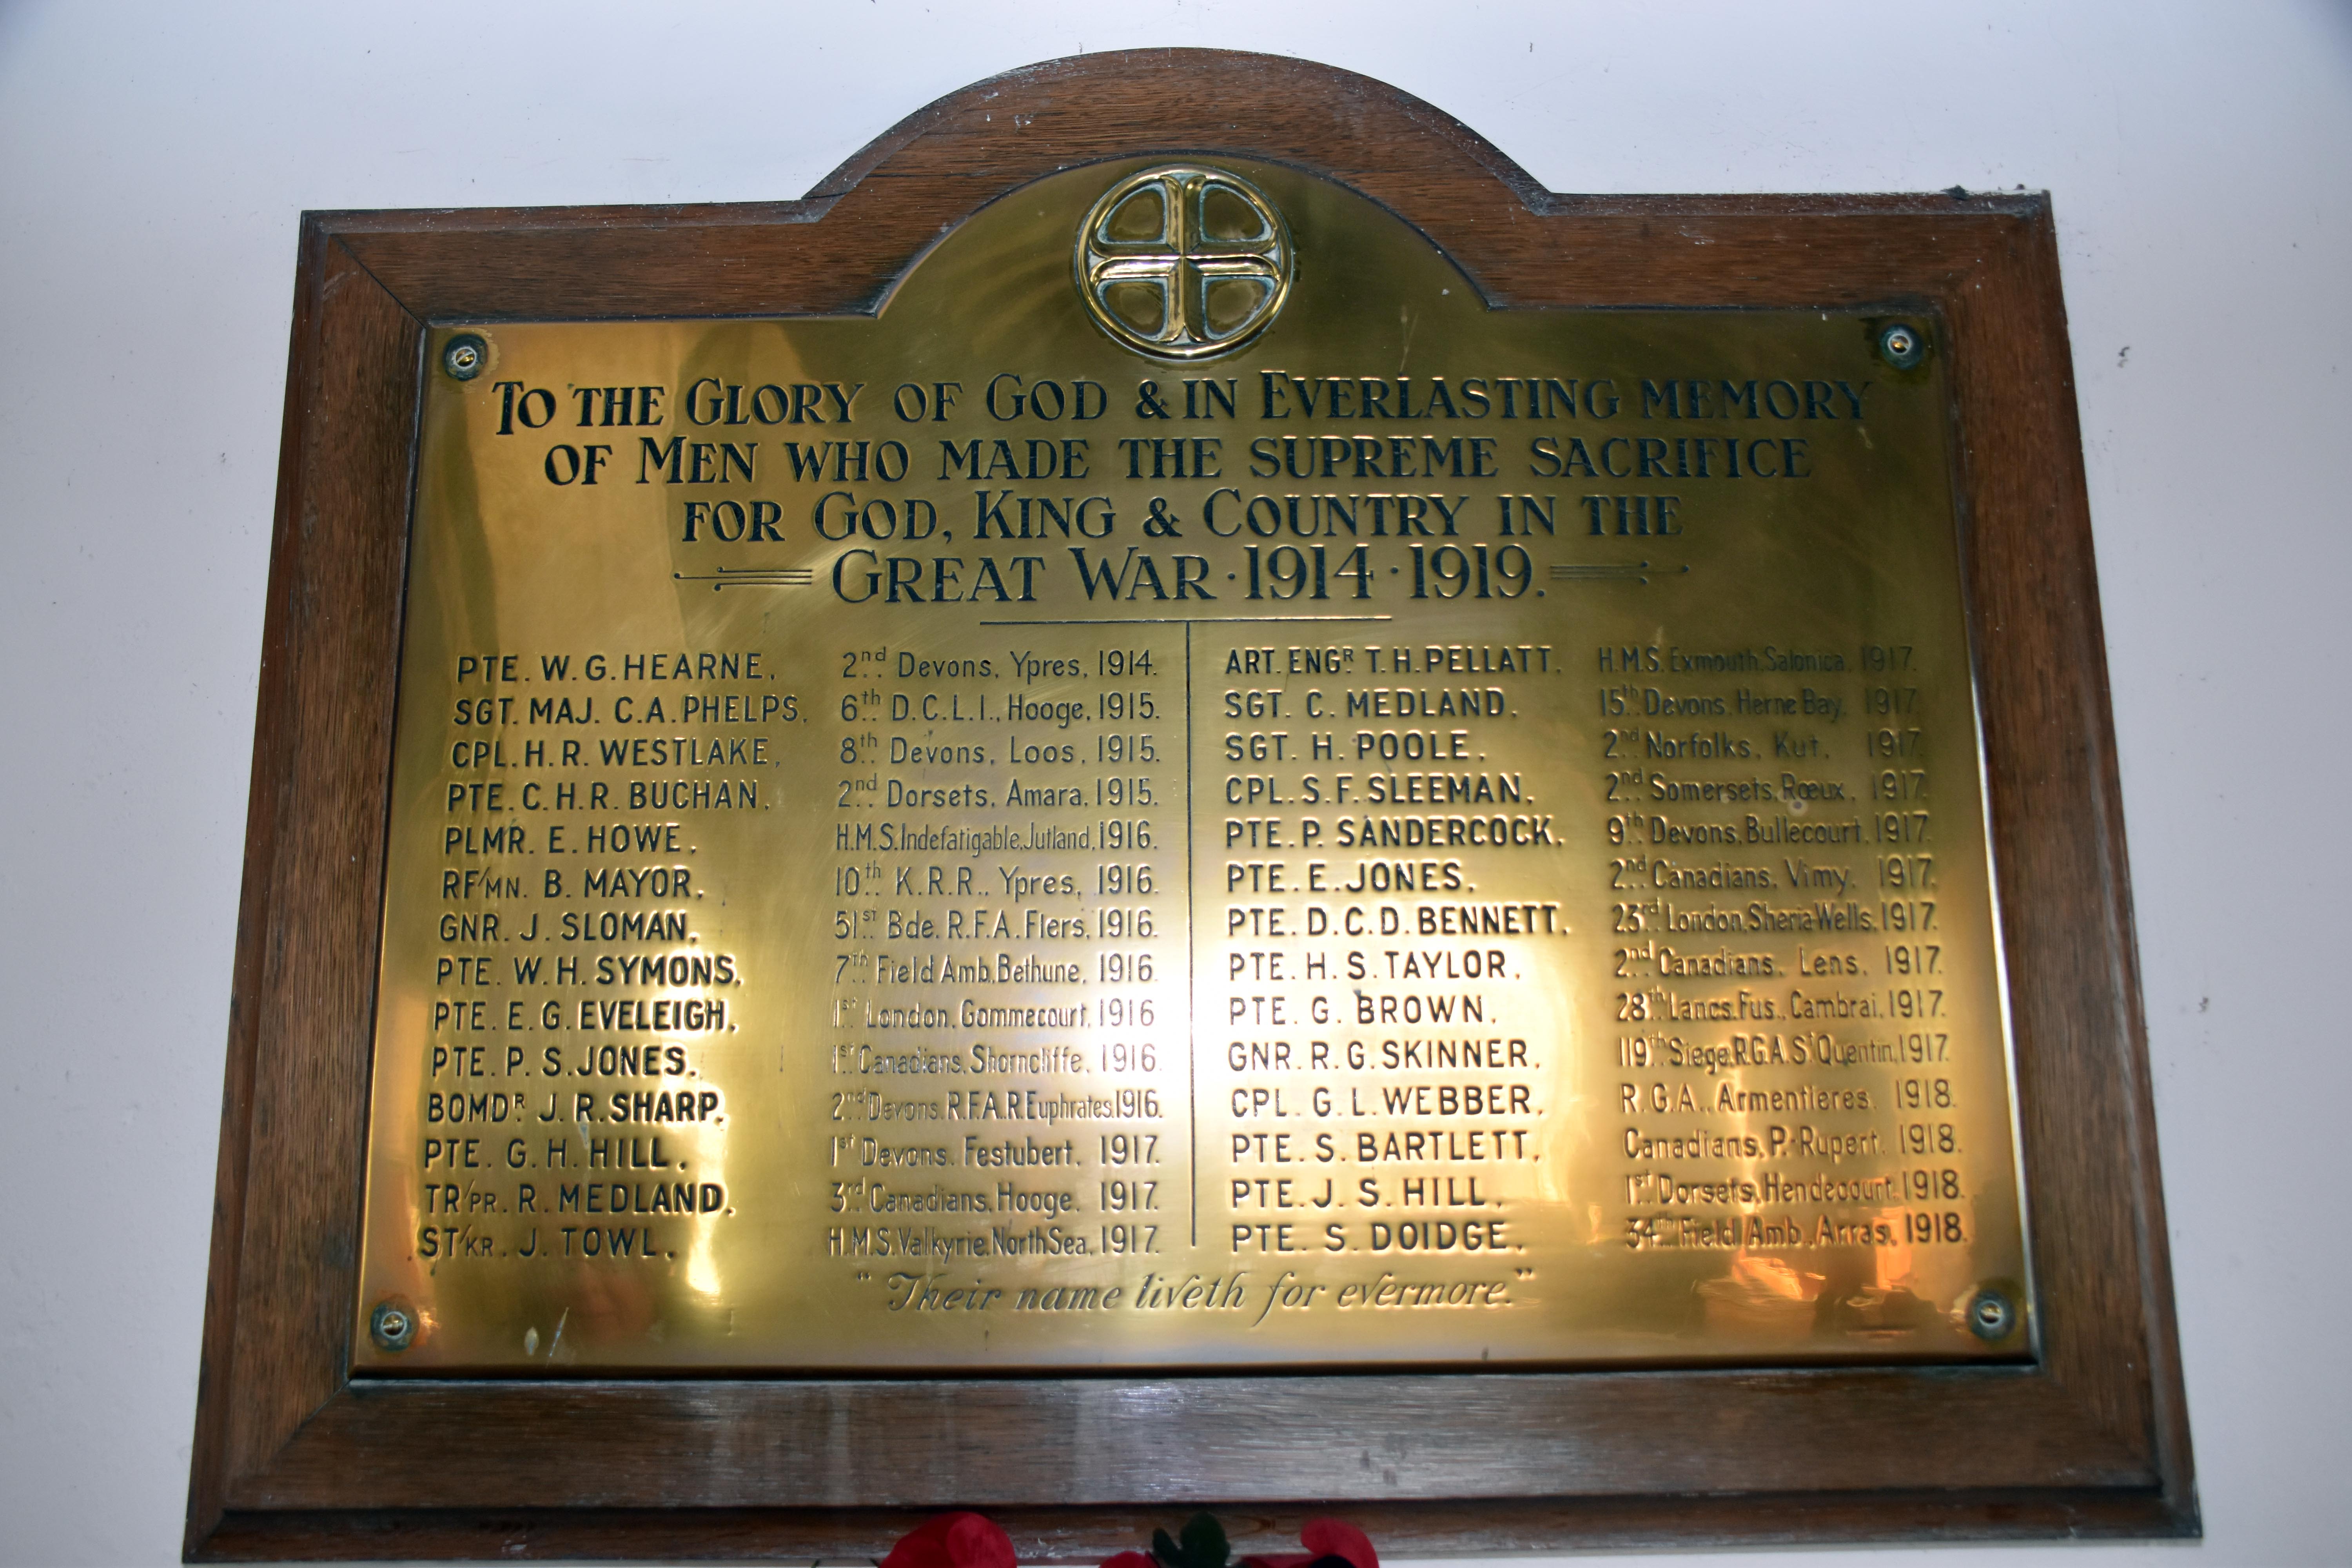
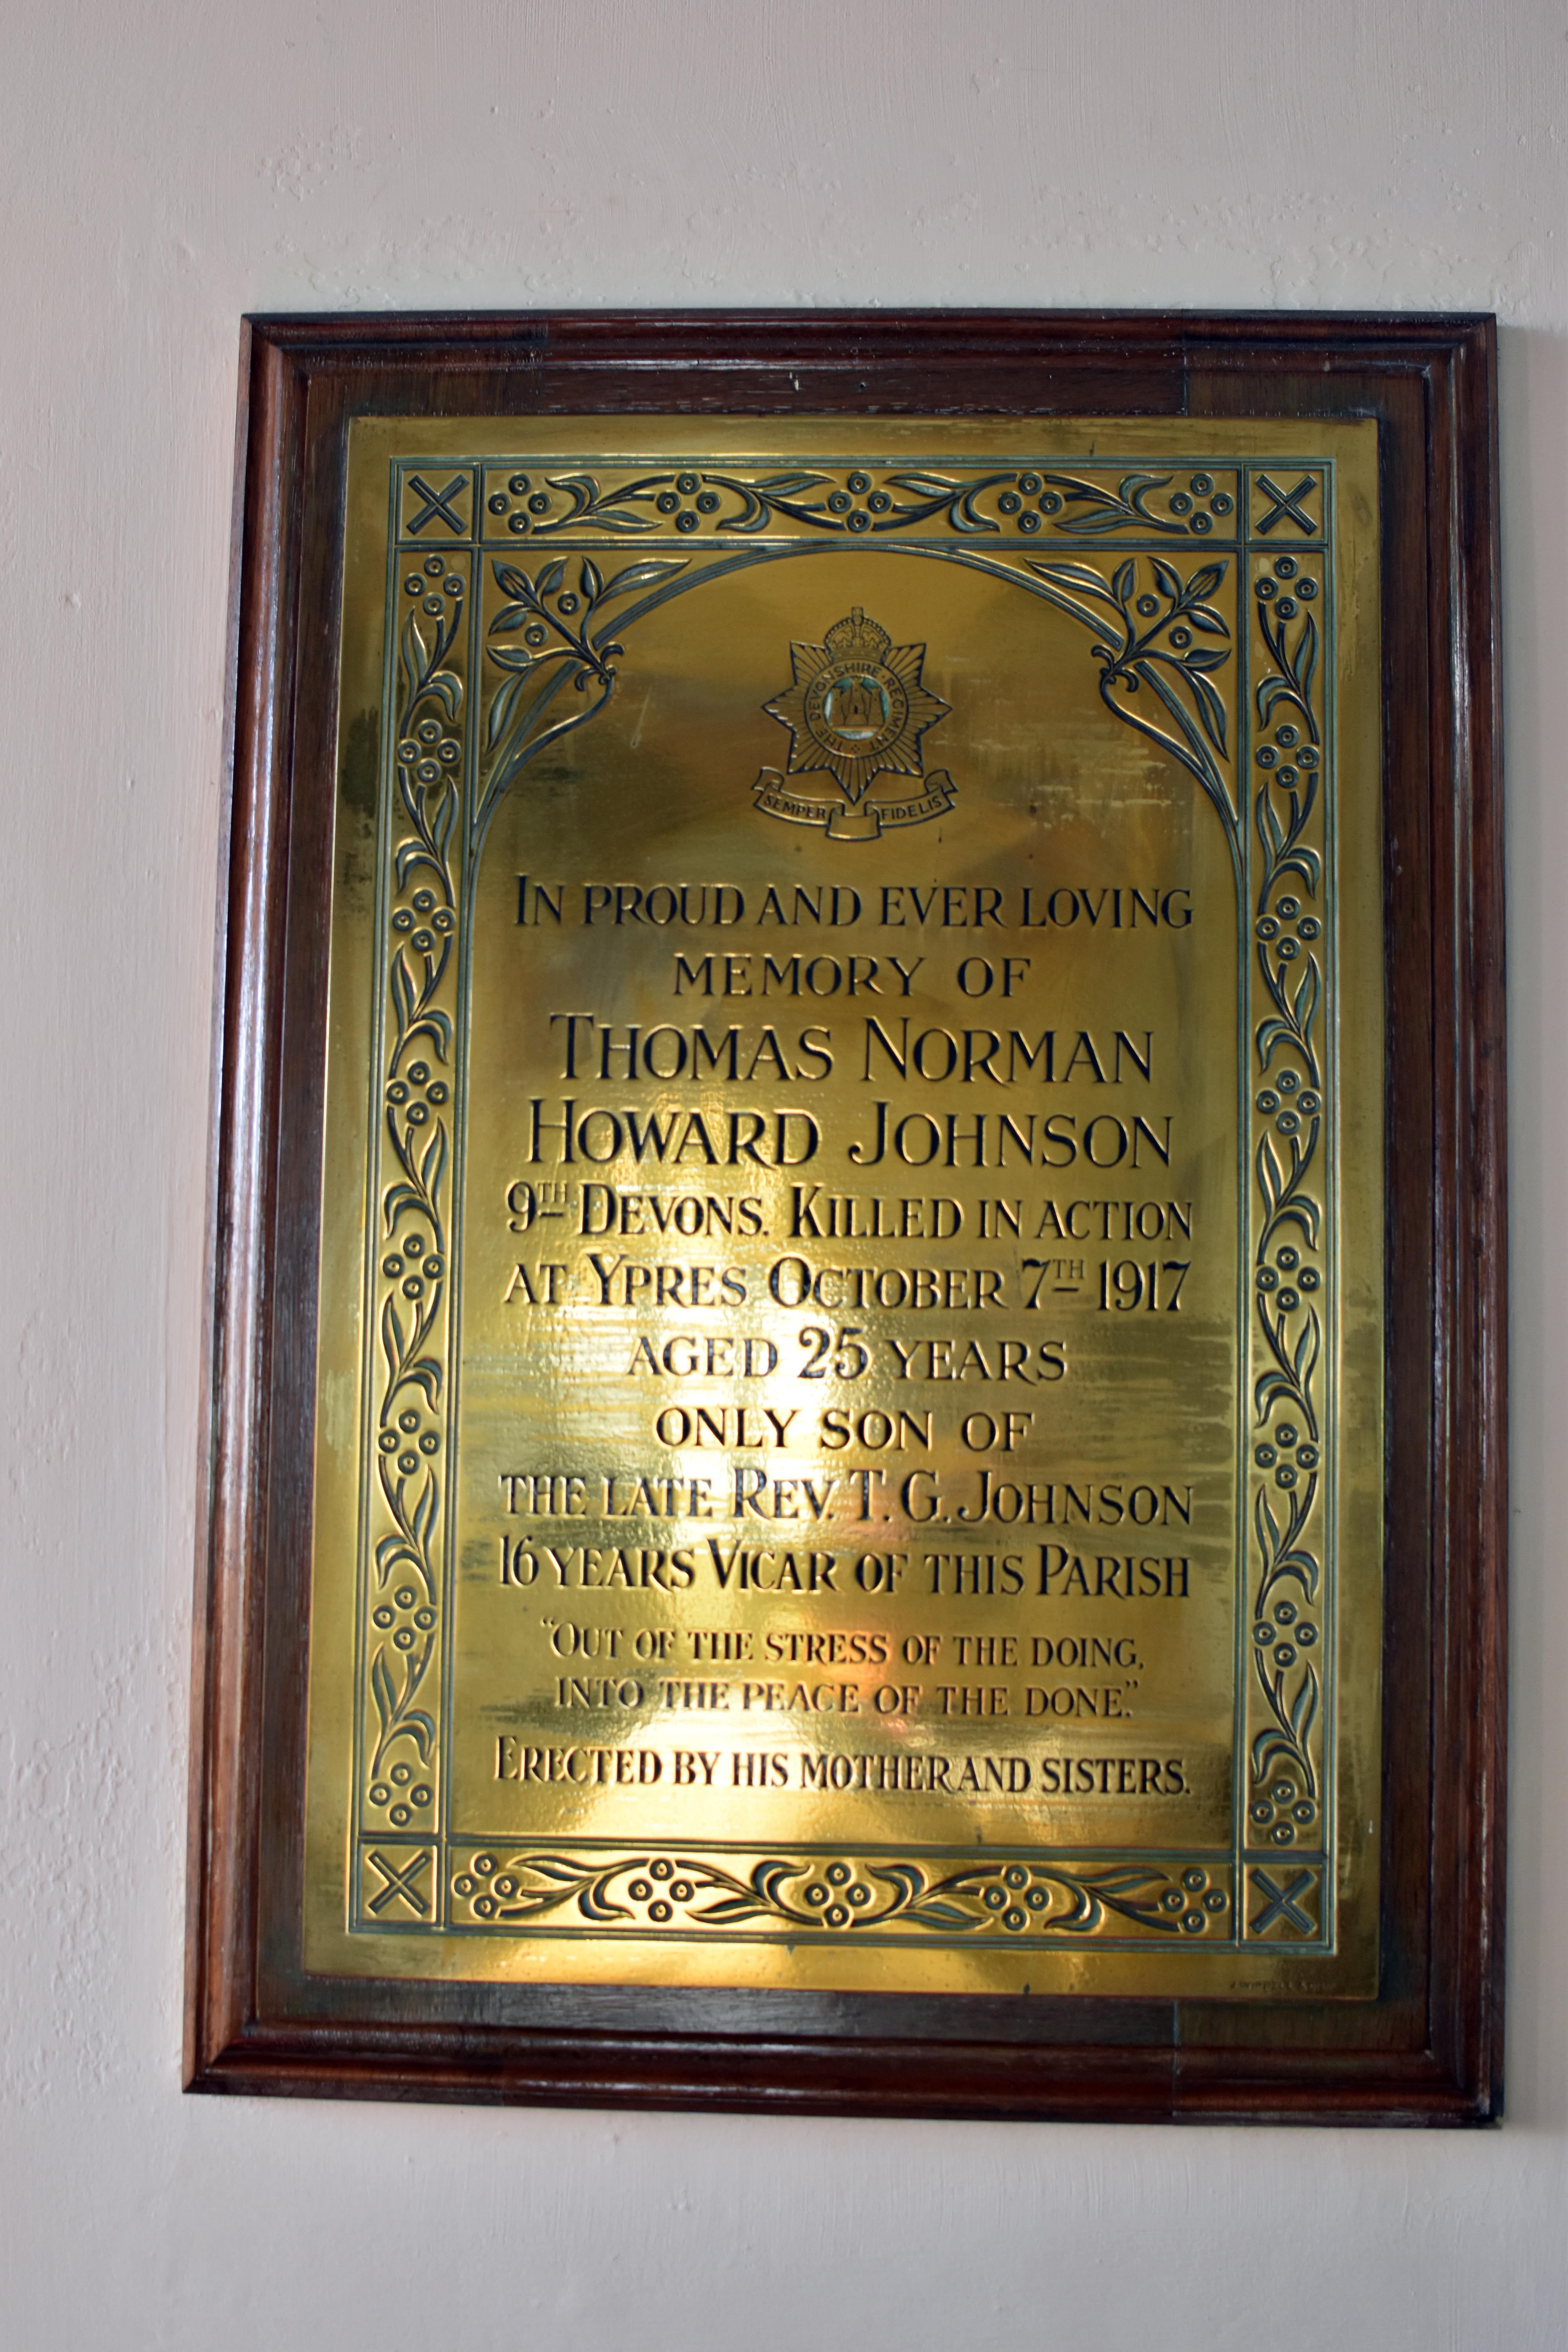
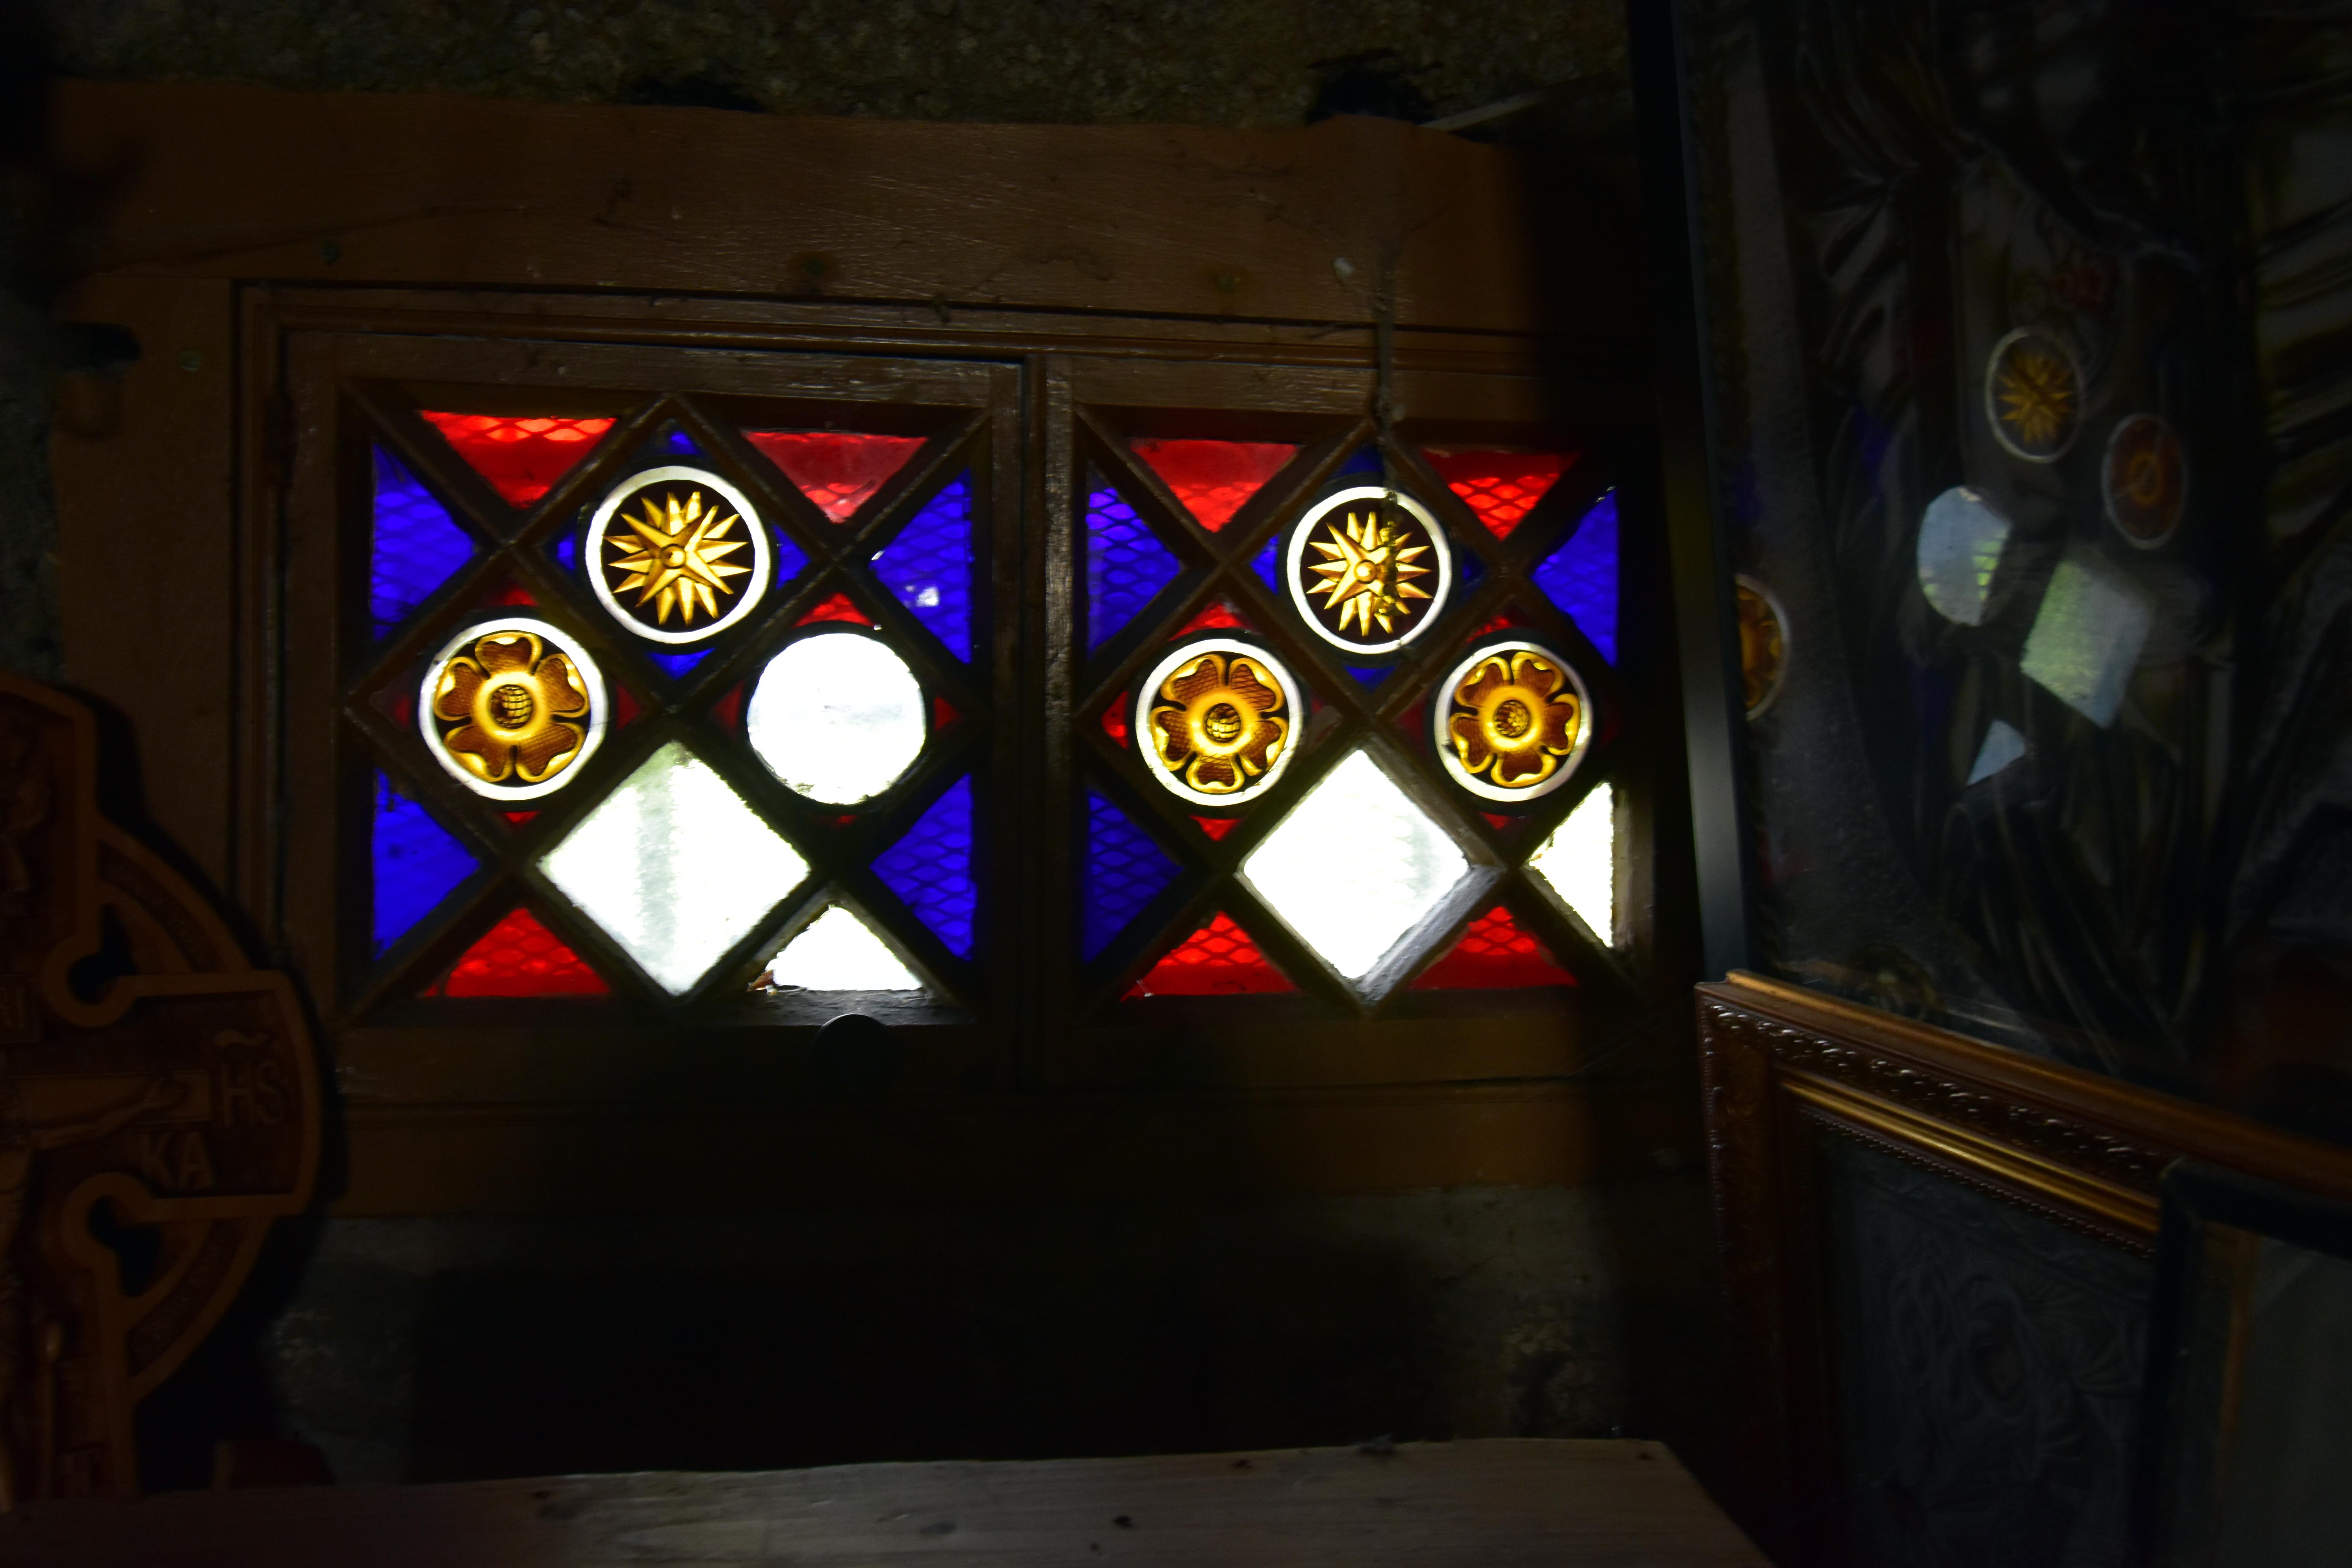
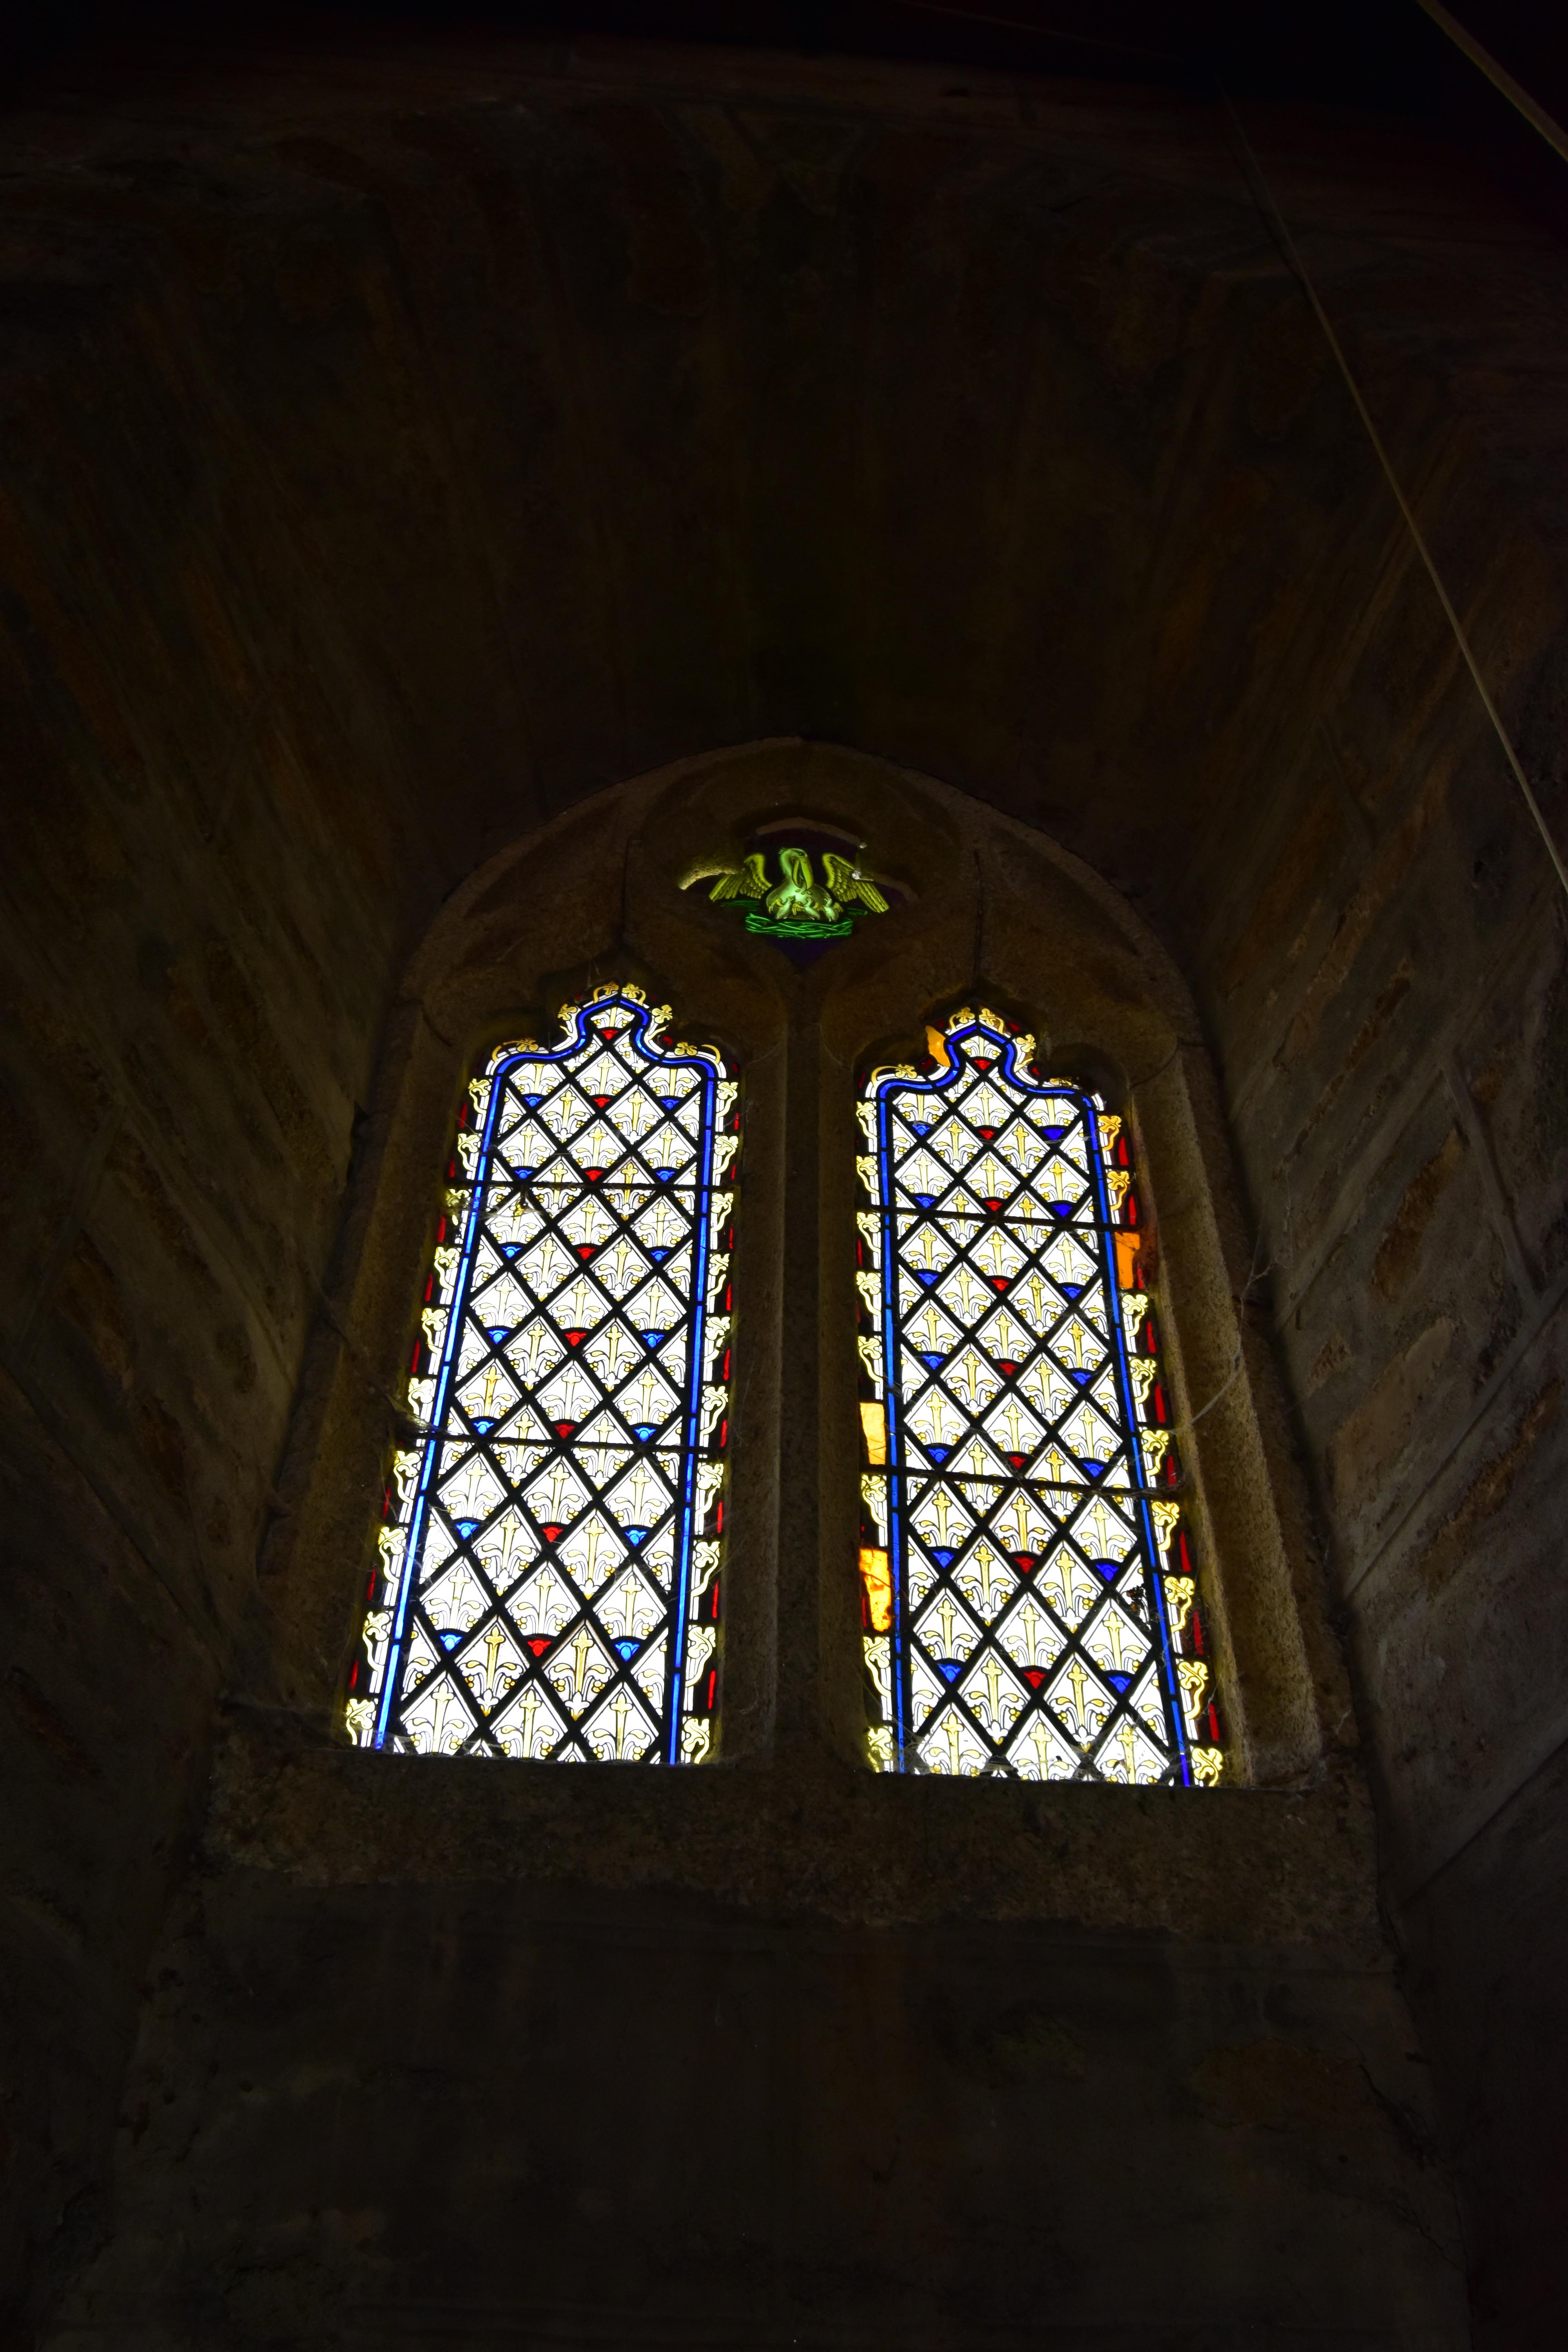
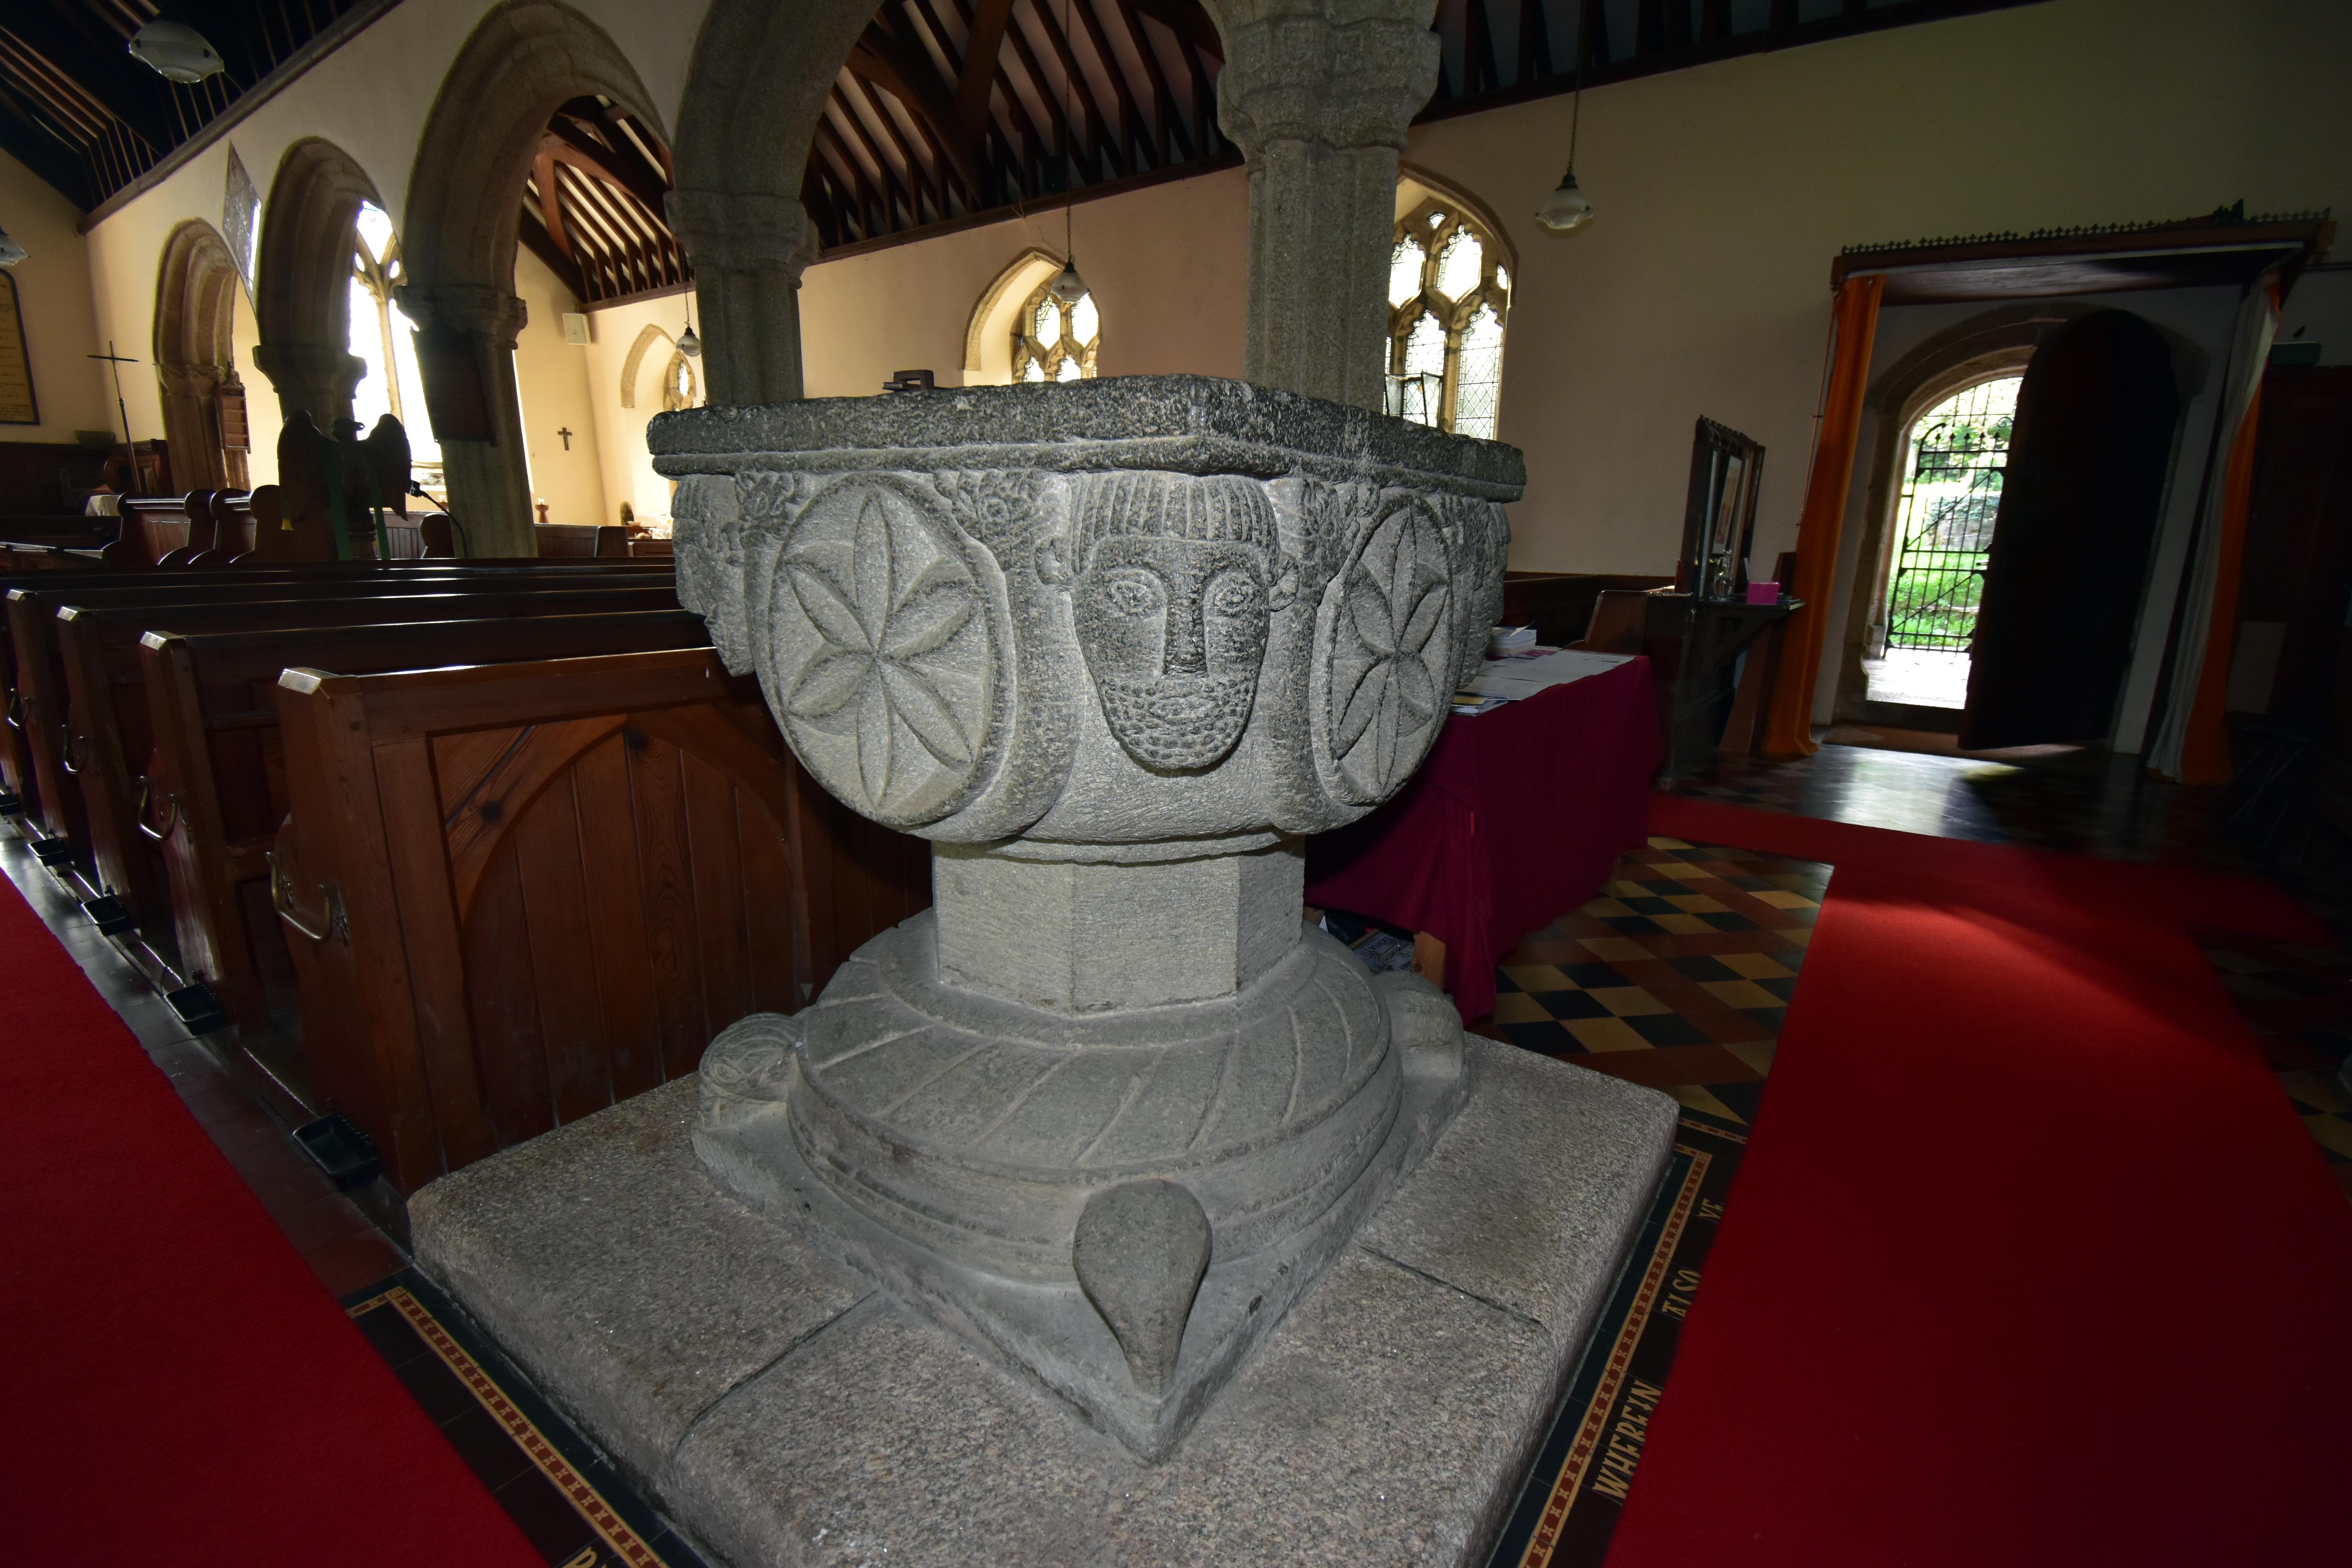
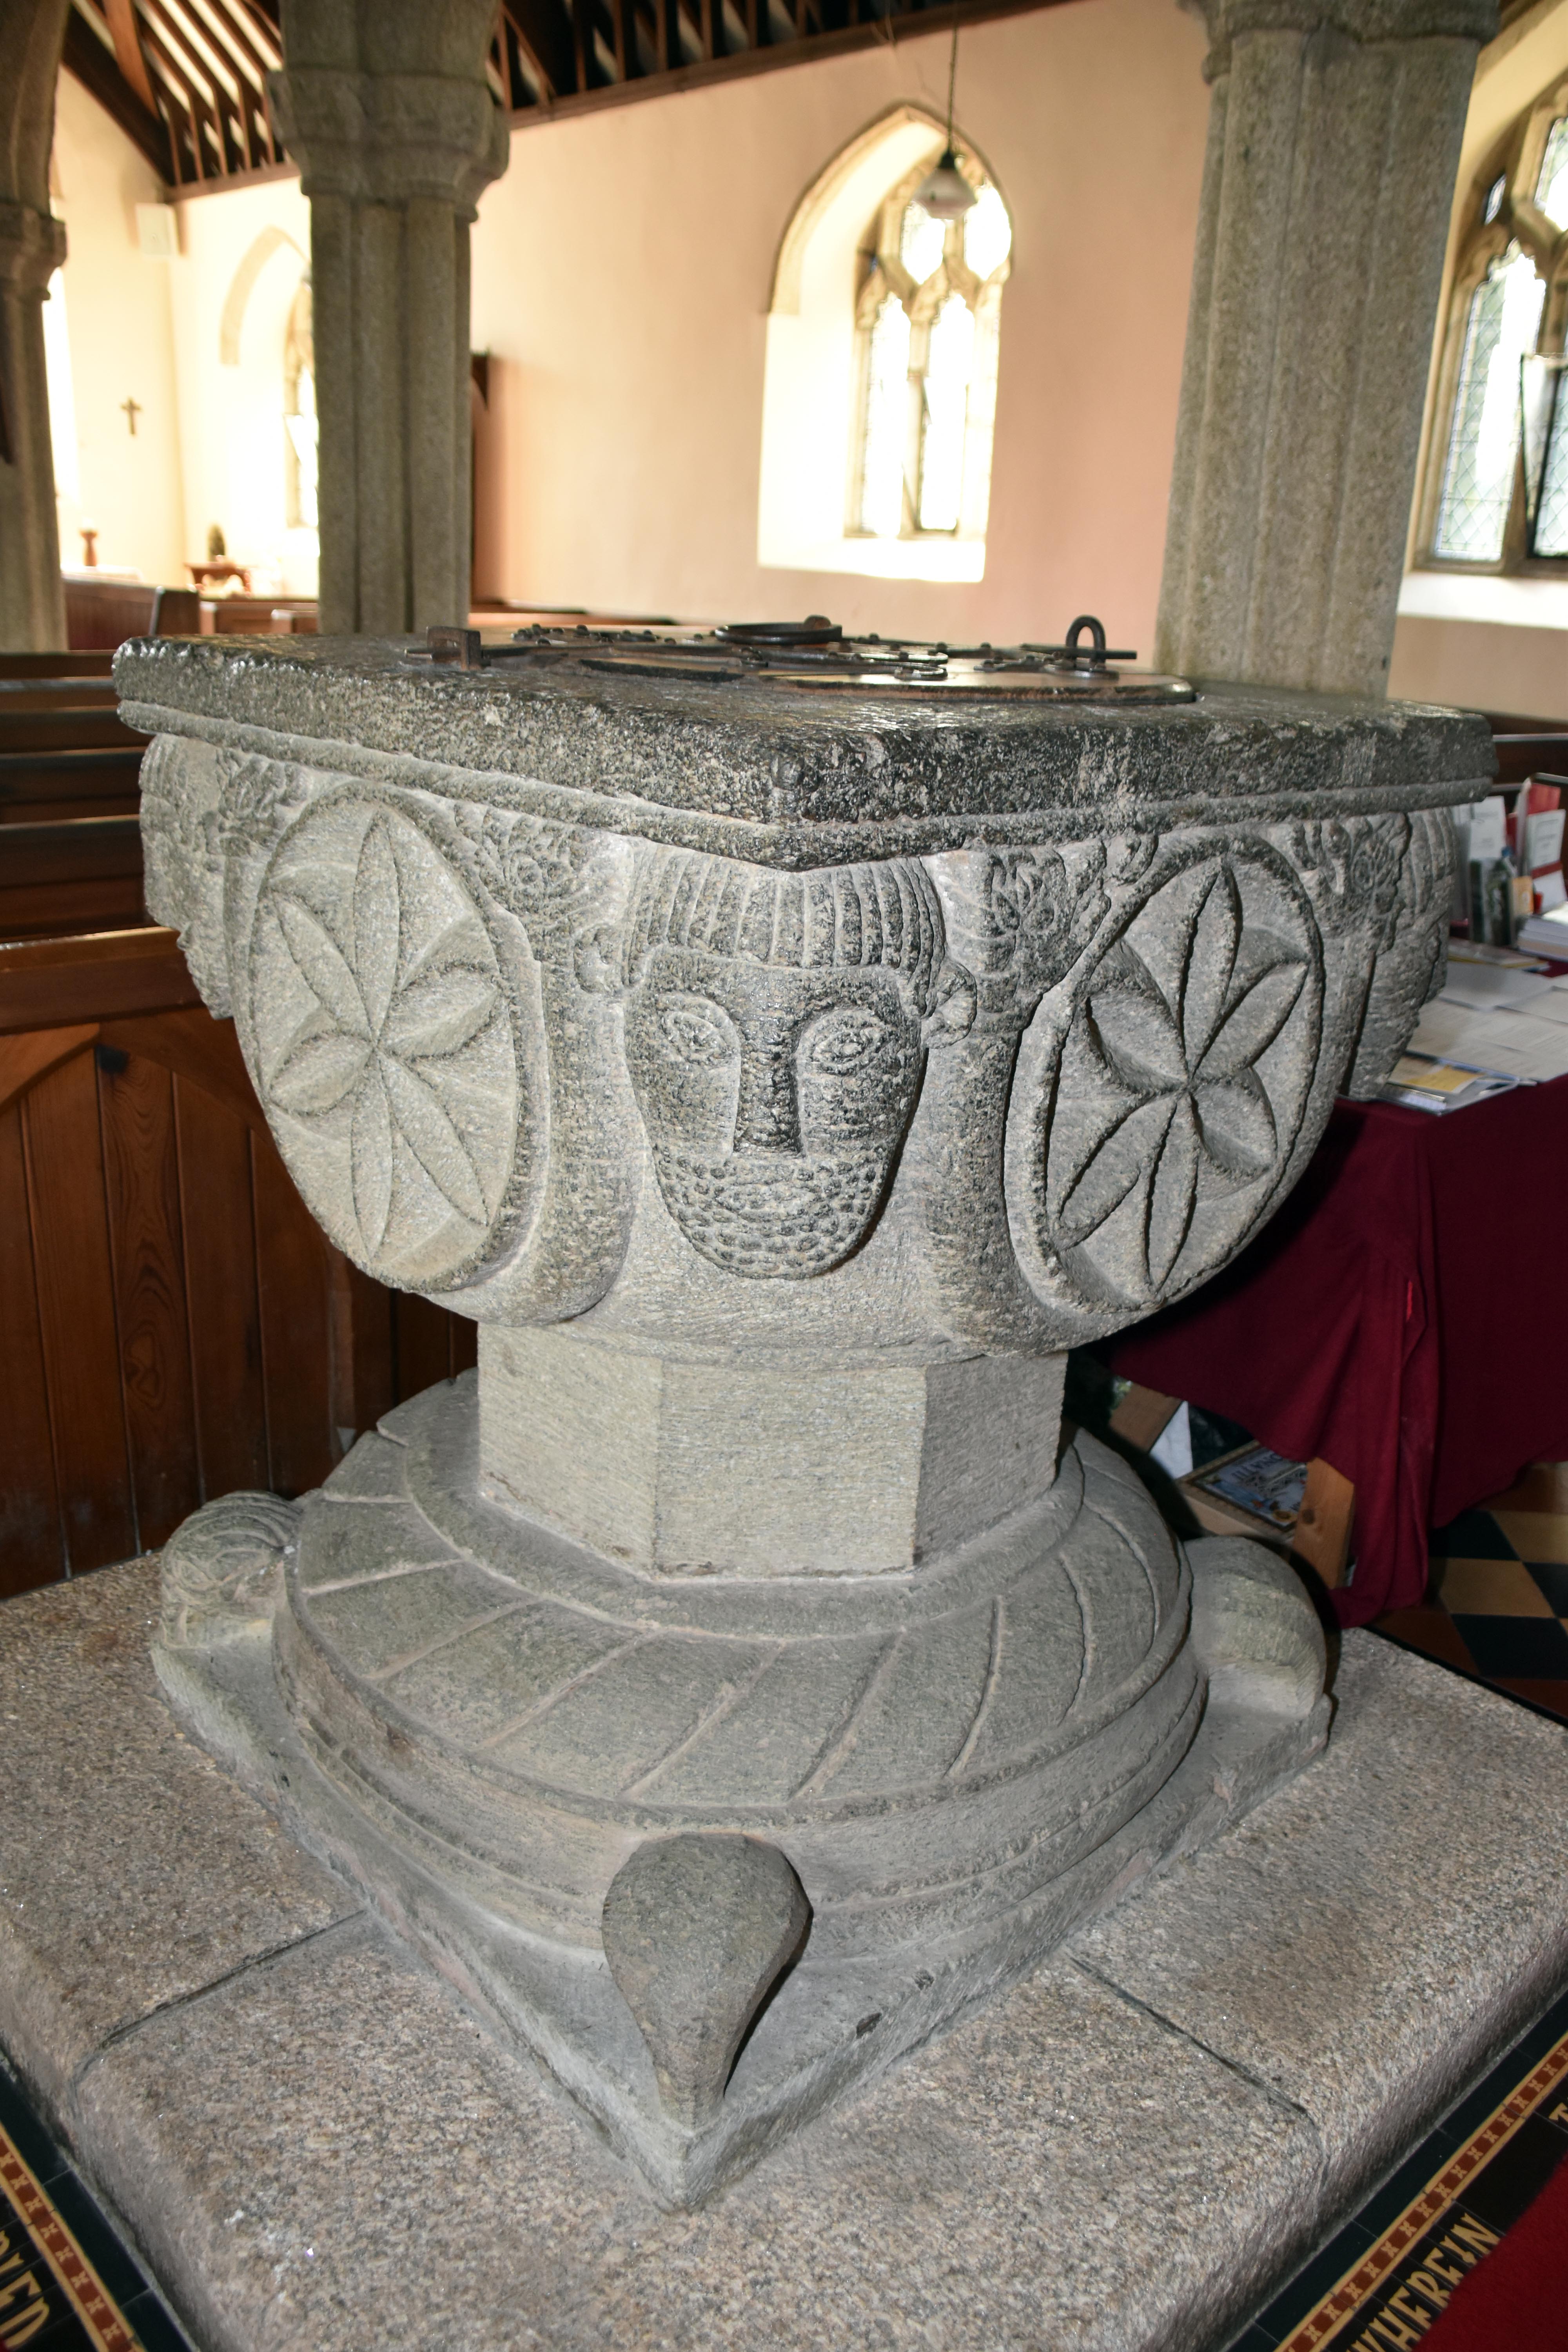
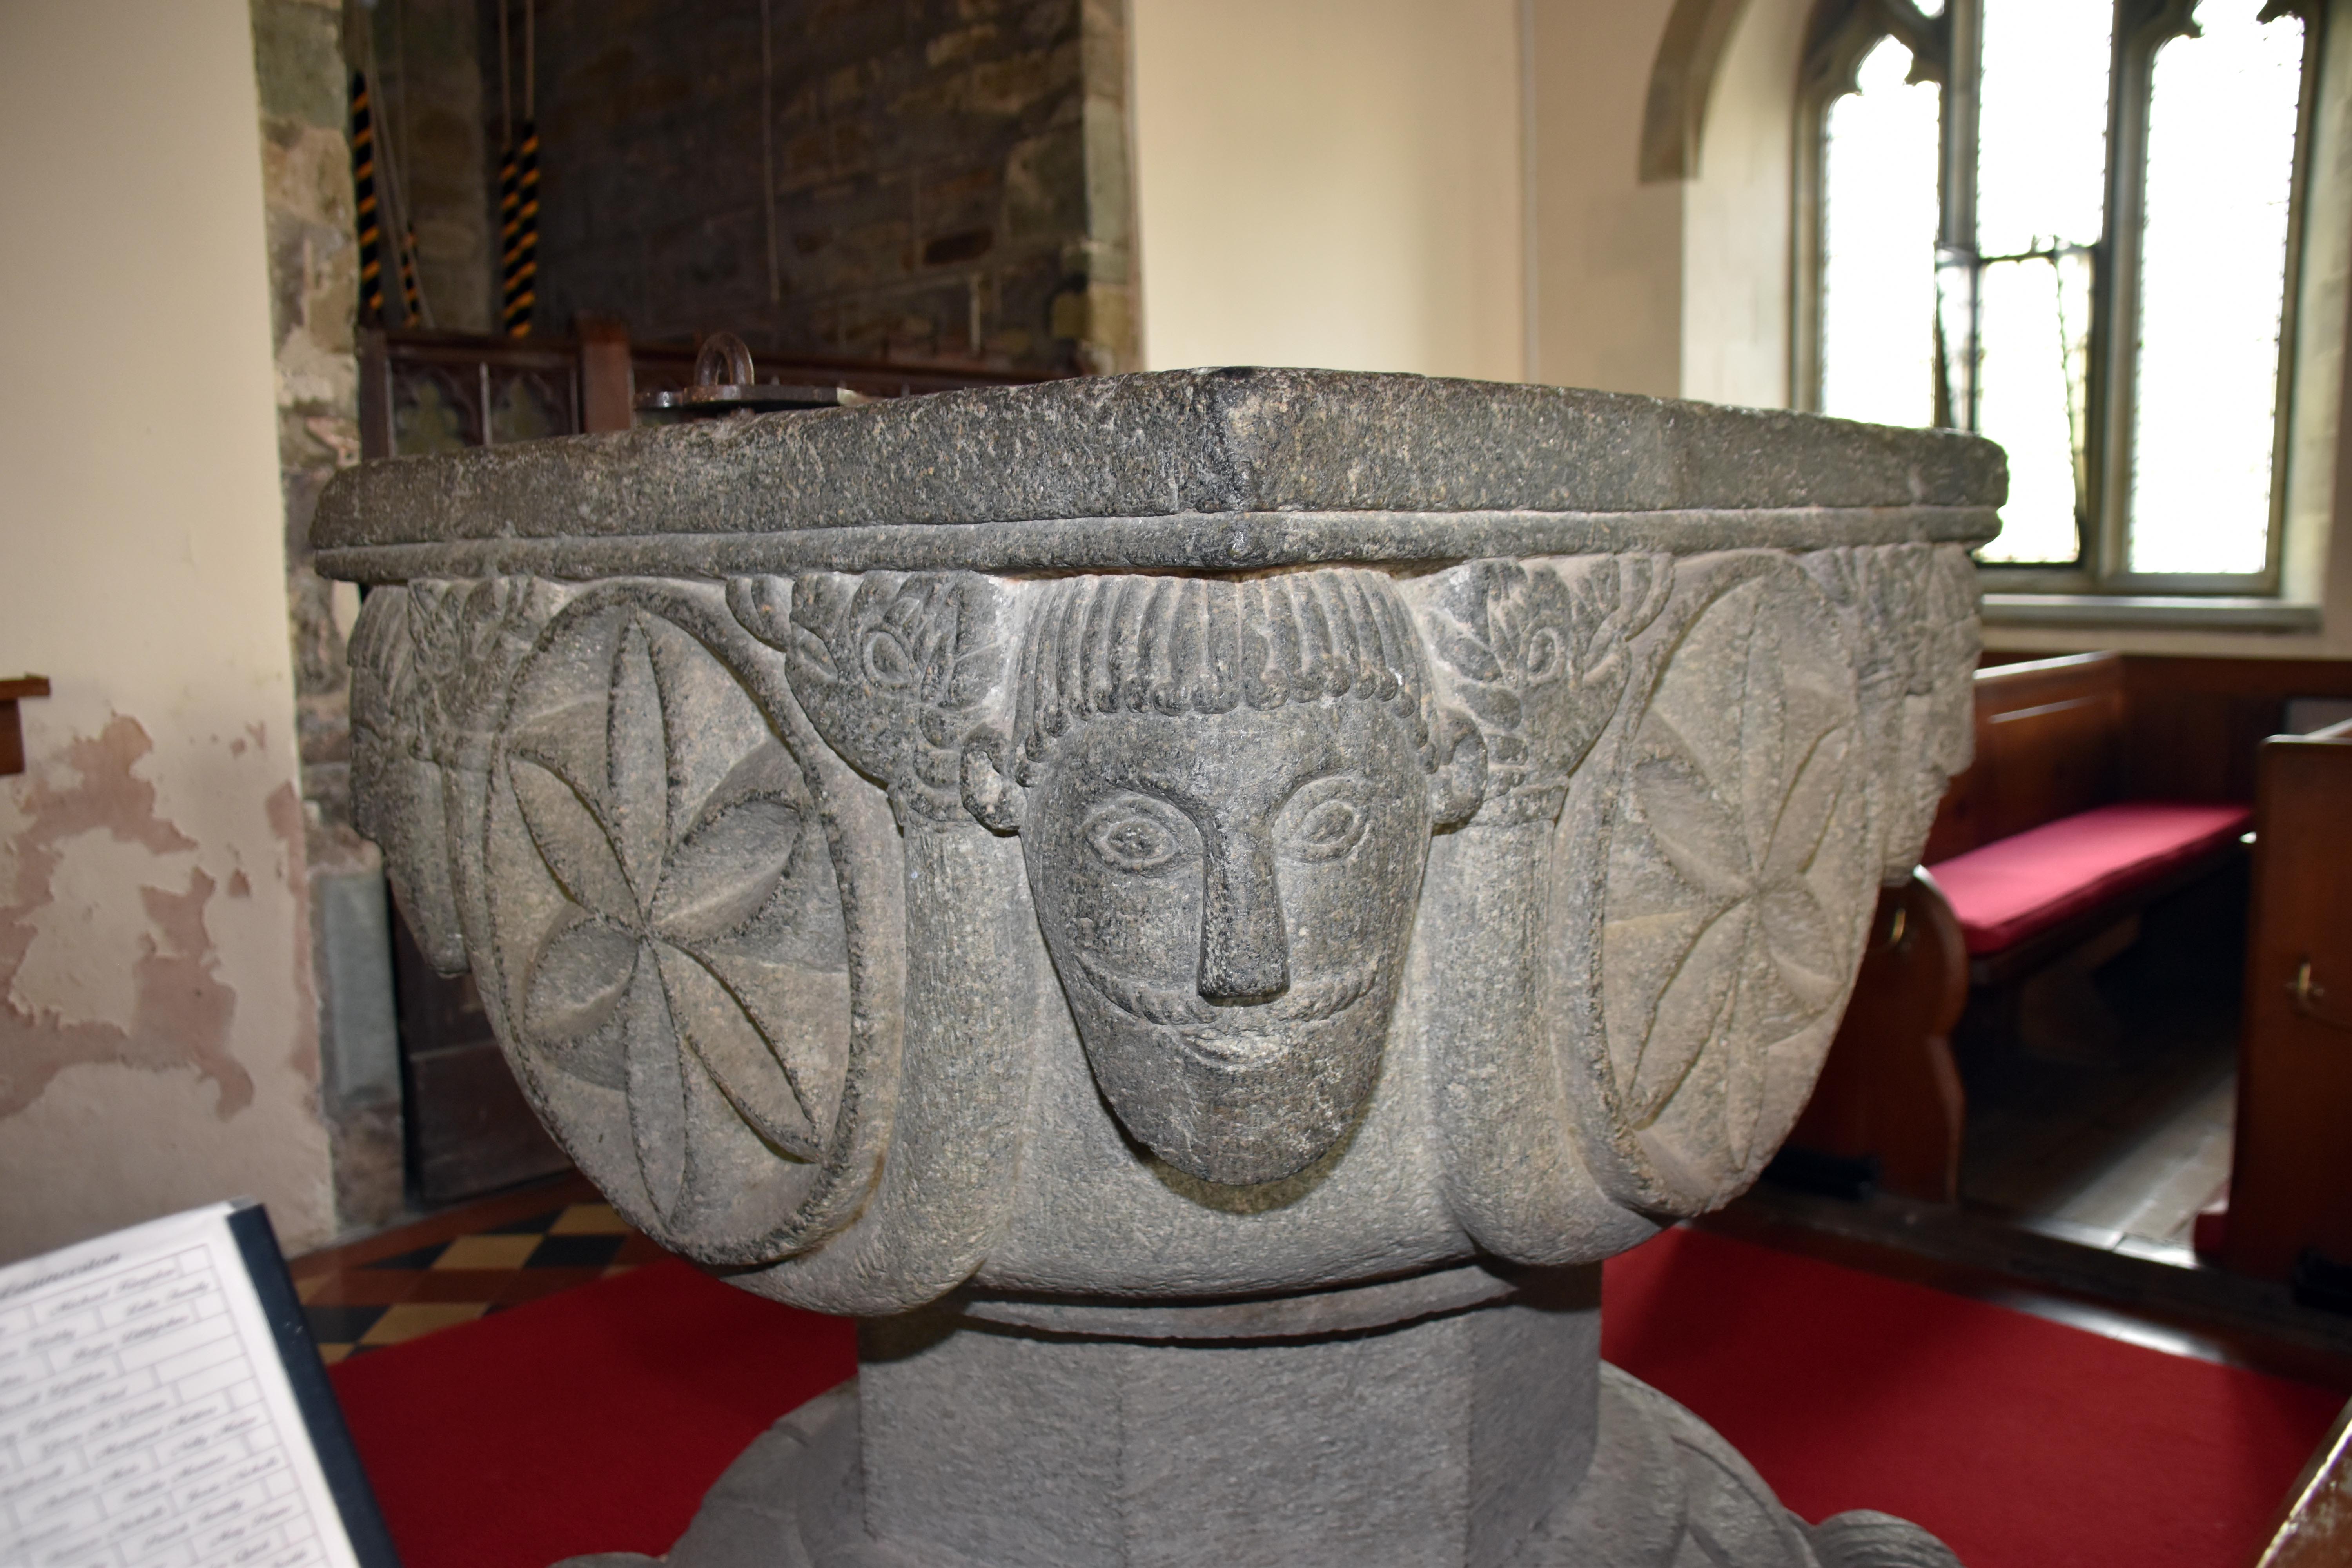
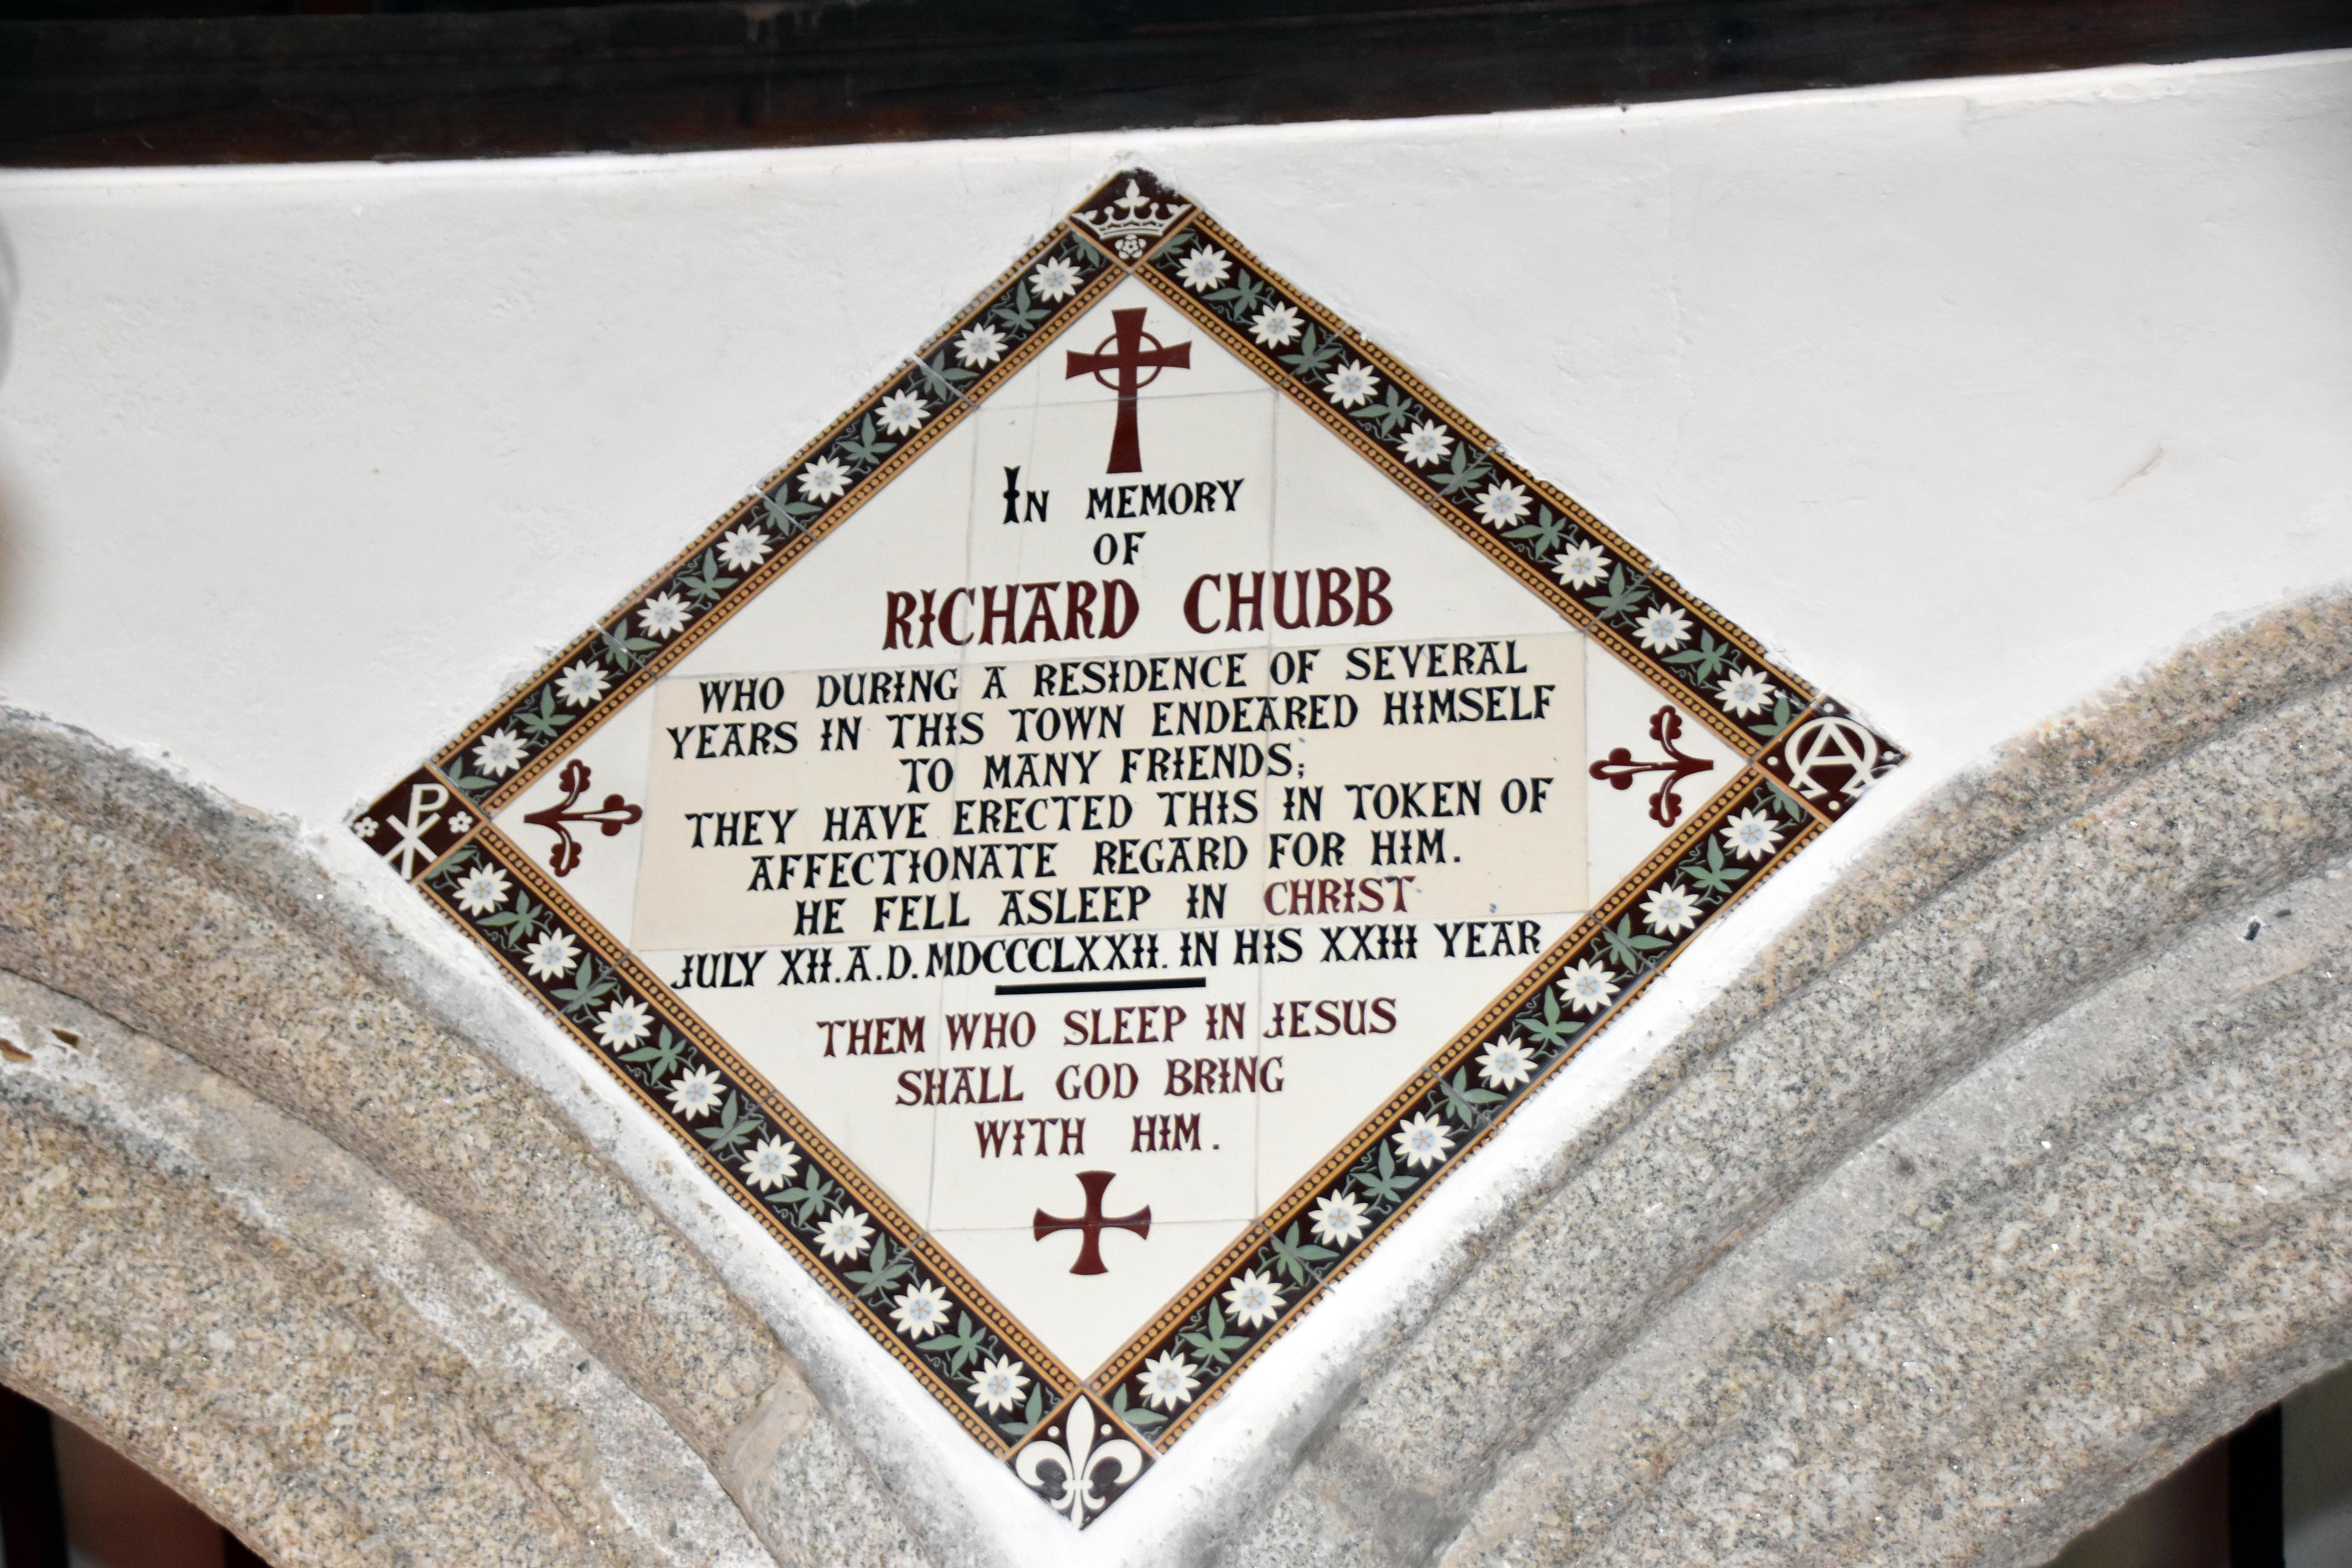
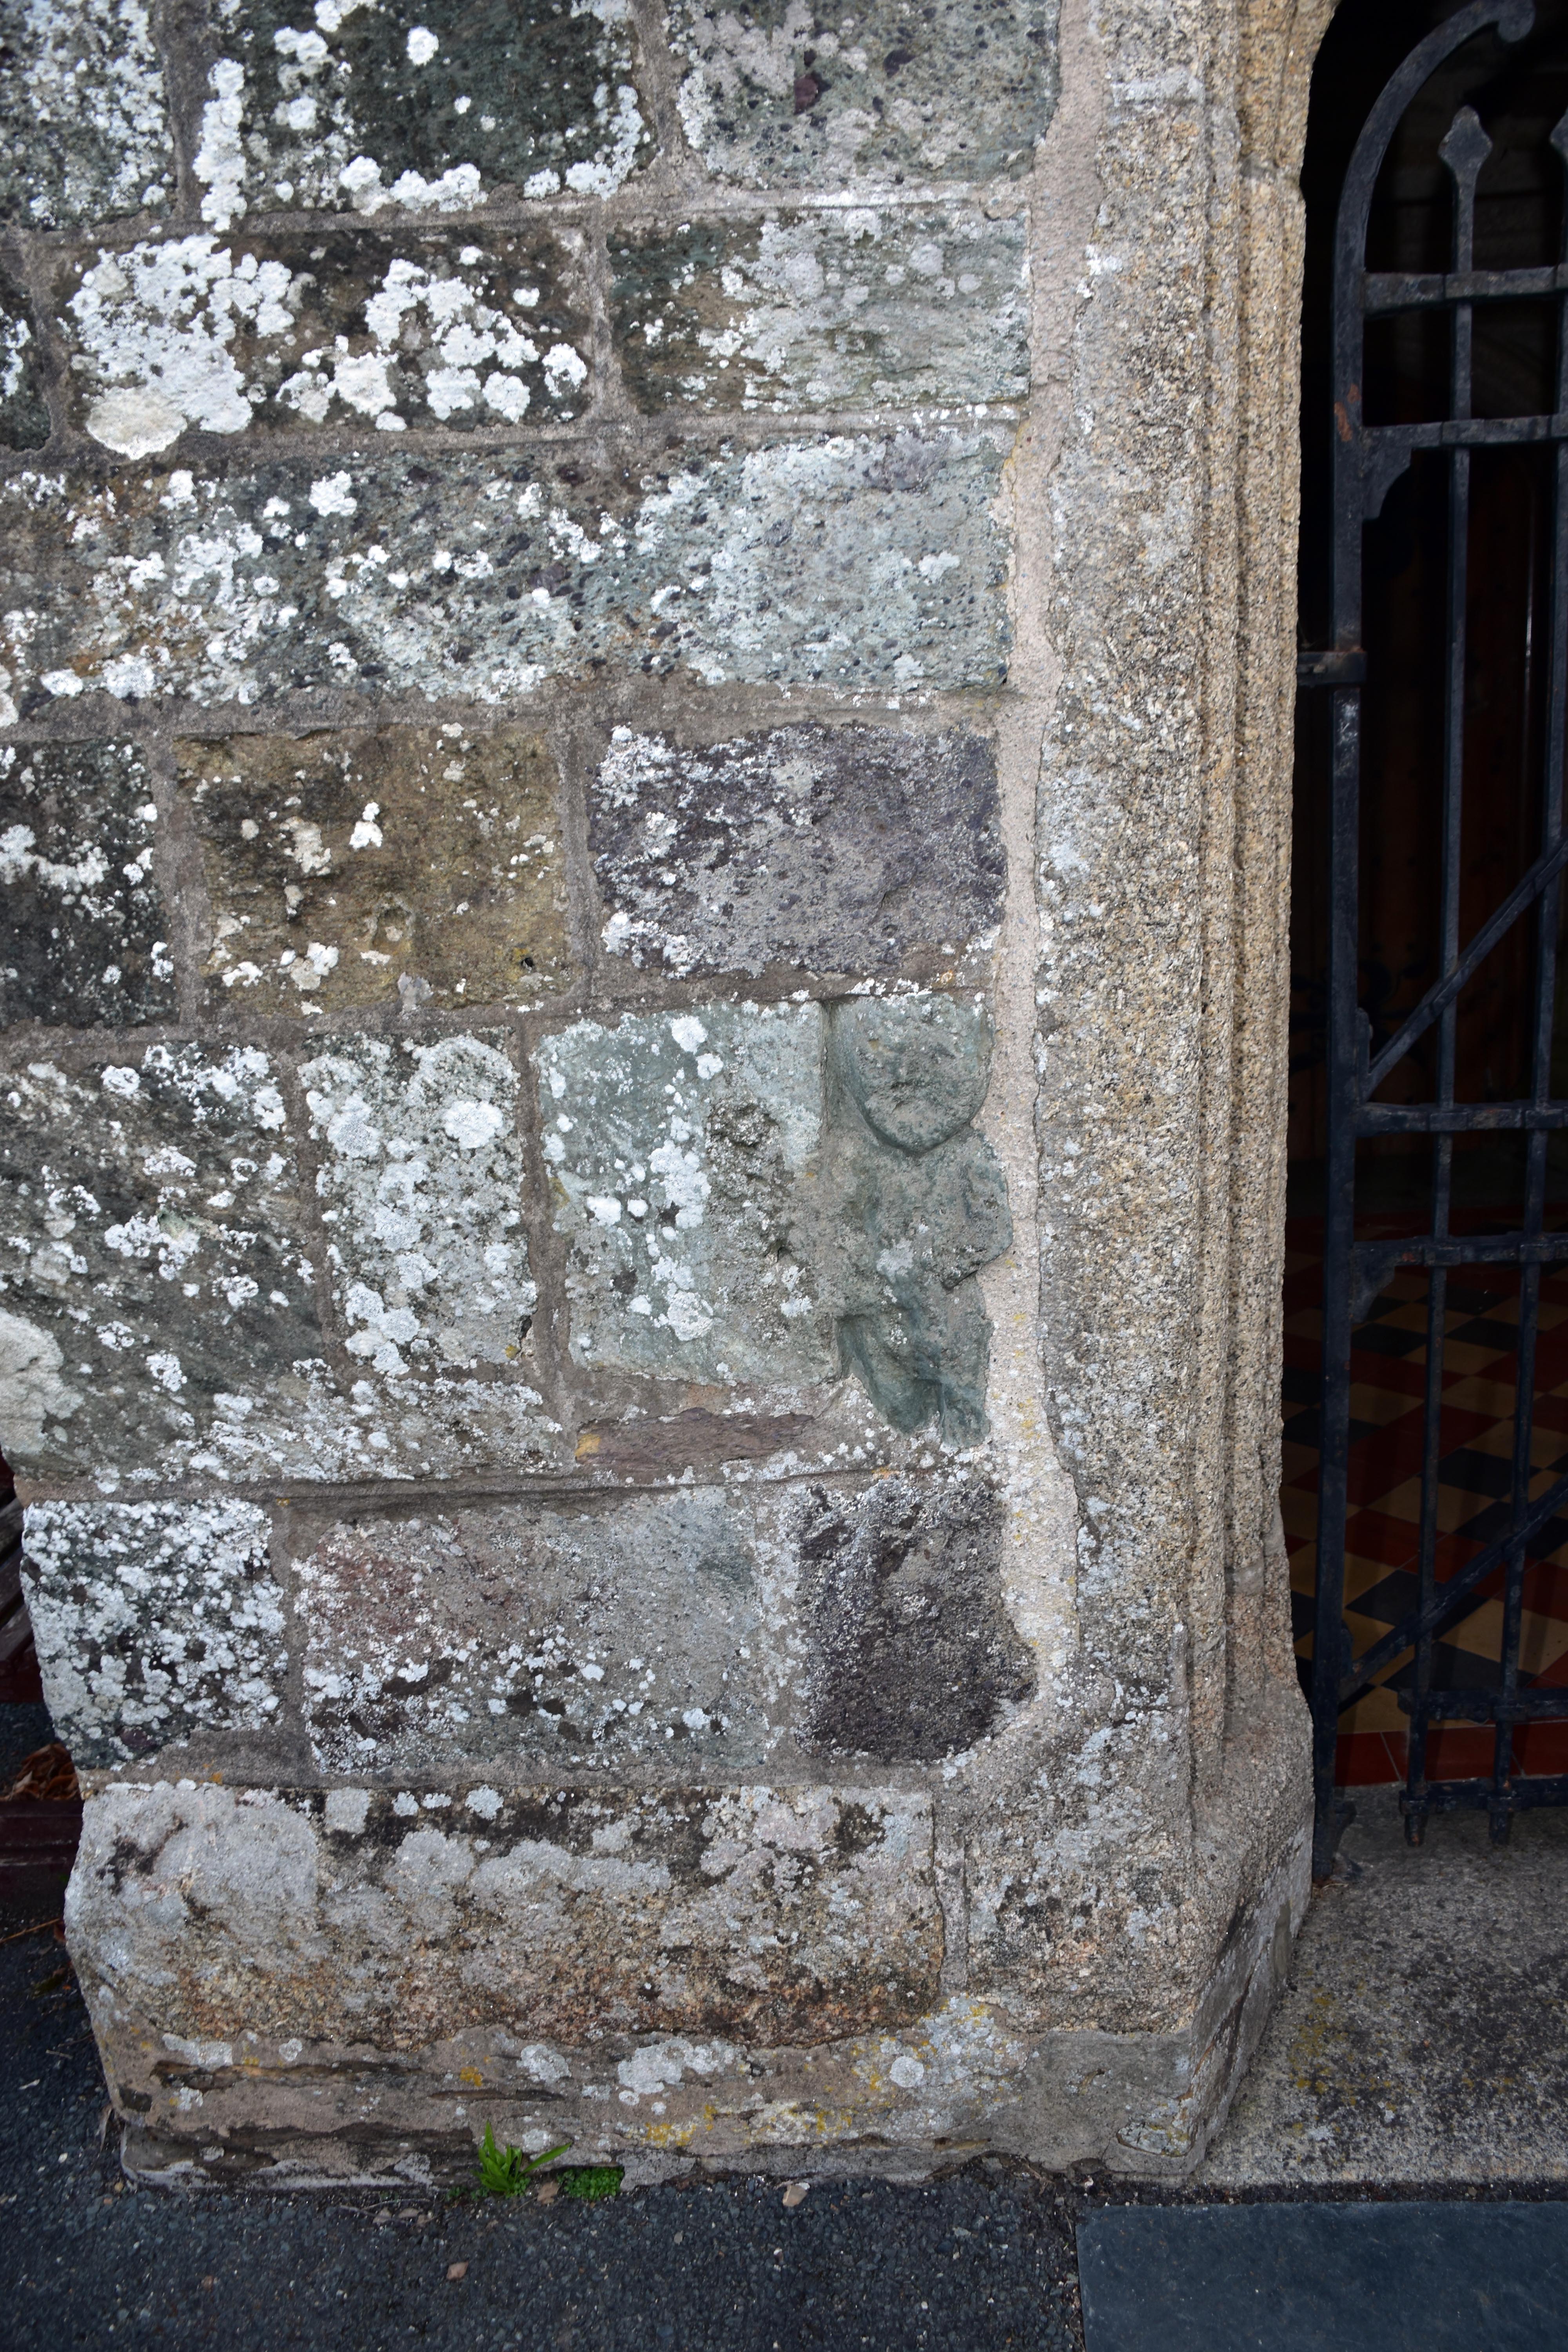
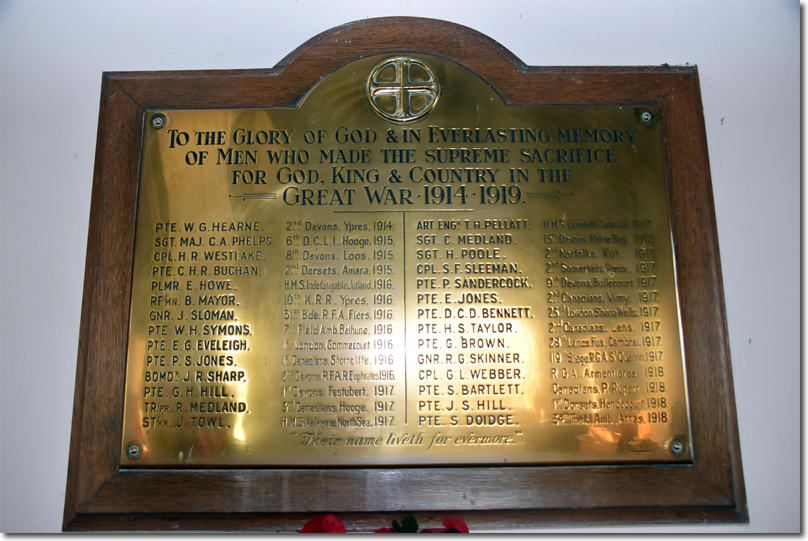
Having such close links to the priory, St. Thomas has many unusual features that you do not see in most parish churches. There are some fascinating carved decorations on the entranceway that are believed to have been done by stonemasons connected to the priory. There is a huge Altarnun-style font that is believed to have been inherited from the priory perhaps after its dissolution in 1539. On the east wall, Victorian restorers stumbled across an early 16th century painting of St Roche as a pilgrim with an angel bringing him ointment for his sores (possibly a leprosy connection) and a dog handing him some bread for his journey. Rupert was of course particularly taken with the depiction of the dog which he felt looked surprisingly similar to his ancestors. The war memorials for these communities are always poignant but I was taken by just how diverse the regiments and ships named were. Out of 28 names commemorated from World War One just a single one was from a Cornish regiment. A surprisingly large number were from the Devonshire Regiment which of course might not be unusual as Devon is just at the end of the valley and it may have been easier for volunteers to get the train to Exeter or Plymouth to sign up than to a Cornish recruiting town. The memorial is also slightly unusual in that it lists the places where the soldiers and sailors died. There was also an individual memorial to Thomas Norman Howard Johnson of the 9th Devons who was killed at Passchendaele in 1917 in one of the most gruesome battles of the war. He had been the only son of Reverend Johnson who, the memorial explains, was vicar of this church for 16 years. Like so many churches, St. Thomas’s was renovated significantly in the Victorian period and there are some beautiful tiles bringing real colour to the chancel. The church does not have a great deal in the way of stained glass windows, although some late medieval coloured glass survives above one of the east windows close to the St Roche painting.
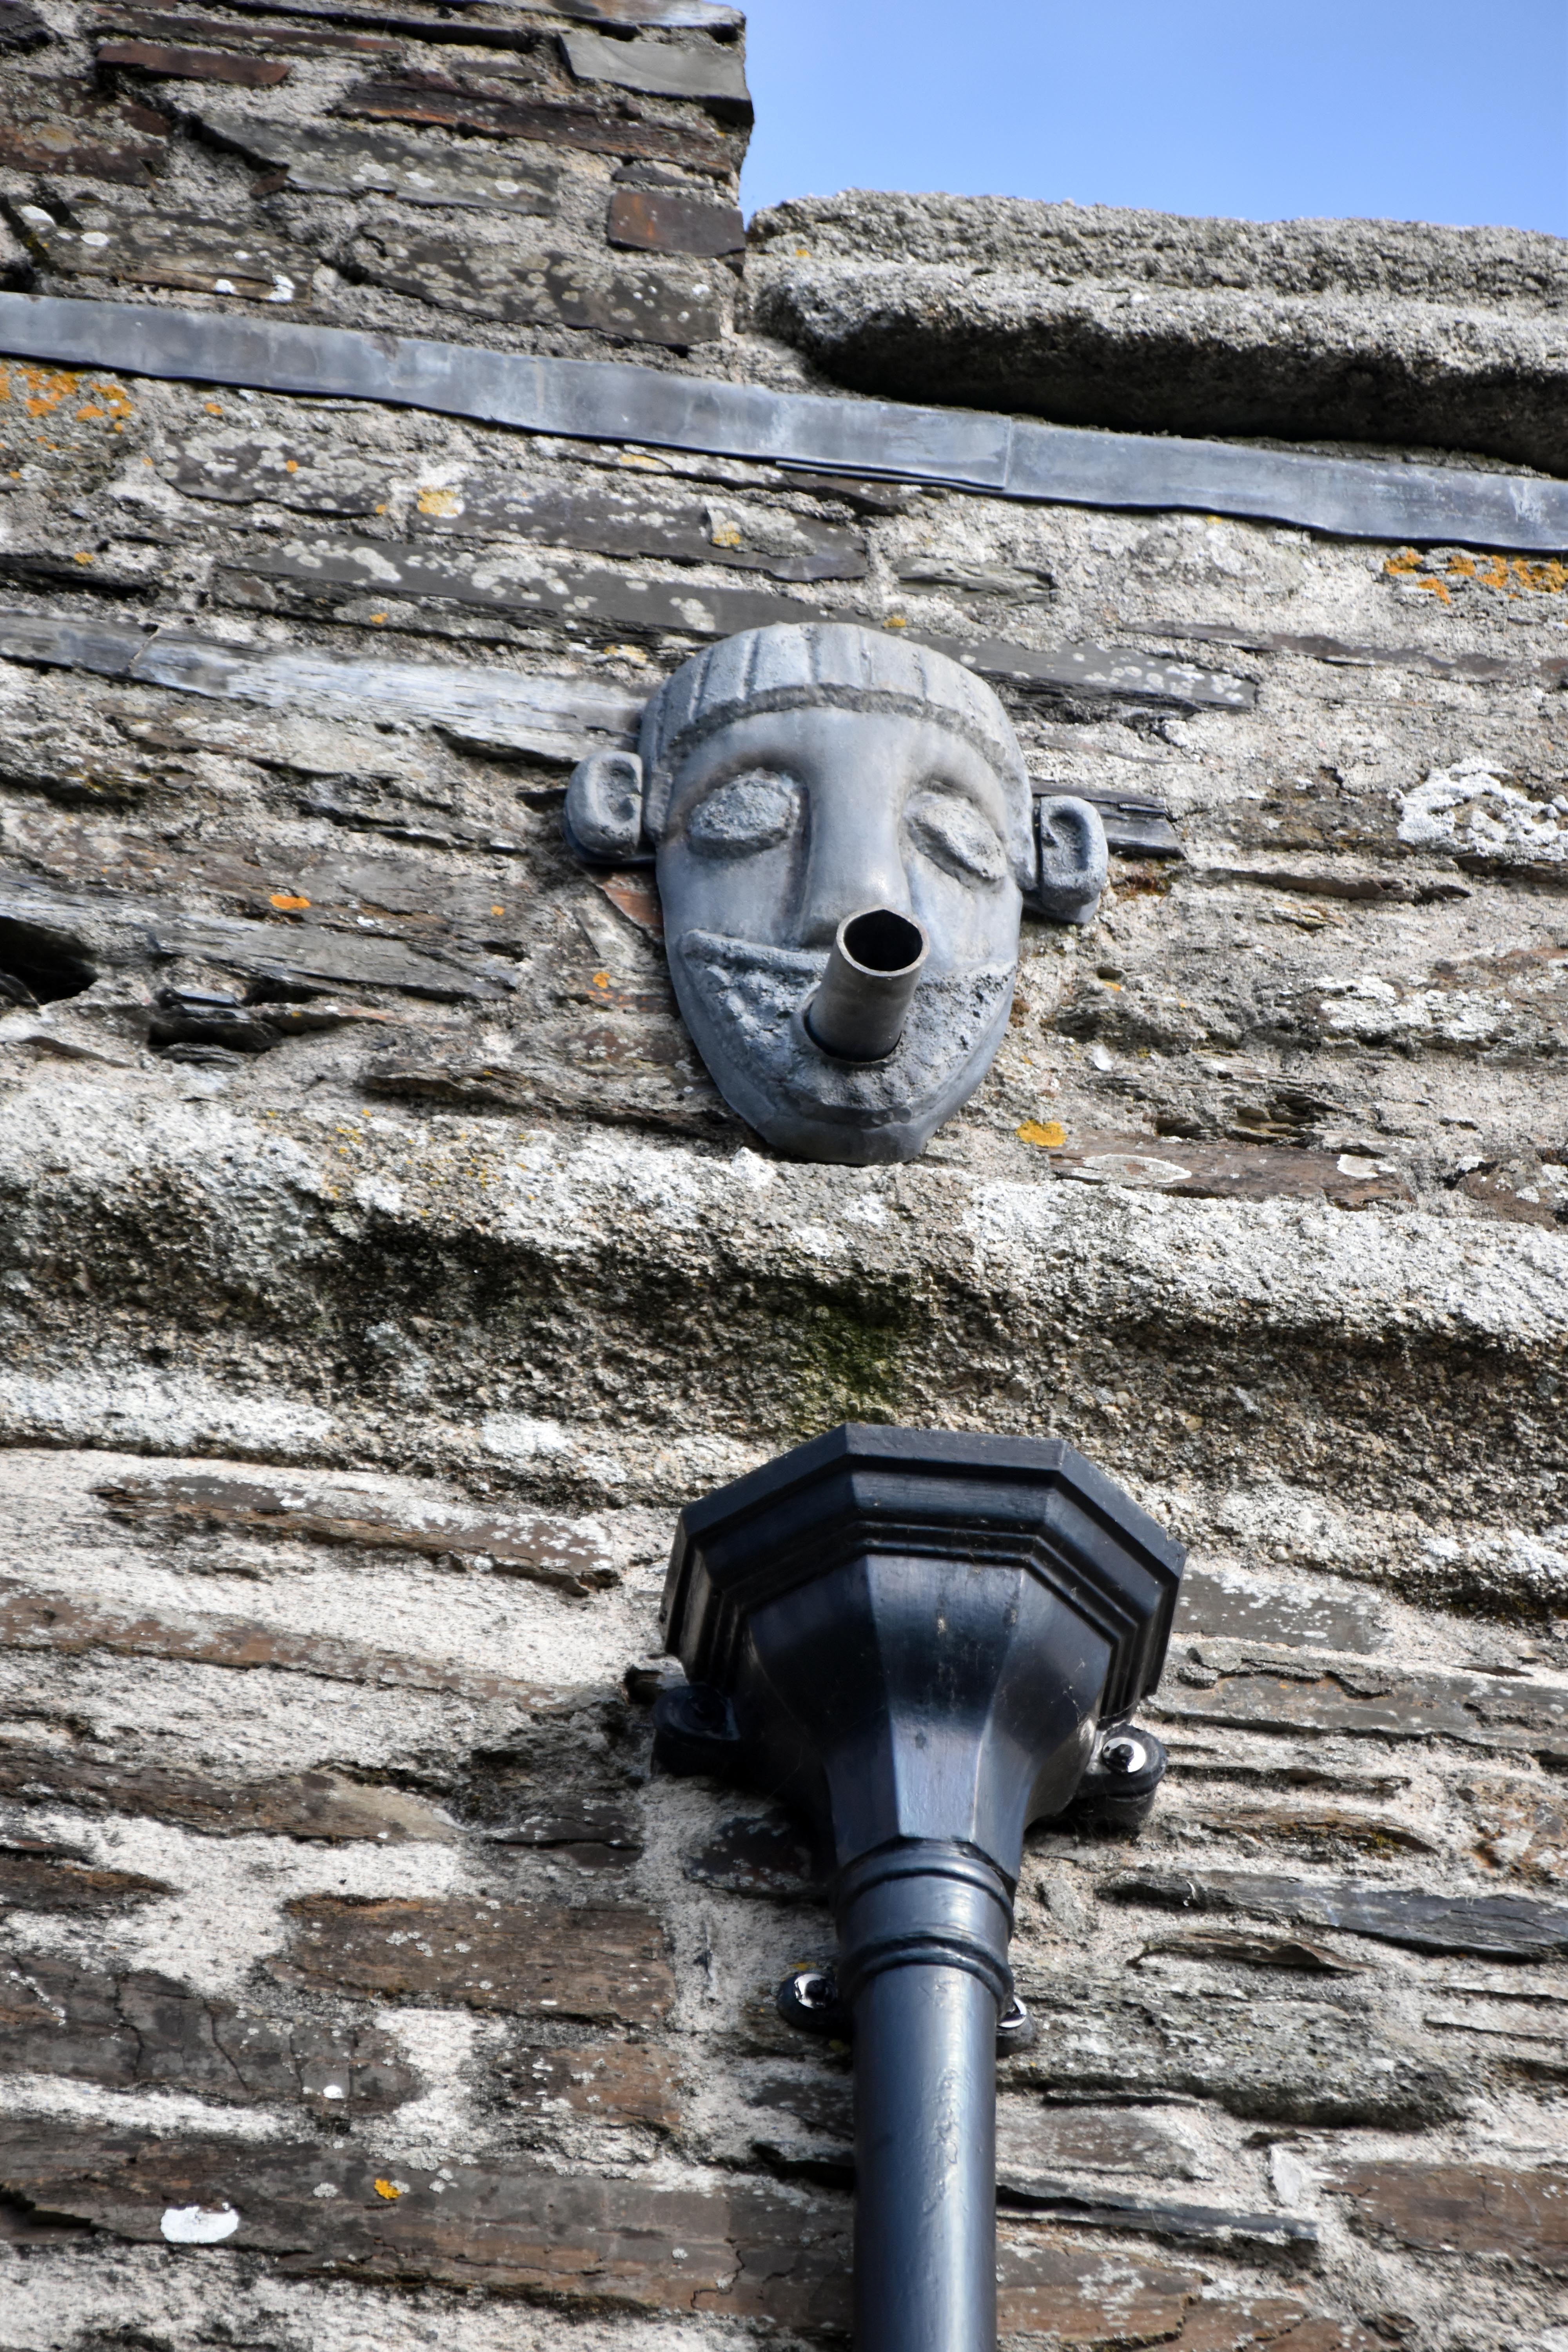
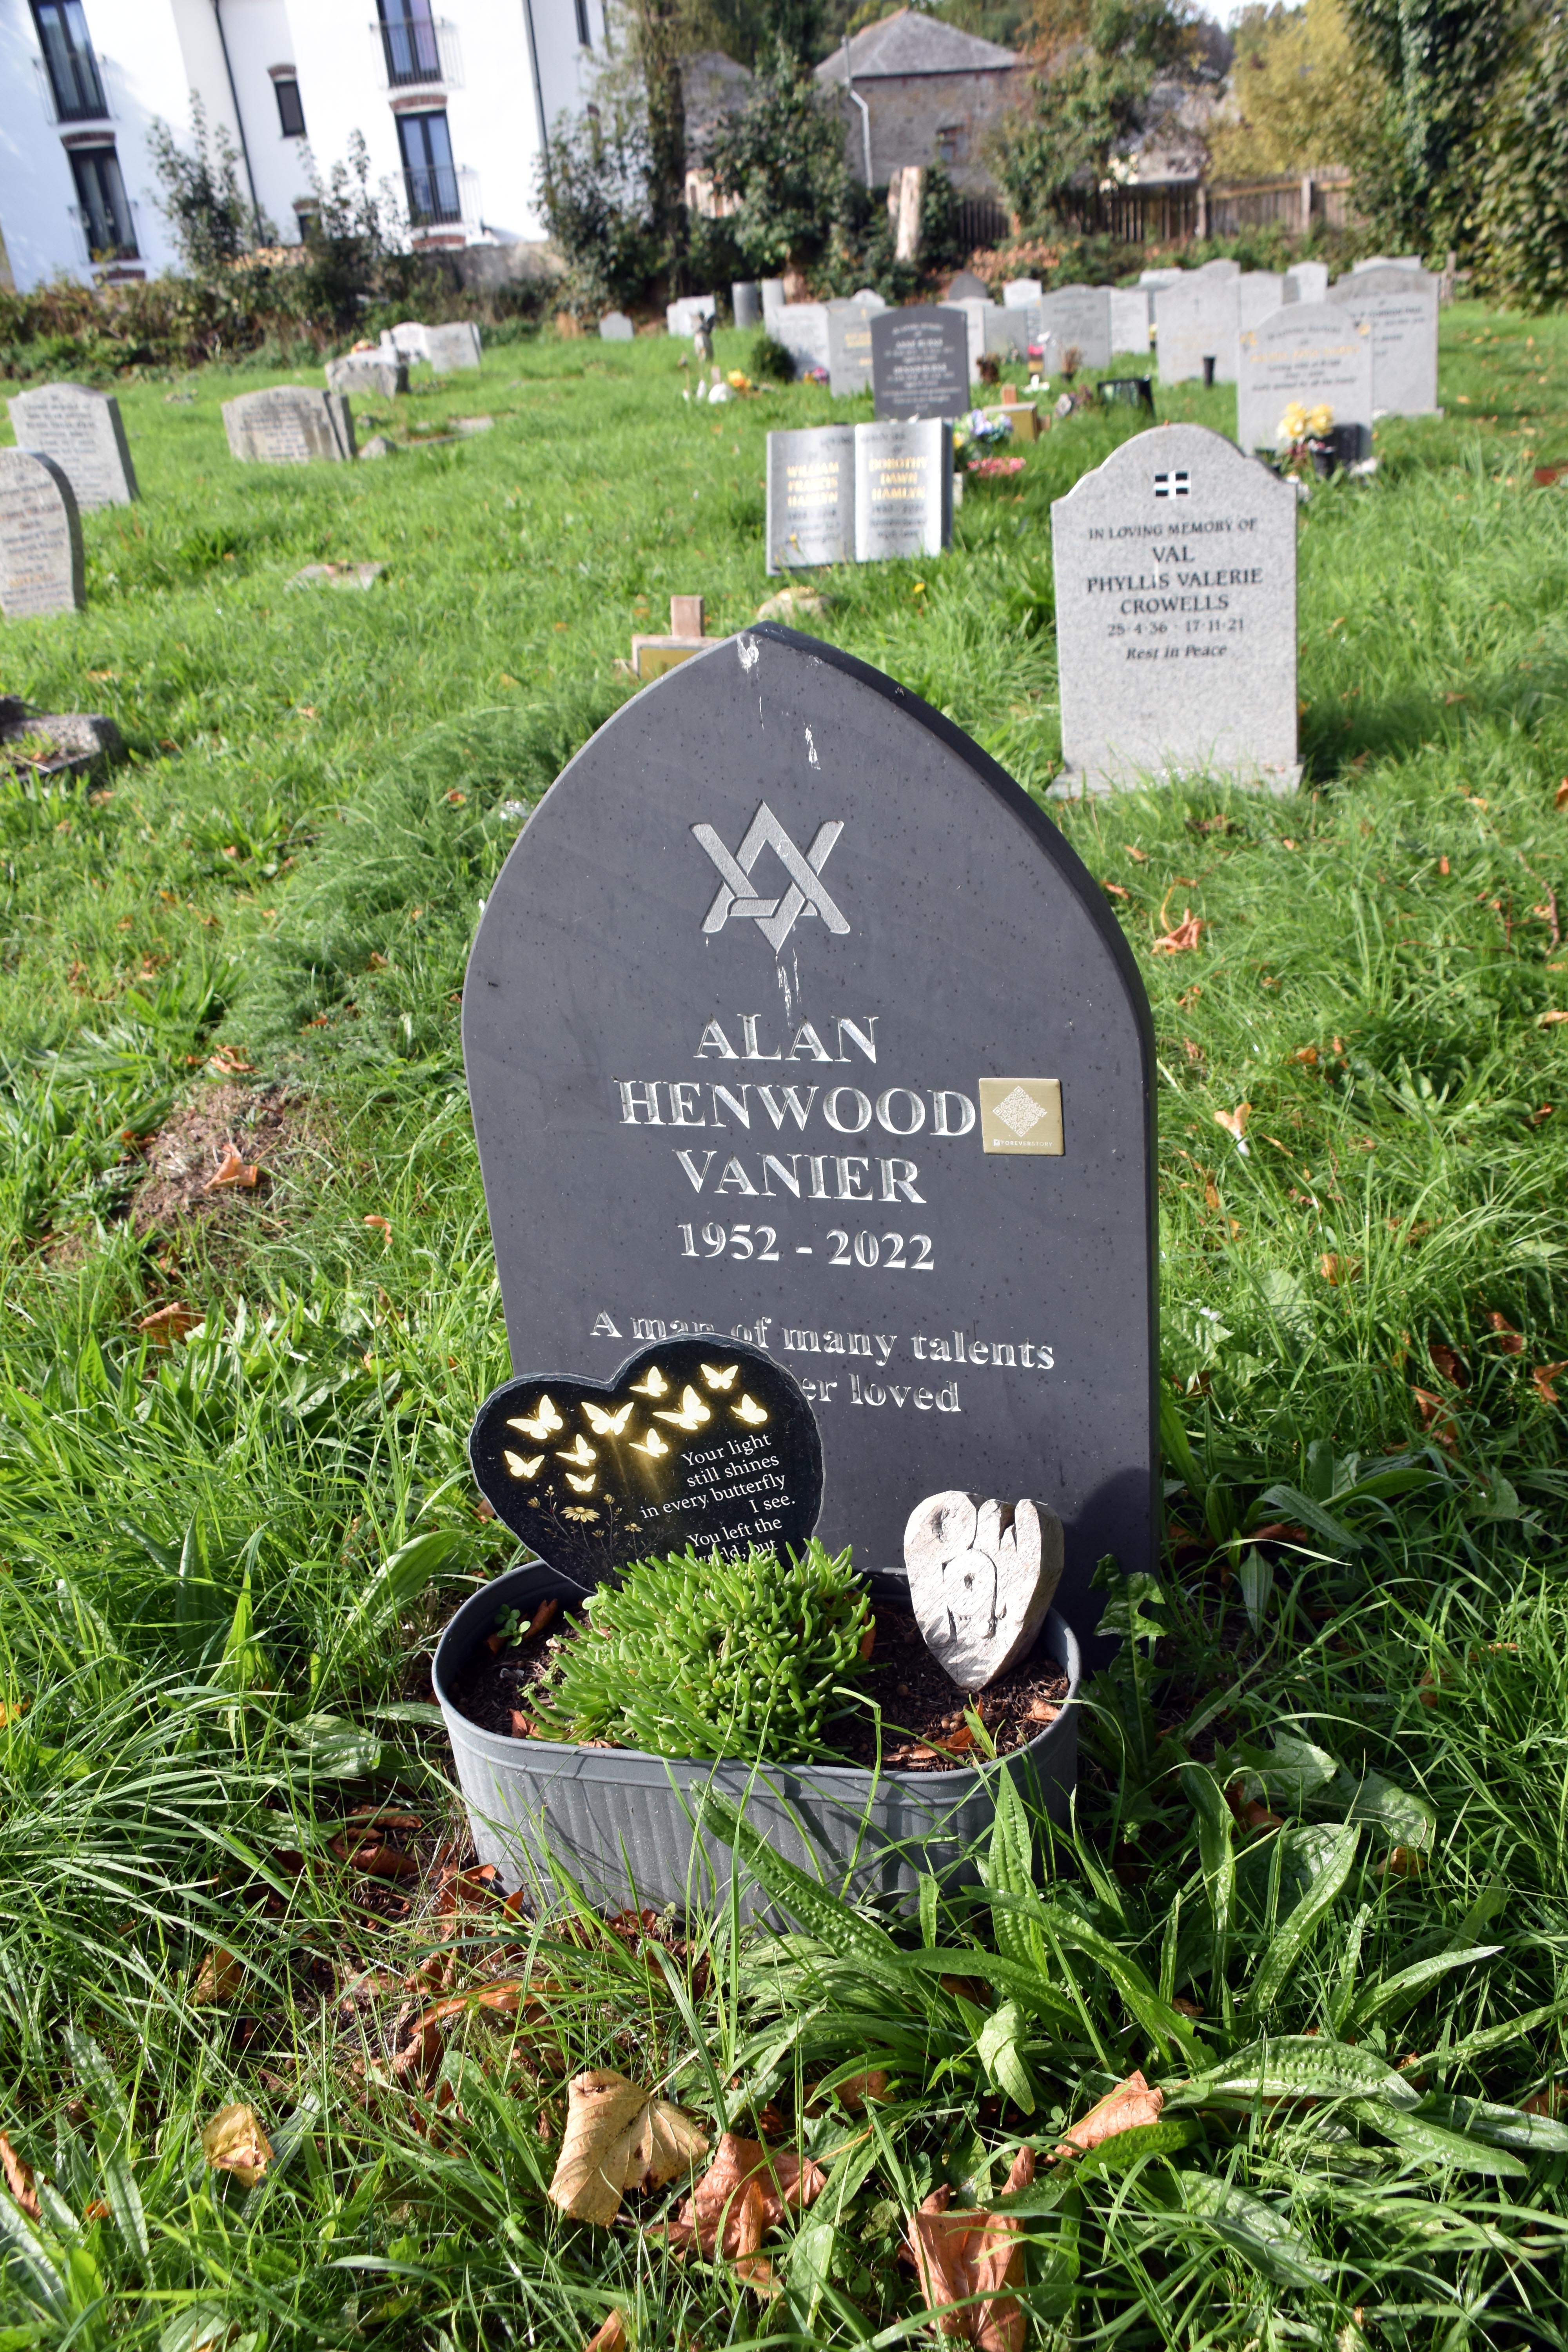
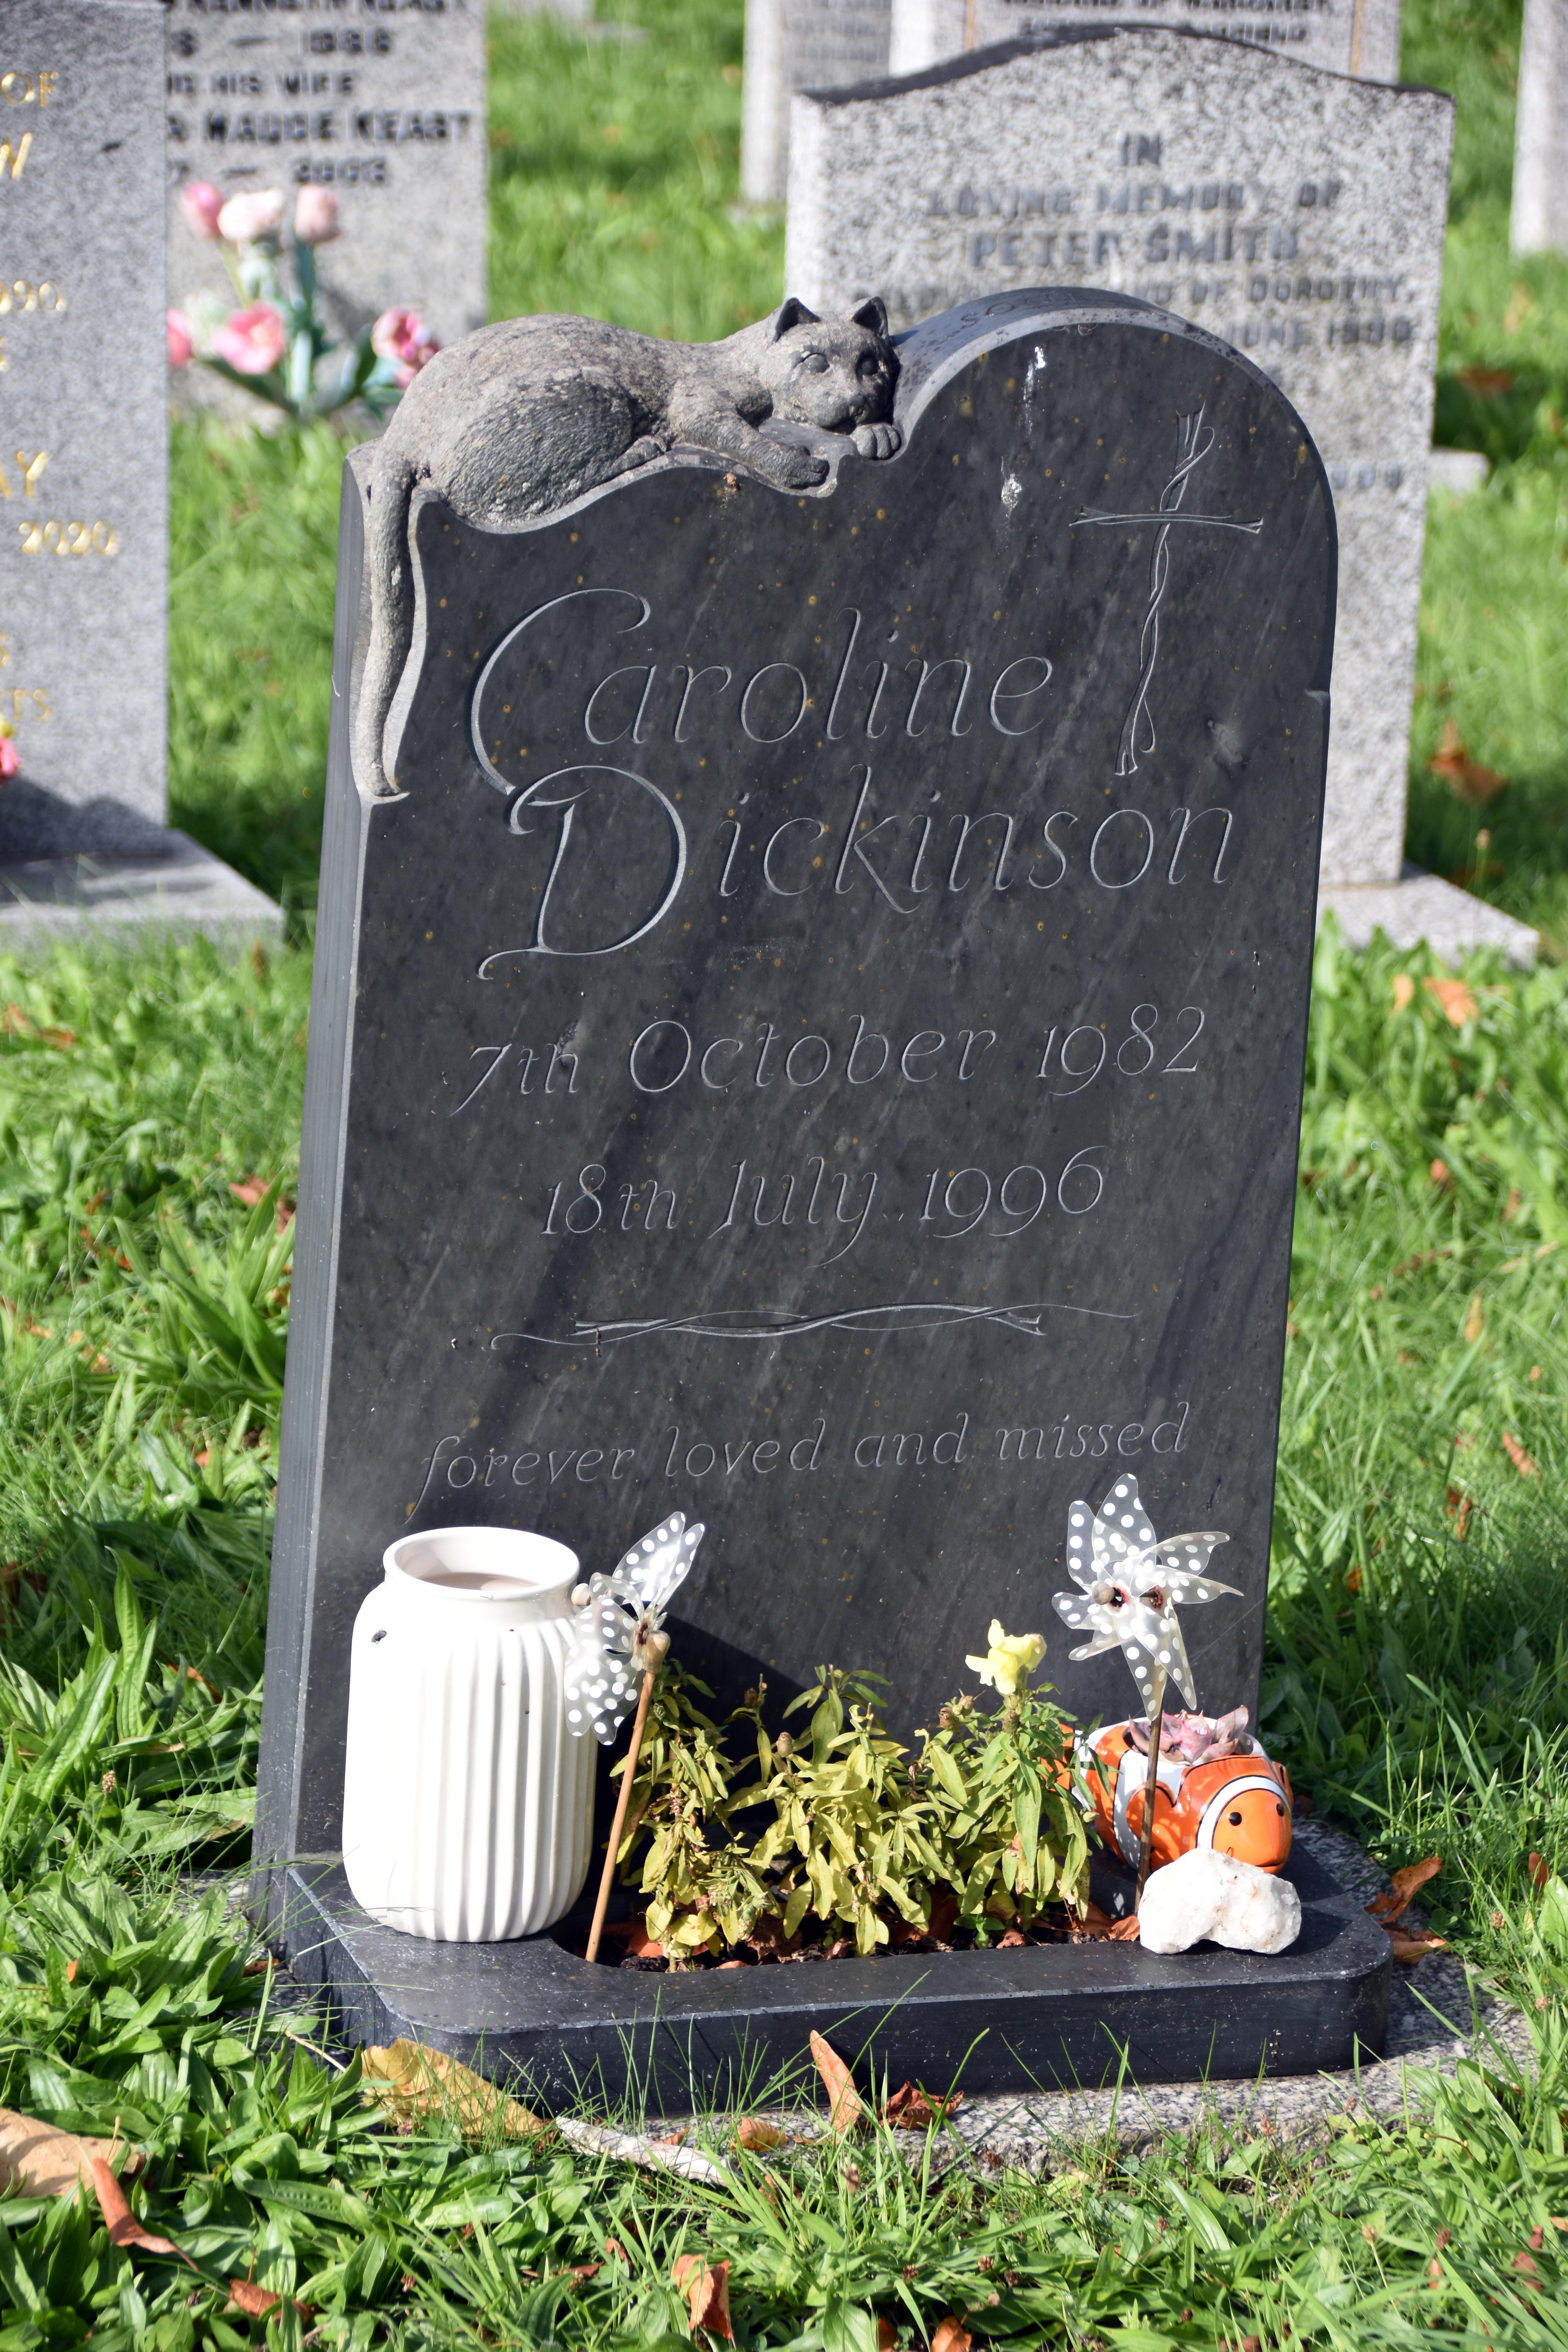
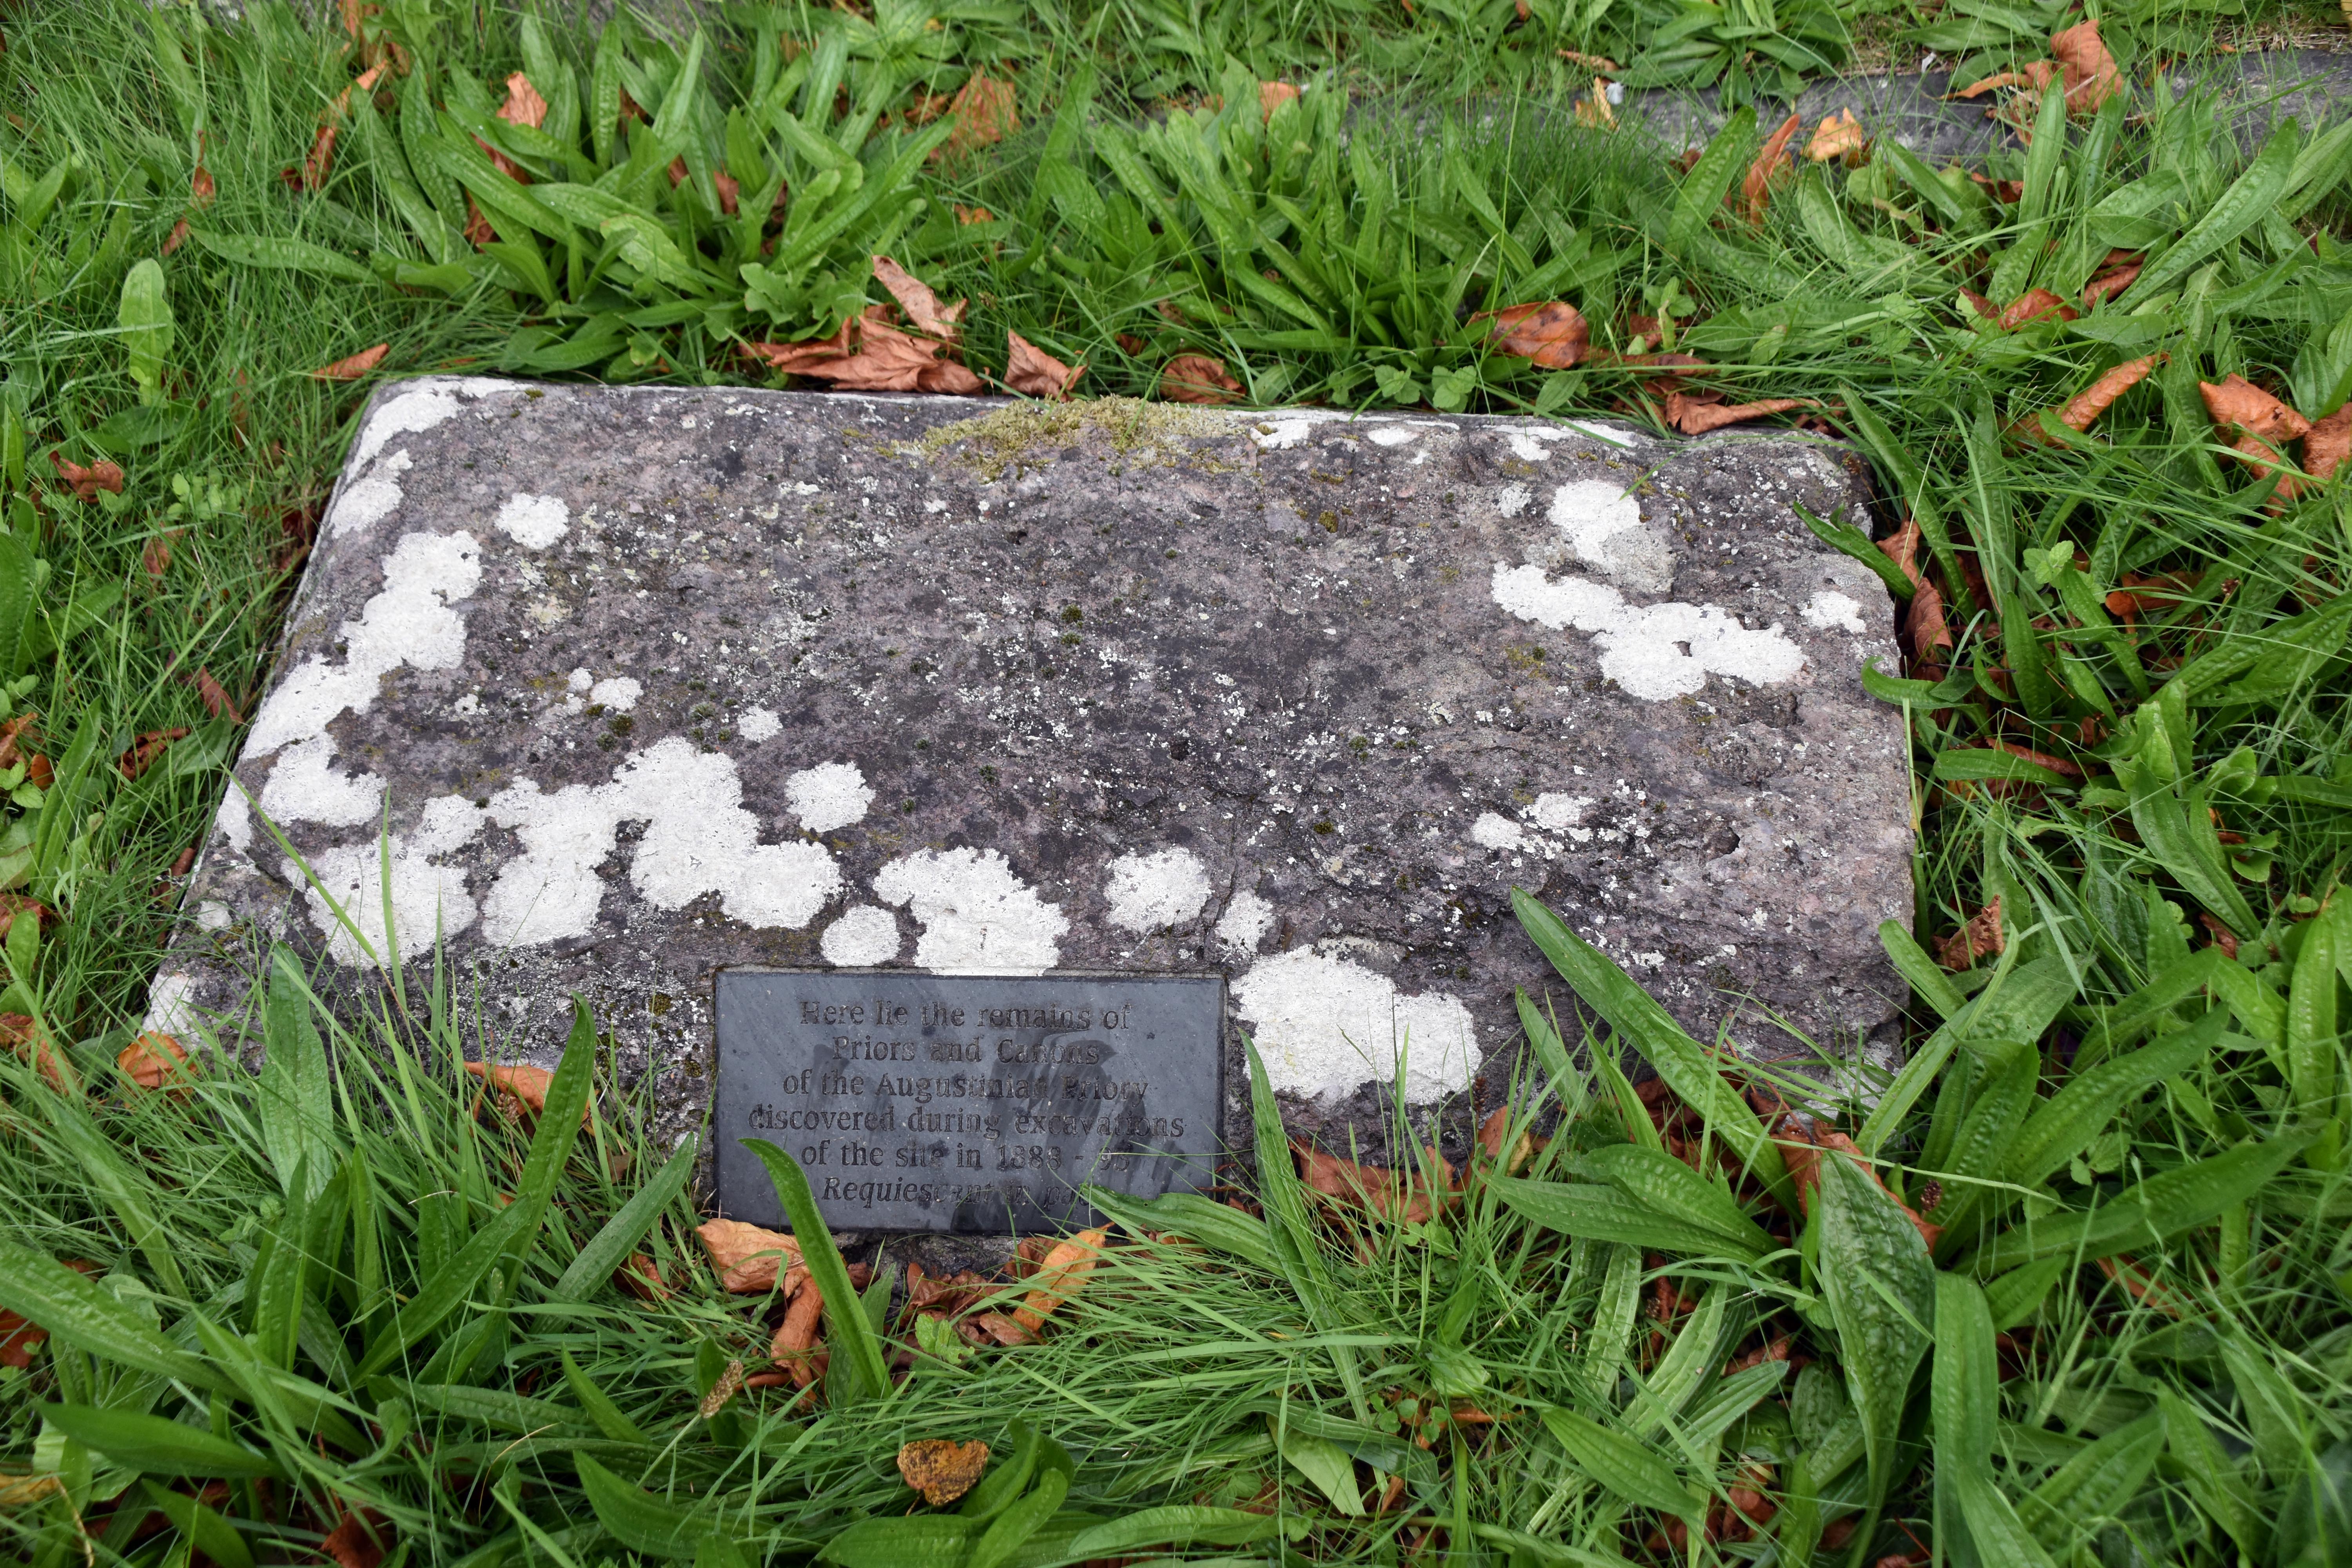
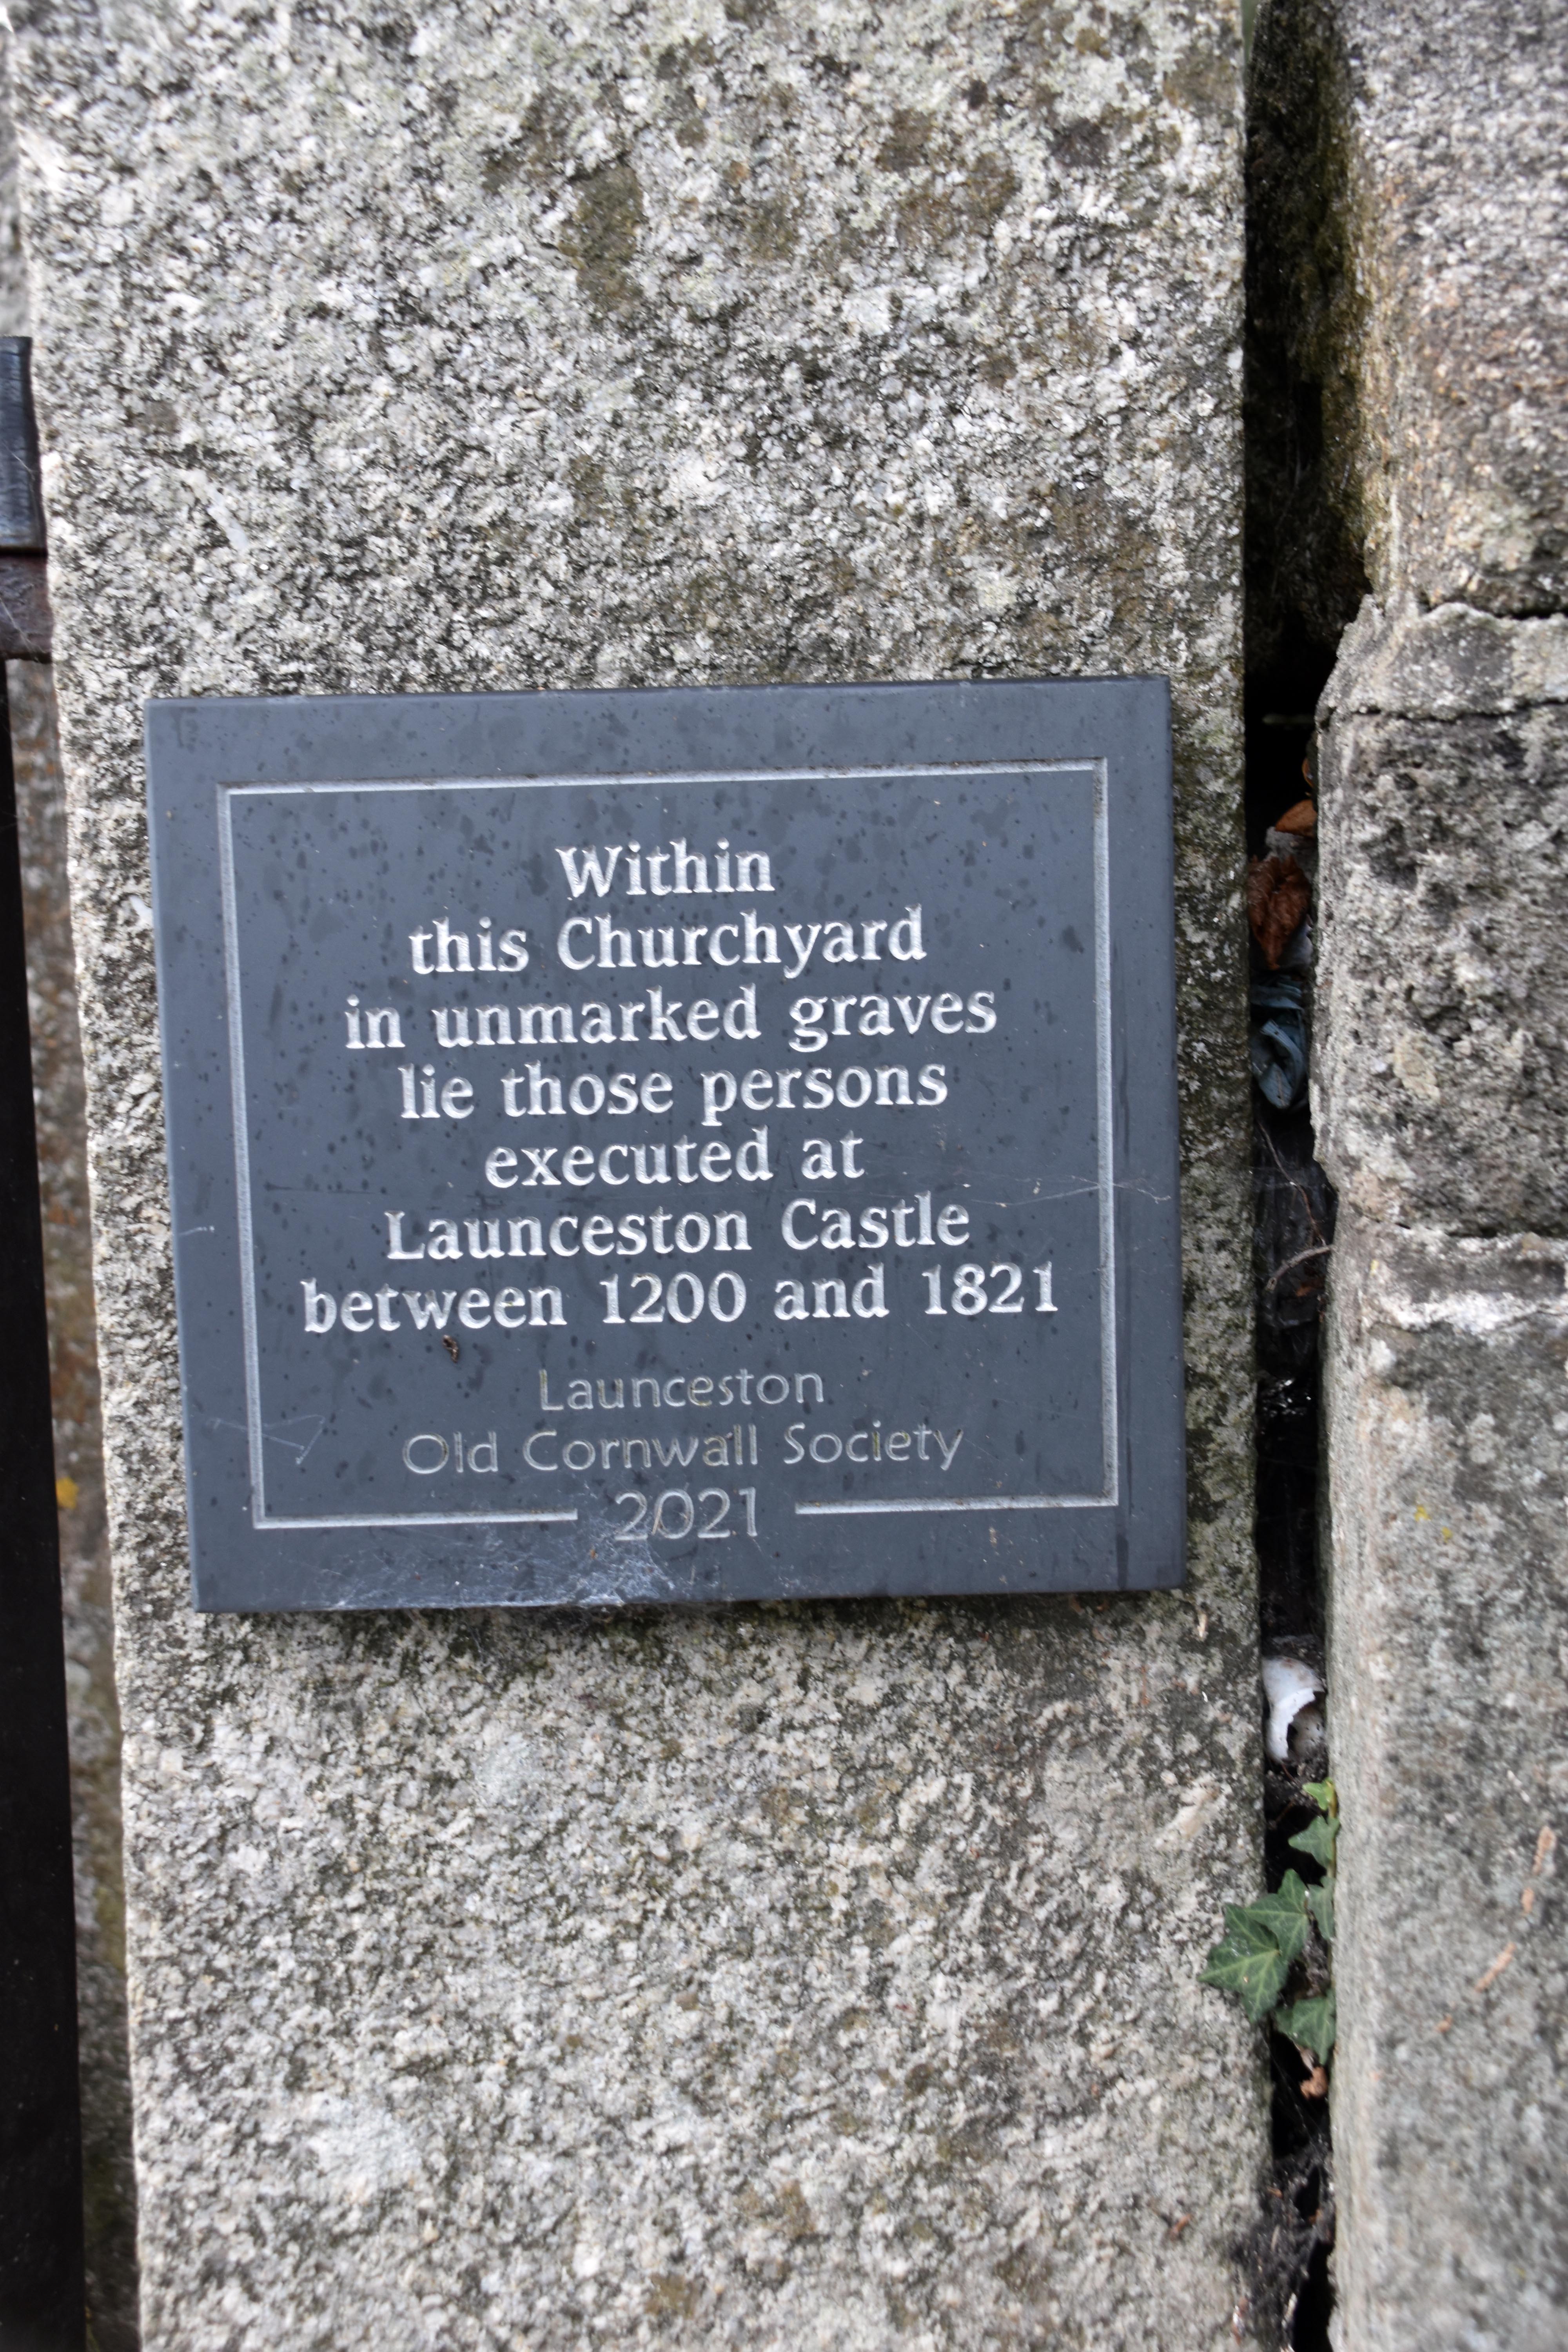
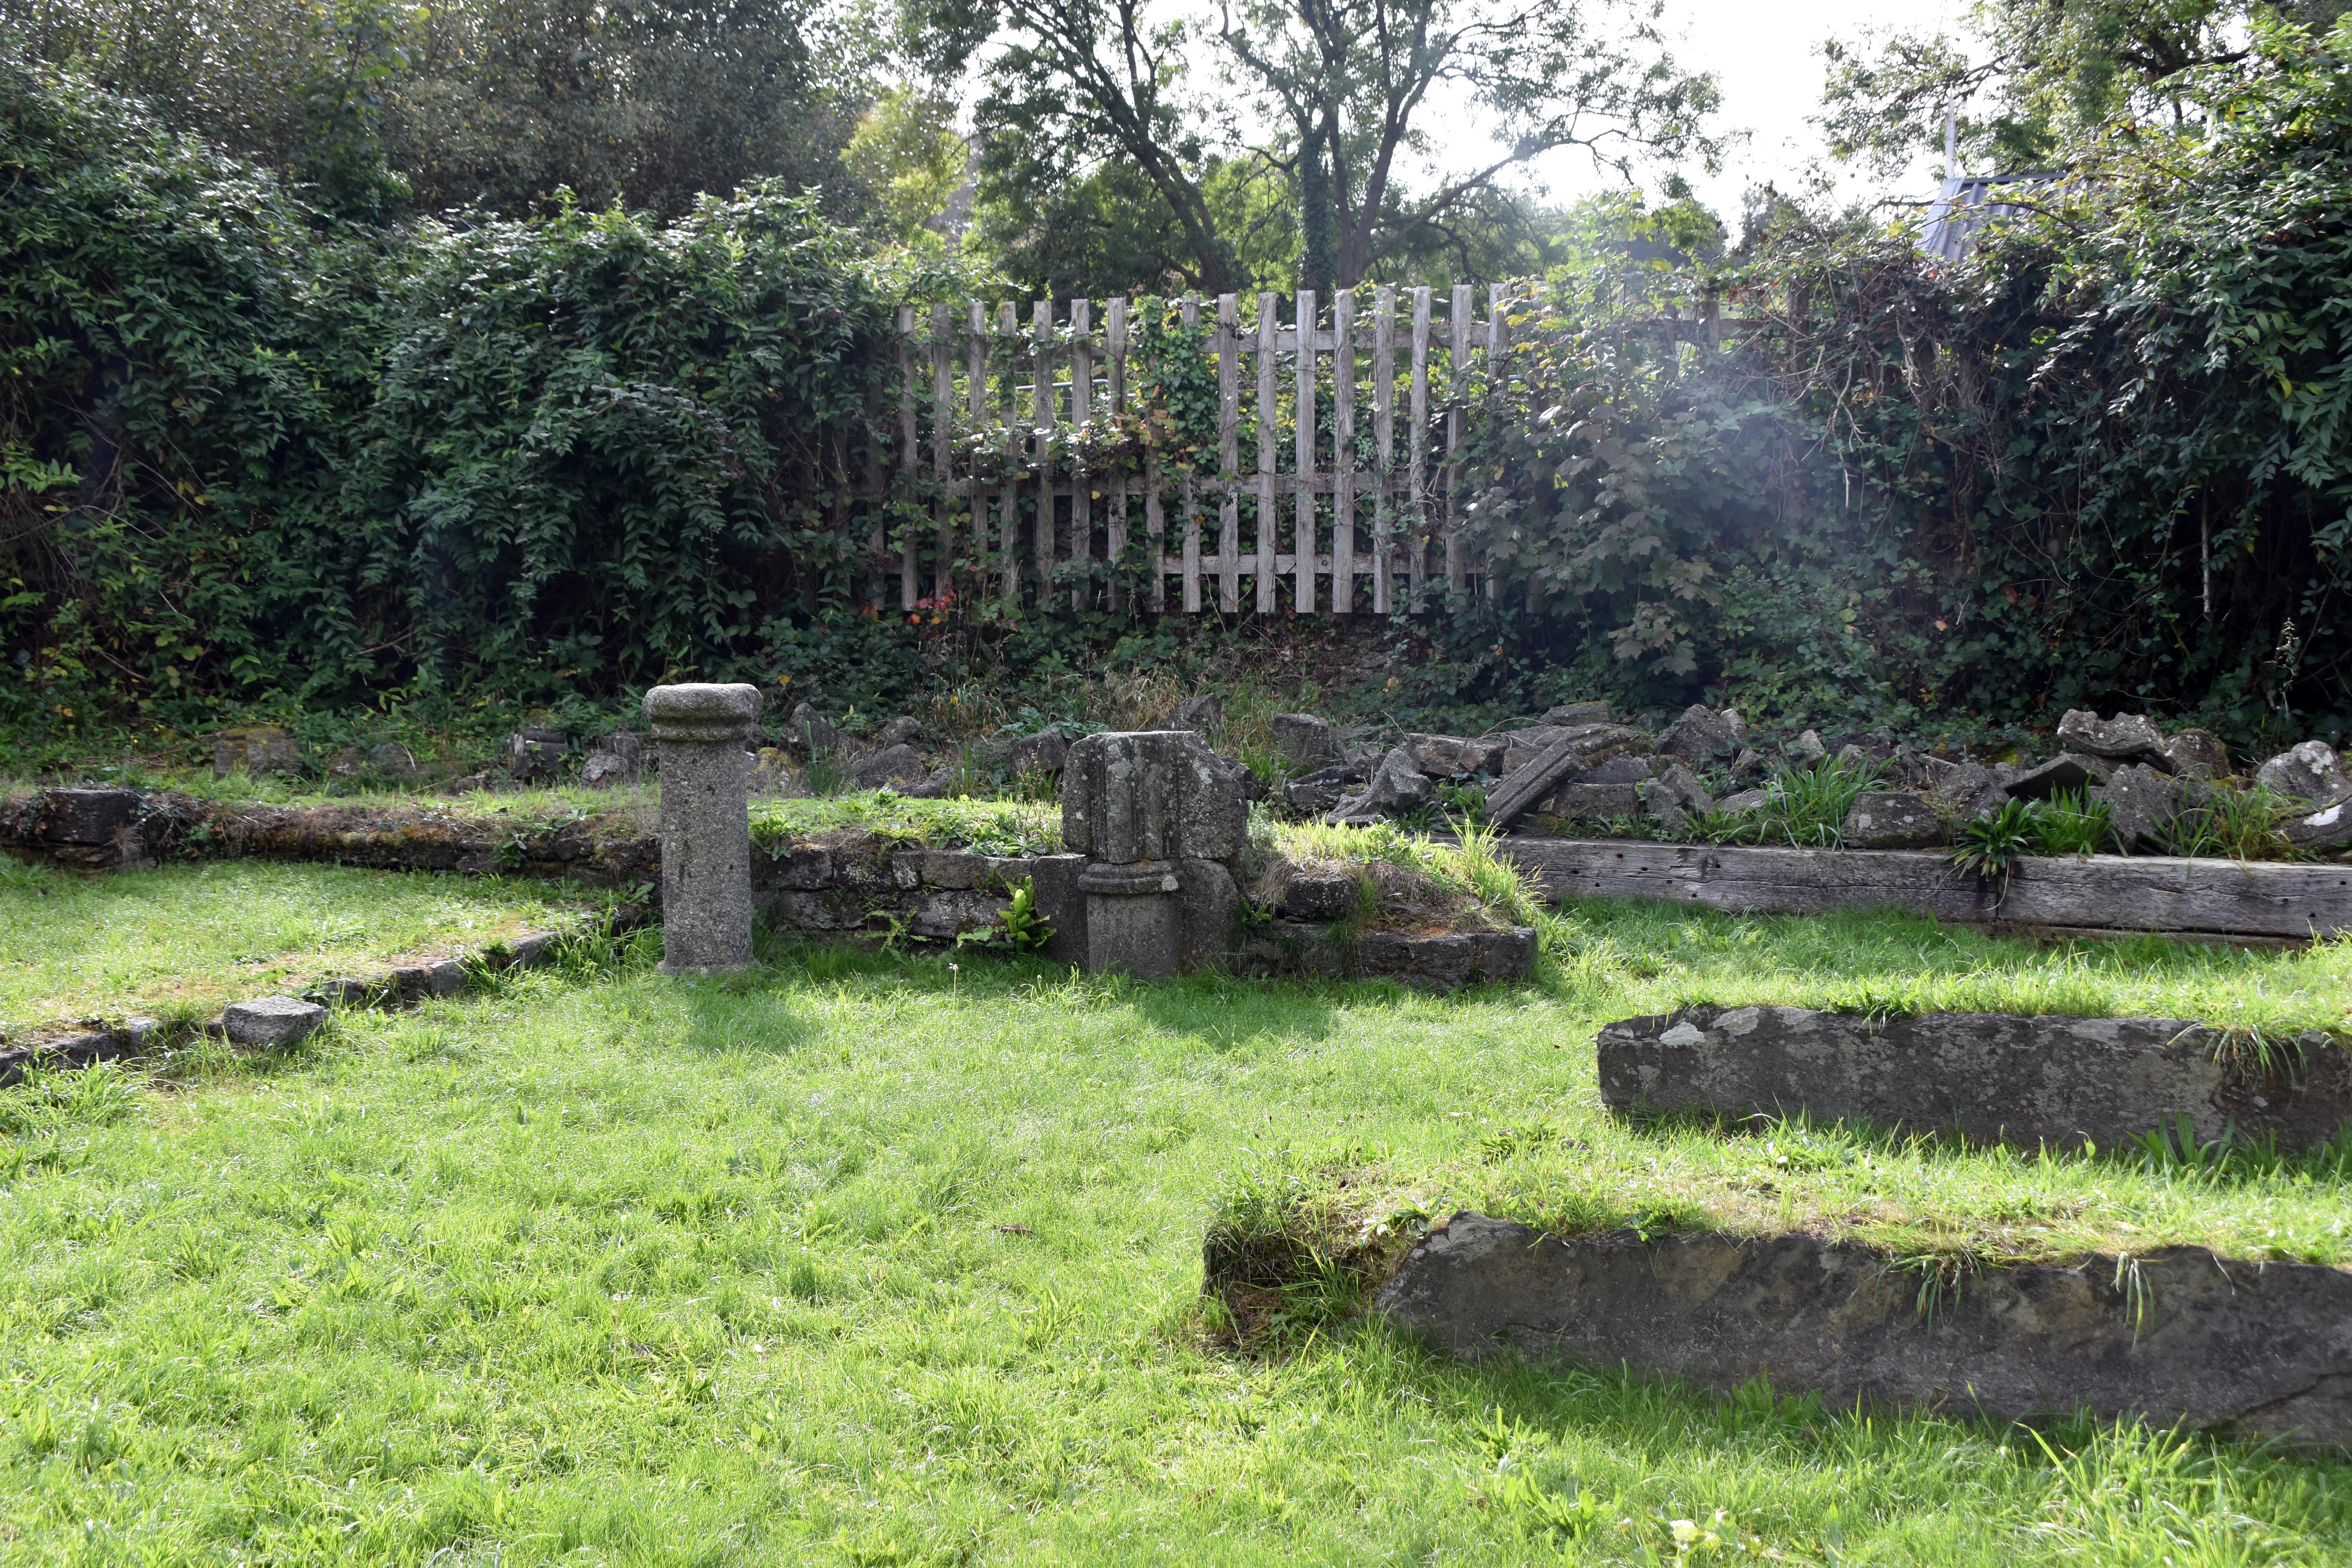
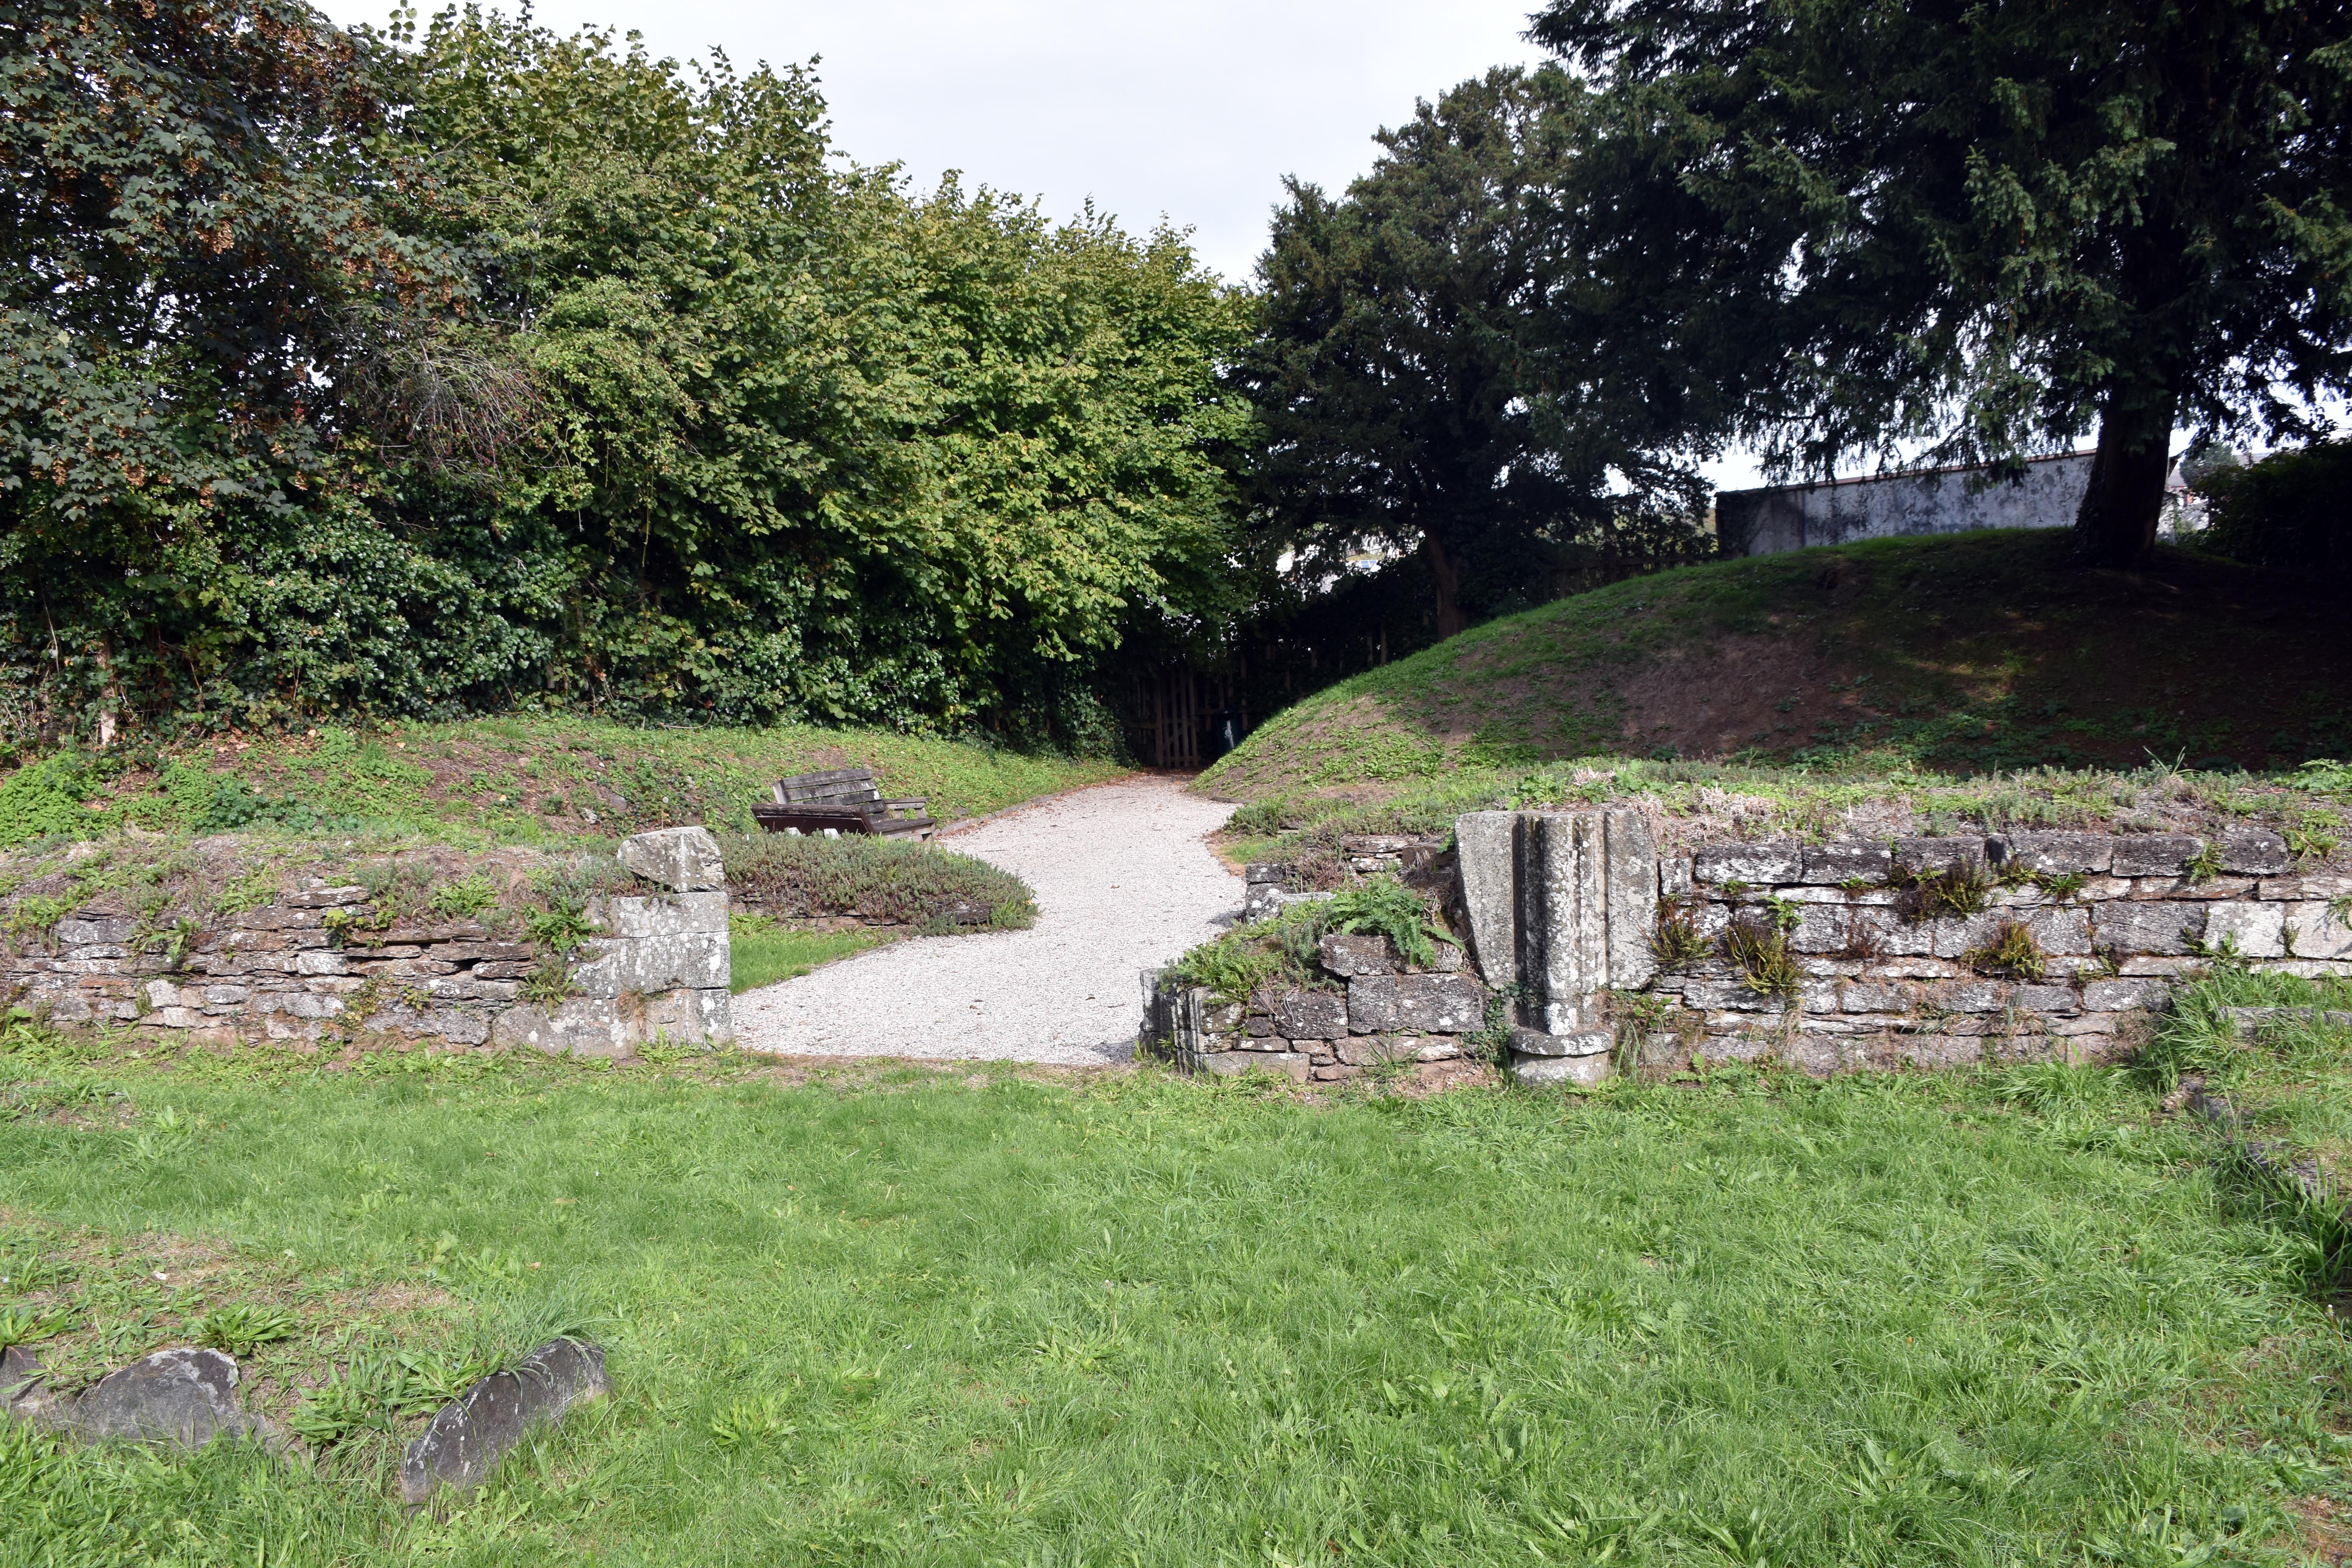
There are some interesting if poignant graves in the churchyard which dates back to the 14th century. One of the more famous ones is that of the local poet Charles Causley who lived just a couple of houses down the road from the church. One recent grave from 2022 was that of Alan Henwood Vanier who even had a barcode providing a link to pictures and details of his life. He had been a lead worker who had worked on the church tower and had installed some modern gargoyles based on the faces of the font in the church. If you look up high on the tower, you will recognise them instantly. There are also some interesting mass graves recorded including those of the canons and priors of St. Stephen’s Priory which were discovered and reburied when the railway was laid nearby. Also commemorated are the unknown number of prisoners who were executed at Launceston Castle between 1200 and 1821 and were laid to rest here. They also reburied remains discovered around St. Leonard's Leper Colony during the Time Team excavations of 1996.
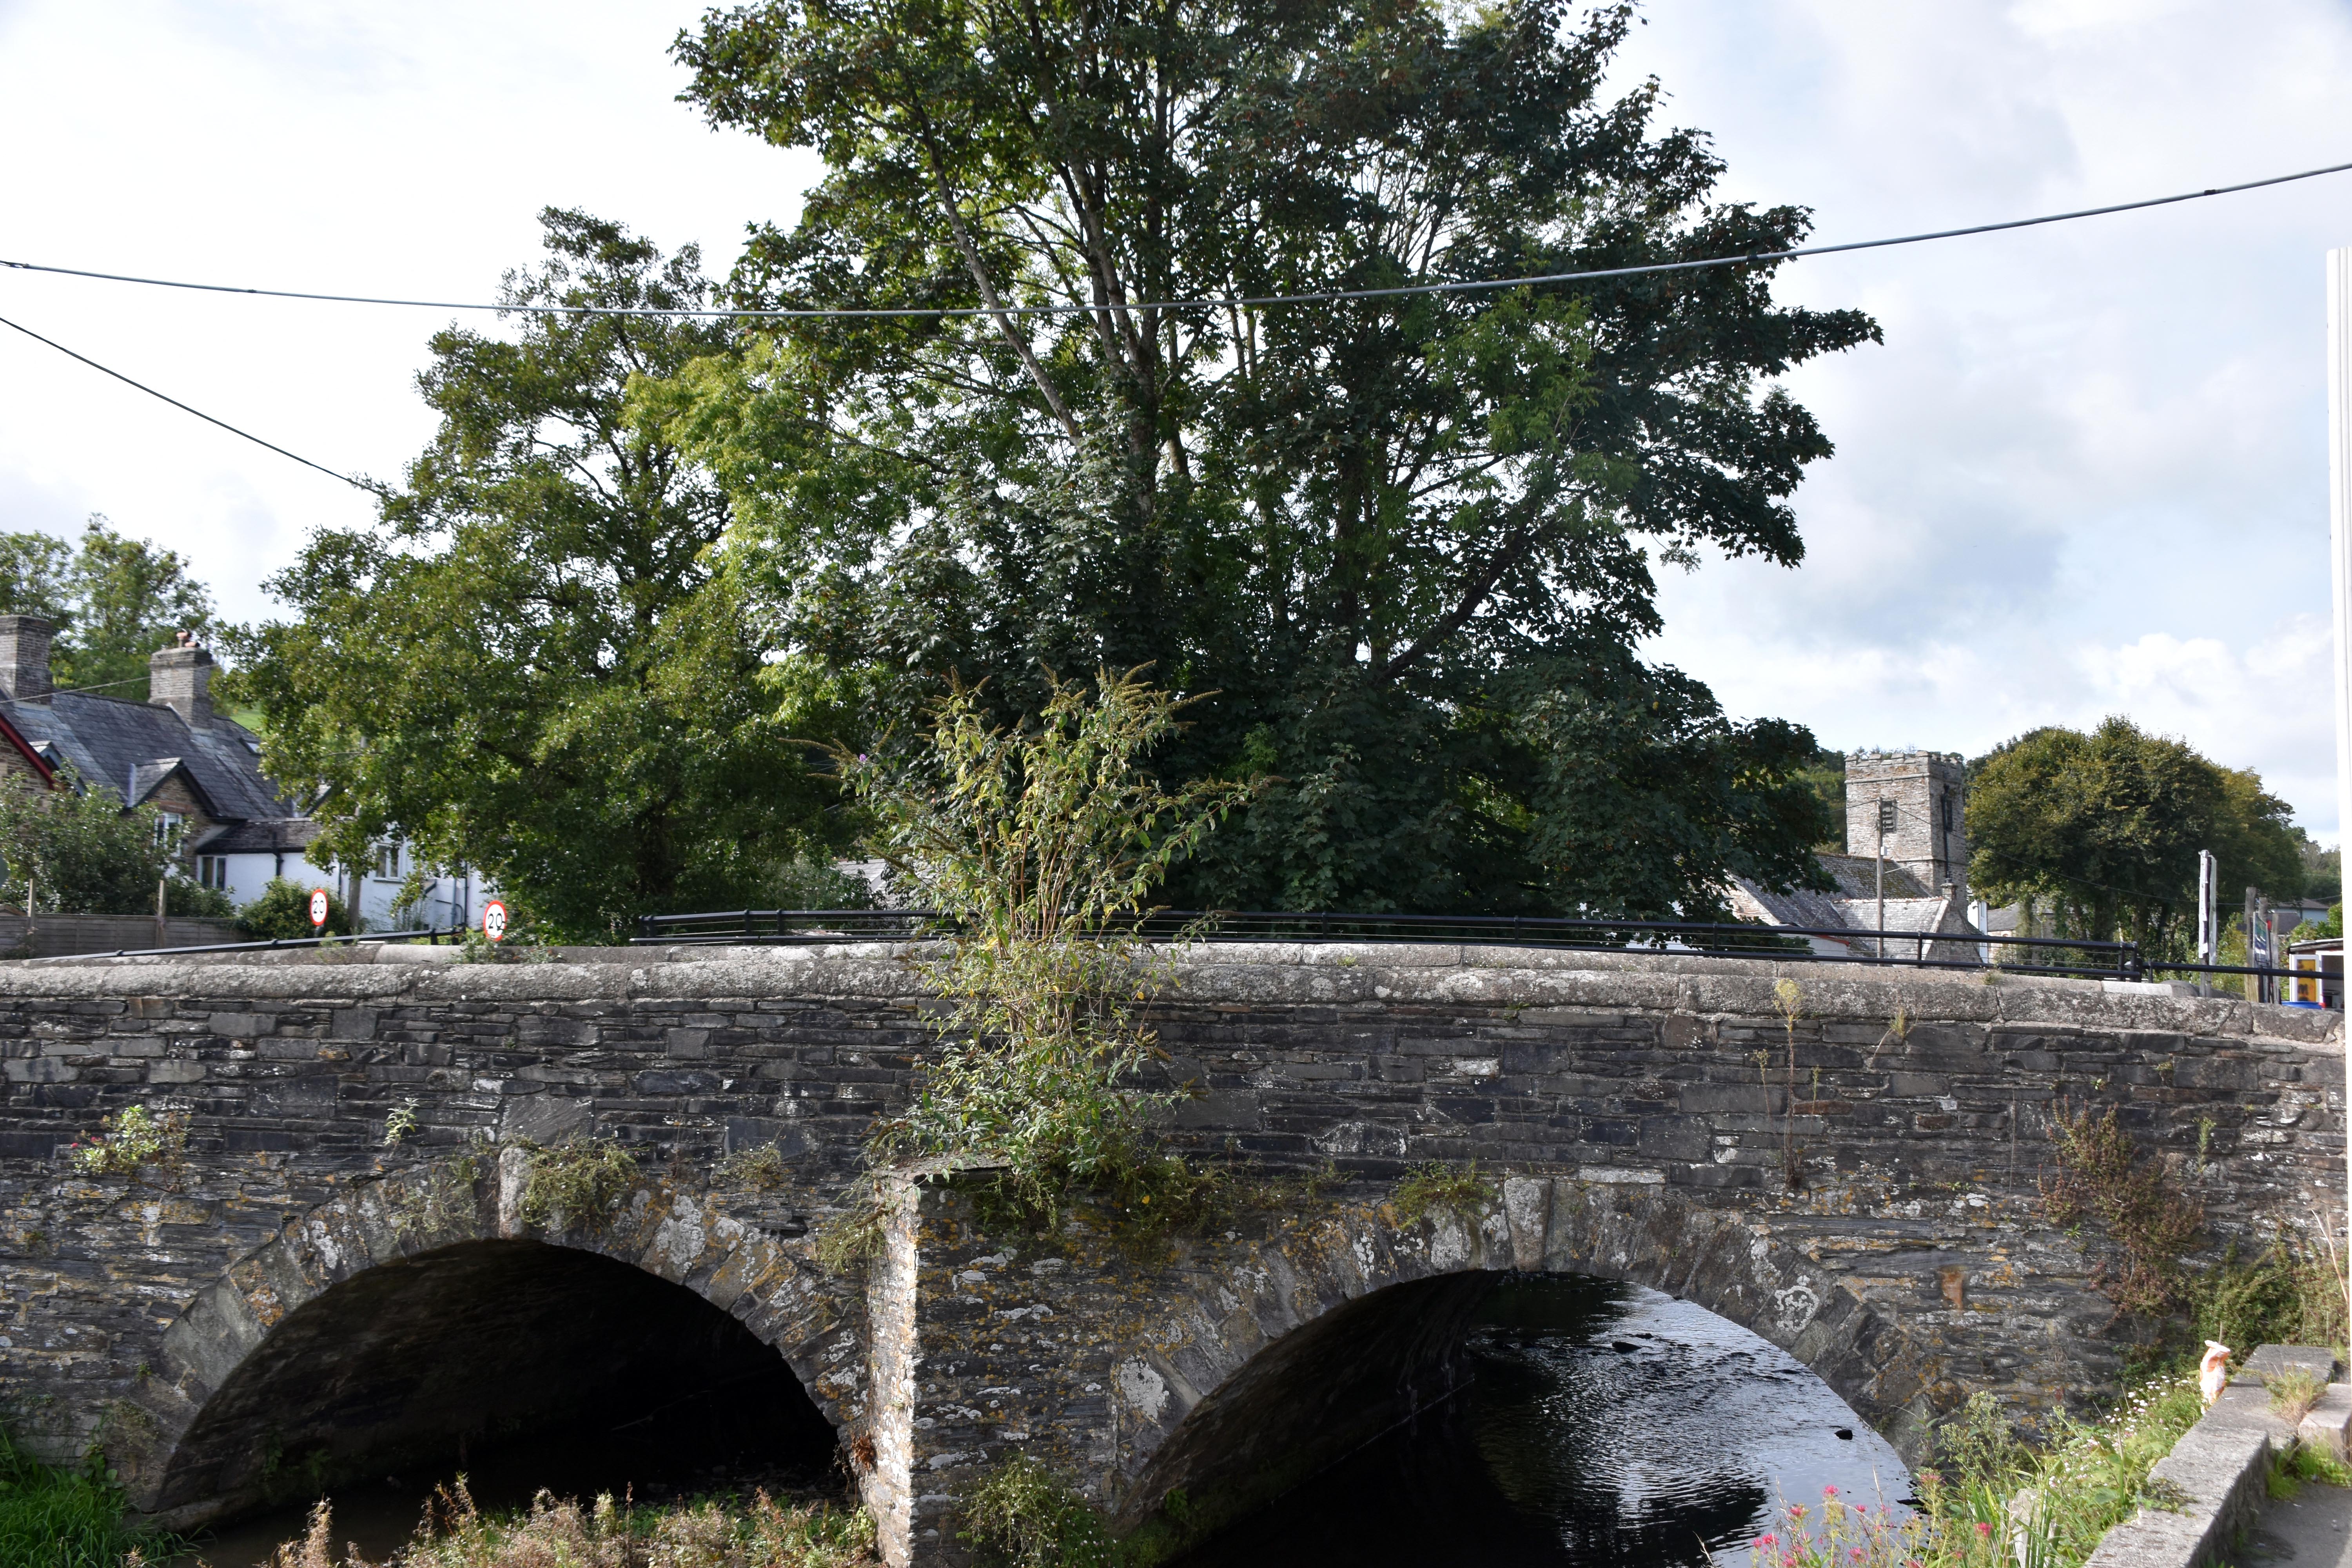
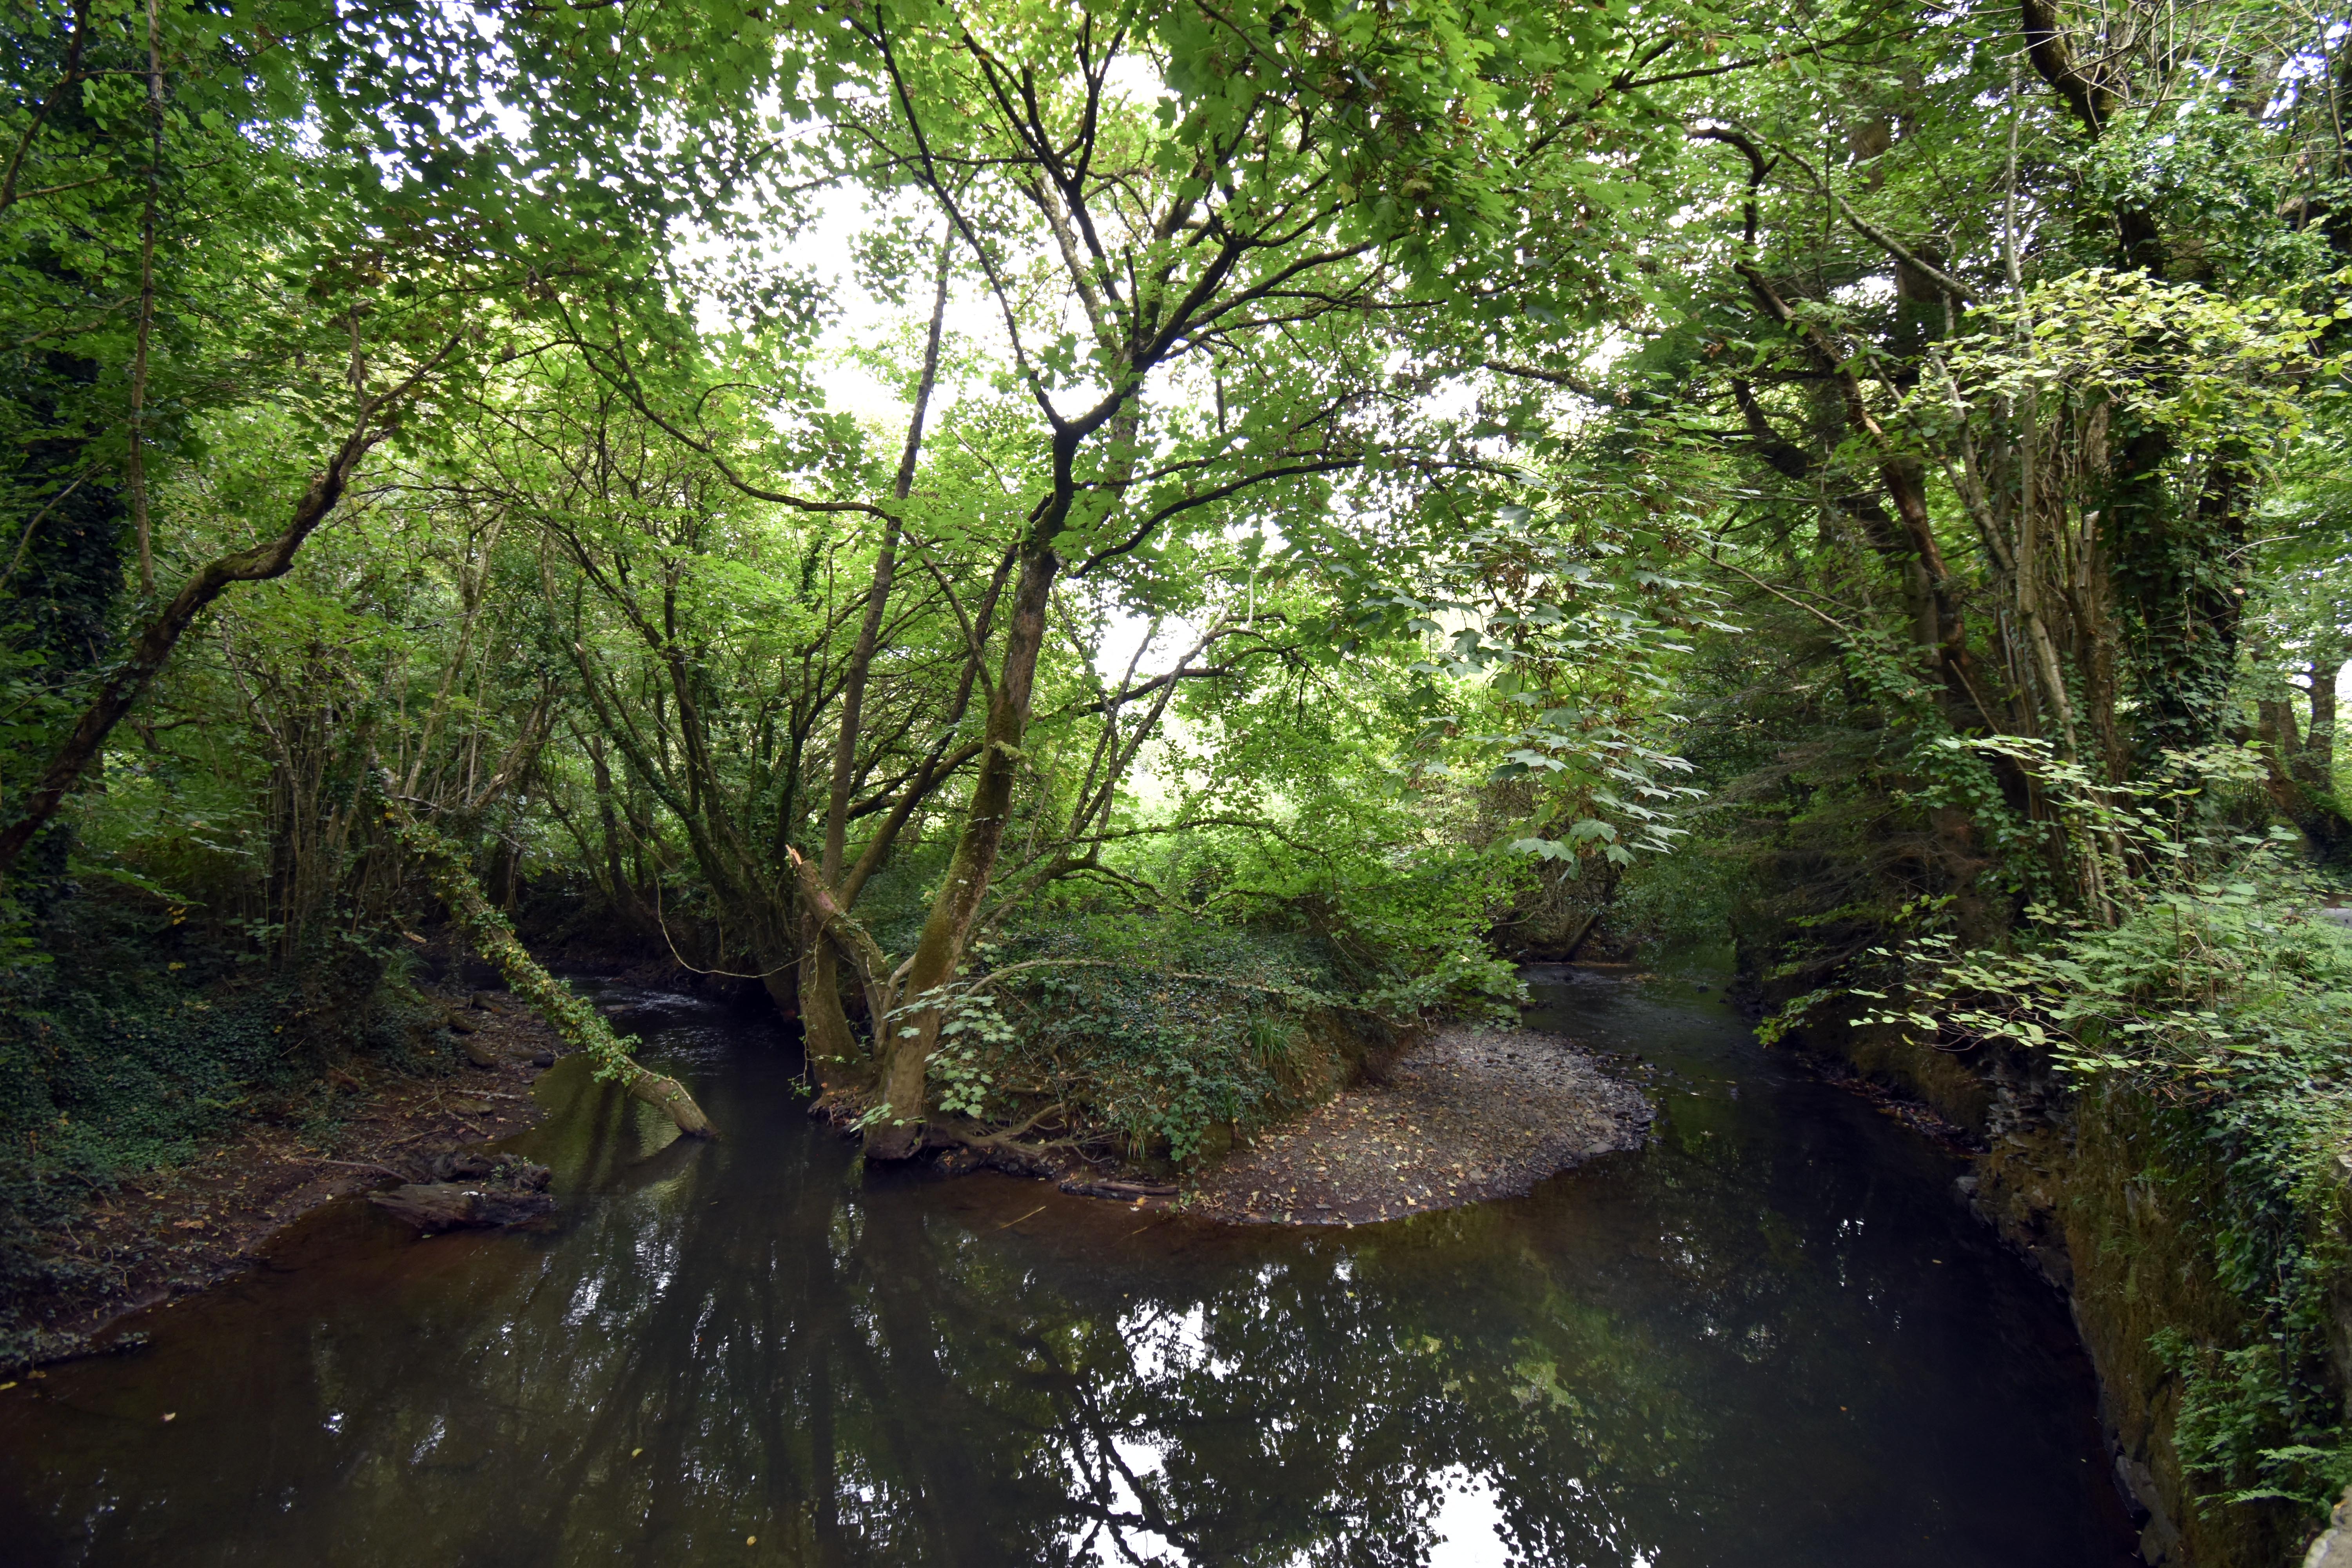
Leaving St Thomas churchyard you are captivated by the old quaint West Bridge with its ducks and tranquil scene. We could have crossed it here as we sought to find the site of the leper colony built at the end of the Kensey Valley. However I wanted to get a picture of the East Bridge which is a much newer construction but allowed more than pack horses and pedestrians to cross it when it was first constructed probably in the 17th Century. From here you can also see a leat that siphoned off water for use in local mills and a substantial tannery nearby. The bridge has been replaced and expanded and is now a major communications artery as the A388 with a constant flow of traffic. Fortunately, they have added a pedestrian bridge on the side for the benefit of those on foot.
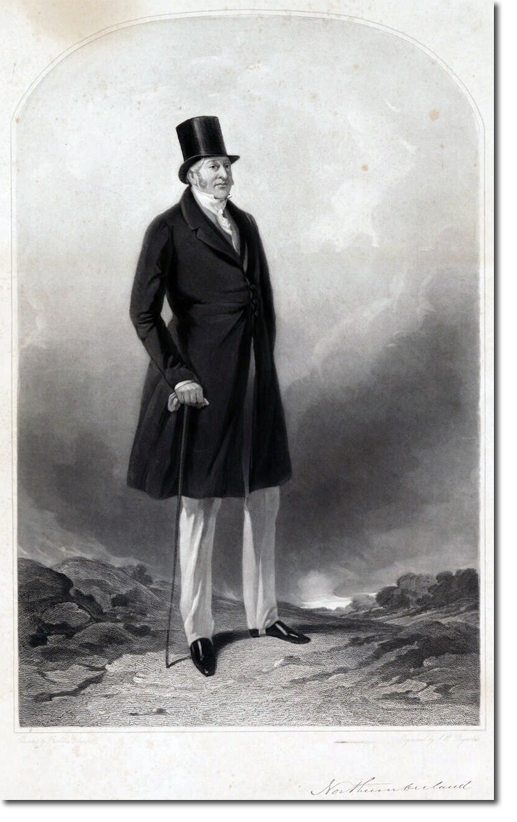
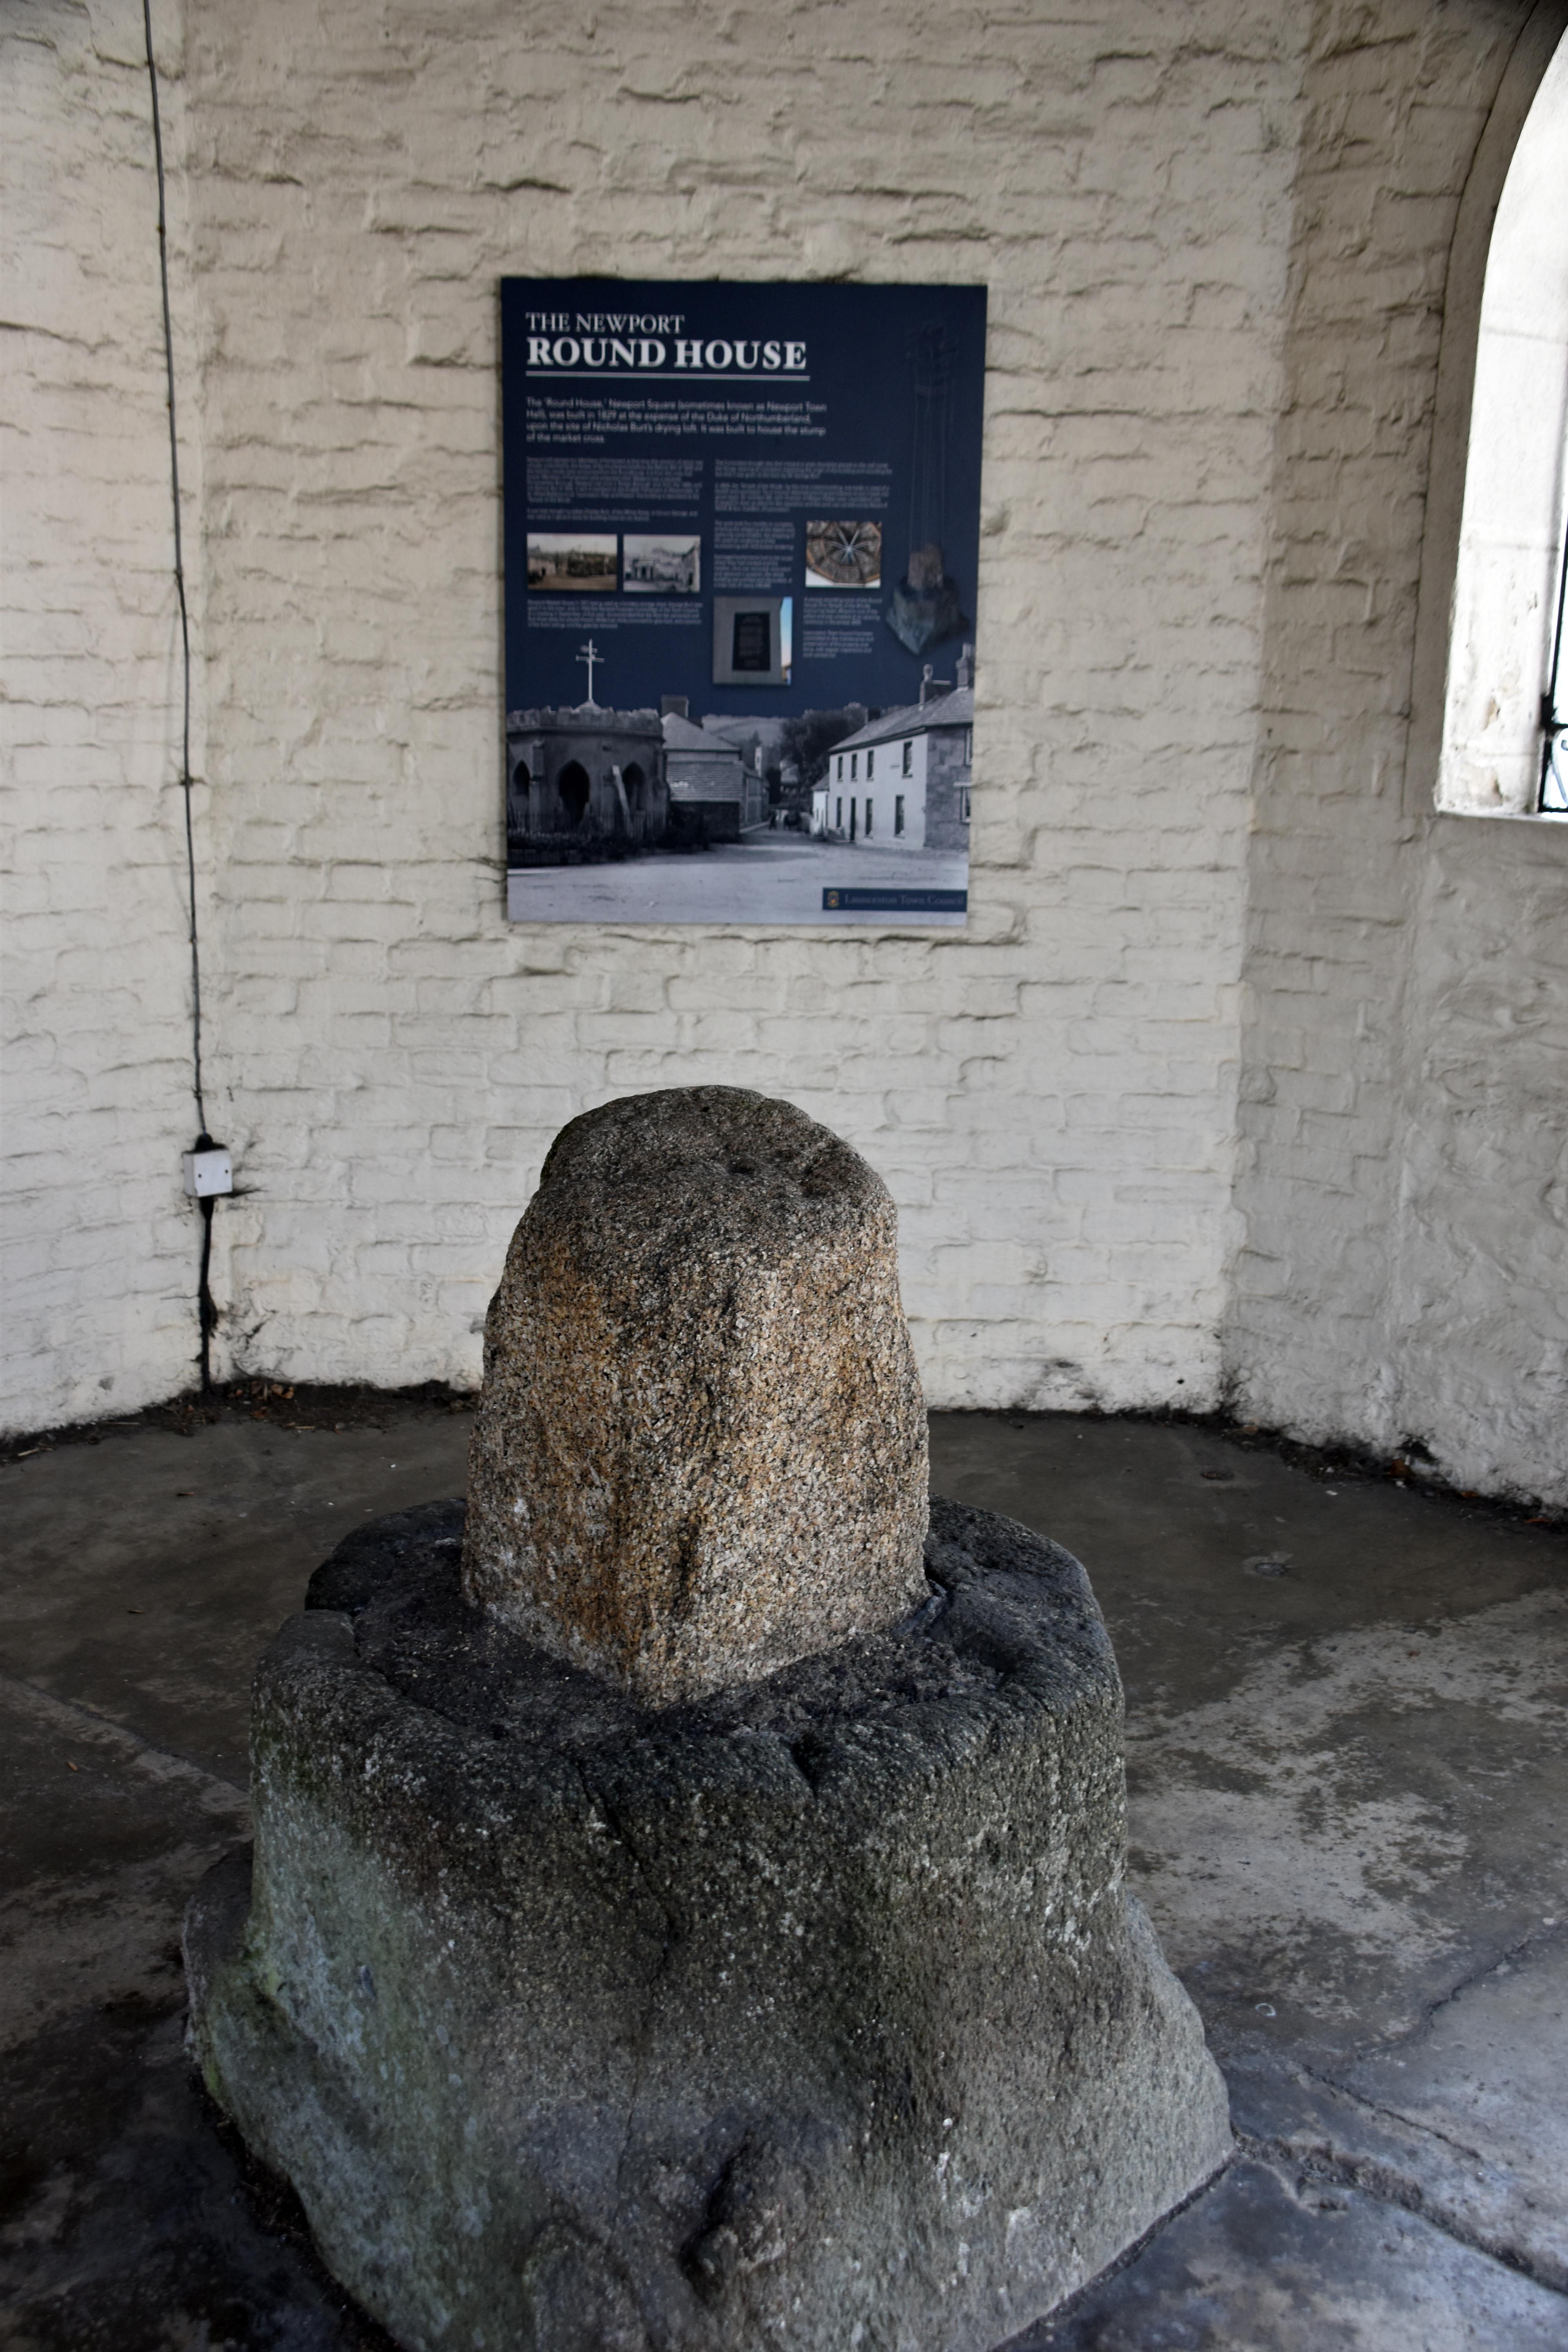
Just beyond the bridge you see an unusual octagonal building on your left. Now this building is a curious reminder of the election of Members of Parliament. Boroughs had the right to send two MPs to Parliament regardless of its size or importance. Landowners seized on the political opportunities of controlling the voting for these MPs in what were referred to as Rotten Boroughs or Pocket Boroughs (as in it was in someone’s pocket to select the candidates). Newport was declared its own borough in the 16th Century and so had the right to send 2 MPs to Parliament. There was no secret ballot and the few people who satisfied the property ownership criteria to vote either rented their land from the local landlord or relied on their custom or business in some way. Consequently local landowners could see who was voting for or against their preferred candidates. In the case of Newport these open elections took place at the market cross the remains of which are at the centre of this building. The Newport Round House was constructed in 1829 by the Duke of Northumberland whose family had dominated the selection of Newport’s candidates for generations. The timing is something of an irony in that within three years many of the rotten boroughs, including Newport, would be swept away by the Great Reform Act of 1832. Hugh Percy was a Tory who served as Lord Lieutenant of Ireland in the government of the Duke of Wellington although he did help implement the Catholic Emancipation Act of 1829 much to the chagrin of some die-hard Tories. He also married into the very wealthy Clive family when he married the granddaughter of Clive of India in 1817. Perhaps most enduringly of all, he was instrumental in kickstarting the 19th Century church building phenomenon through helping to establish the Church Building Society and gaining substantial money from Parliament to build so-called ‘Waterloo Churches’ including a dozen new churches in Cornwall. He himself of course was sitting in the House of Lords since 1817 and so the 1832 Great Reform Act did not impact his own position it merely dented his ability to place like-minded individuals in the House of Commons. But it is fascinating to see the physical location where Rotten Boroughs held their elections. They were often raucous affairs where the influential local landowner provided food and alcohol to his supporters and any detractors might be shouted down in derision. The intimidation was less than subtle but it was also quite the spectacle and many people treated it as a fun occasion for festivities and high jinks. It should be noted that this building also earned the sobriquet ‘The Temple of the Winds’ presumably because the wind whistles down the valley and the Round House offers very little protection with its wide open entrances.
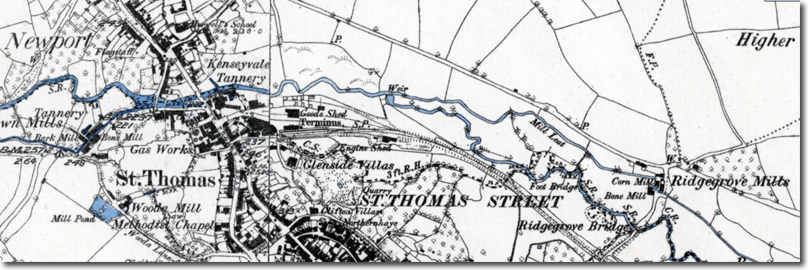
From here we headed east along the Kensey valley. There is a new park that has been constructed close to where yet another leat had been built to divert water off for the Ridgegrove Corn and Bone Mills further down the road. It was a lovely park that allows you to take a more direct route to Launceston than having to go over the bridges at Newport. We, however, carried on down the road which, after the Ridgegrove Mills, turns into the Two Castles Trail linking Launceston to Okehampton Castle. There are beautiful views down to St Michael’s Church on Brentor in Devon in front of you and if you keep looking over your shoulder you see the lovely skyline of Launceston with its medieval castle and St. Mary Magdalene’s church.
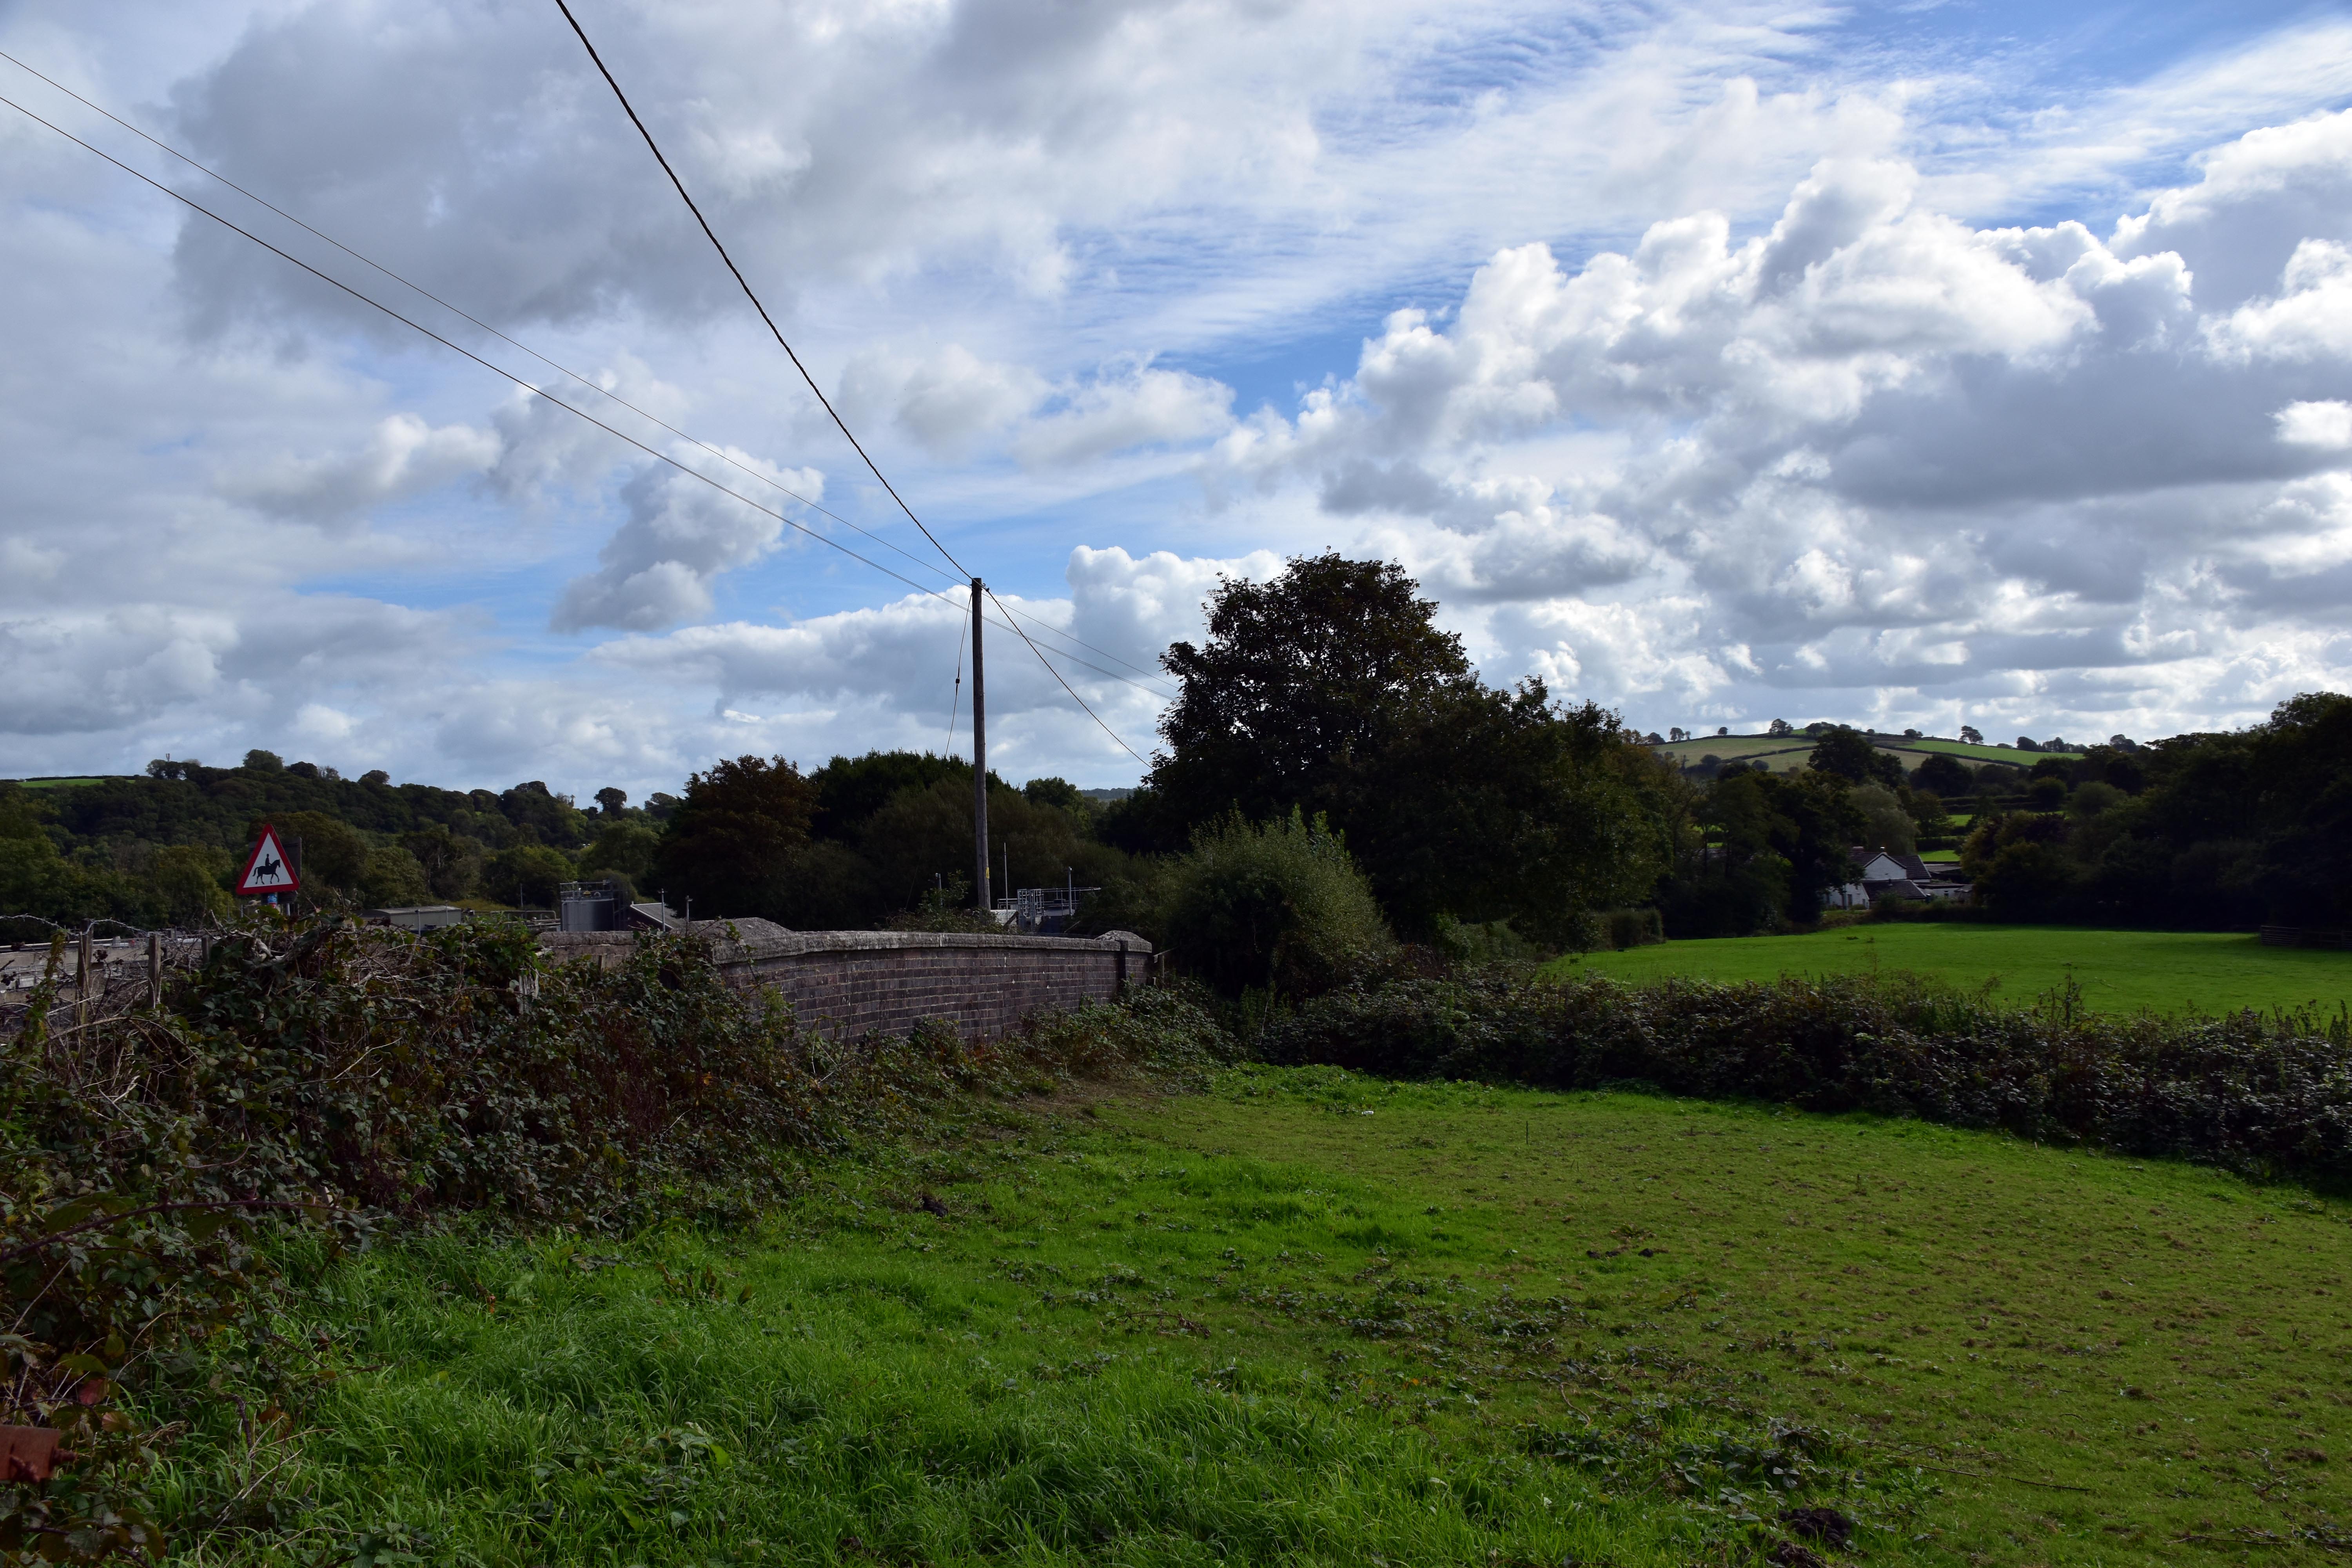
As you get to the very end of the road, if you look to your south you see a hedge moving to what looks like a bridge but with nothing under it. This is because it is part of the old North Cornwall Branch of the London and South Western Railway (LSWR) linking Launceston to Okehampton, Halwill and Padstow before being butchered as a result of the Beeching era cuts of the 1960s. When you stand on the ex-bridge looking onwards you cannot even see where the railway once cut through the field it has been so comprehensively recovered by the farmers. But from here you also see the water treatment works which is where they believe that the 13th century leper hospital was located. Interestingly, old maps thought that it lay south of the river Kensey where there is a large equestrian centre now but after discovering the original charter and after the Time Team conducted an investigation they are pretty sure it lay north of the Kensey and close to the Tamar. Sadly when they built the original waterworks in the 19th Century nobody undertook any archaeological investigation so the hospital’s precise location remains elusive but was probably destroyed in the building of the sewage works.
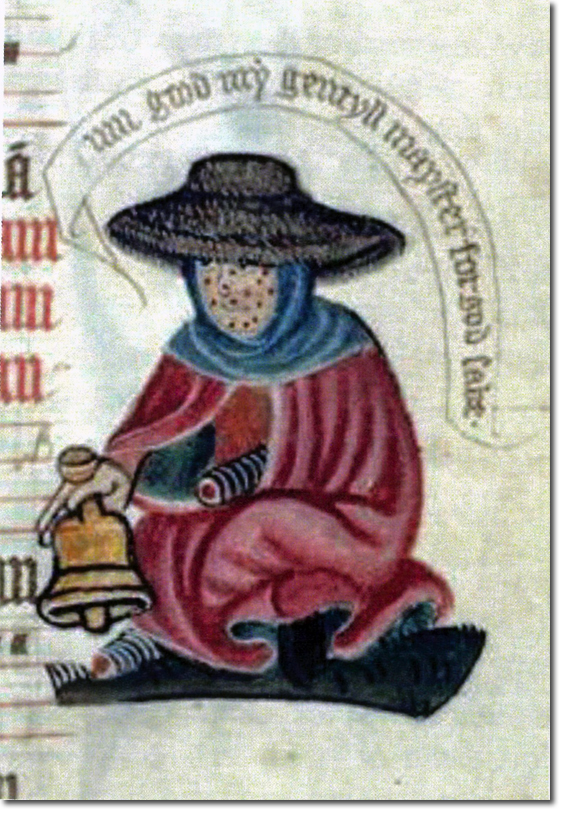
The charter hints that the colony had its own chapel and its own cemetery too but it is not clear if they had individual huts or a communal hall. The hospital received money from the Duchy of Cornwall originally although this was taken over by Launceston Town Council when they received their borough status in 1383. Close links with St Thomas and the Priory were maintained throughout with alms being donated regularly. Lepers were not confined to the hospital and they would regularly leave it to raise money the only way they really could; through begging. In this, their location was excellent in that the hospital was within a couple hundred yards of Polson Bridge a natural pinch point for well-heeled travellers. Giving money to lepers was a clear way of demonstrating one’s Christian values. Curiously, the bell that was meant to warn people away from lepers was actually a good way of drawing attention to their location and not allowing people to ignore their plight. Leprosy was feared and pitied in equal measure but lepers were not quite as outcast as you might expect and could and did move around the area. If you were wealthy enough to support yourself you could remain in your own home and visitors did come to visit their loved ones despite contemporary fears of contamination. The hospital would have received funds also from families who had deposited loved ones into its care. The hospital continued in its existence until the very end of the 17th century when leprosy itself pretty much disappeared from our shores. Better diets, healthier lifestyles, improved housing all contributed to its diminution. St. Leonard’s was a rare health success story in providing care until it was needed no more.
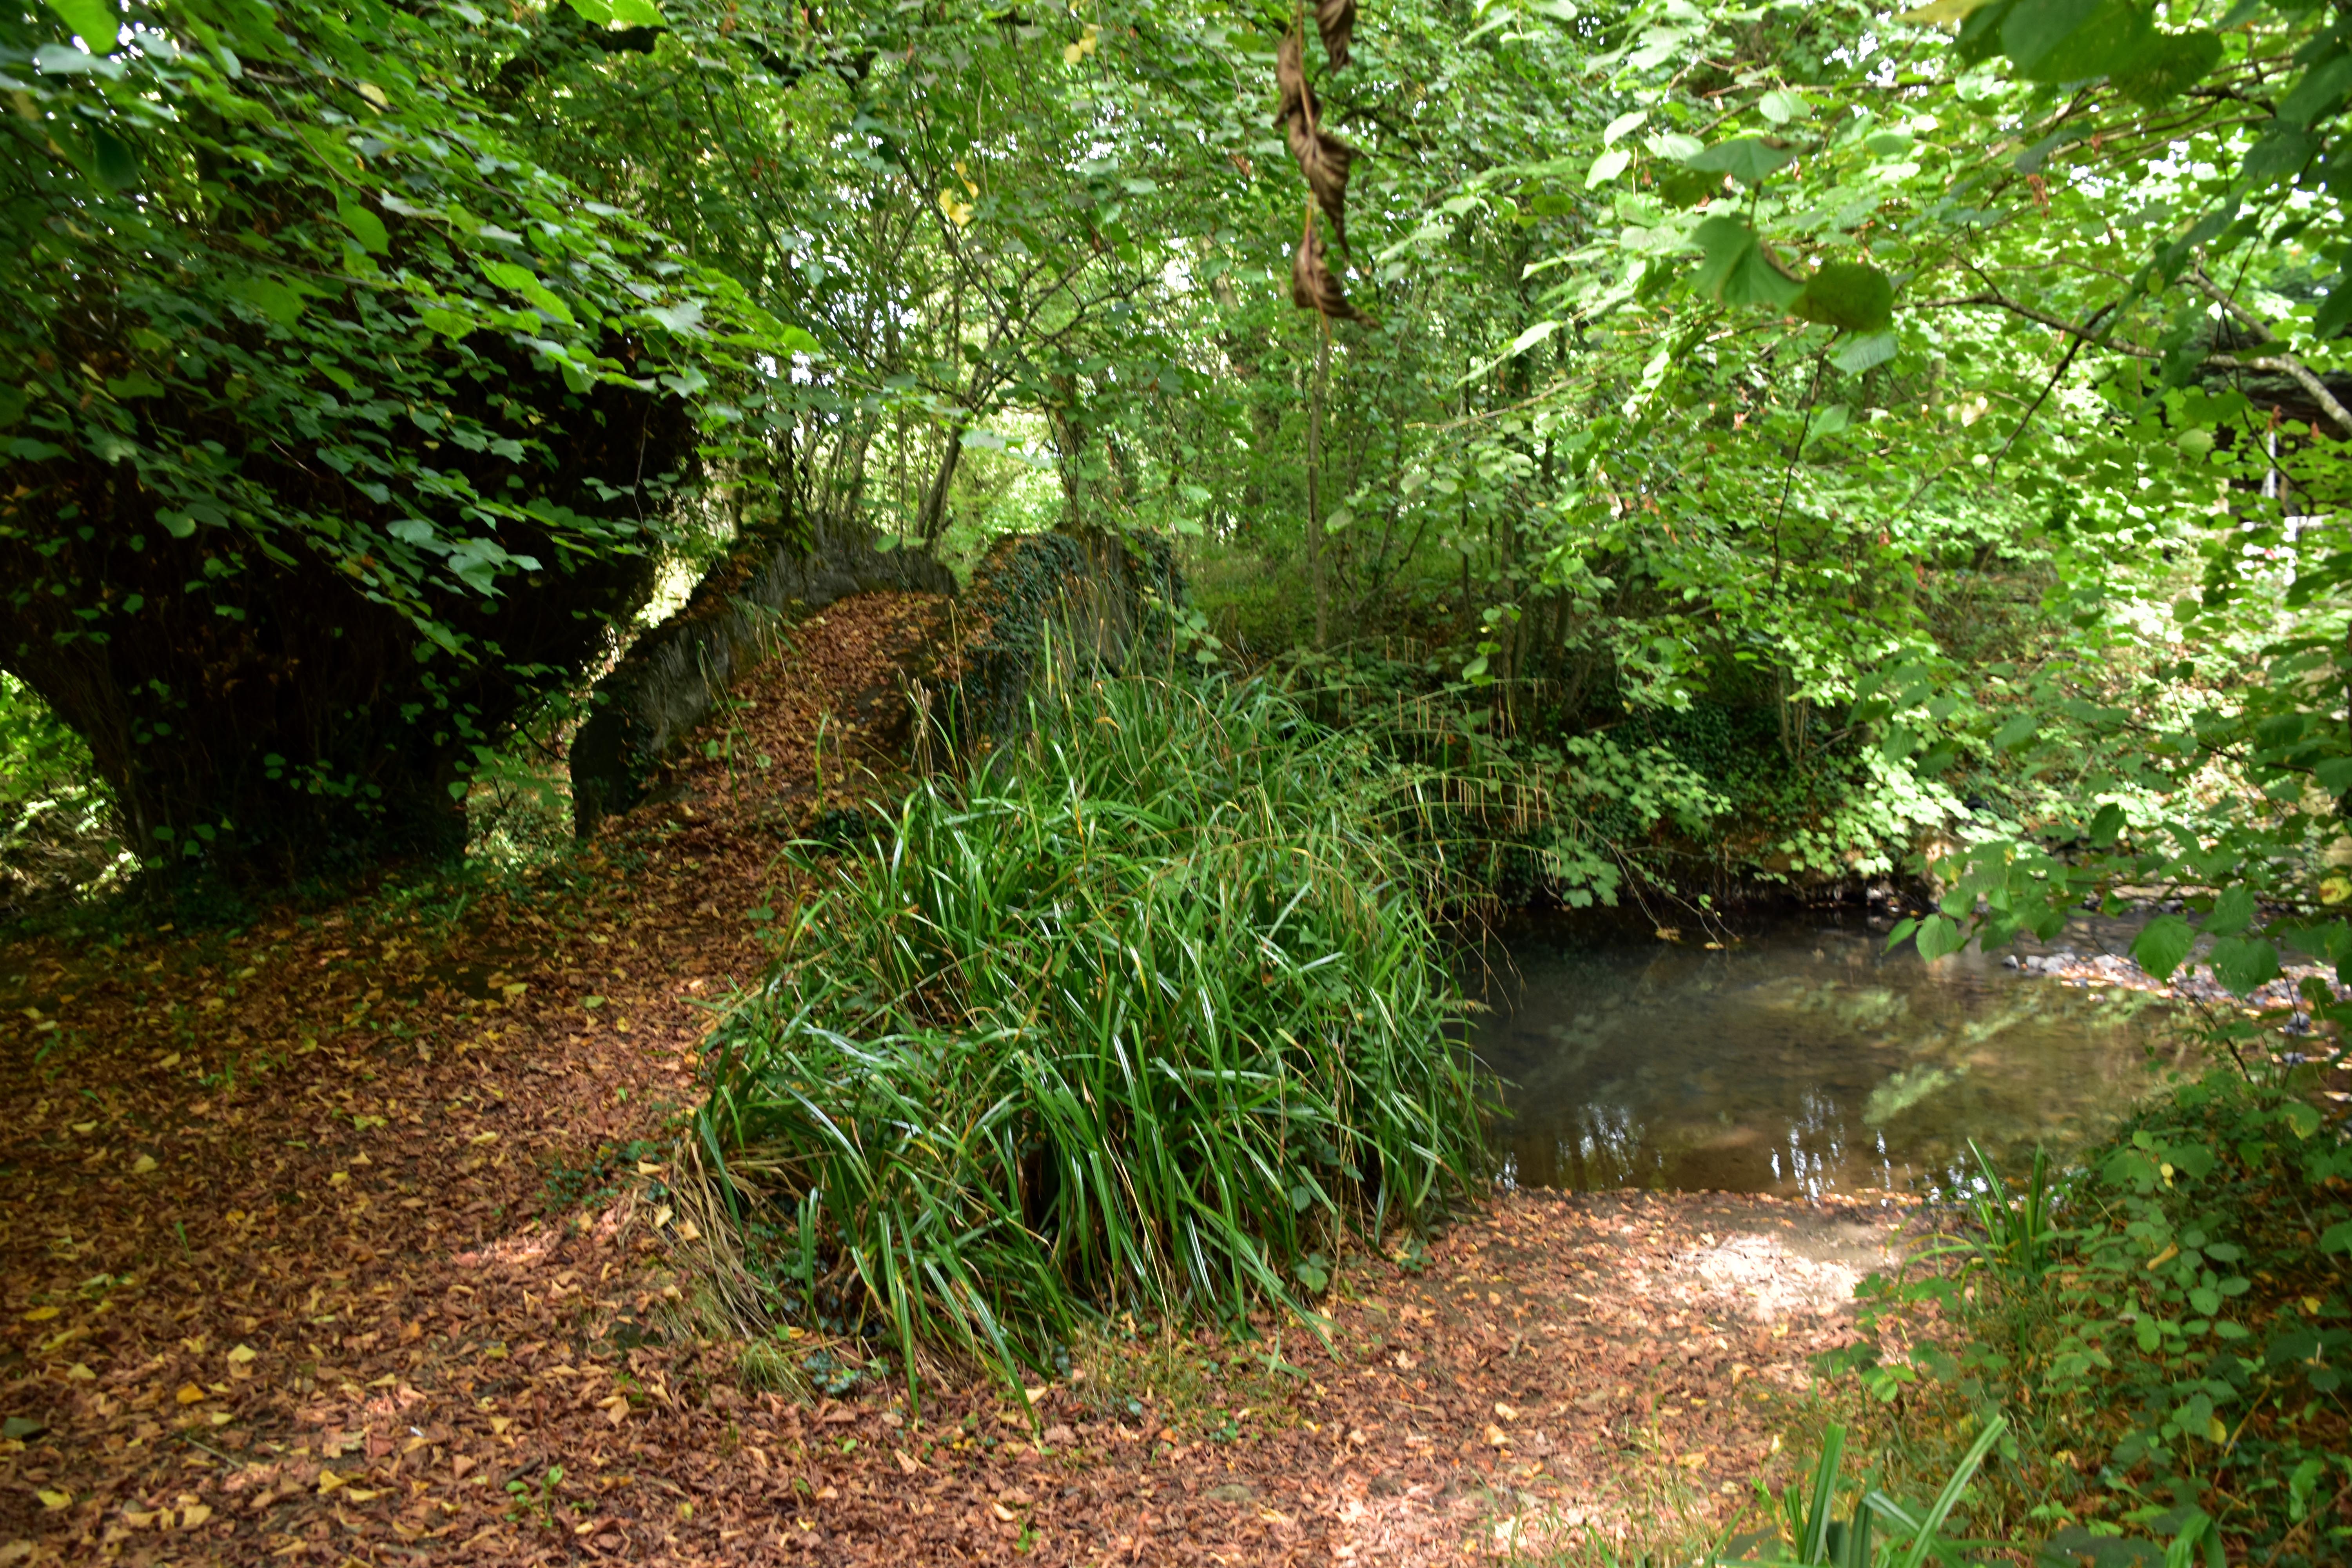
Fittingly the water treatment works is named St. Leonard’s and providing fresh water on the site of a leper hospital may appear incongruous but is actually fitting in a strange kind of way as the provision of clean water is precisely how many of our diseases and illnesses were kept at bay. We carried on walking towards Polson Bridge but just before the equestrian centre we caught a glimpse of a delightful bridge over the River Kensey hidden amongst the trees. We could not help but contrast it with the ugly modern road bridge. It looks like a pack horse bridge but could well have been just a decorative one once upon a time. Either way it looked charming hidden amongst the trees.
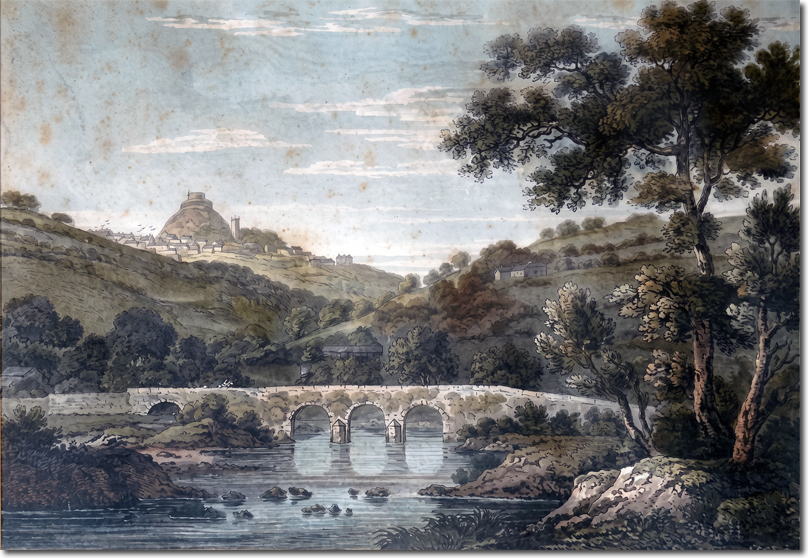
We carried on to Polson Bridge which of course is one of the reasons for why both Lanstephen and Launceston were positioned precisely where they are. These were the heights after the first dependable crossing over the River Tamar not requiring a boat of some kind. Saxons and Normans noted its strategic importance as would Cornish rebels in both 1497 and again 1549 marching towards Exeter across the bridge and it would be fought over directly by the warriors of the English Civil War. Sadly for such an important bridge in Cornish history it is pretty hard to get to by foot. There is no footpath along a very fast road with cars and motorbikes speeding along at 60mph. Even if you wished to visit it by car there is no convenient car park nearby to stop and admire it. You cannot even get a good look at what is actually a far more substantial bridge than you might realise as additional spans were provided to deal with flooding. The bridge itself has had many iterations over the years but still serves the same function as it has since the 12th century, to allow travellers to cross the Tamar without getting their feet wet. Launceston’s burghers would post lookouts on St. Mary Magdalene’s Tower to spy when circuit judges or important visitors were expected so that they could prepare to meet their dignitaries in an appropriate manner. The bridge itself became a battlefield in 1643 after the Parliamentarian Army of the Earl of Stamford and commanded by Major General Chudleigh had launched a daring strike on the Royalist stronghold of Launceston. Some 3,500 Parliamentarians crossed the bridge to attack the Royalists under the command of Sir Ralph Hopton defending Beacon (or Windmill) Hill. At first the attack seemed to be succeeding but as Royalist reserves arrived, Chudleigh’s attack began to falter. There then began a Royalist counterattack that pushed back the exhausted Parliamentarians and was in danger of turning into a rout for the young 25 year old Parliamentarian Major-General. Fortunately 700 London Grey Coats sortieing out from Plymouth and with some more sympathisers from Tavistock arrived at Polson Bridge in the nick of time. They were able to cross the bridge, secure it and allowed Chudleigh’s exhausted army to retreat in relative order. Major-General Chudleigh demonstrated his own valour by personally harnessing up the artillery to oxen to save them from Royalist capture and get them back across the bridge. At one point a powder wagon exploded putting yet more fear into the hearts of the advancing Royalists. Chudleigh’s army was able to retreat to Lifton in good order. It is hard to imagine this tranquil scene being the site of such a substantial battle with thousands of soldiers, cavalry and artillery swirling around with the River Tamar funnelling the focus of the activity to this one crucial crossing. This was not the end of Polson Bridge’s Civil War service as Fairfax’ New Model Army swept into the Westcountry with Oliver Cromwell by his side. As Cornwall was one of the last bastions of Royalist resistance, Fairfax ordered the destruction of Polson Bridge to prevent the Royalists from retreating across it or from launching counter-offensives into Devon from it.
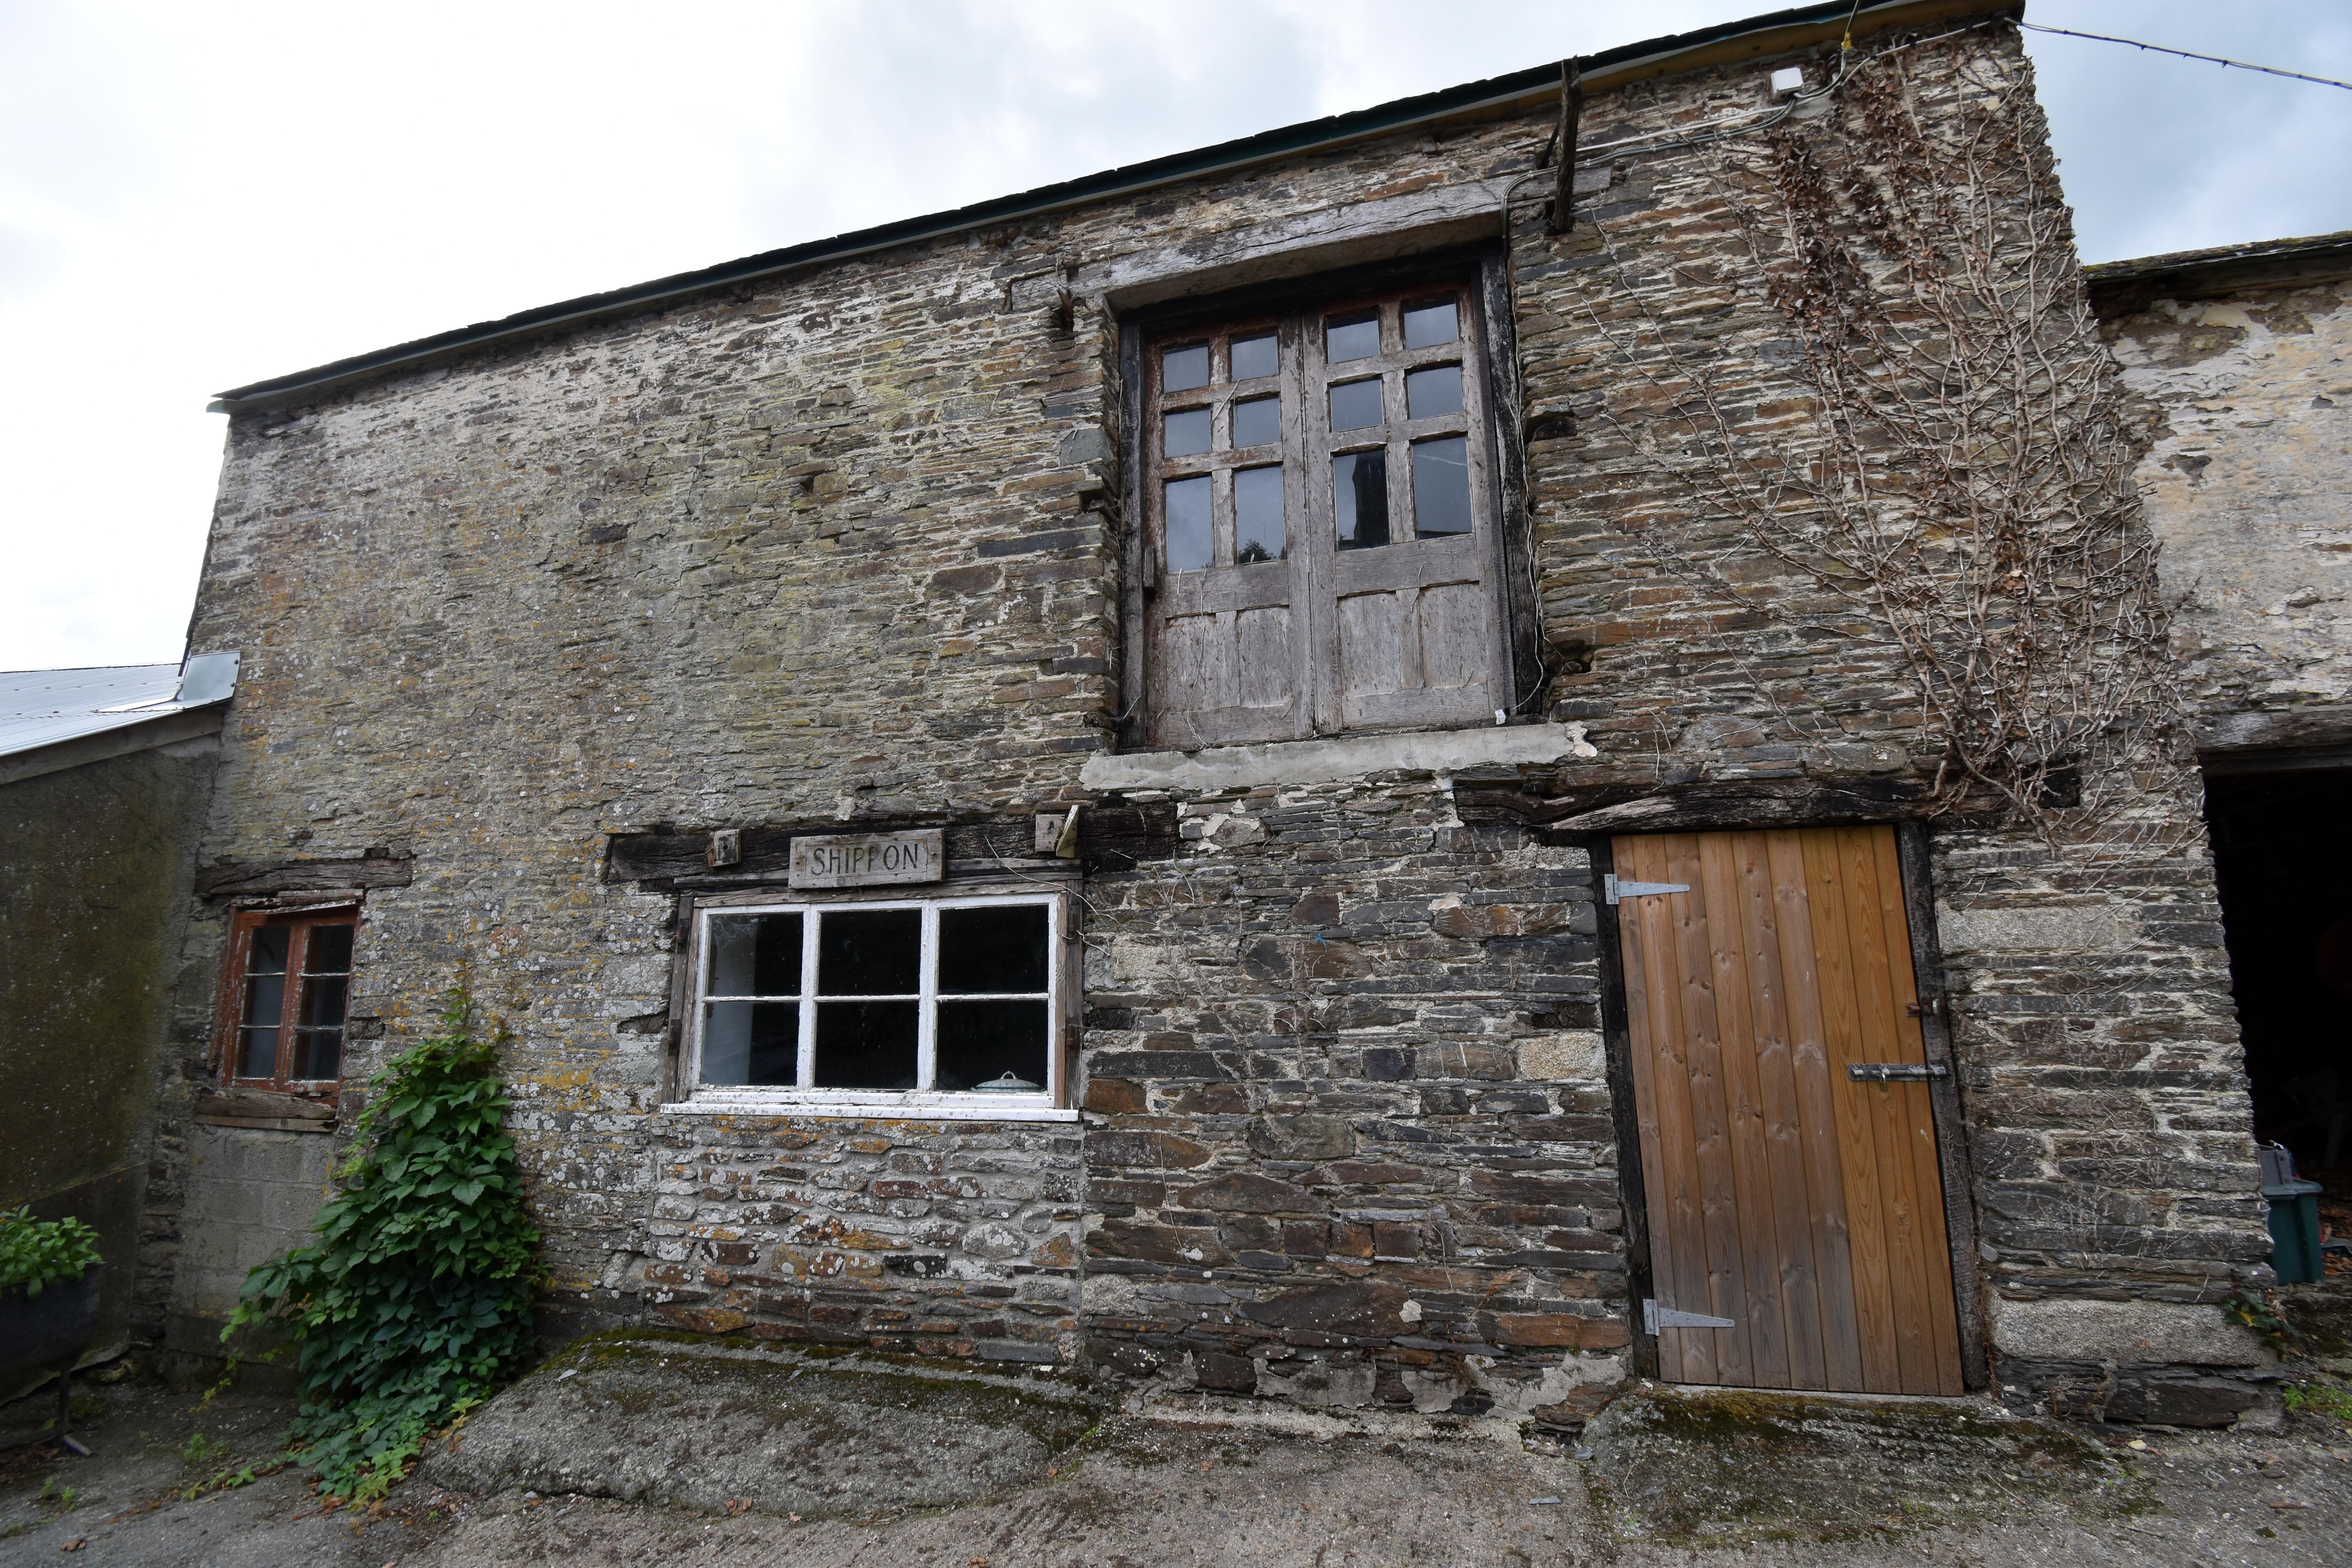
Given the time and the lack of alternative routes back to our start point, we began to retrace our steps. However on the return we did catch a glimpse of a sign we hadn’t noticed when travelling to Polson Bridge for an antique chair museum. Intrigued, we decided to follow the signs to it. It was just up from the old abandoned railway bridge and we had not passed it before. It was located in an old farm named Colhay. It did not look like it was overly busy - in fact it had the whiff of a post-apocalypse world wiped out by a deadly virus of some sort - perhaps a mutant strain of neo-leprosy? There was a car parked but the farm building and barn housing the museum looked empty. There was a metal bell like contraption with a hammer to summon someone but sadly our ringing was unanswered. We did look through the window at some of the antique chairs and would have loved to have poked around inside. Although not especially antique chair aficionados, its location and premise was intriguing. Sadly we will have to return another day to see if we can gain entry.
From here we mostly returned the way we came except that we cut through that new park to cross the Kensey in a much quieter manner. Bizarrely at that footbridge we caught sight of a World War Two era Citroen truck painted up in the camouflage scheme of the Third Reich. It was quite out of place but fascinating to see nonetheless. We then walked back to the tranquility of St. Thomas, walking past poet Charles Causley’s house and back to the idyllic west bridge where we were parked. It had been a fascinating day following in the footsteps of lepers and the religious people who felt an obligation to administer to their spiritual and physical welfare. As always though, we found so much more from sad graves, to an echo of our early Parliamentary democracy, to hidden bridges and the scene of a heroic civil war battlefield. Rupert and I cannot help but find history wherever we wander.