|
|
|
|
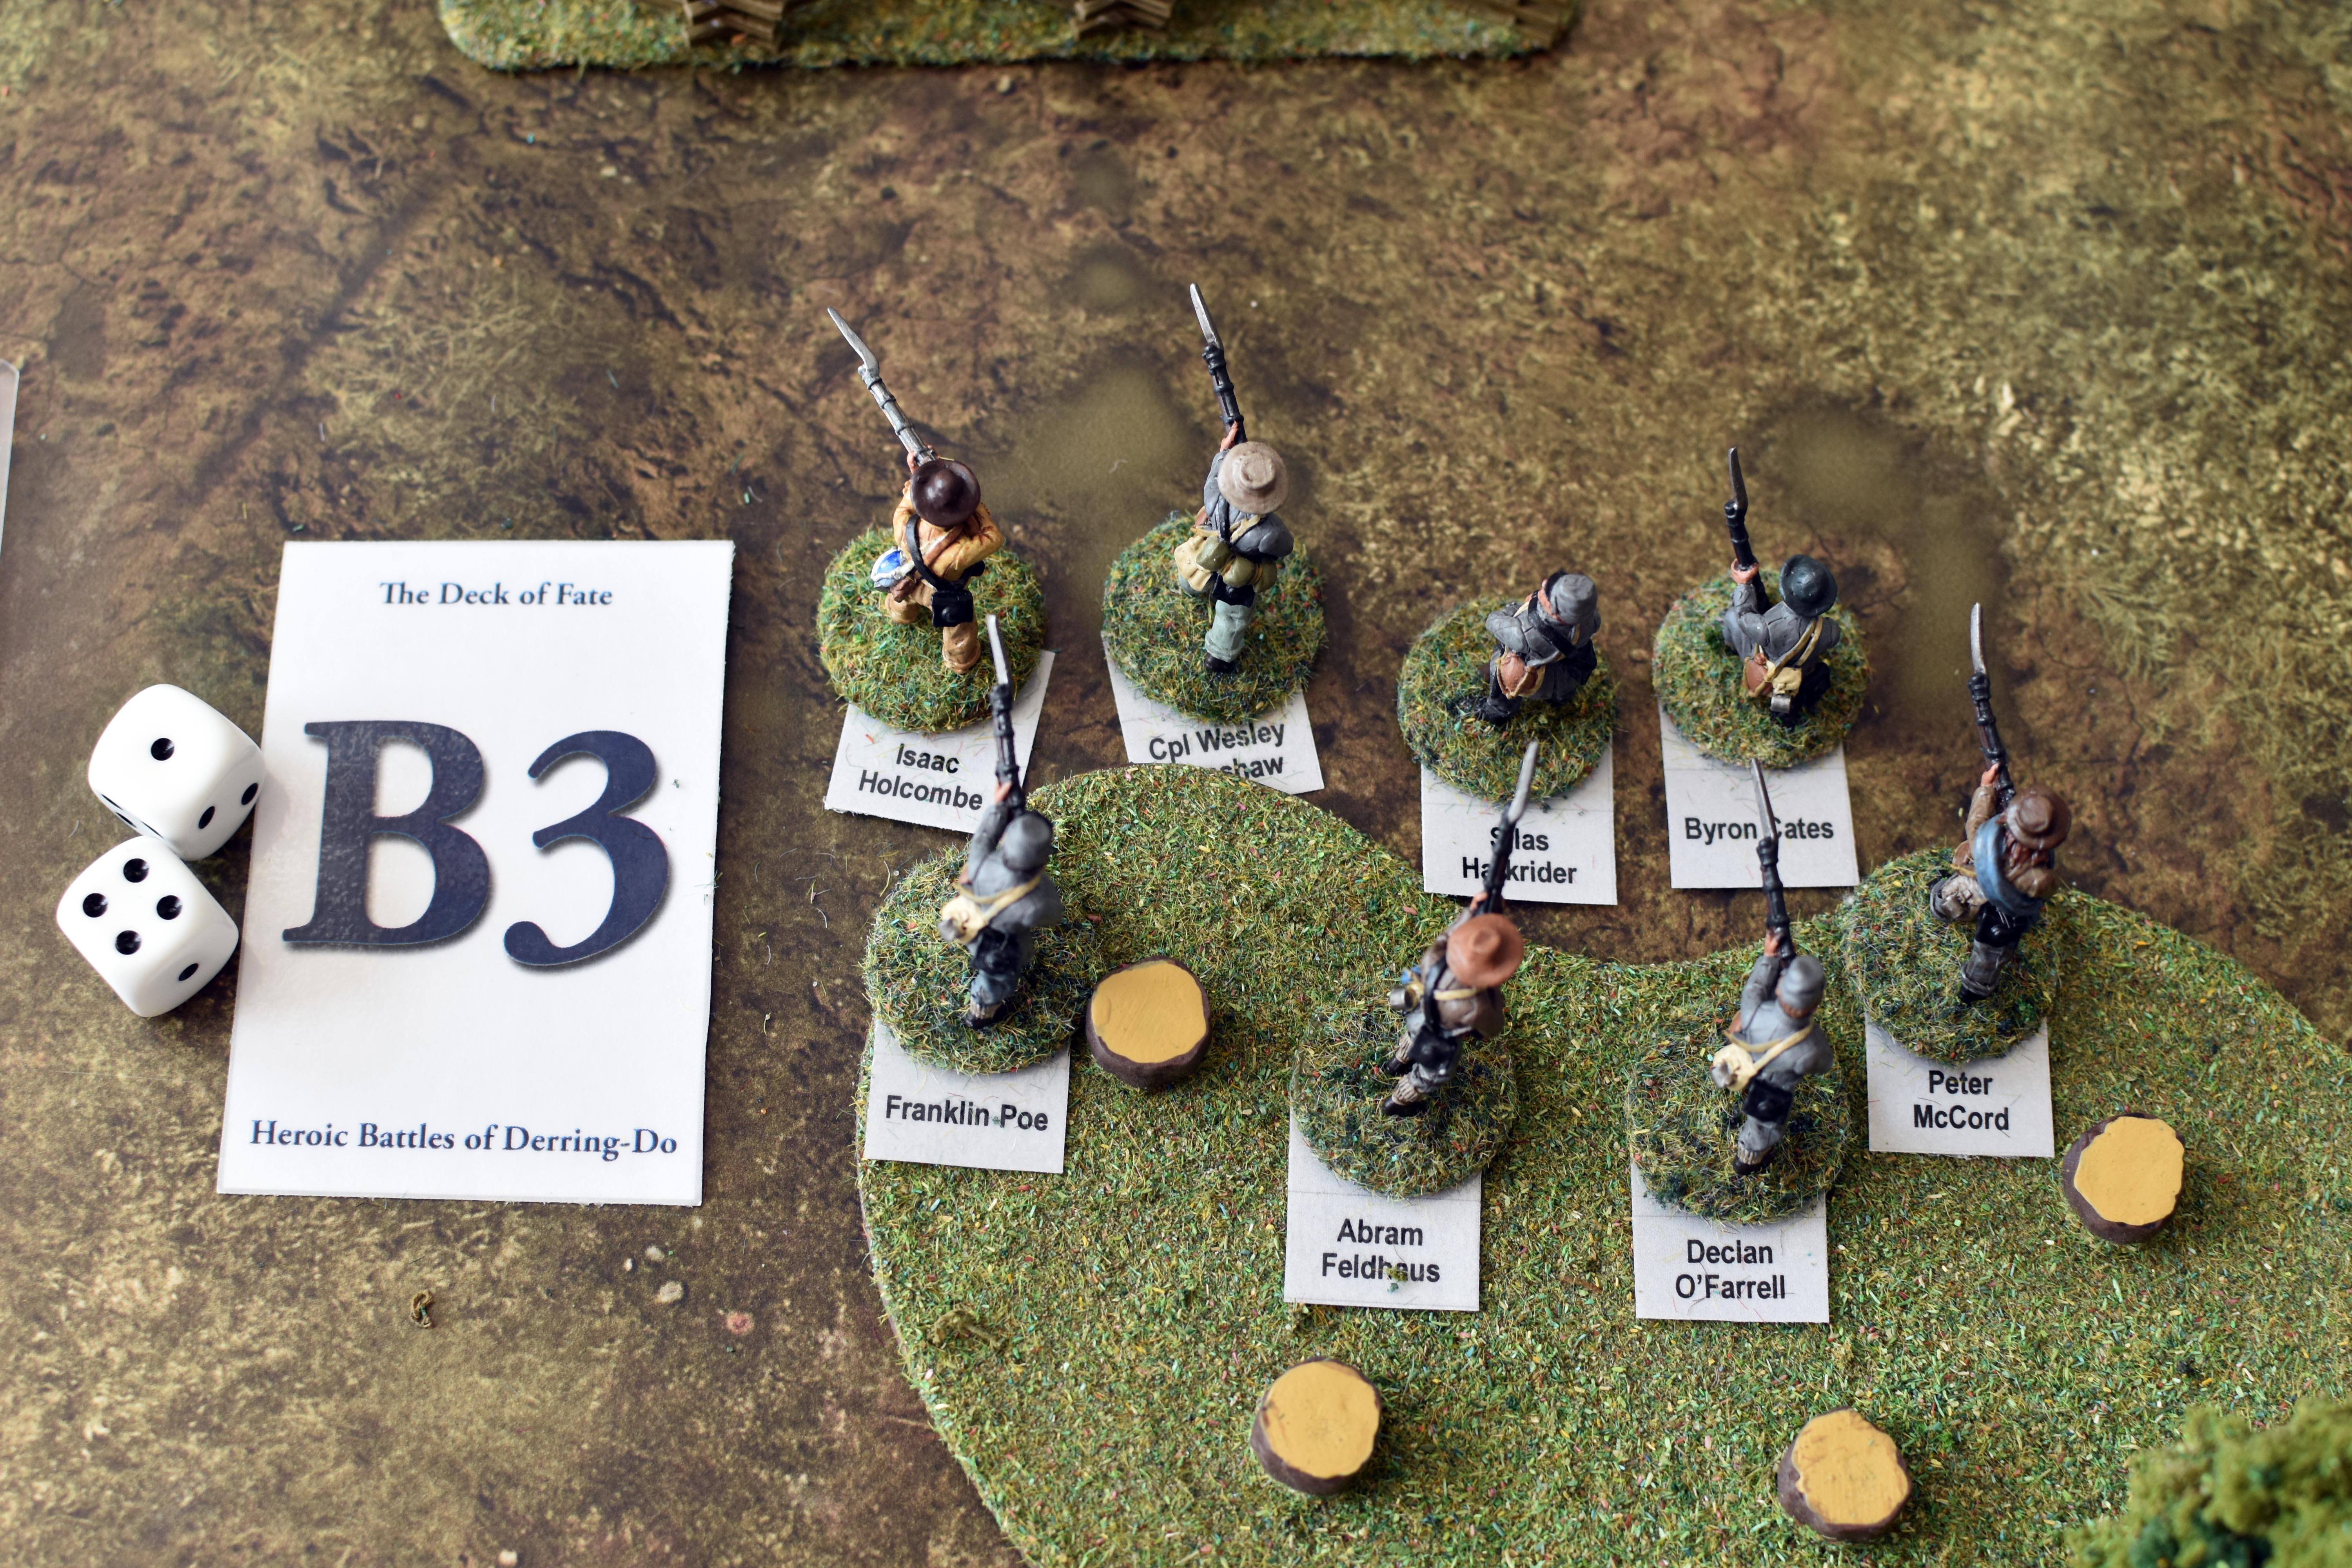
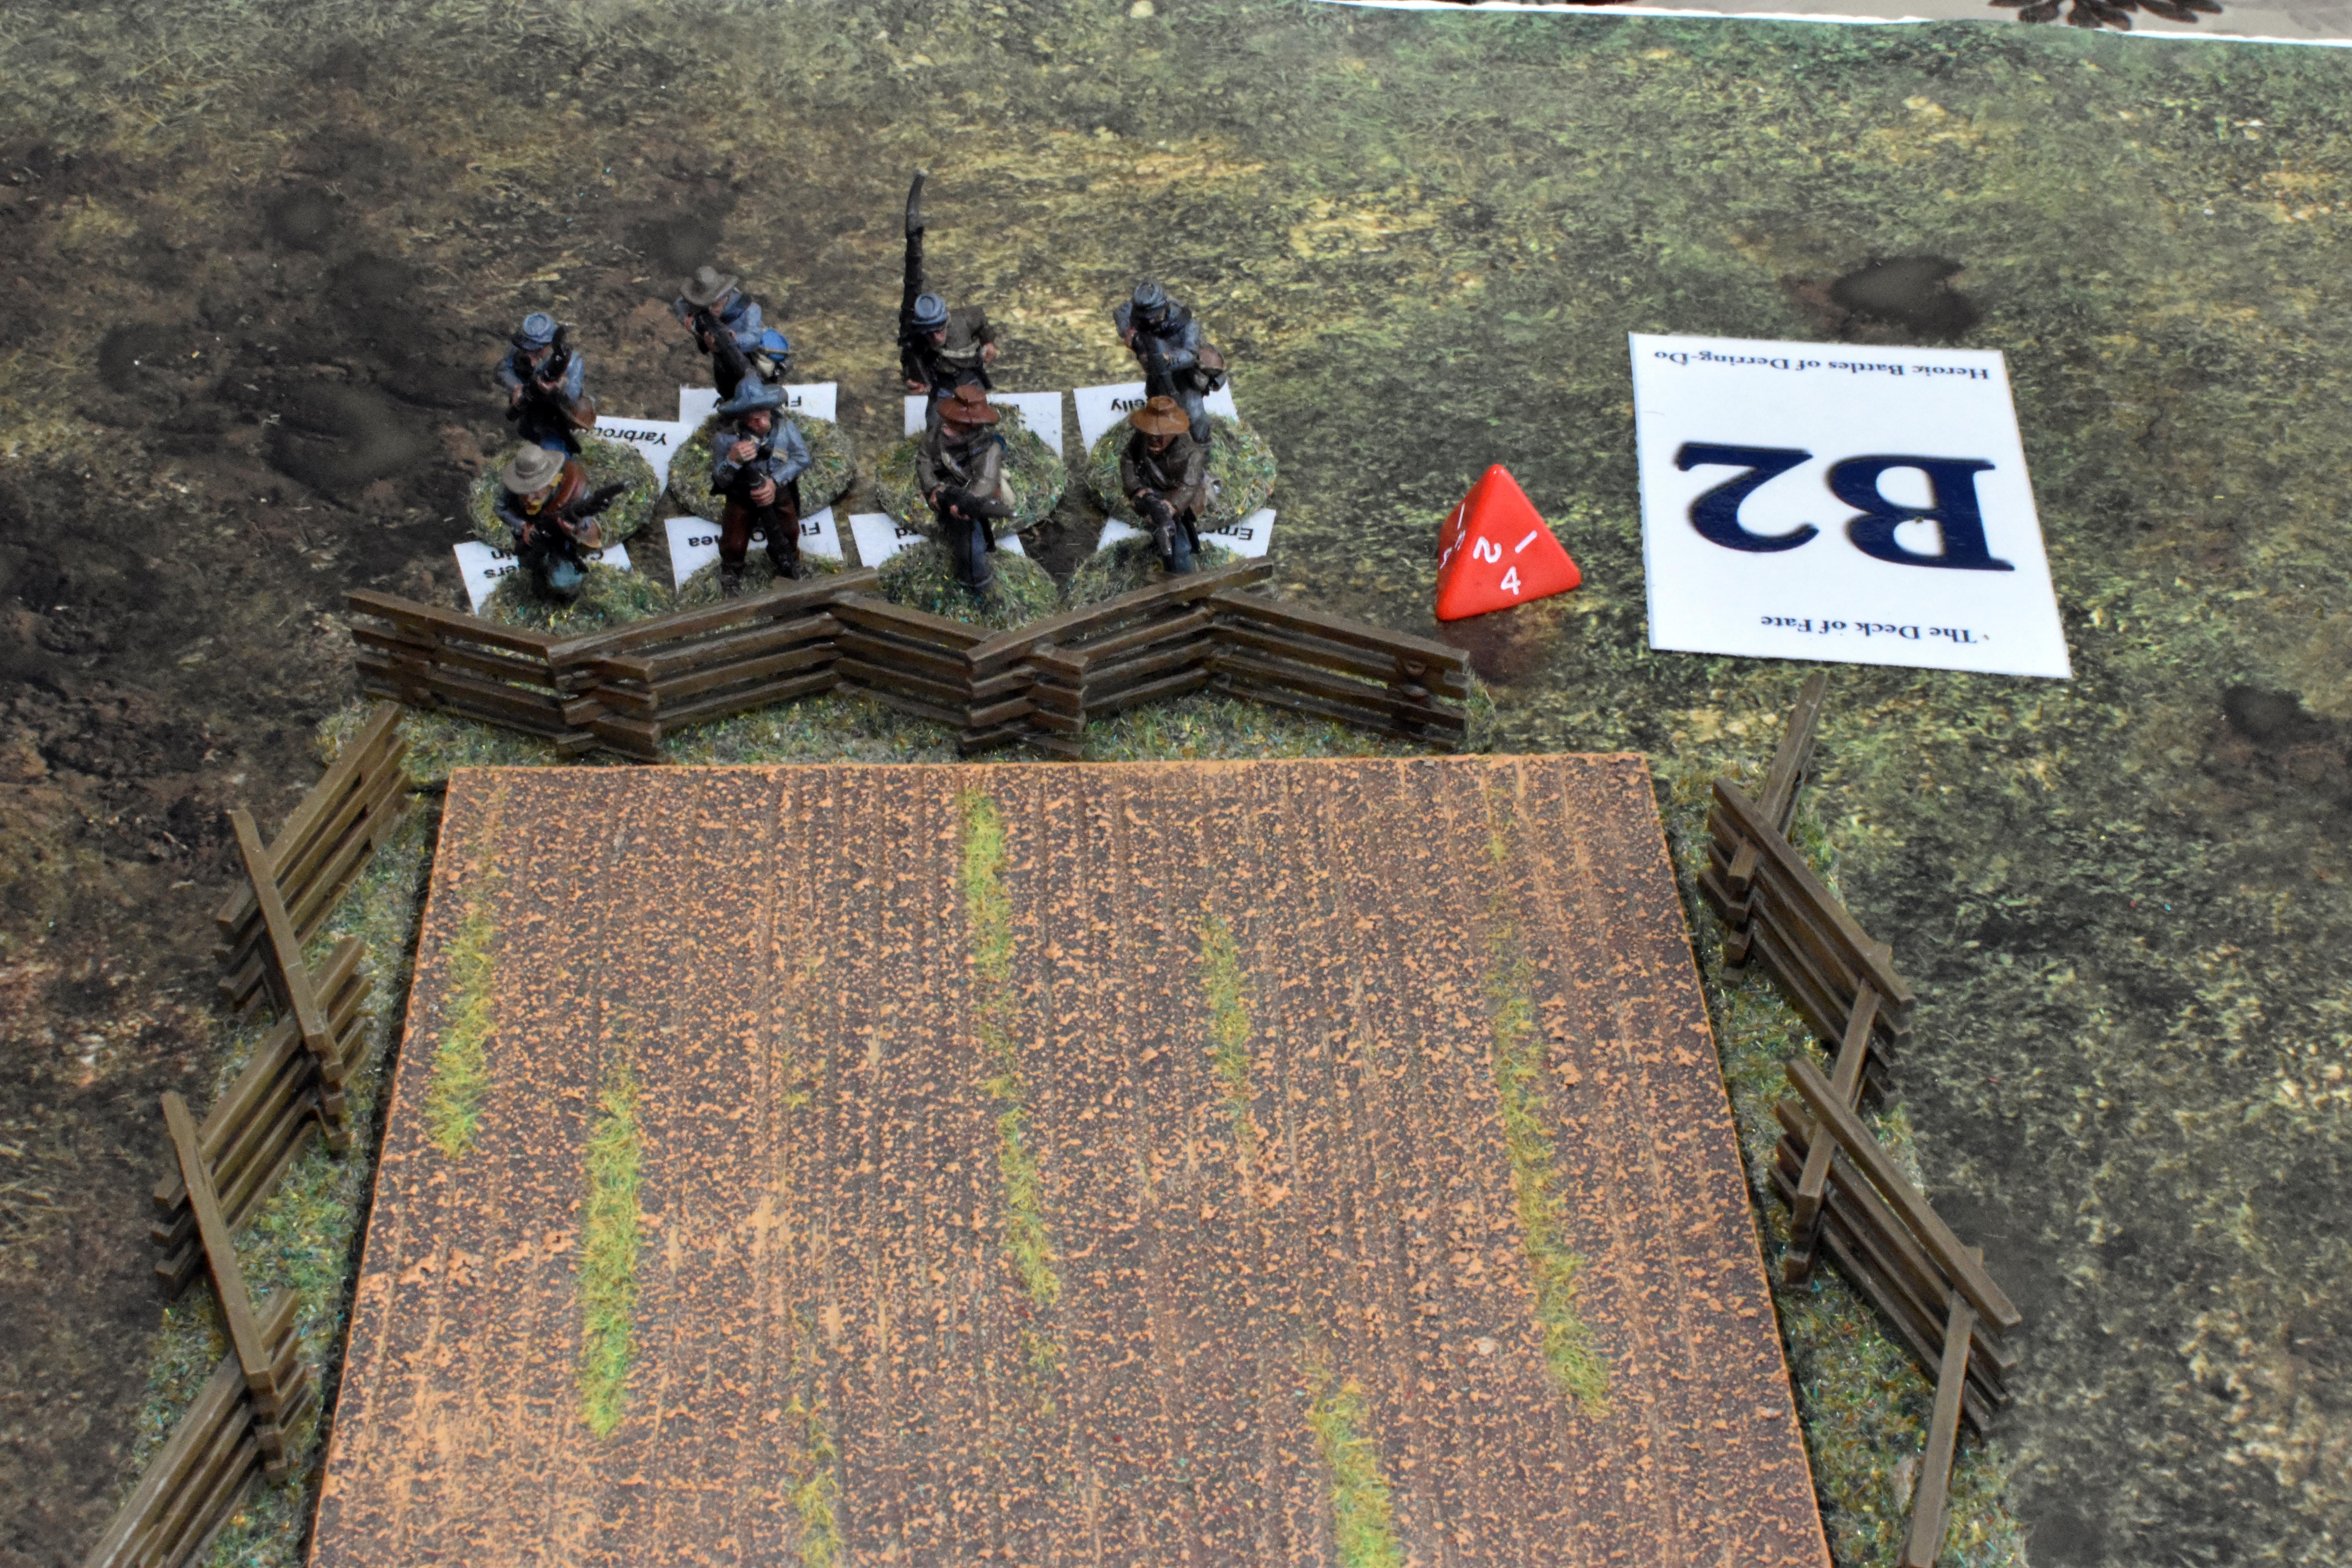
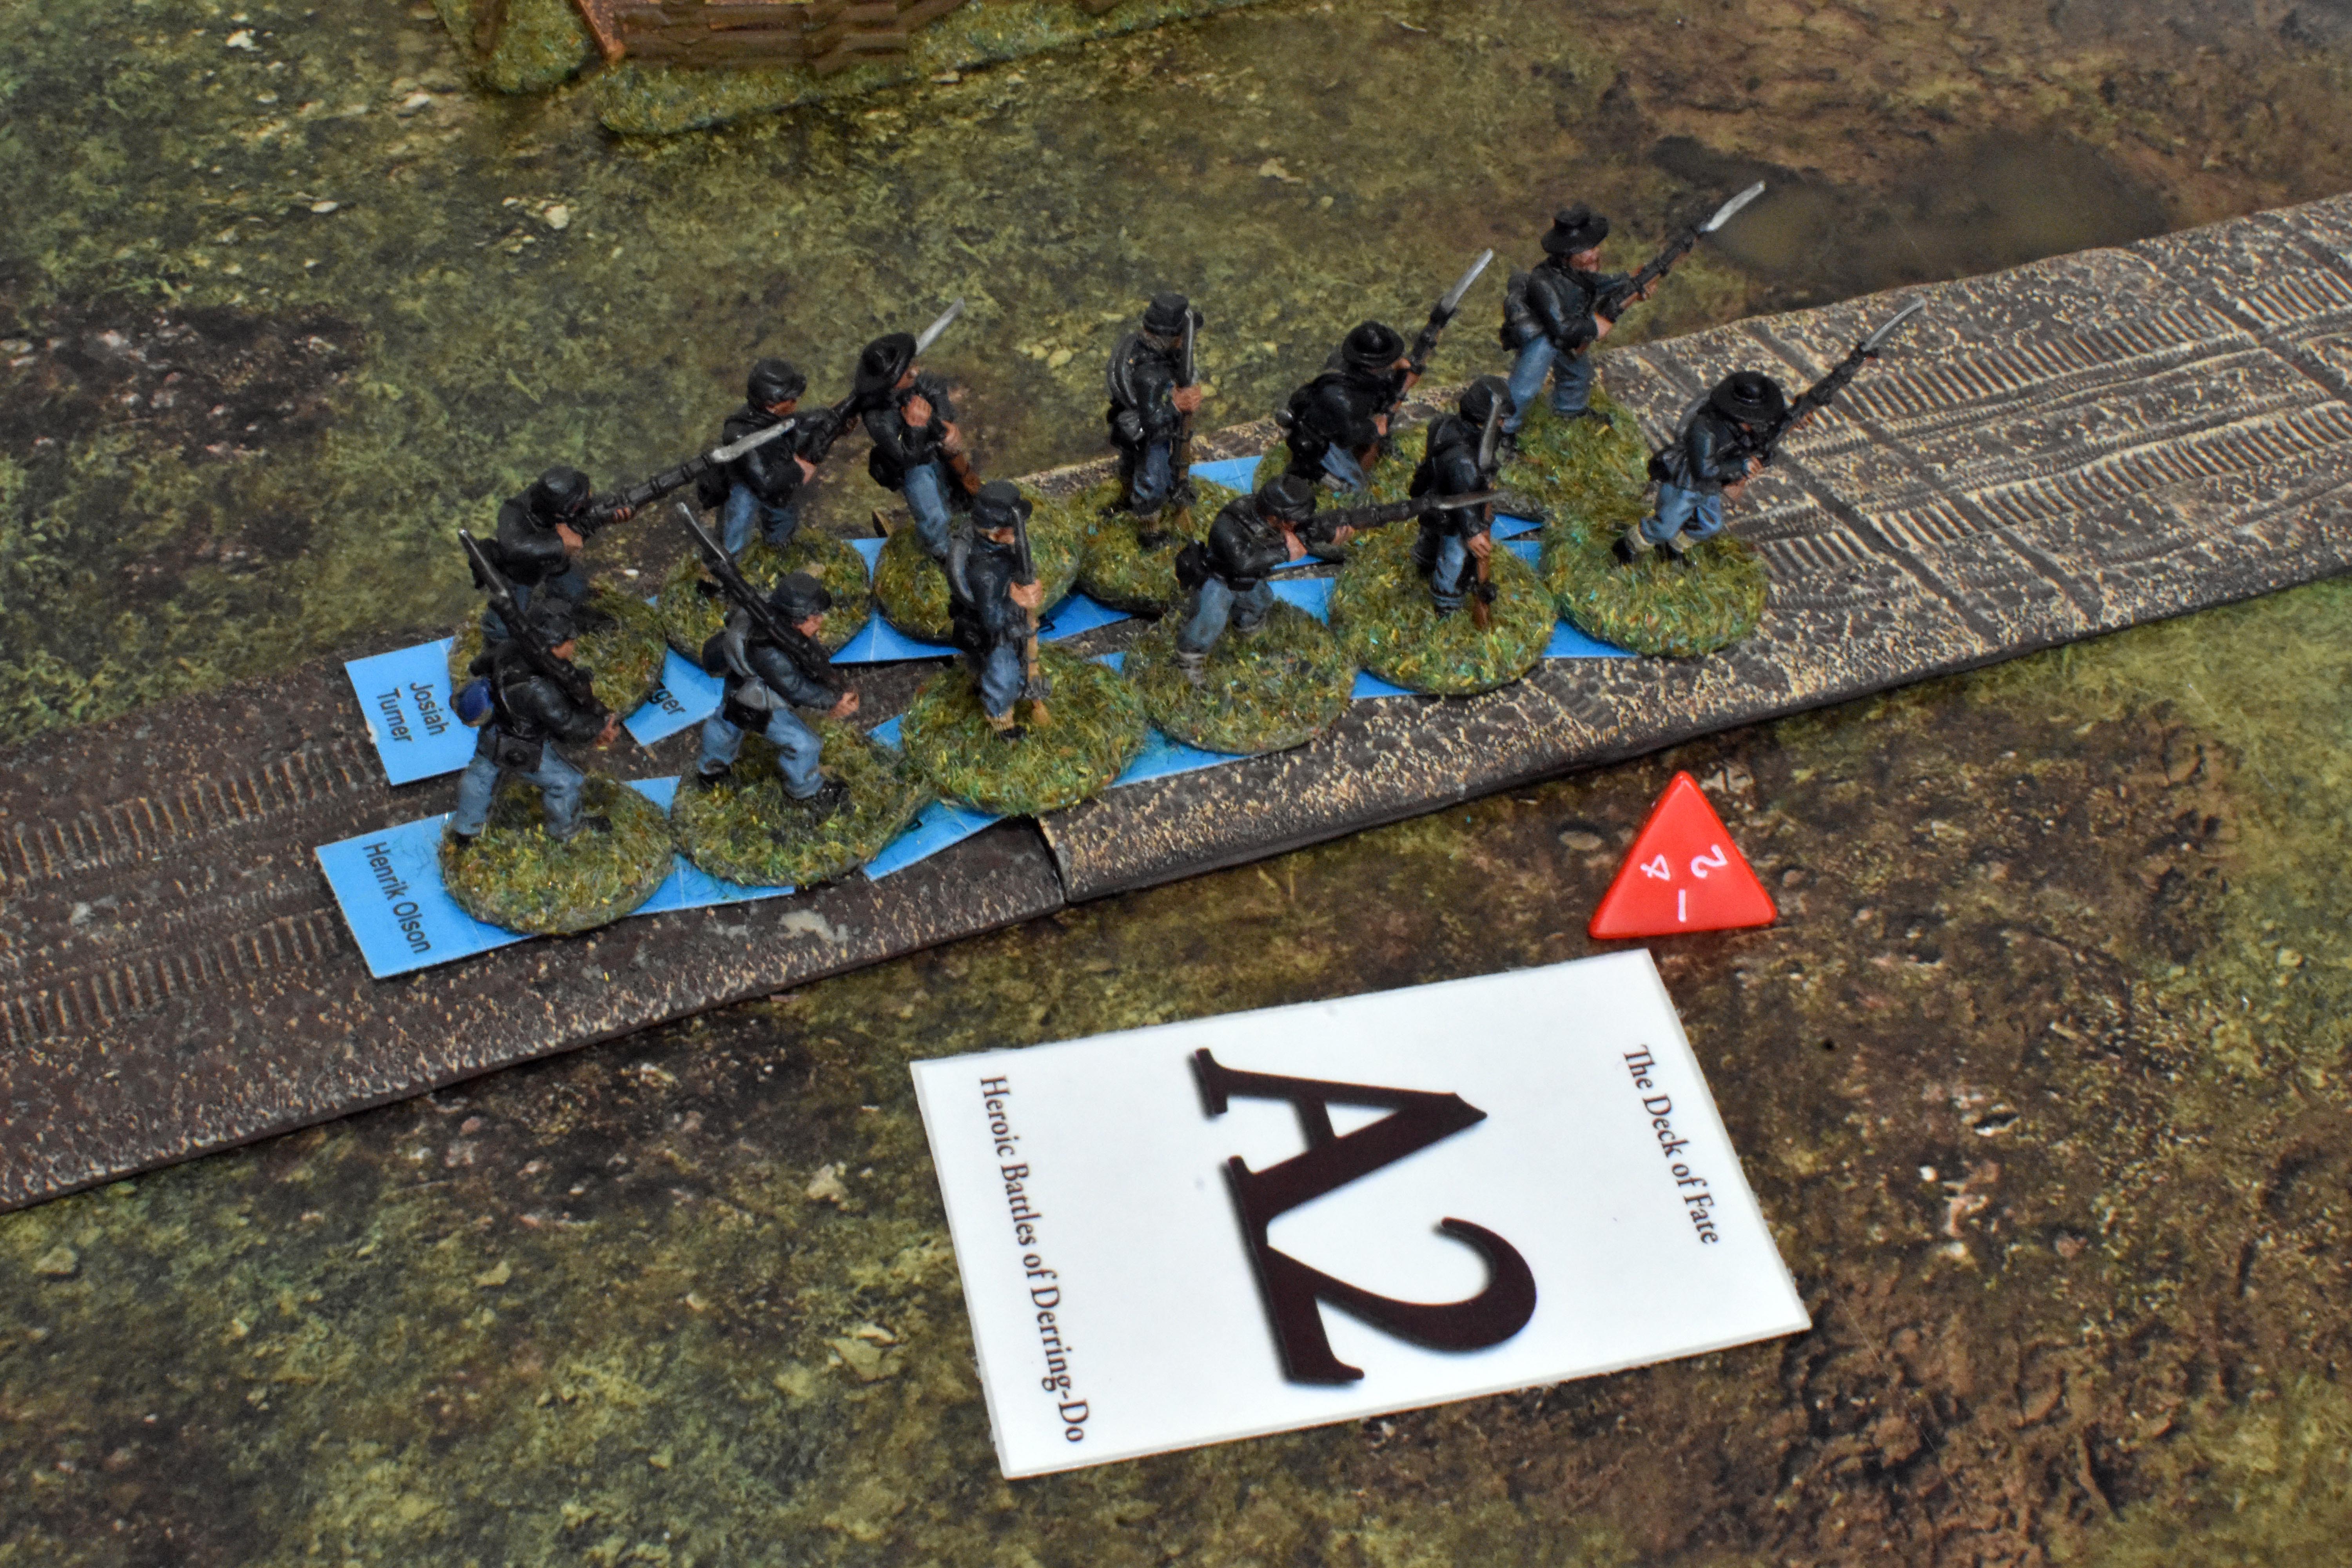
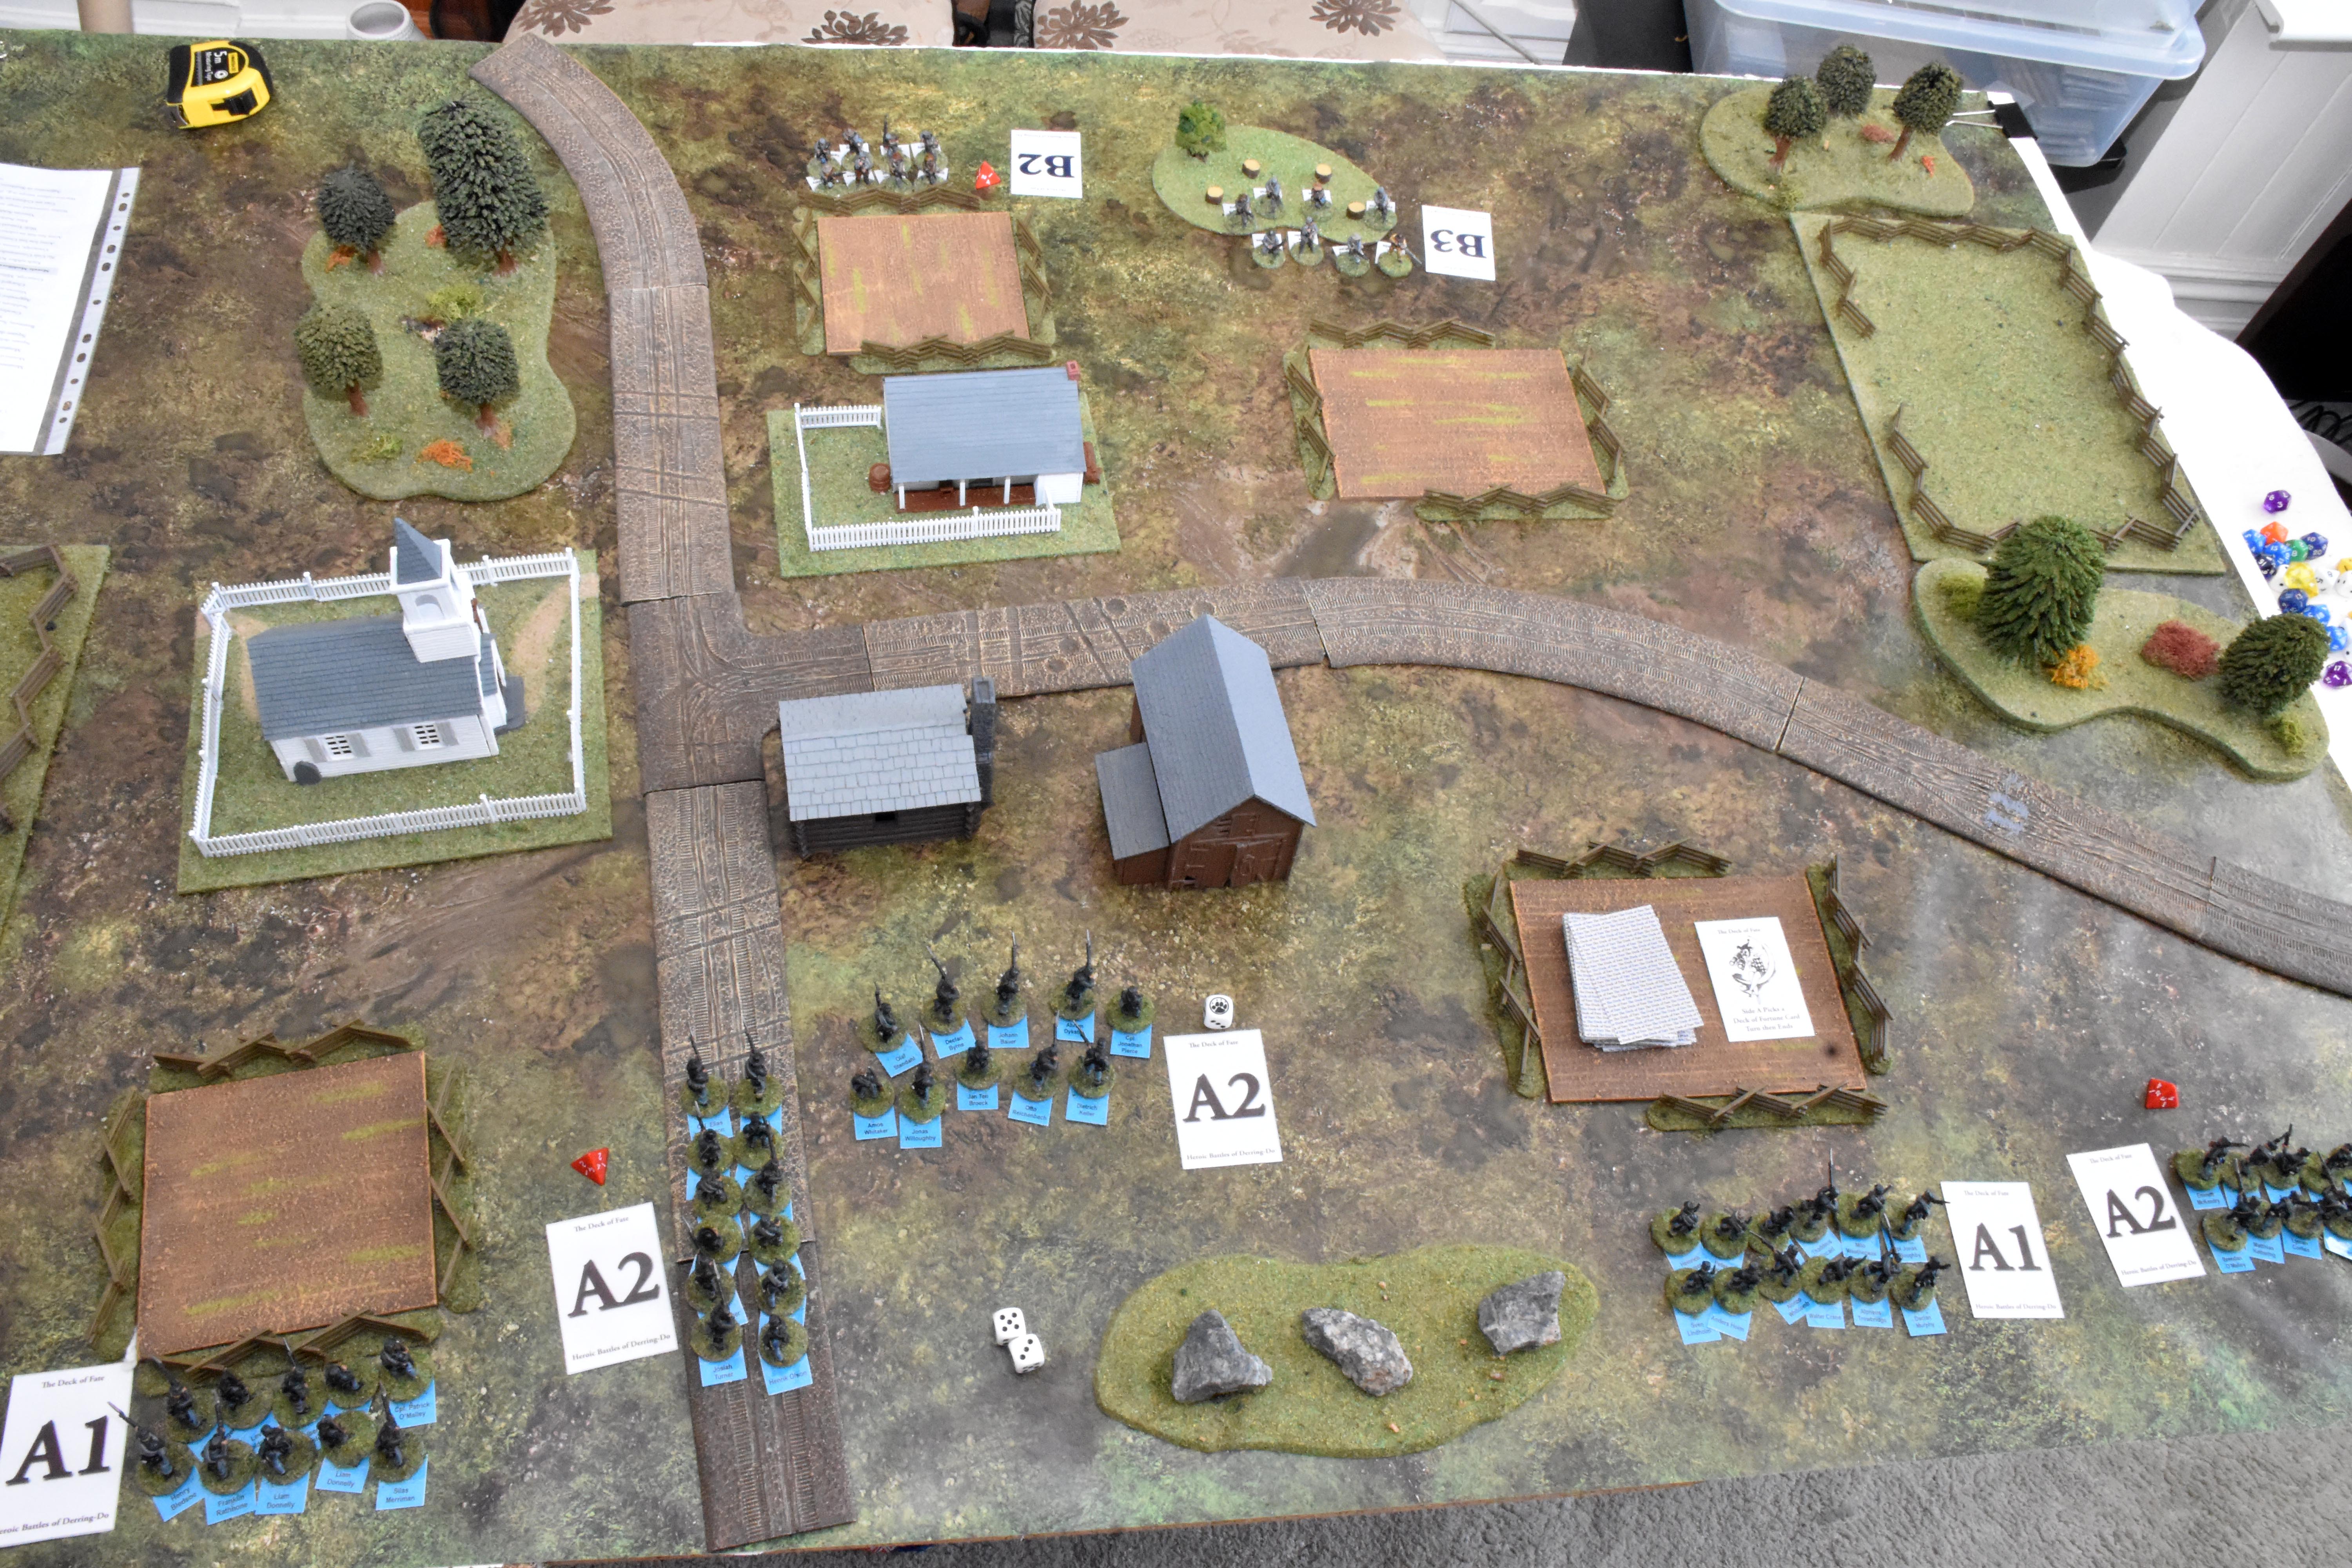
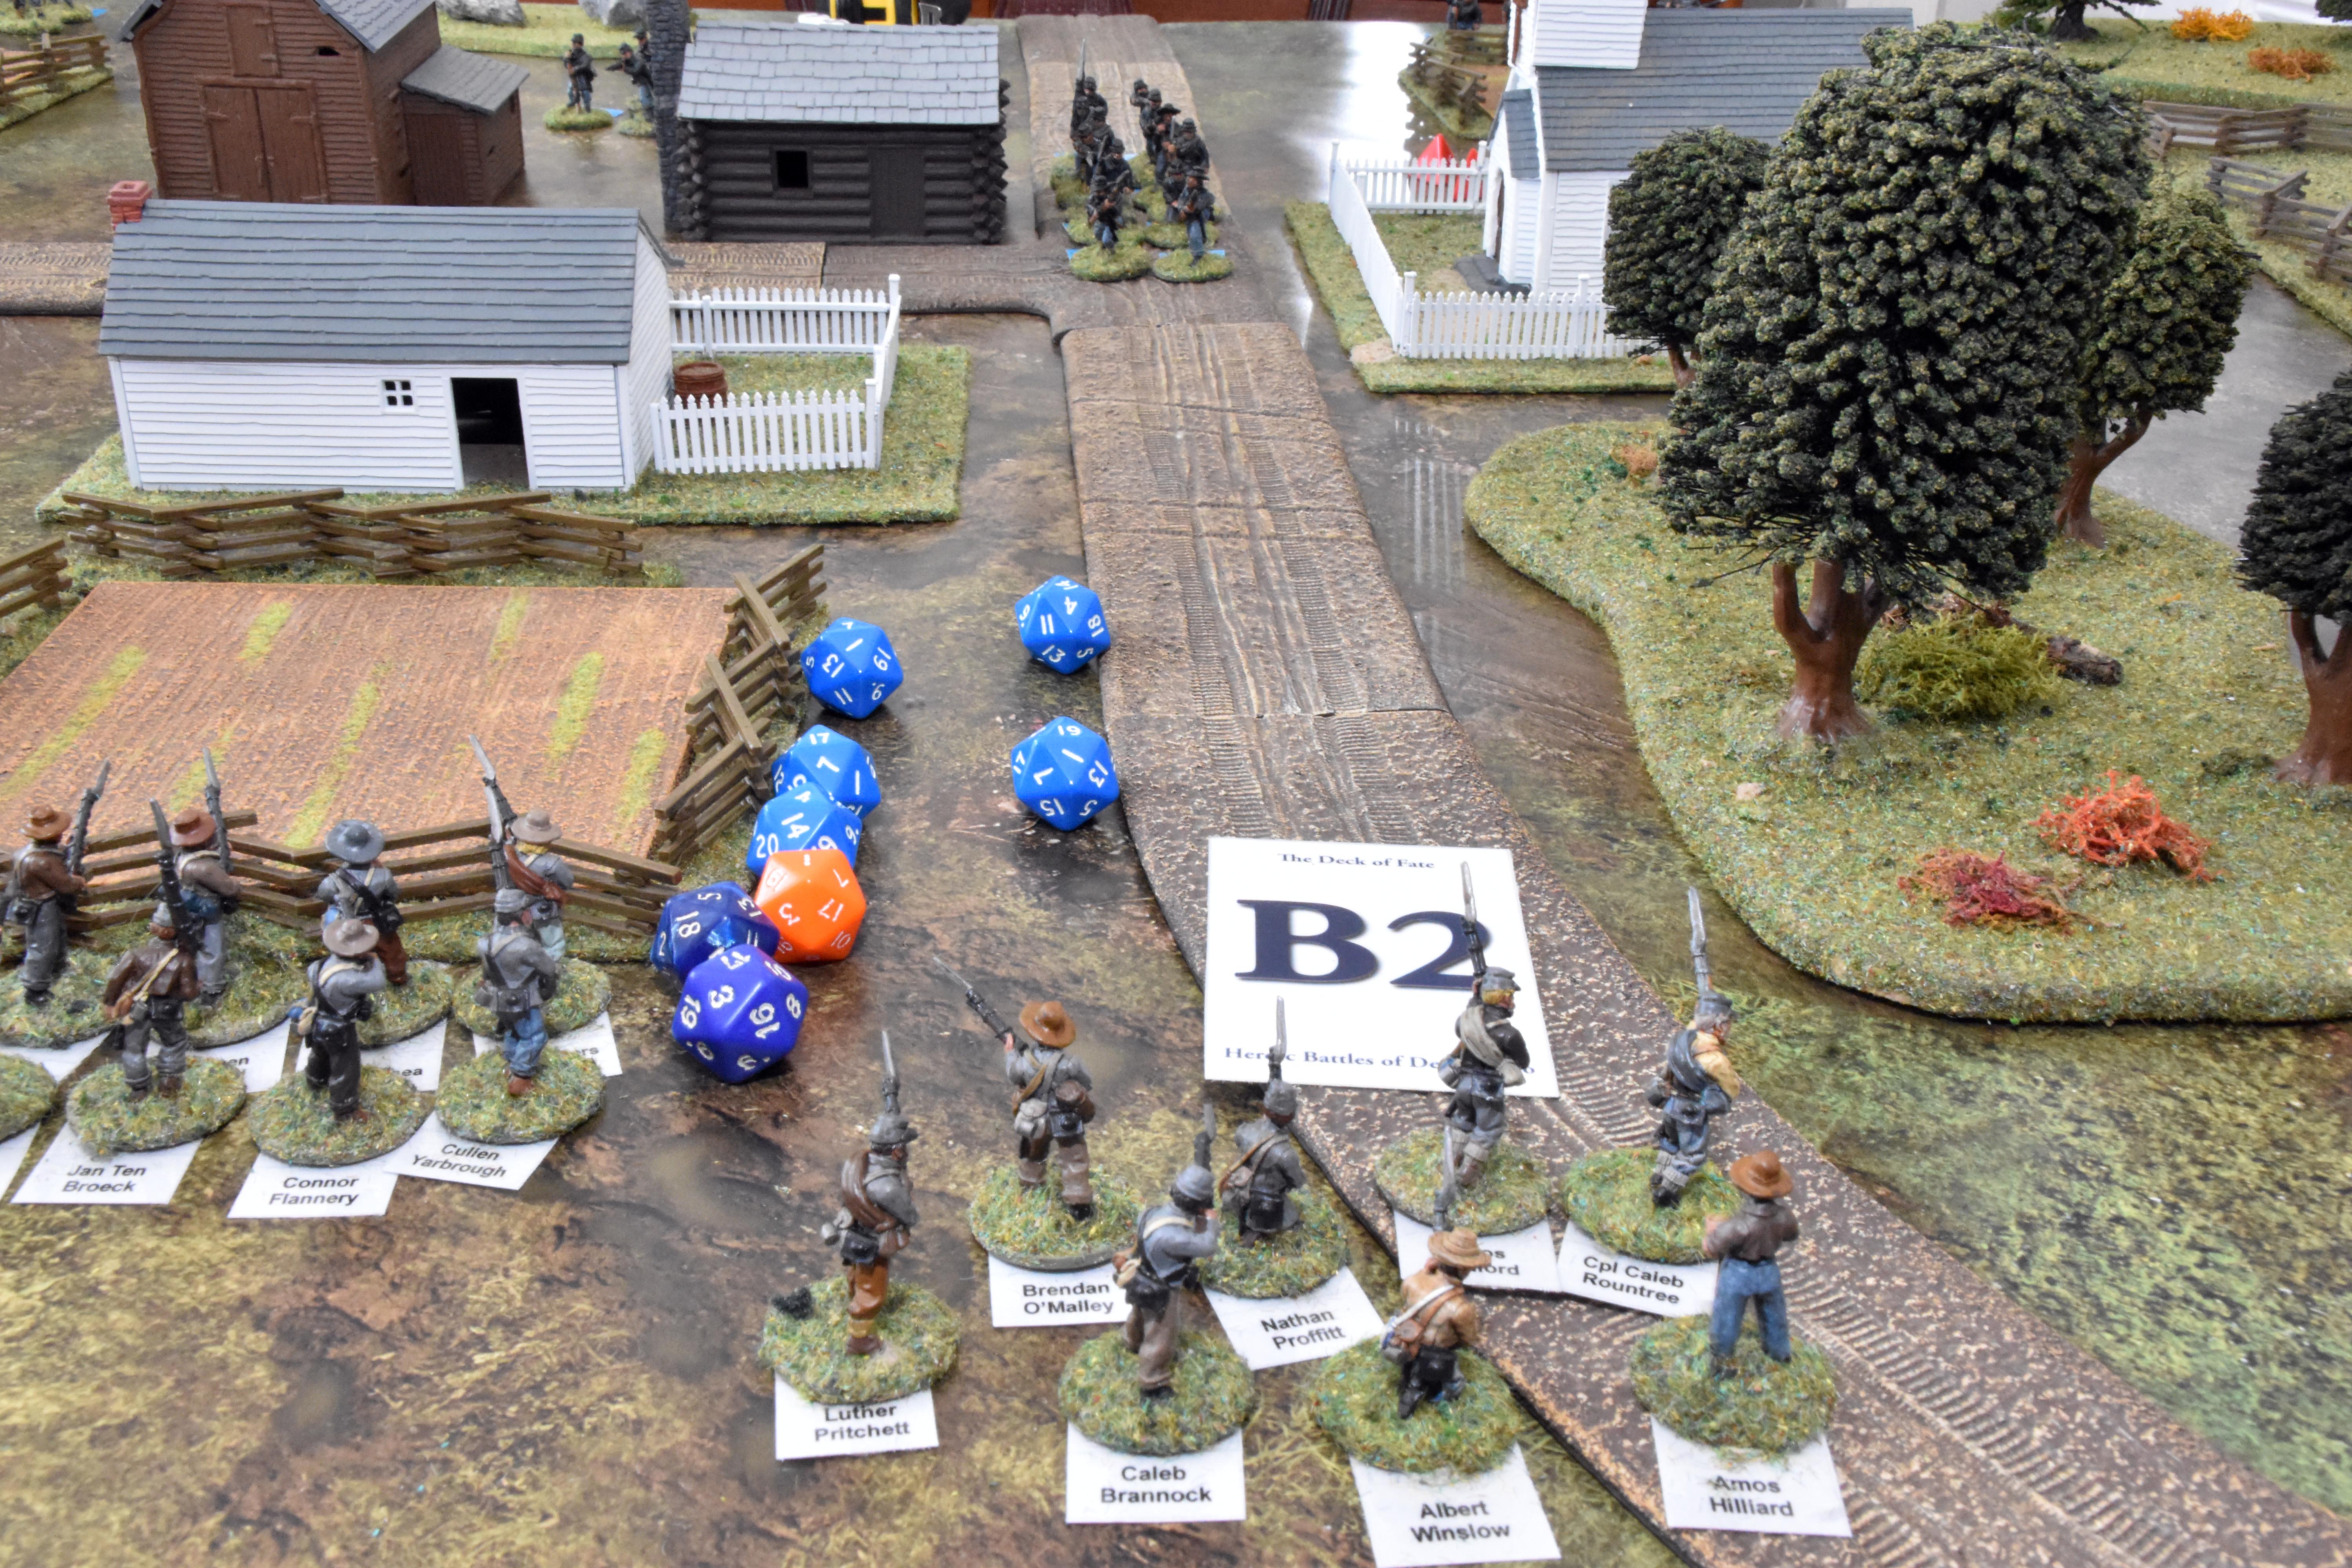
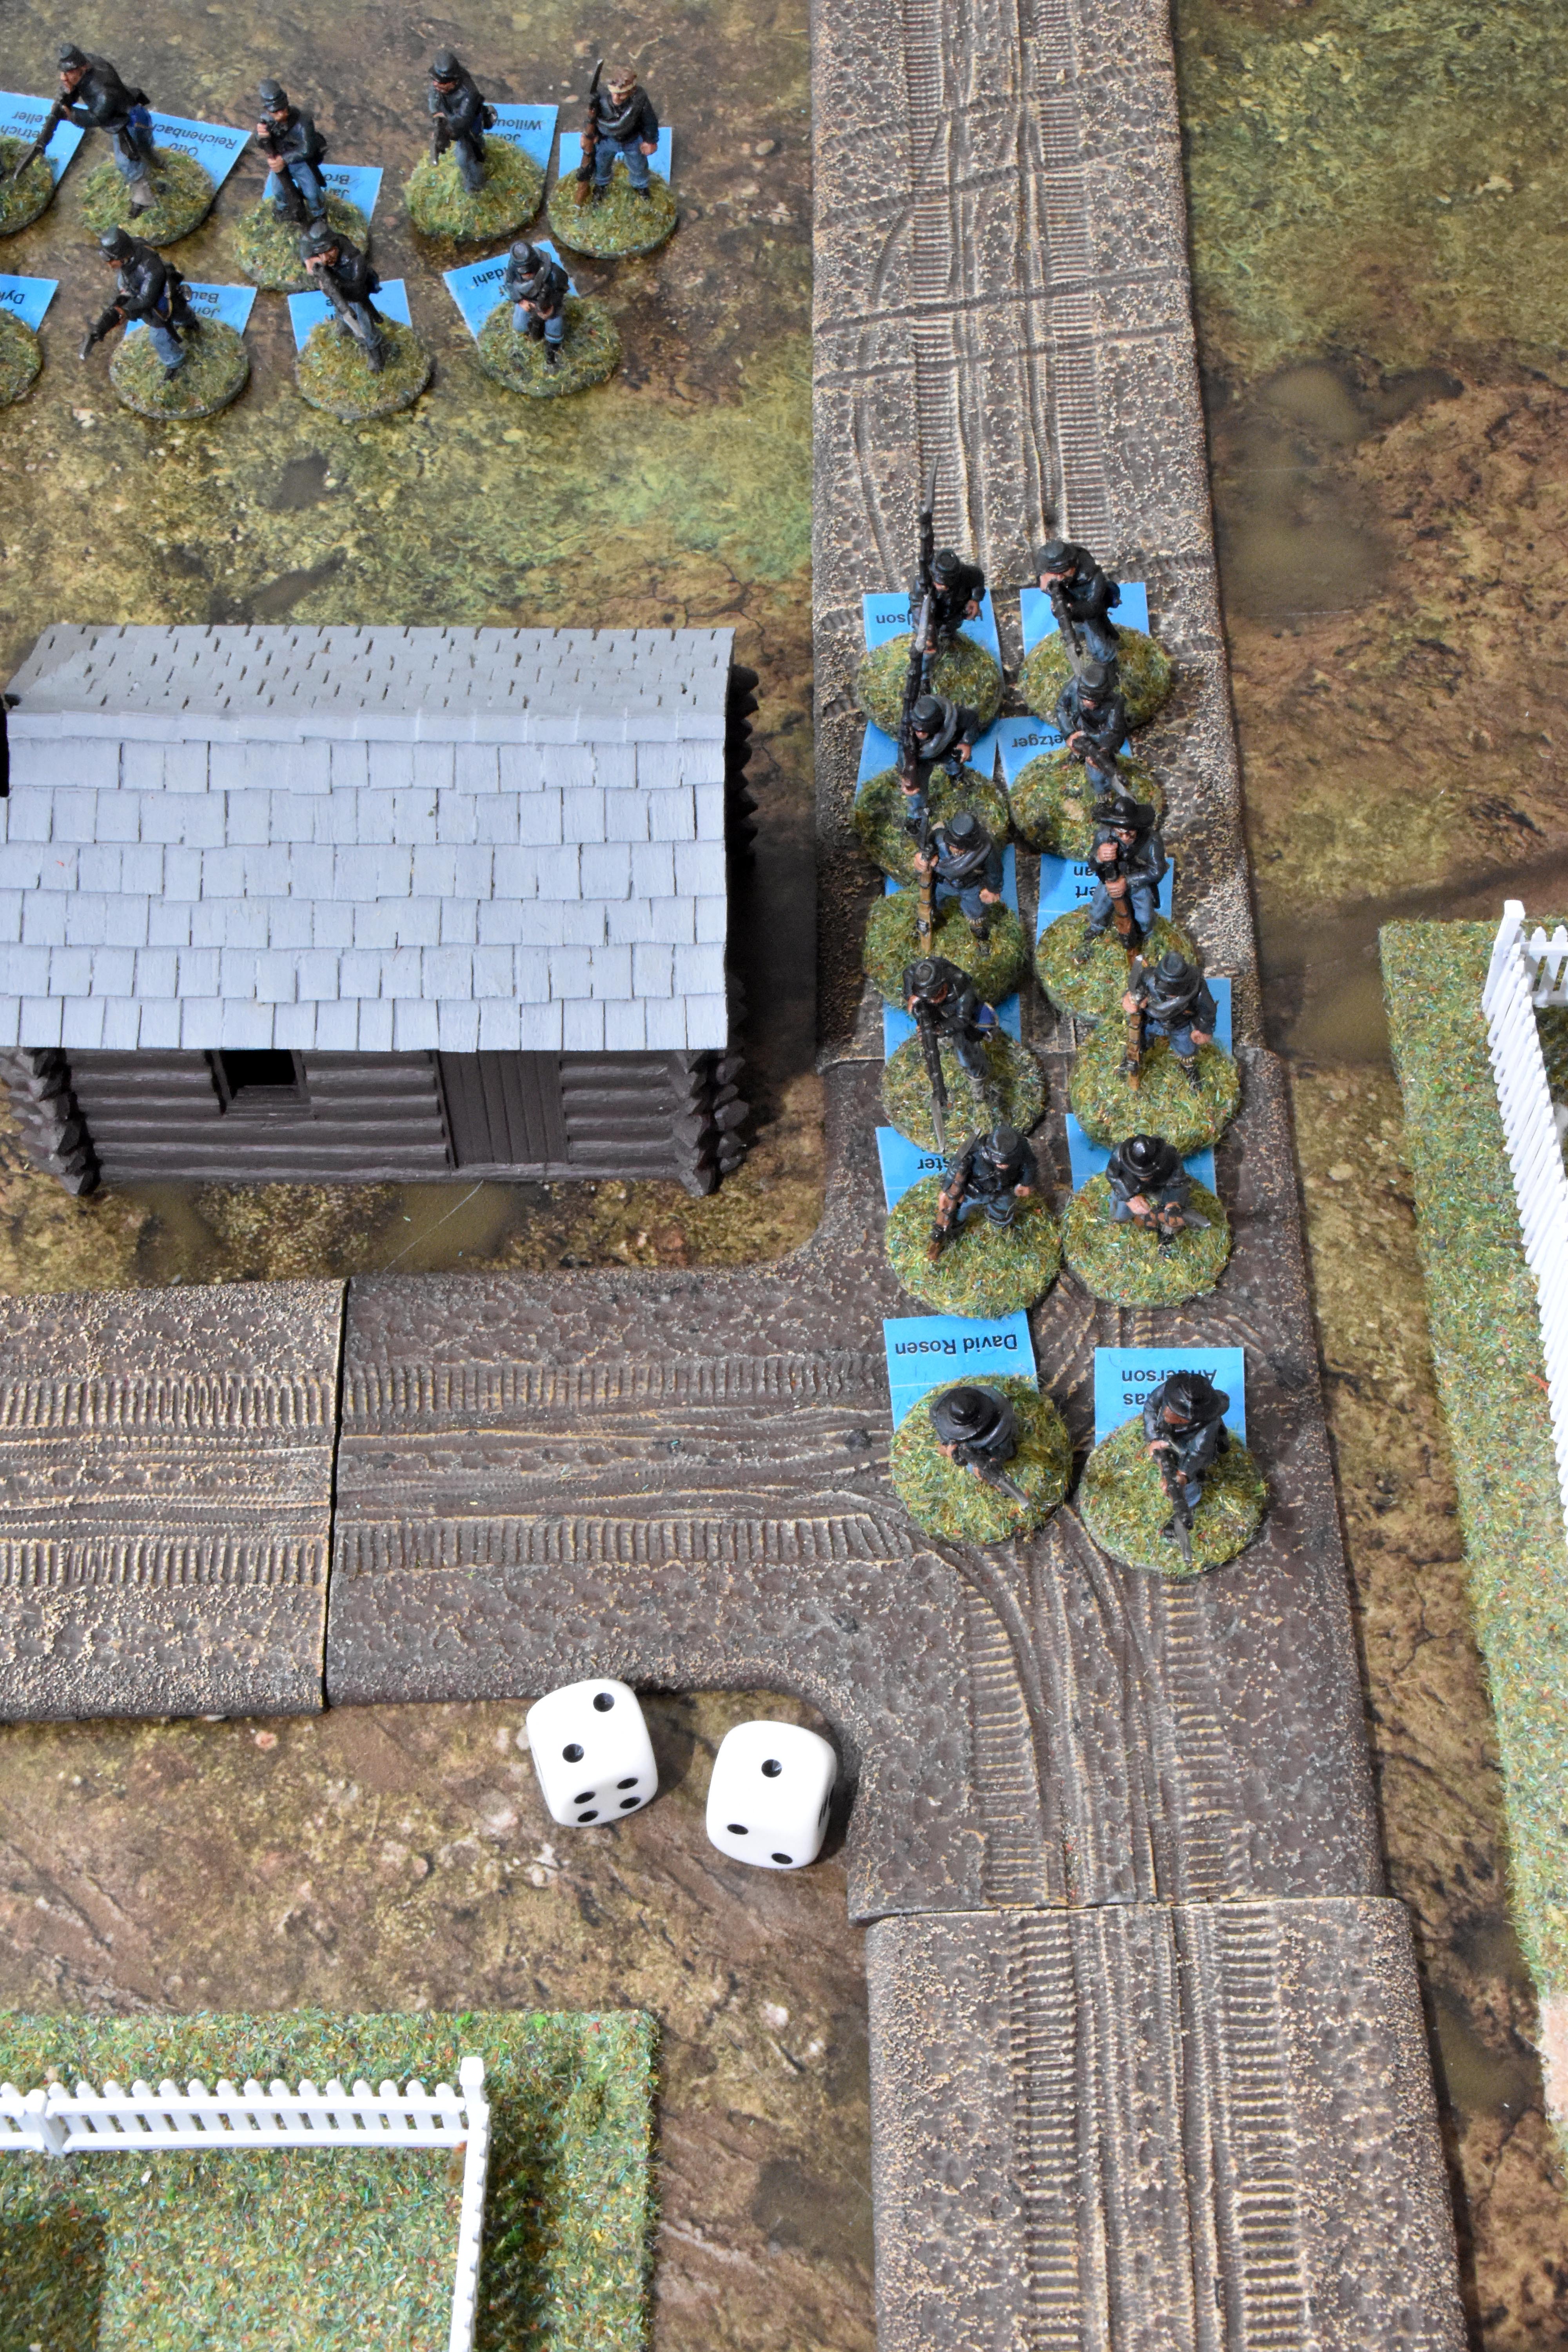
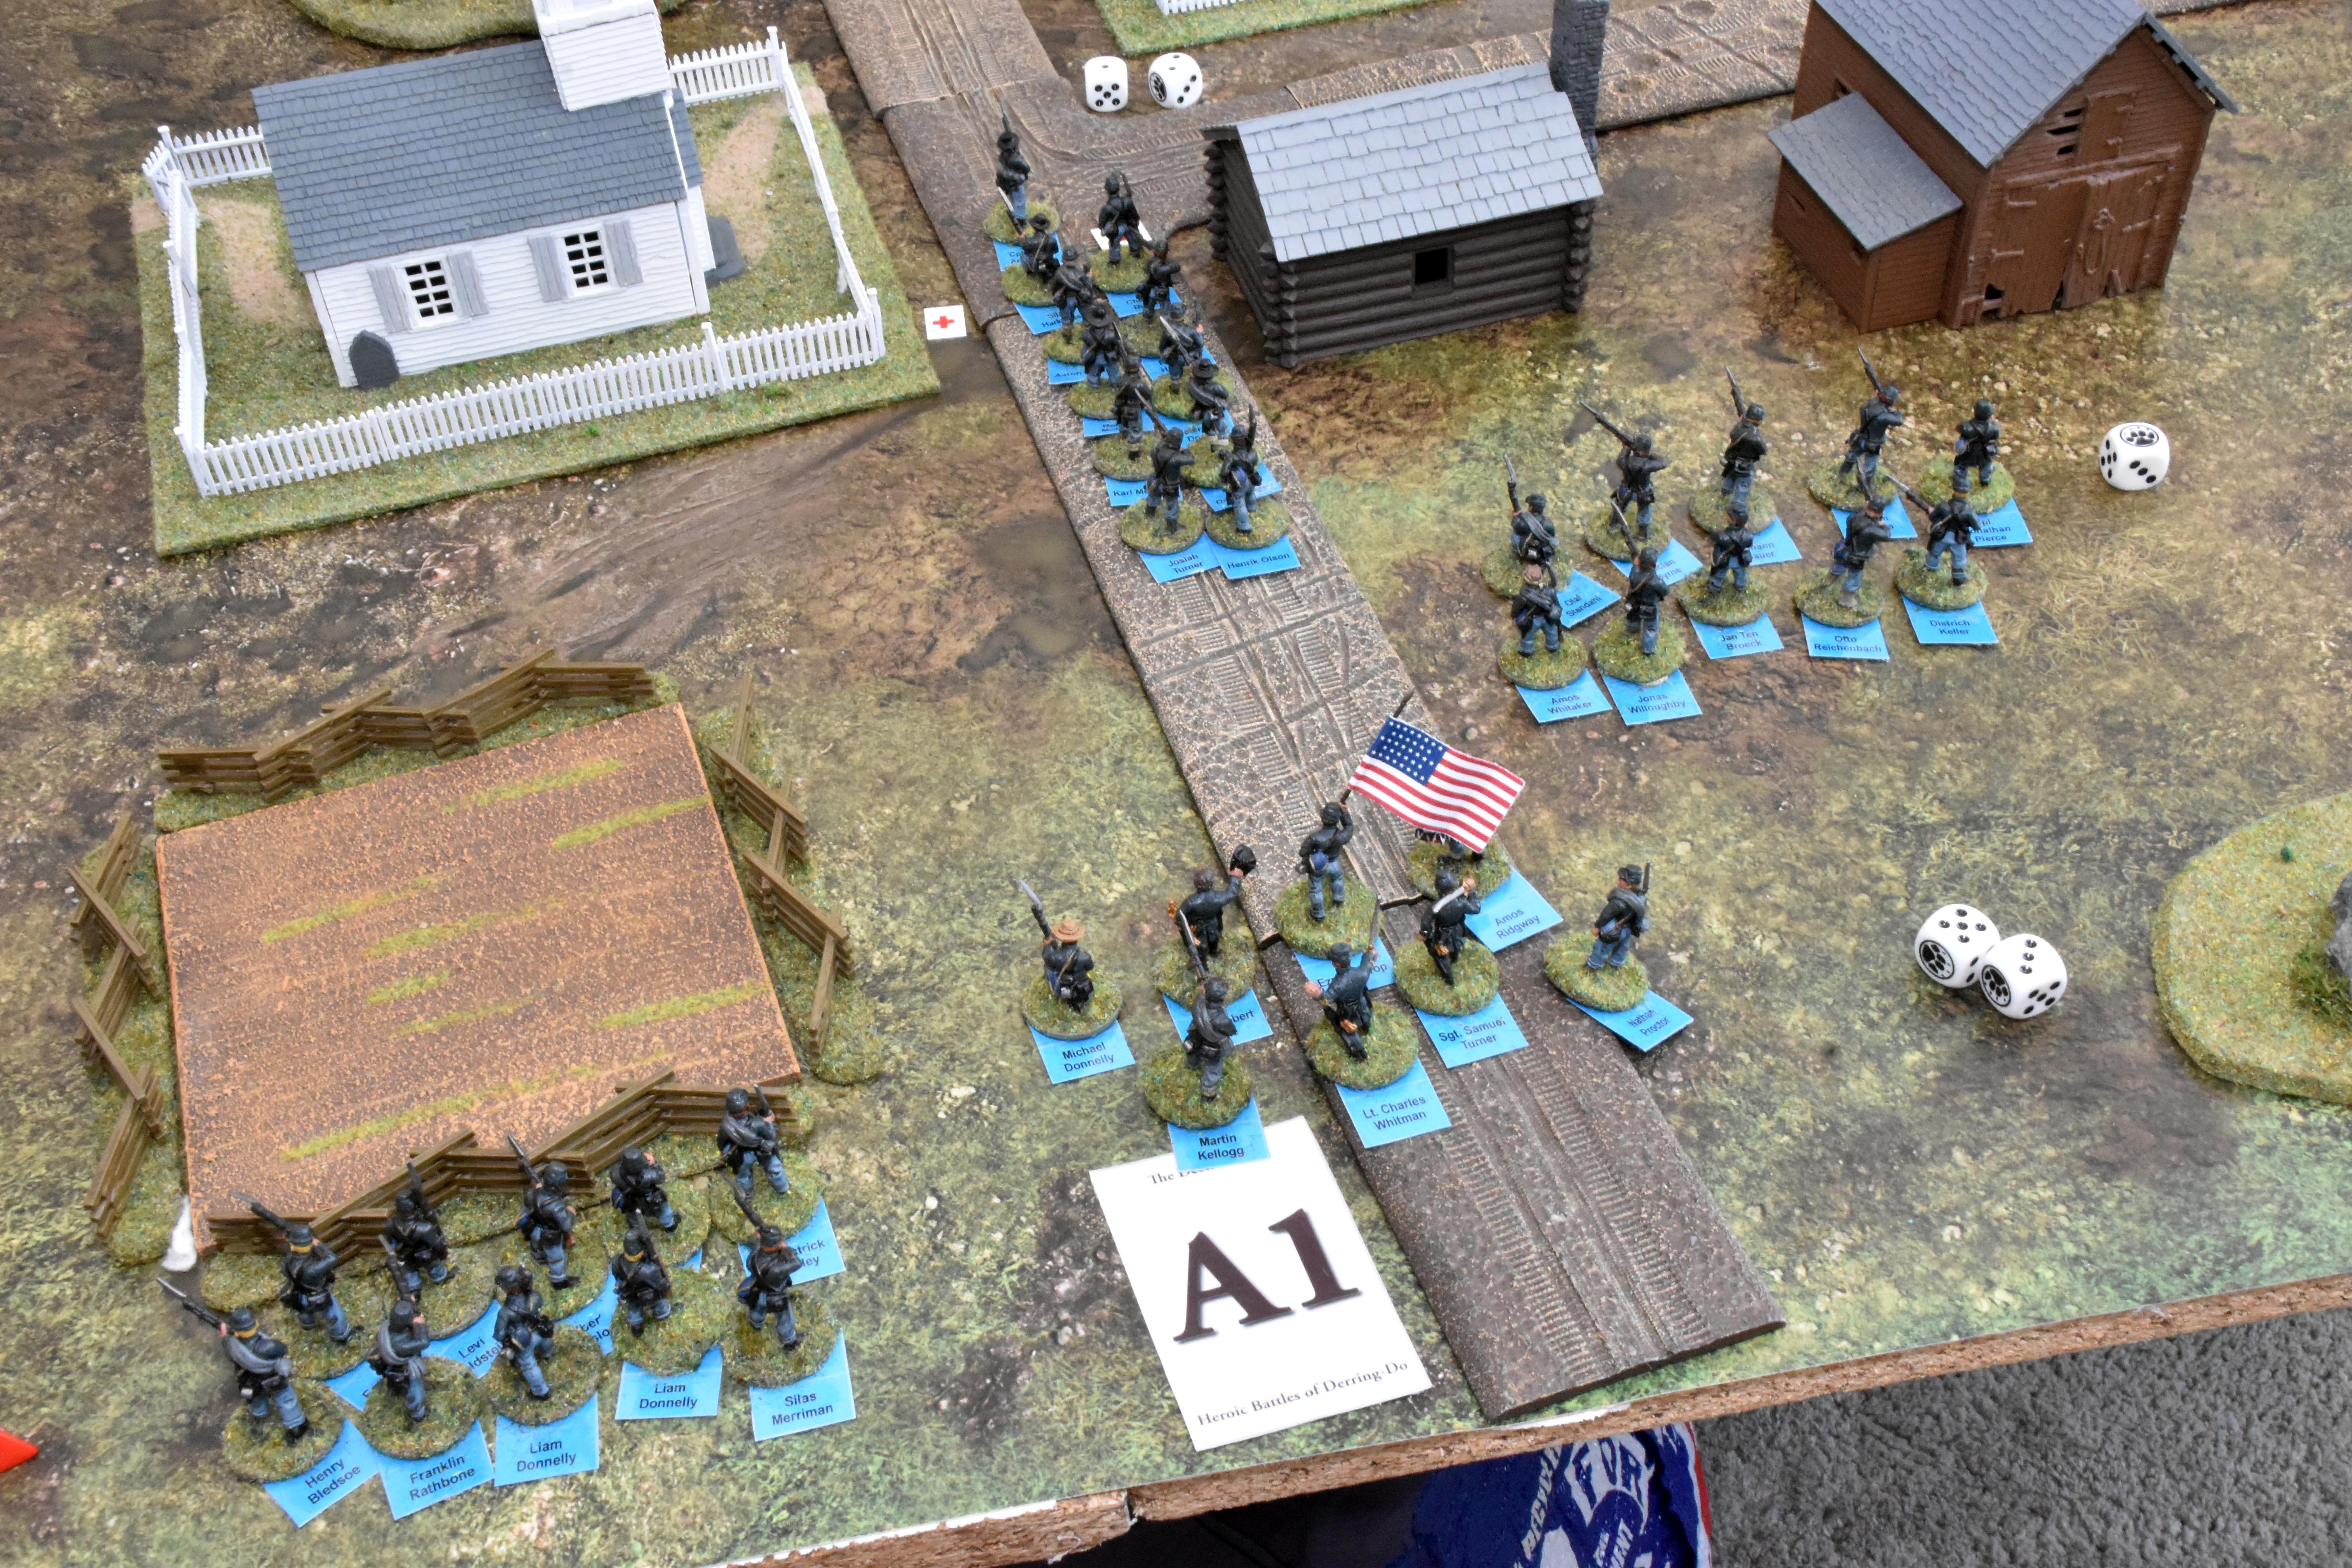
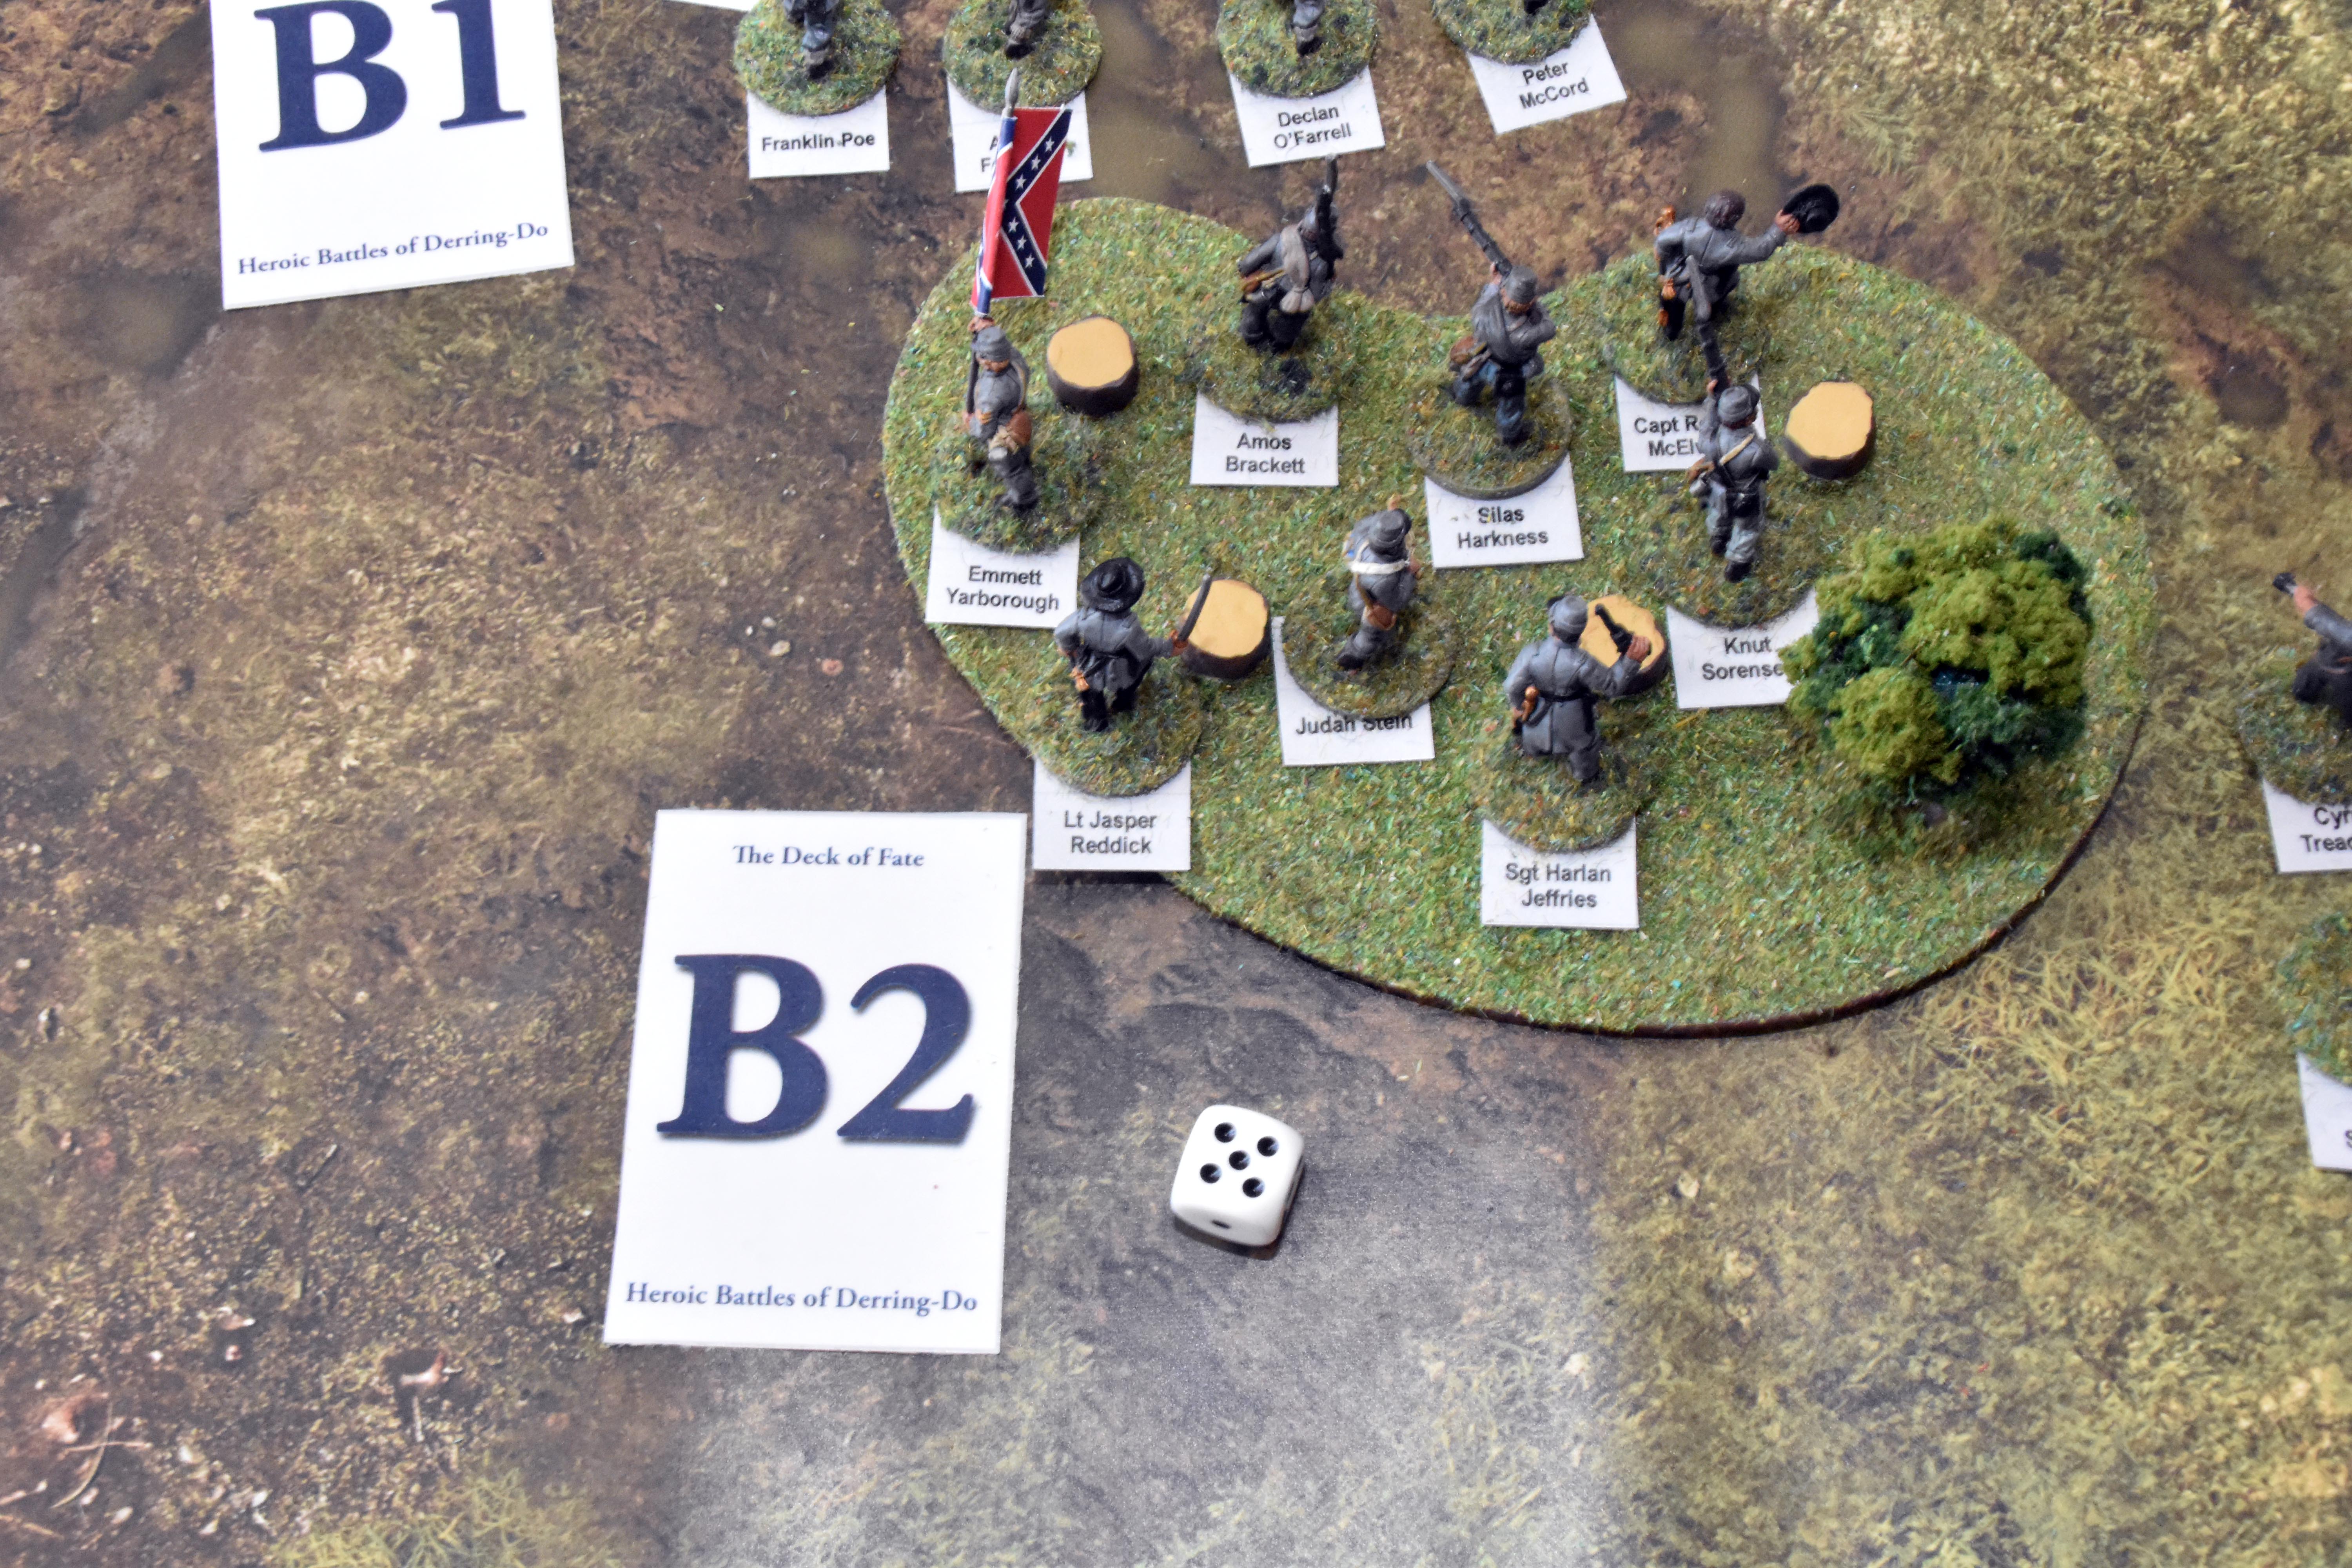
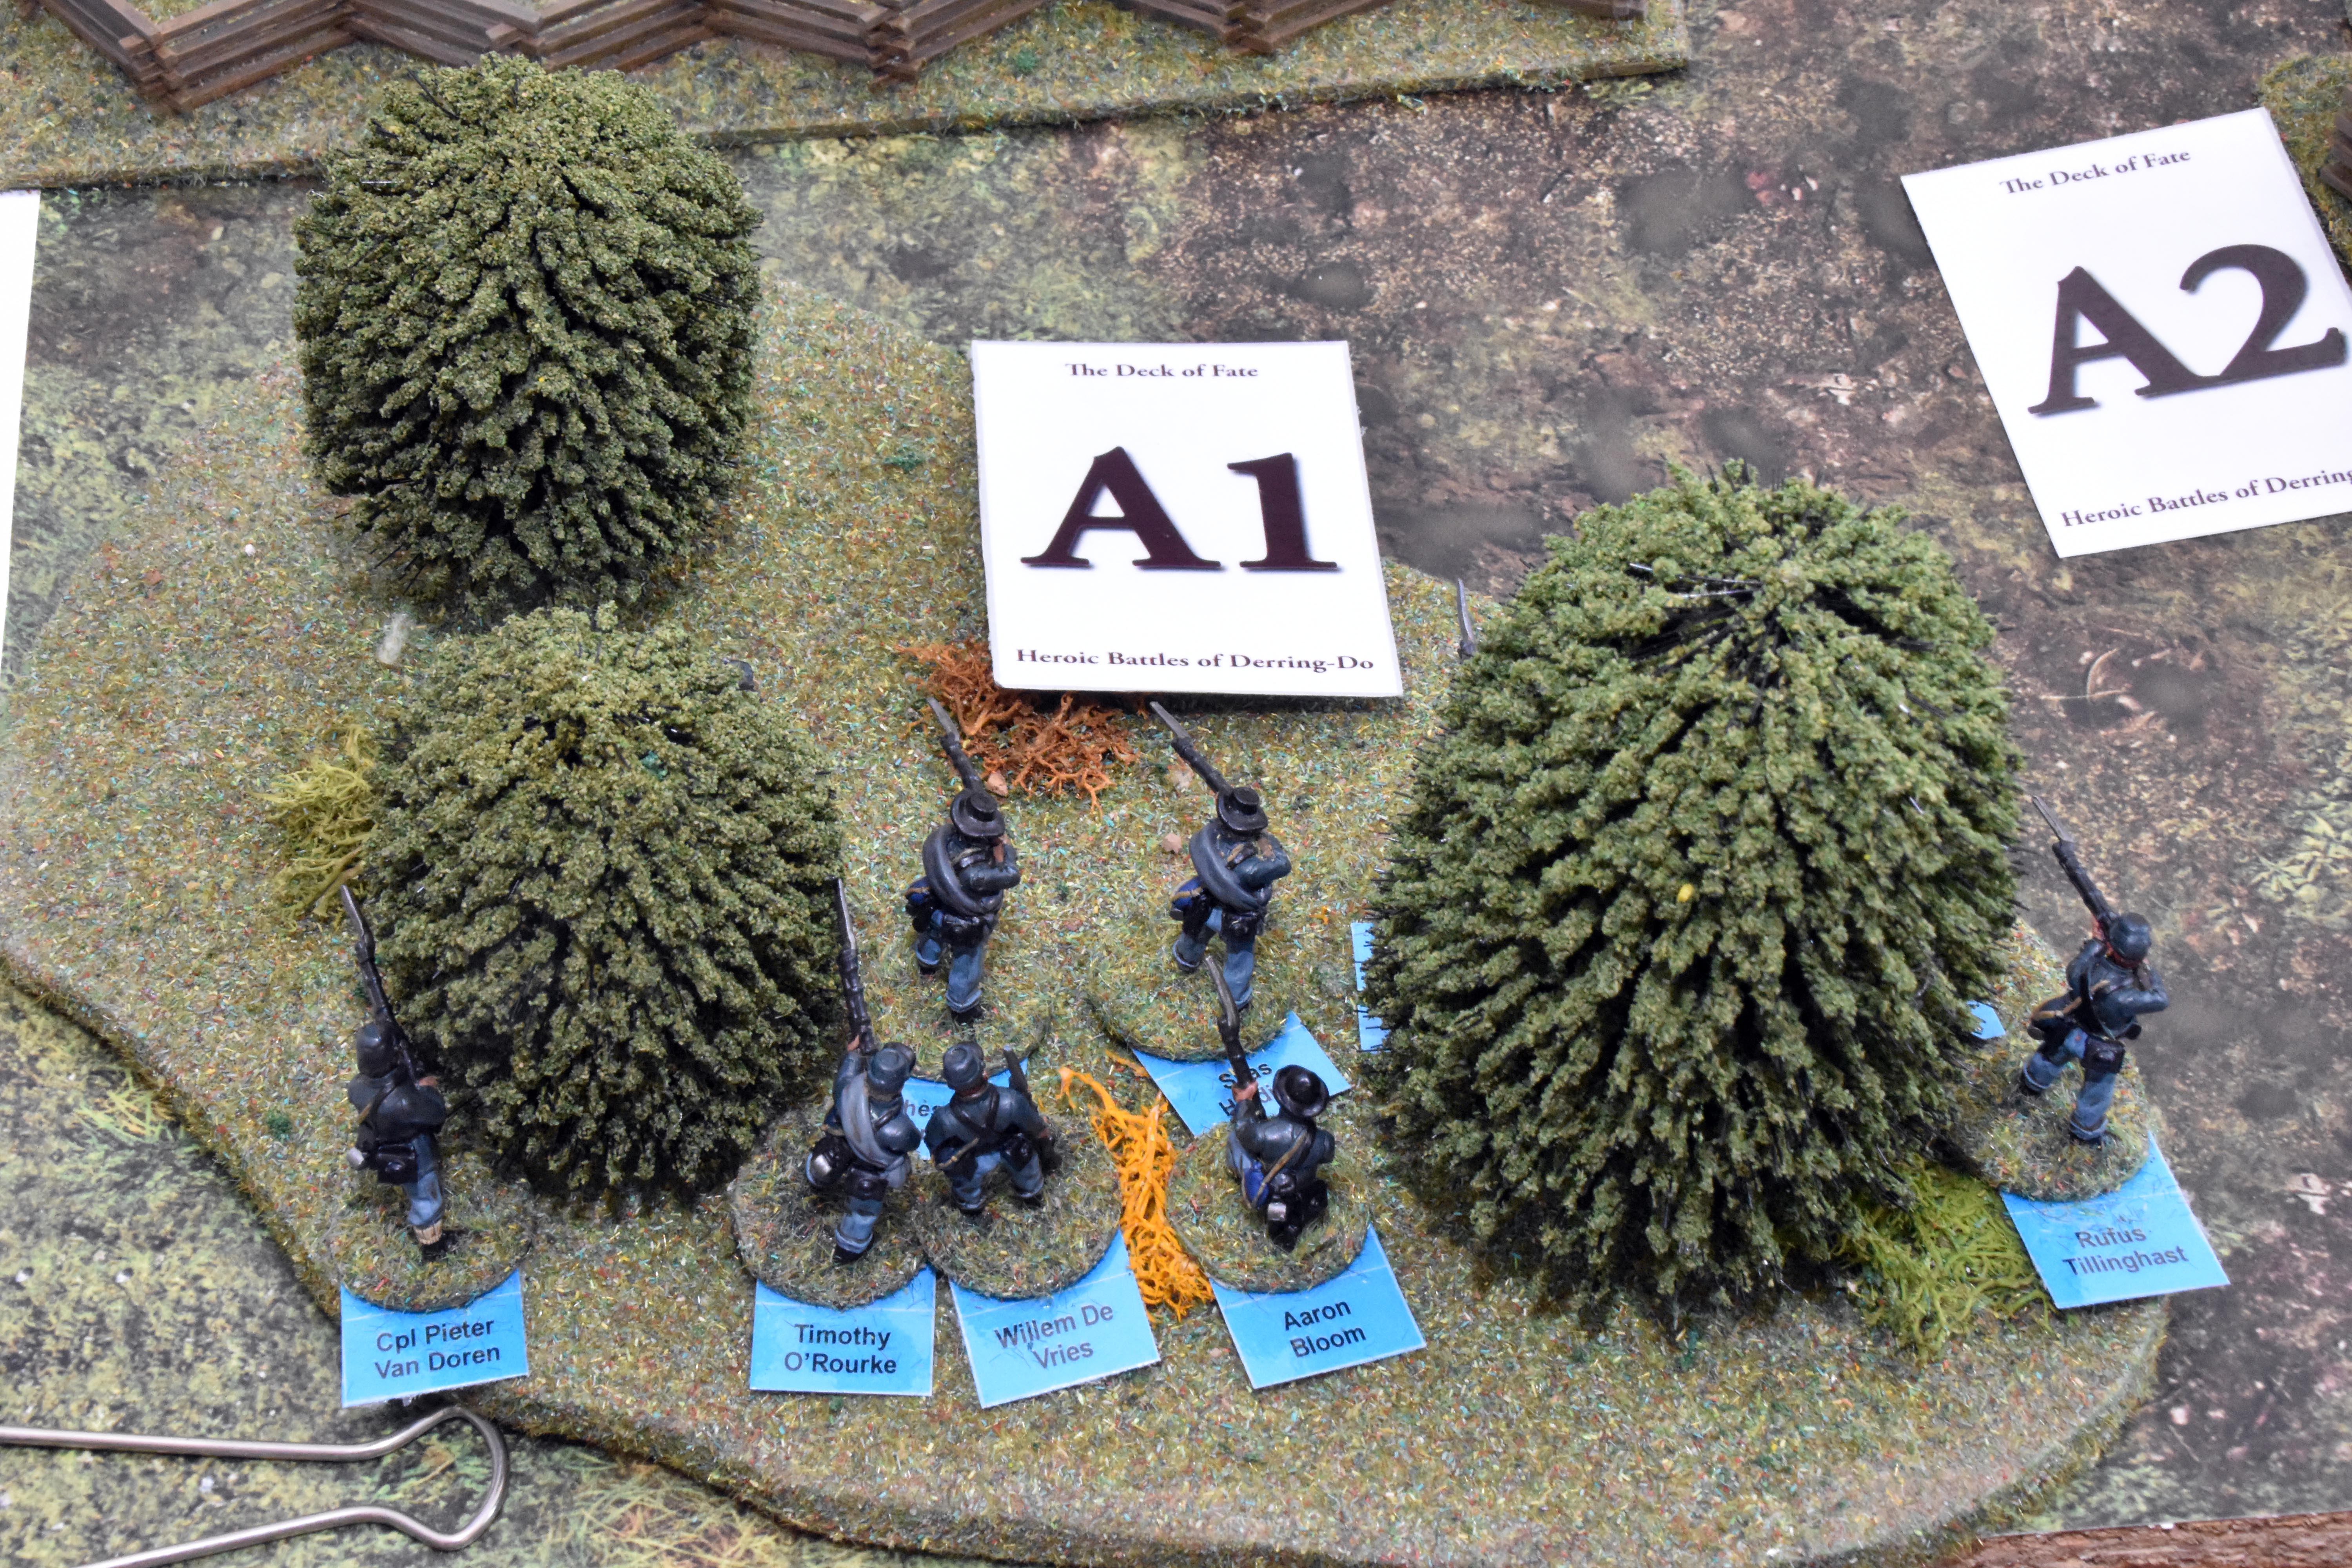
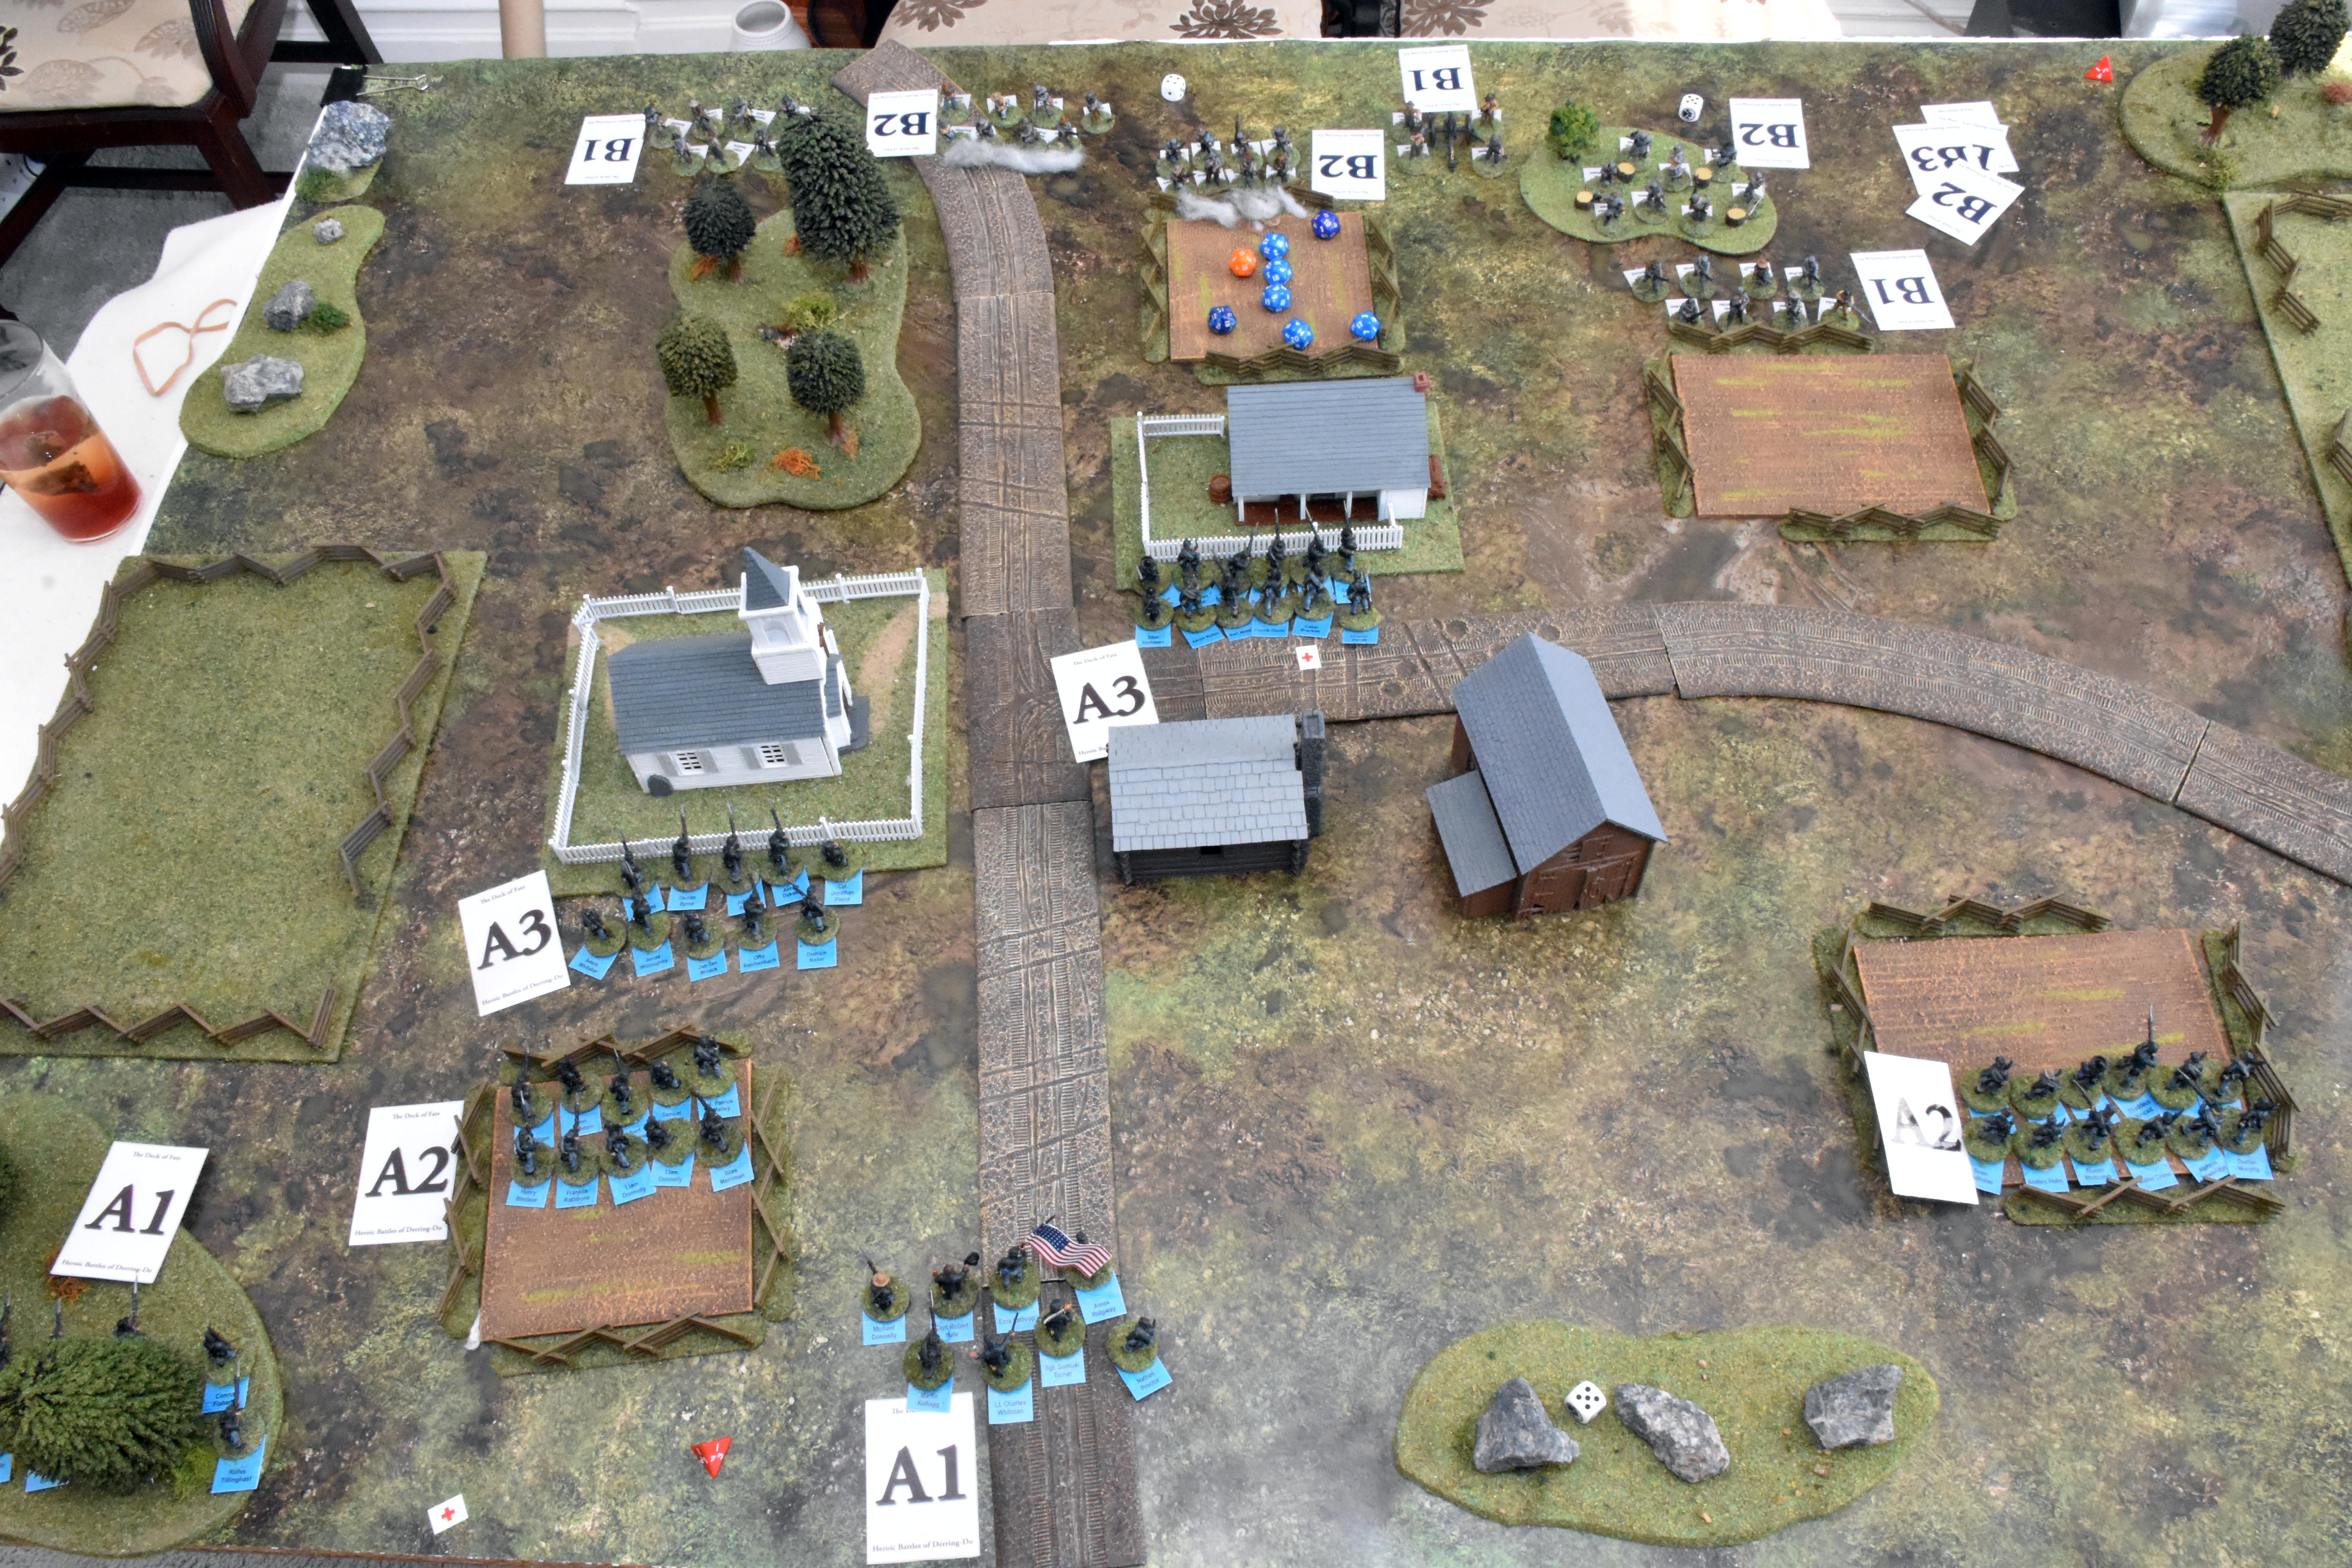
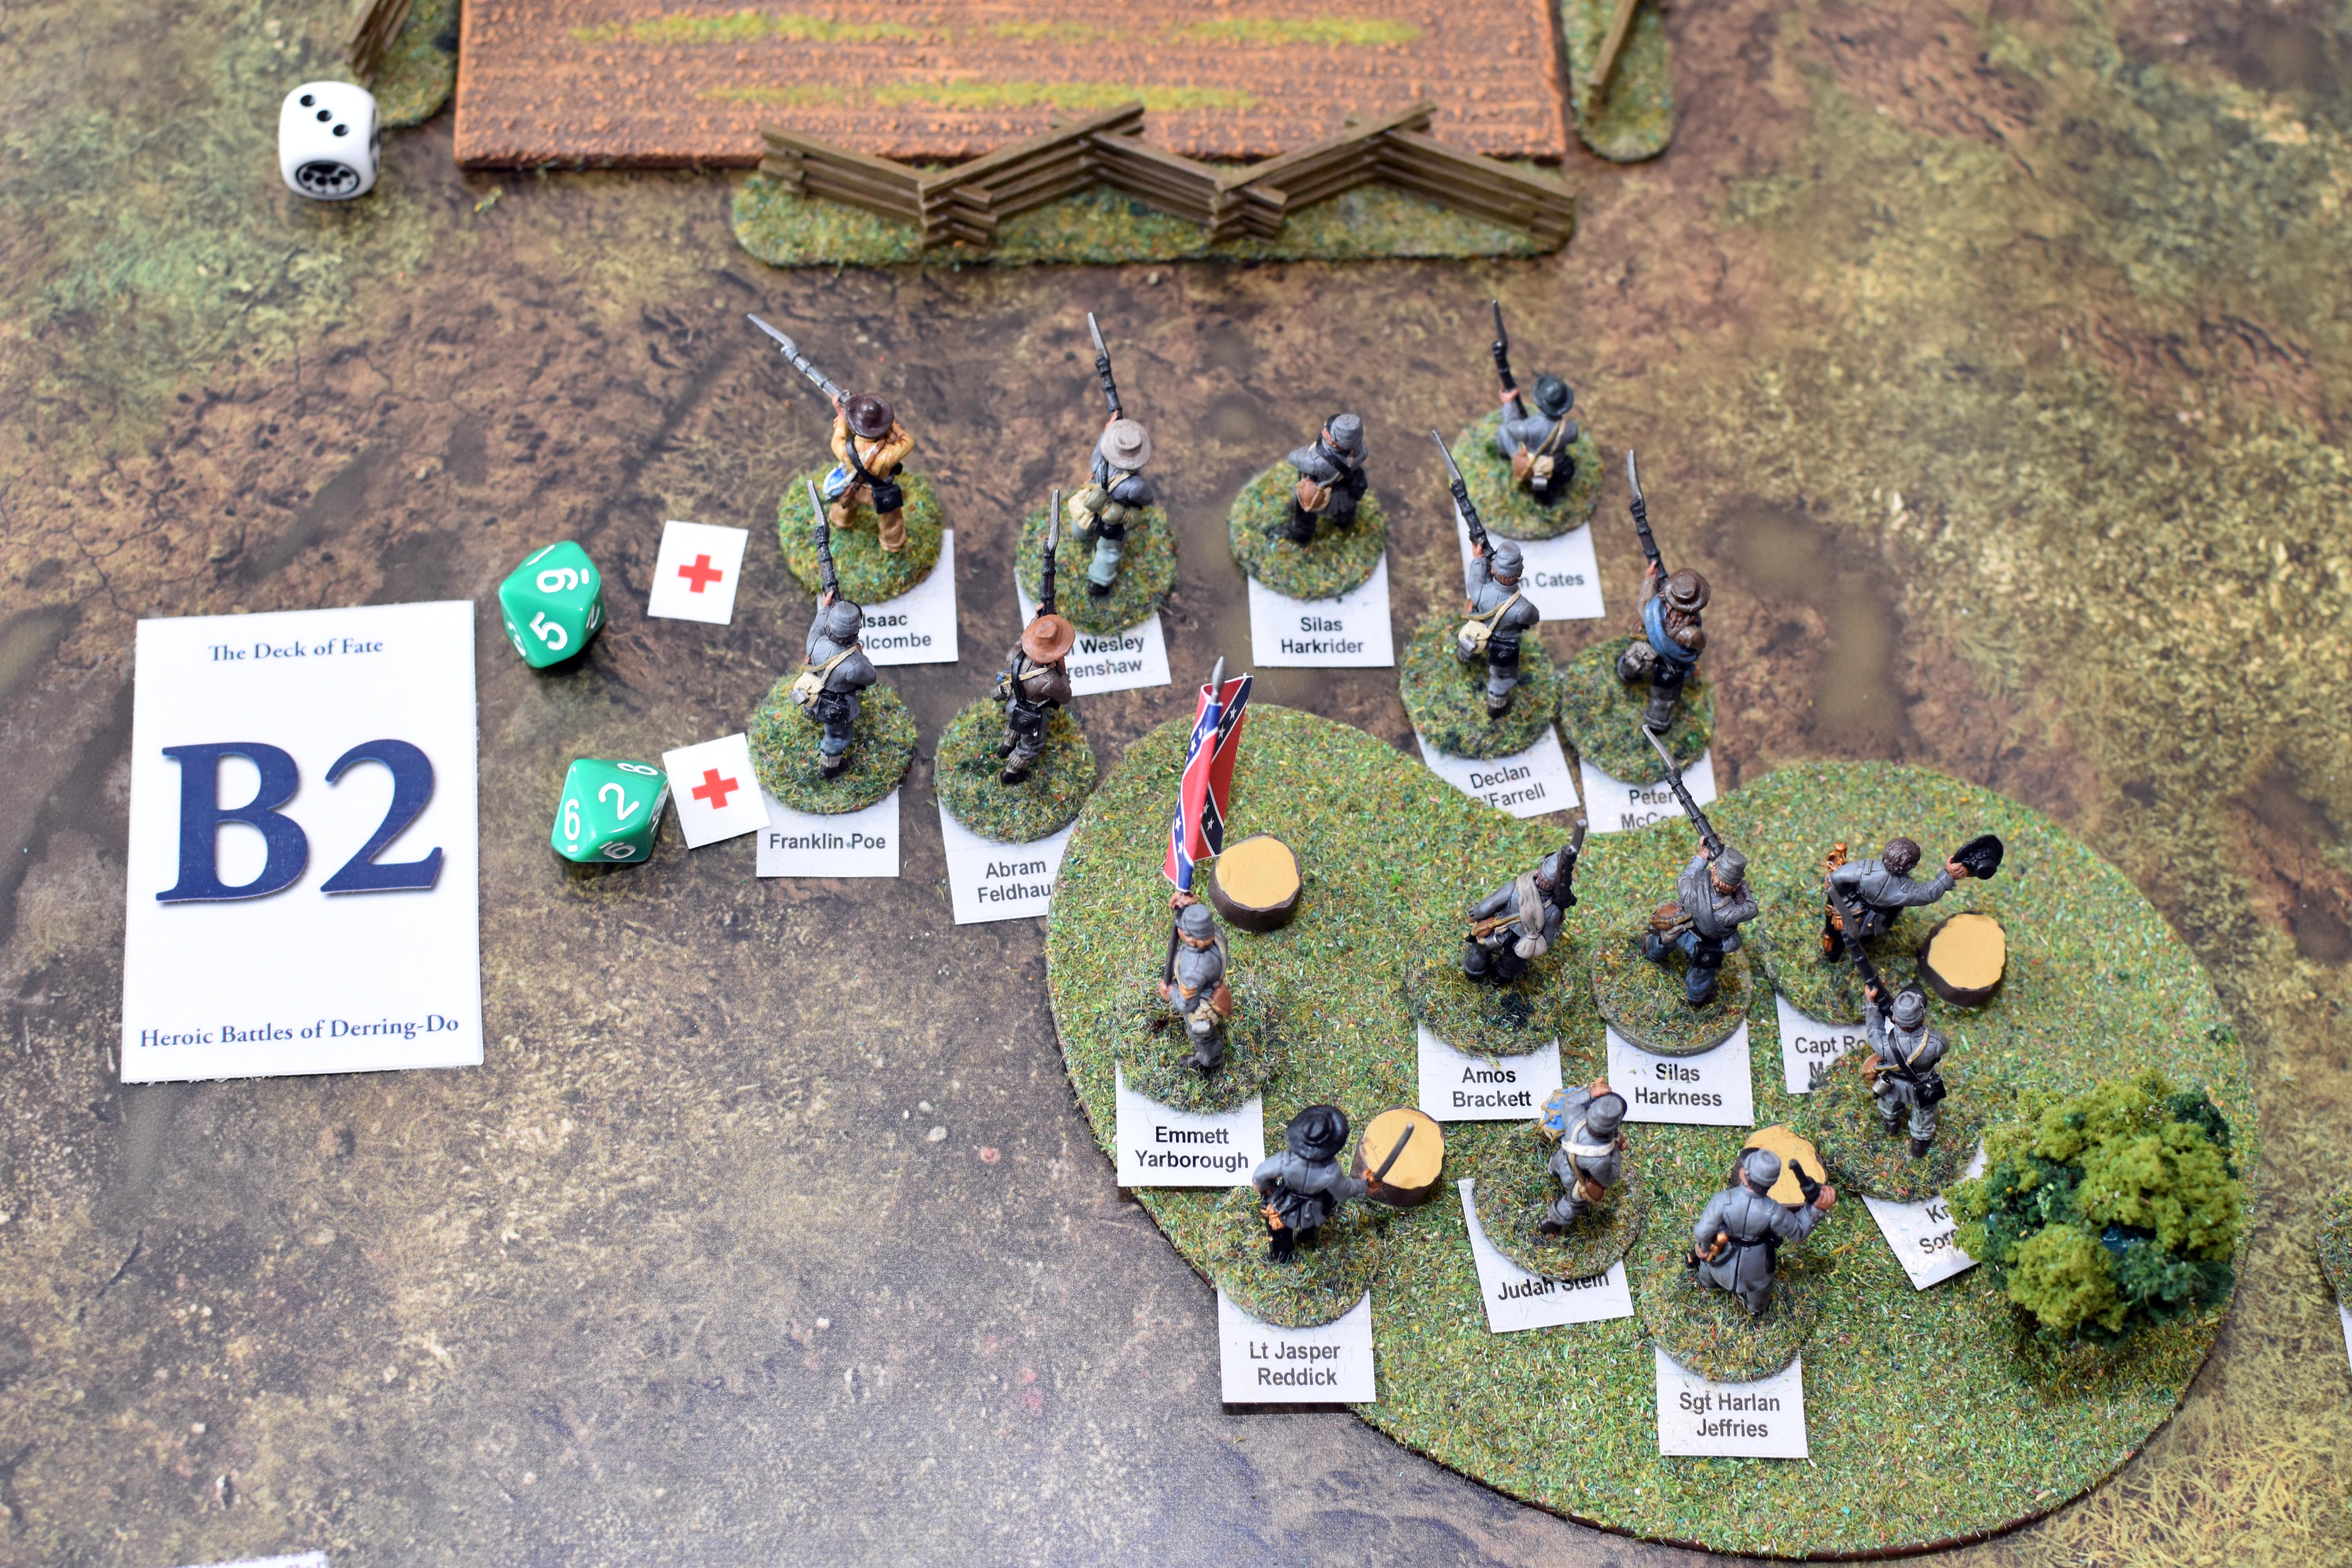
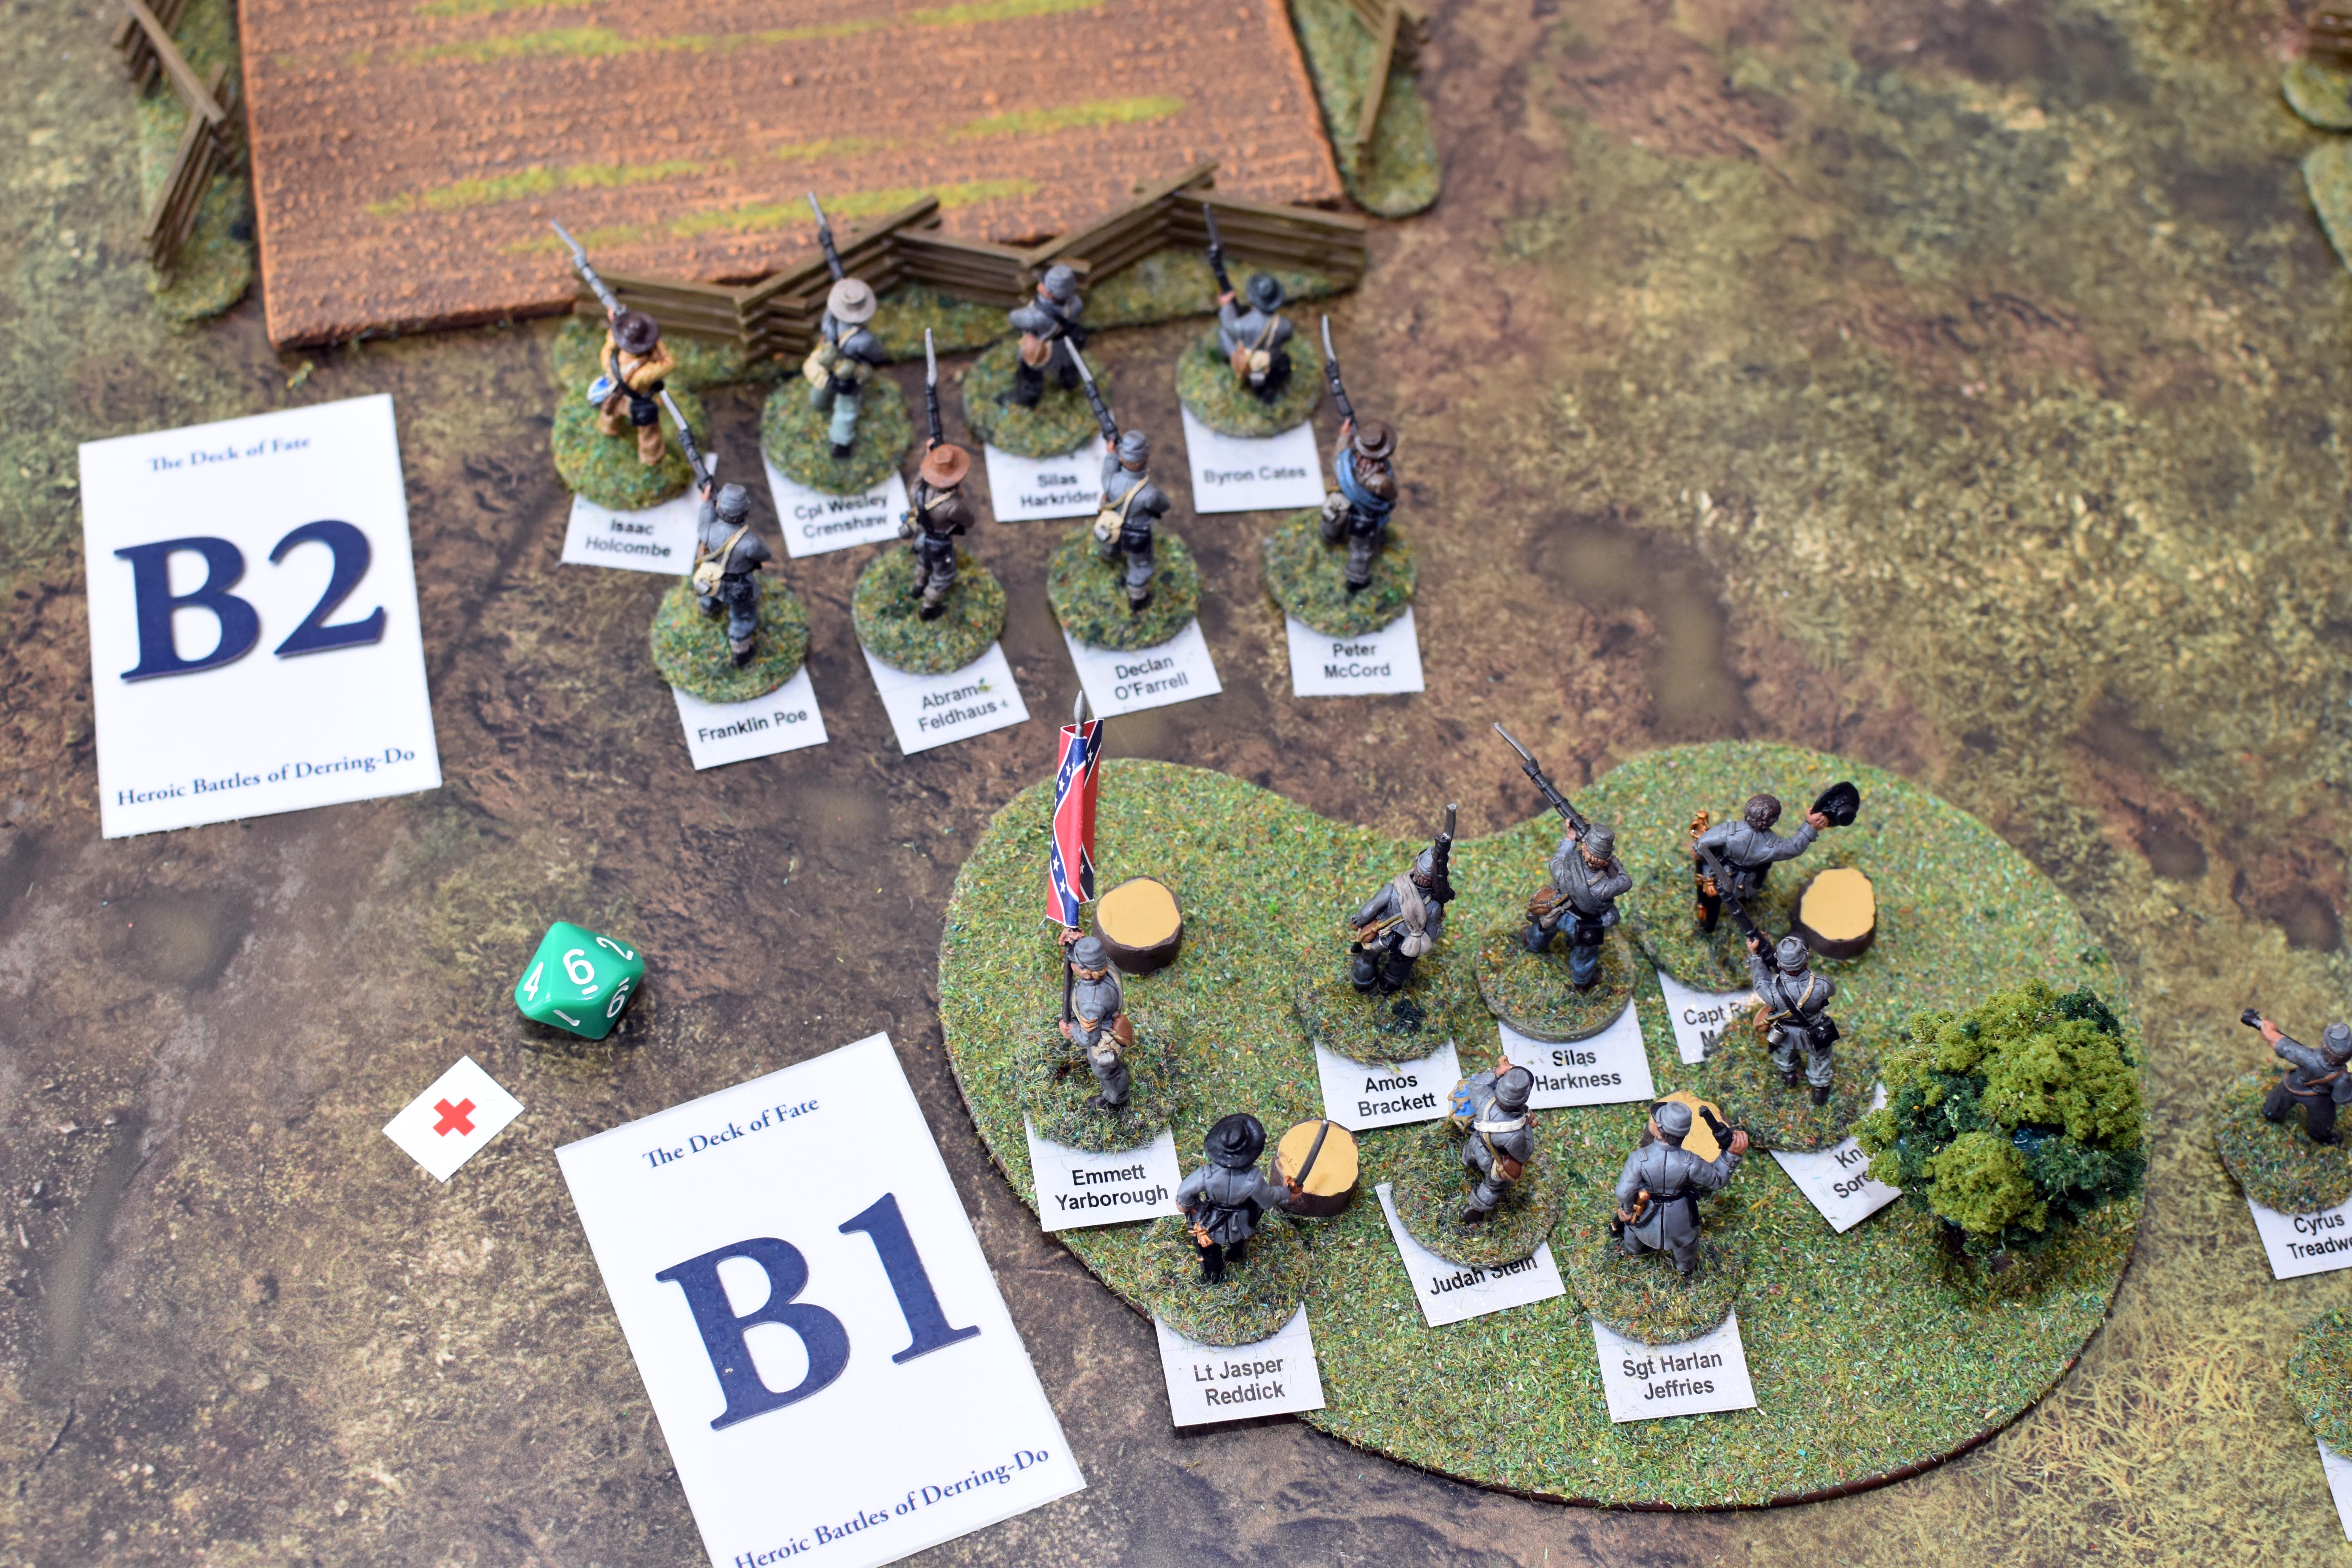
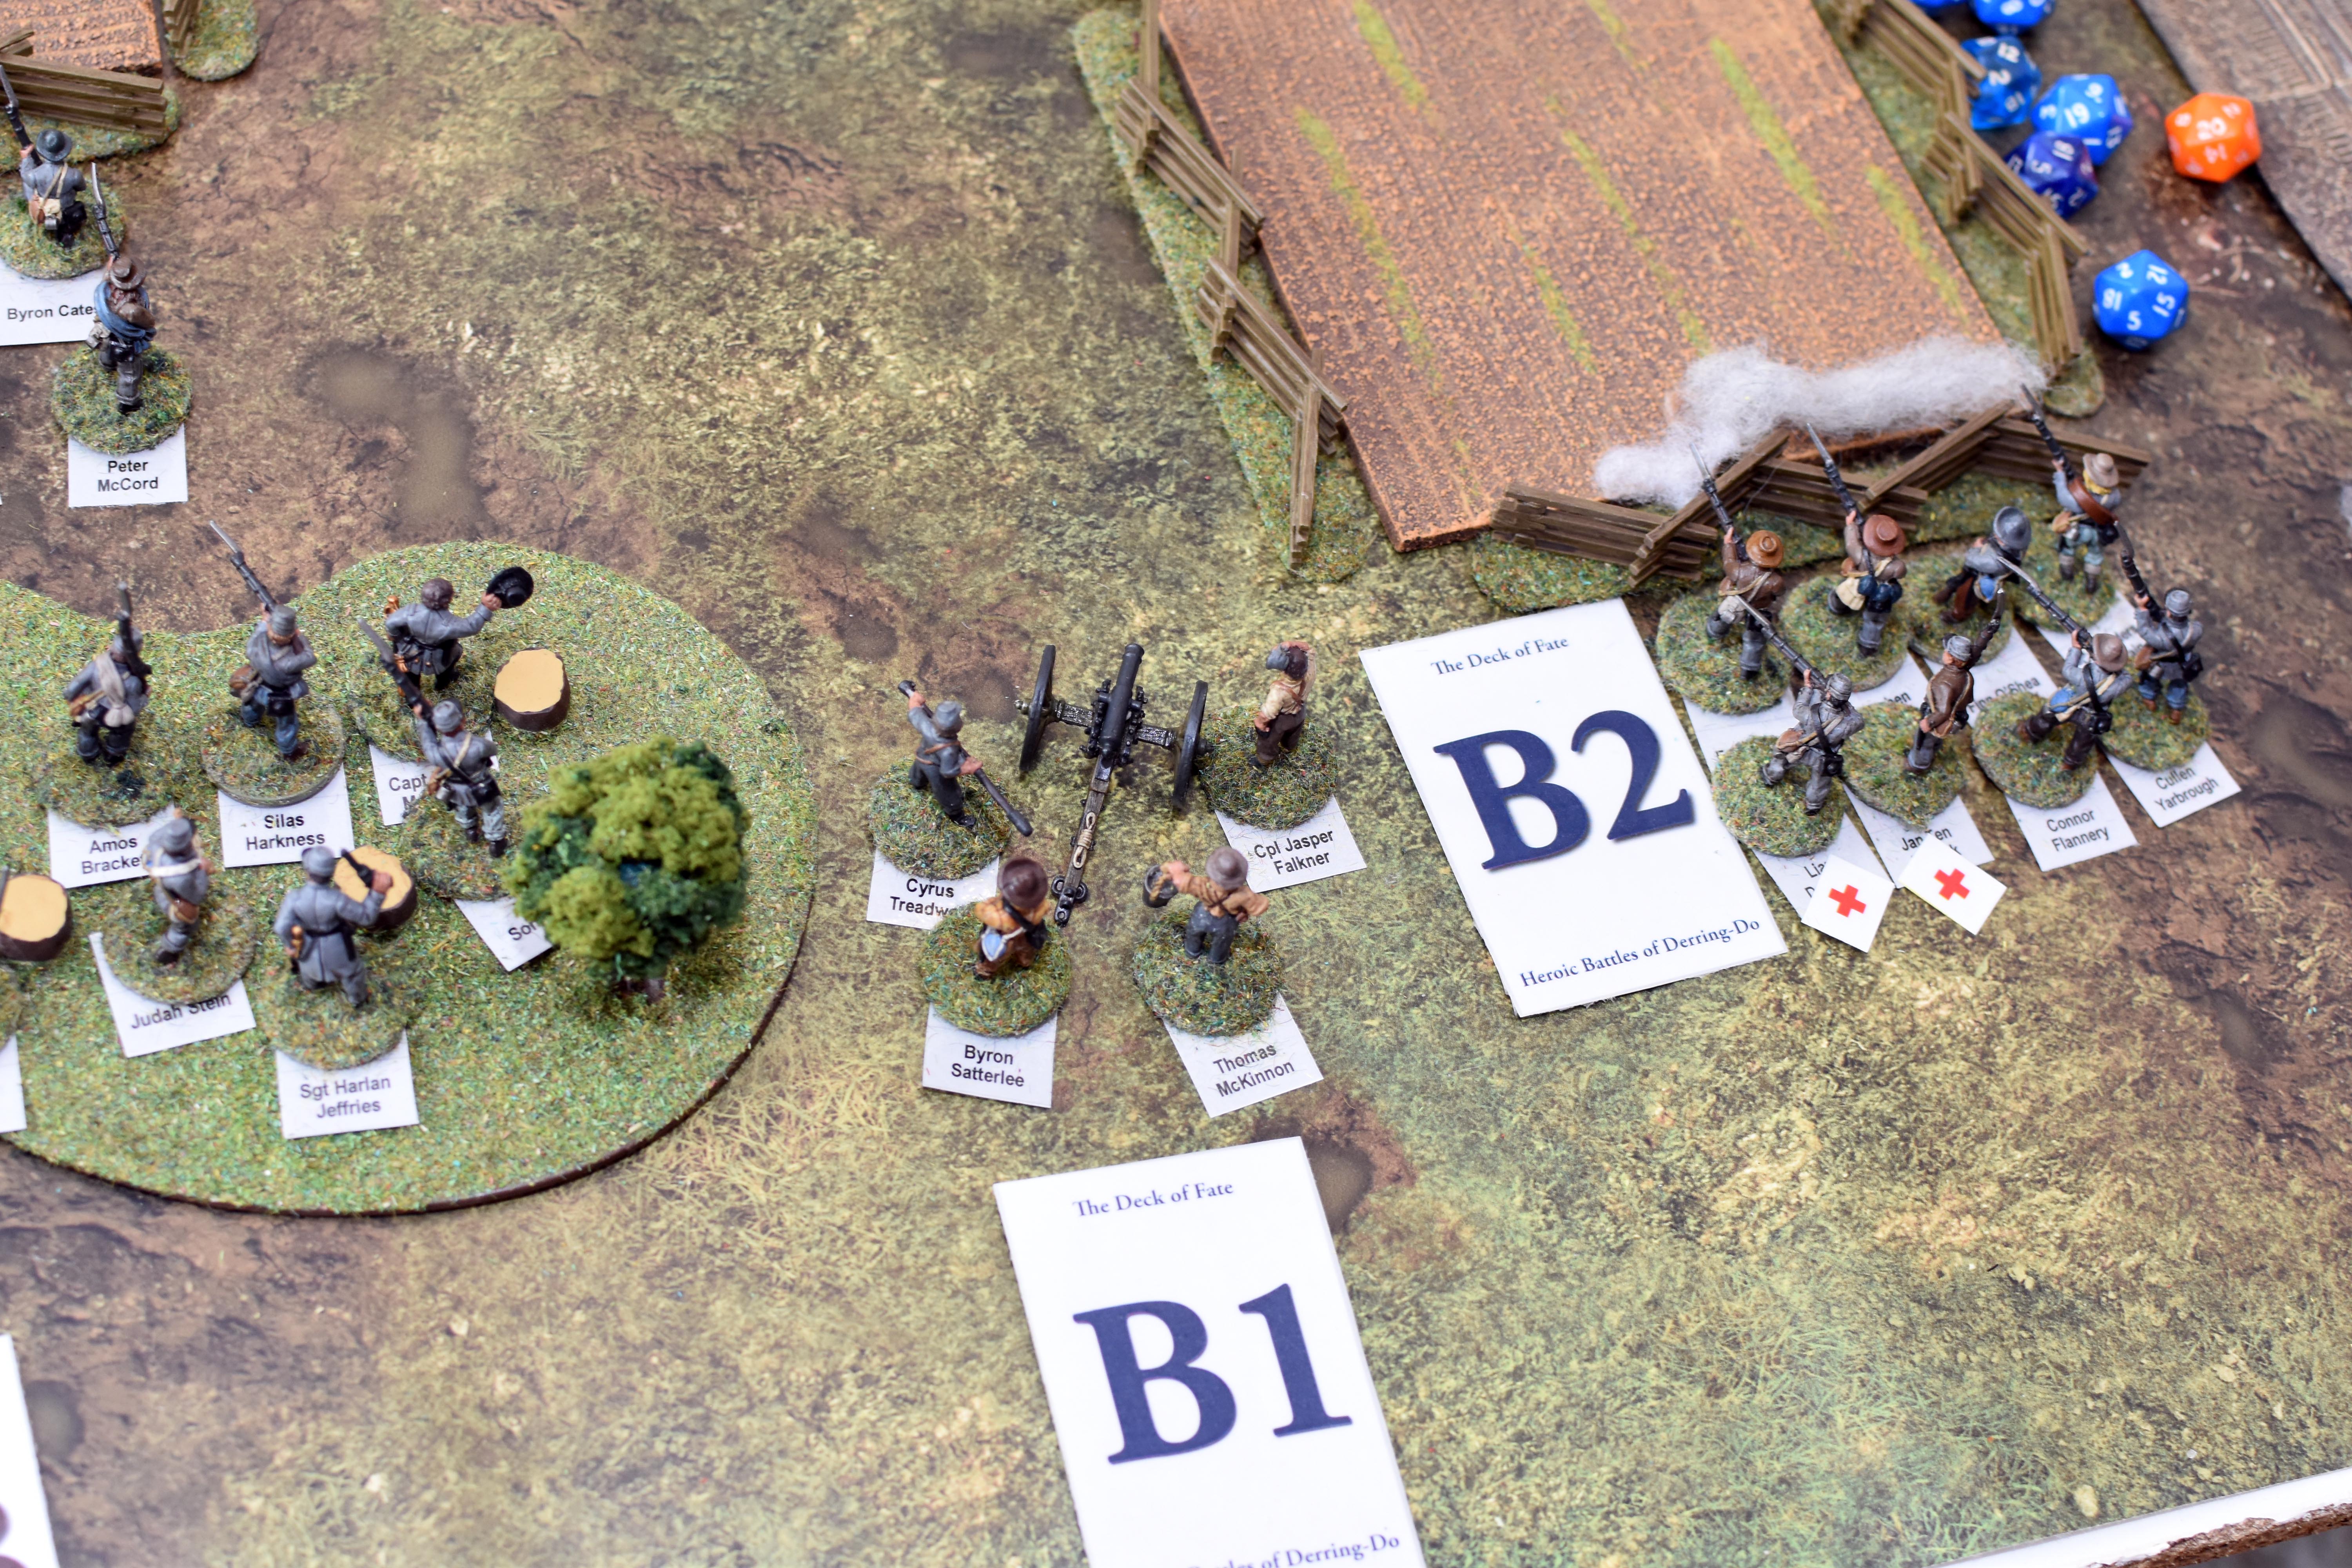
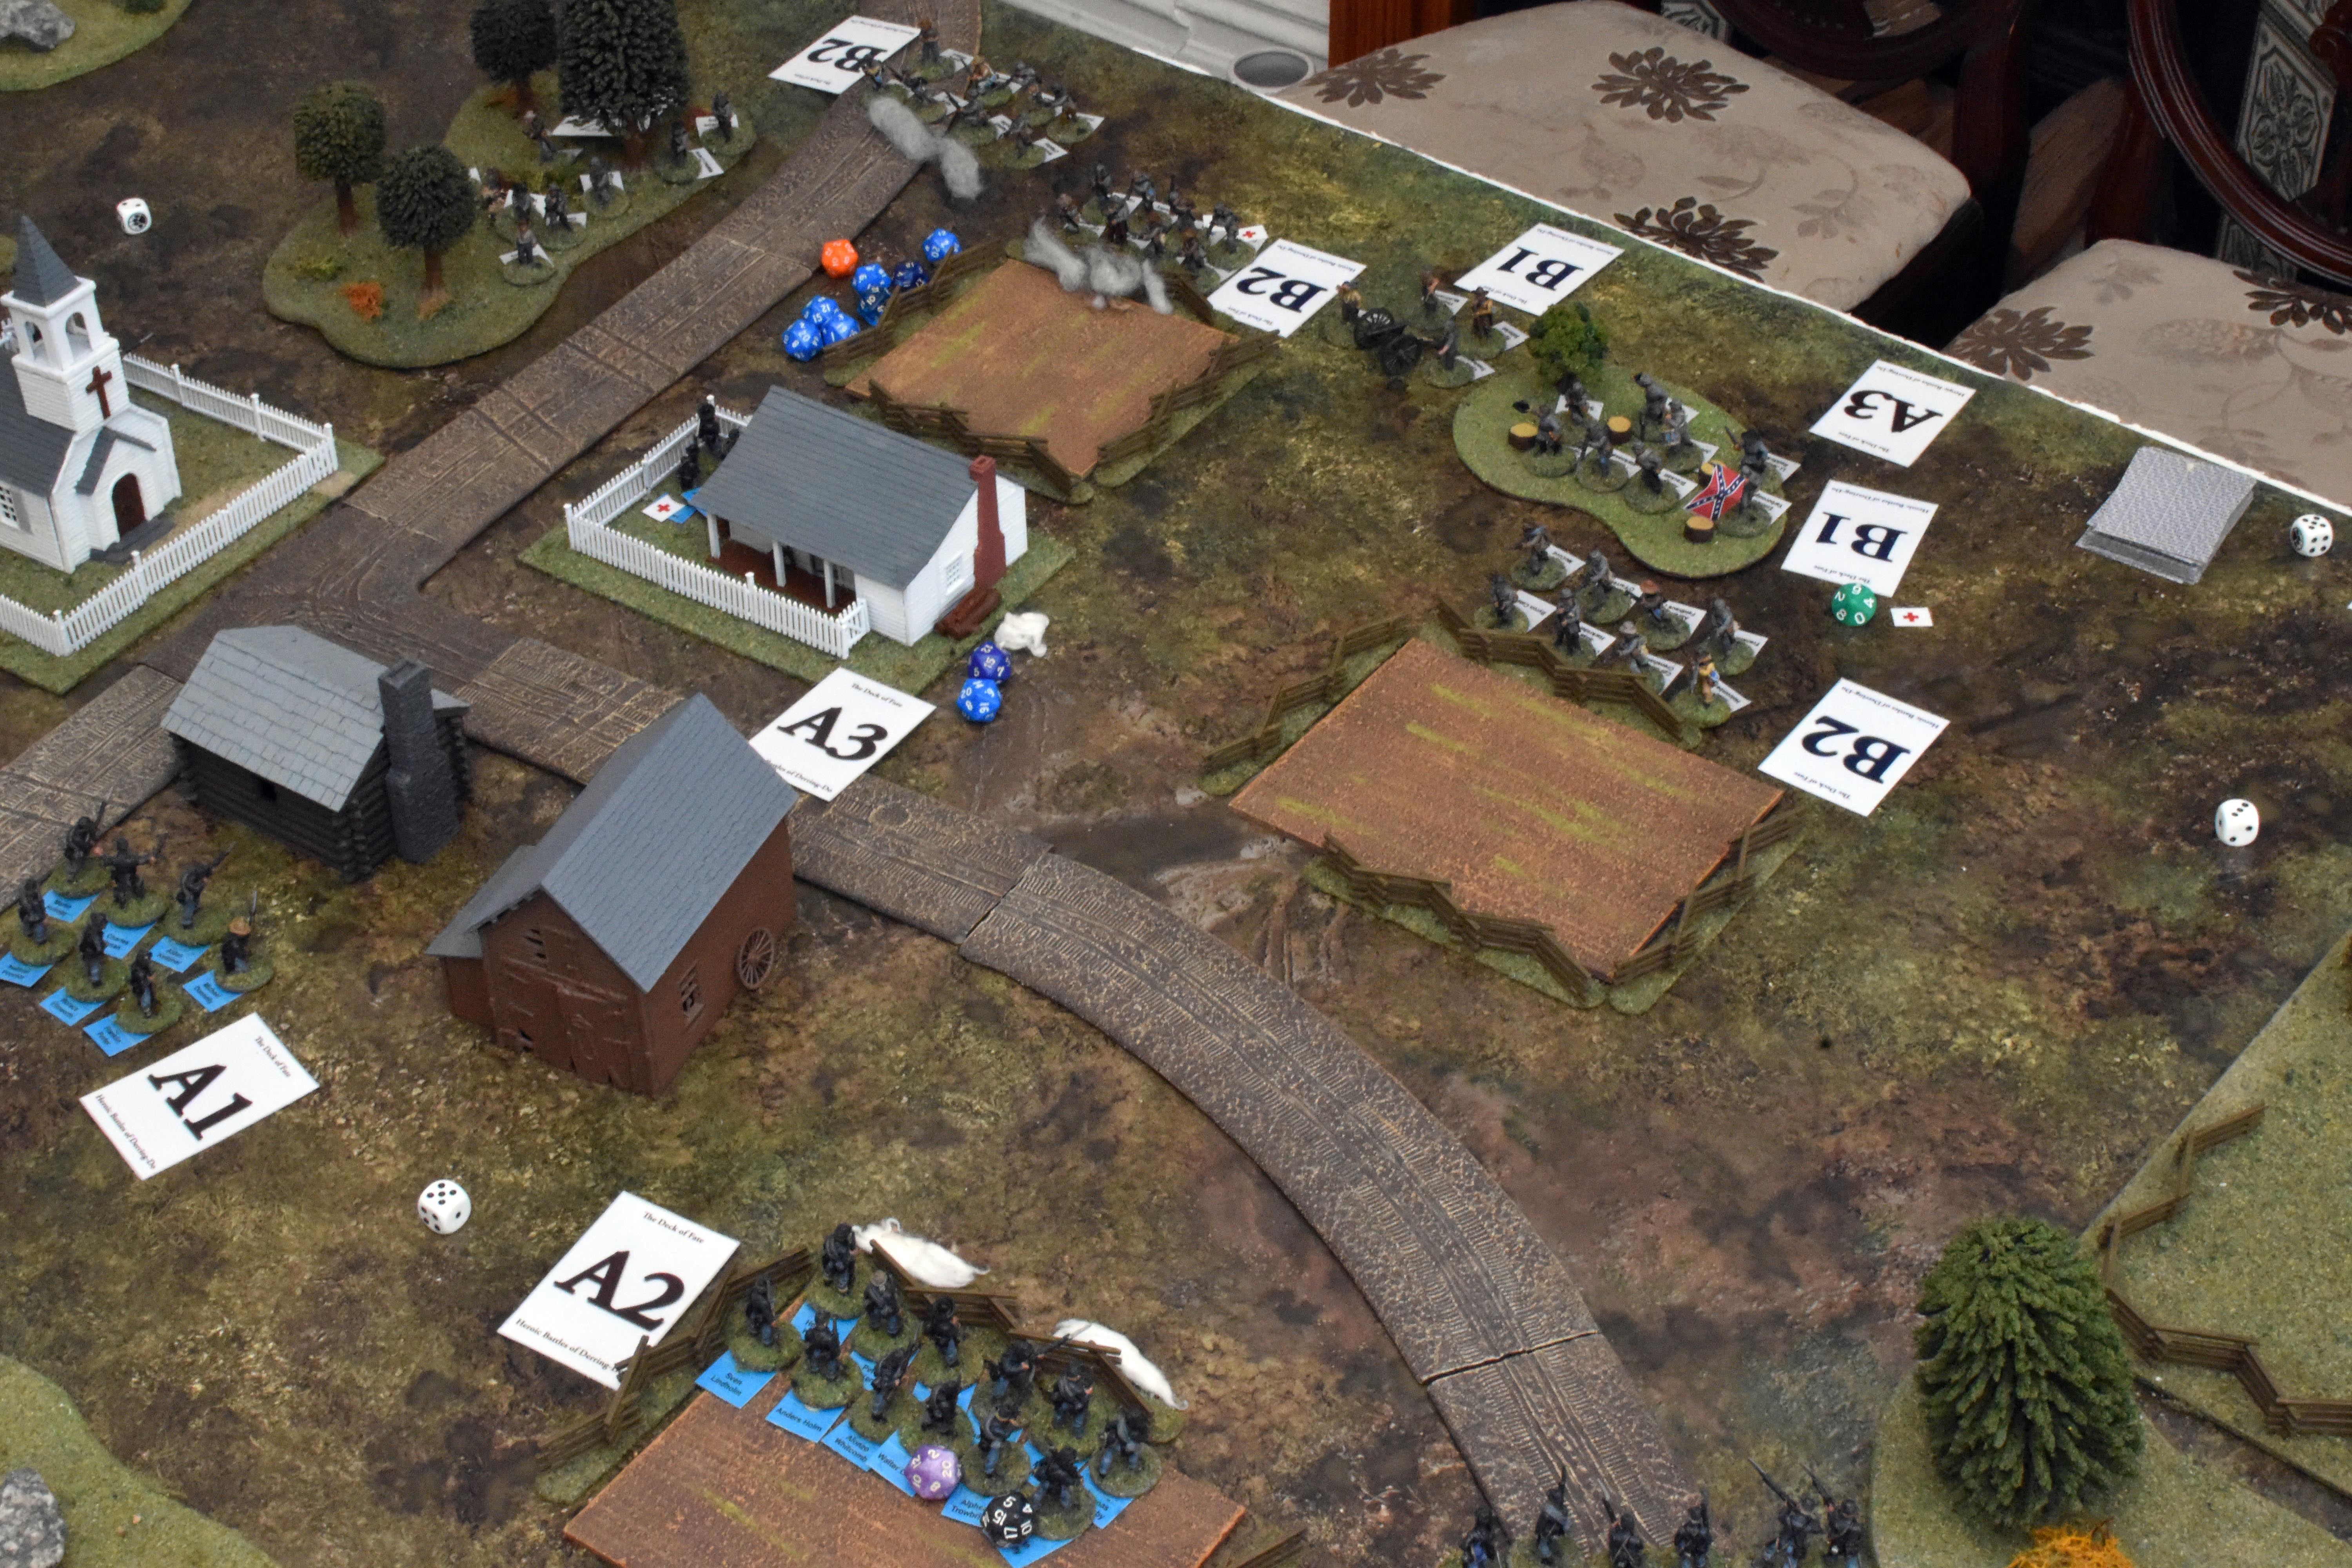
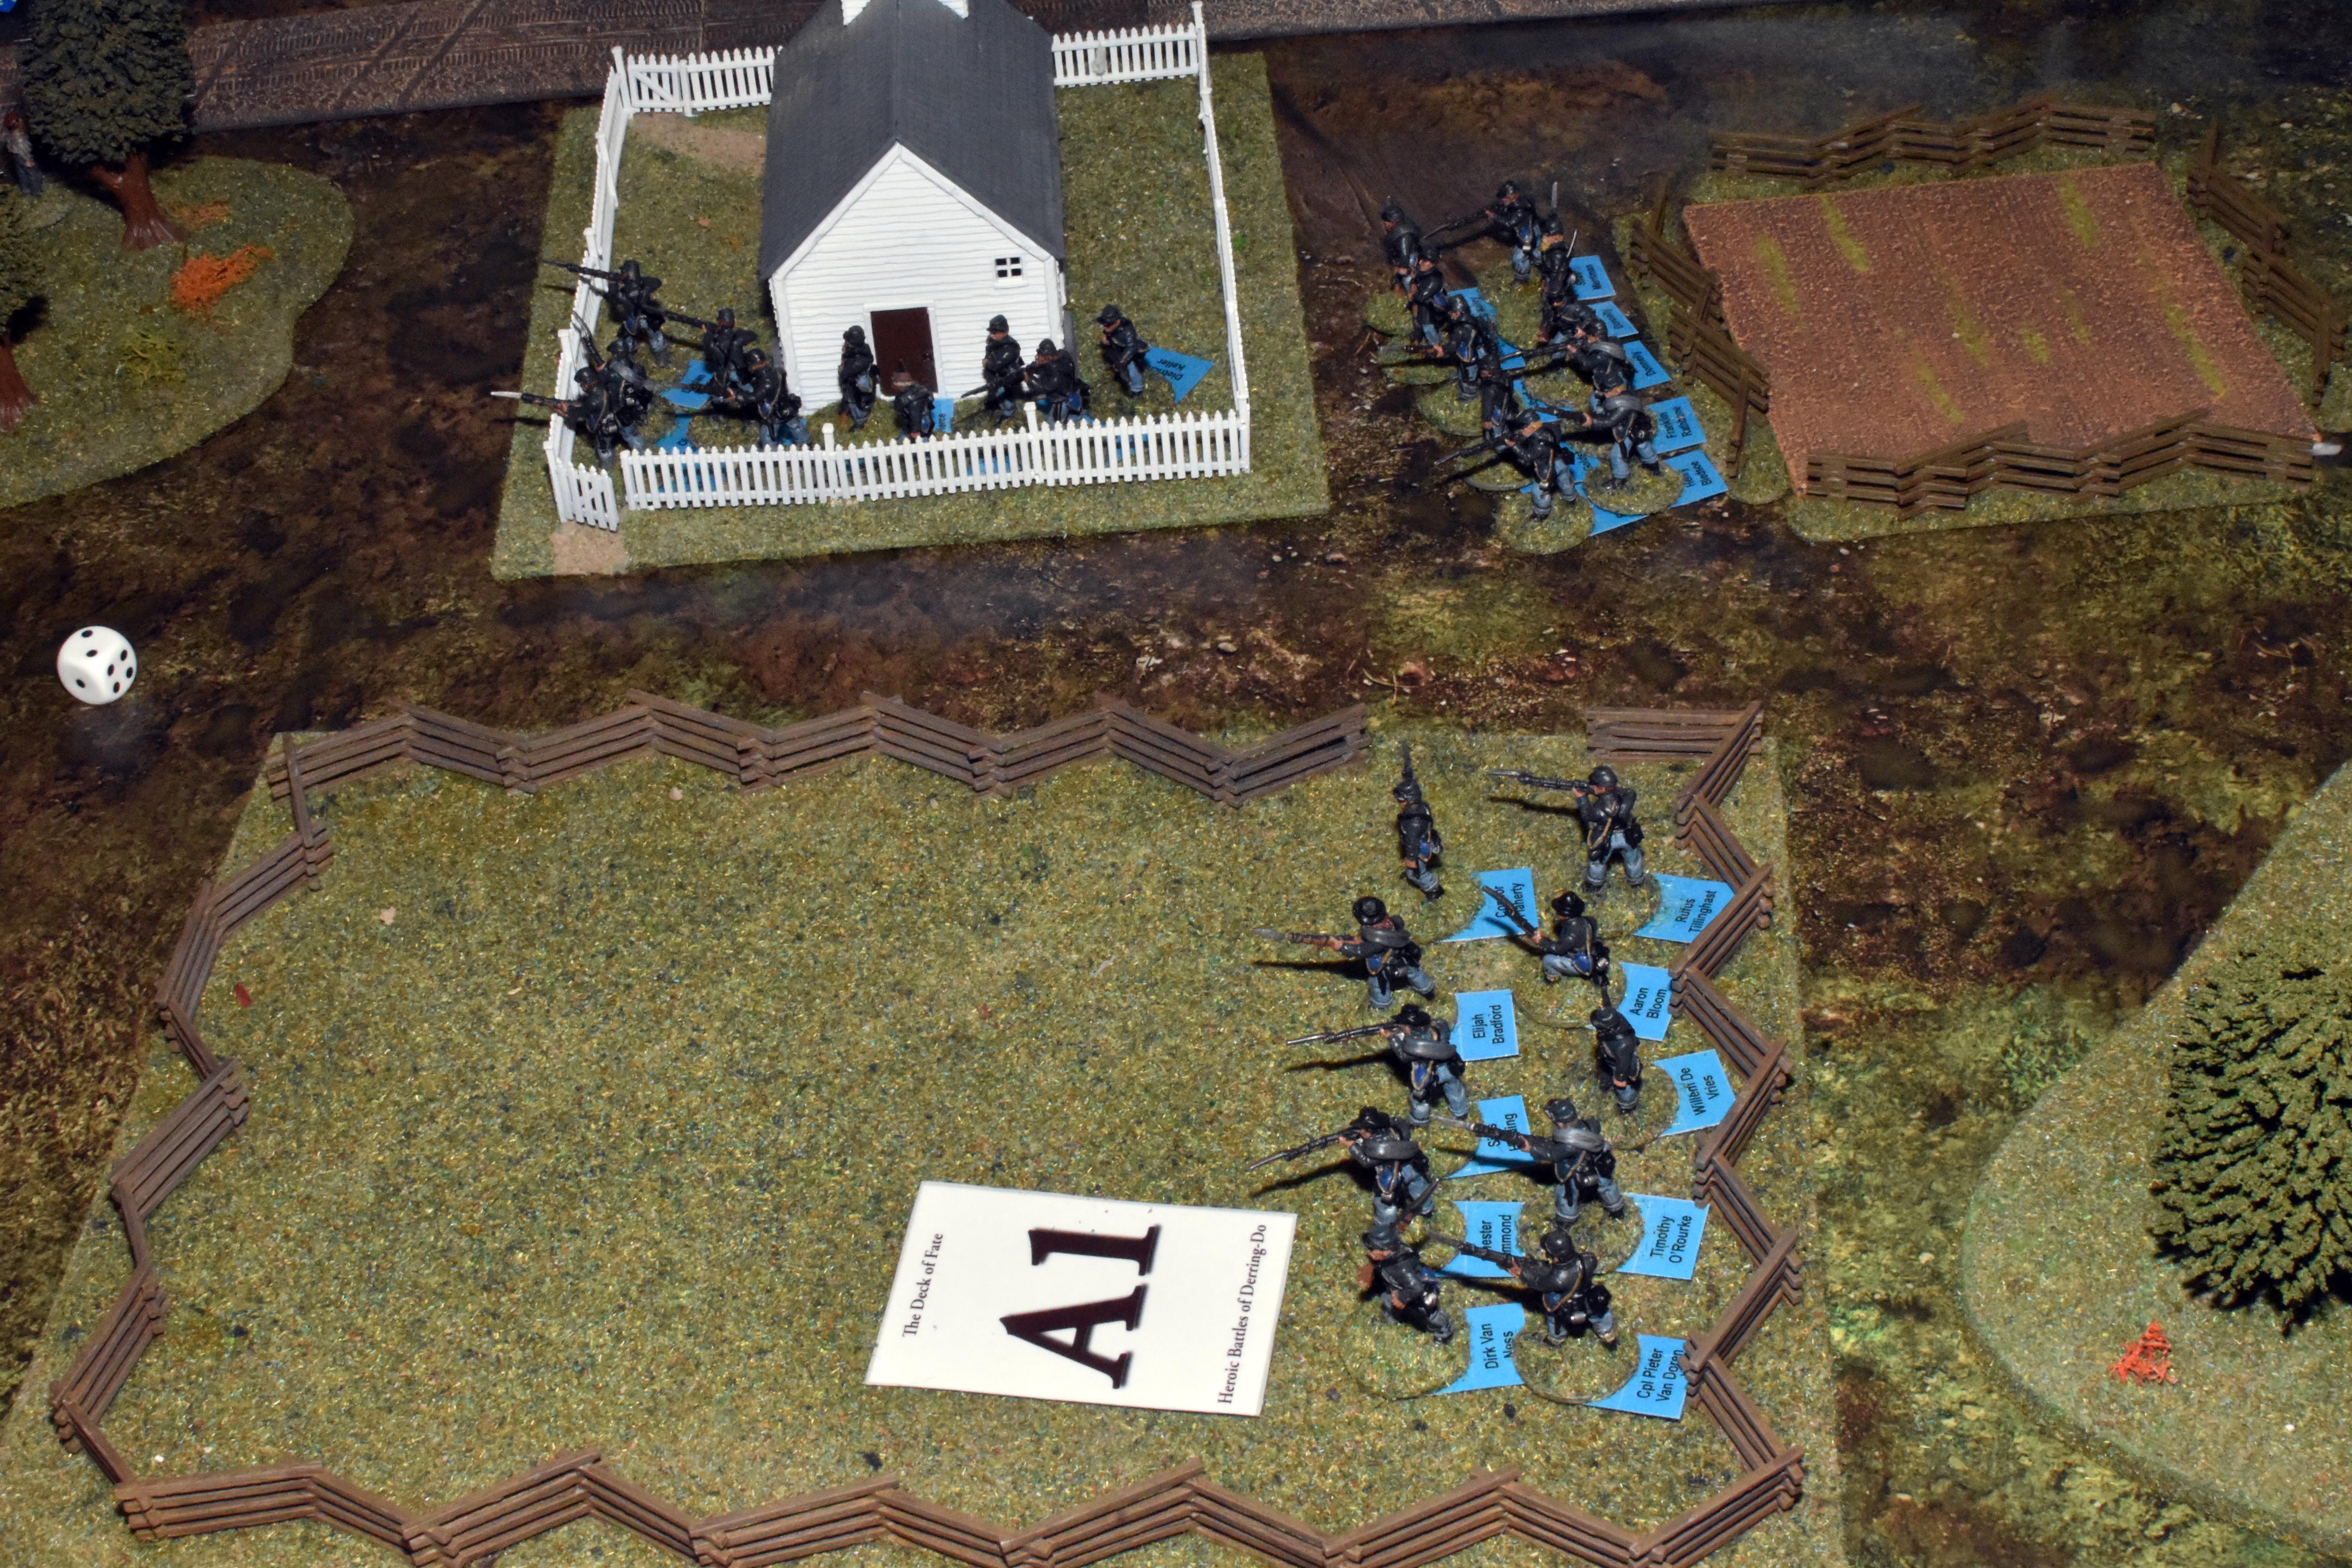
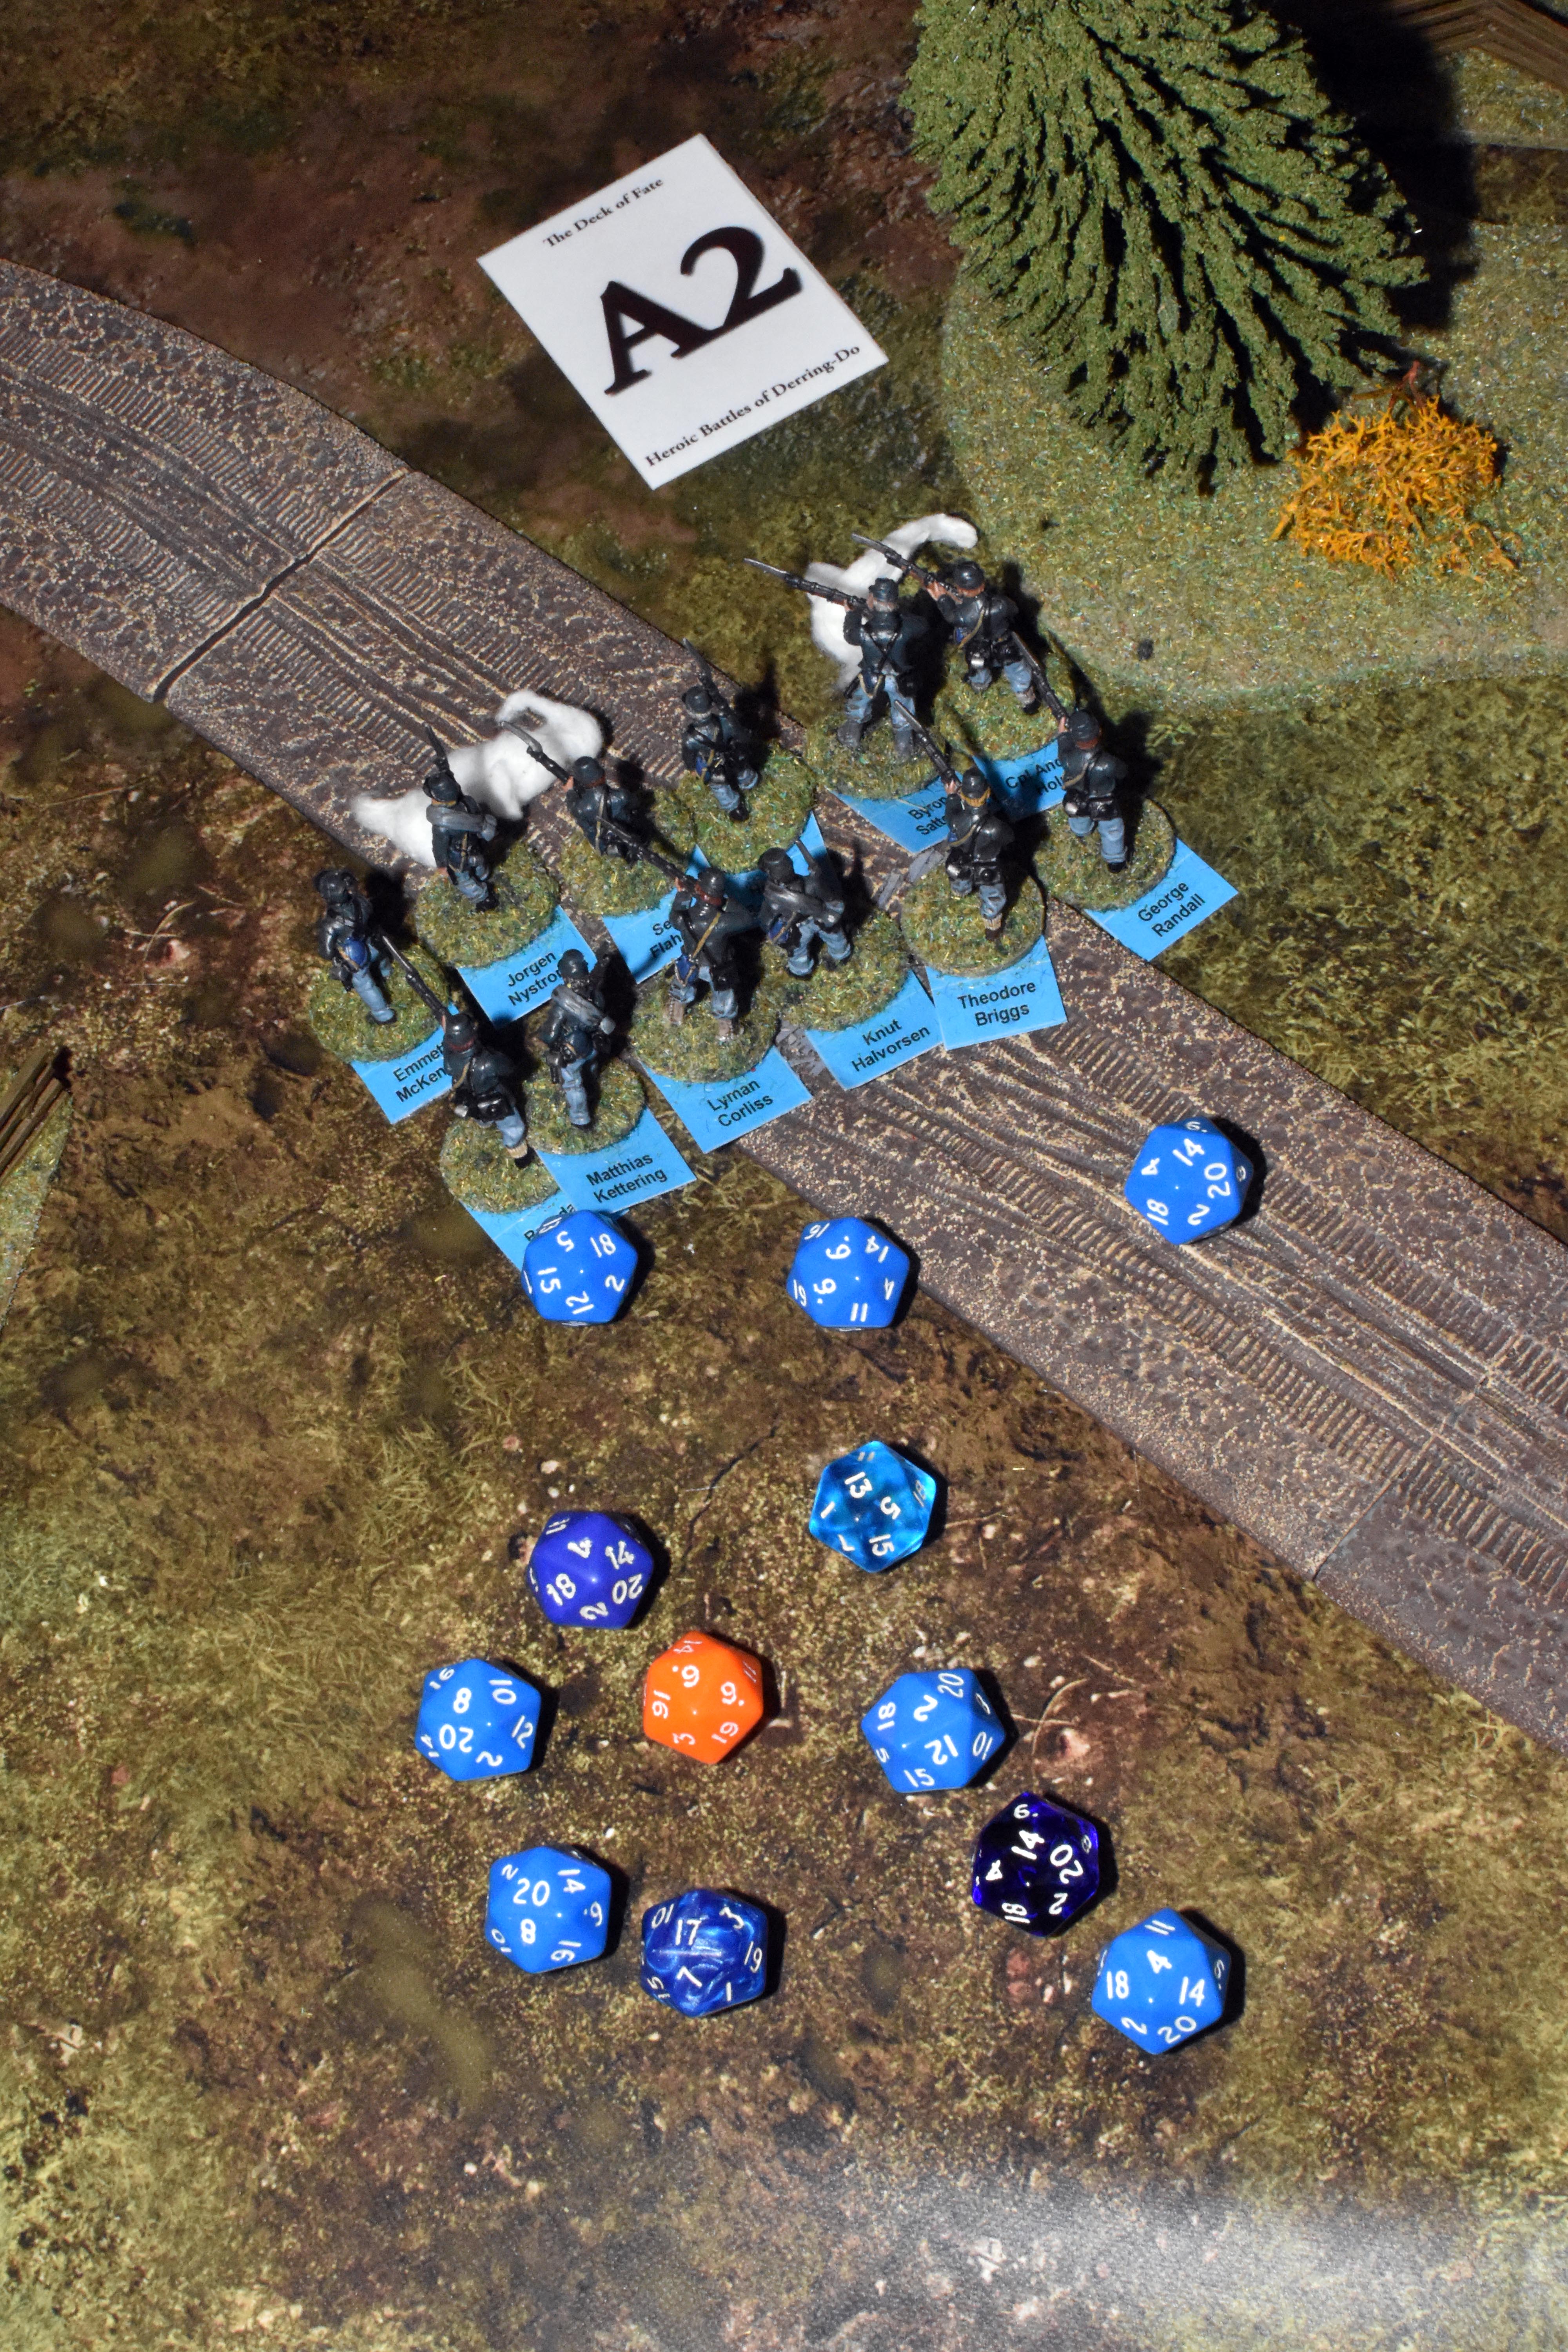
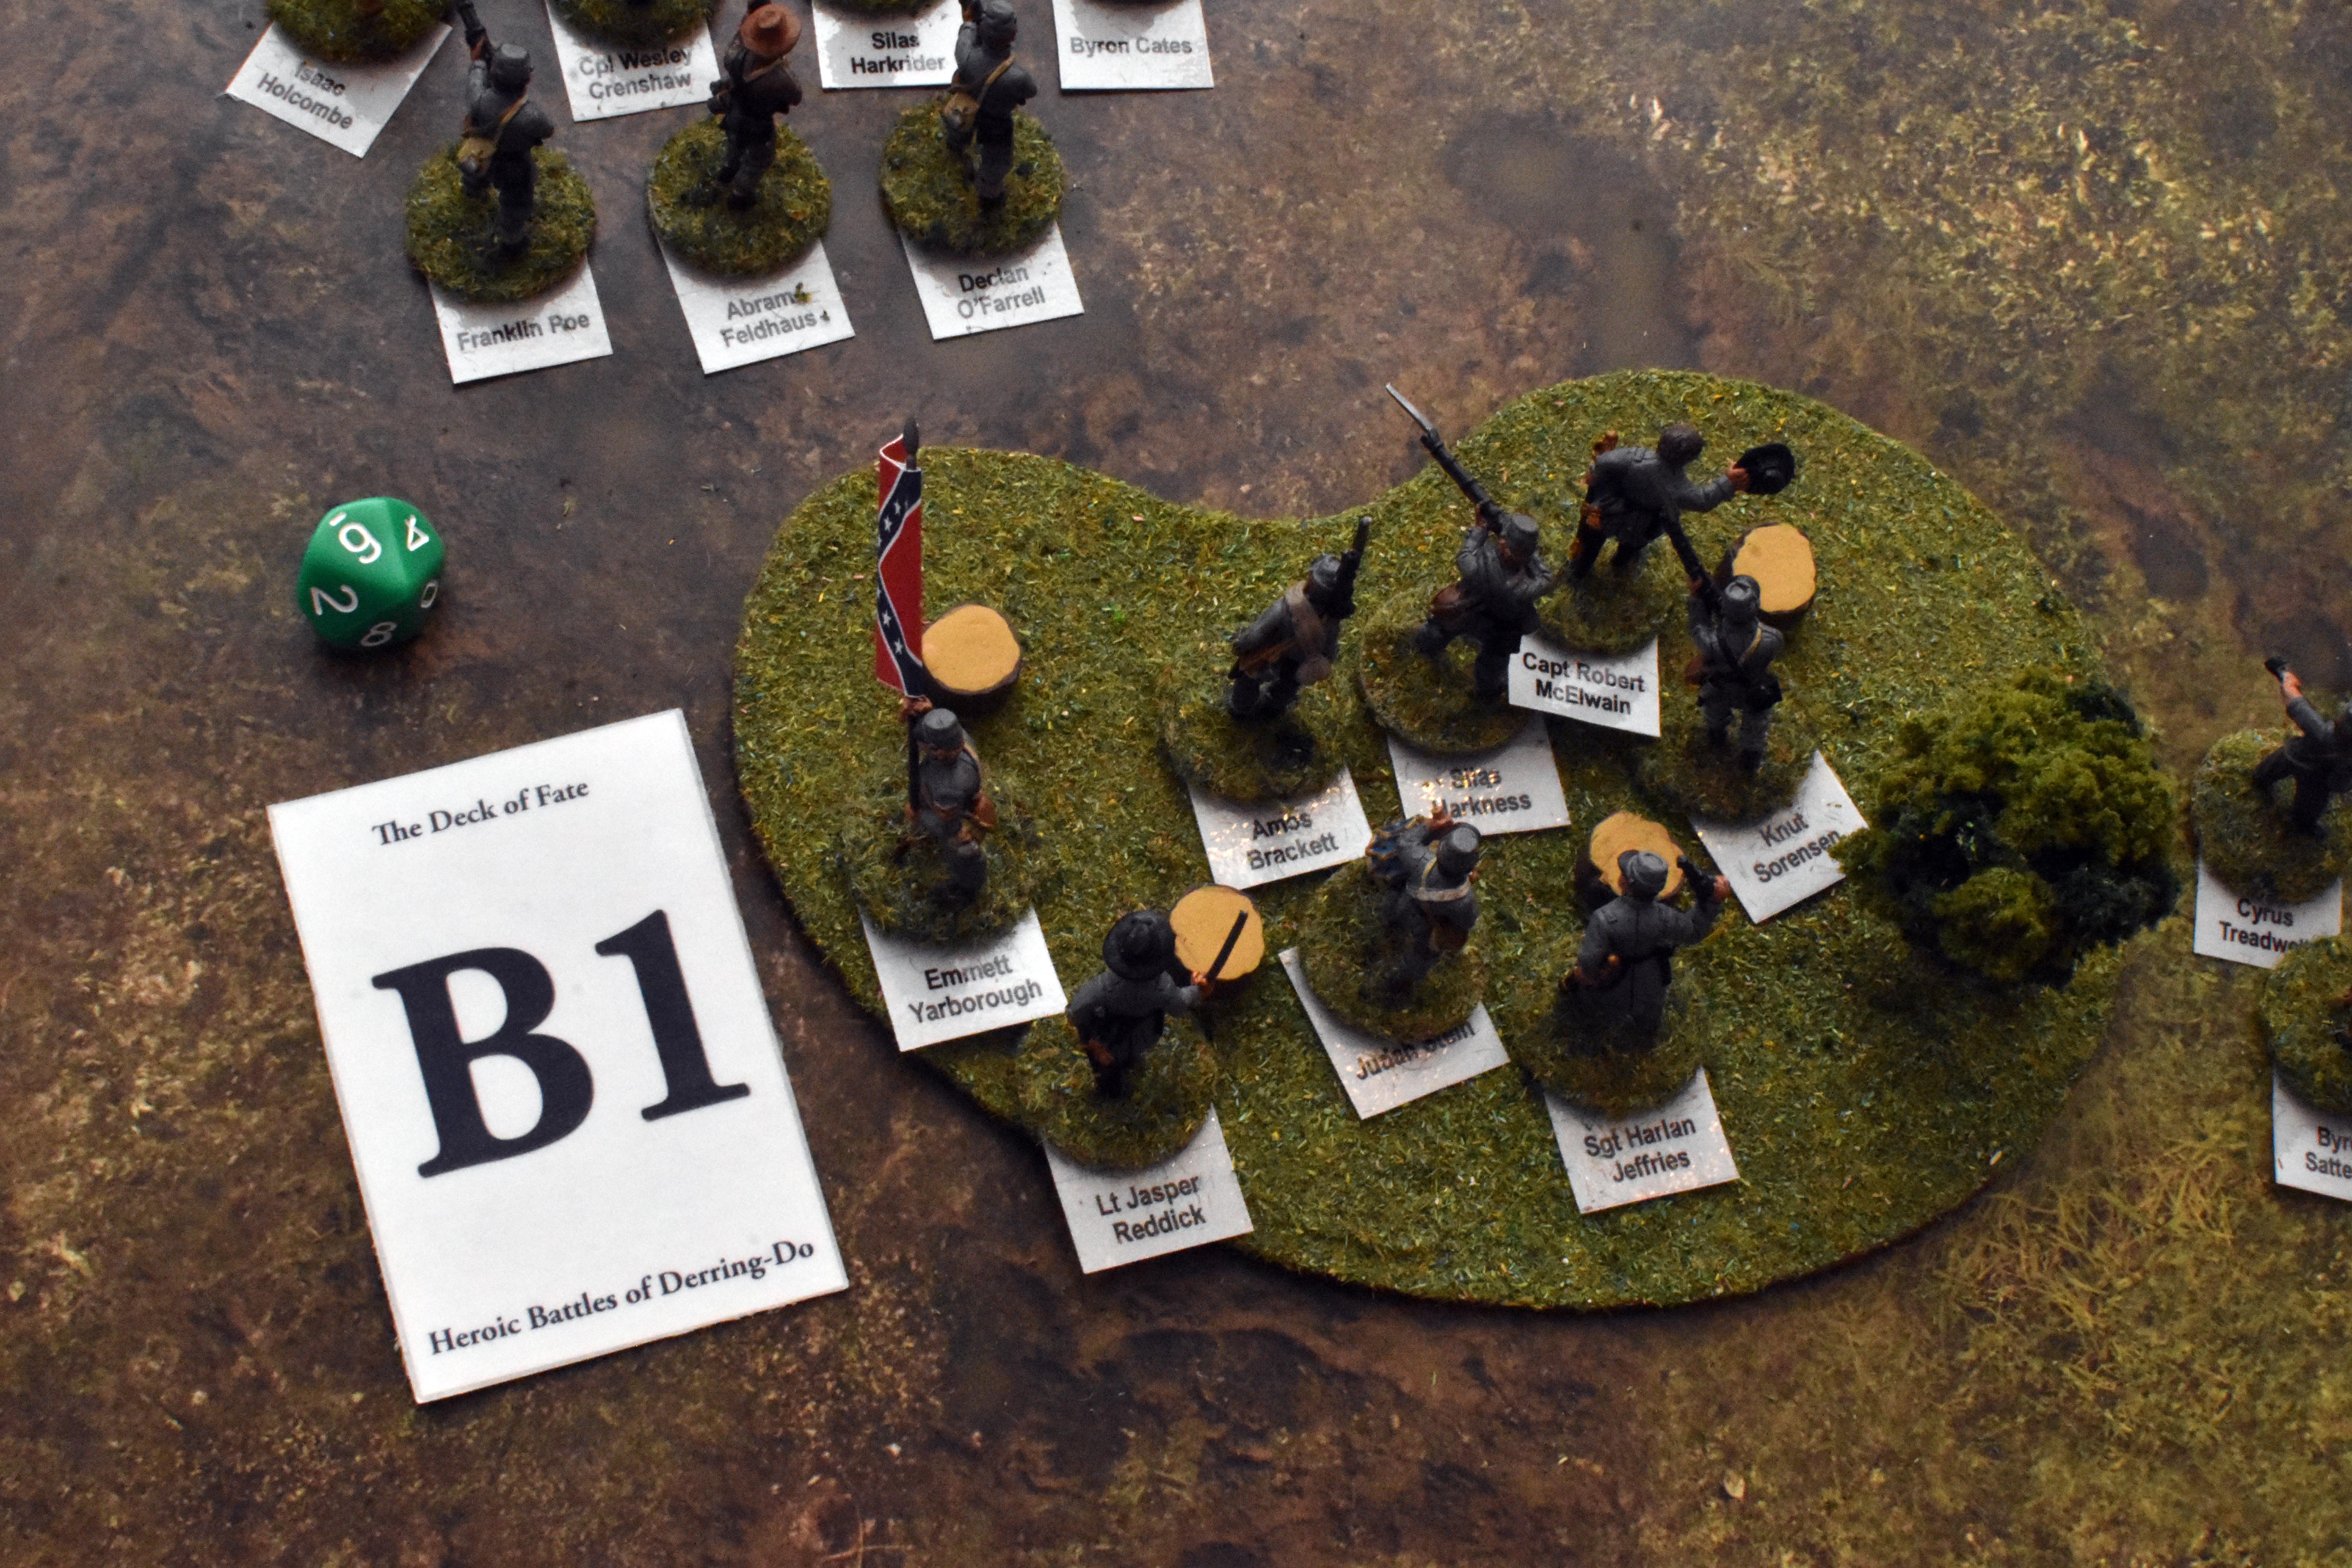
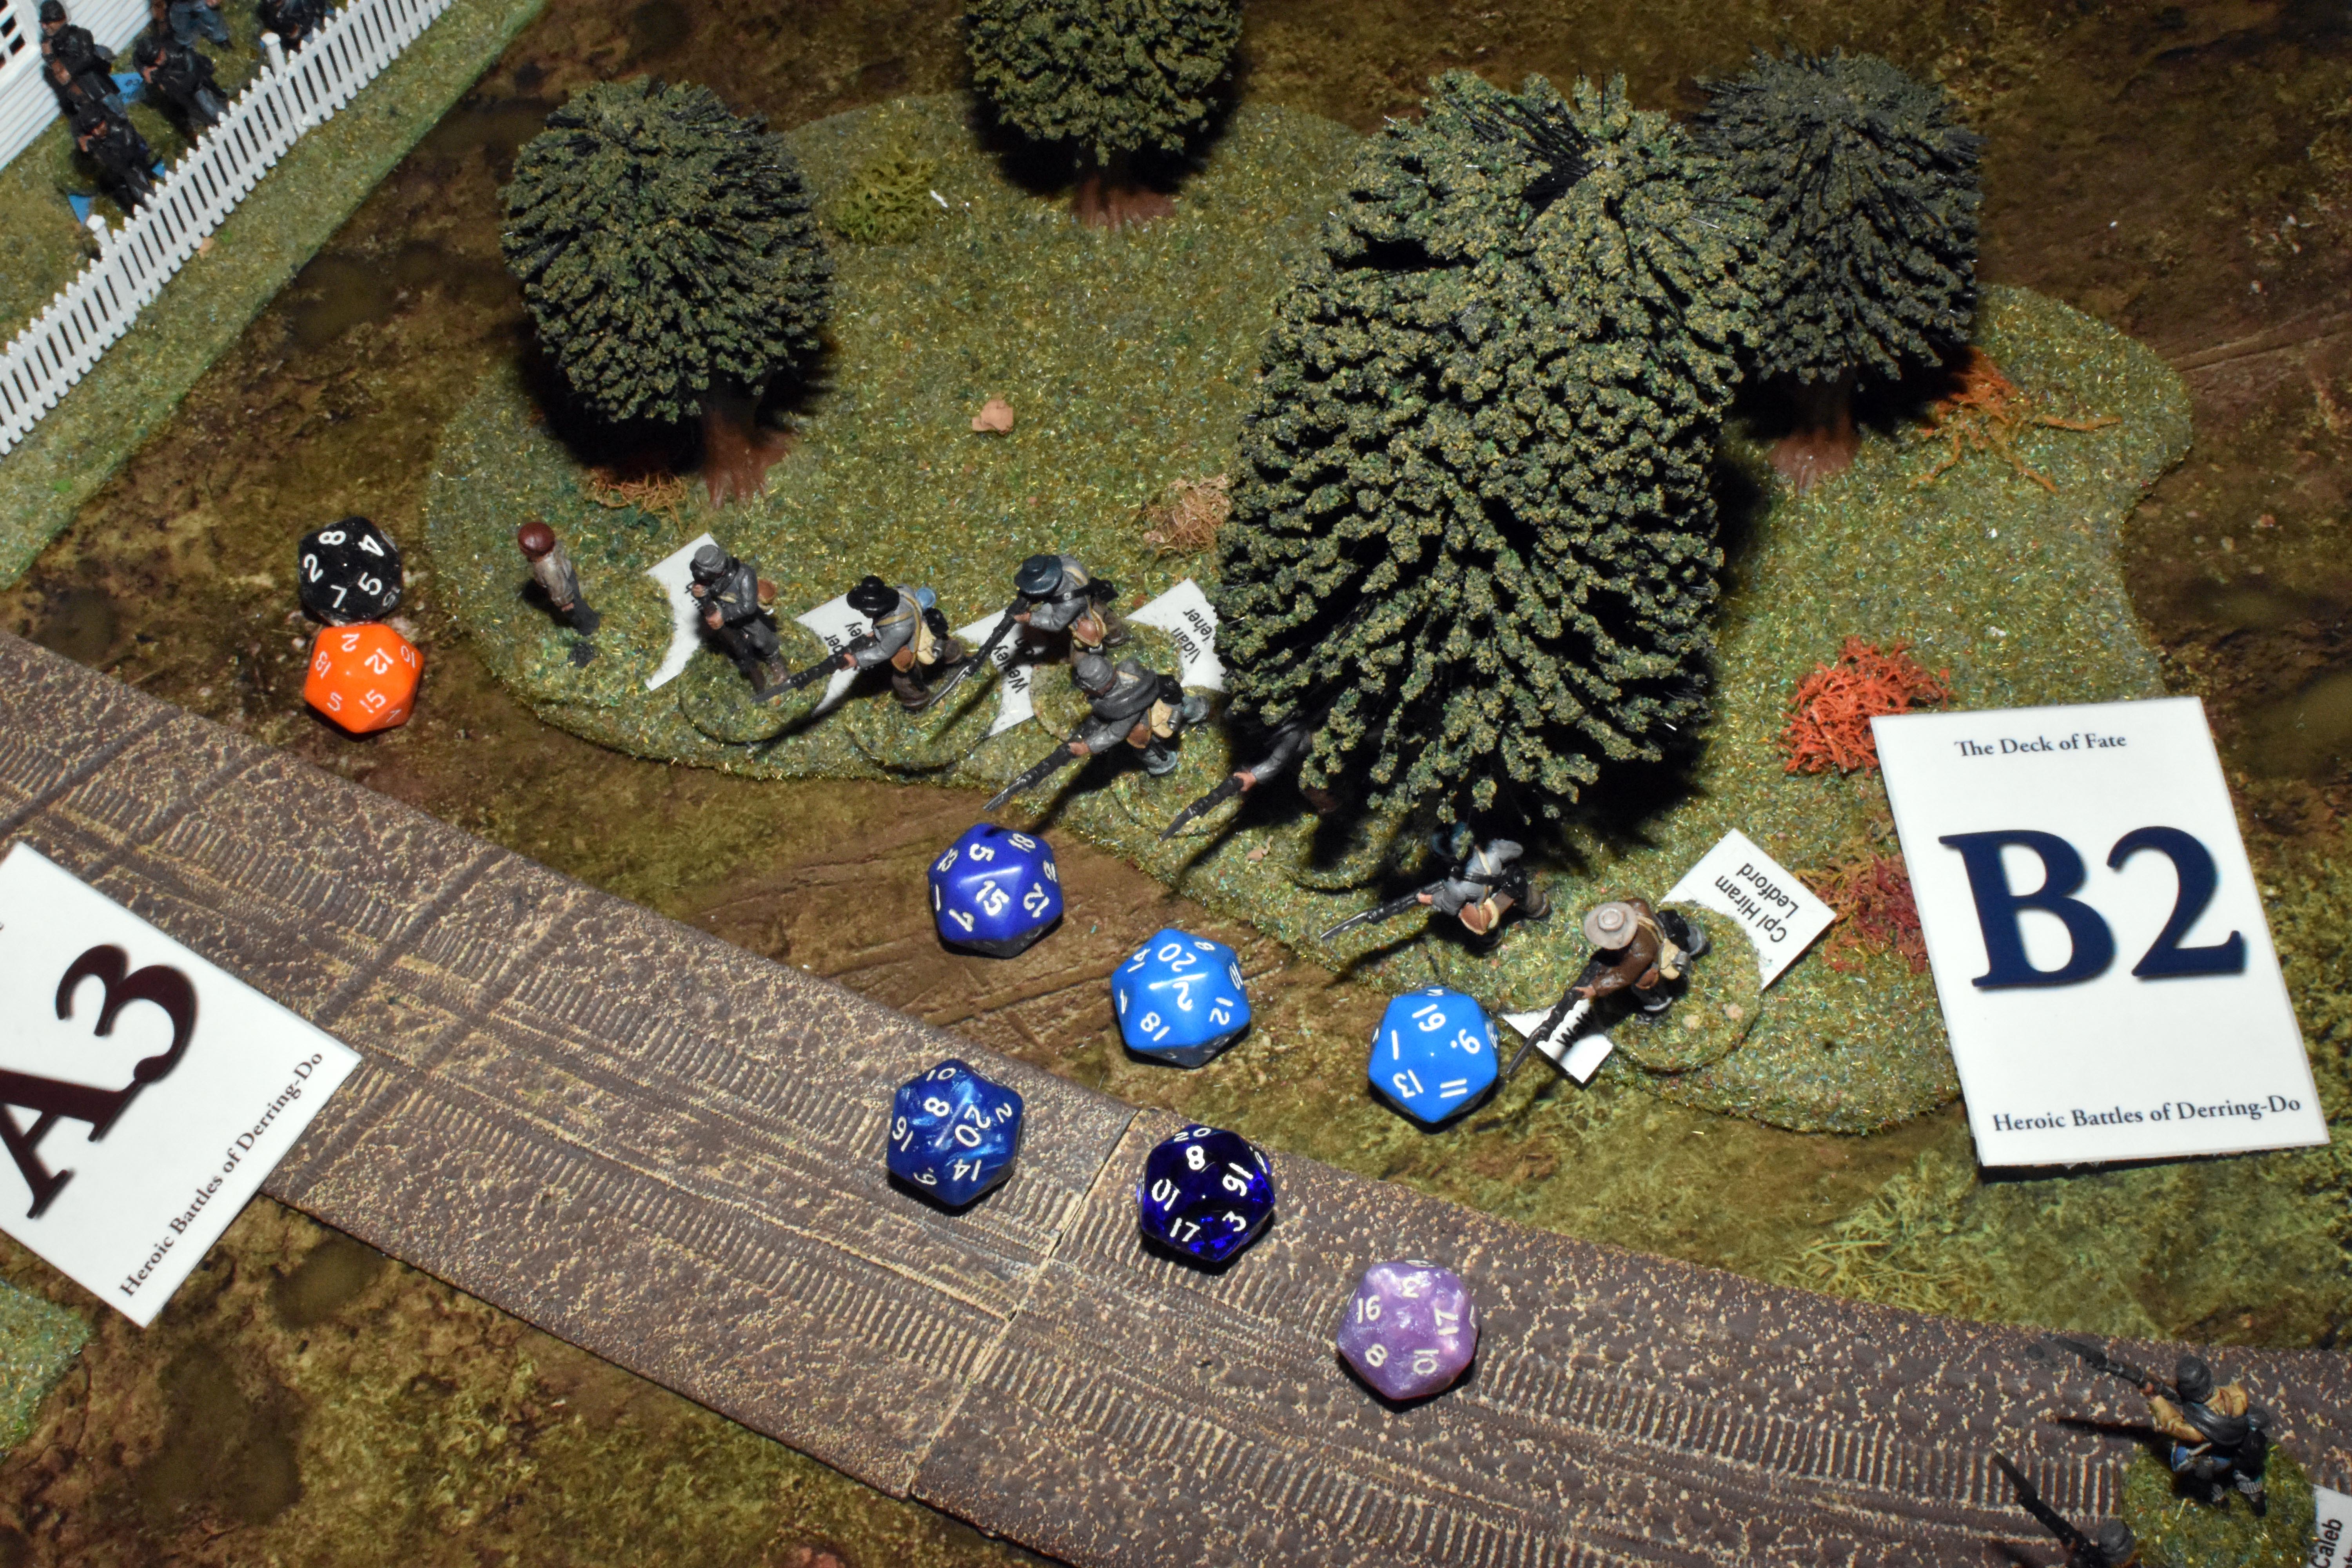
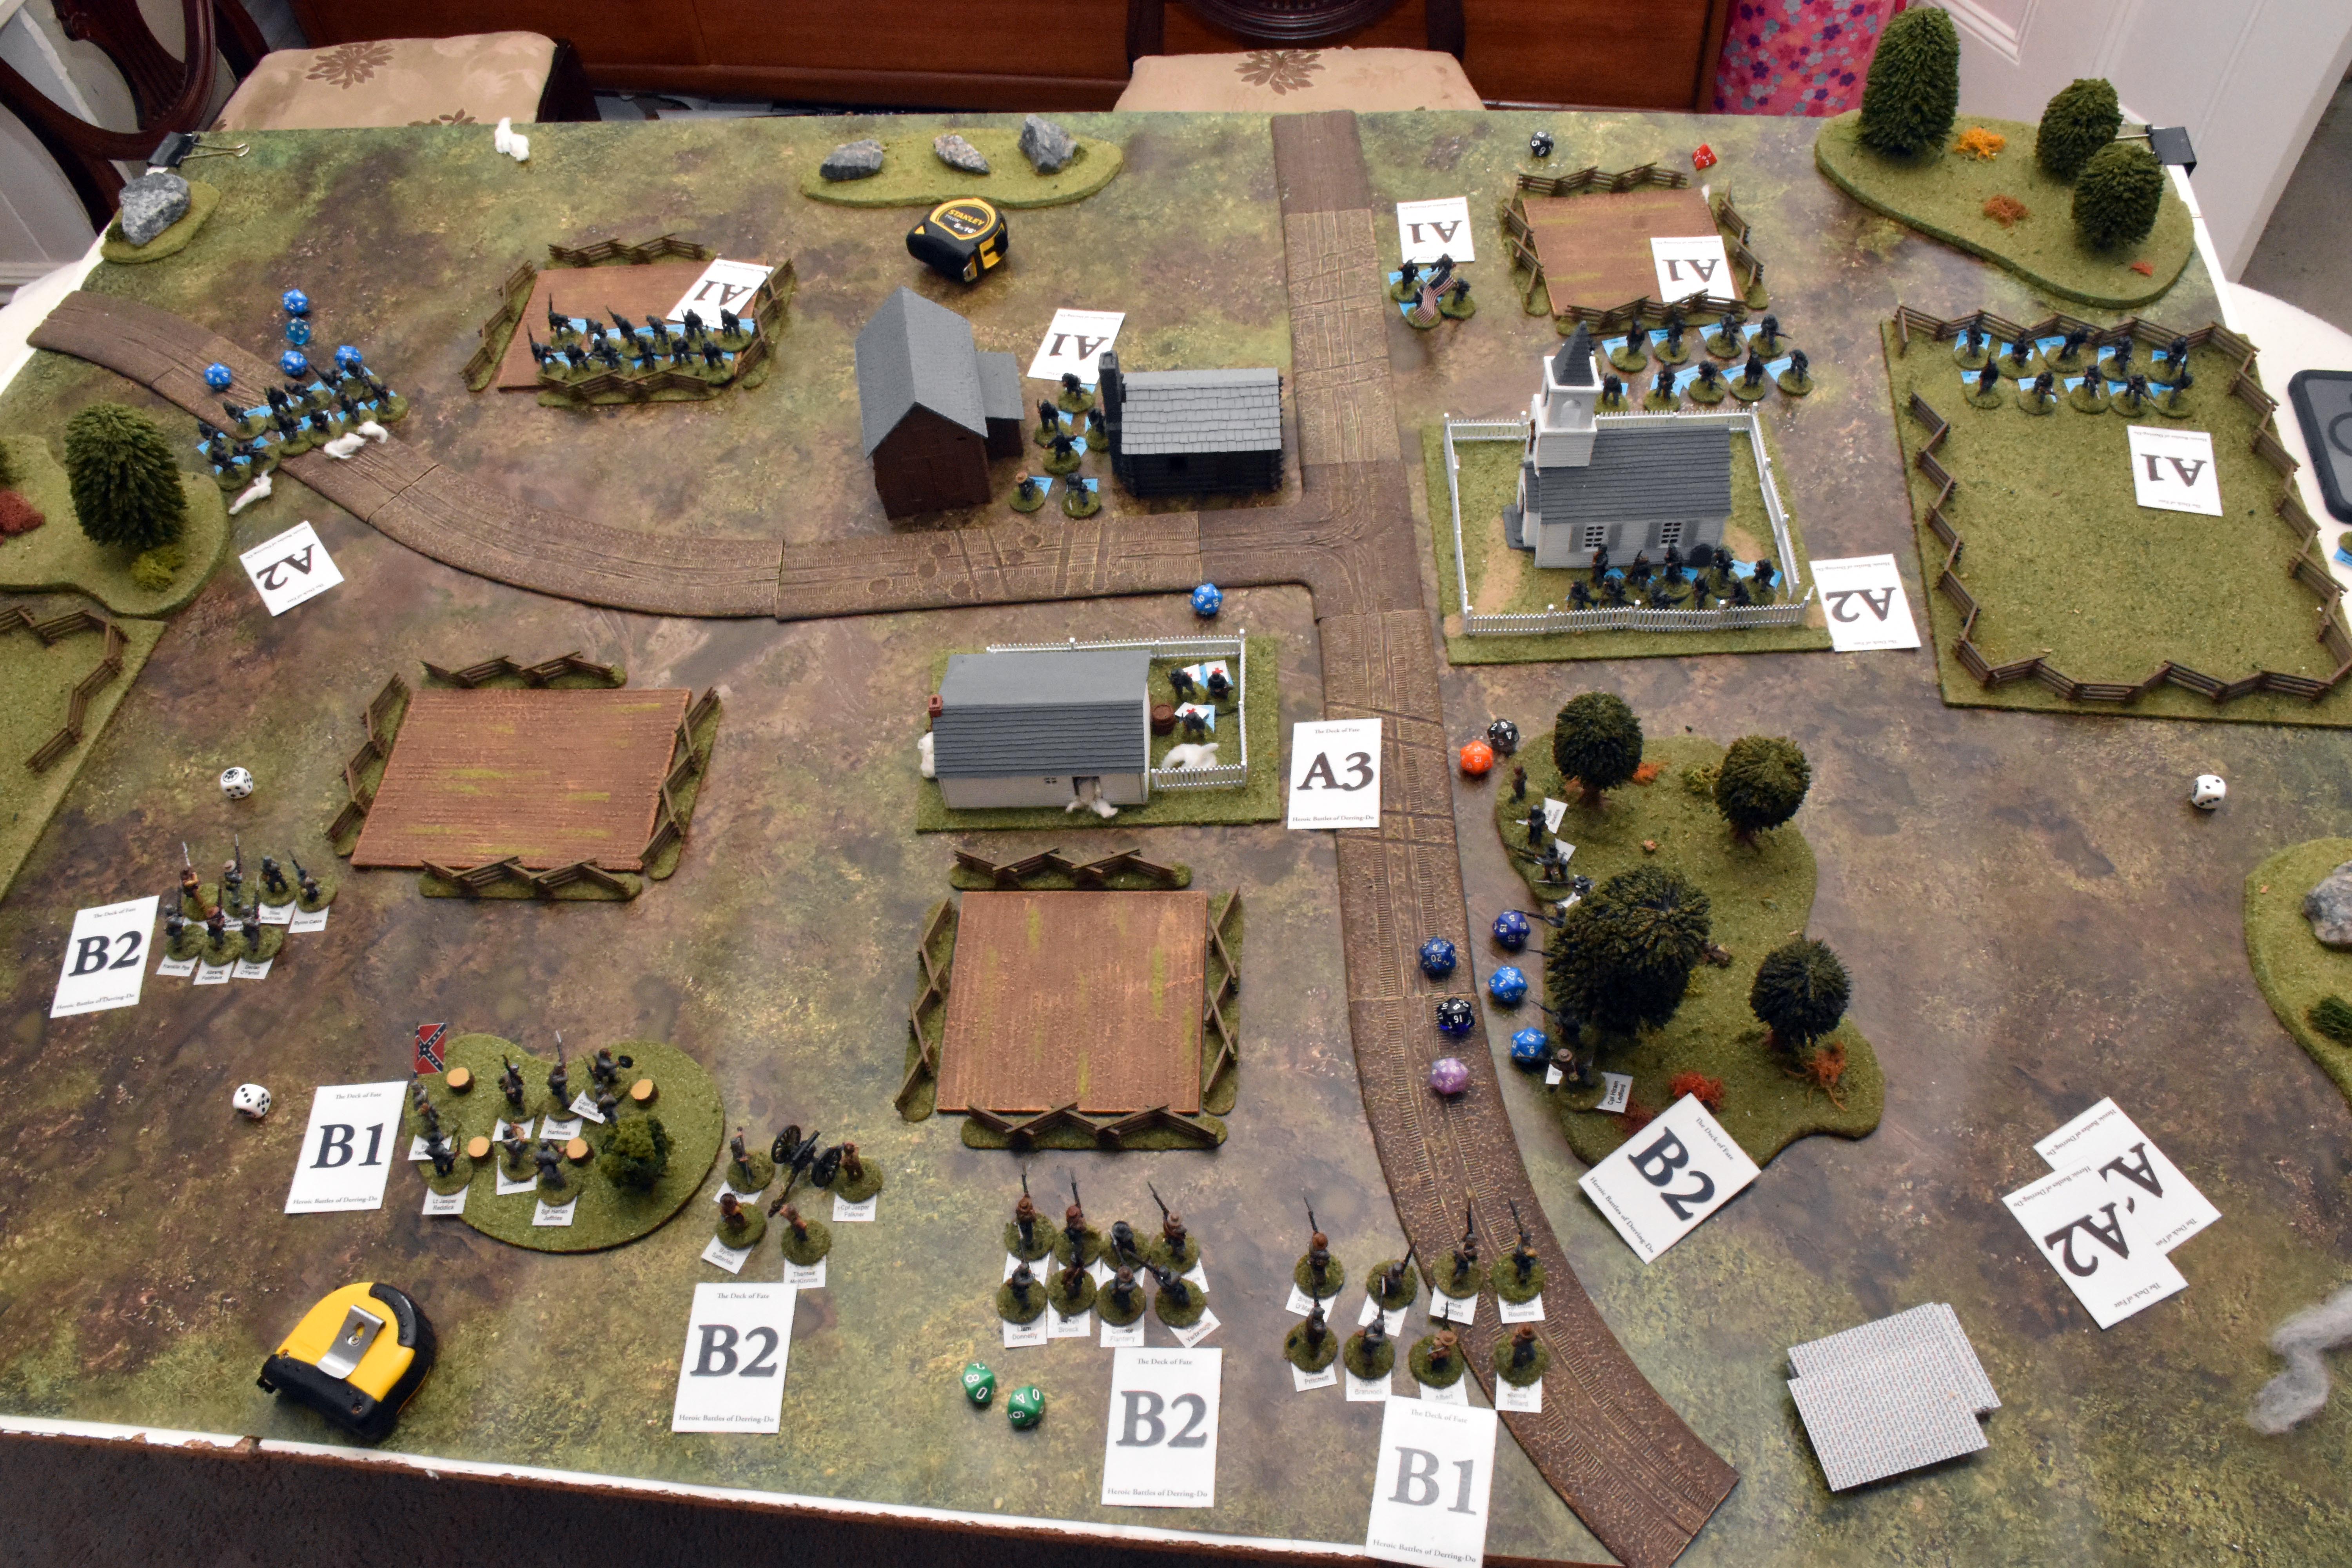
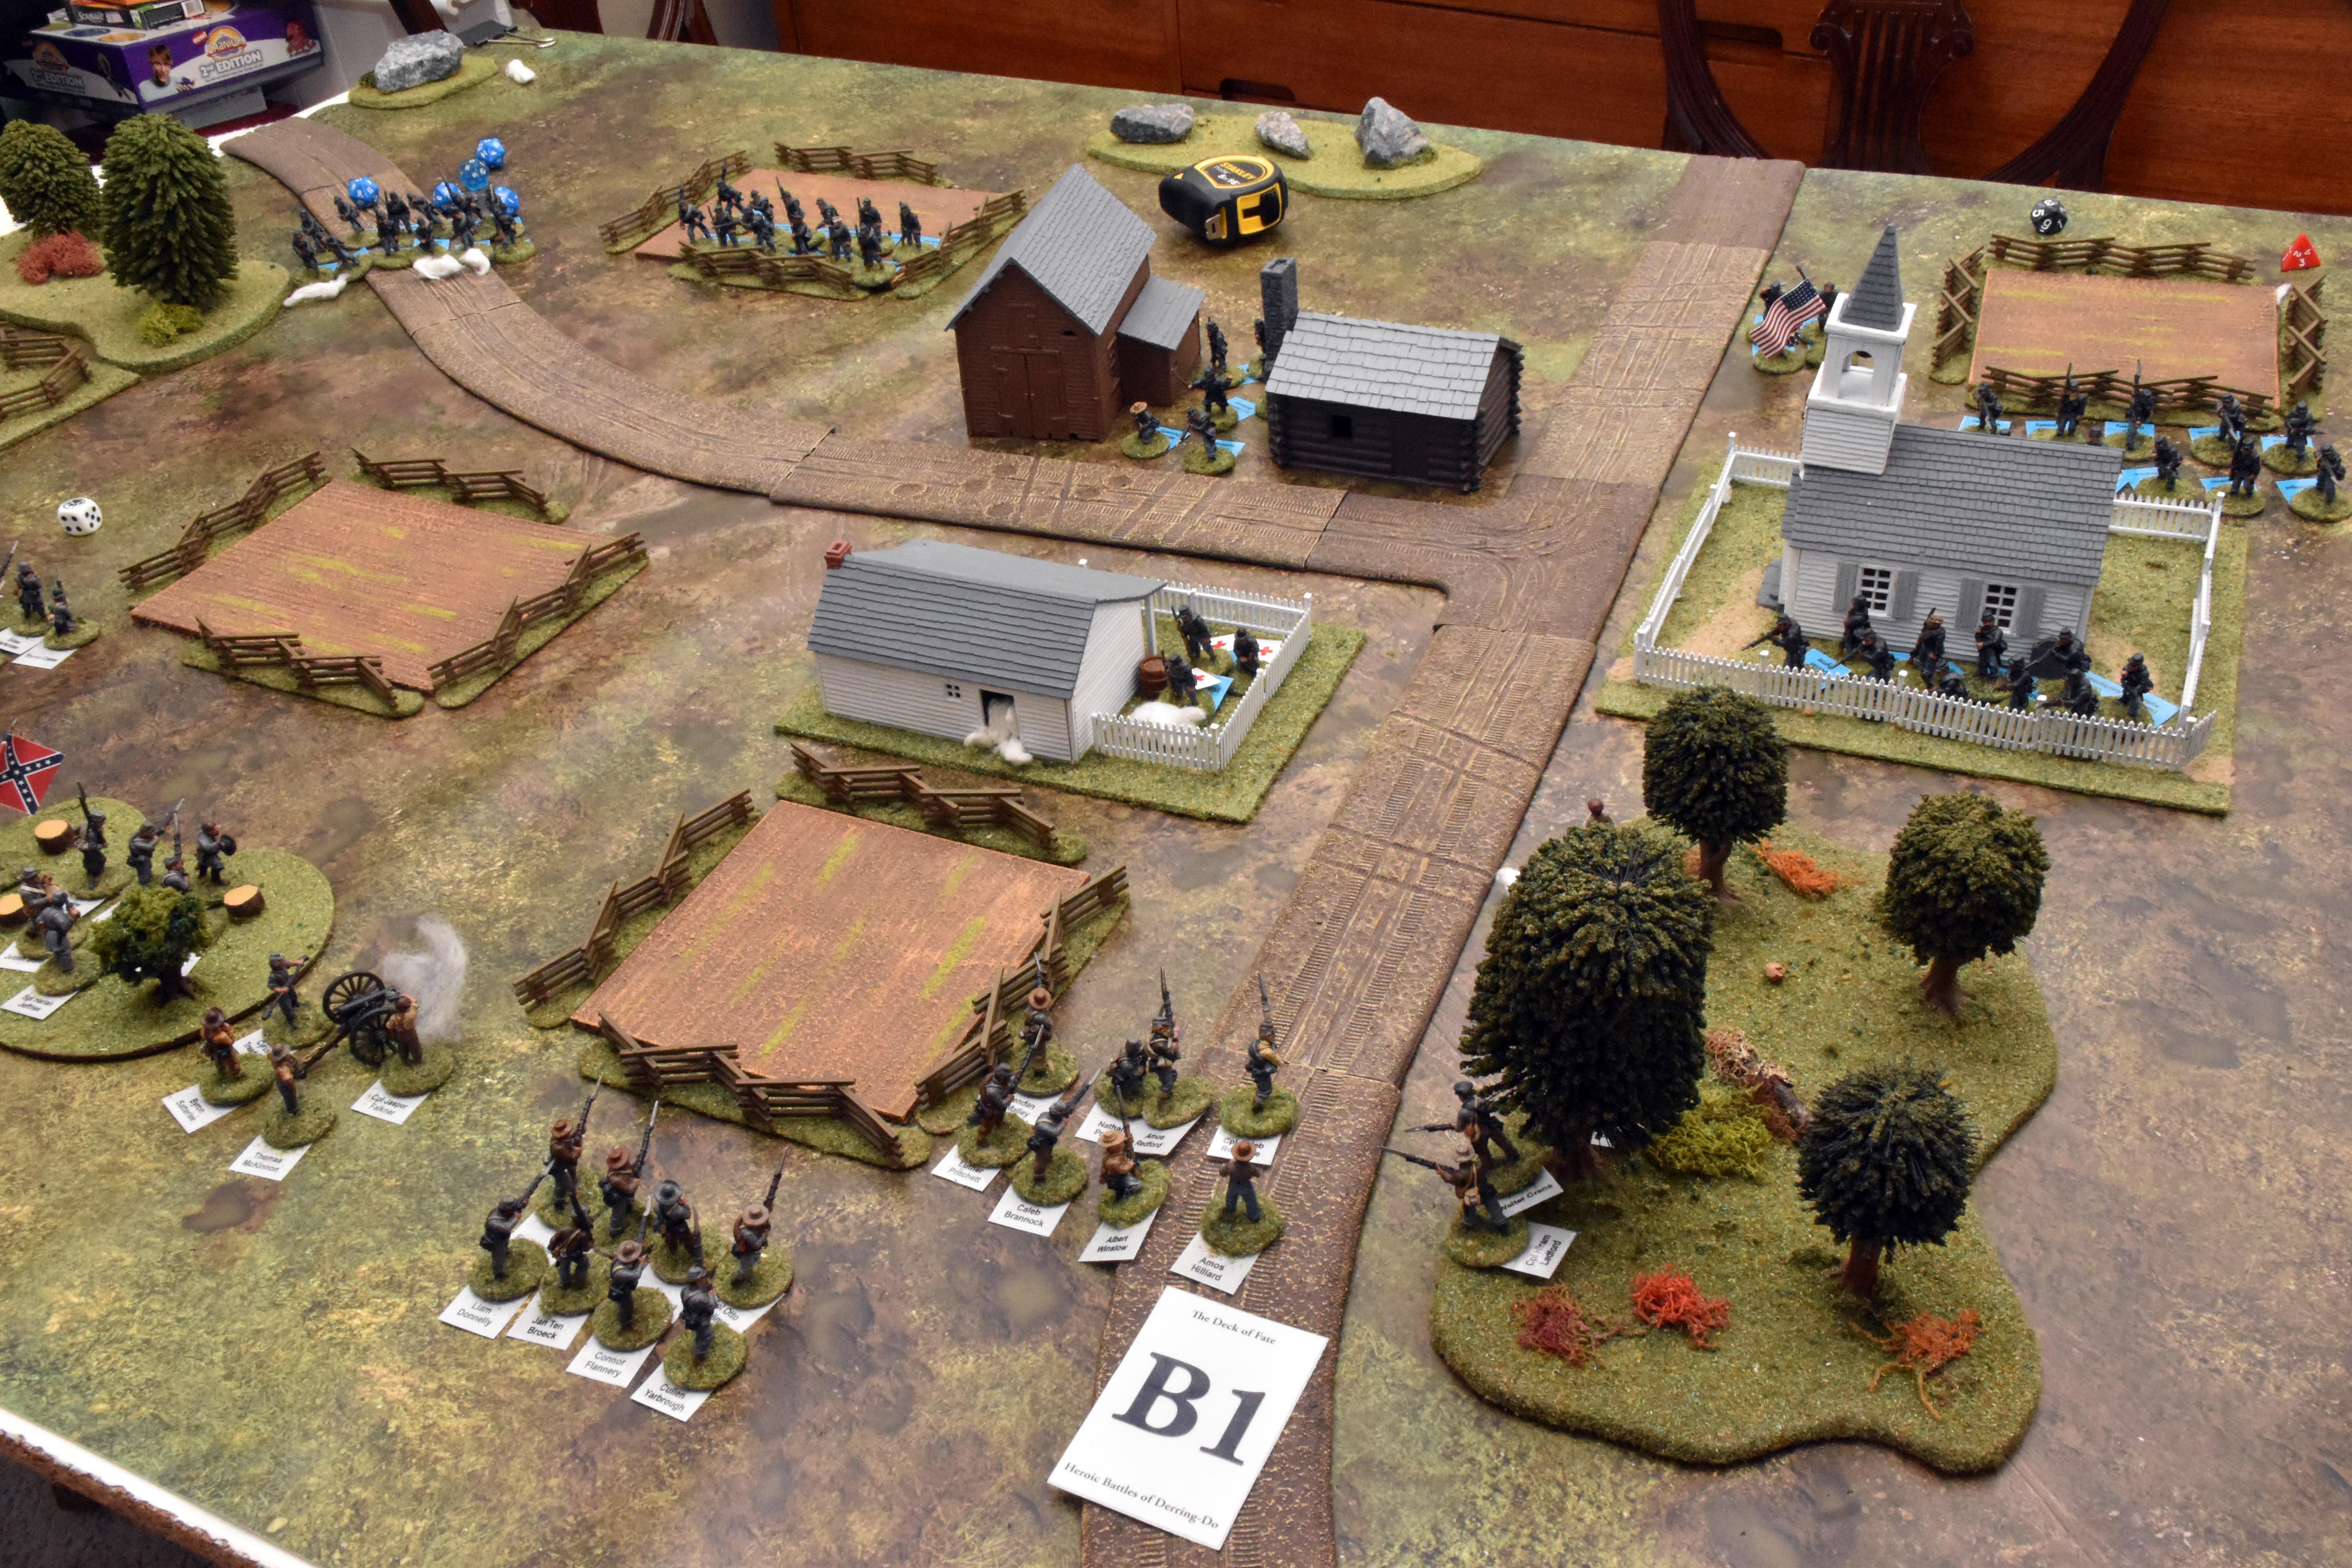
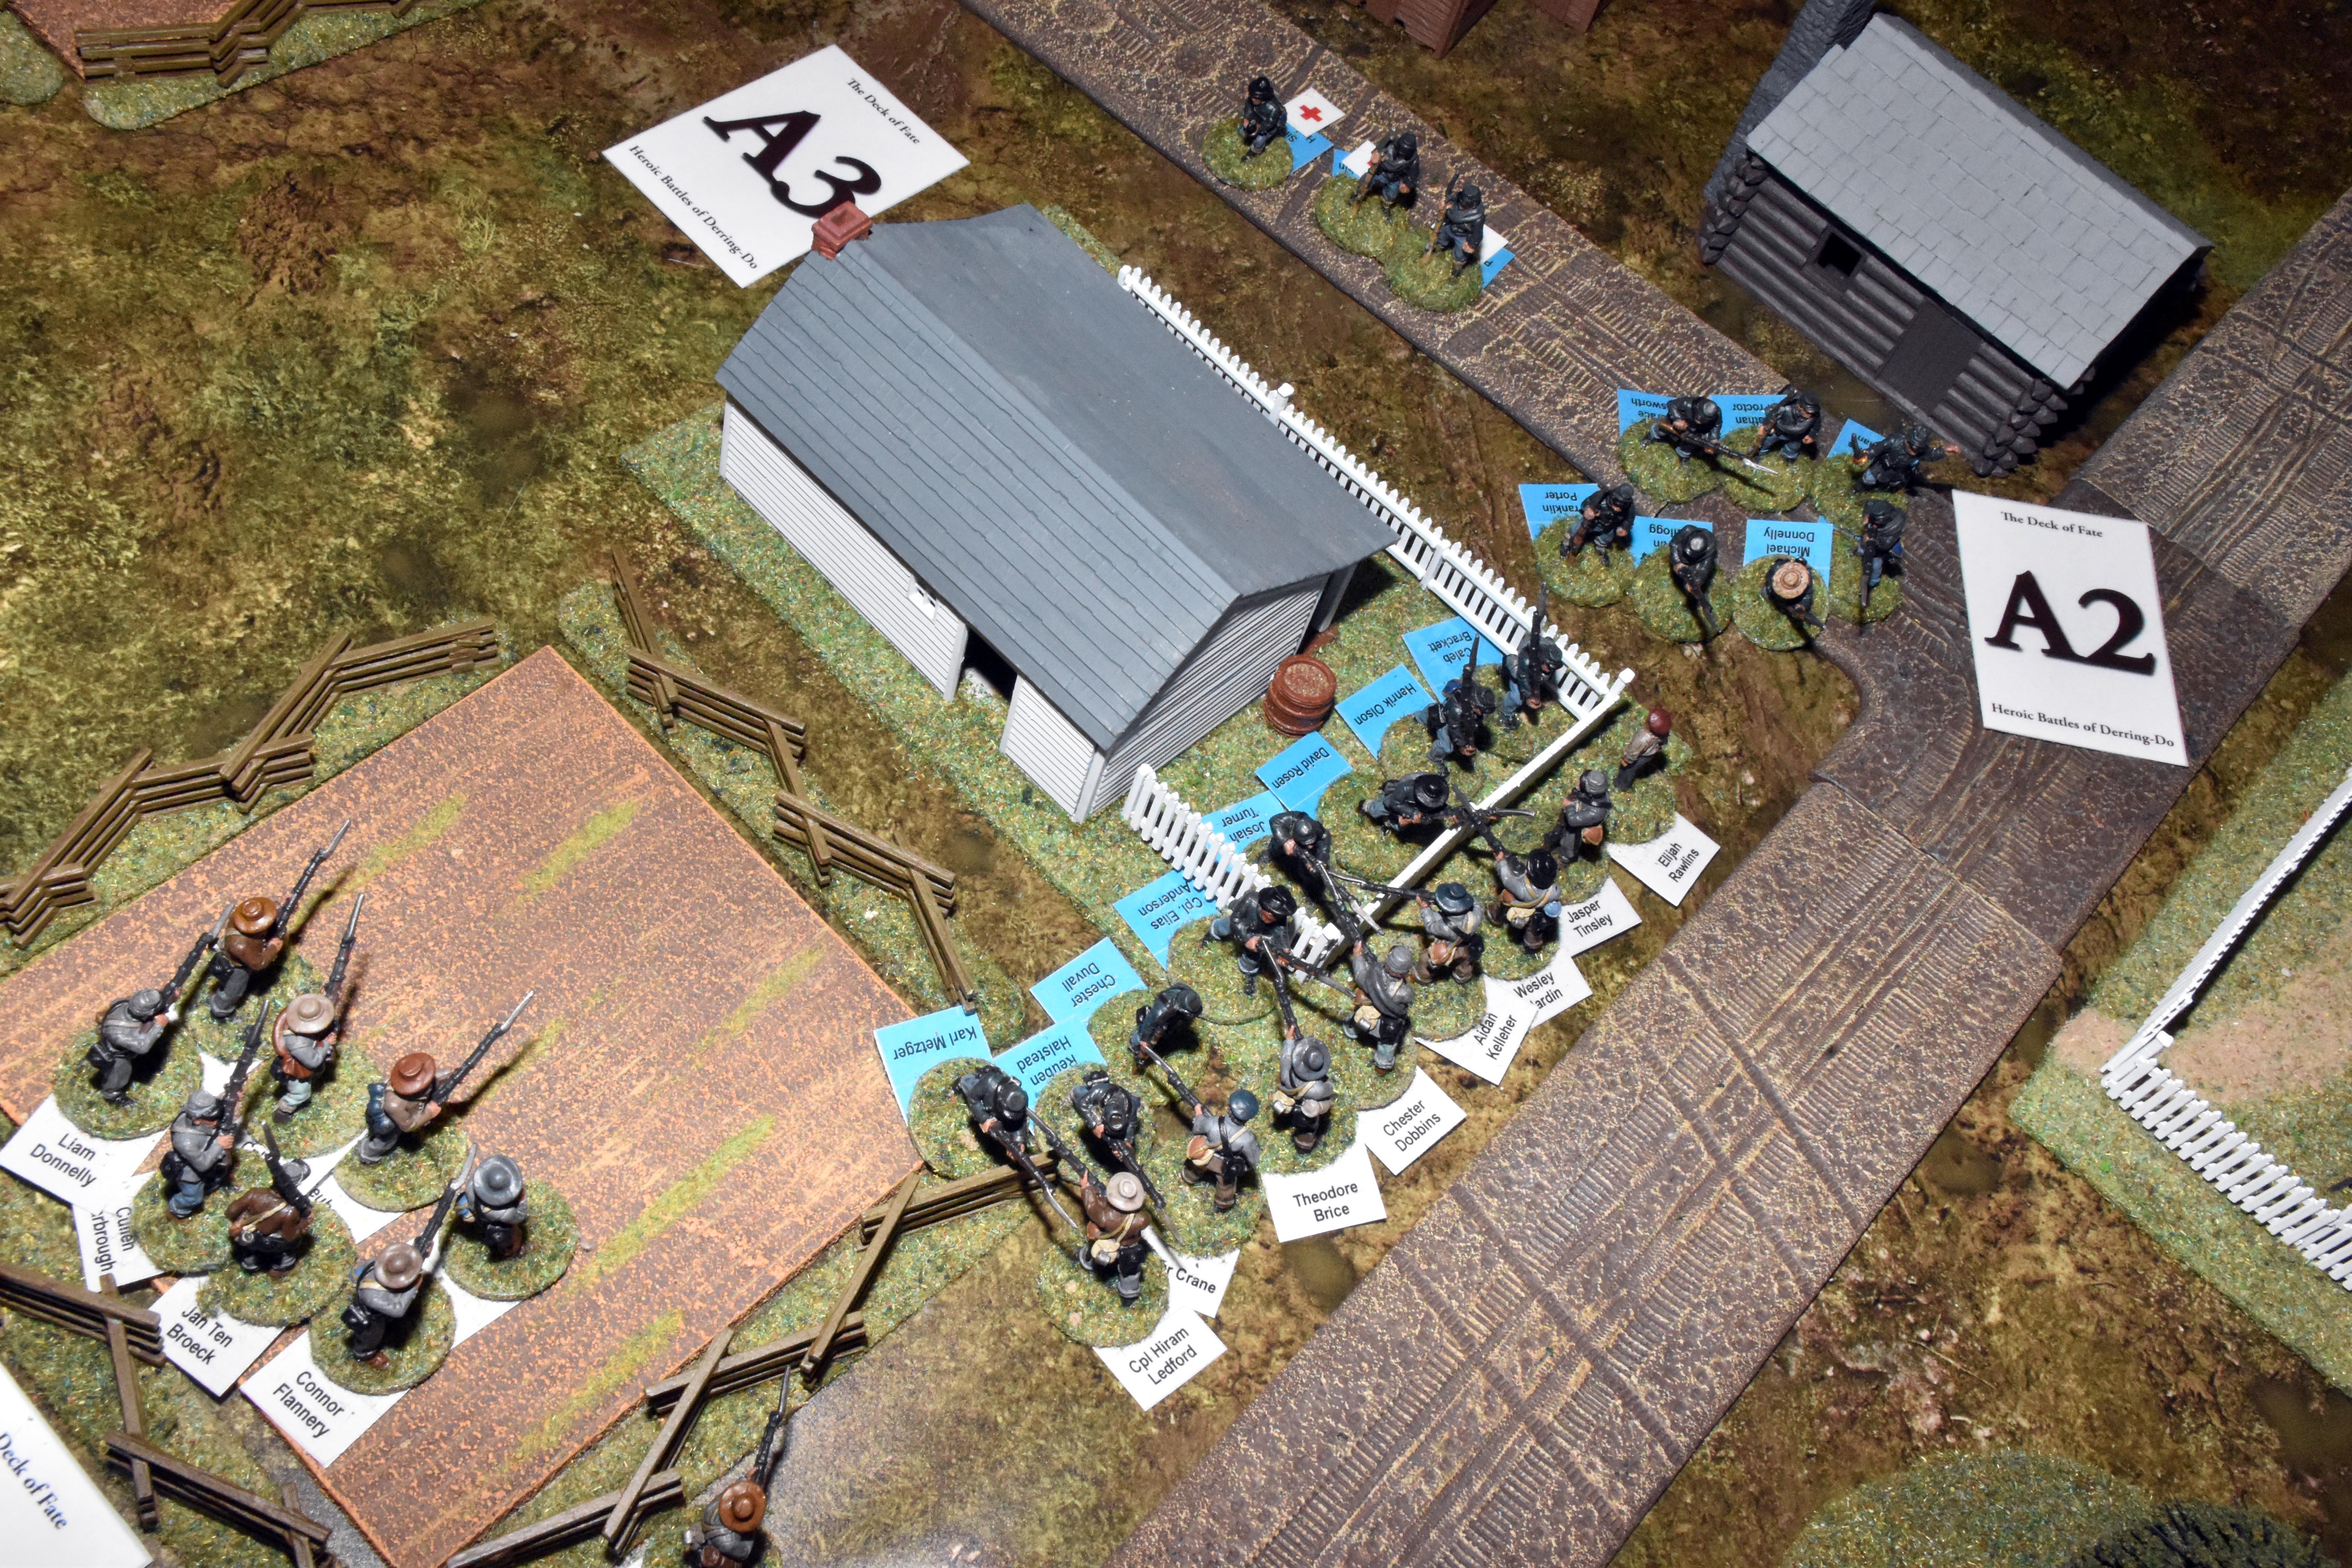
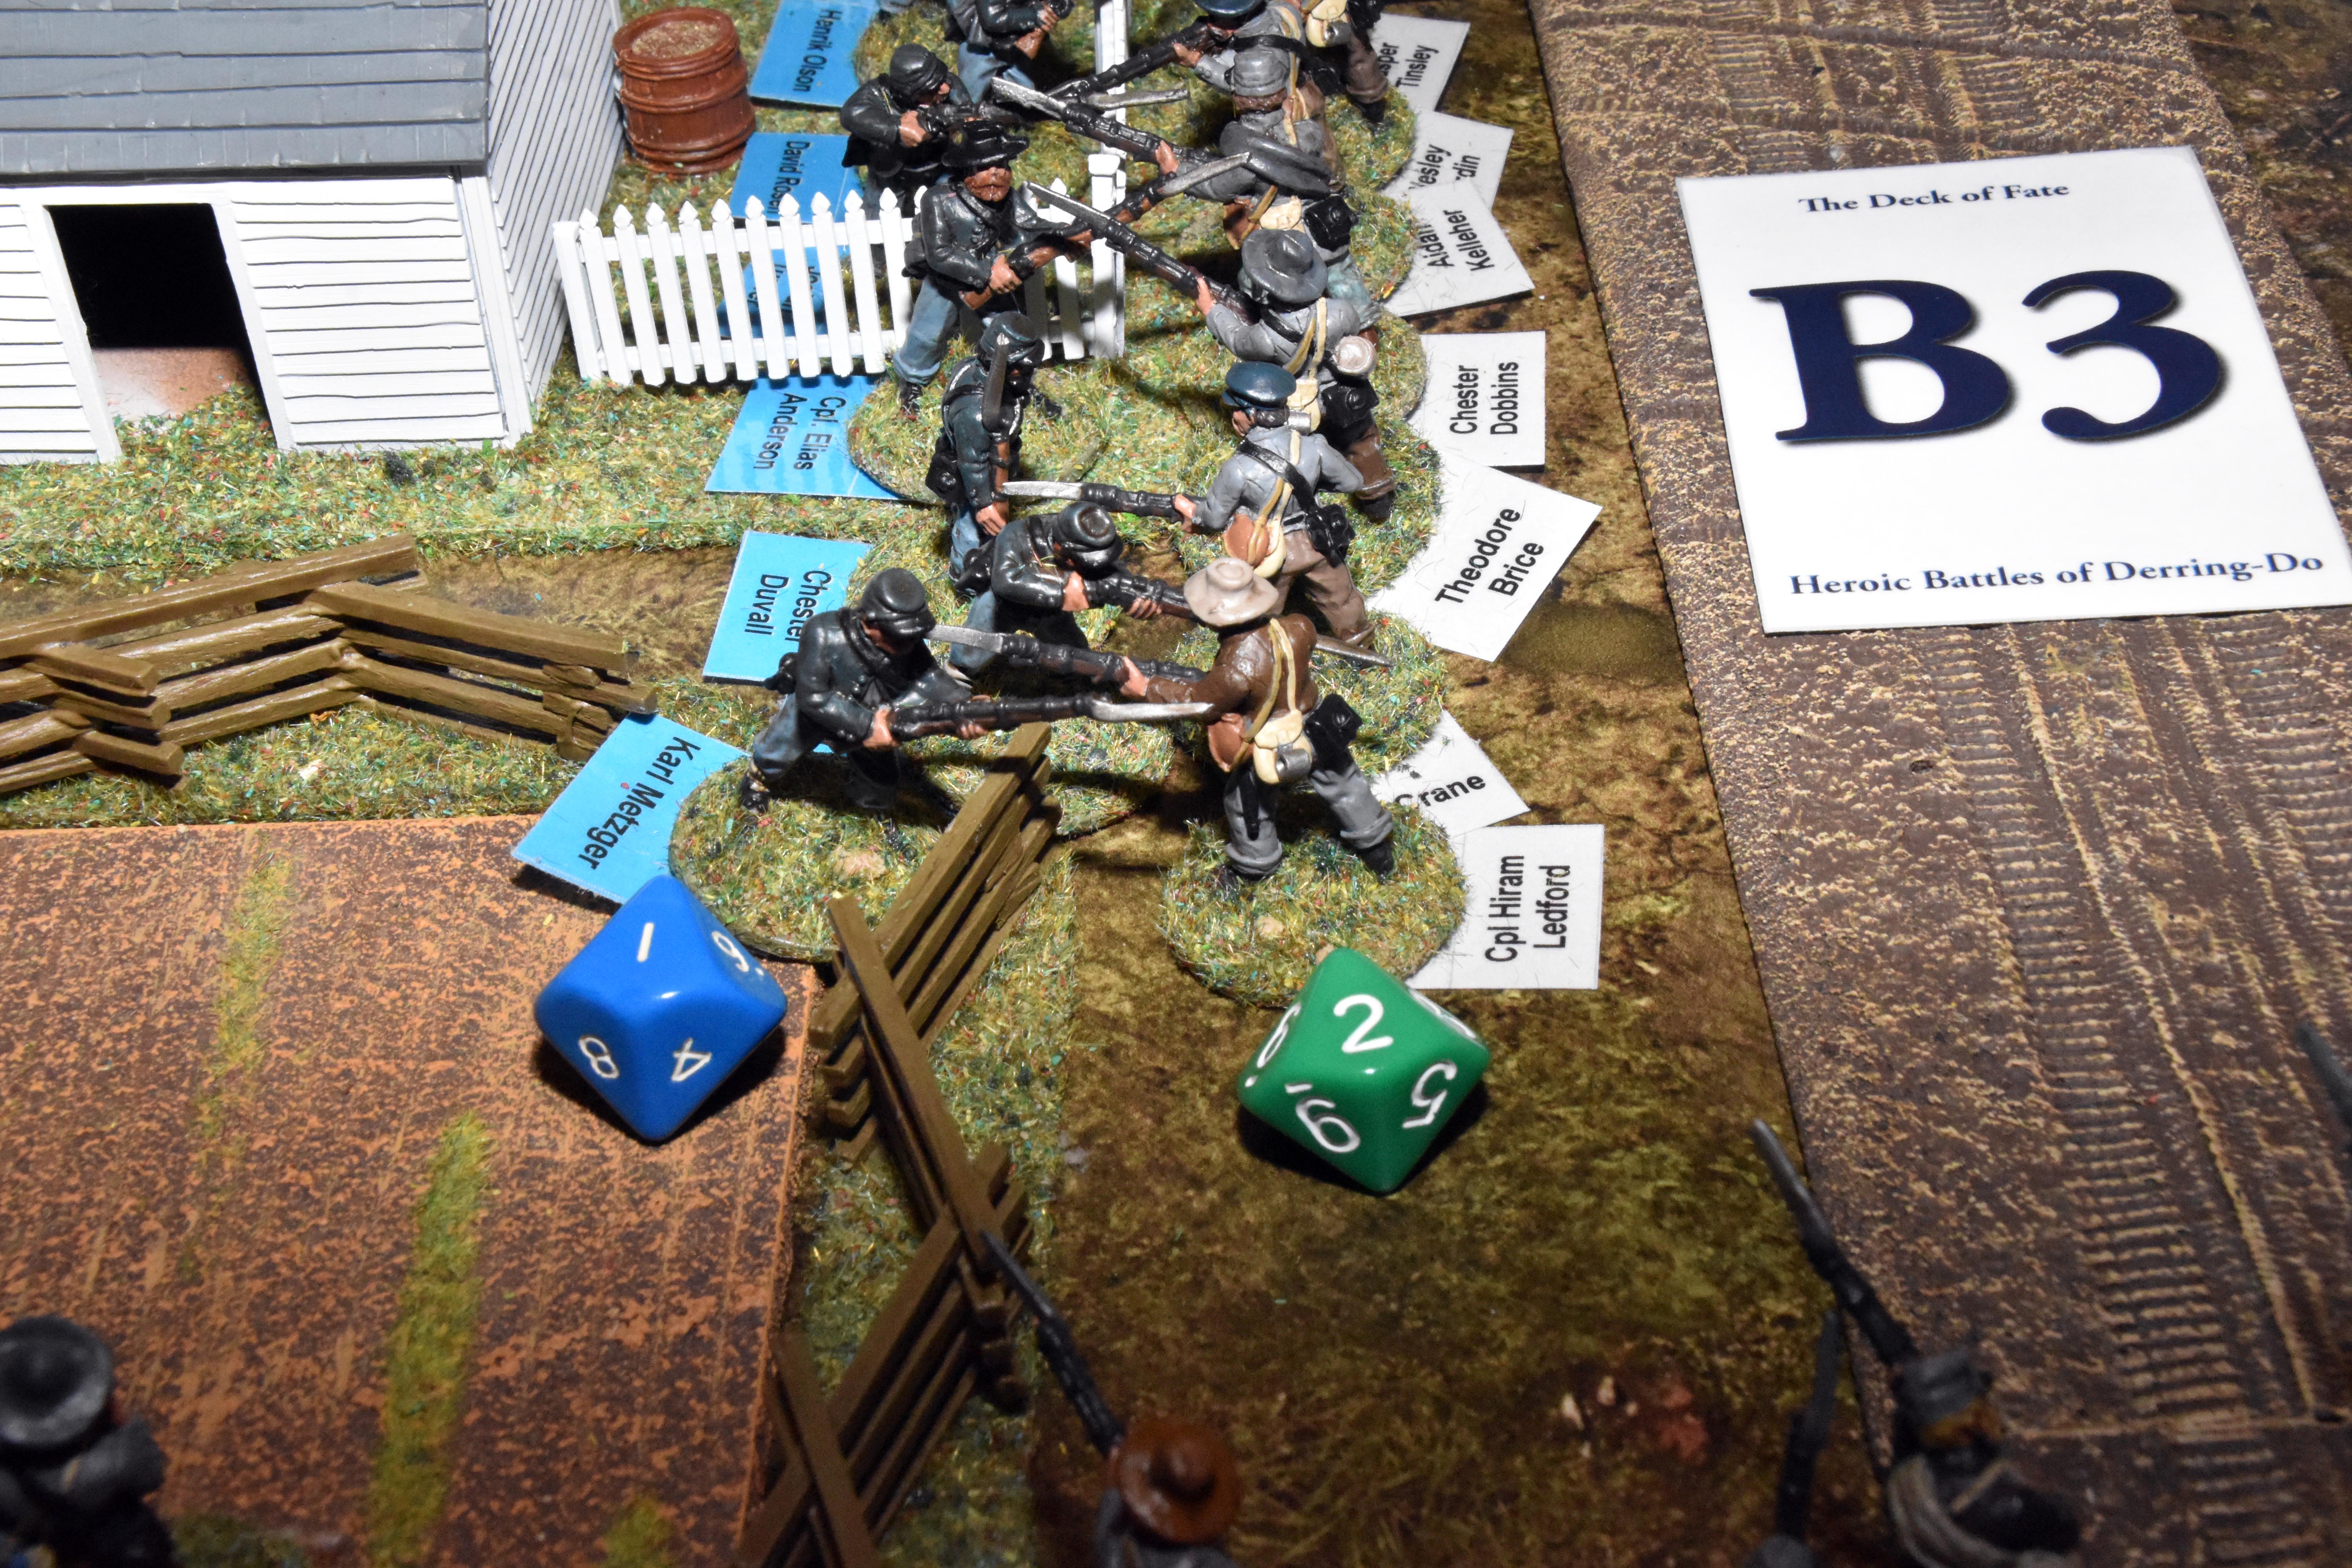
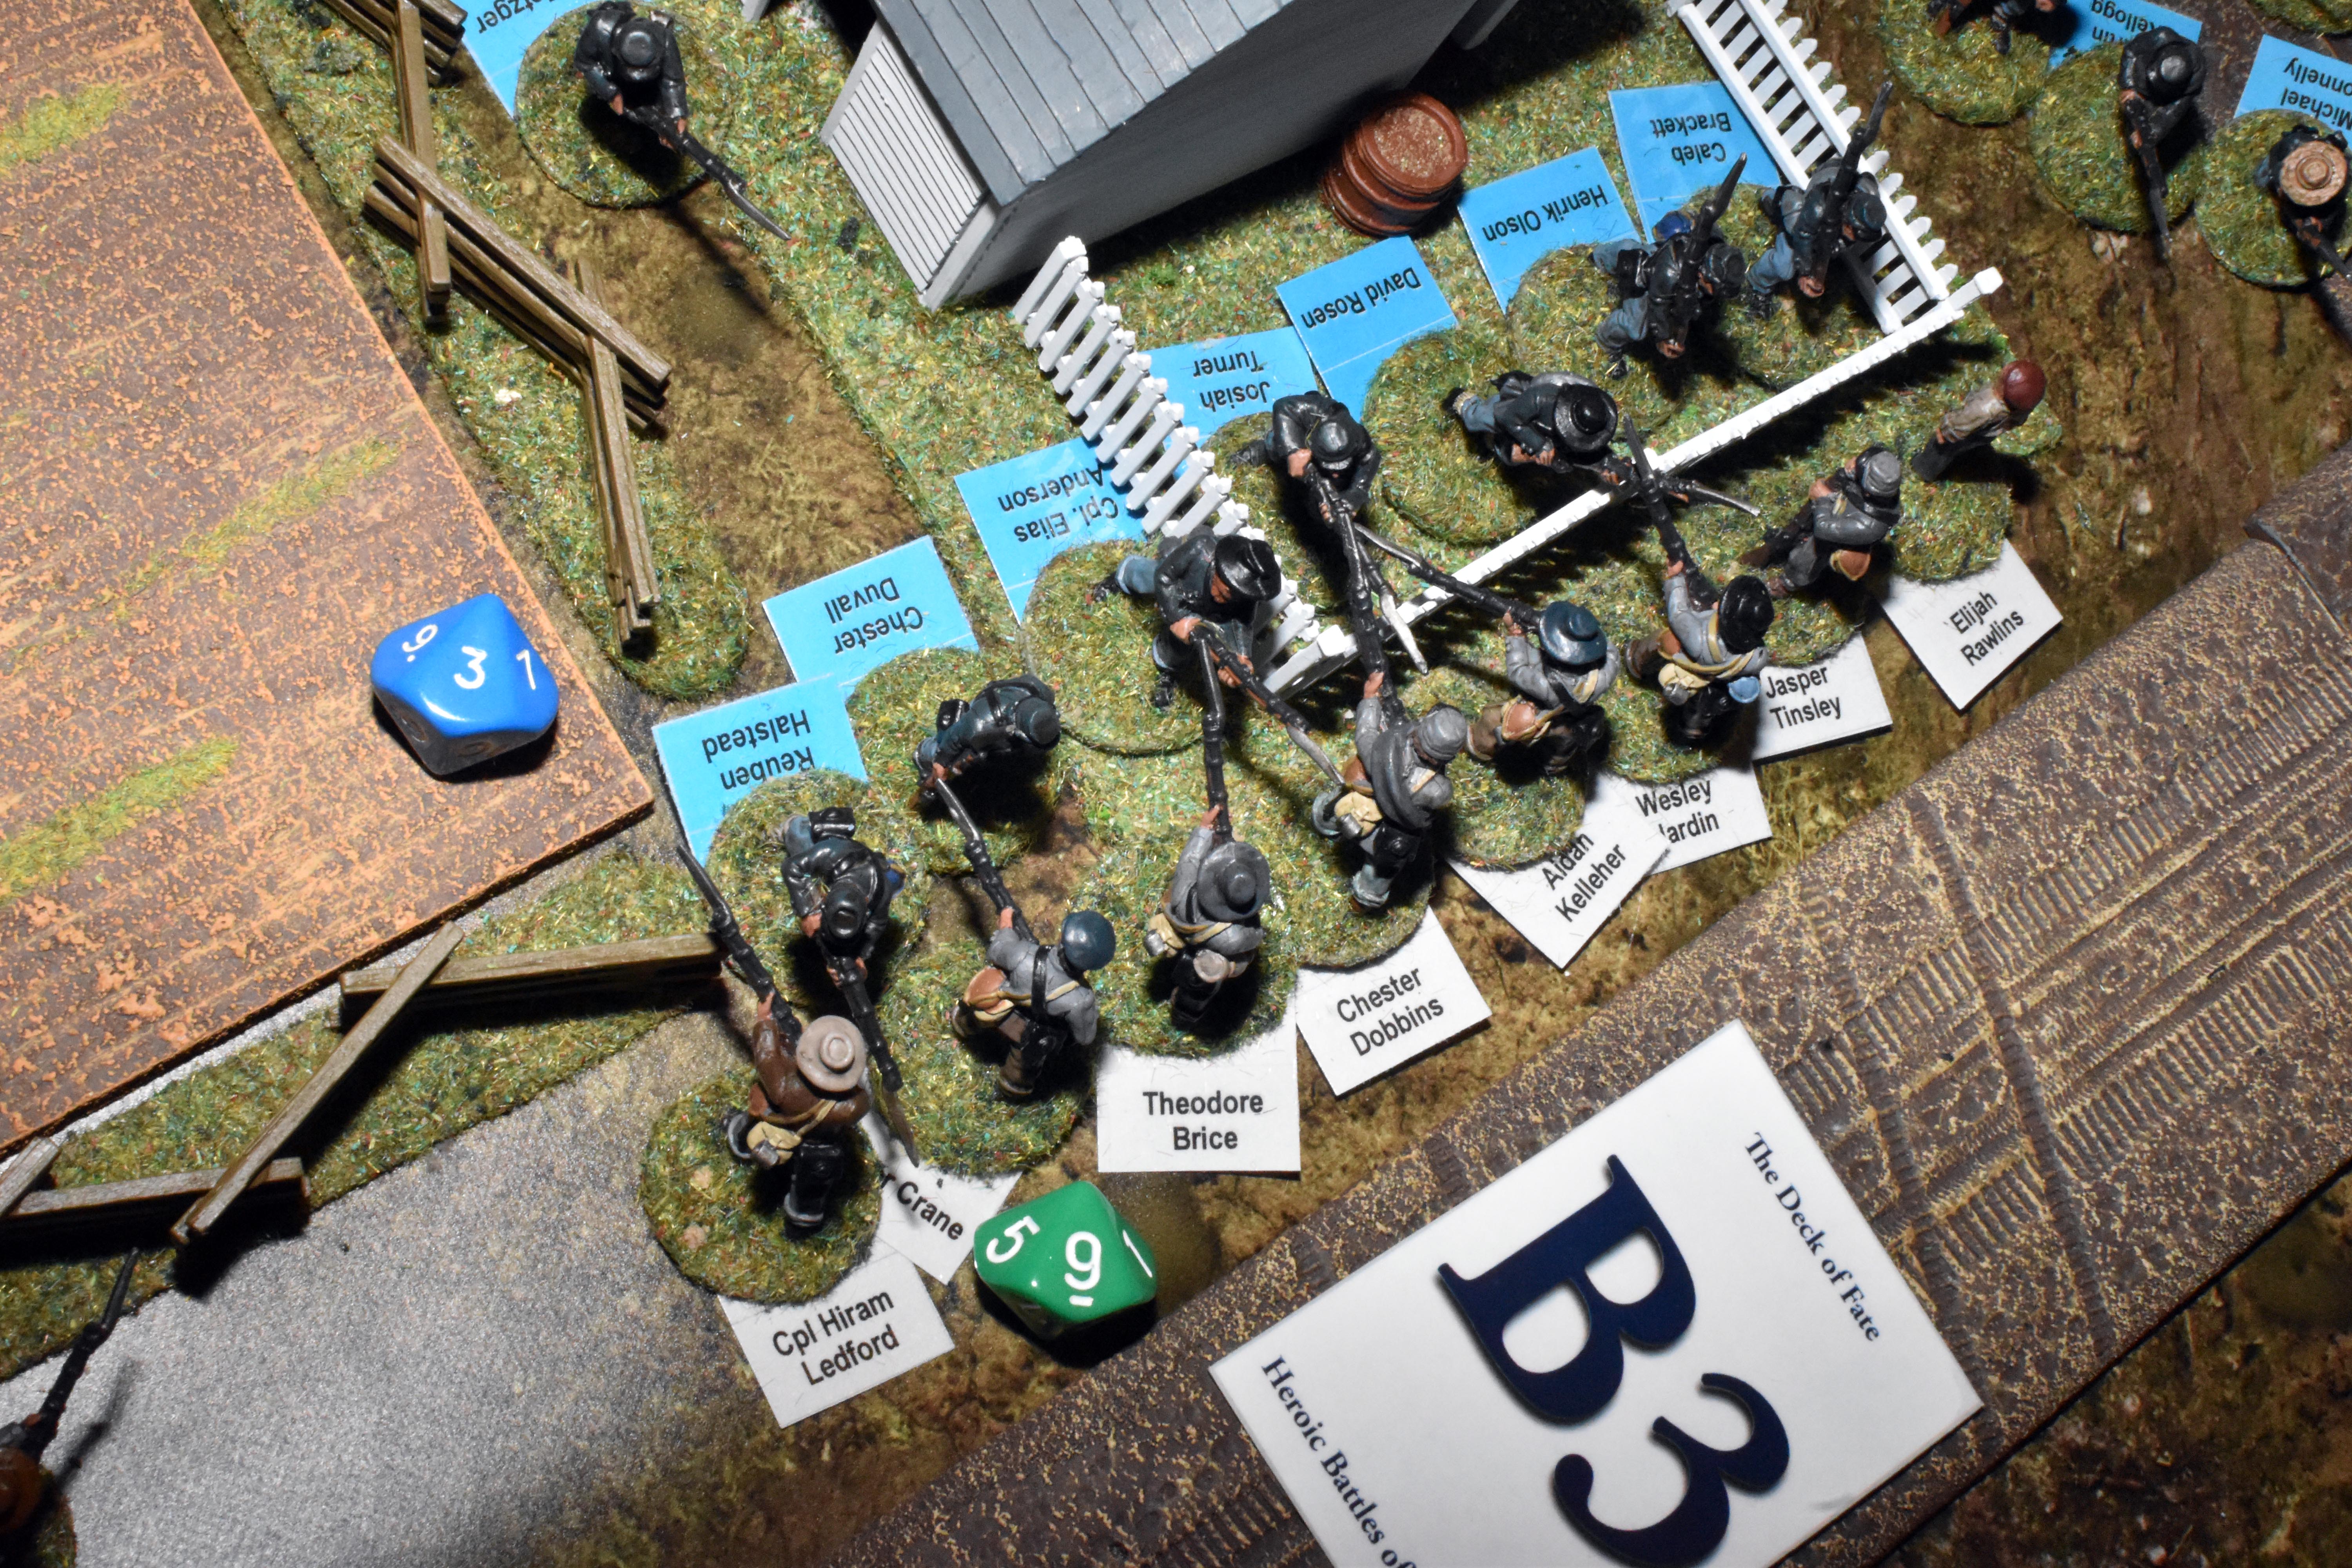
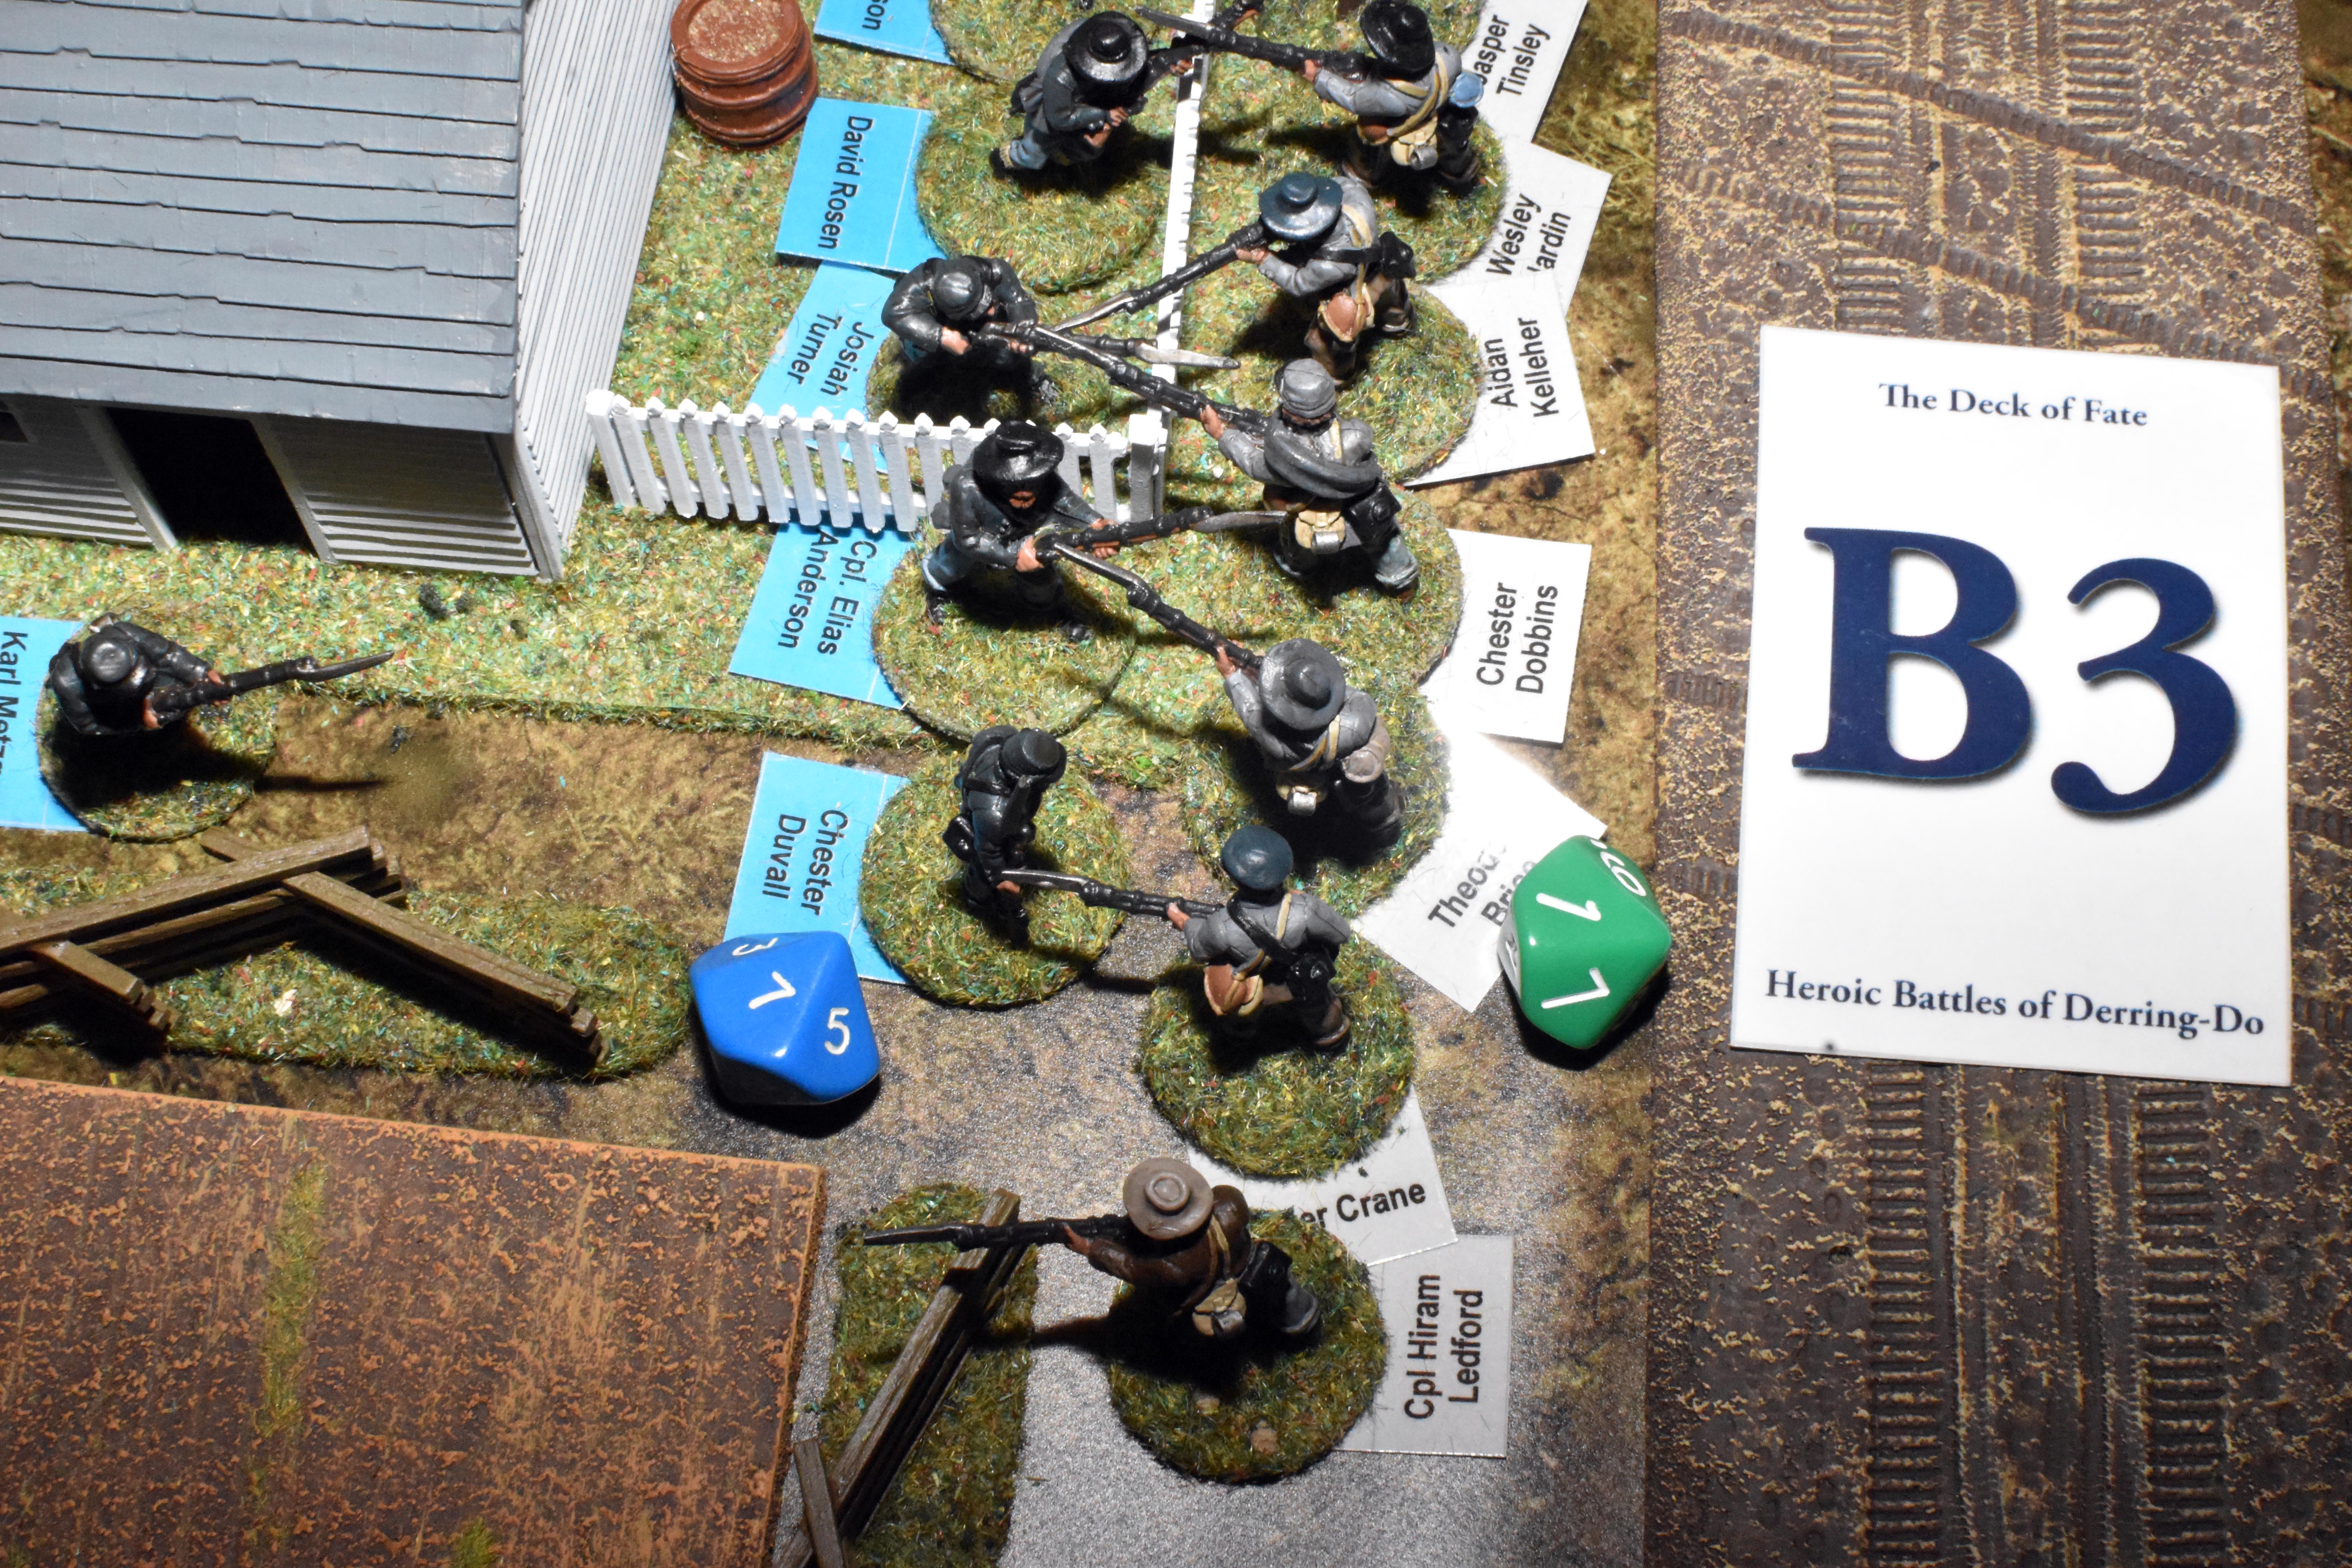
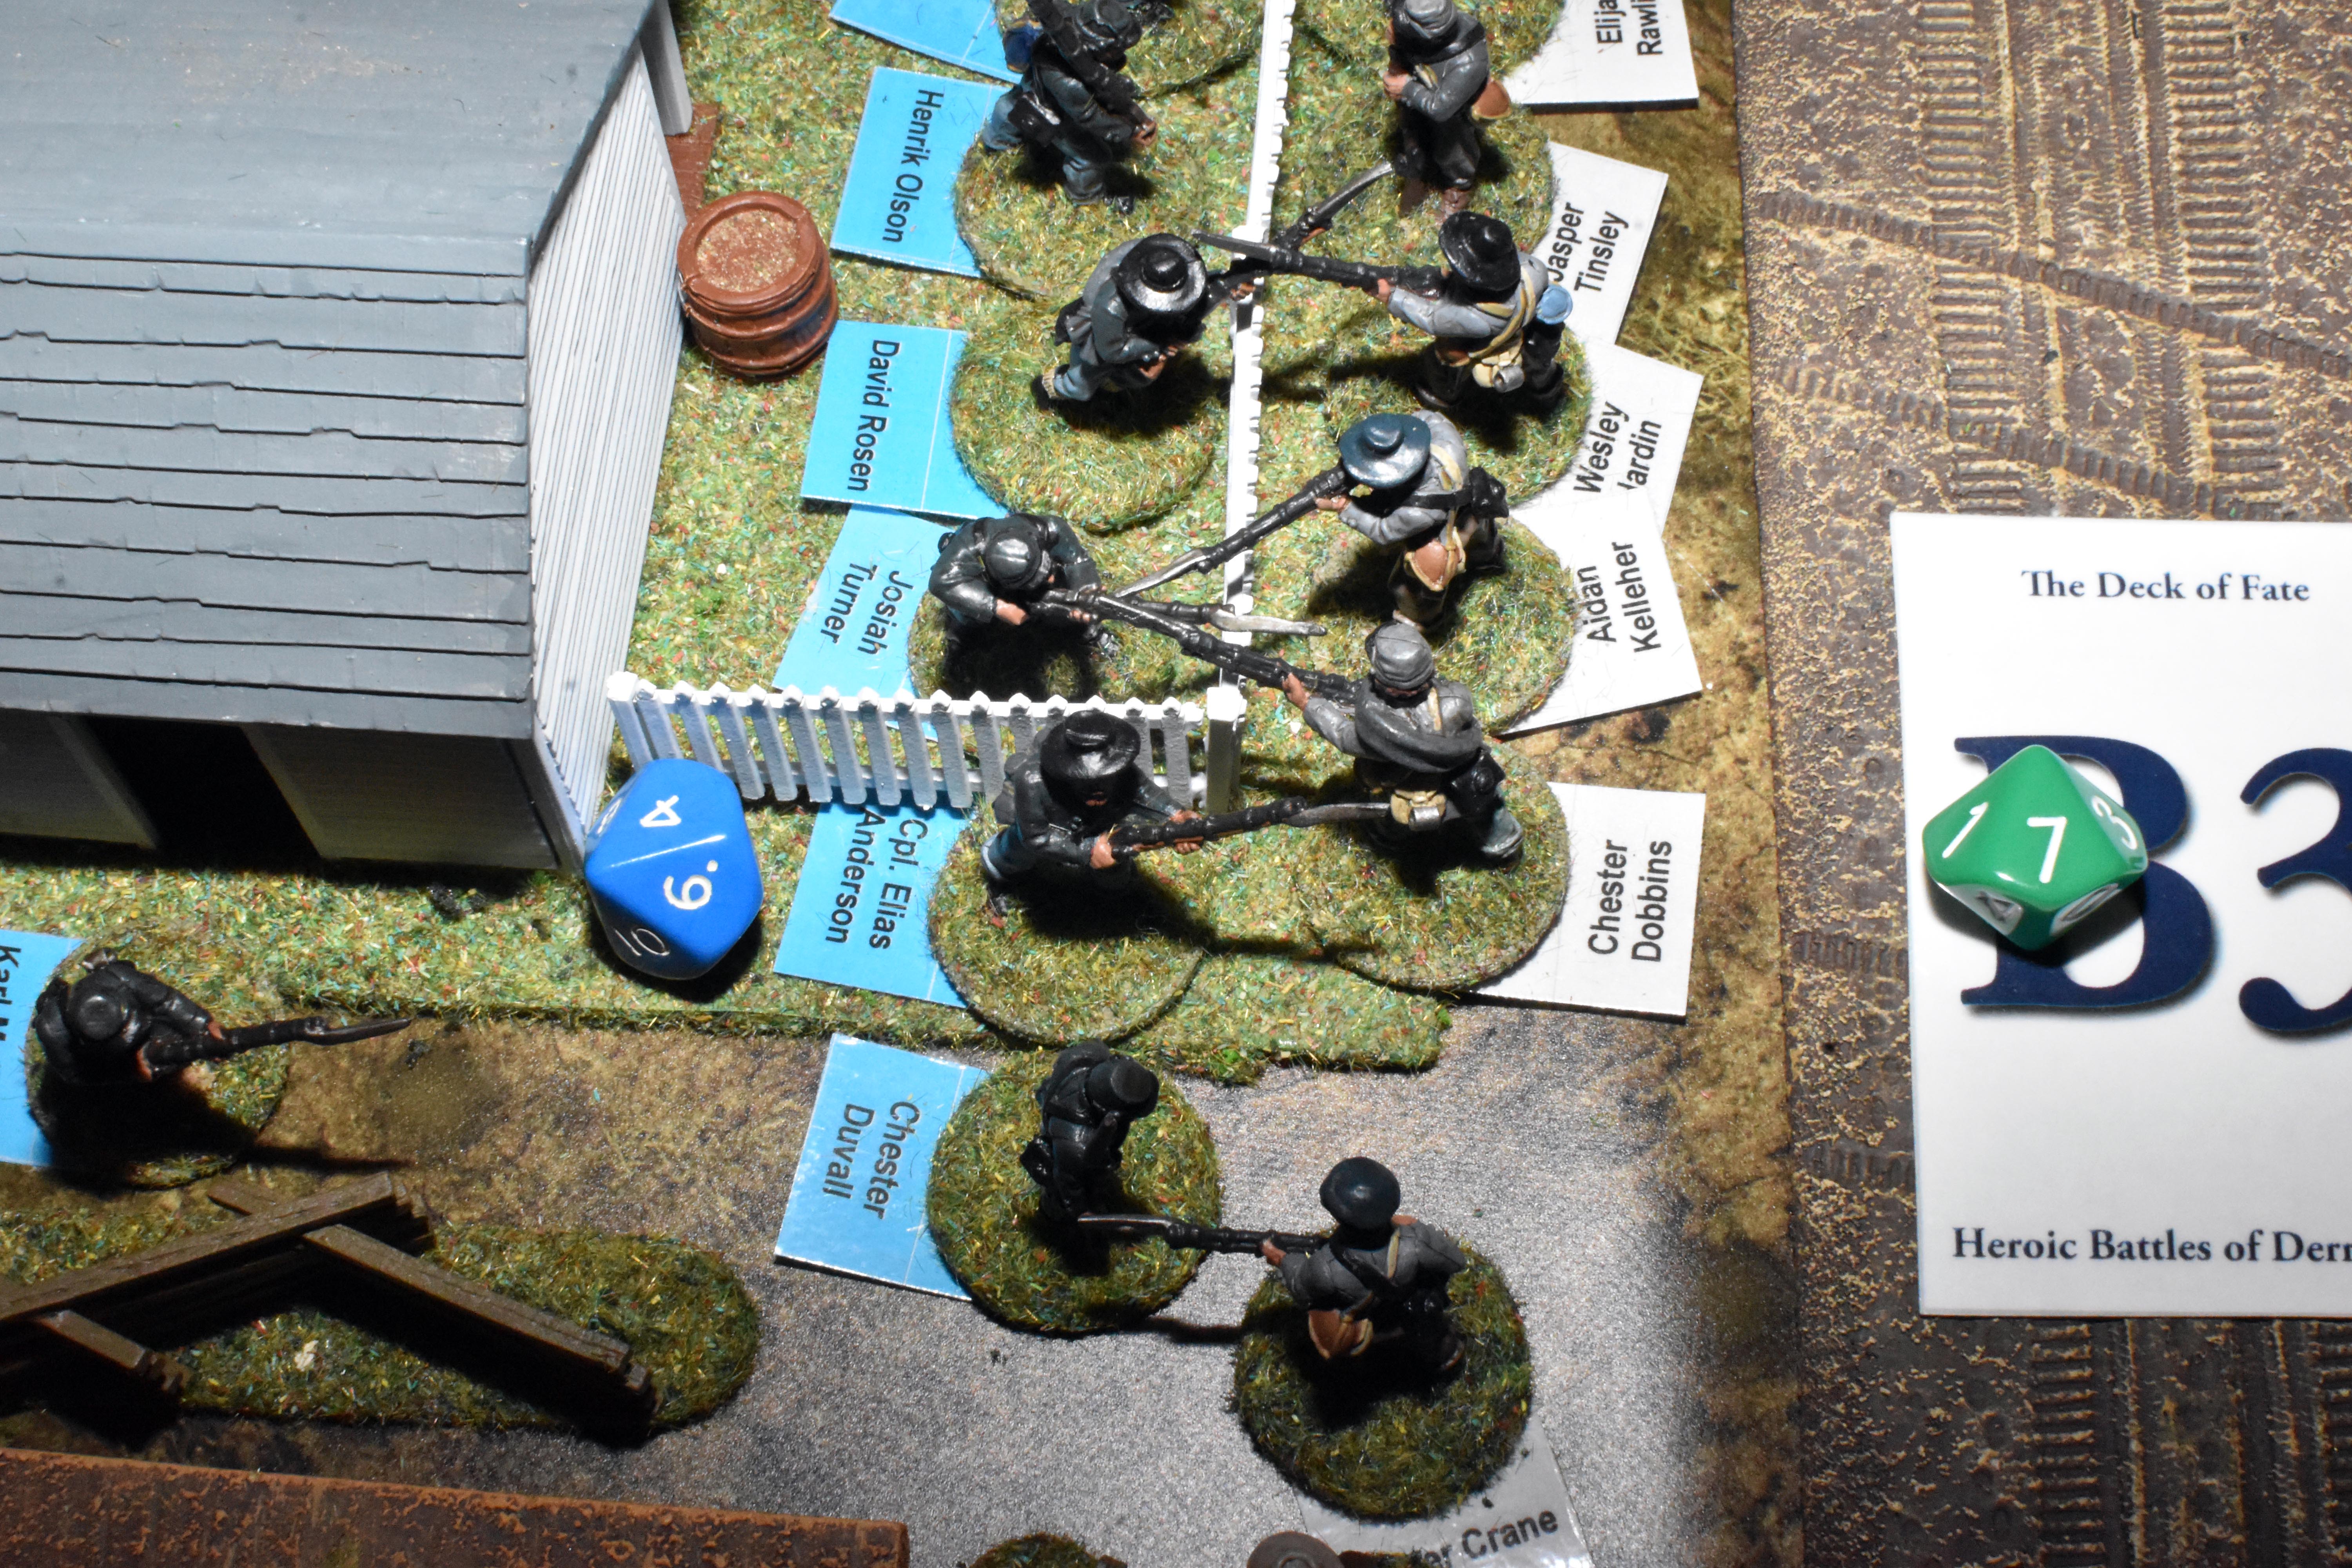
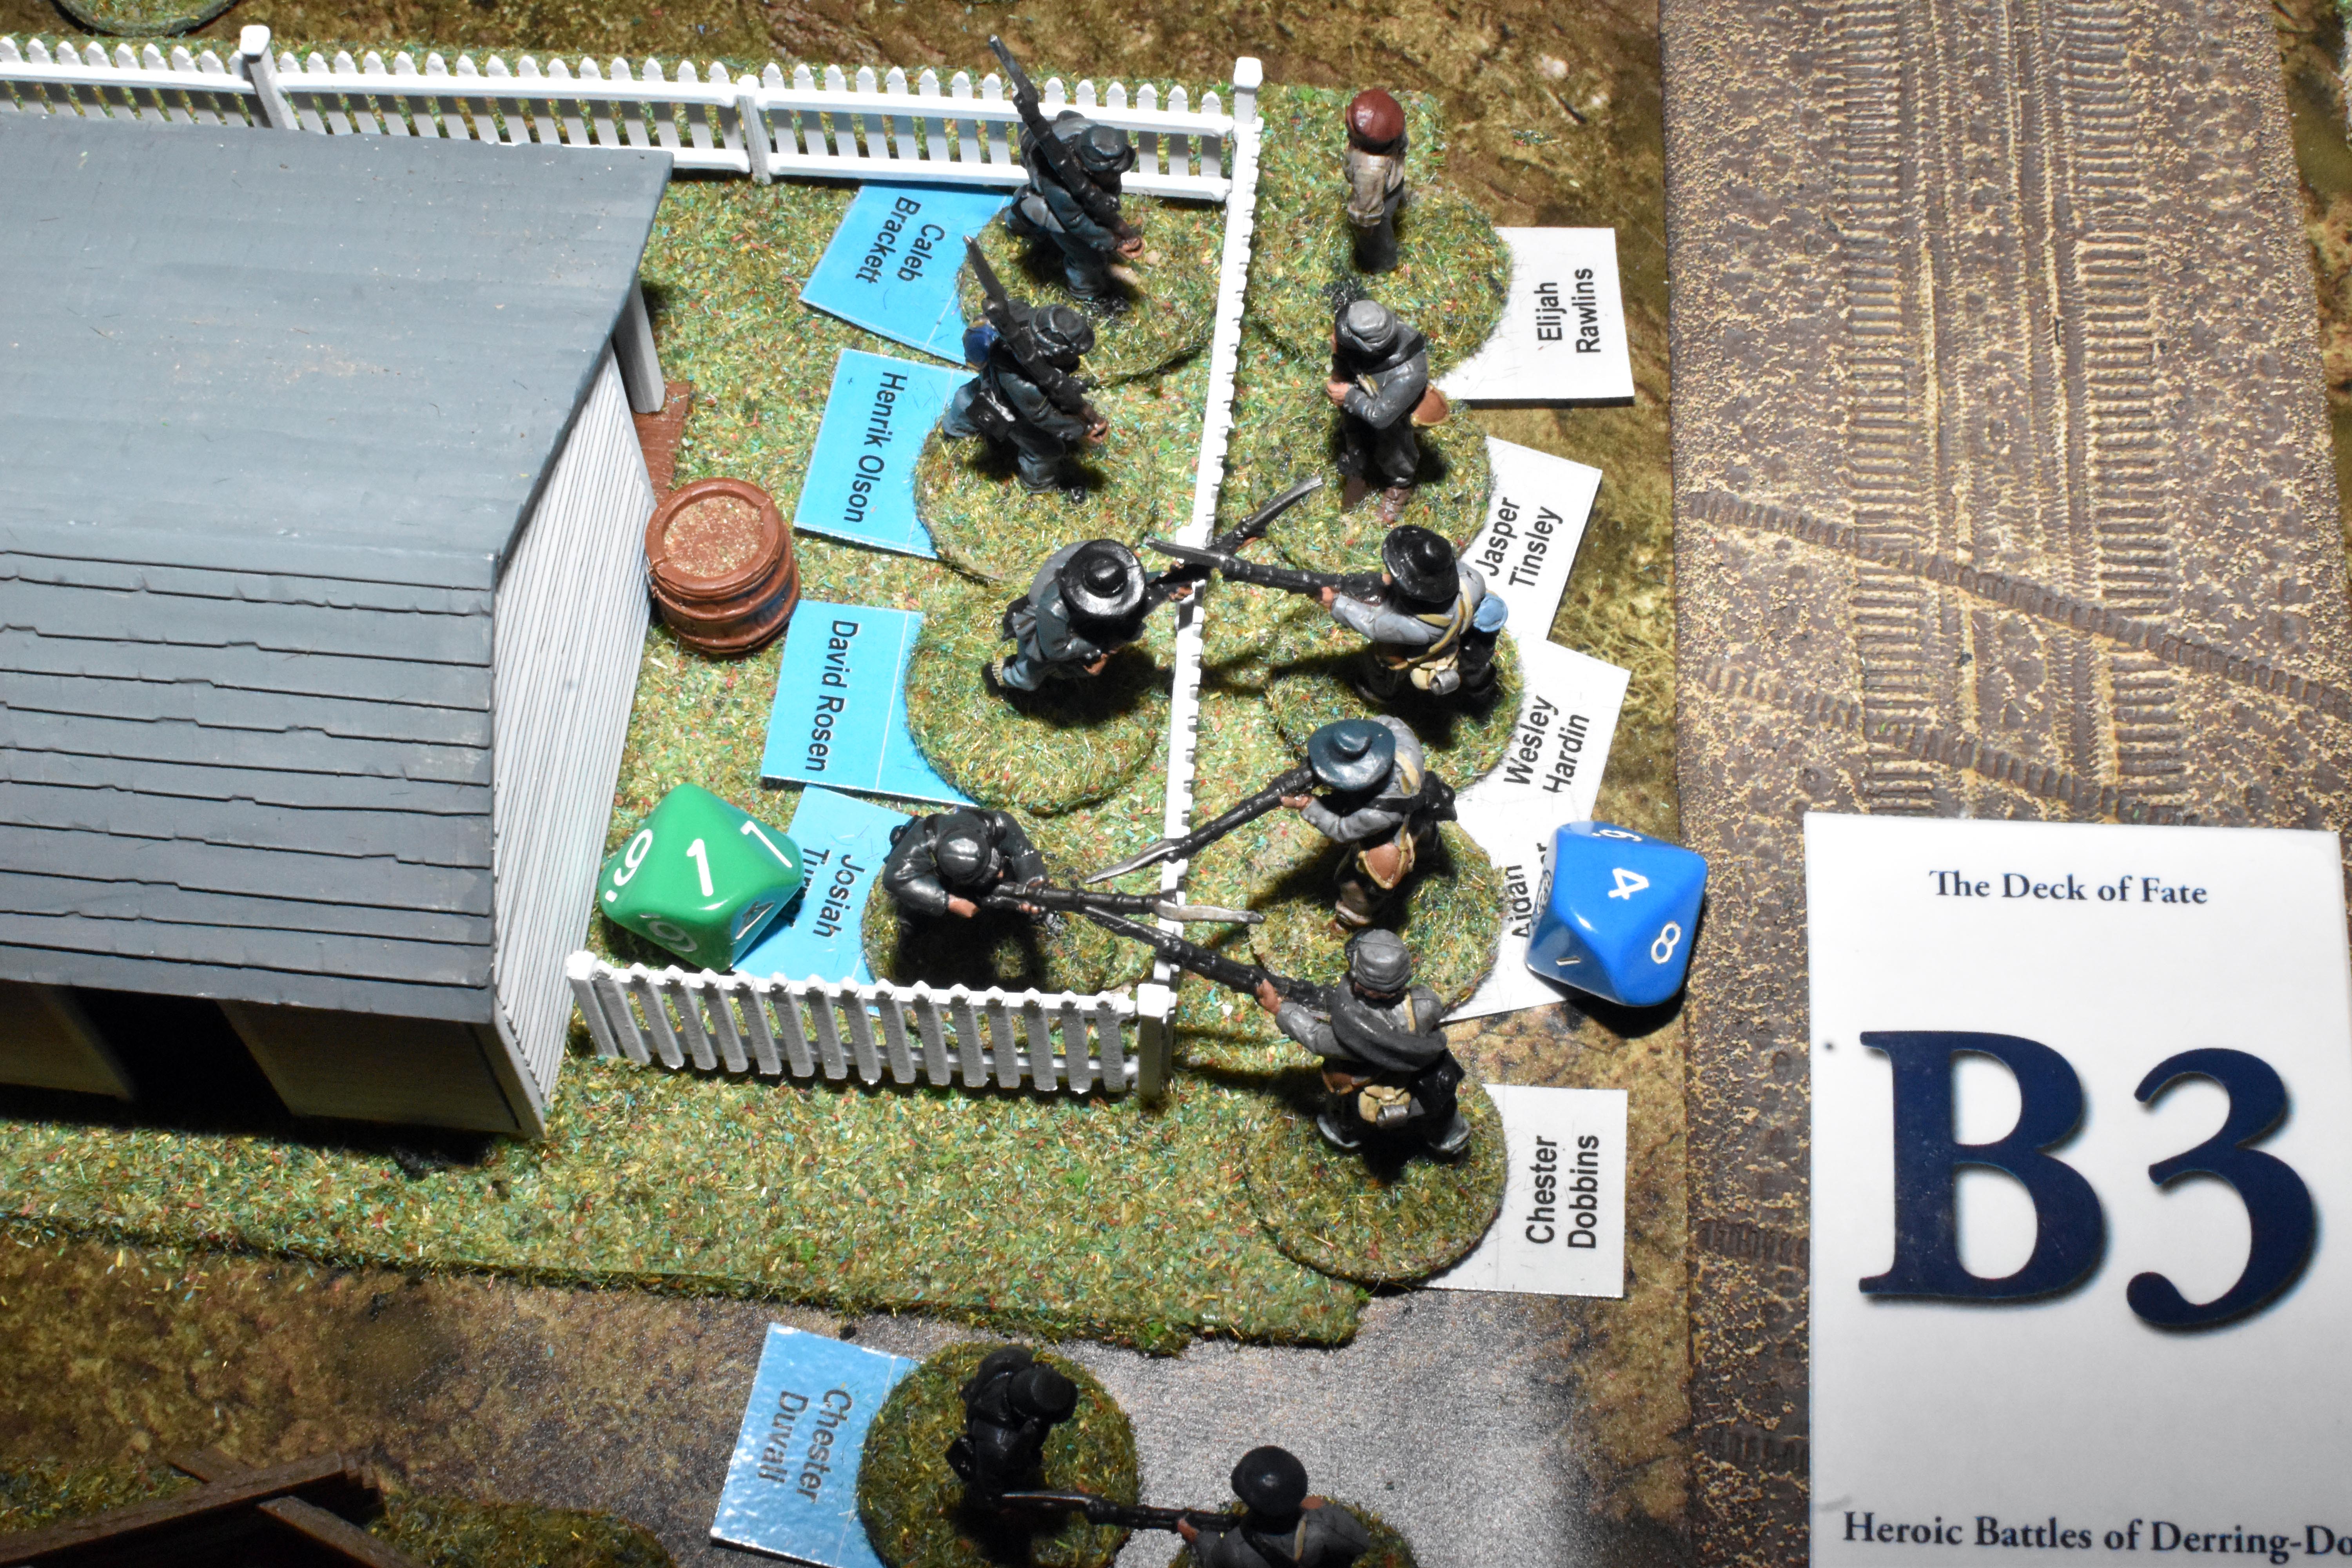
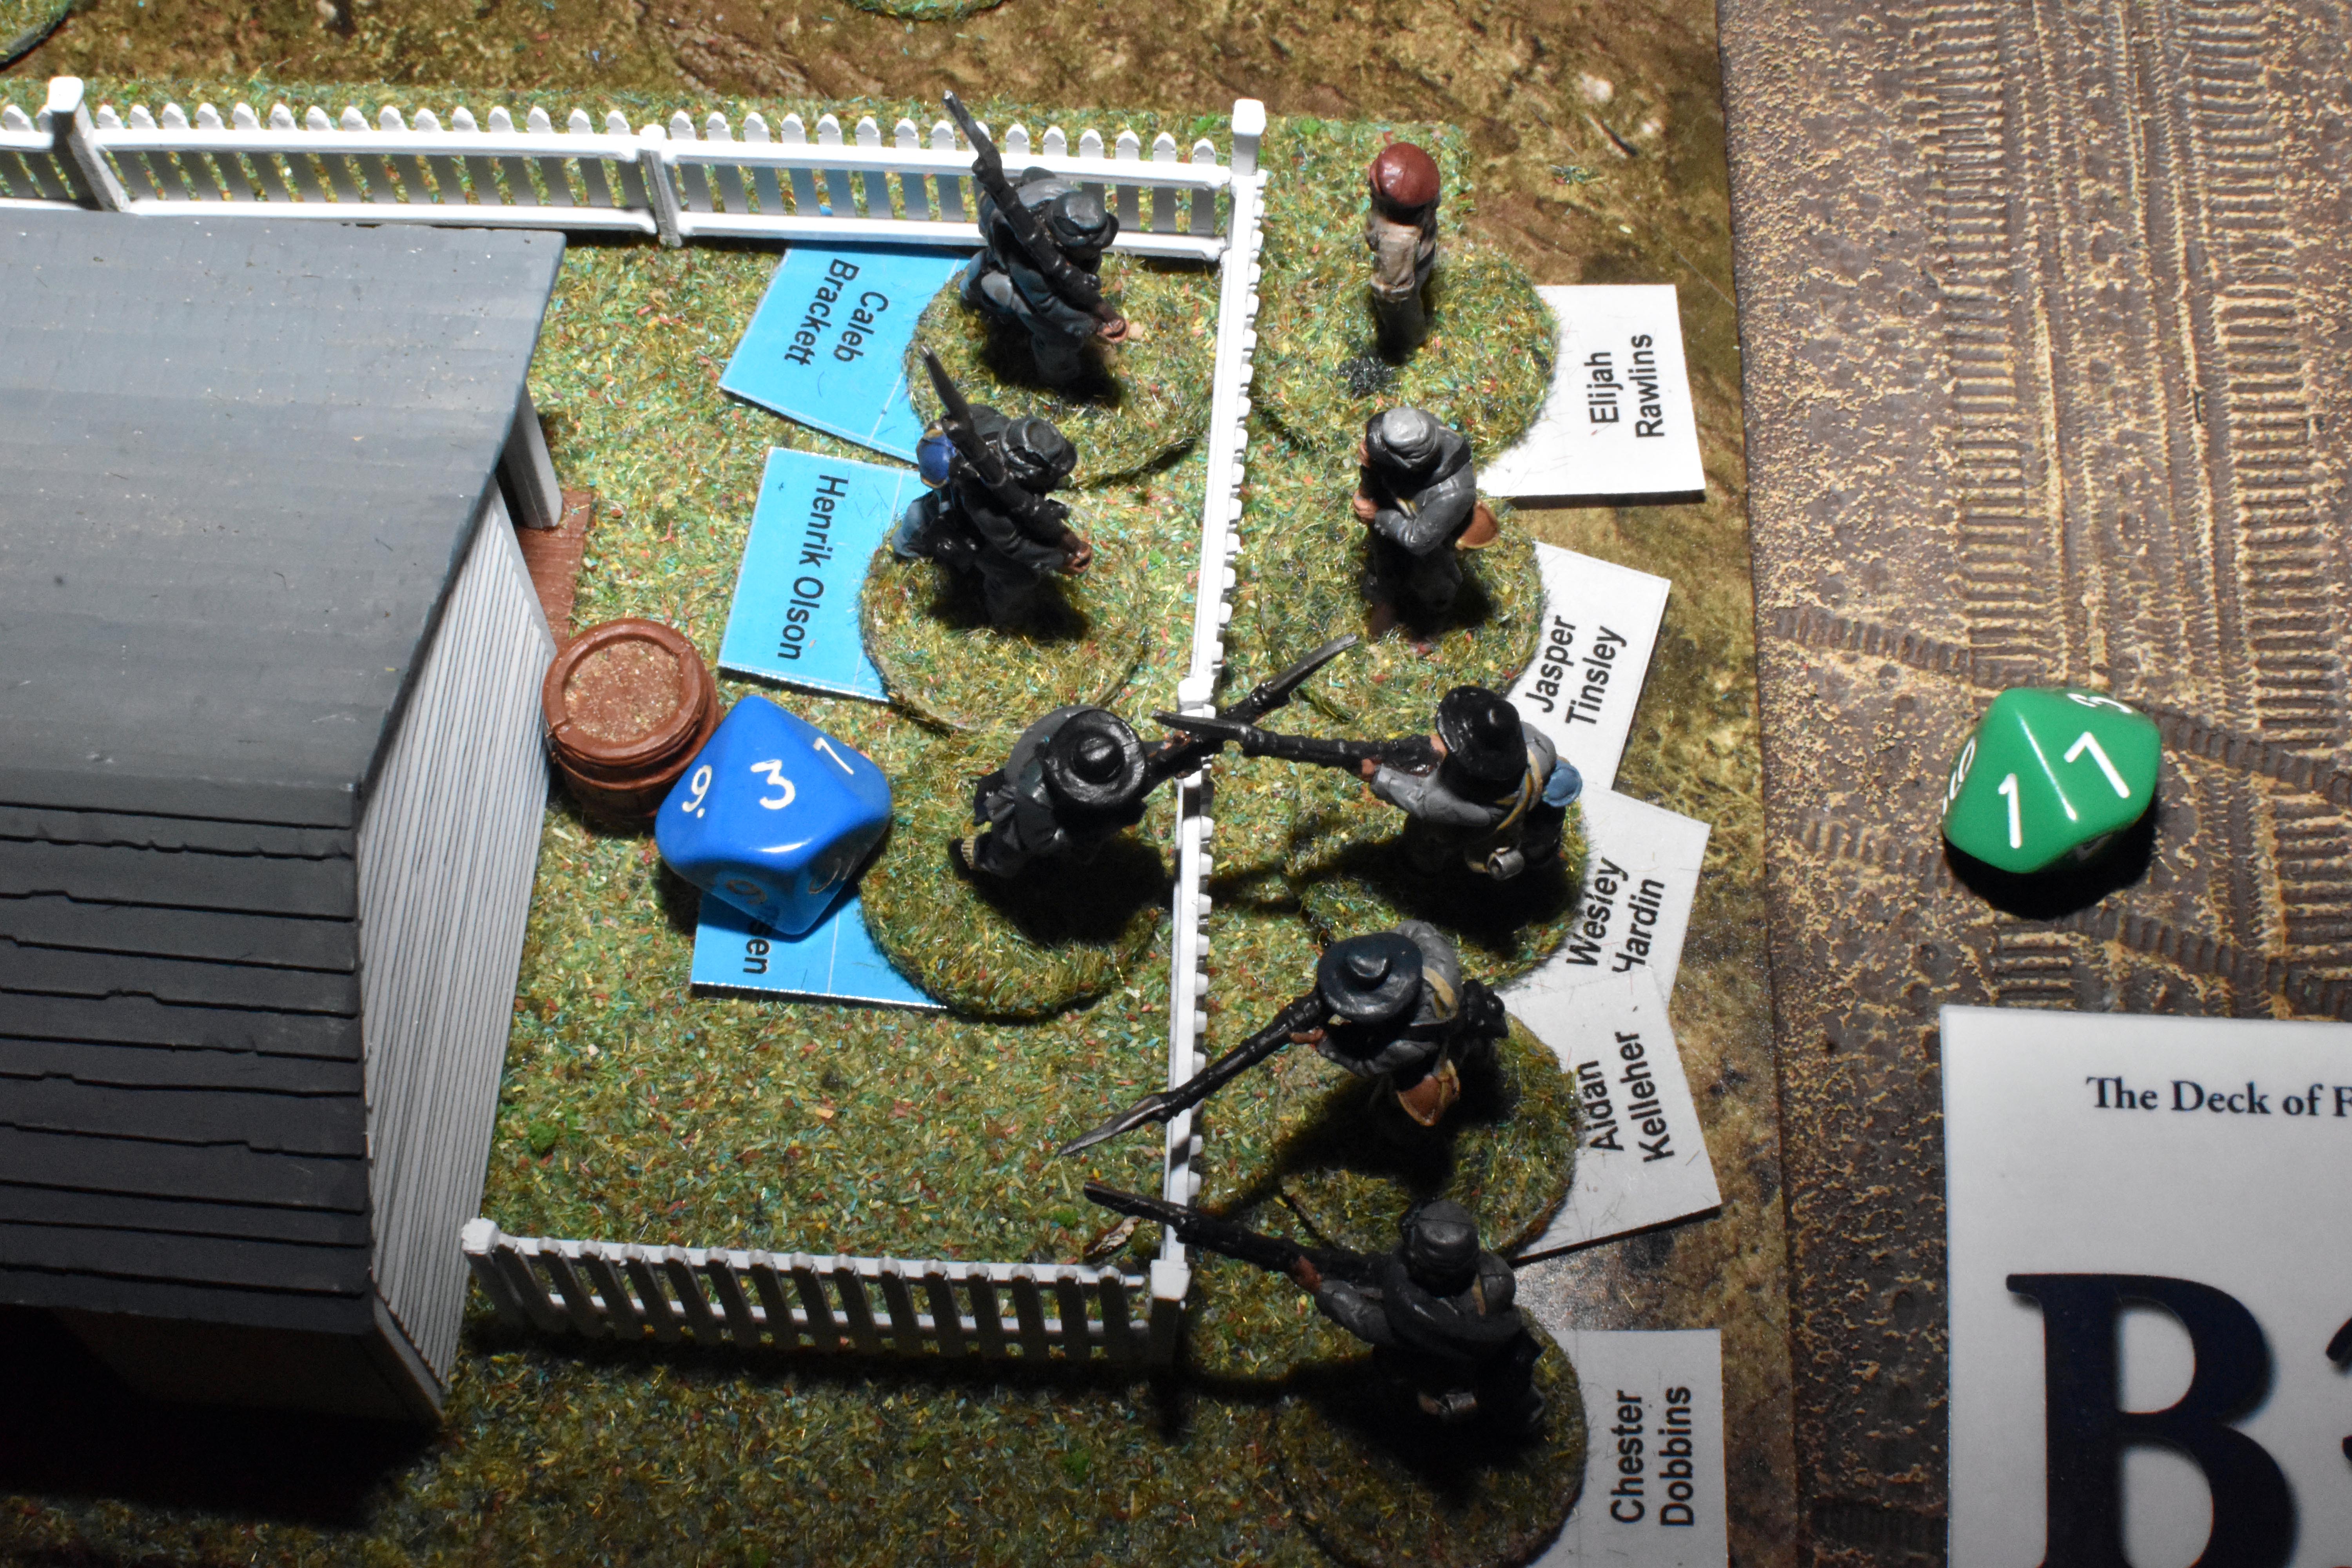
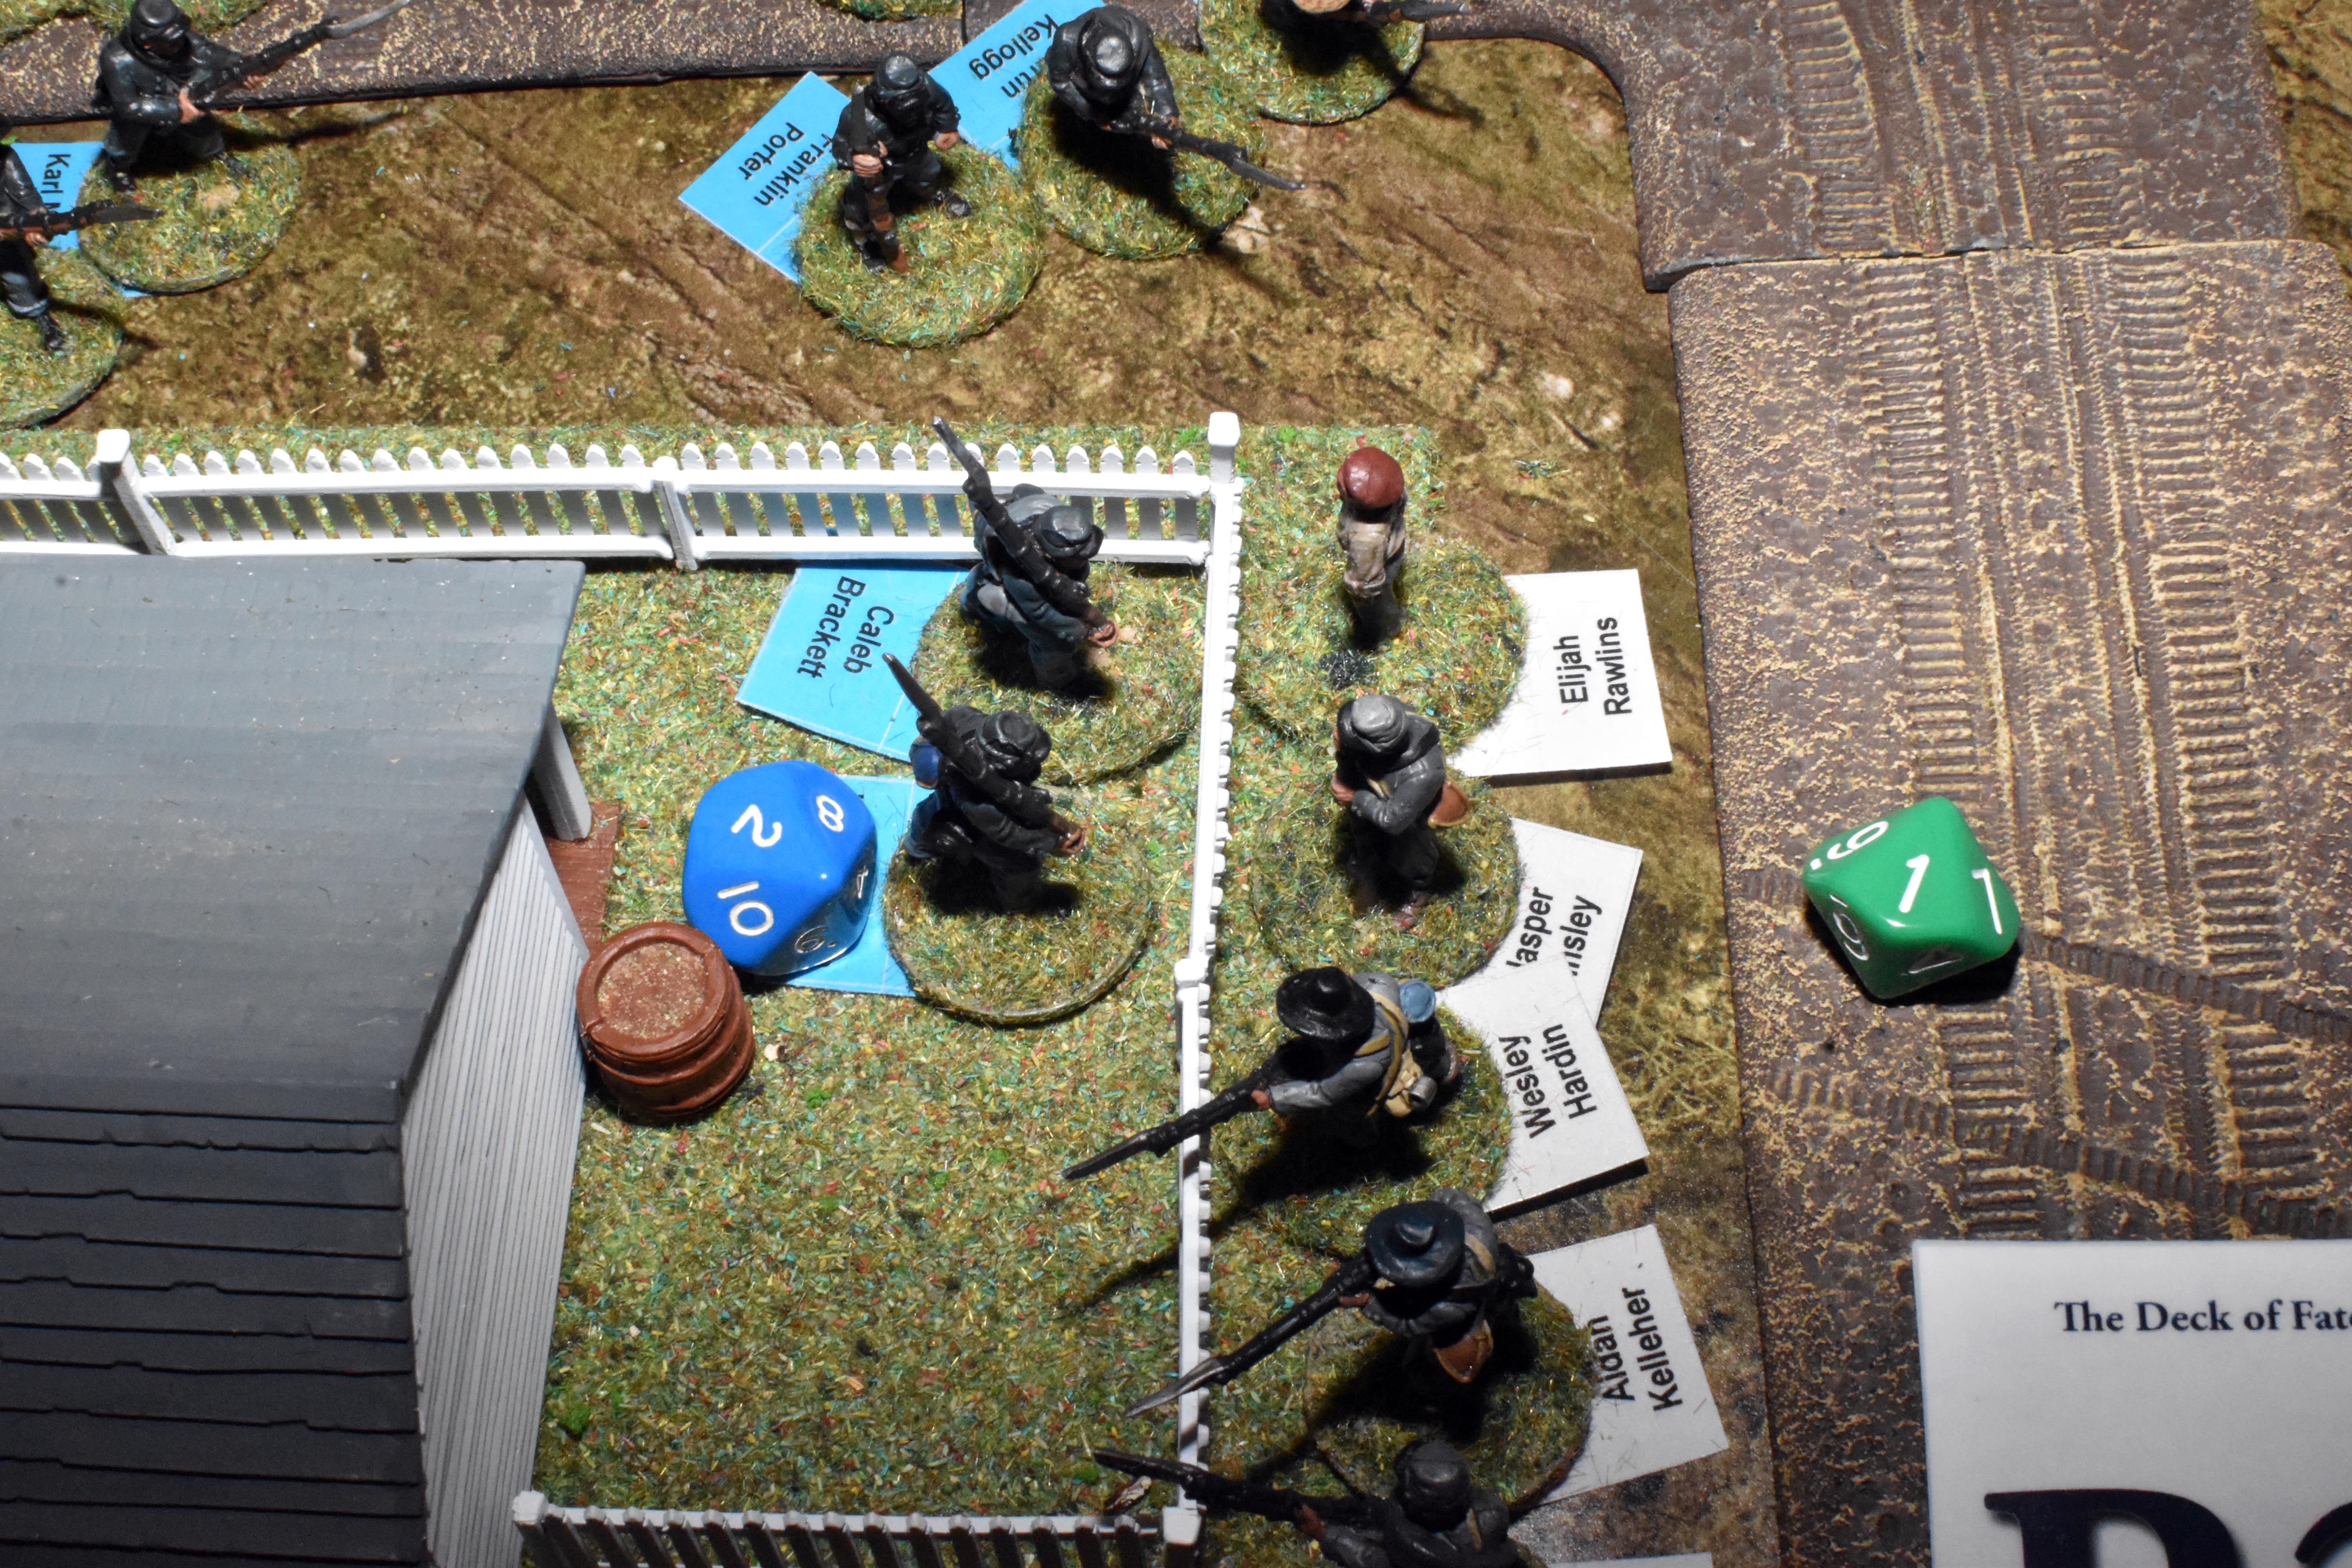
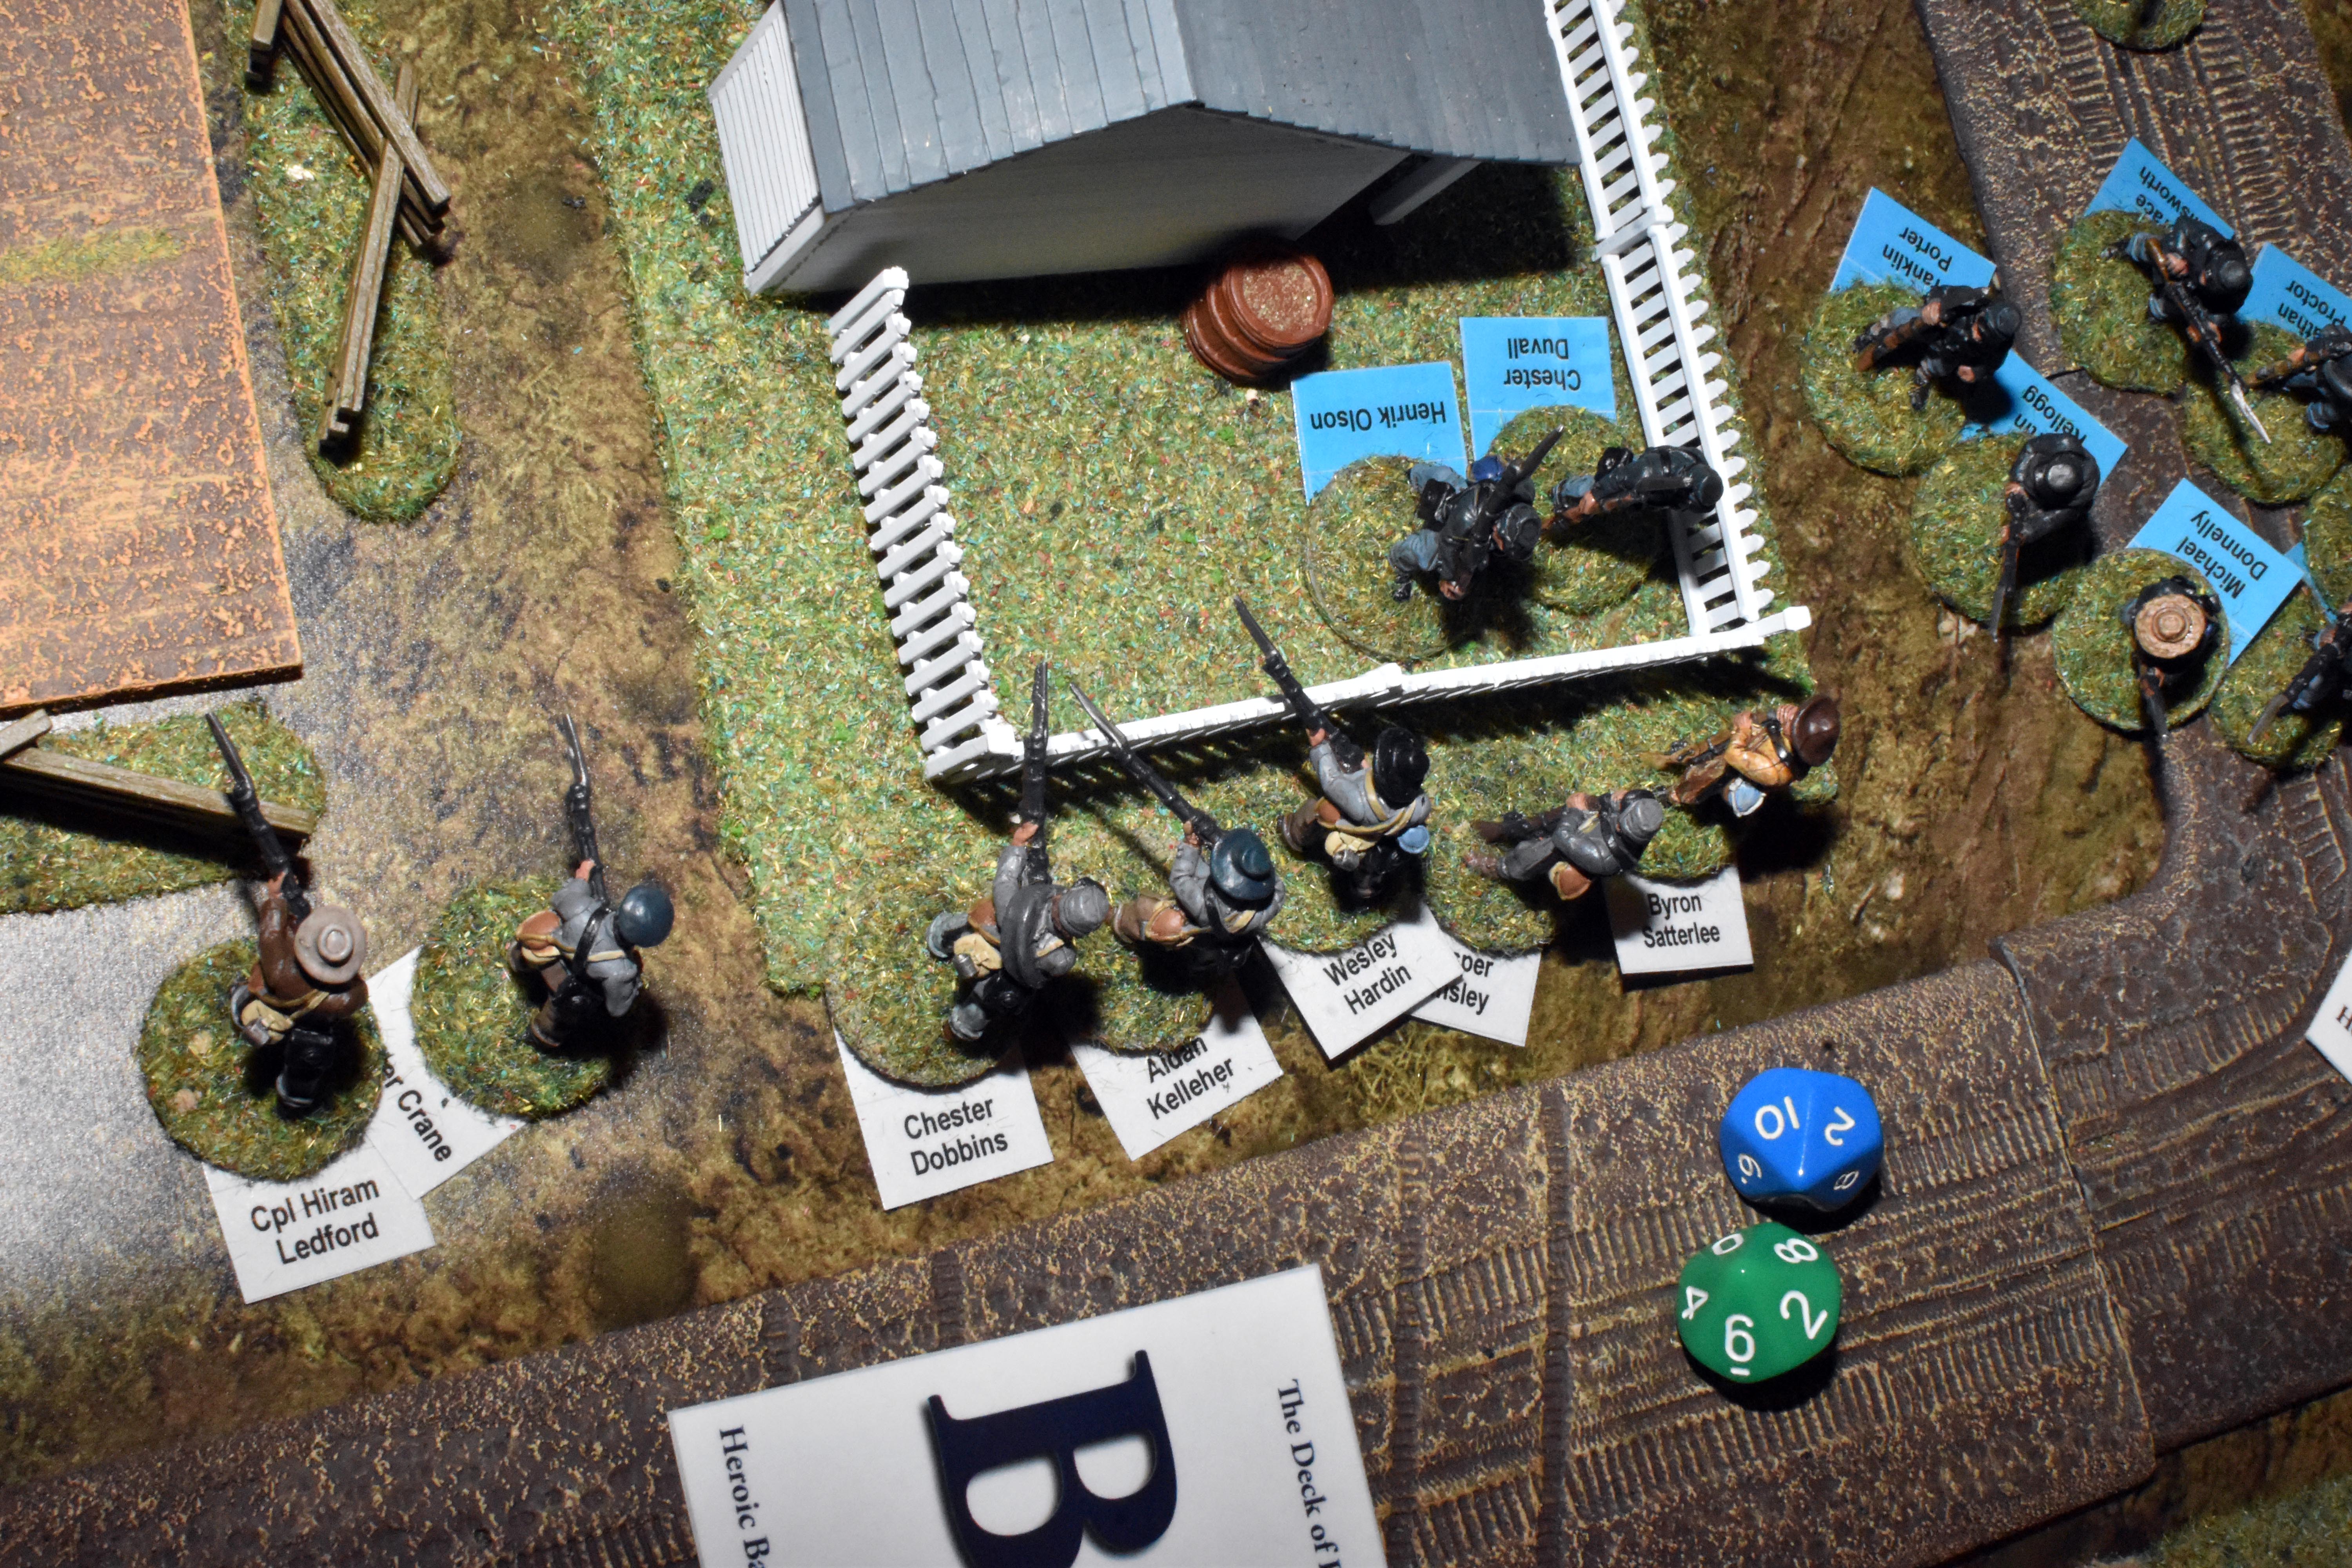
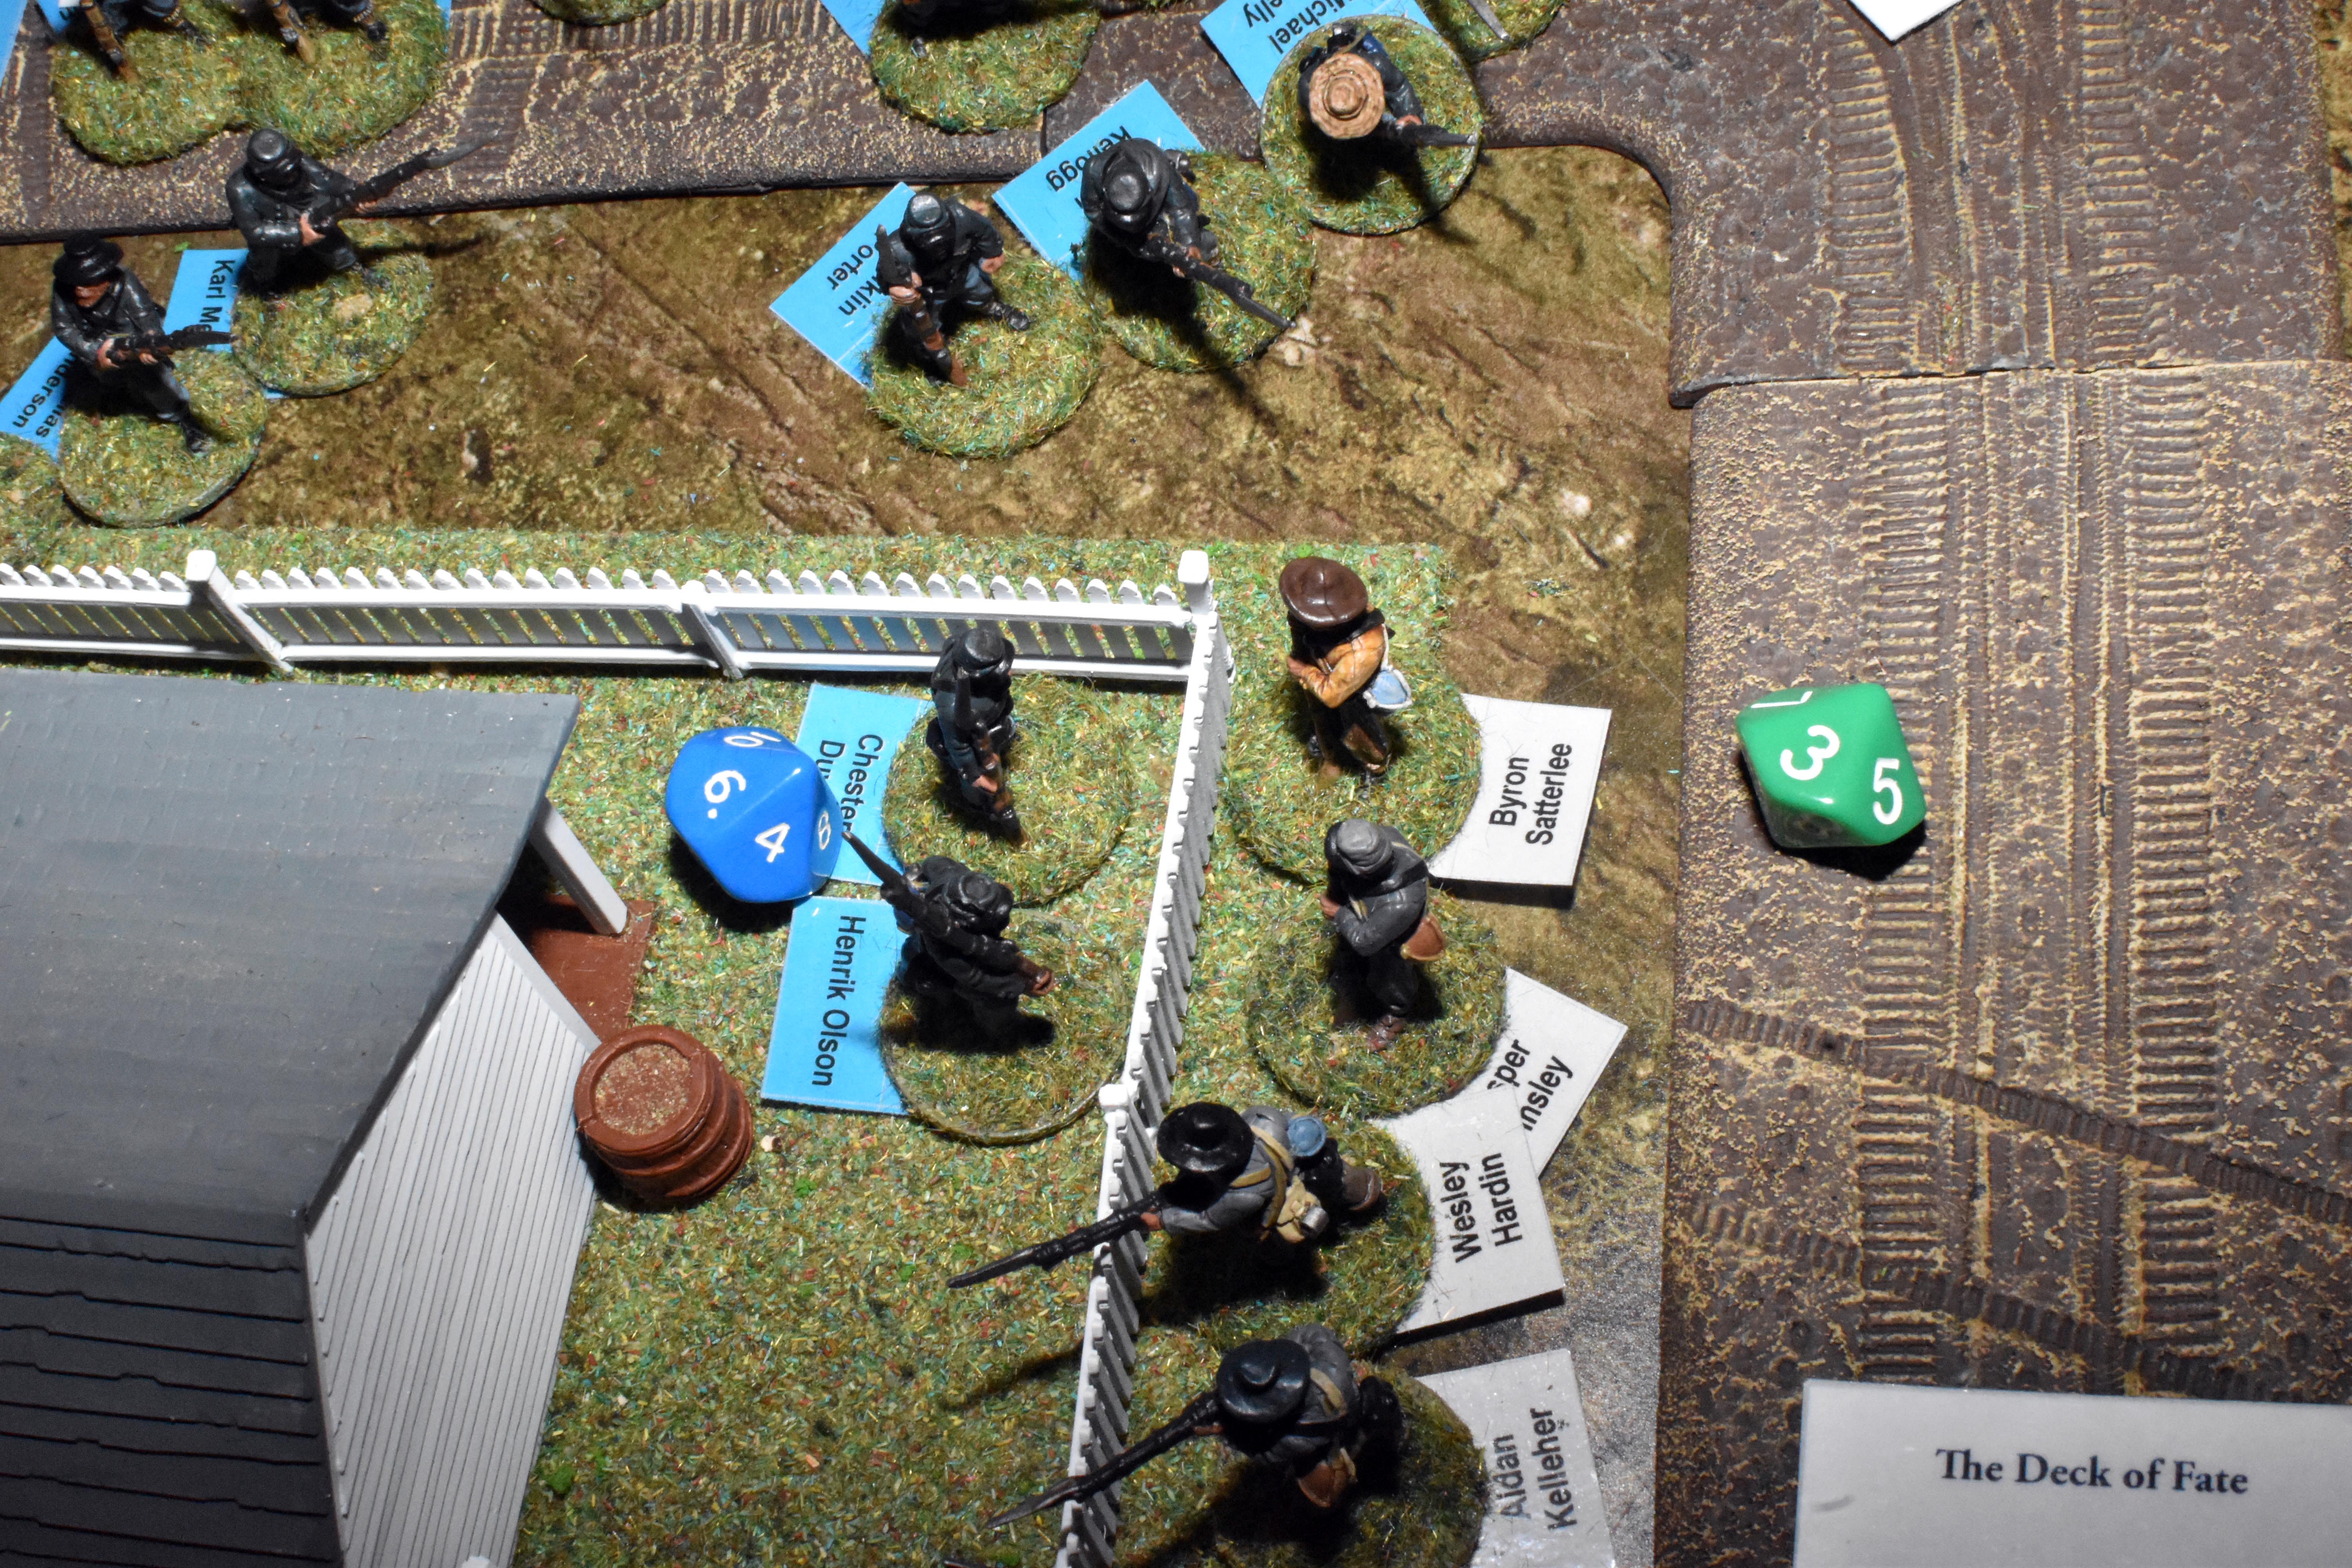
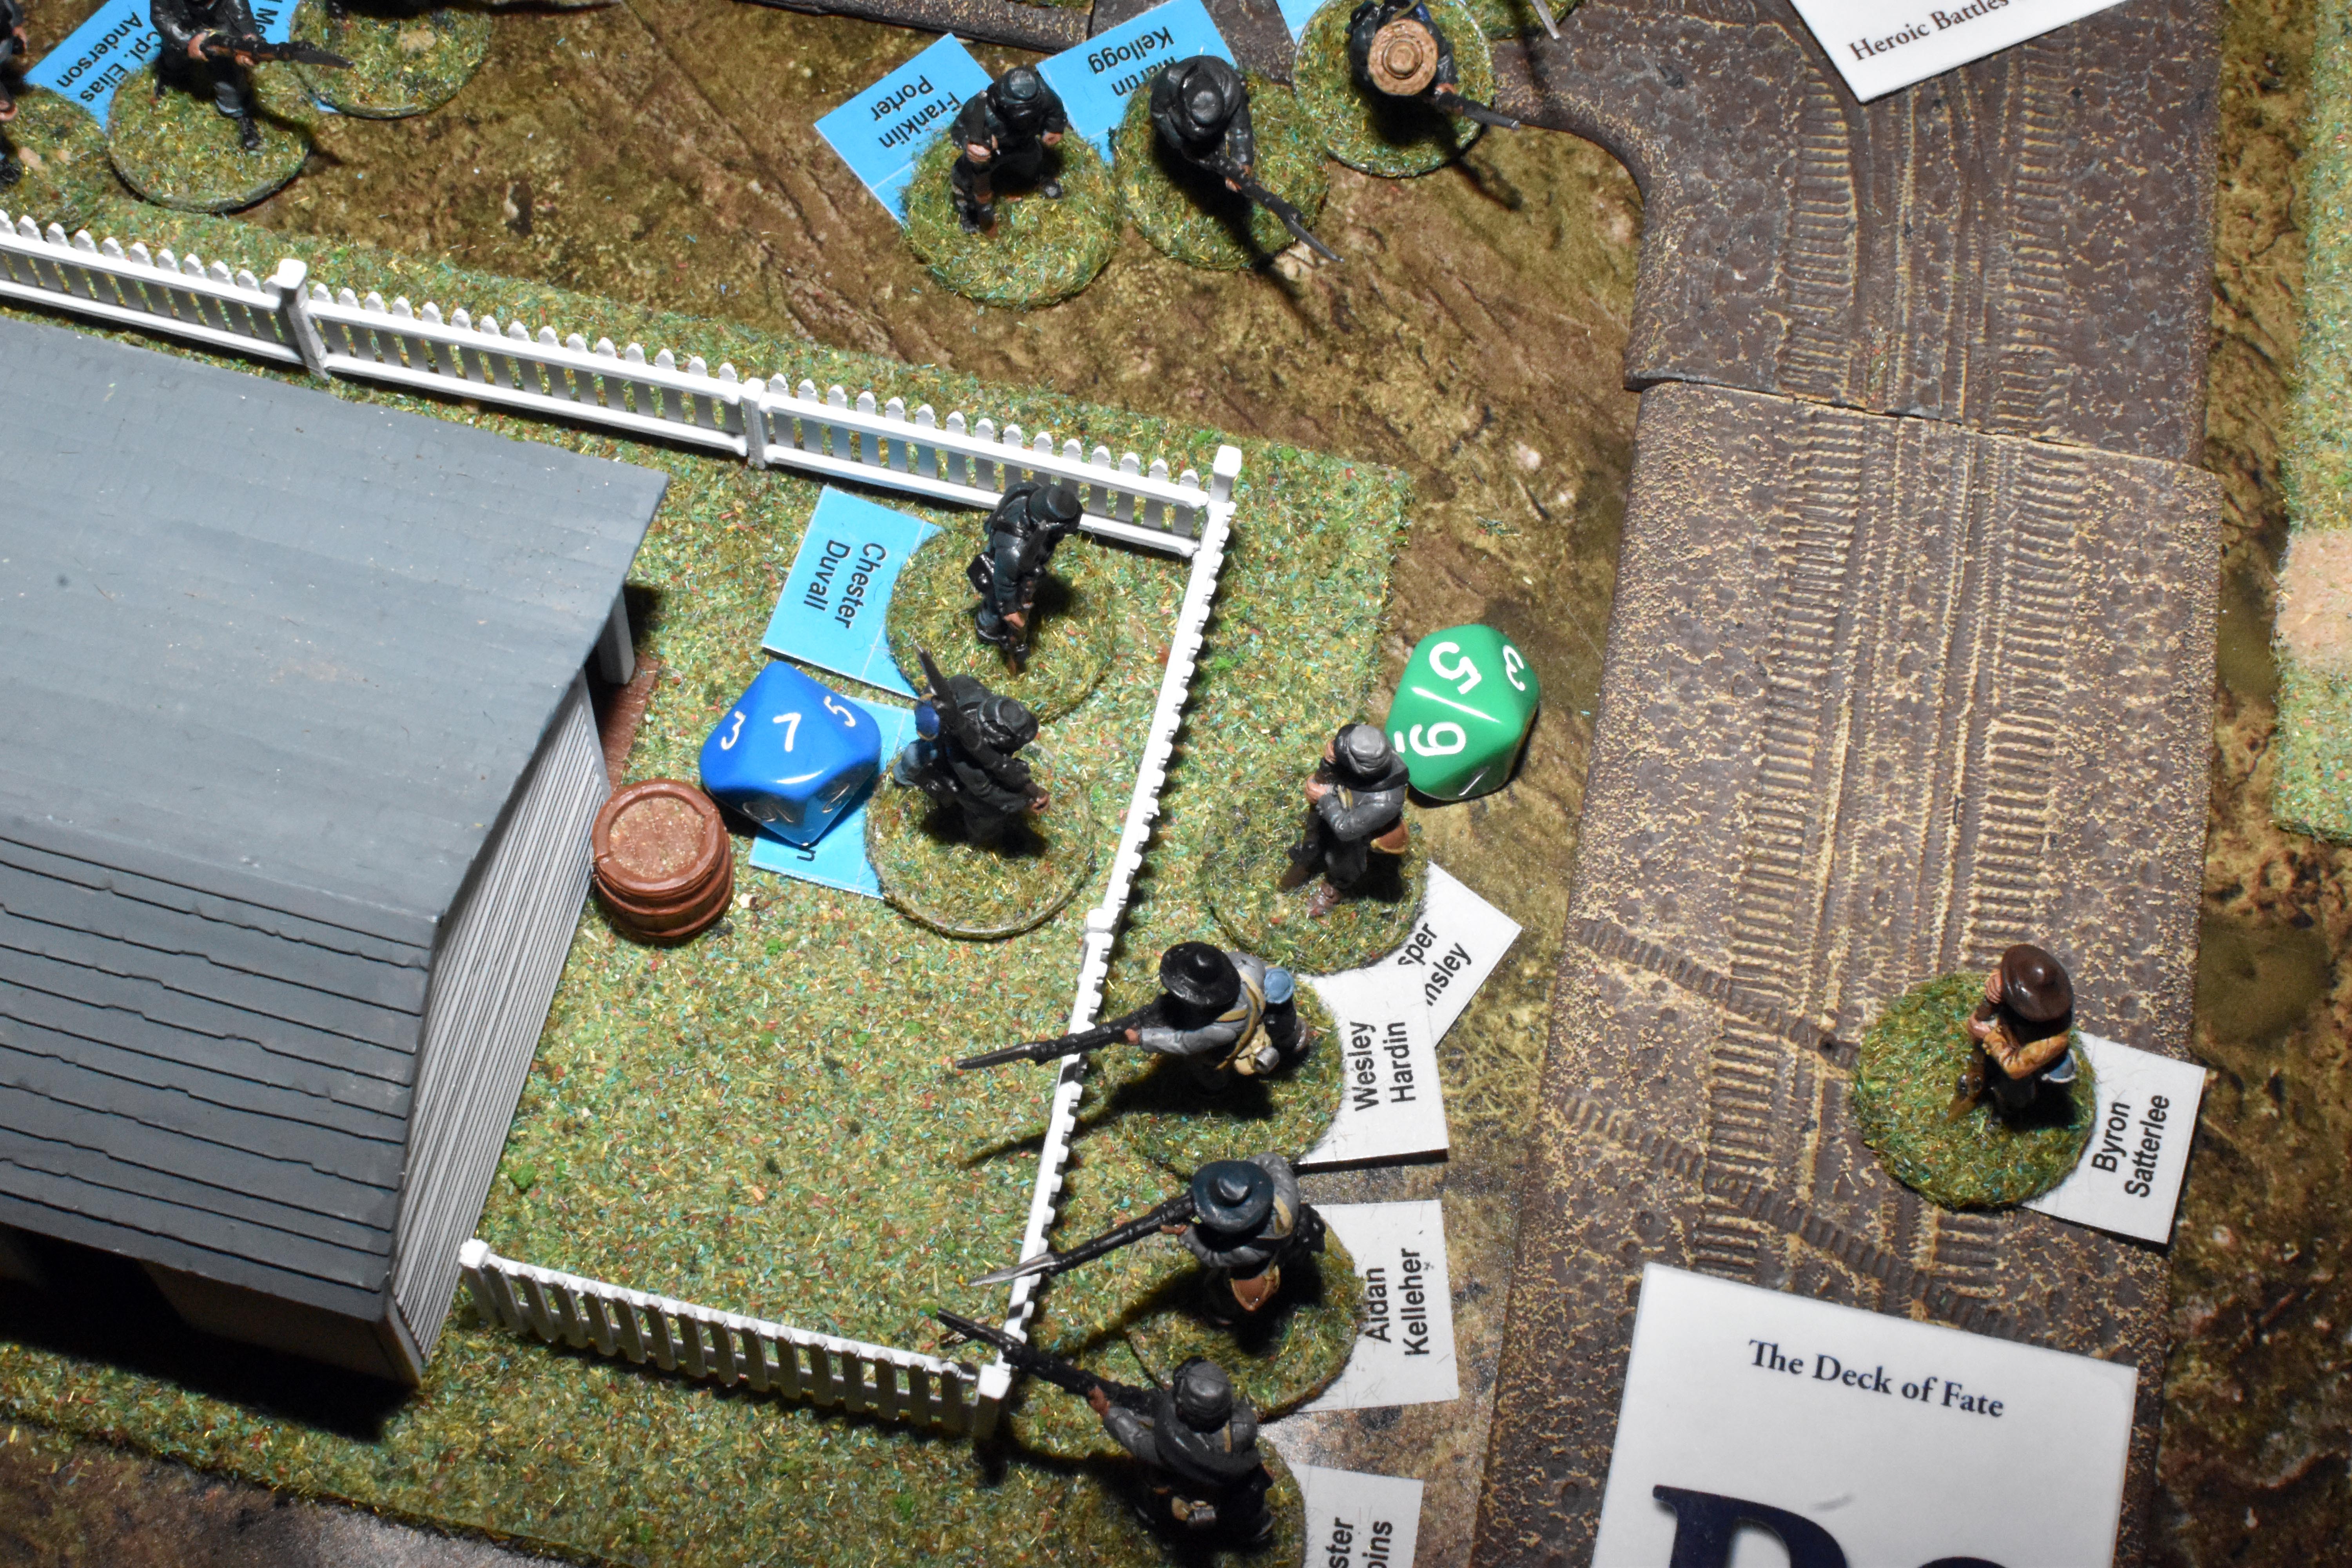
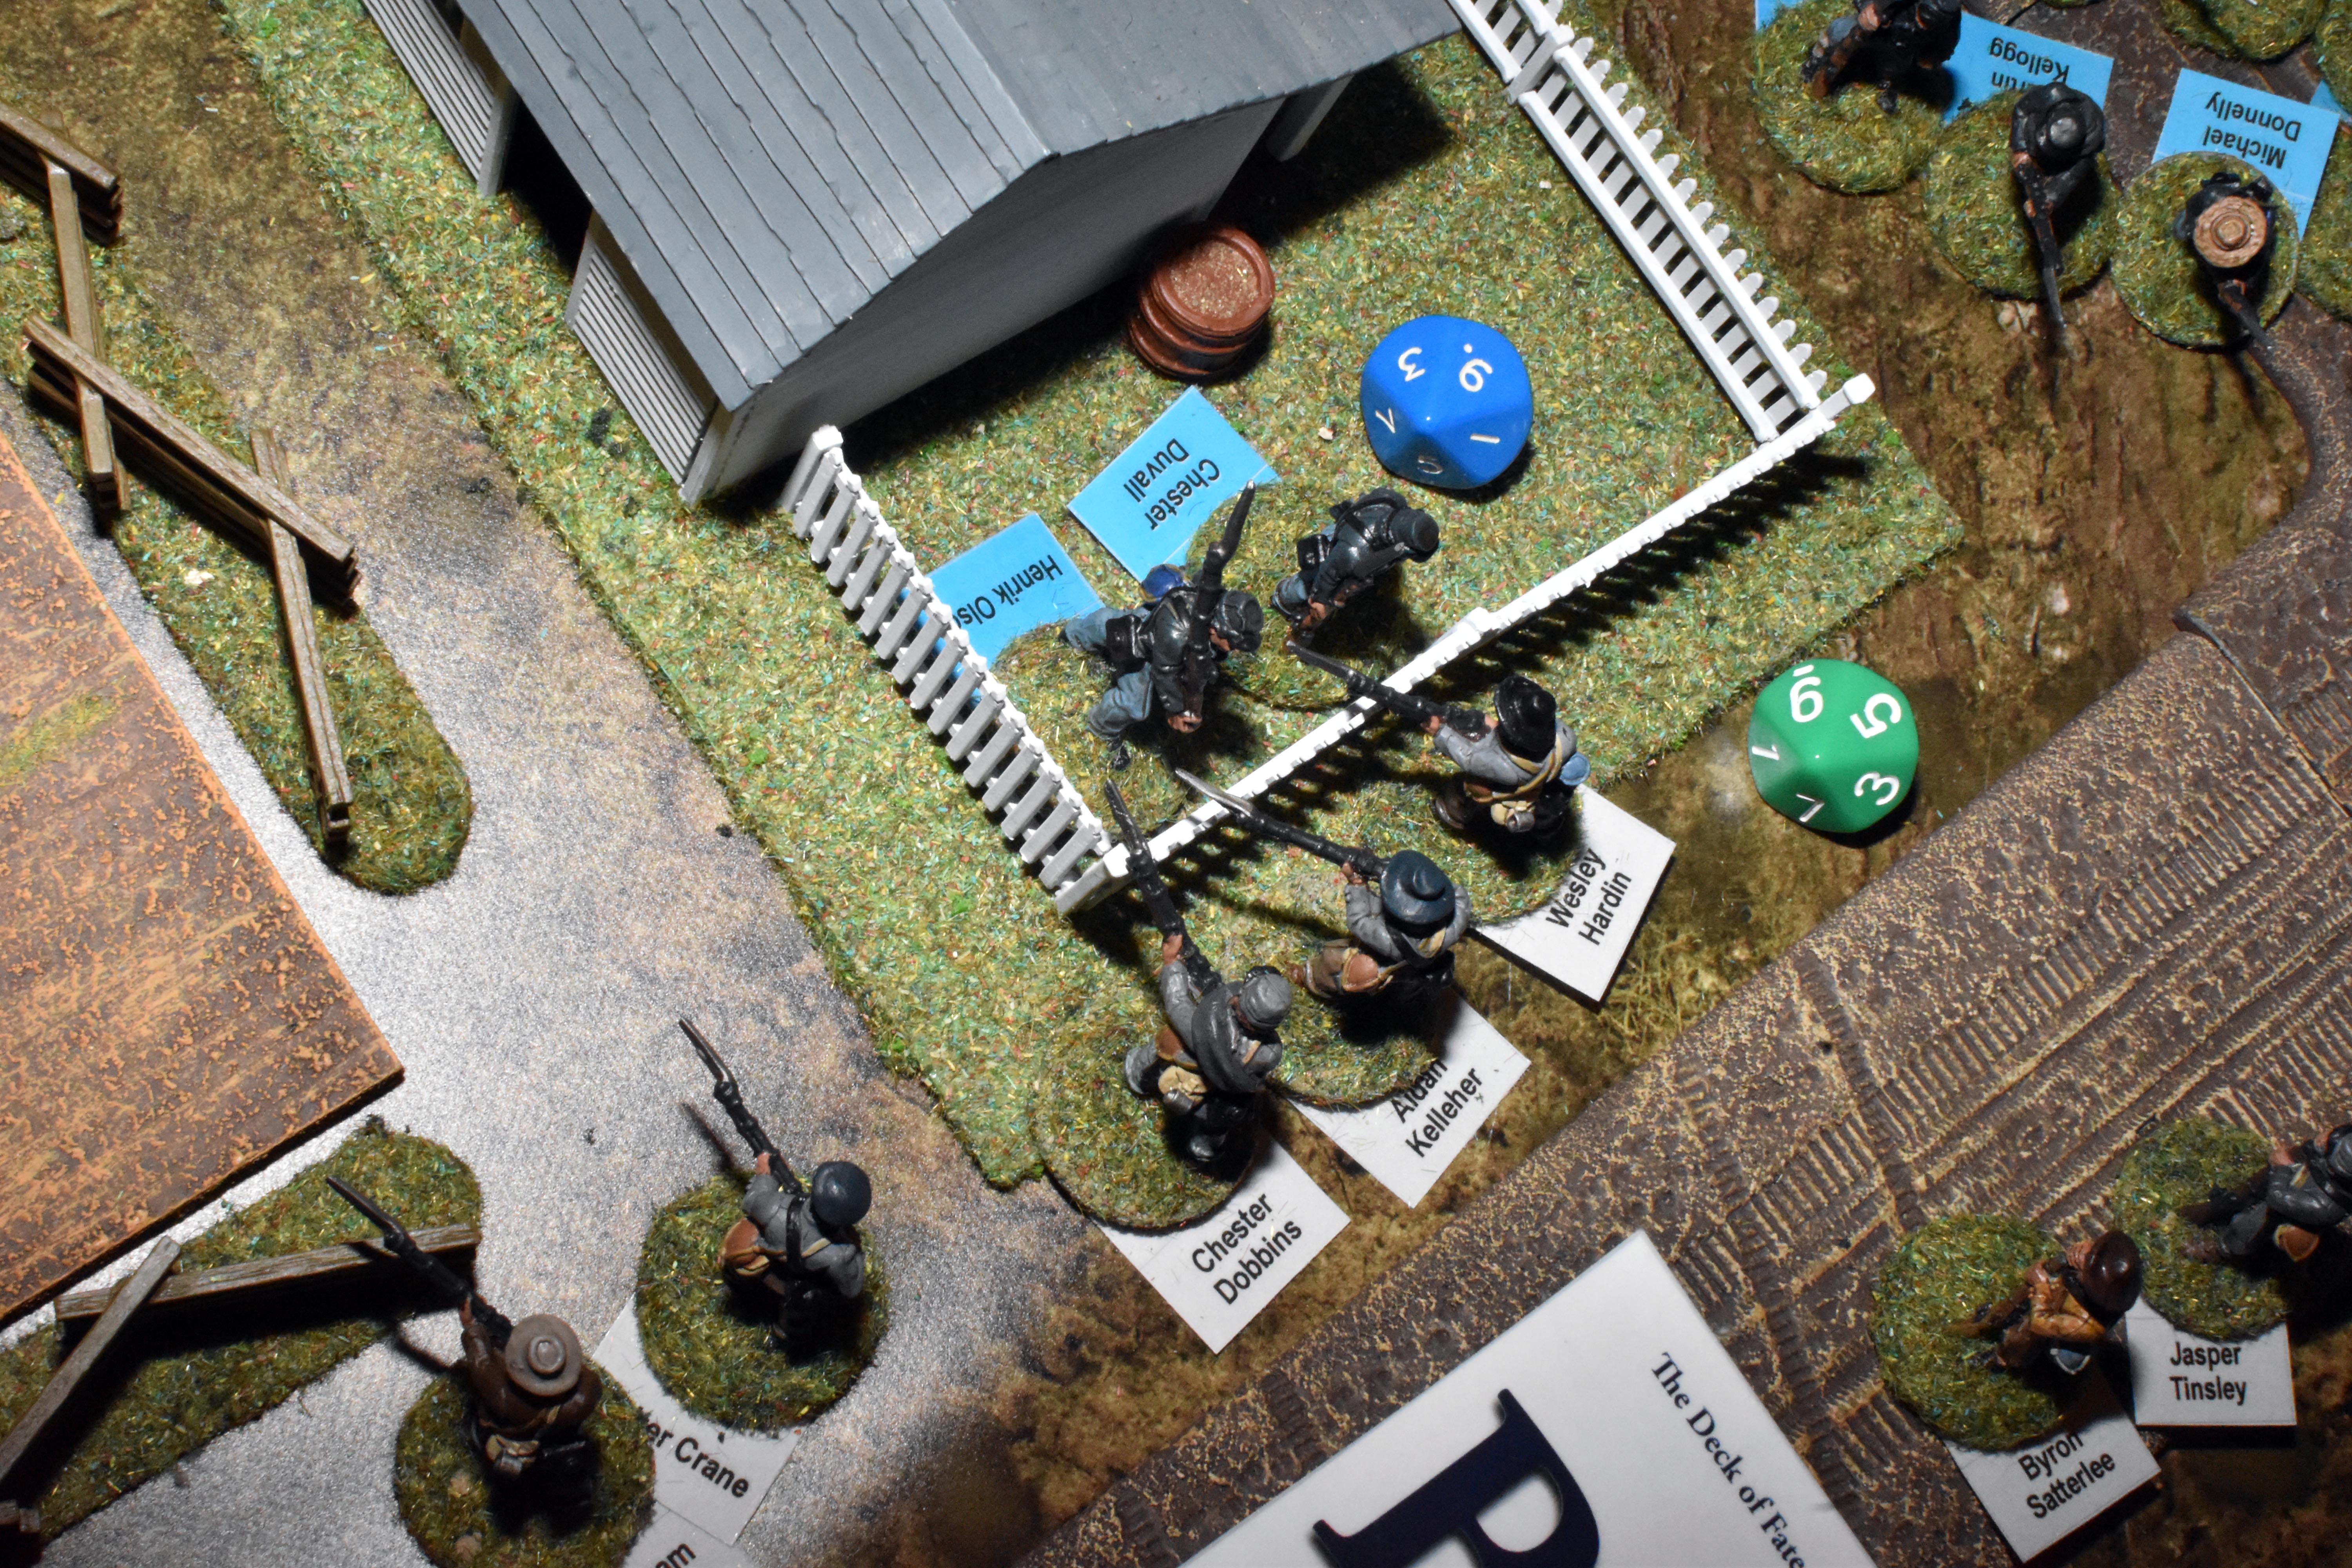
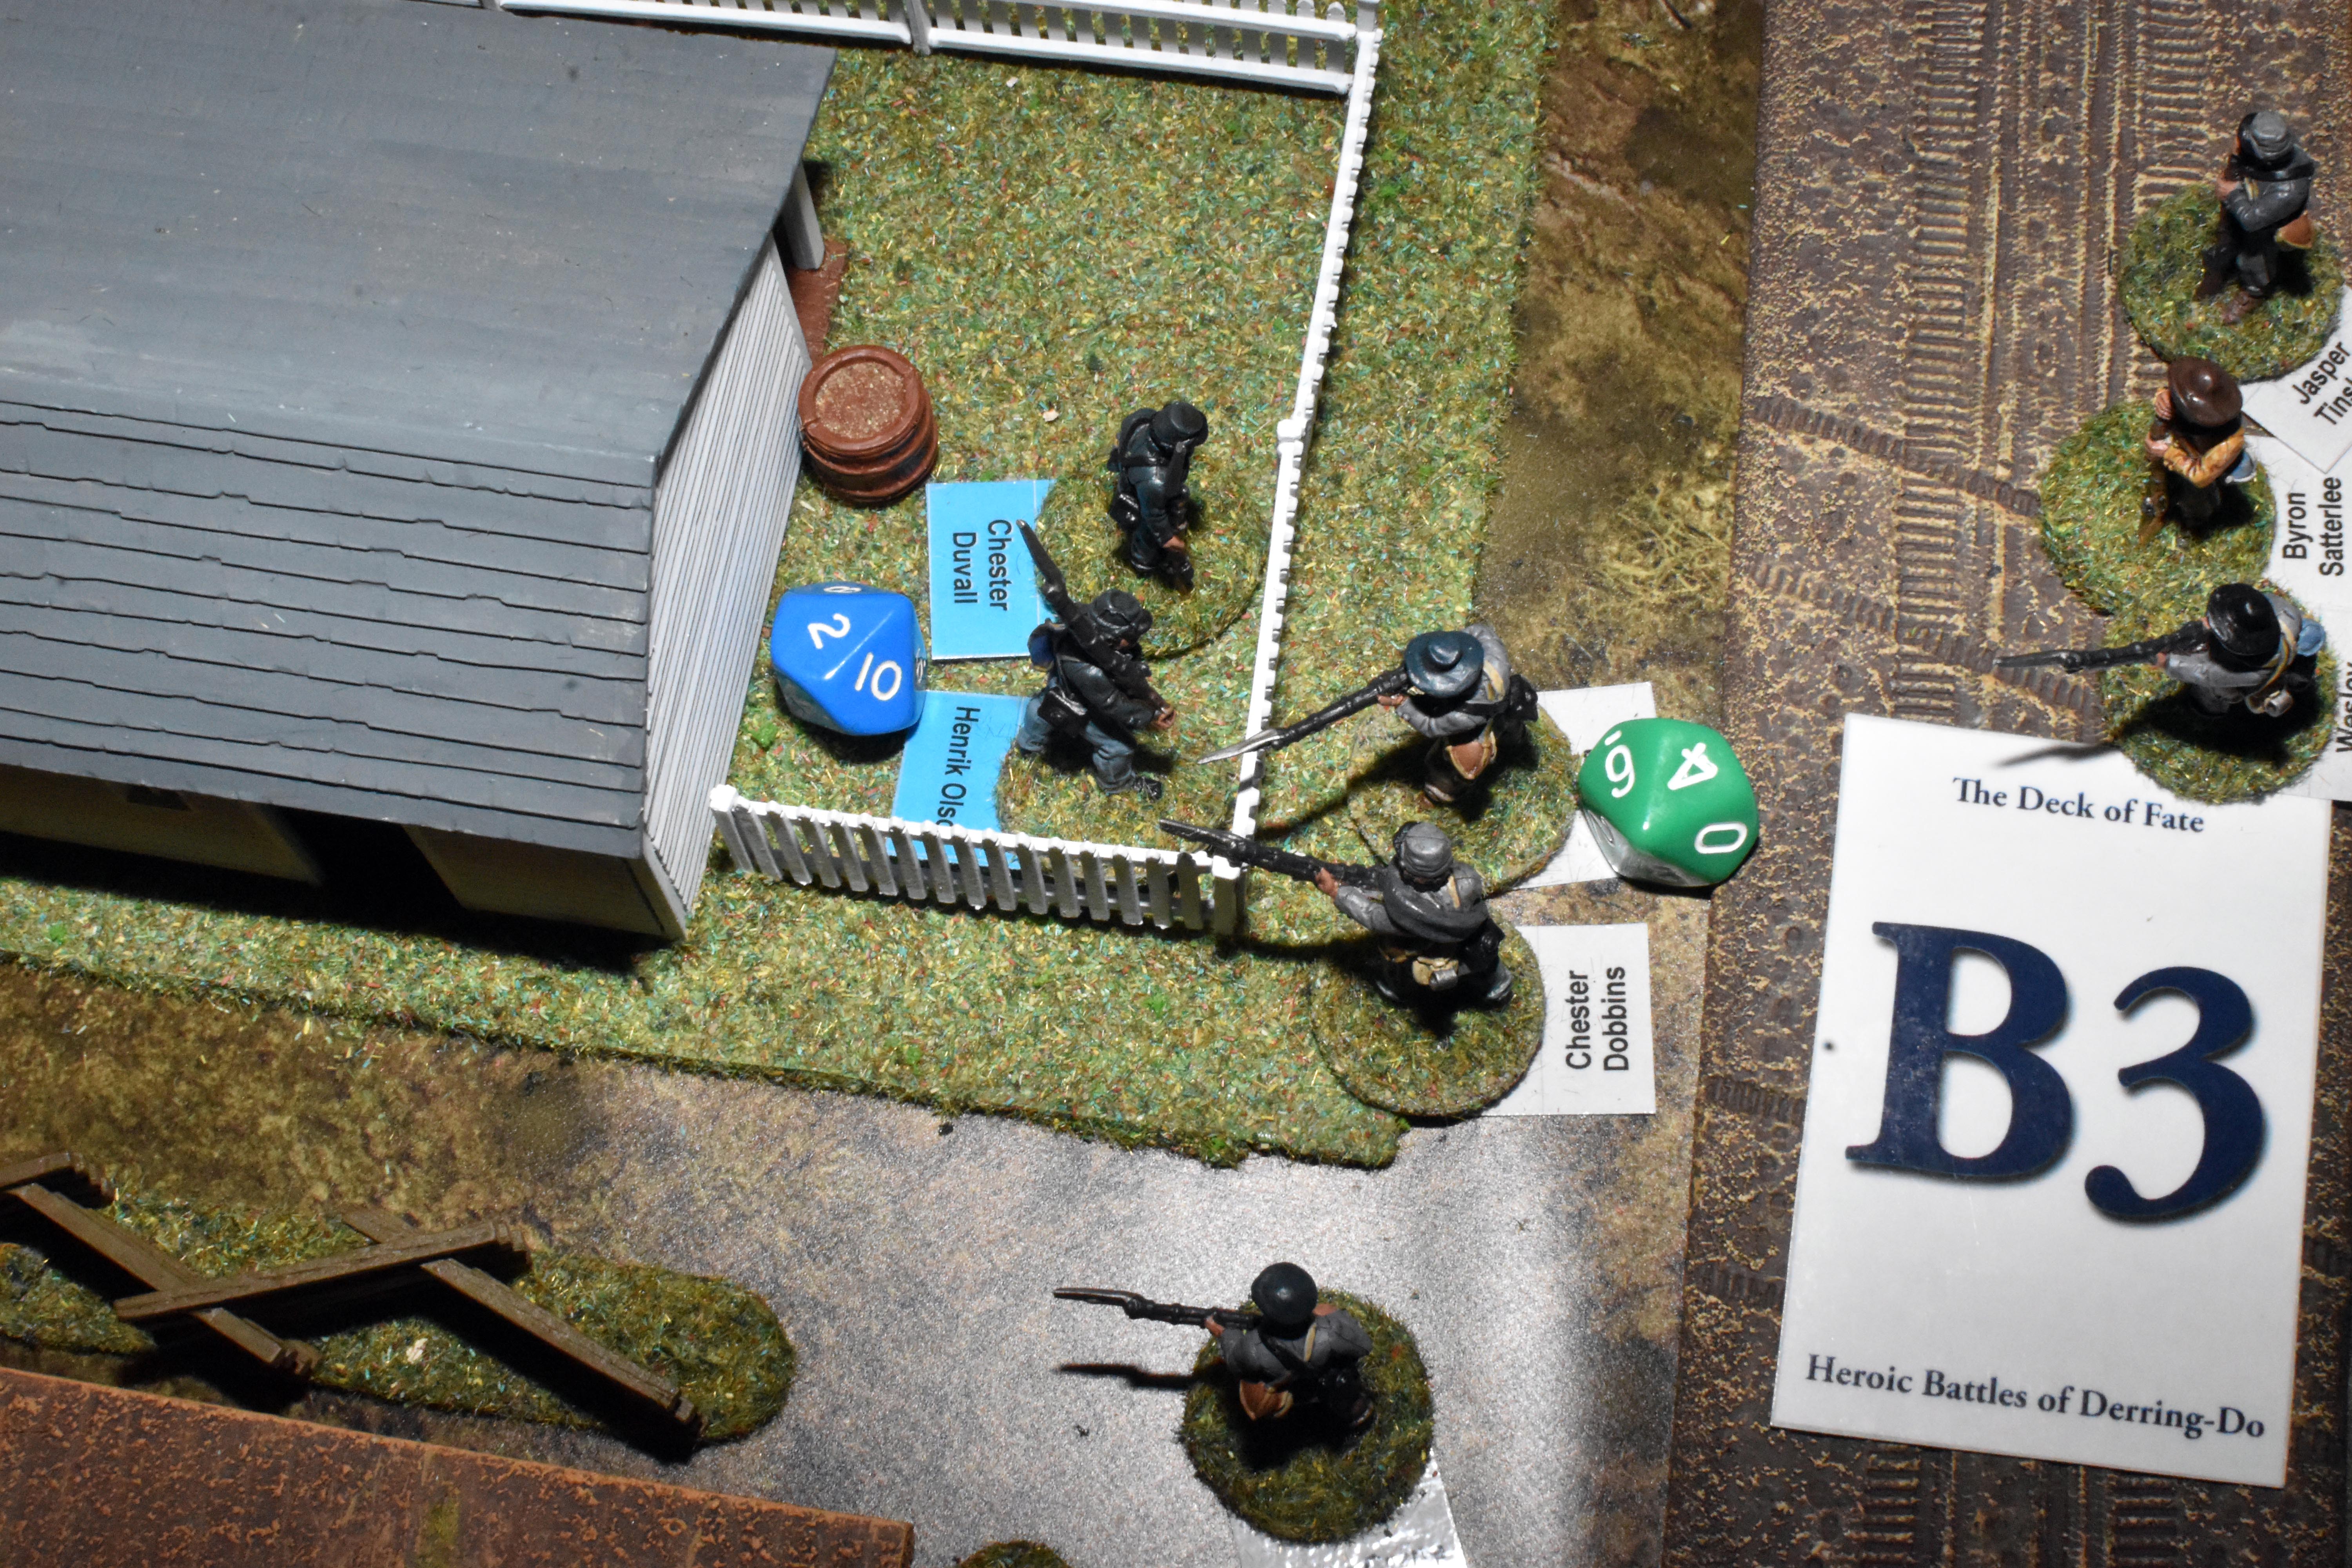
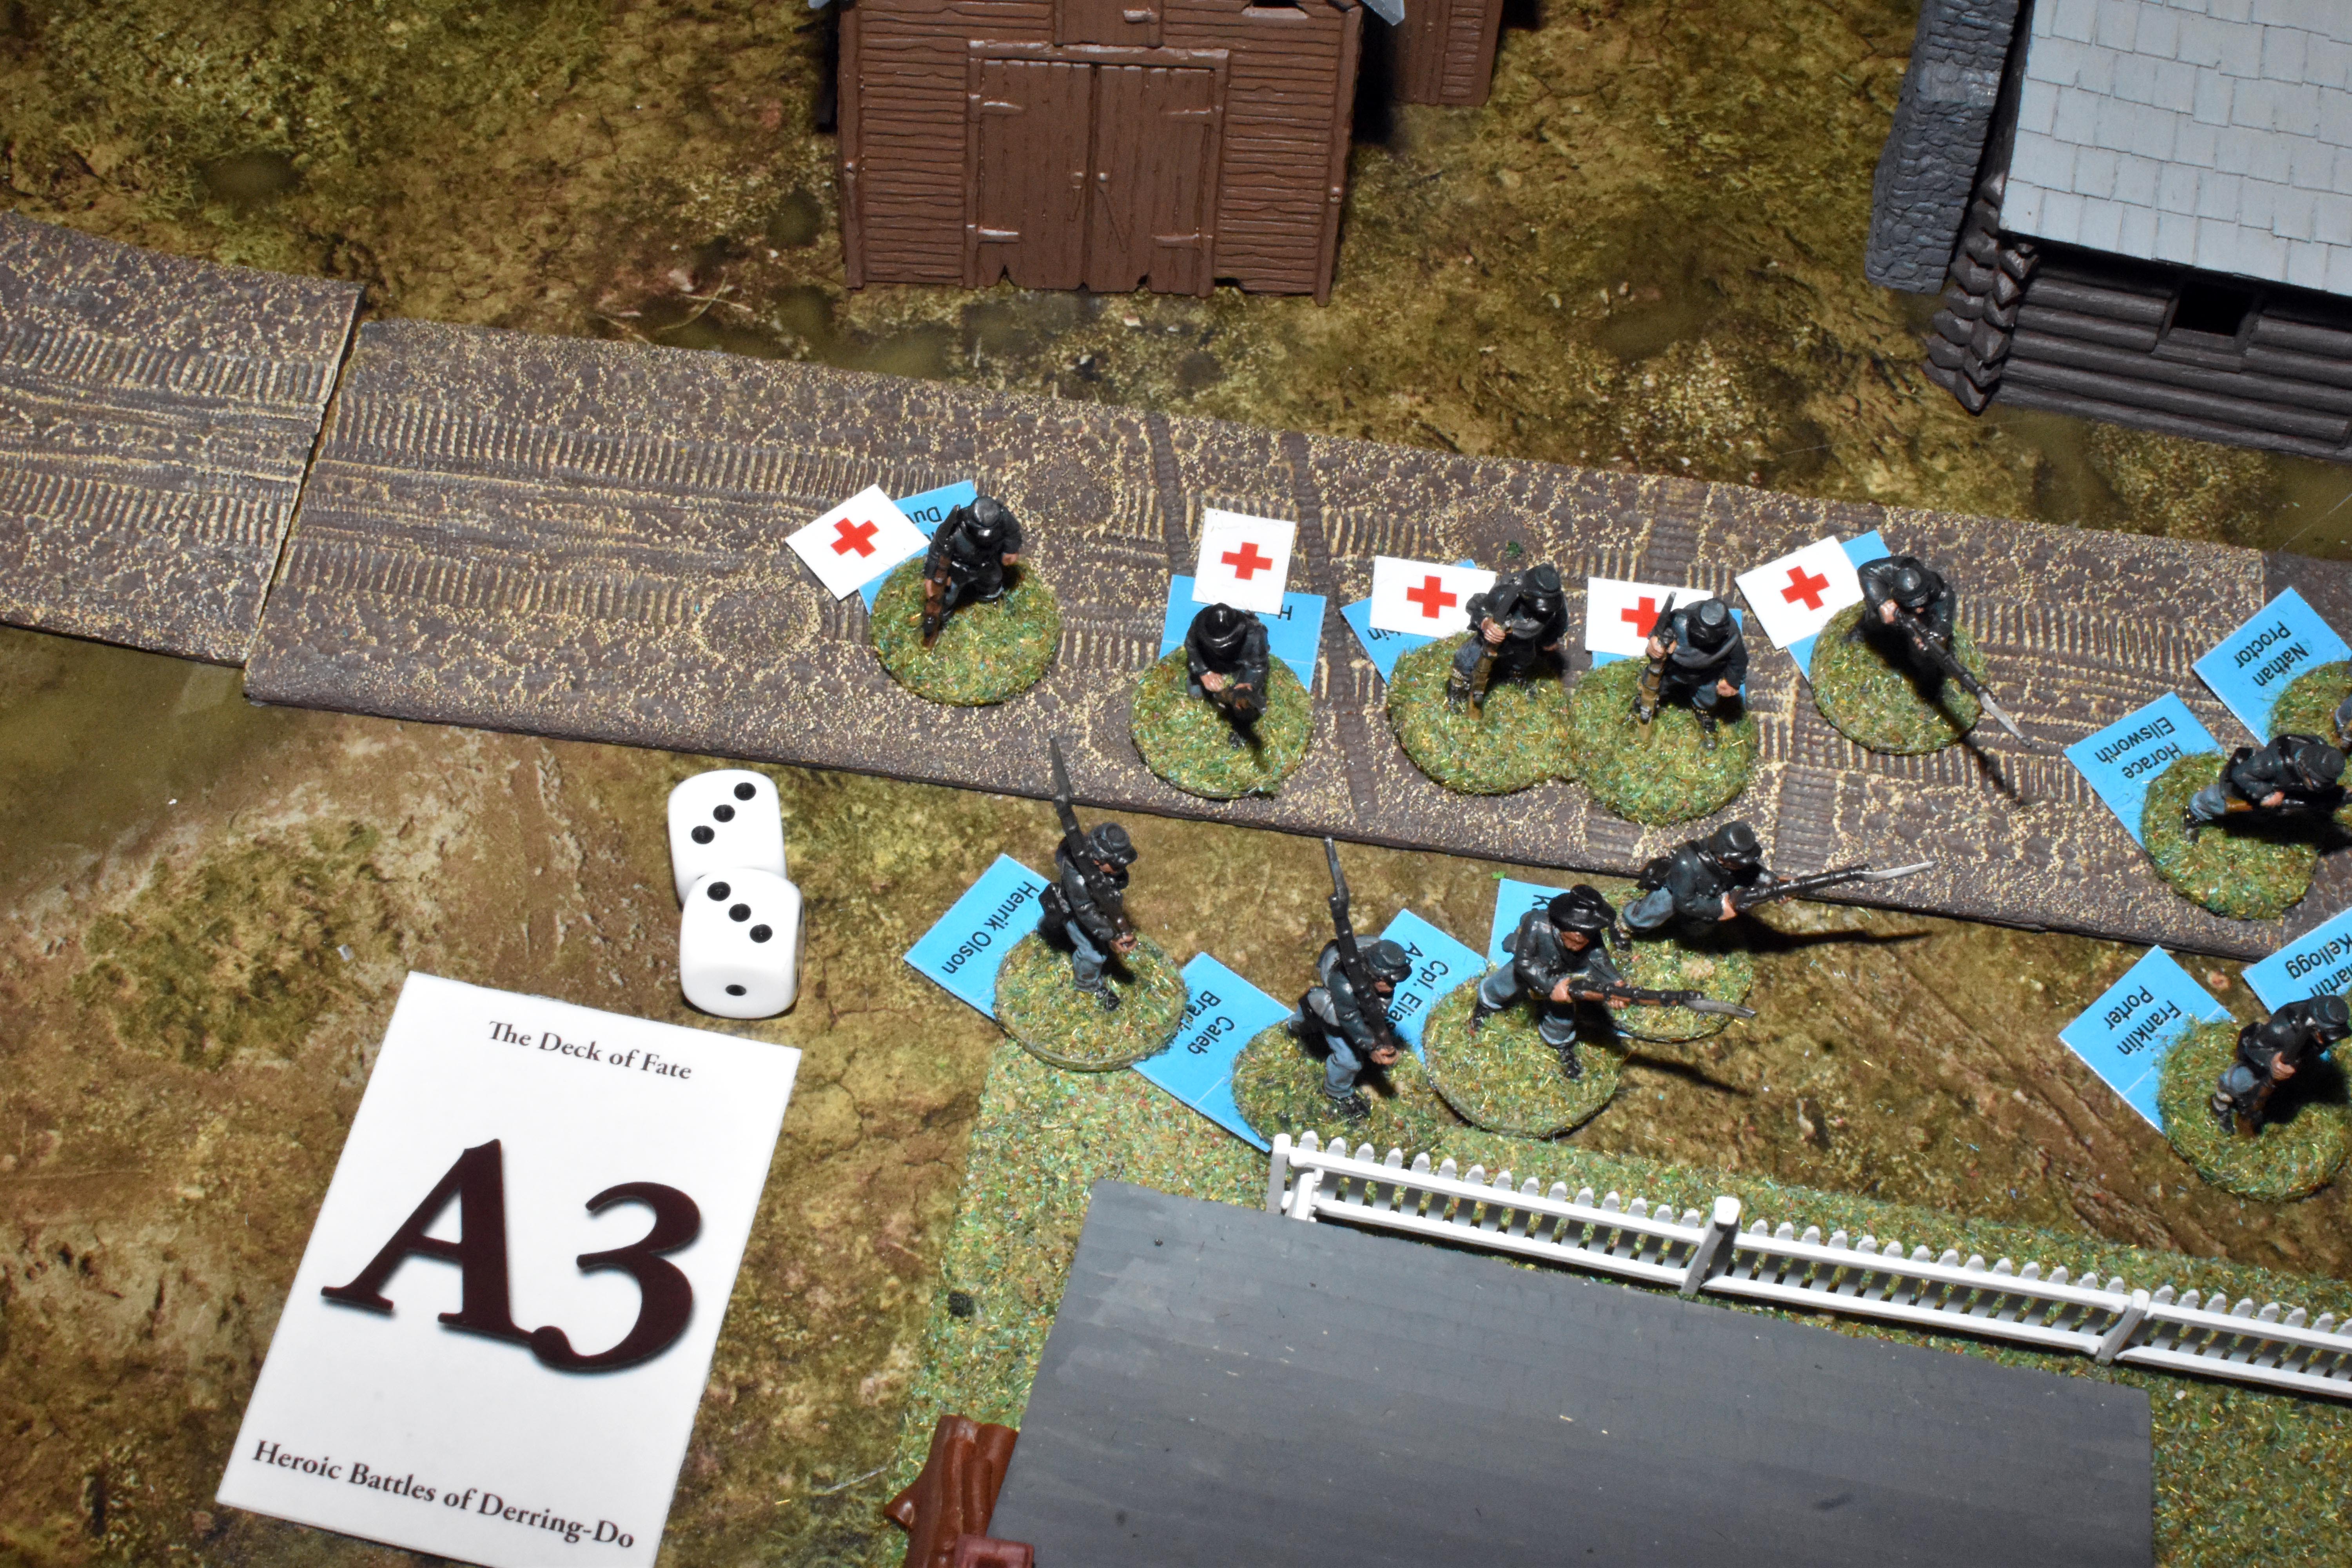
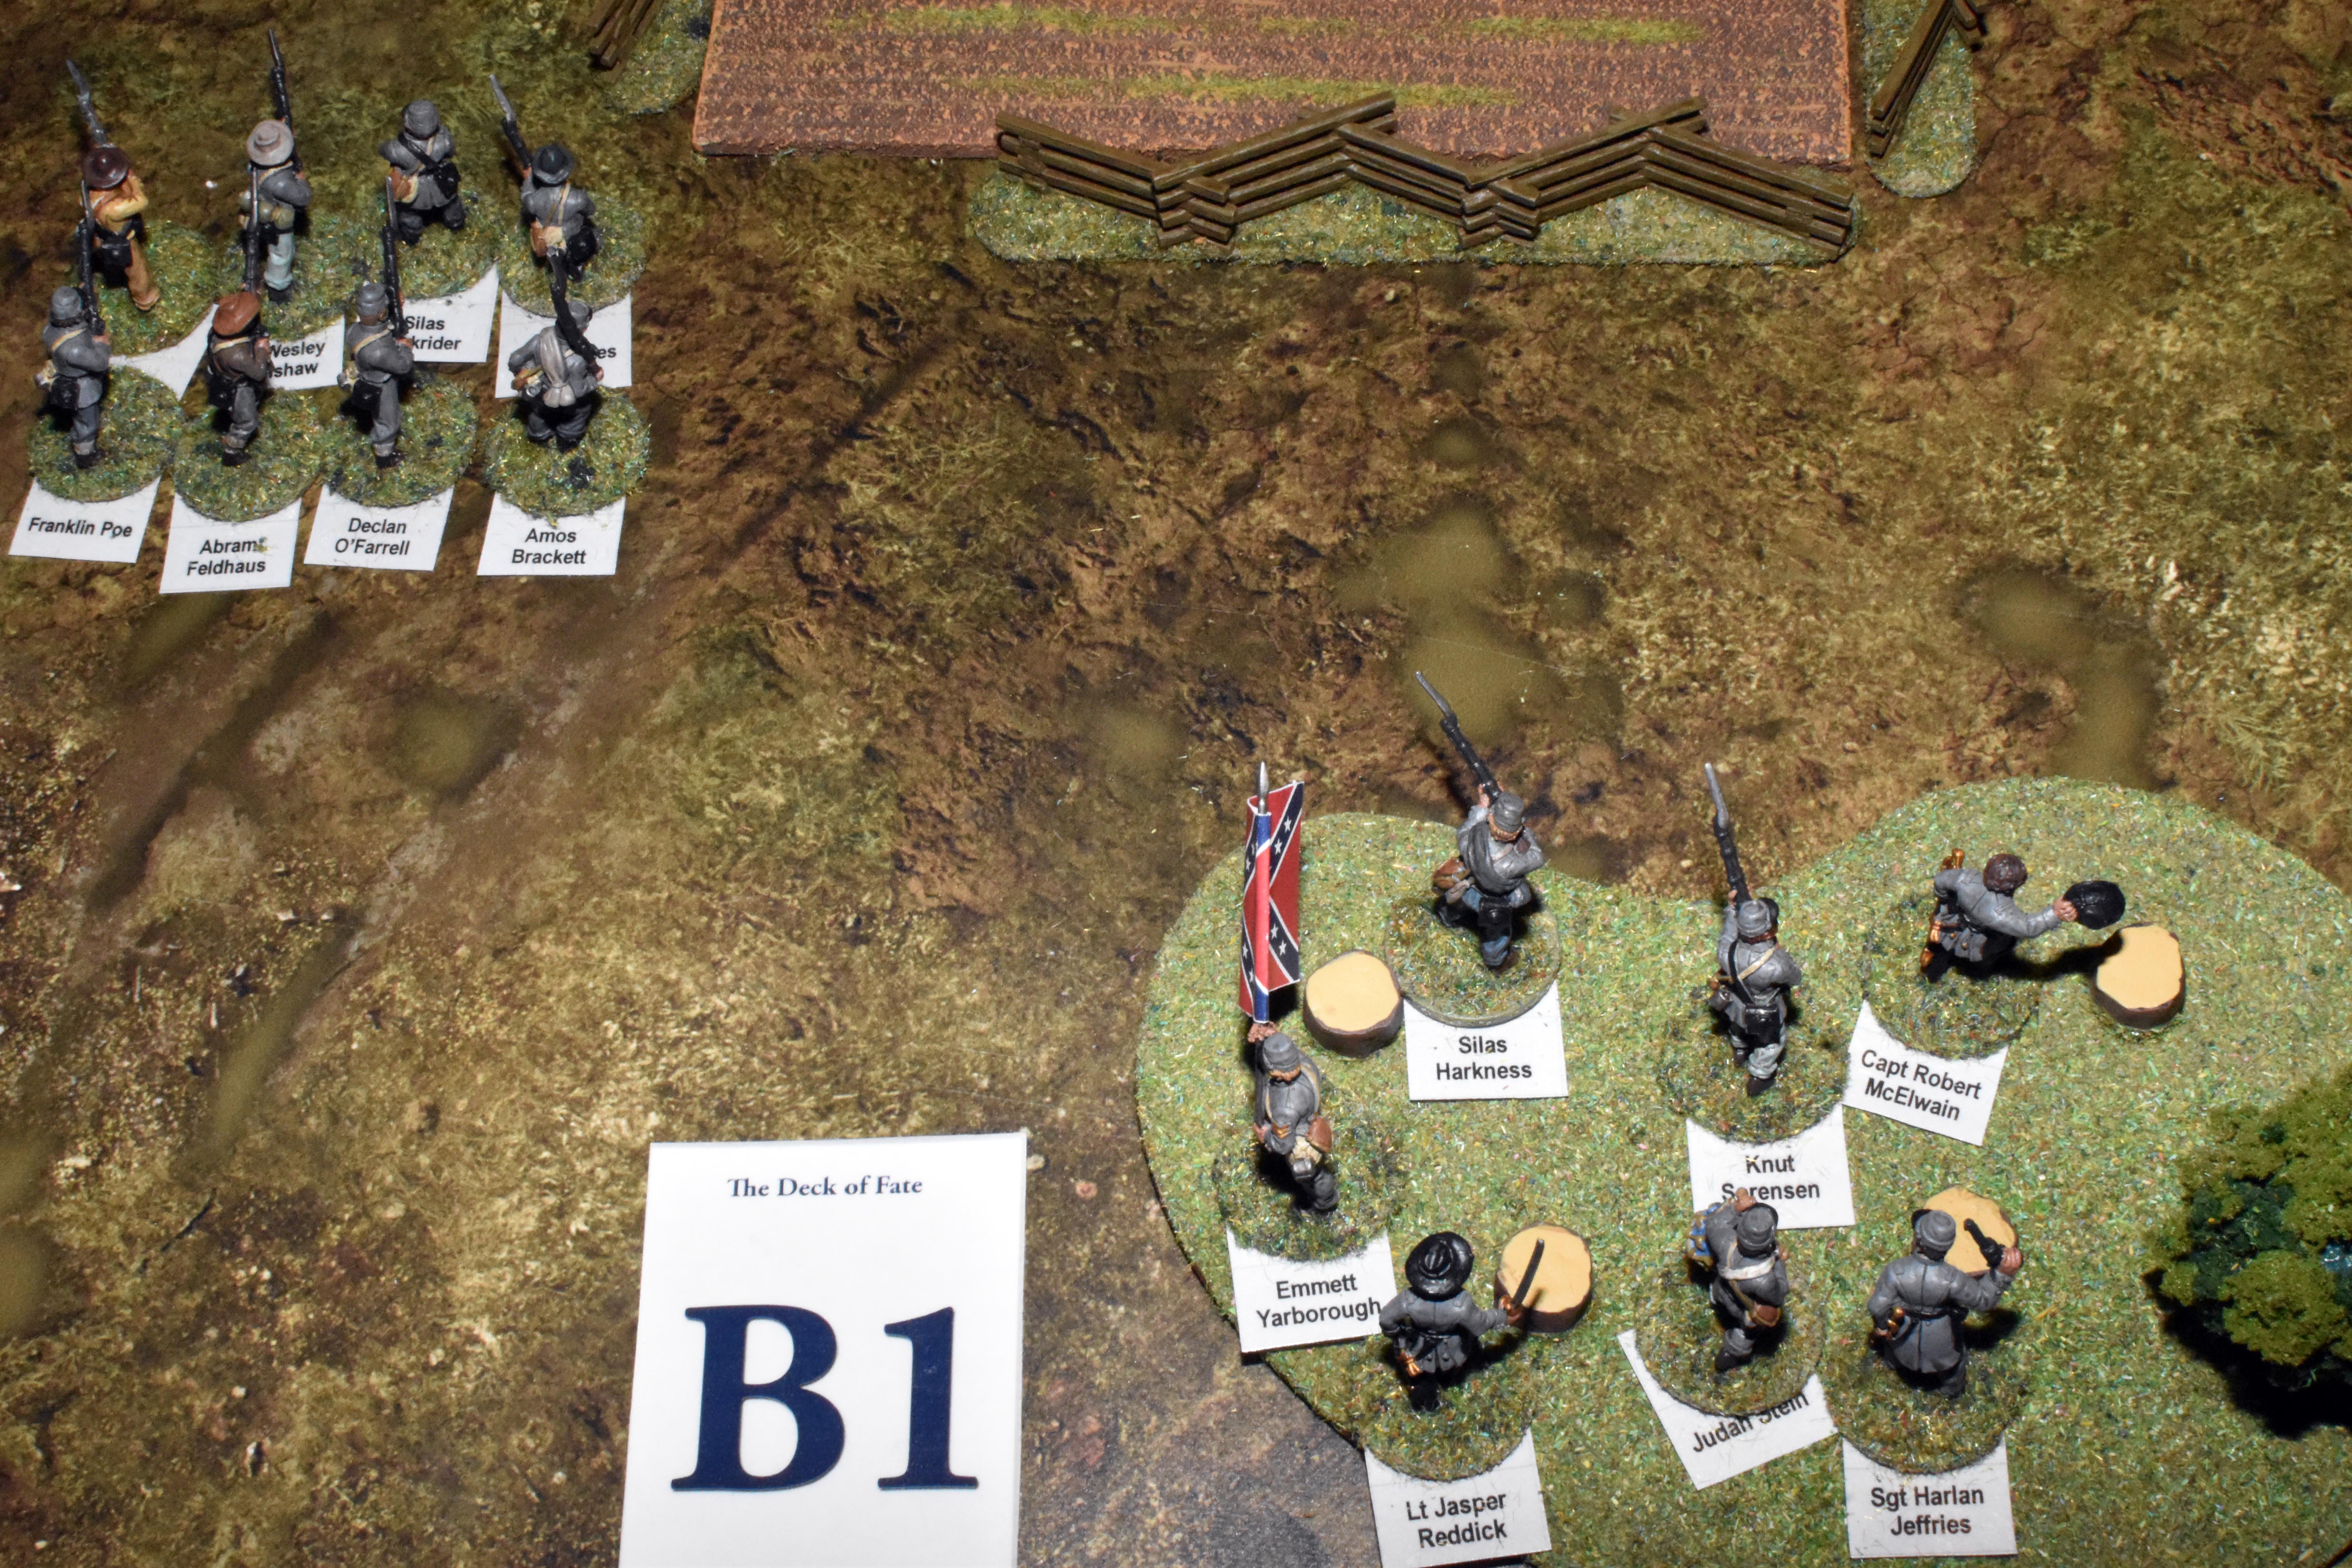
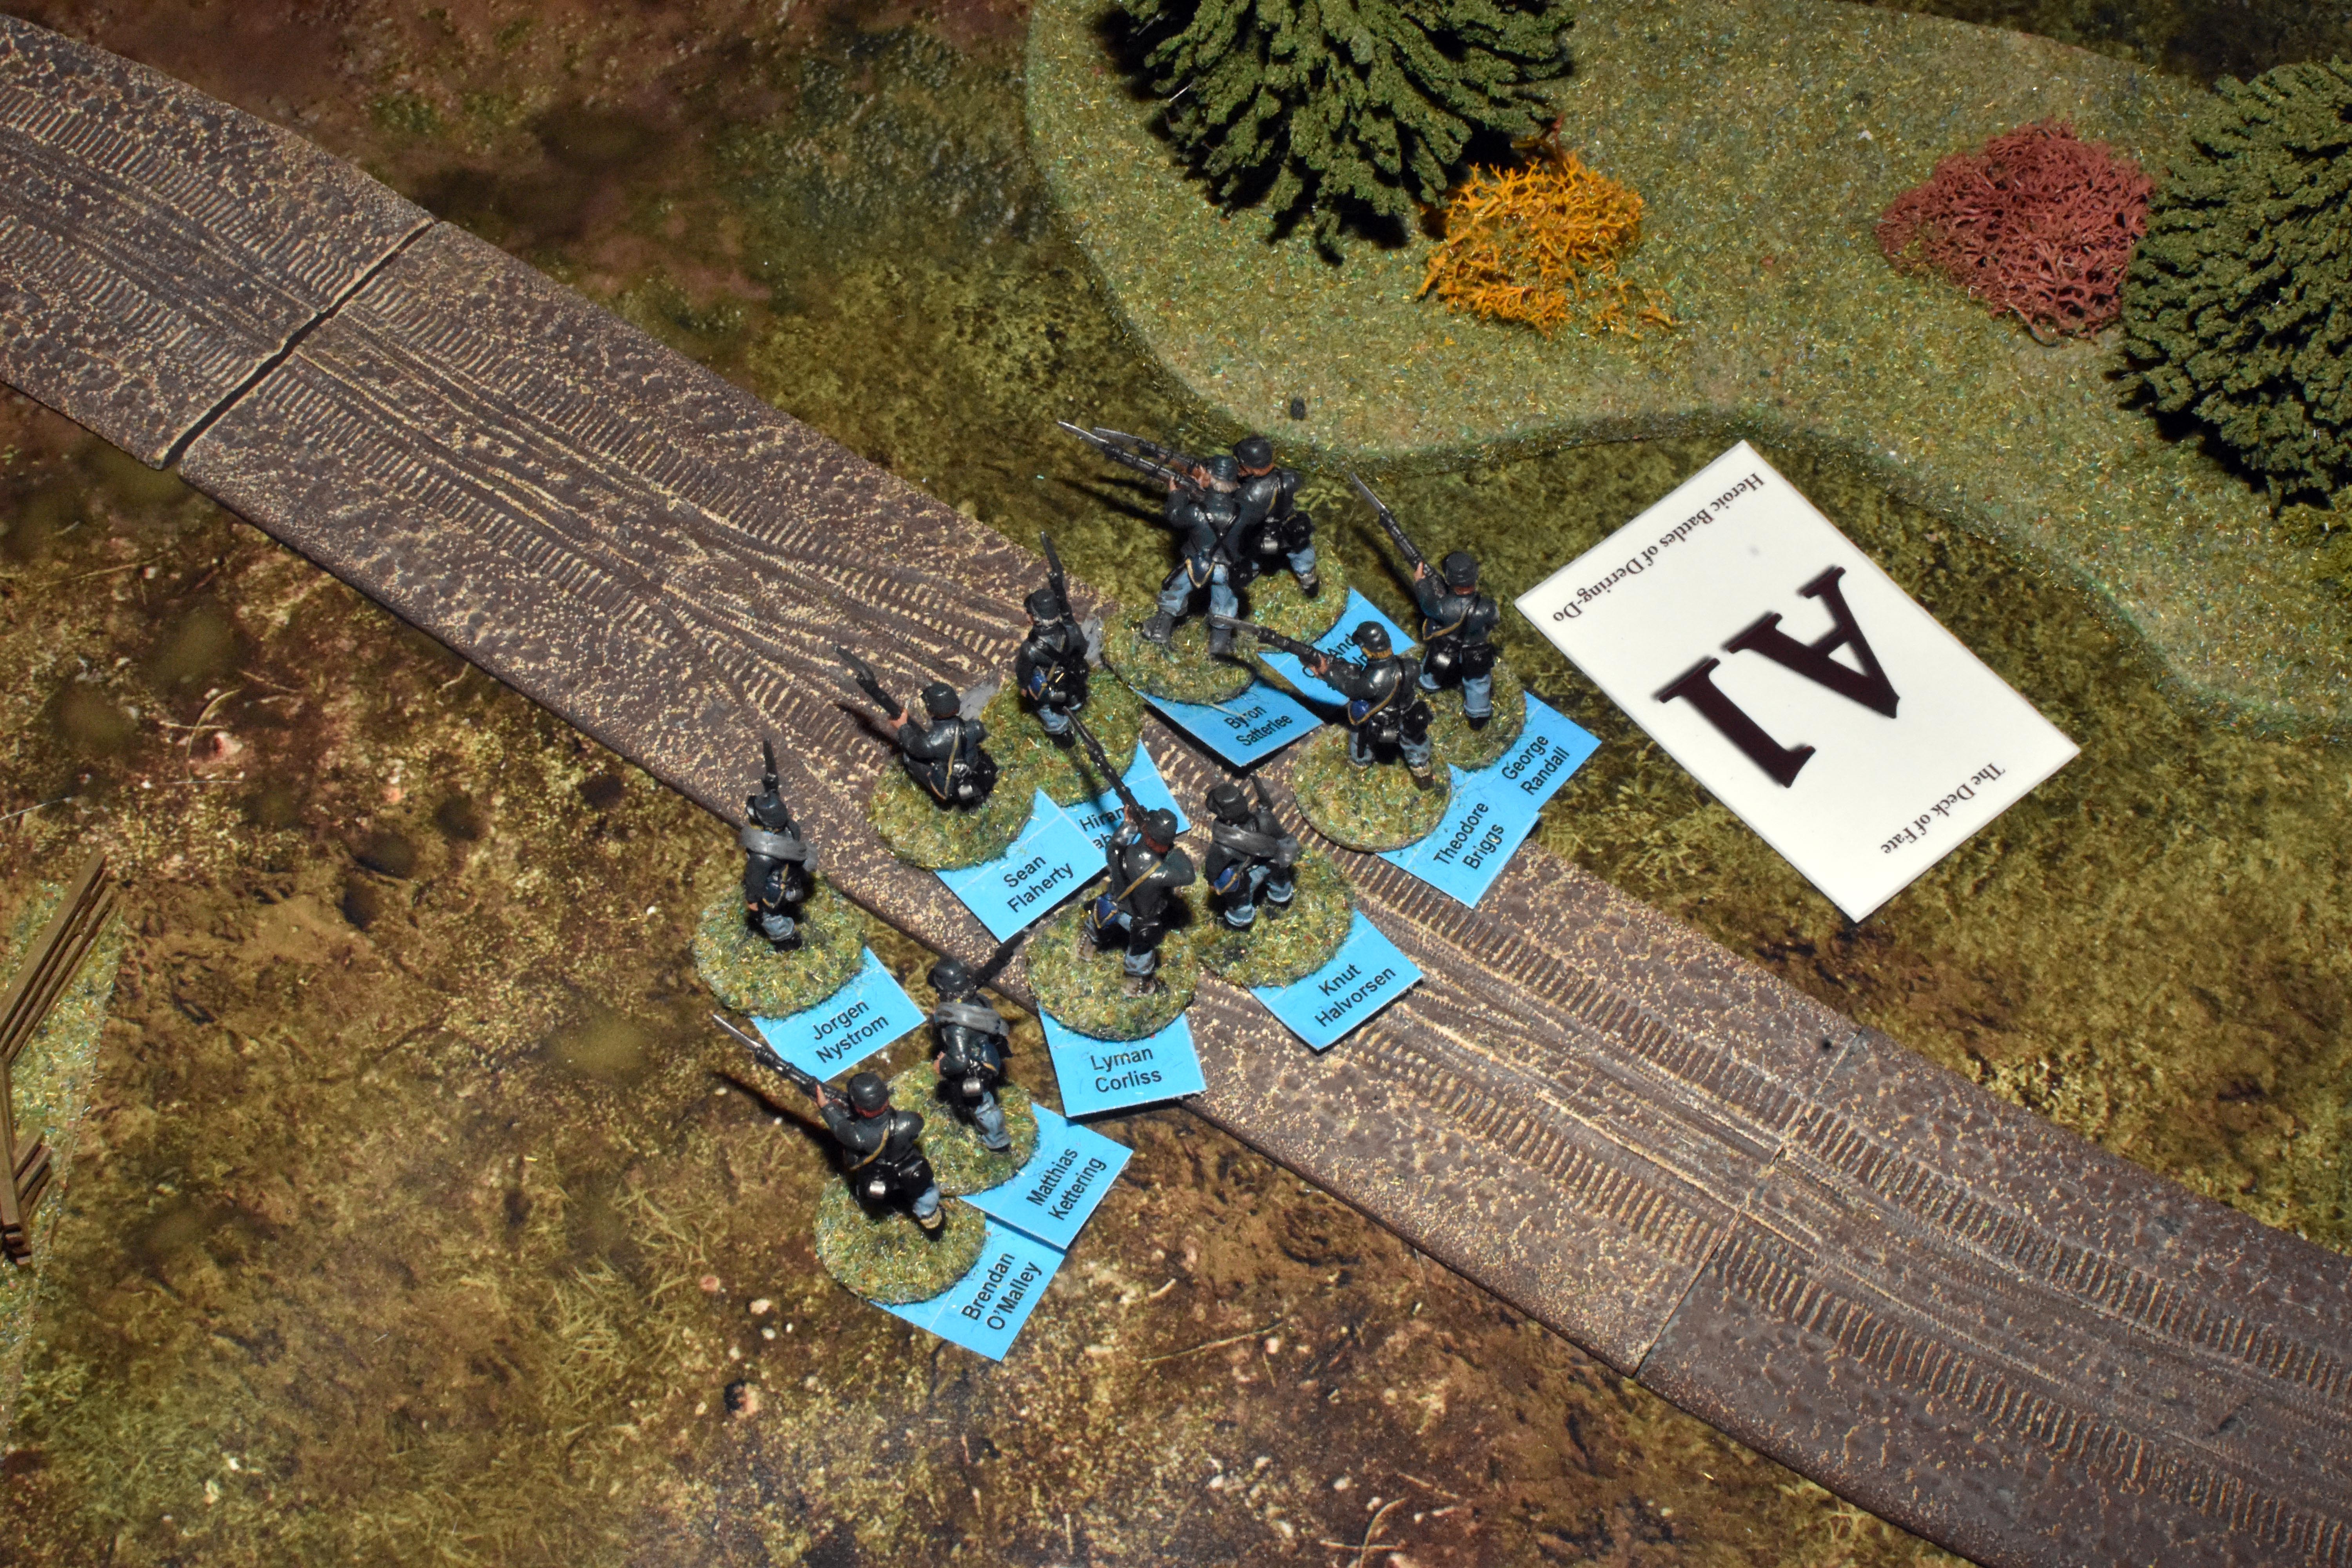
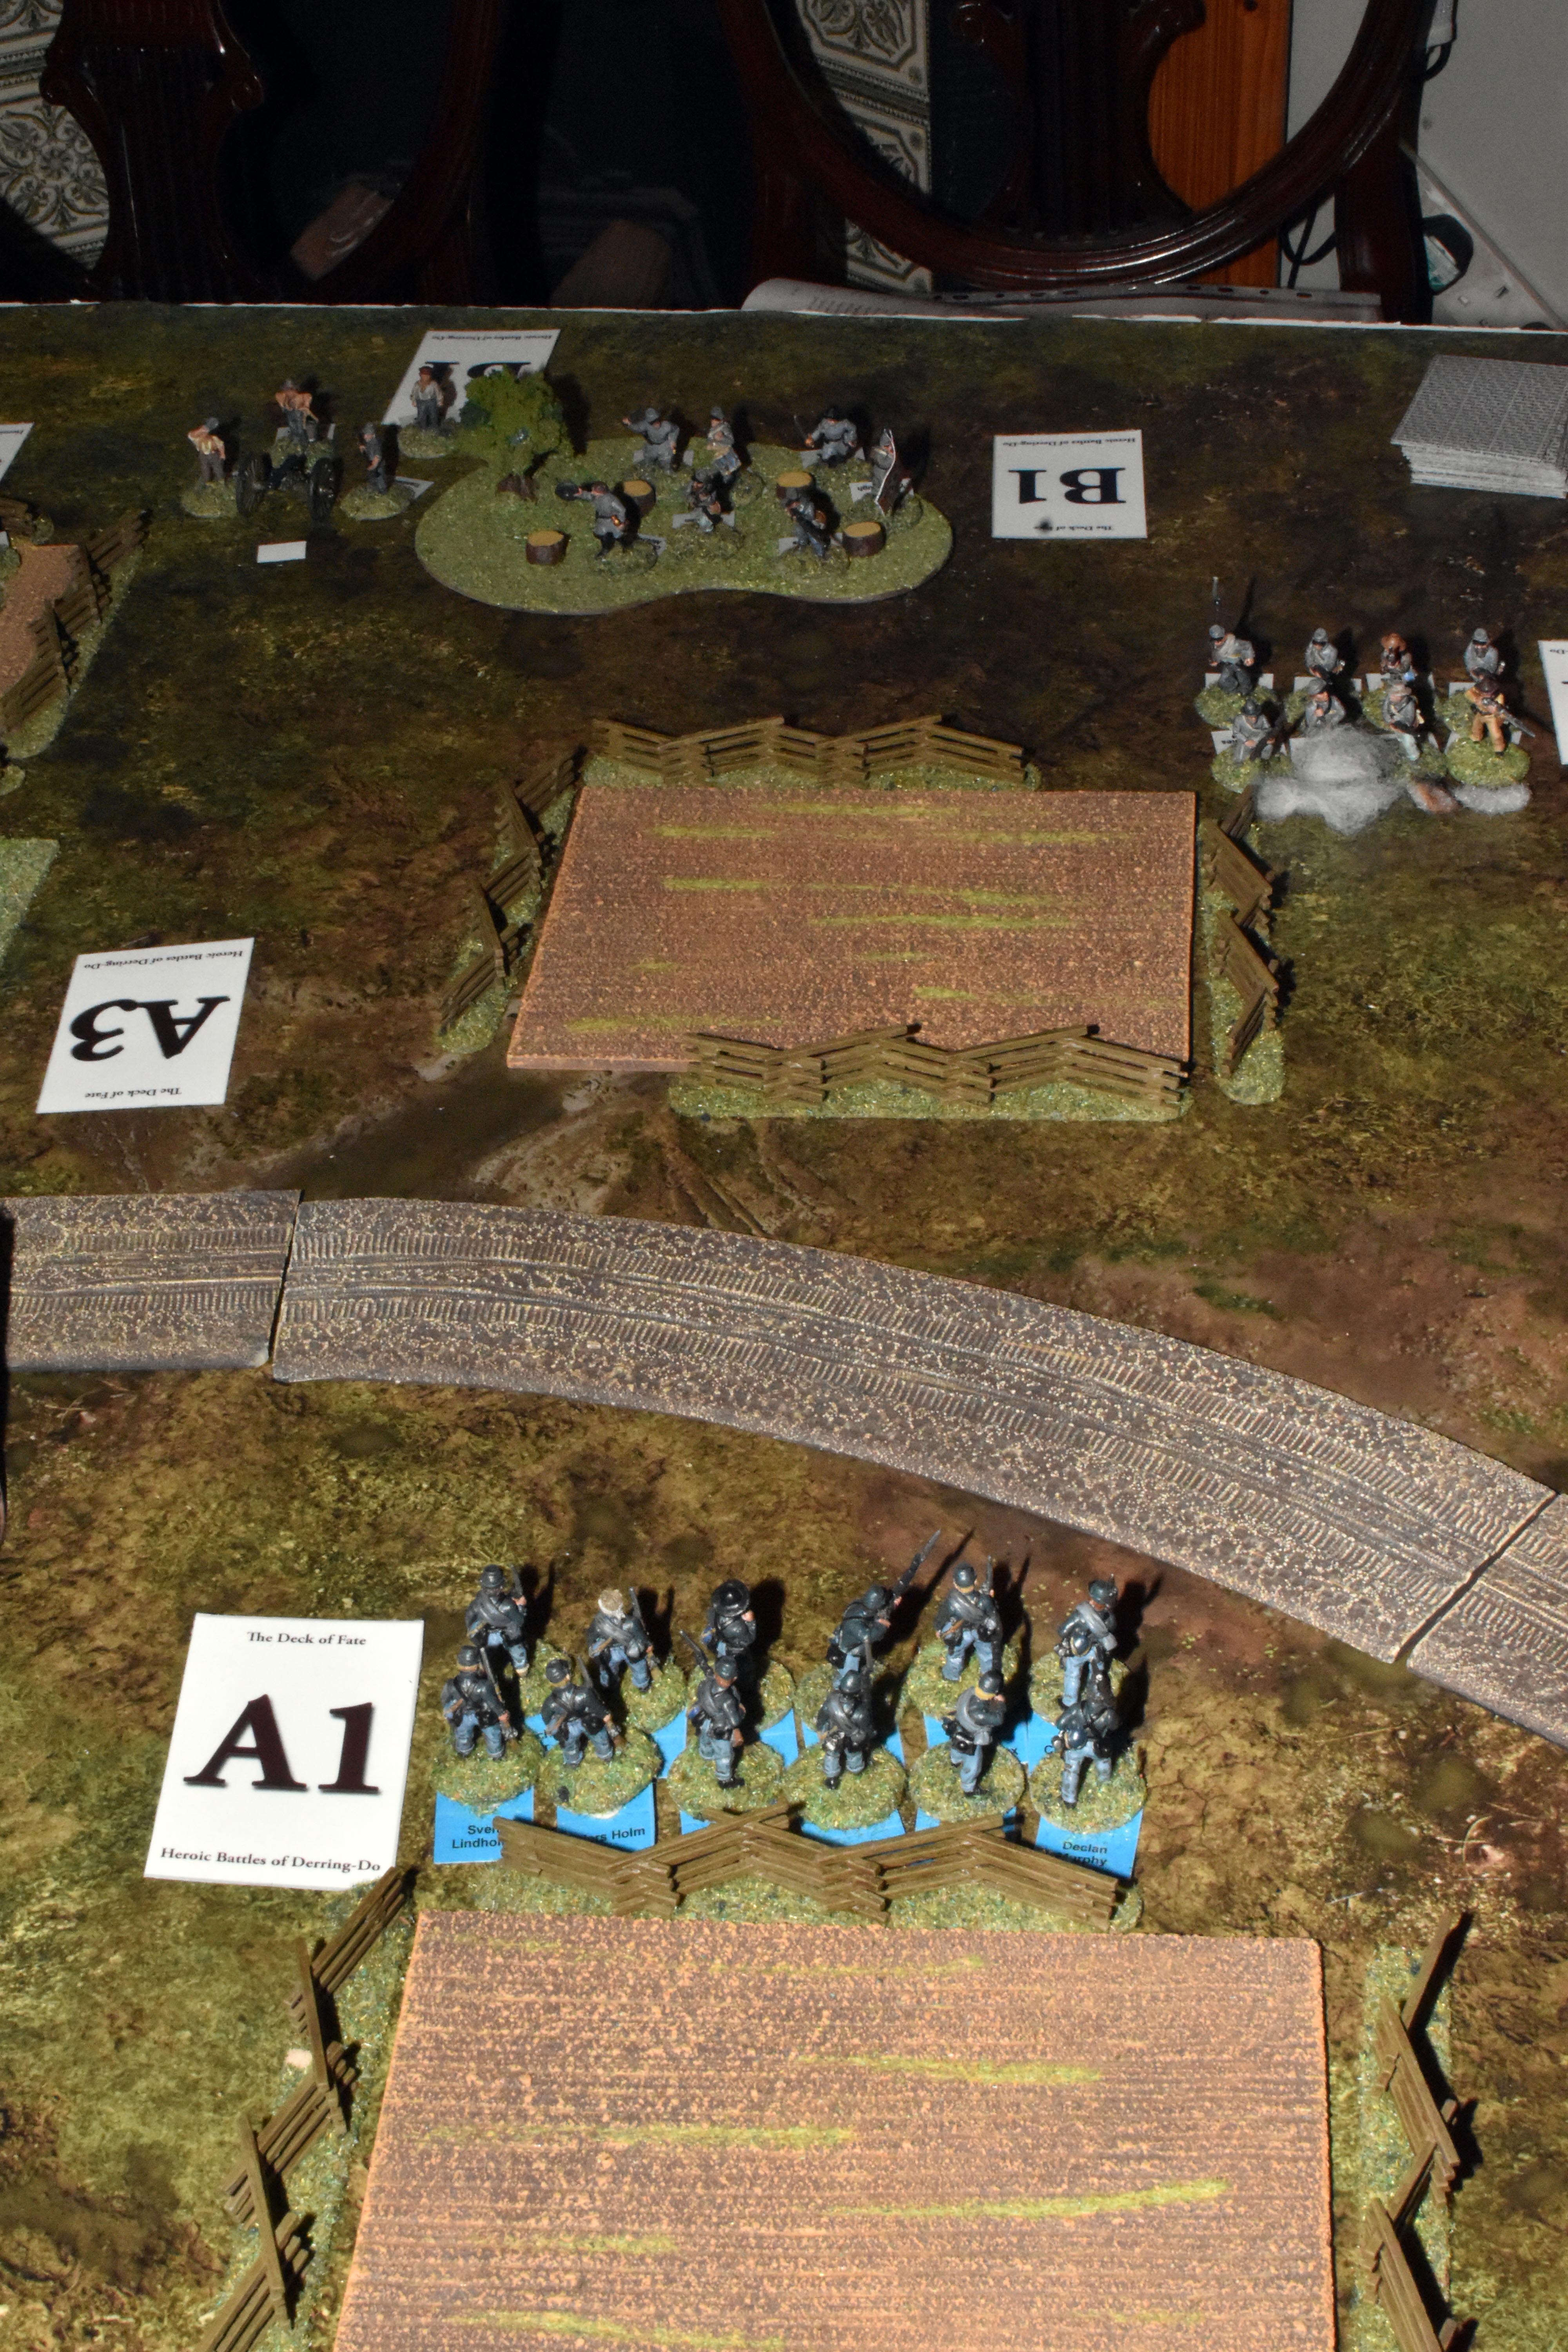
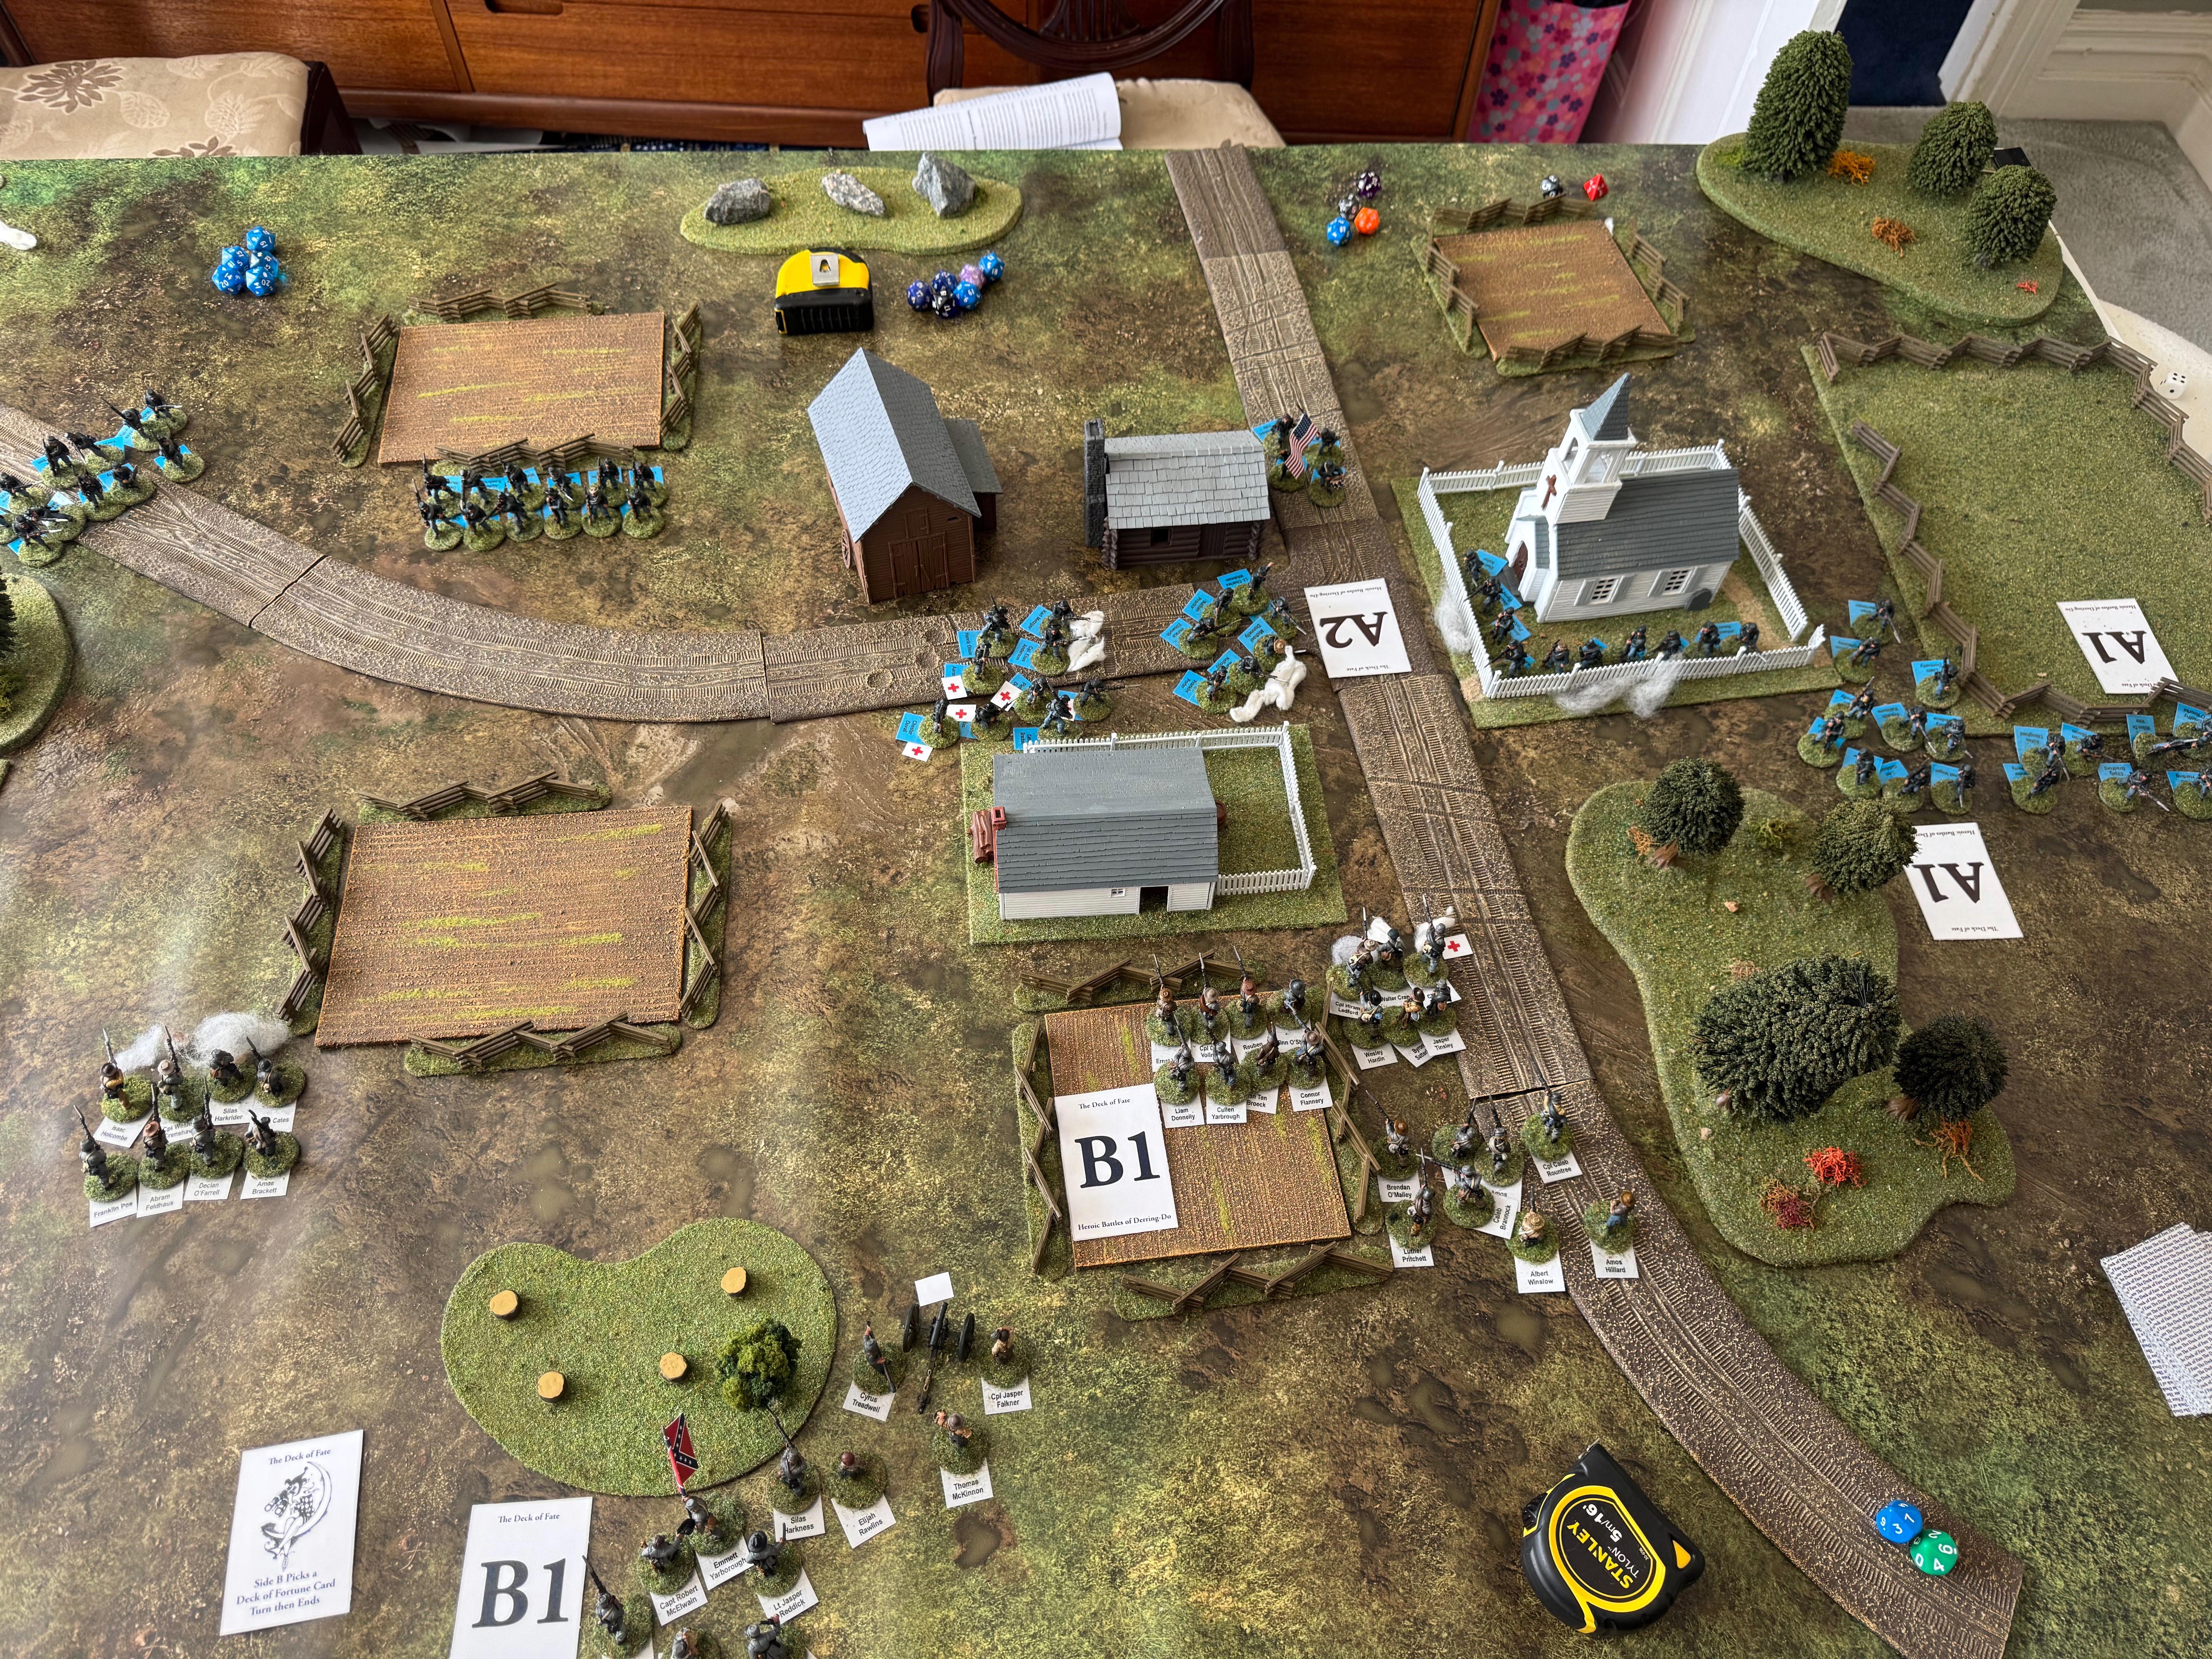
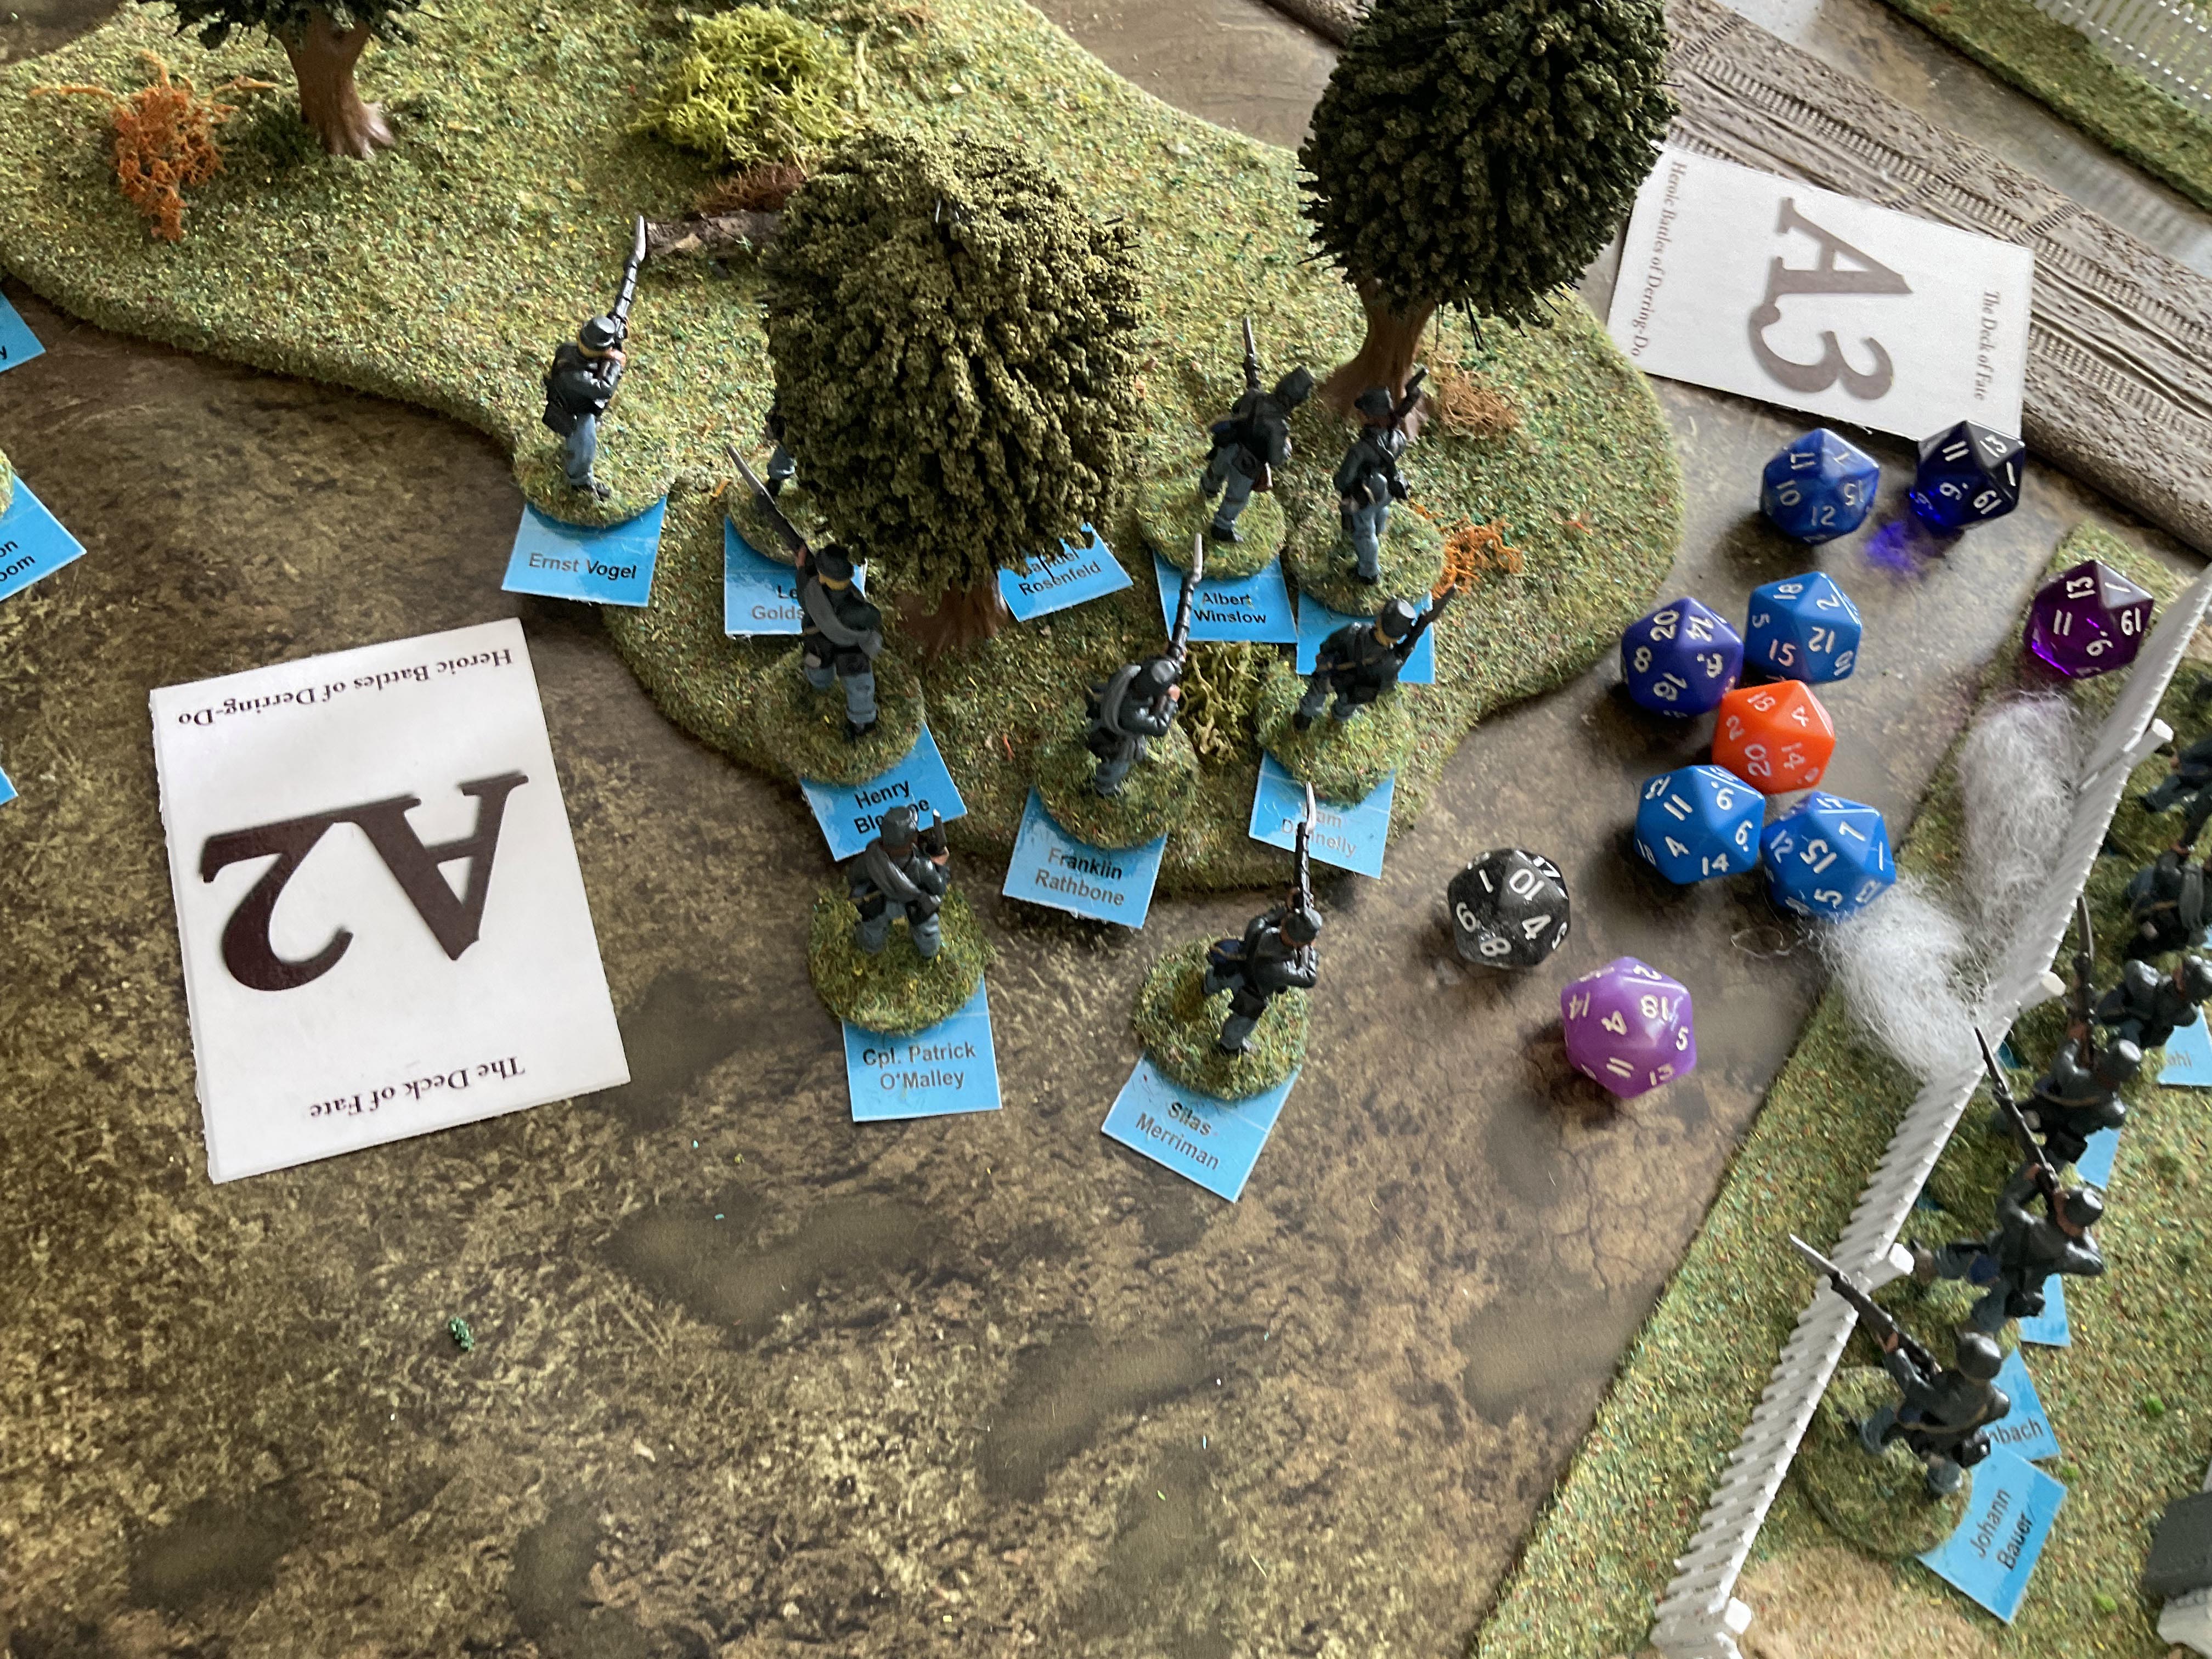
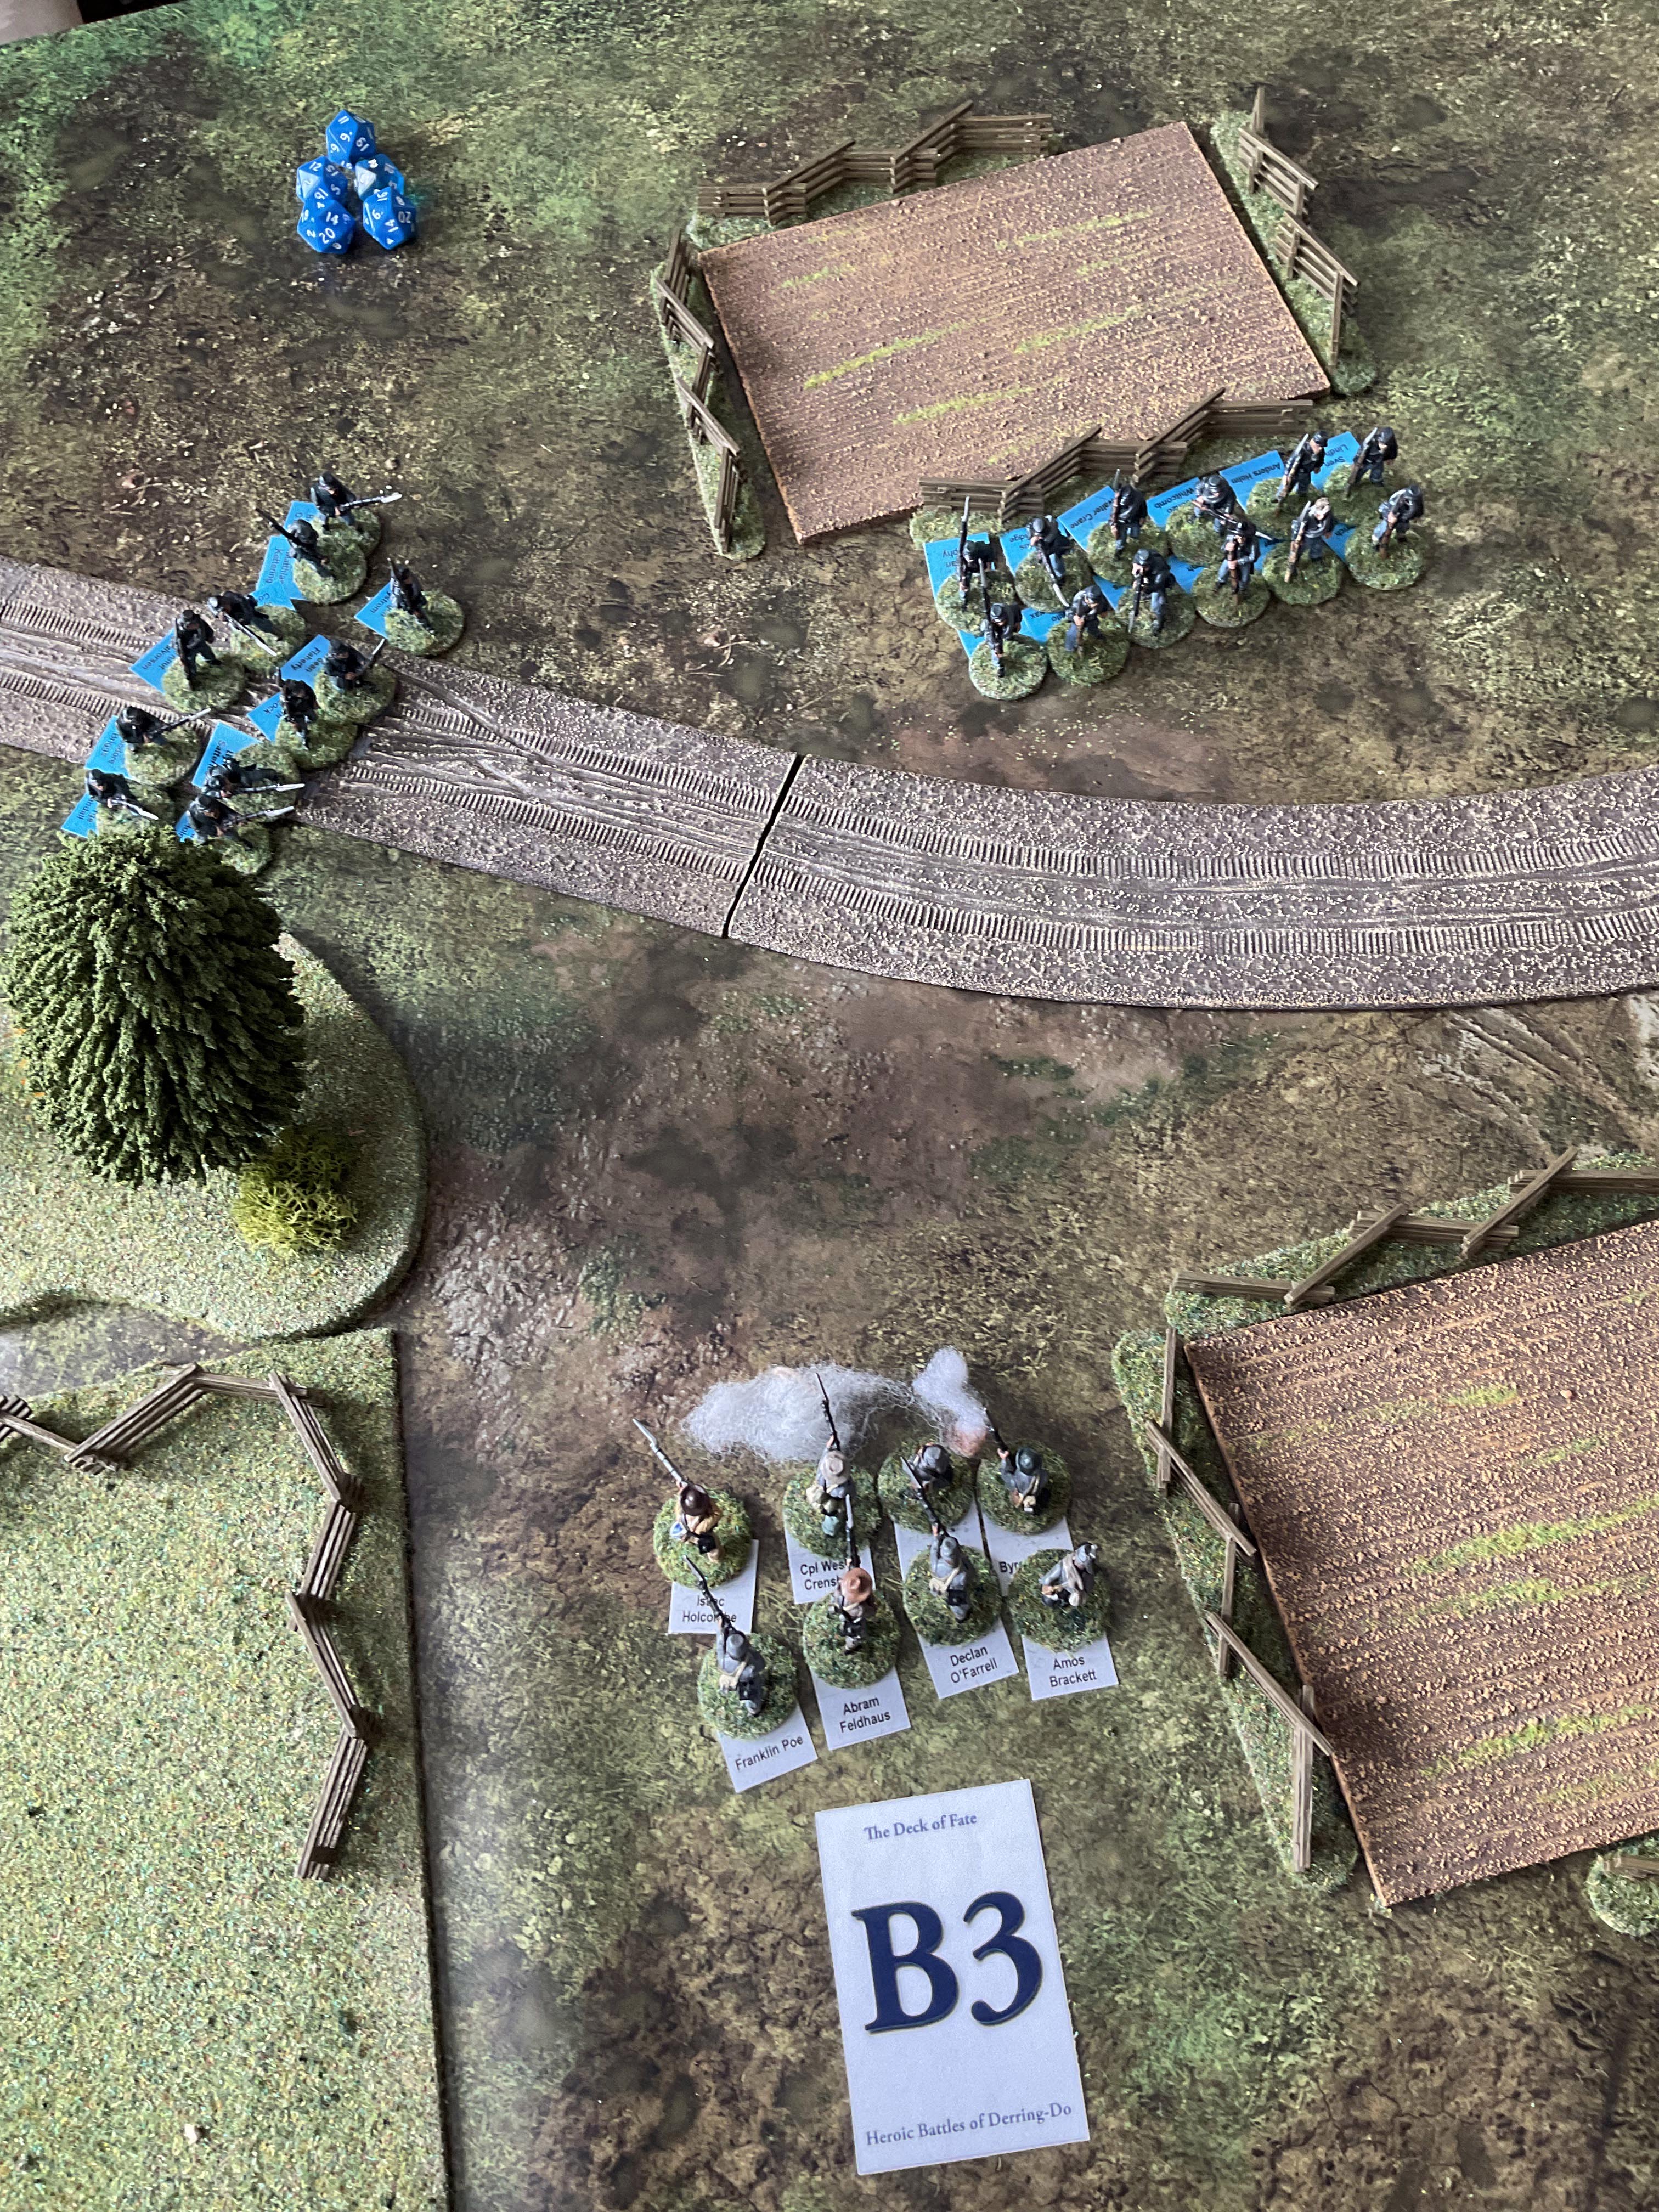
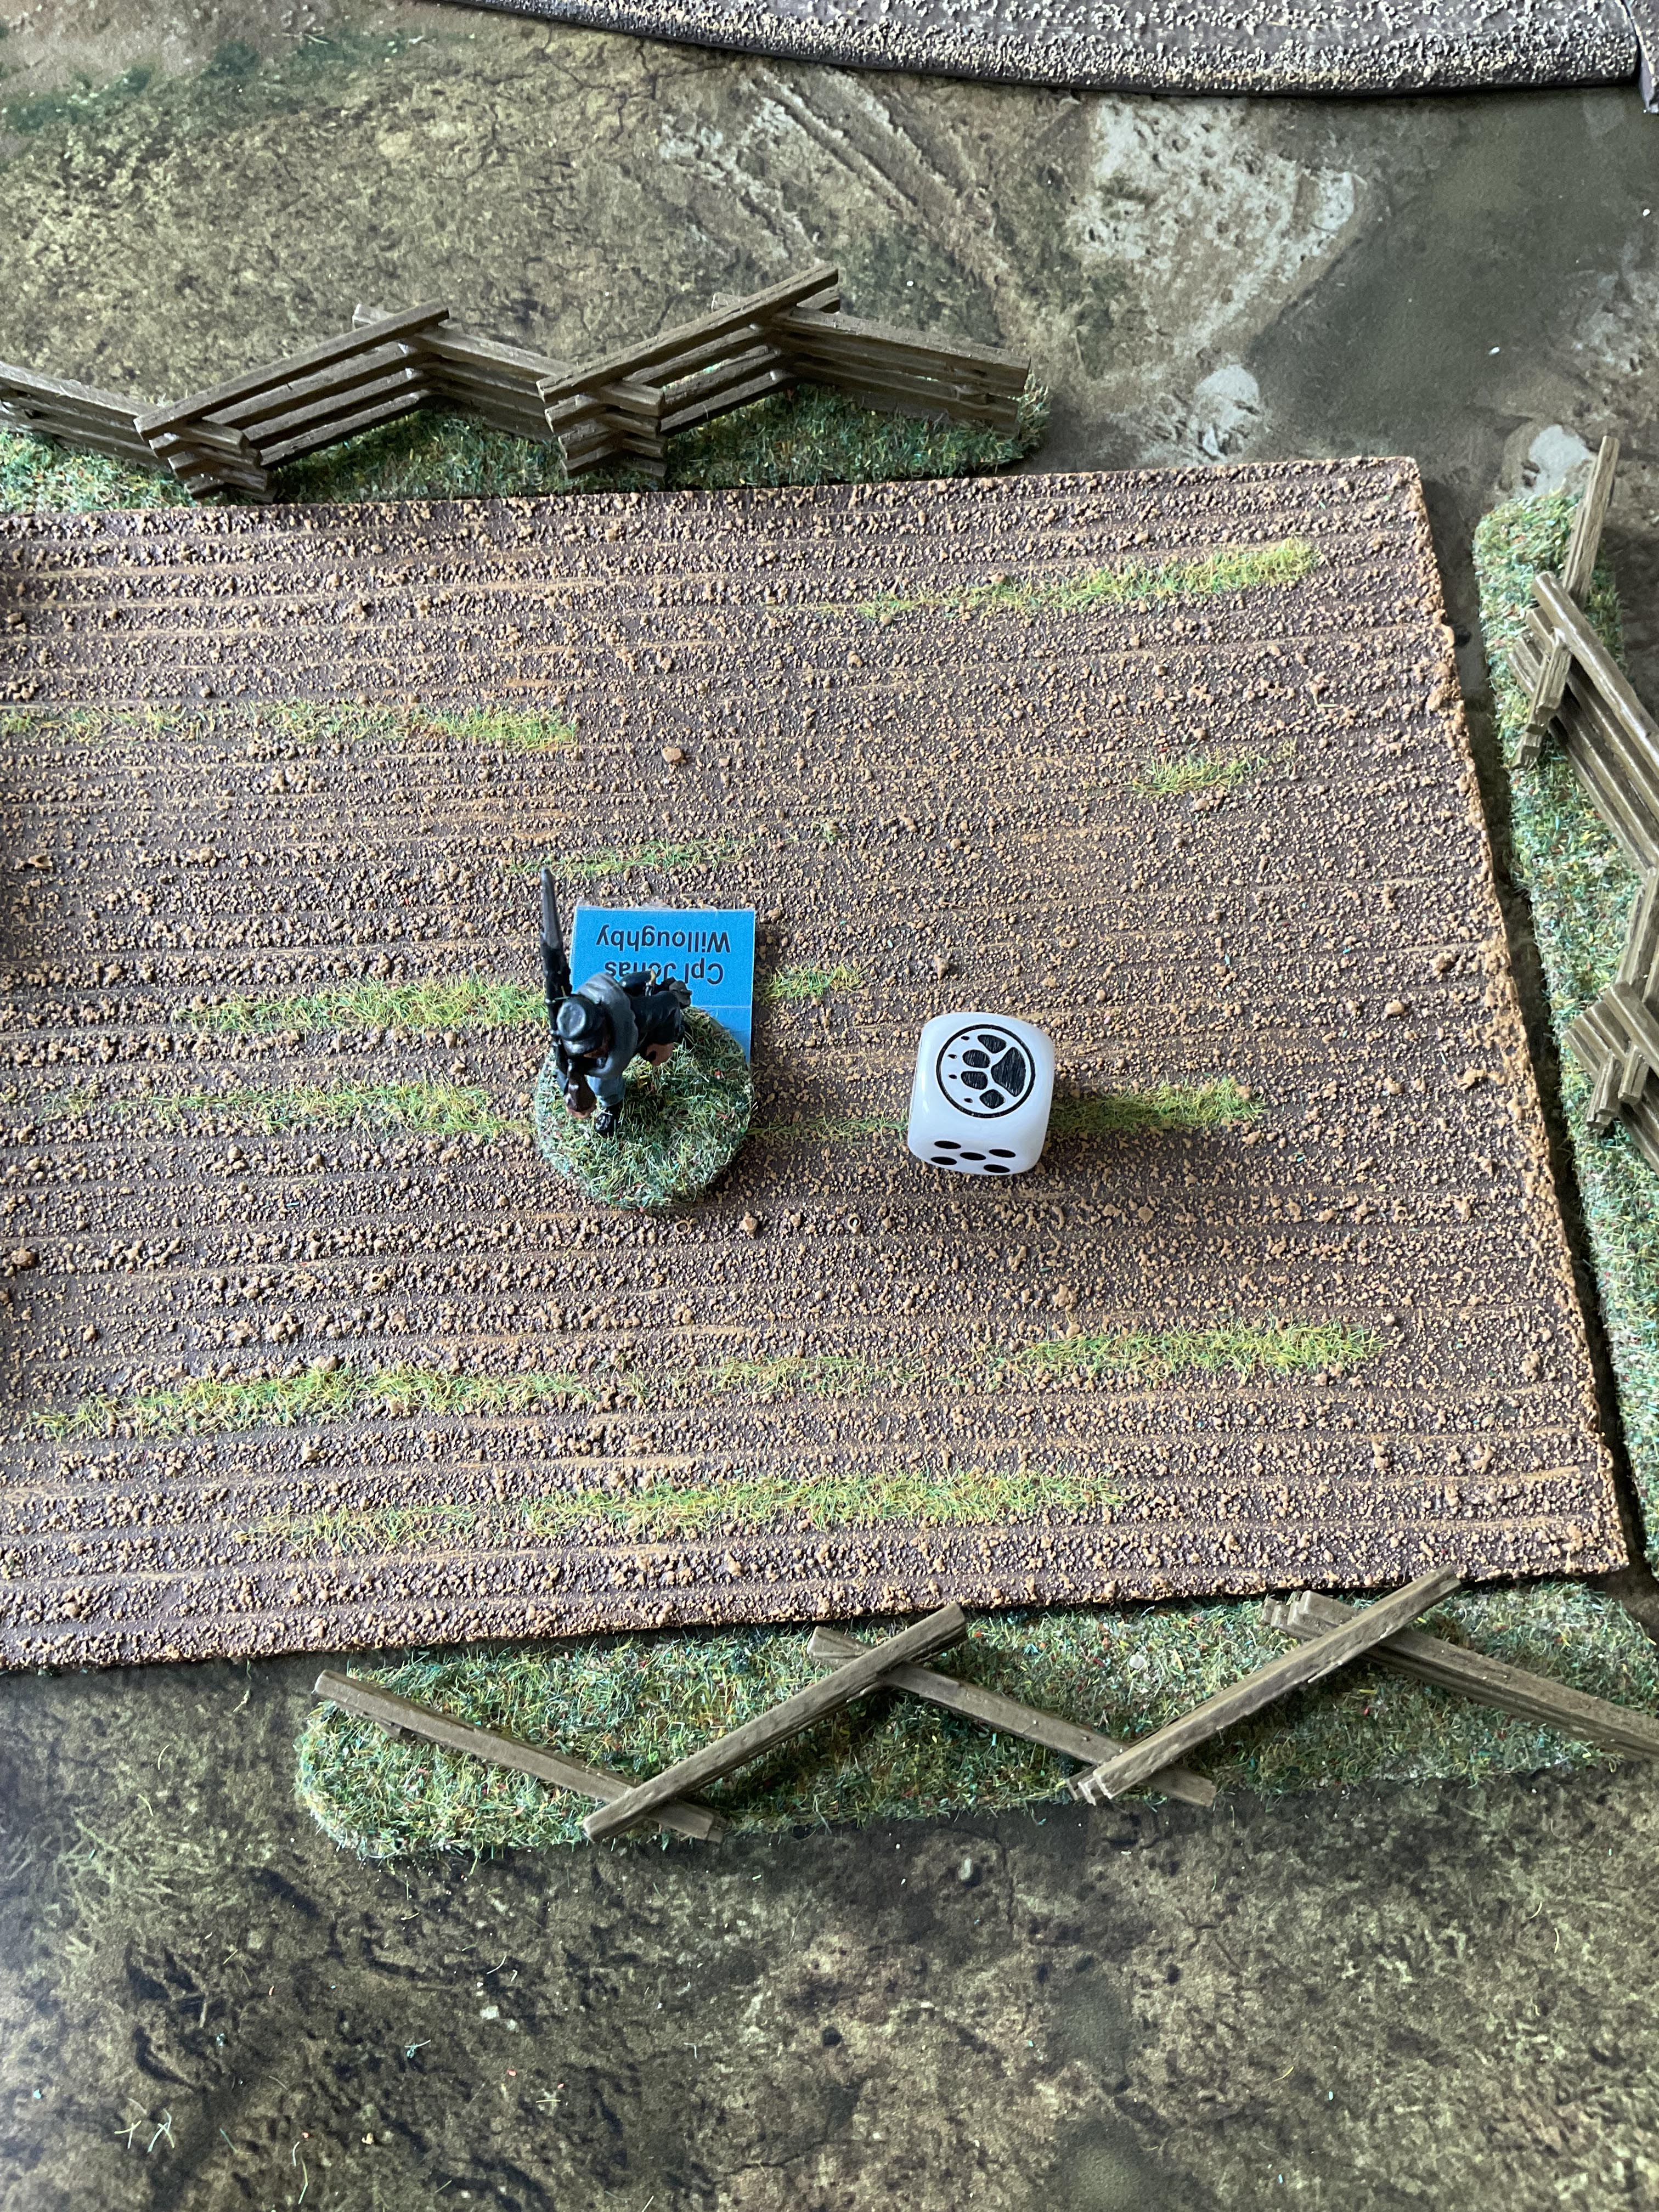
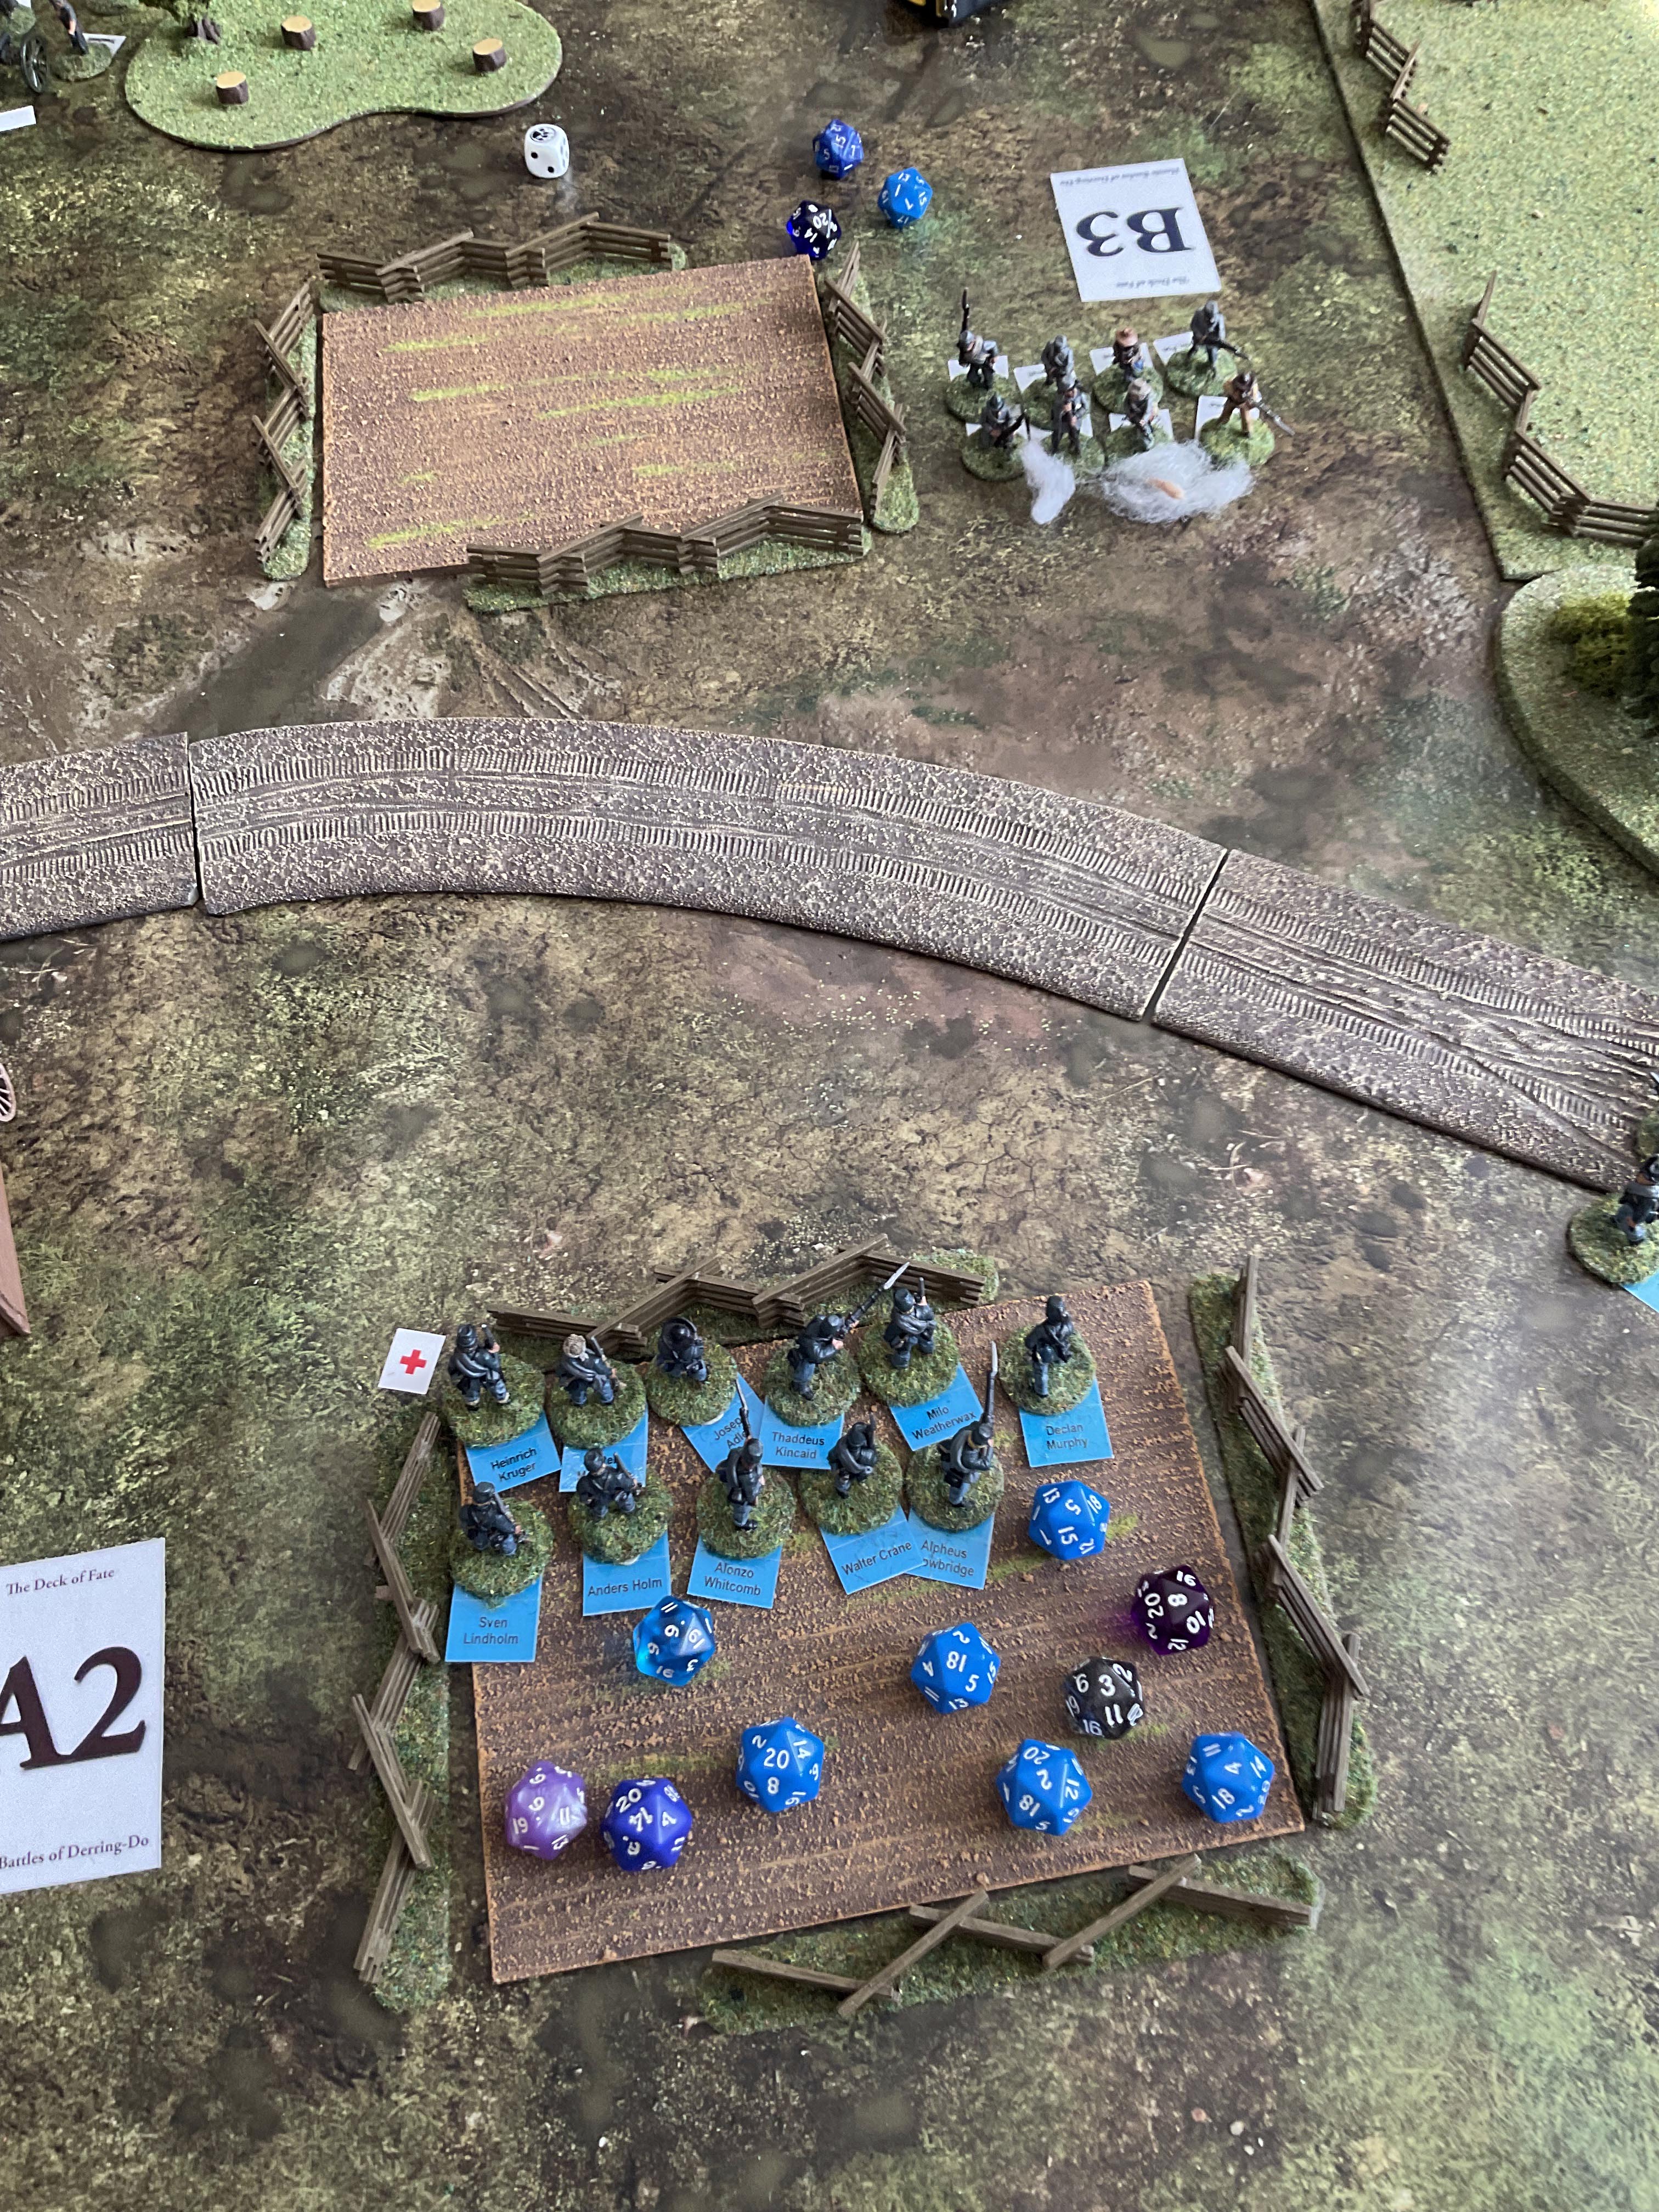
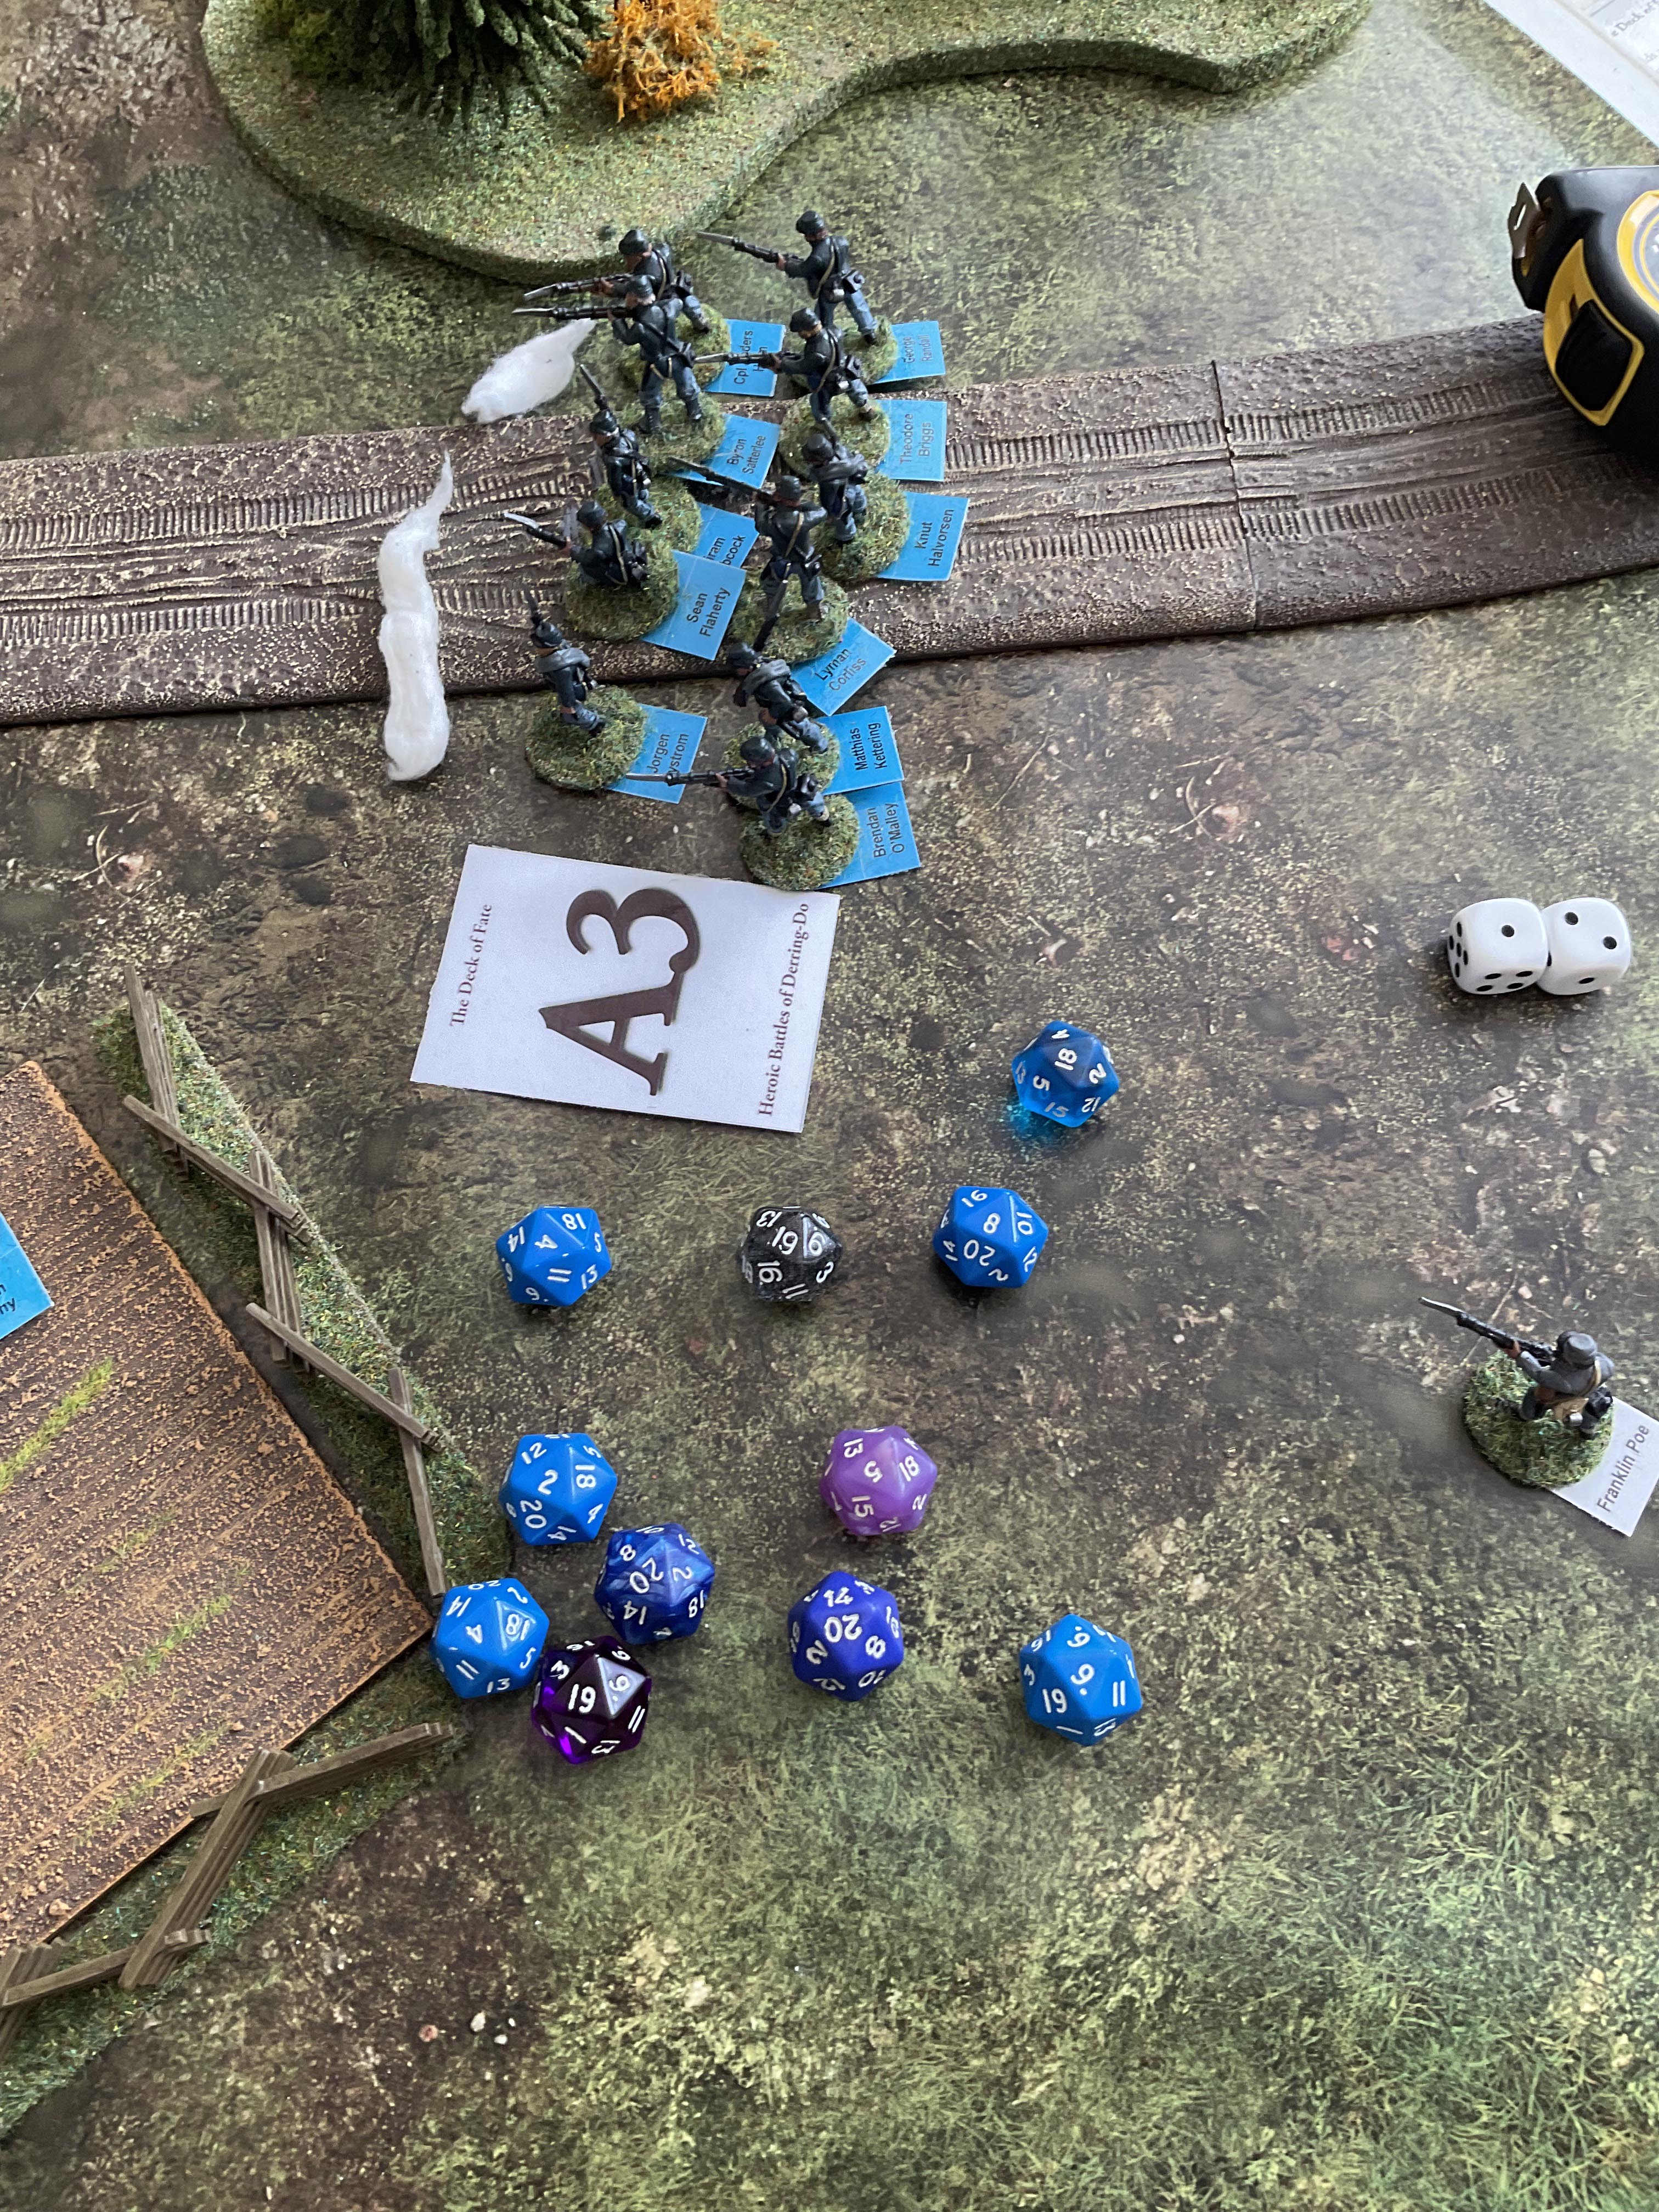
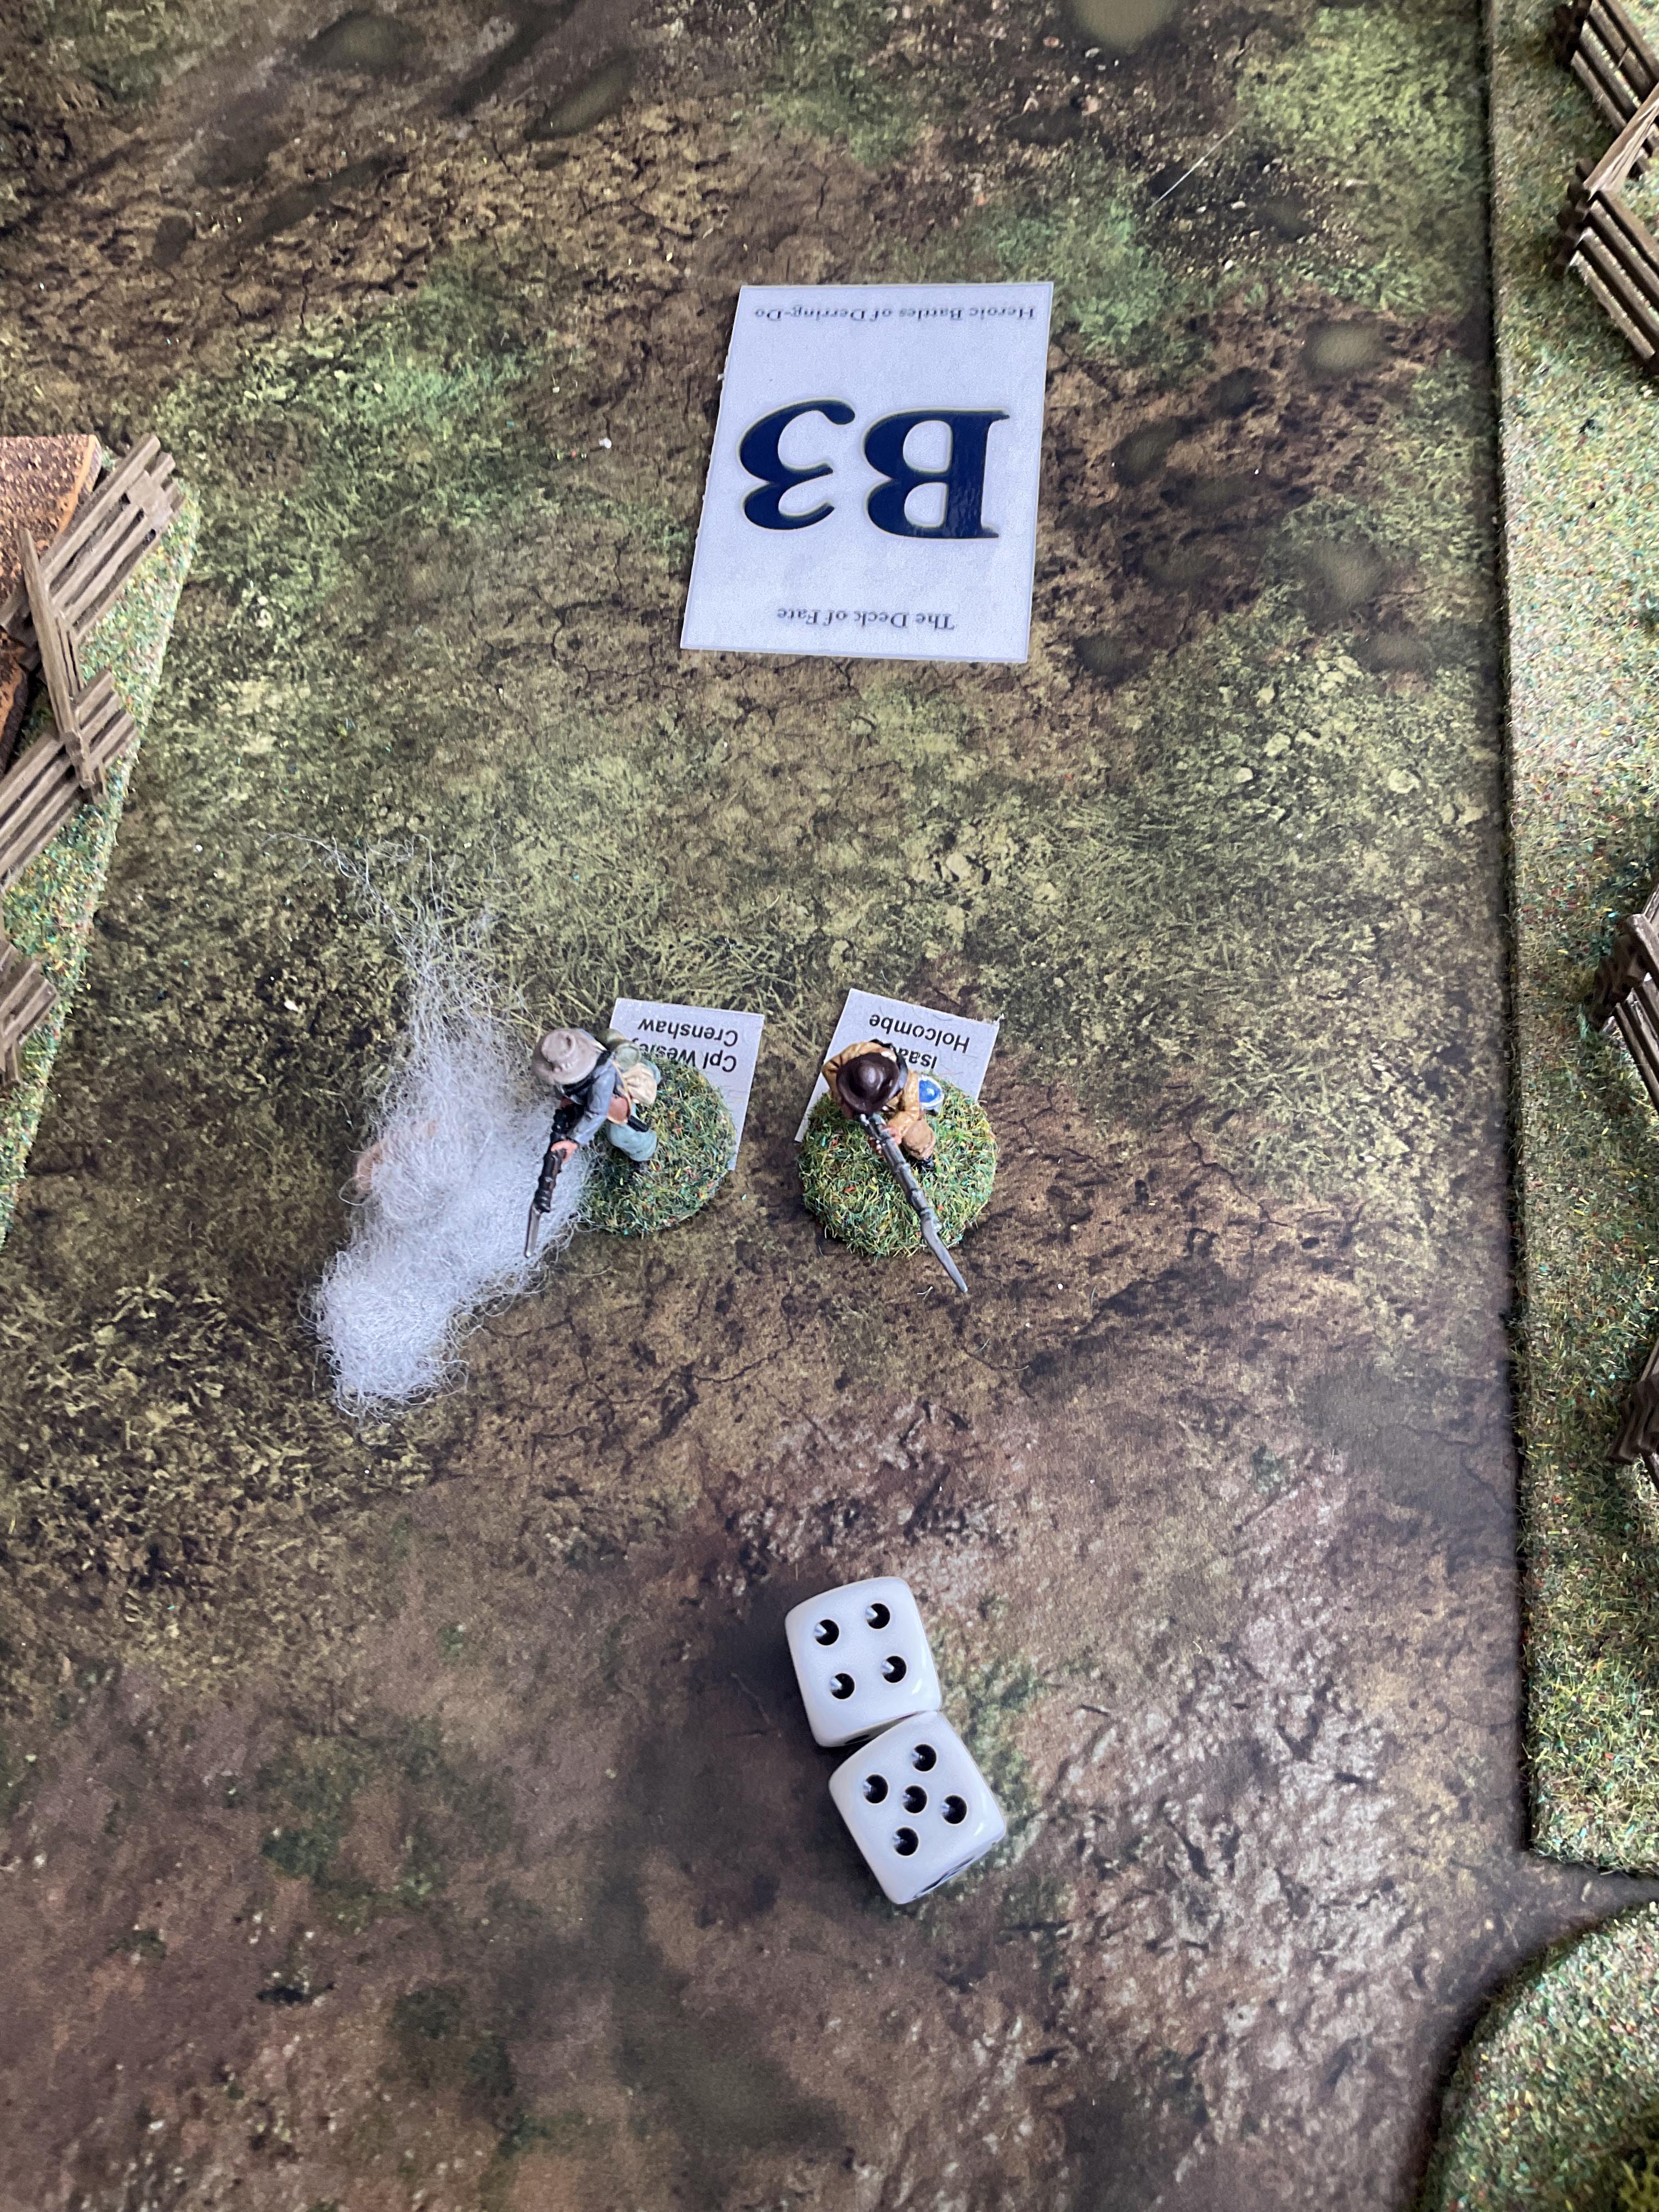
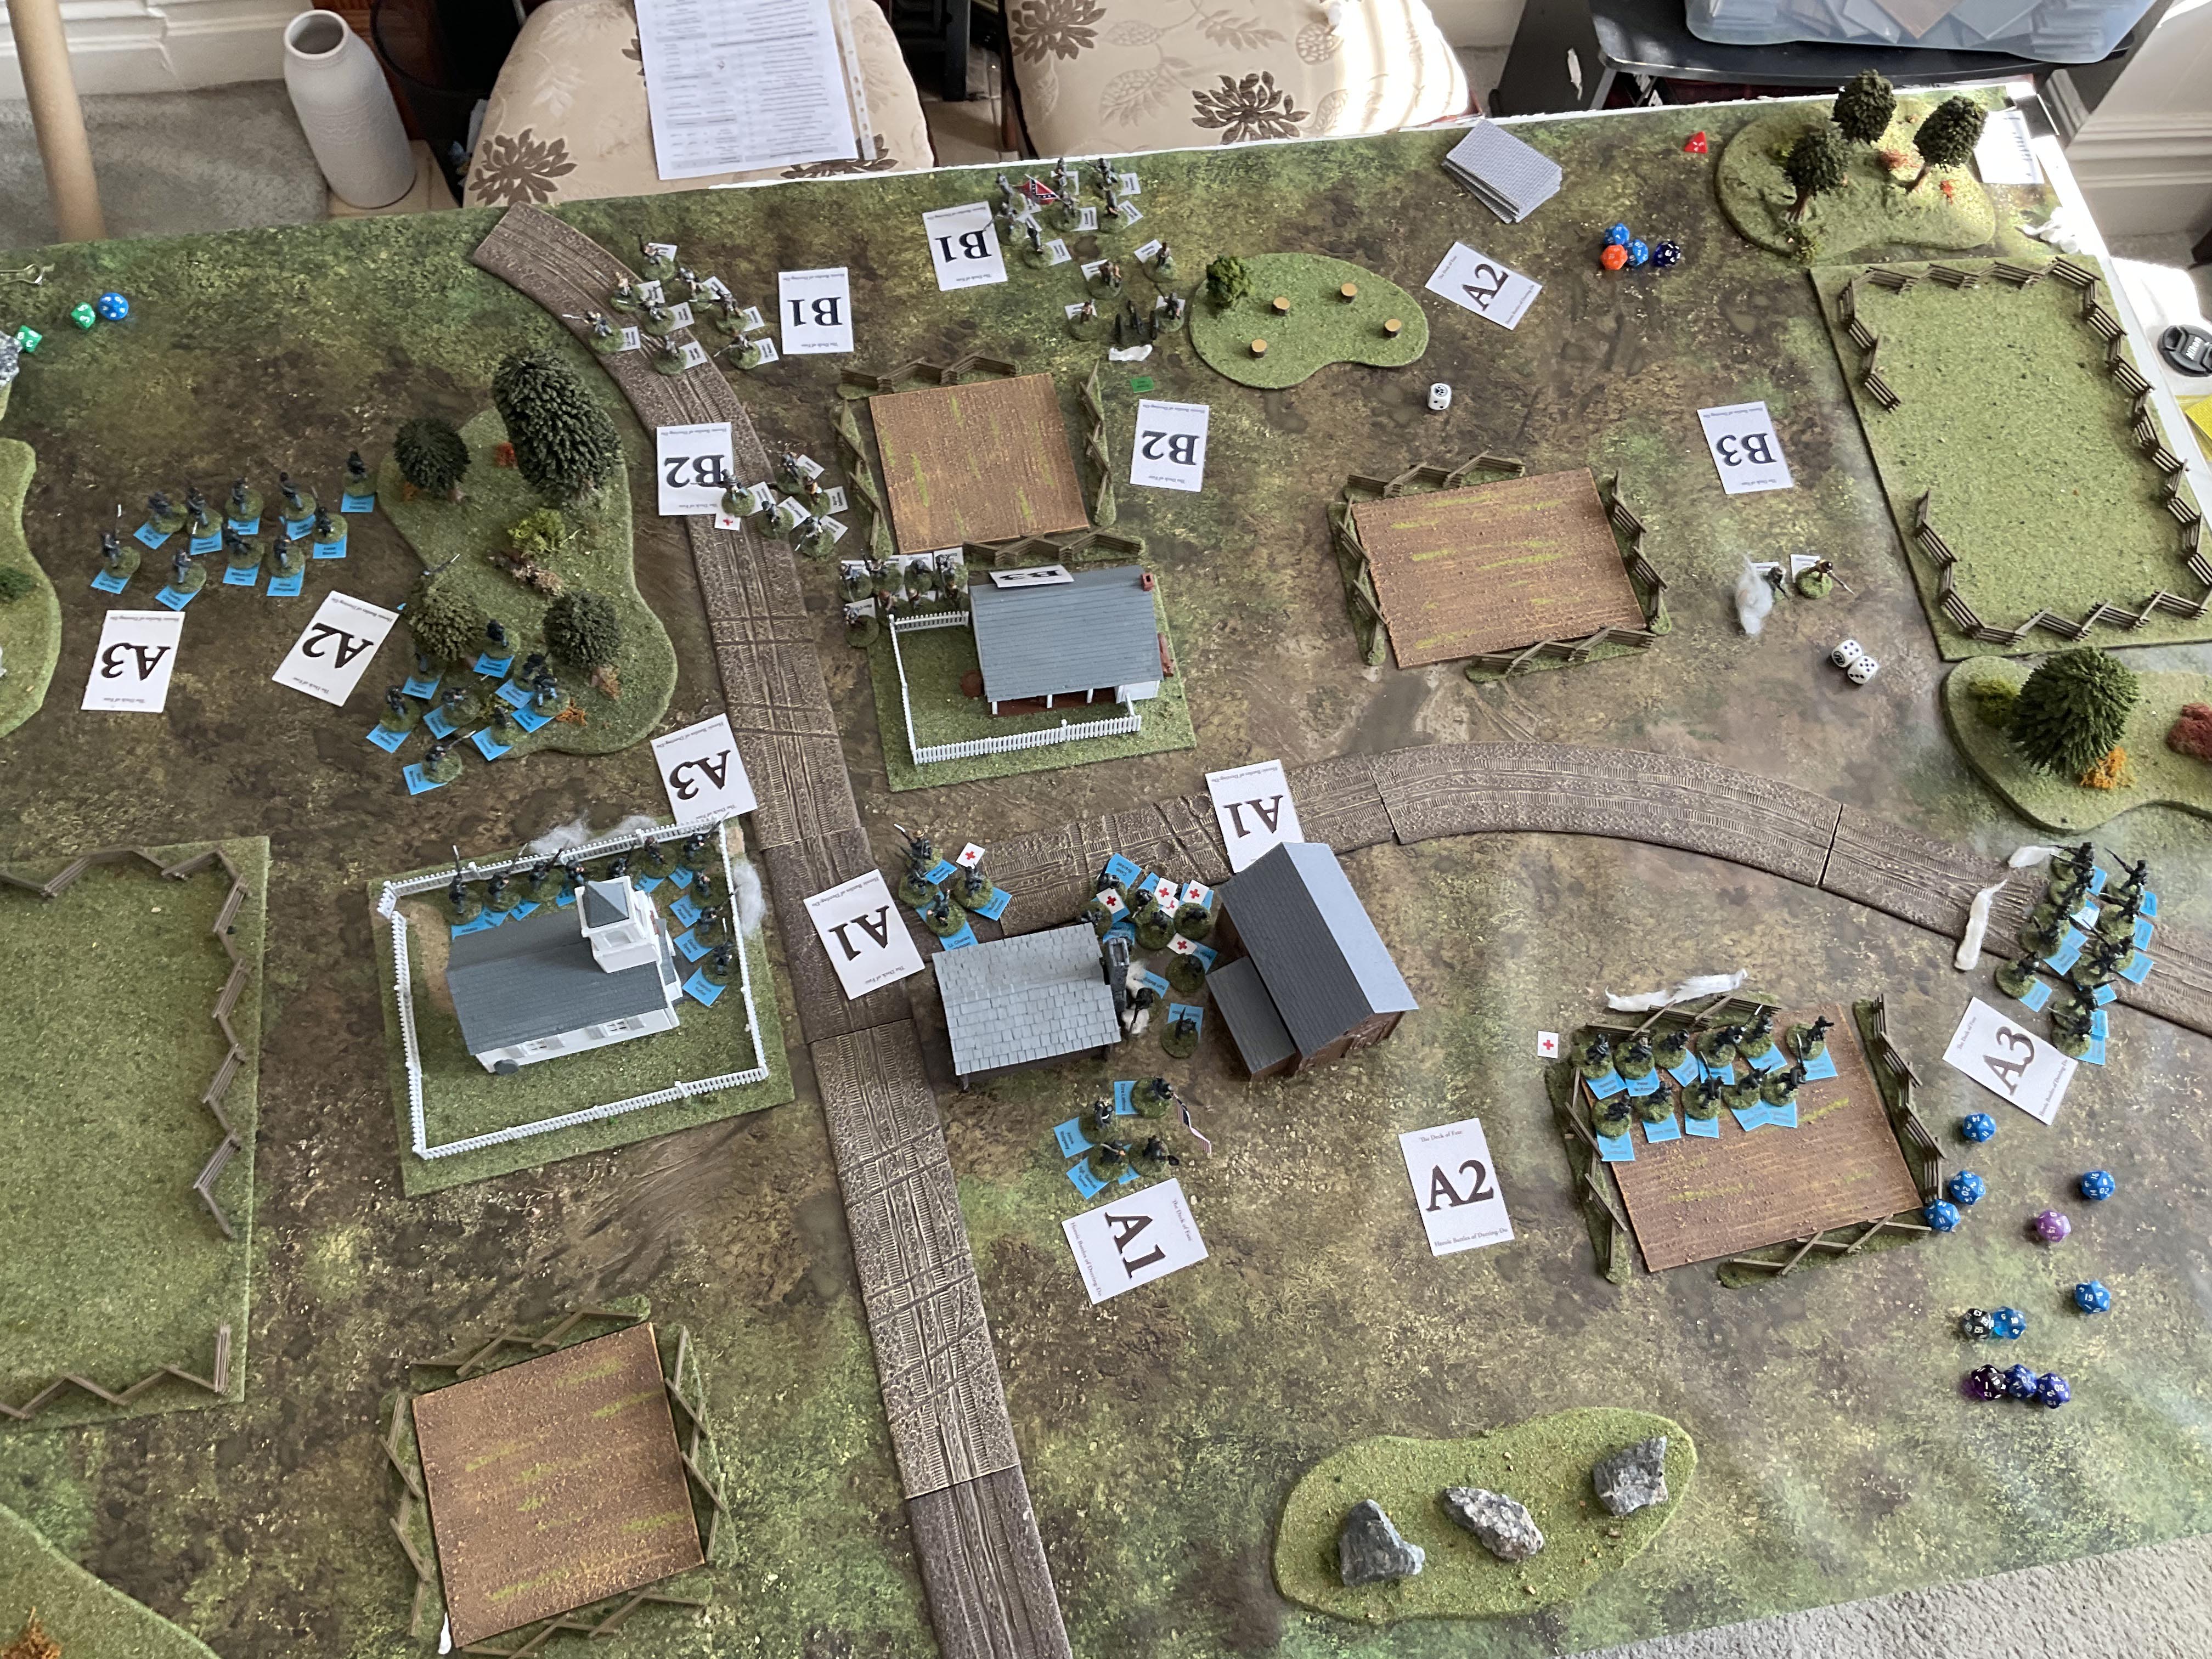
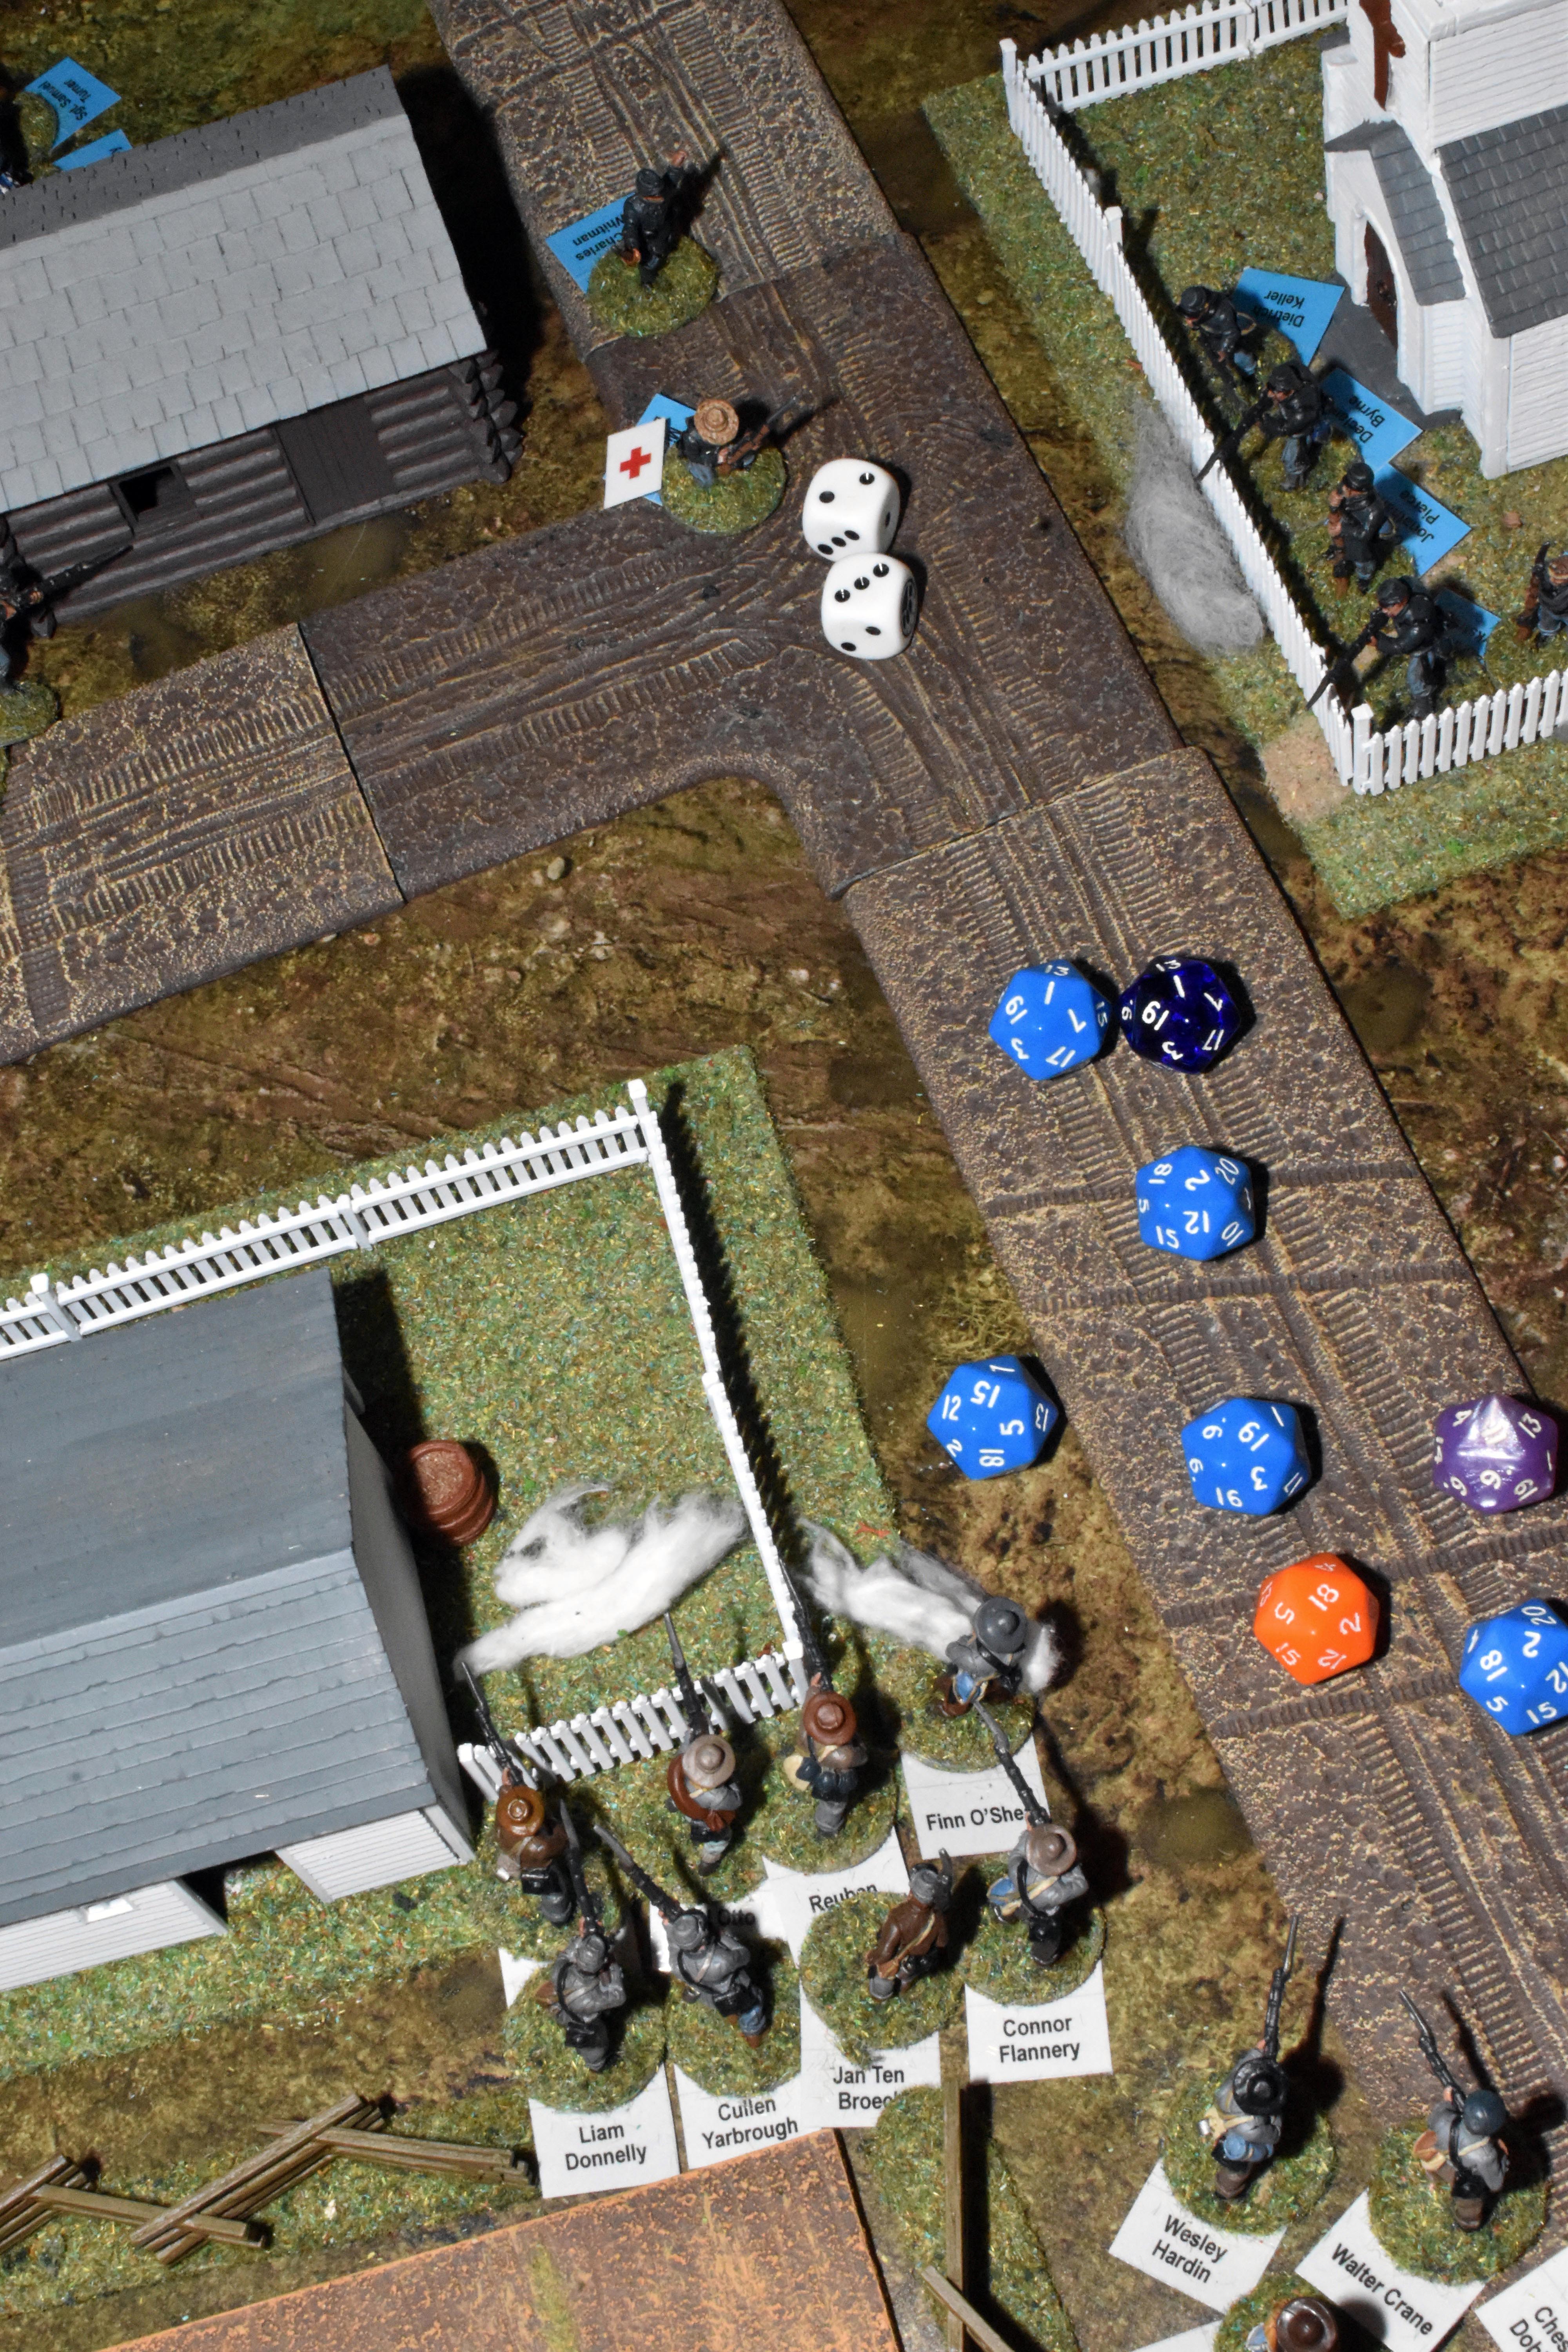
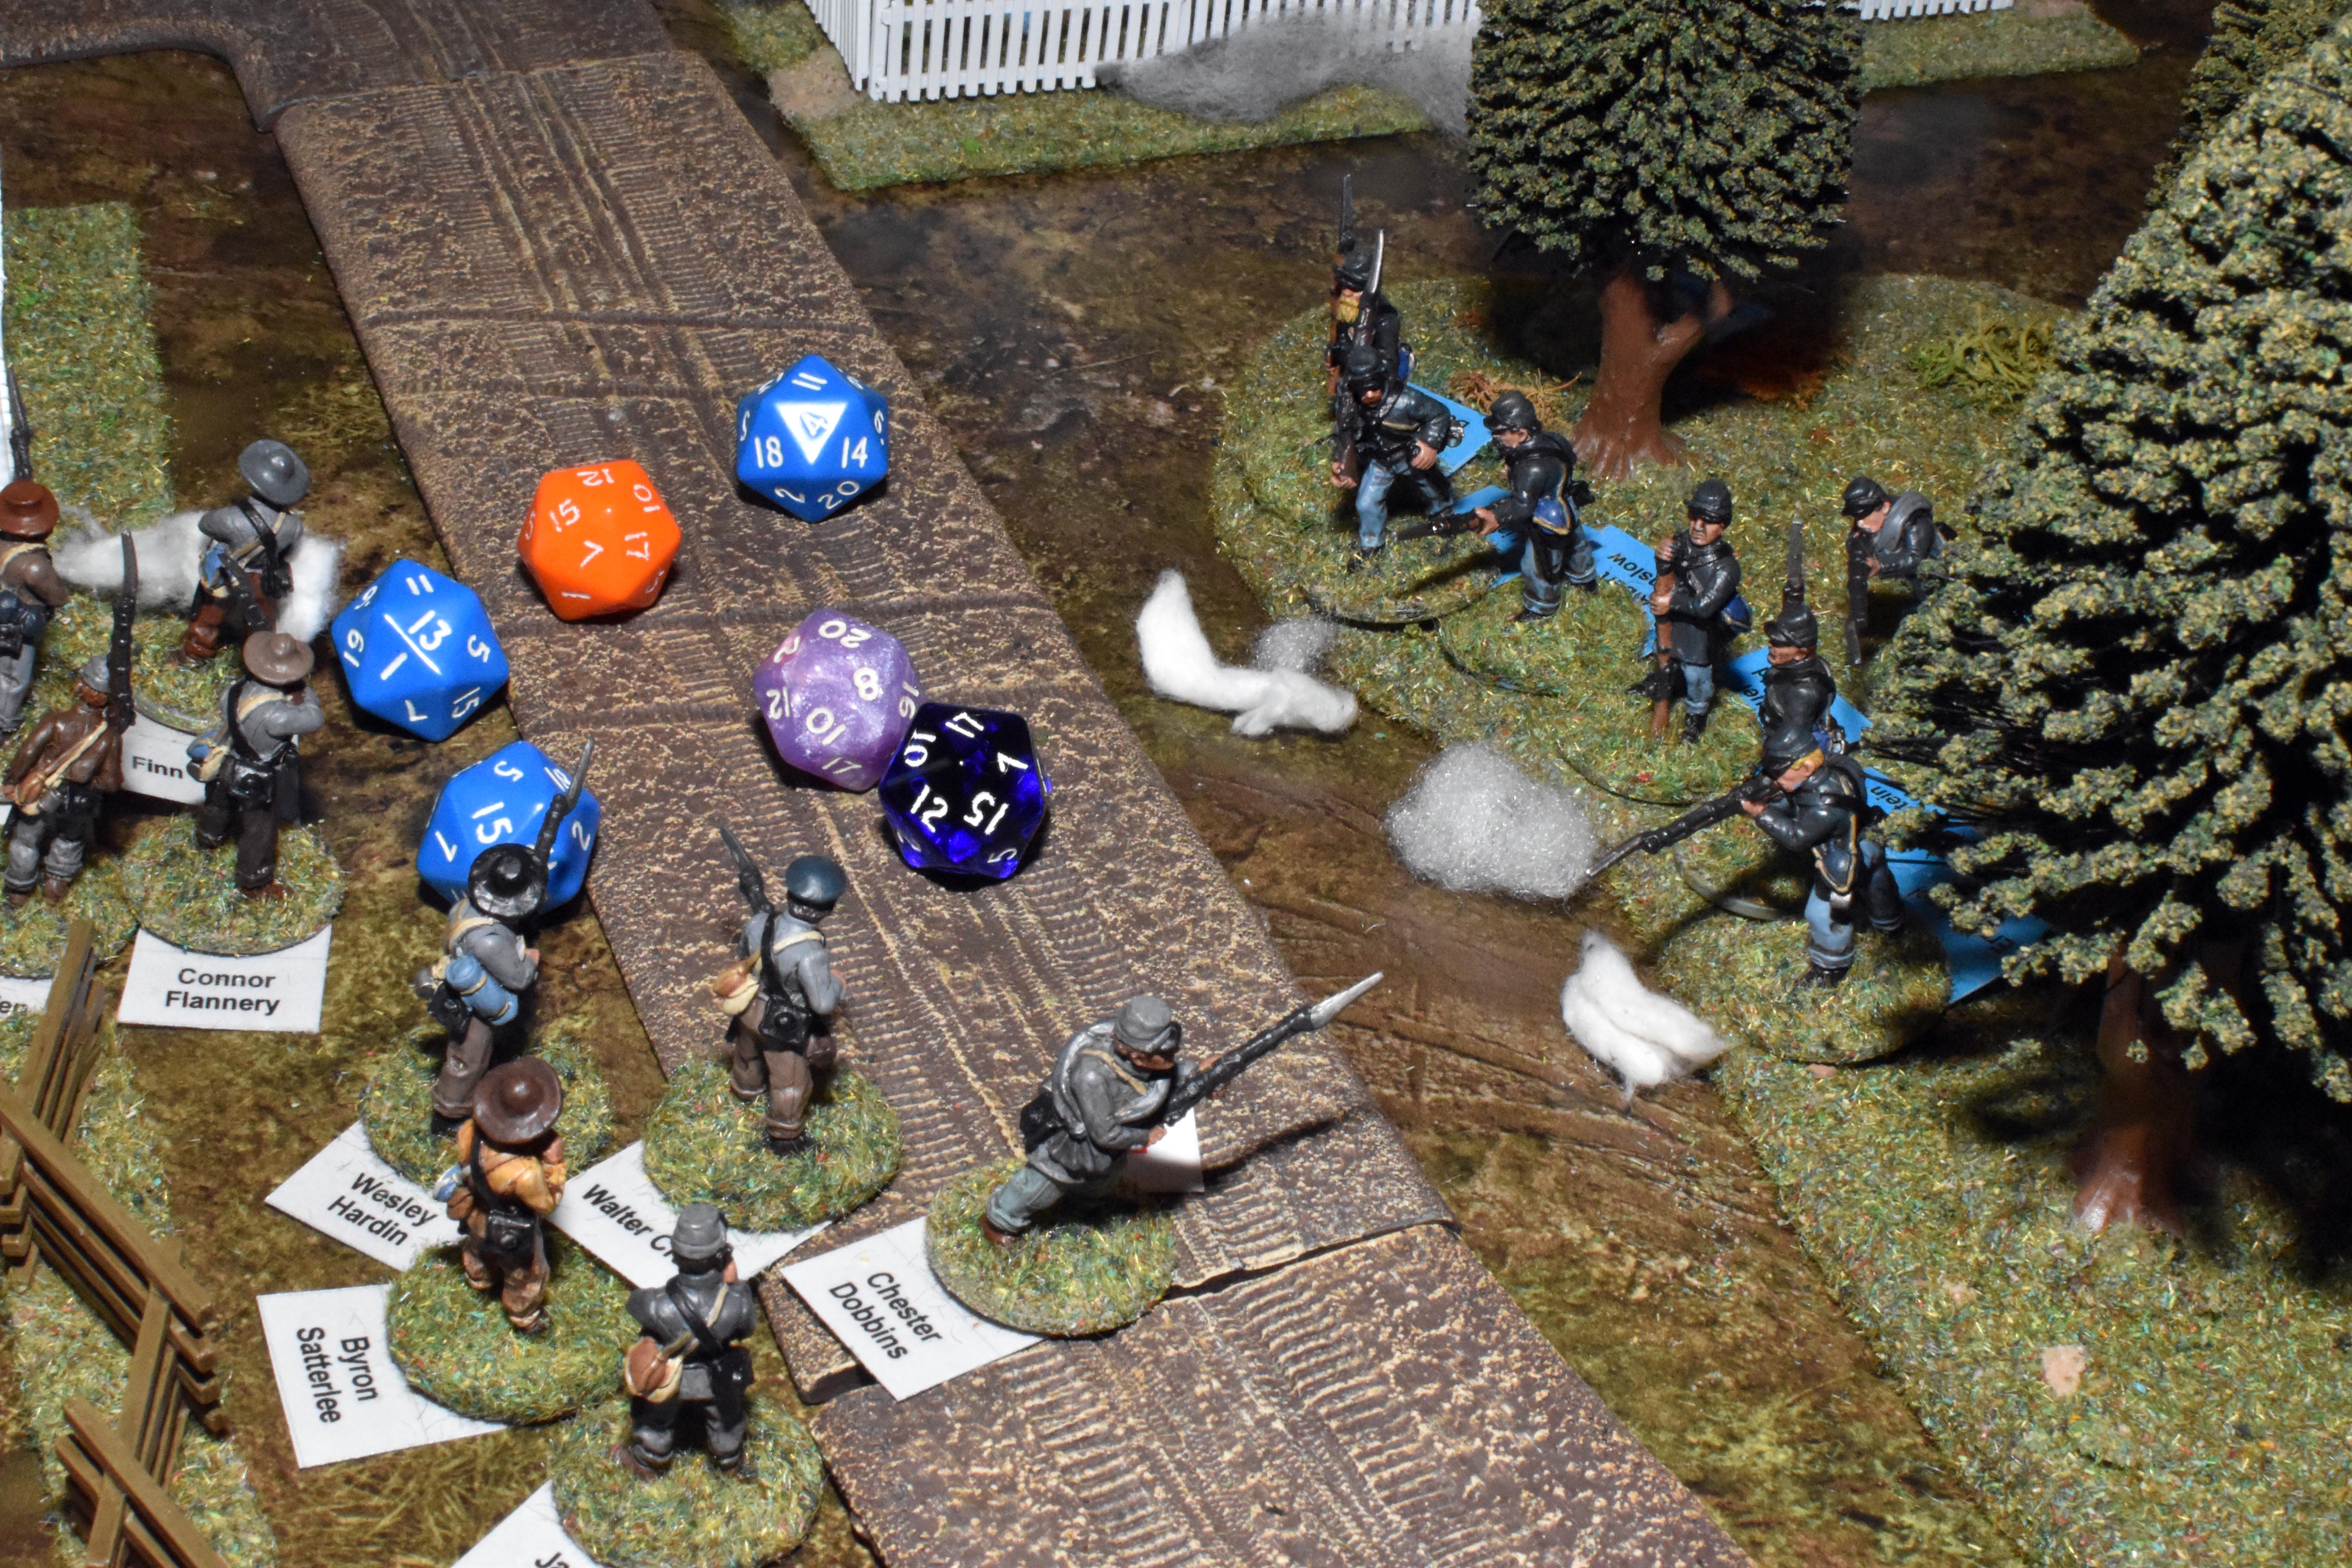
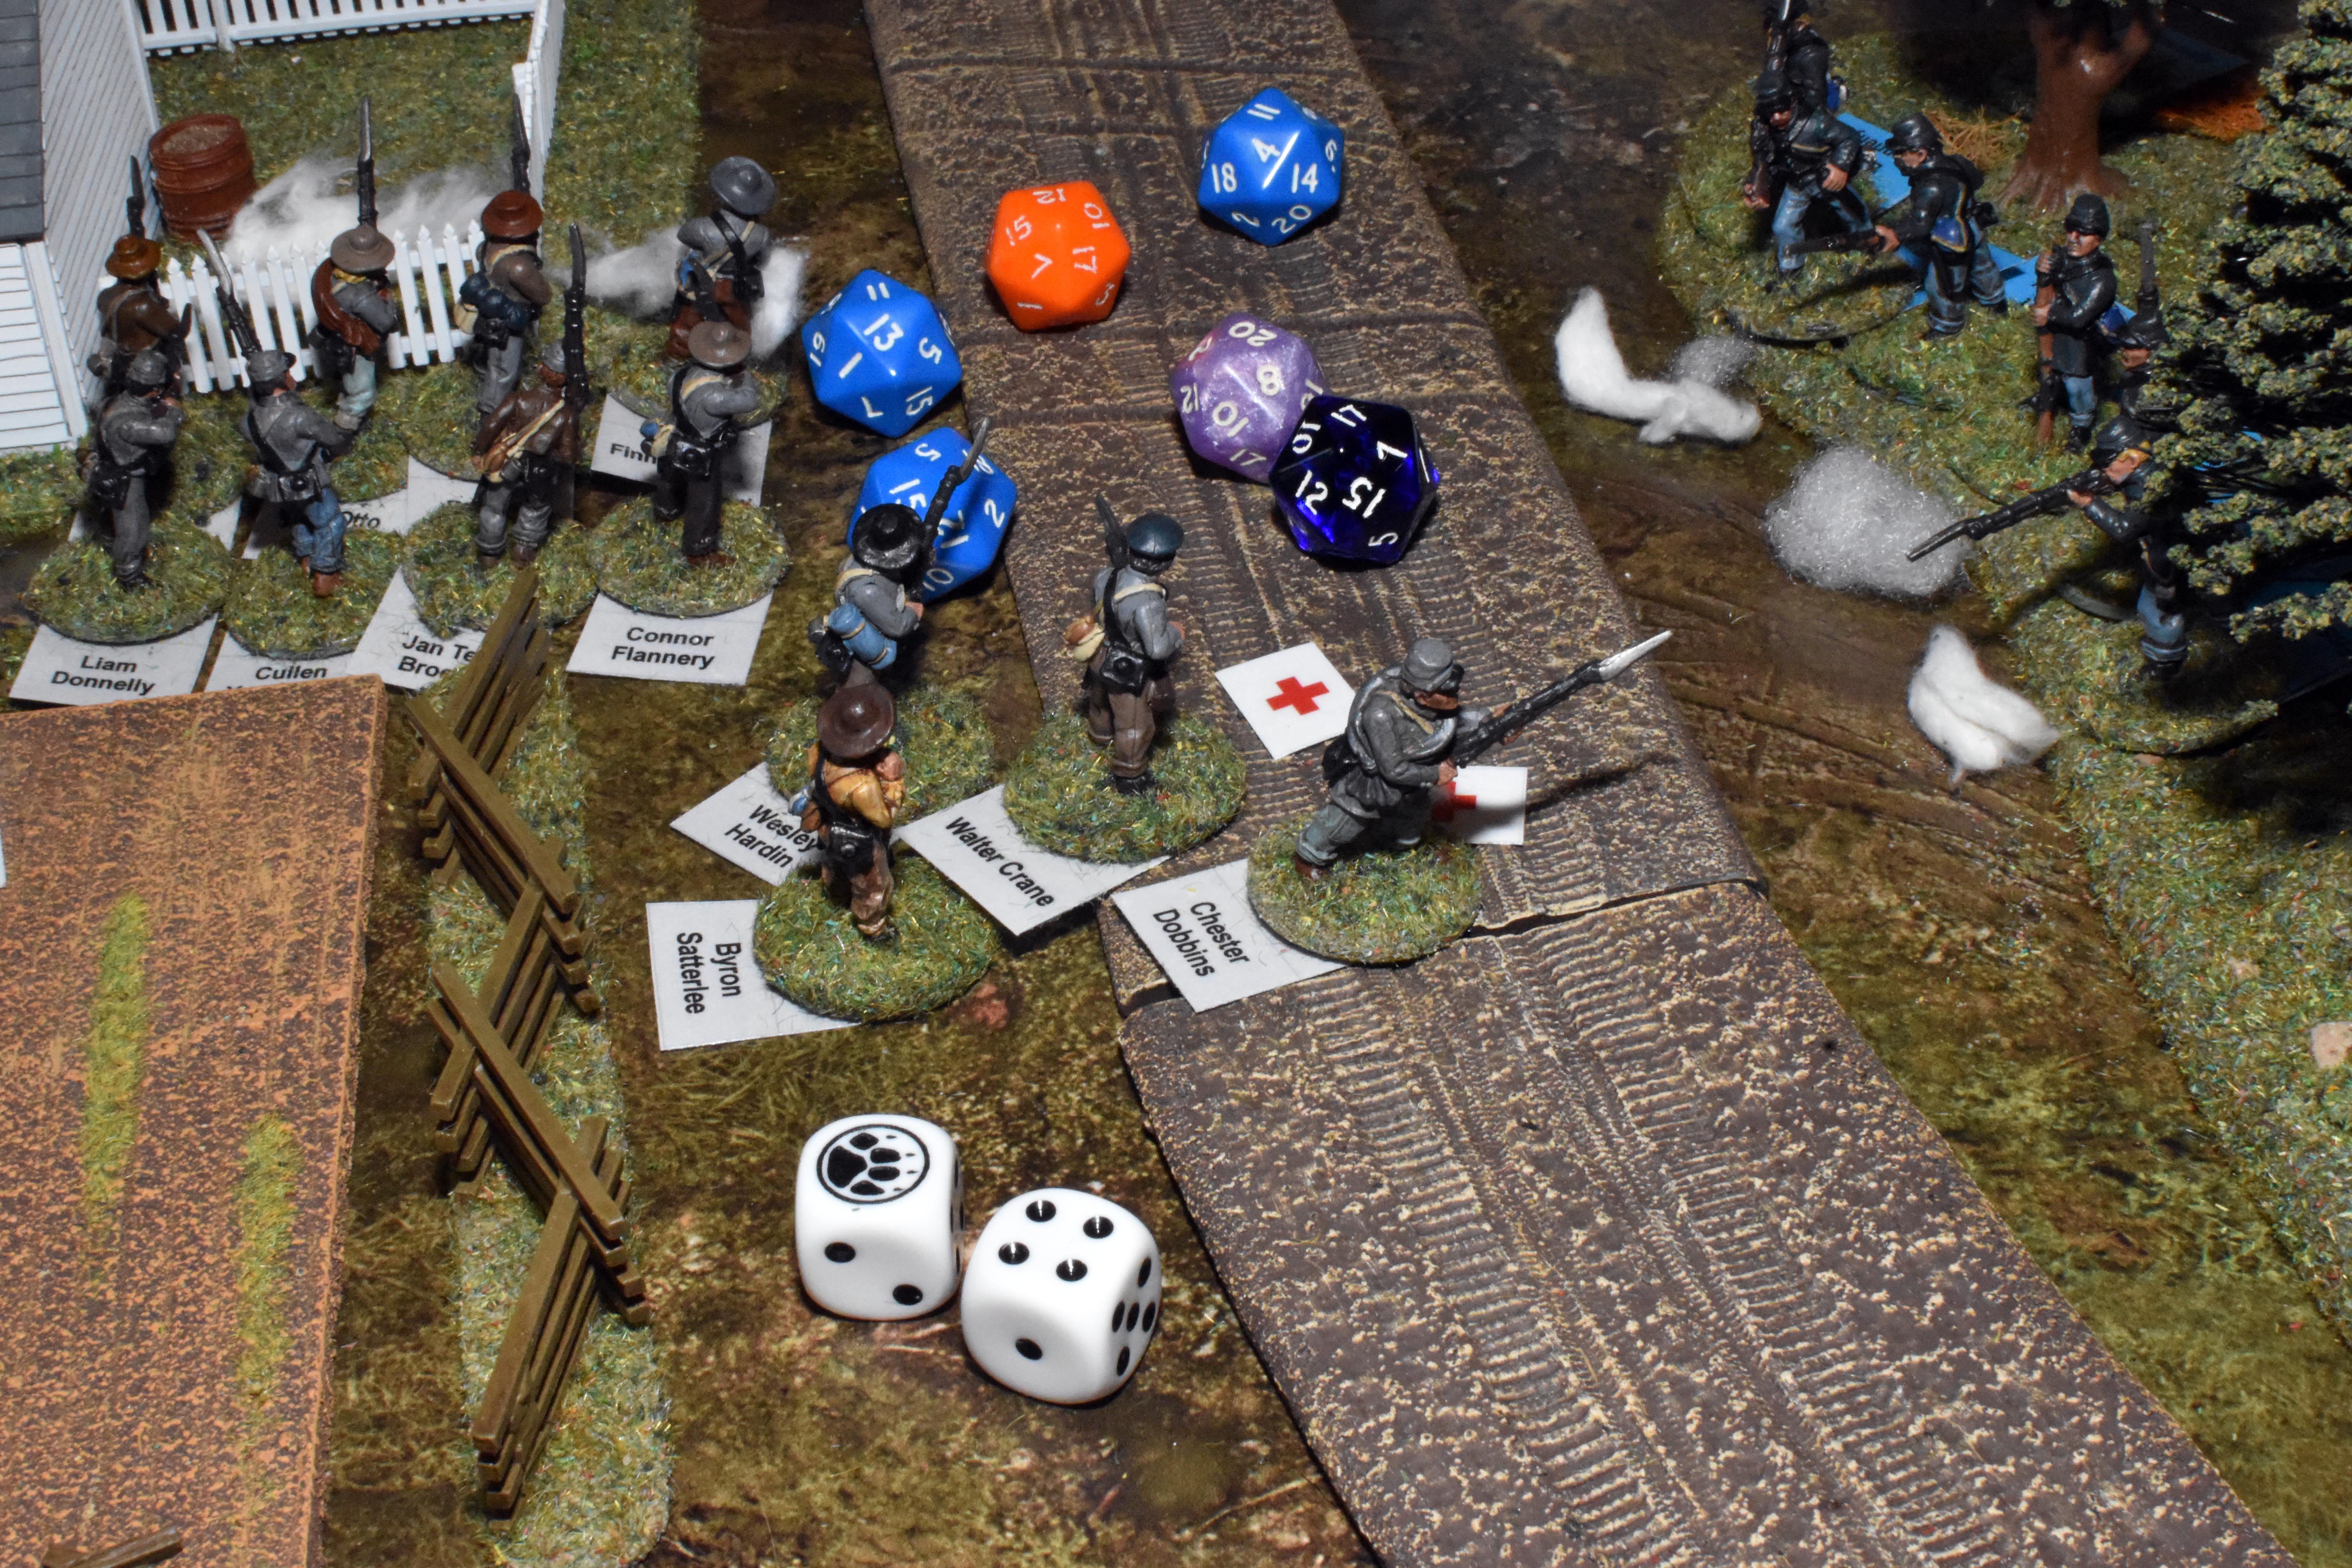
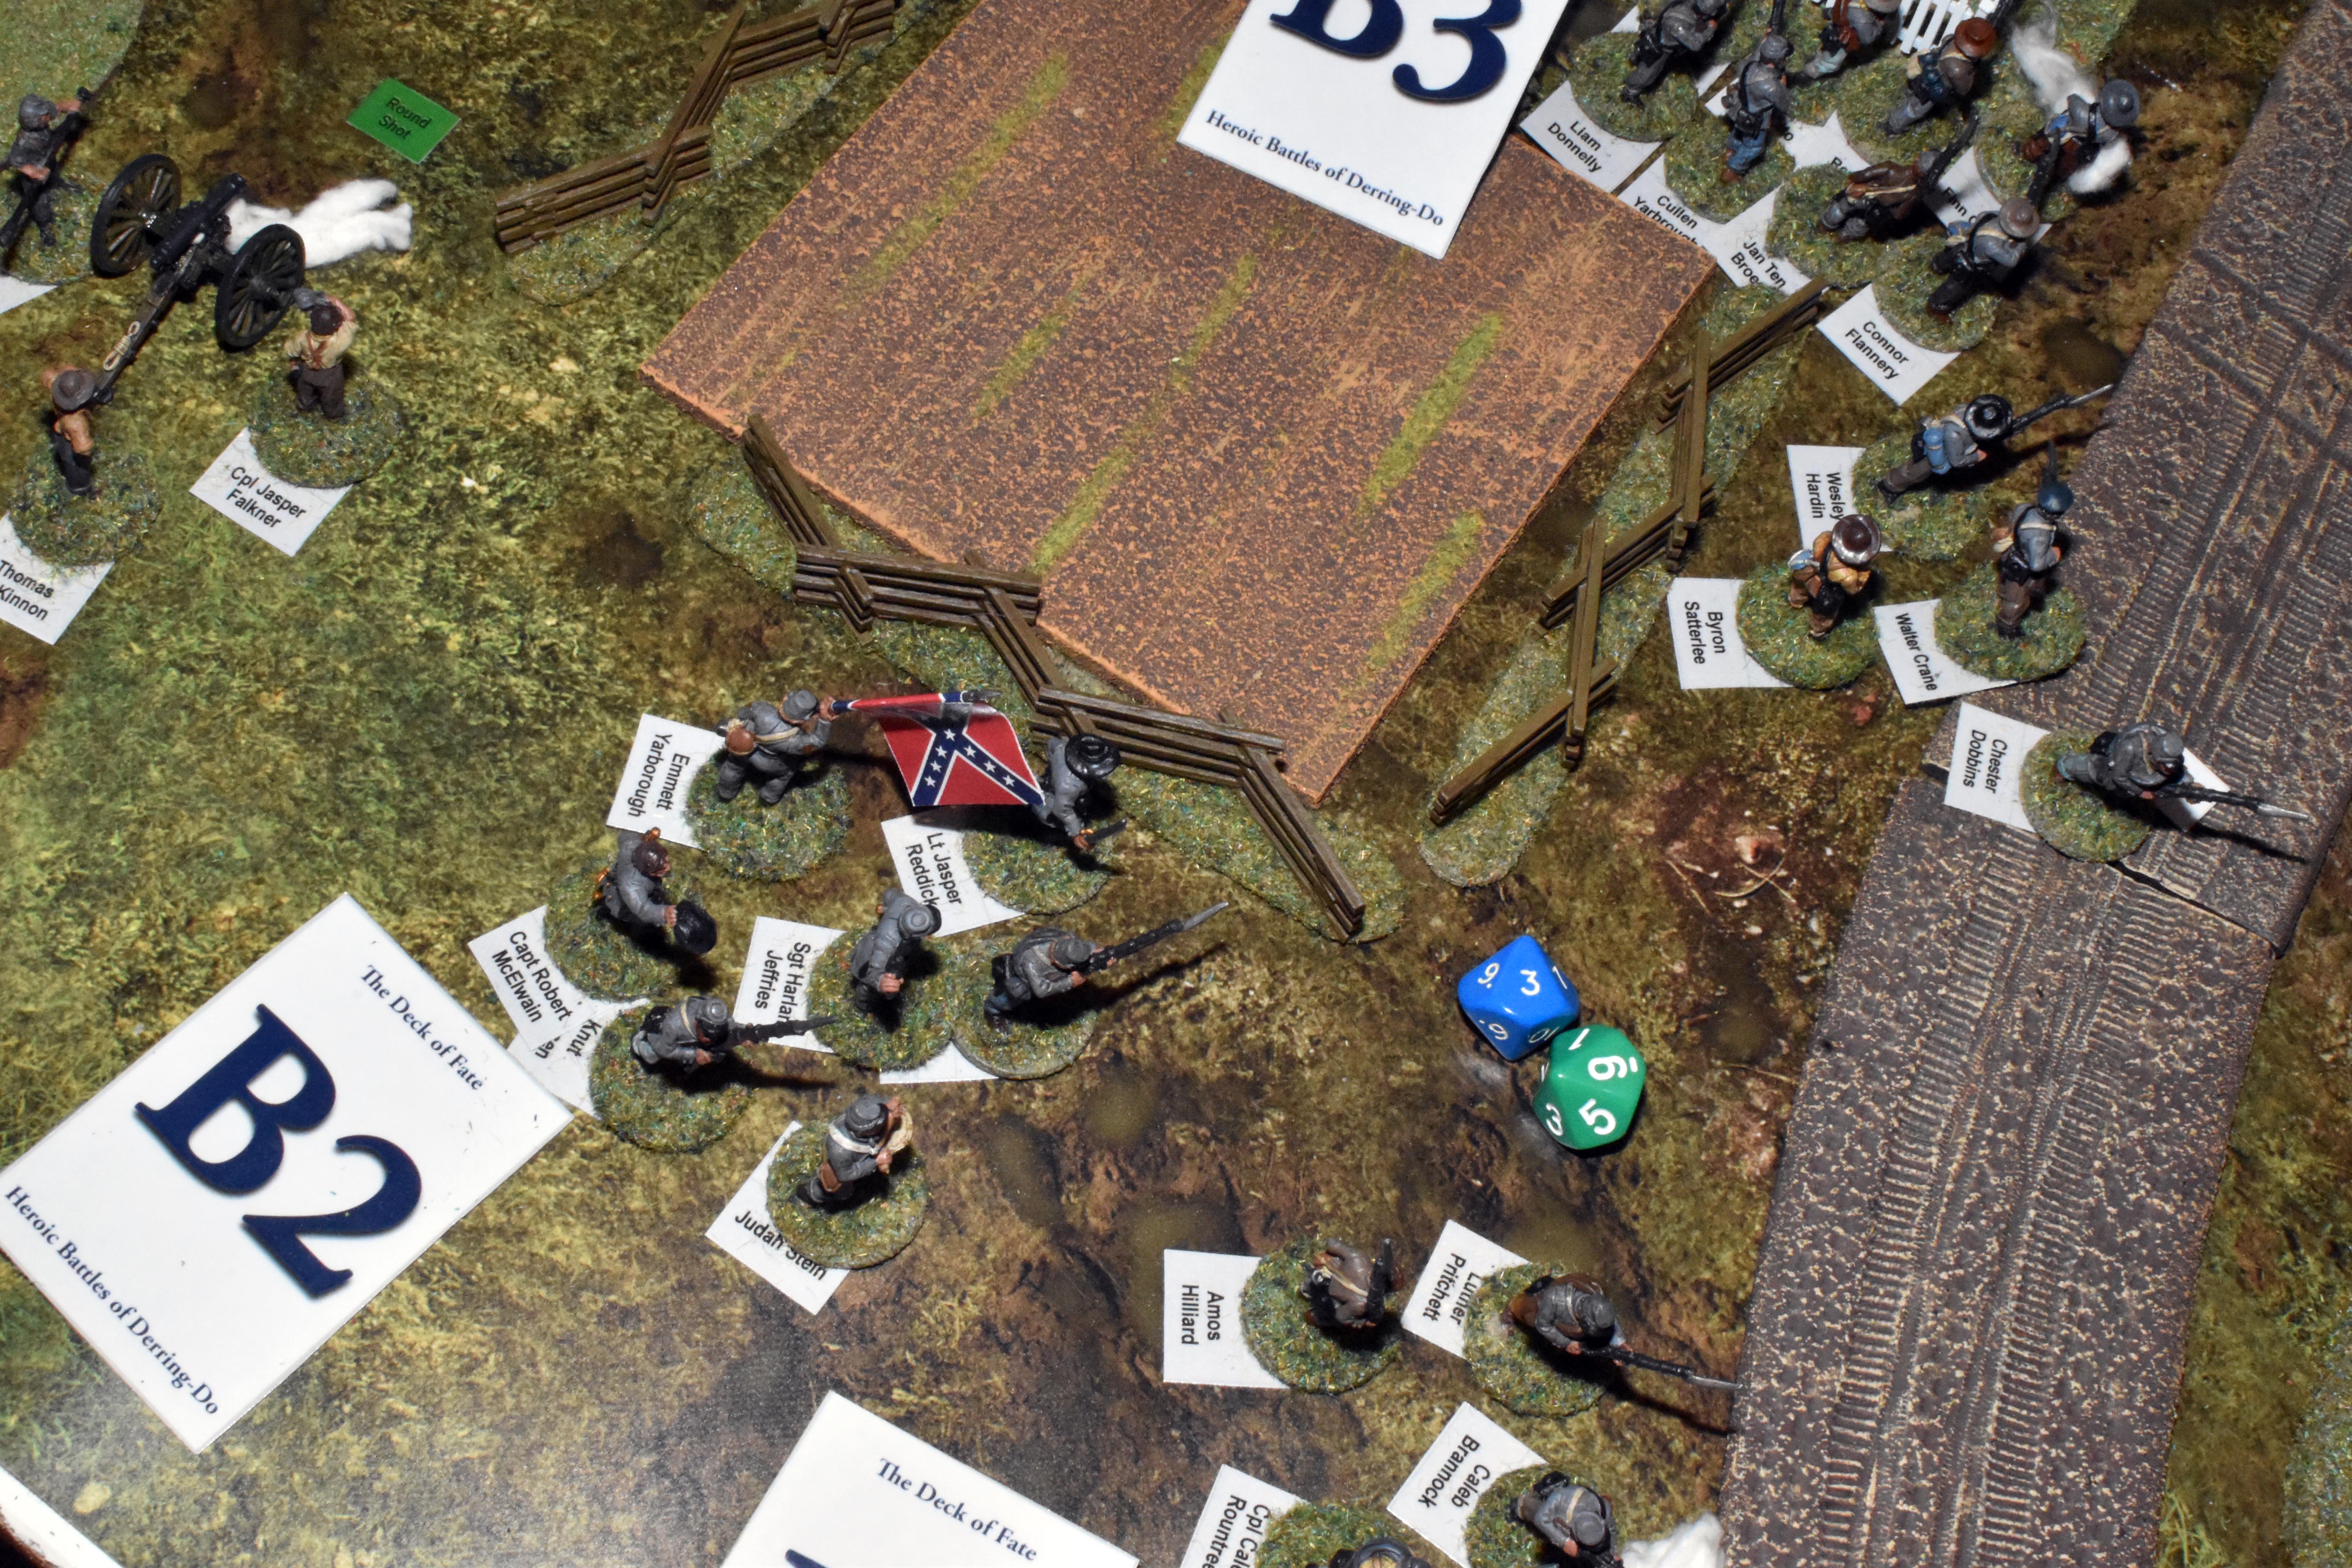
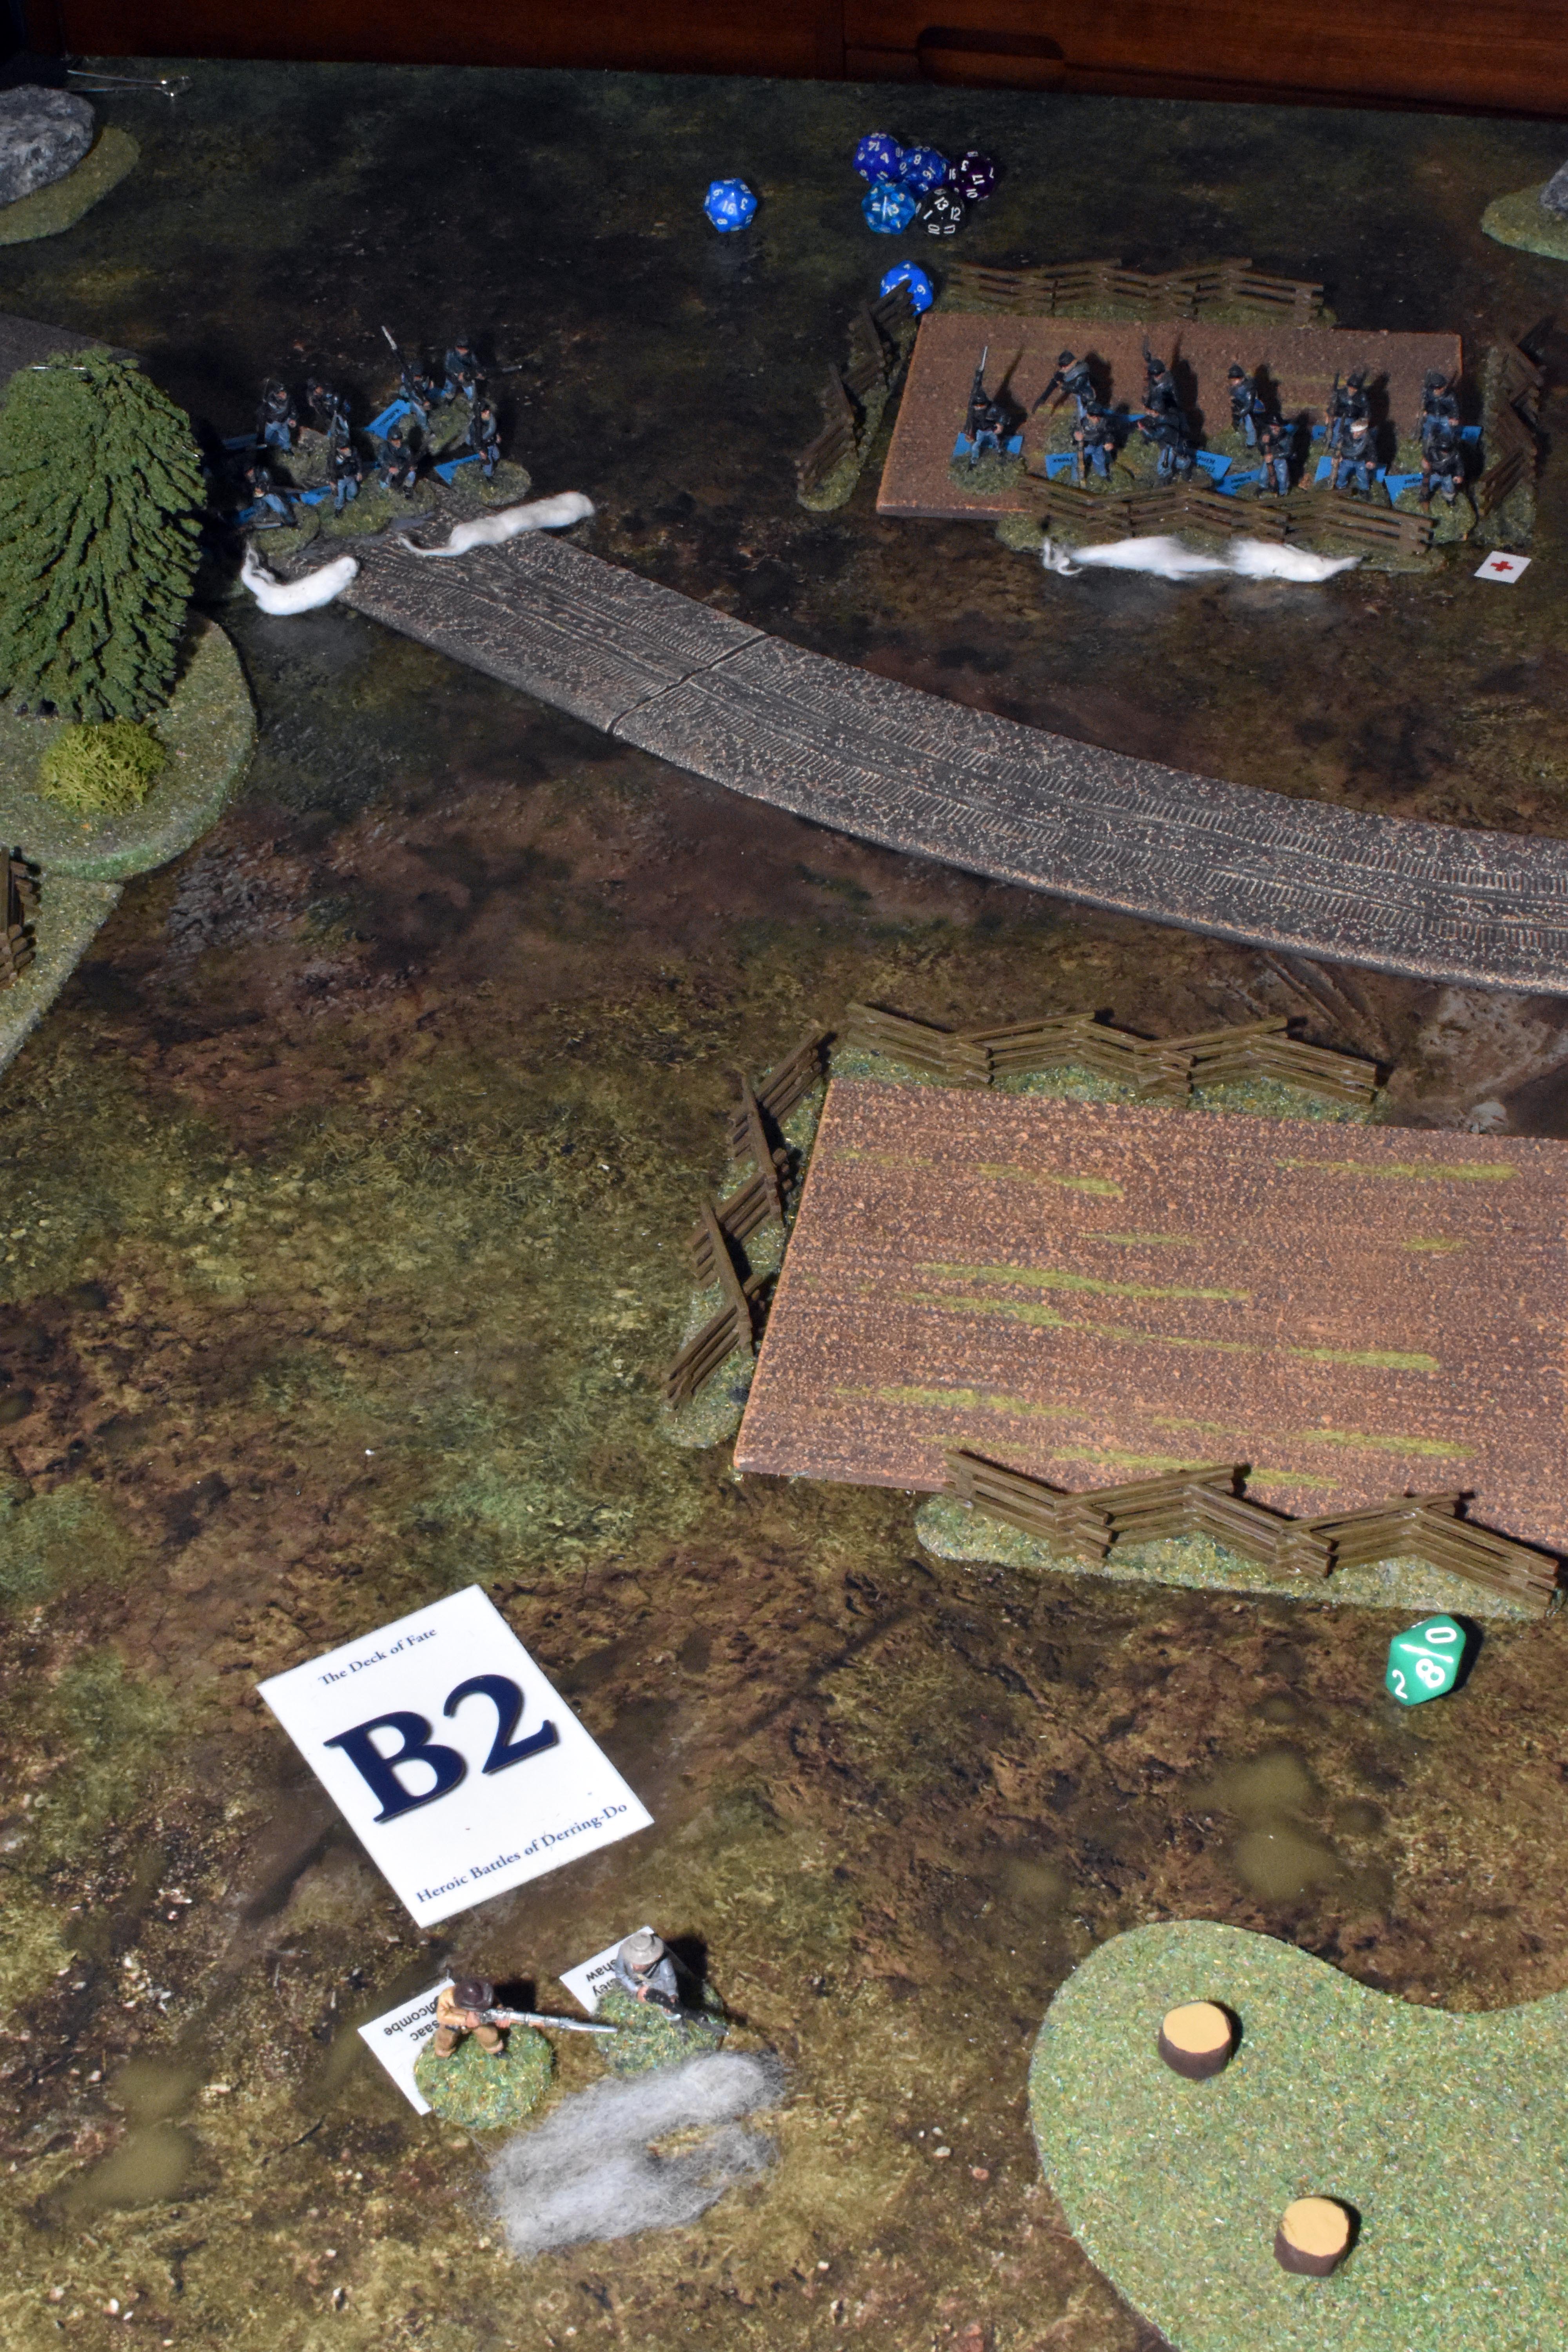
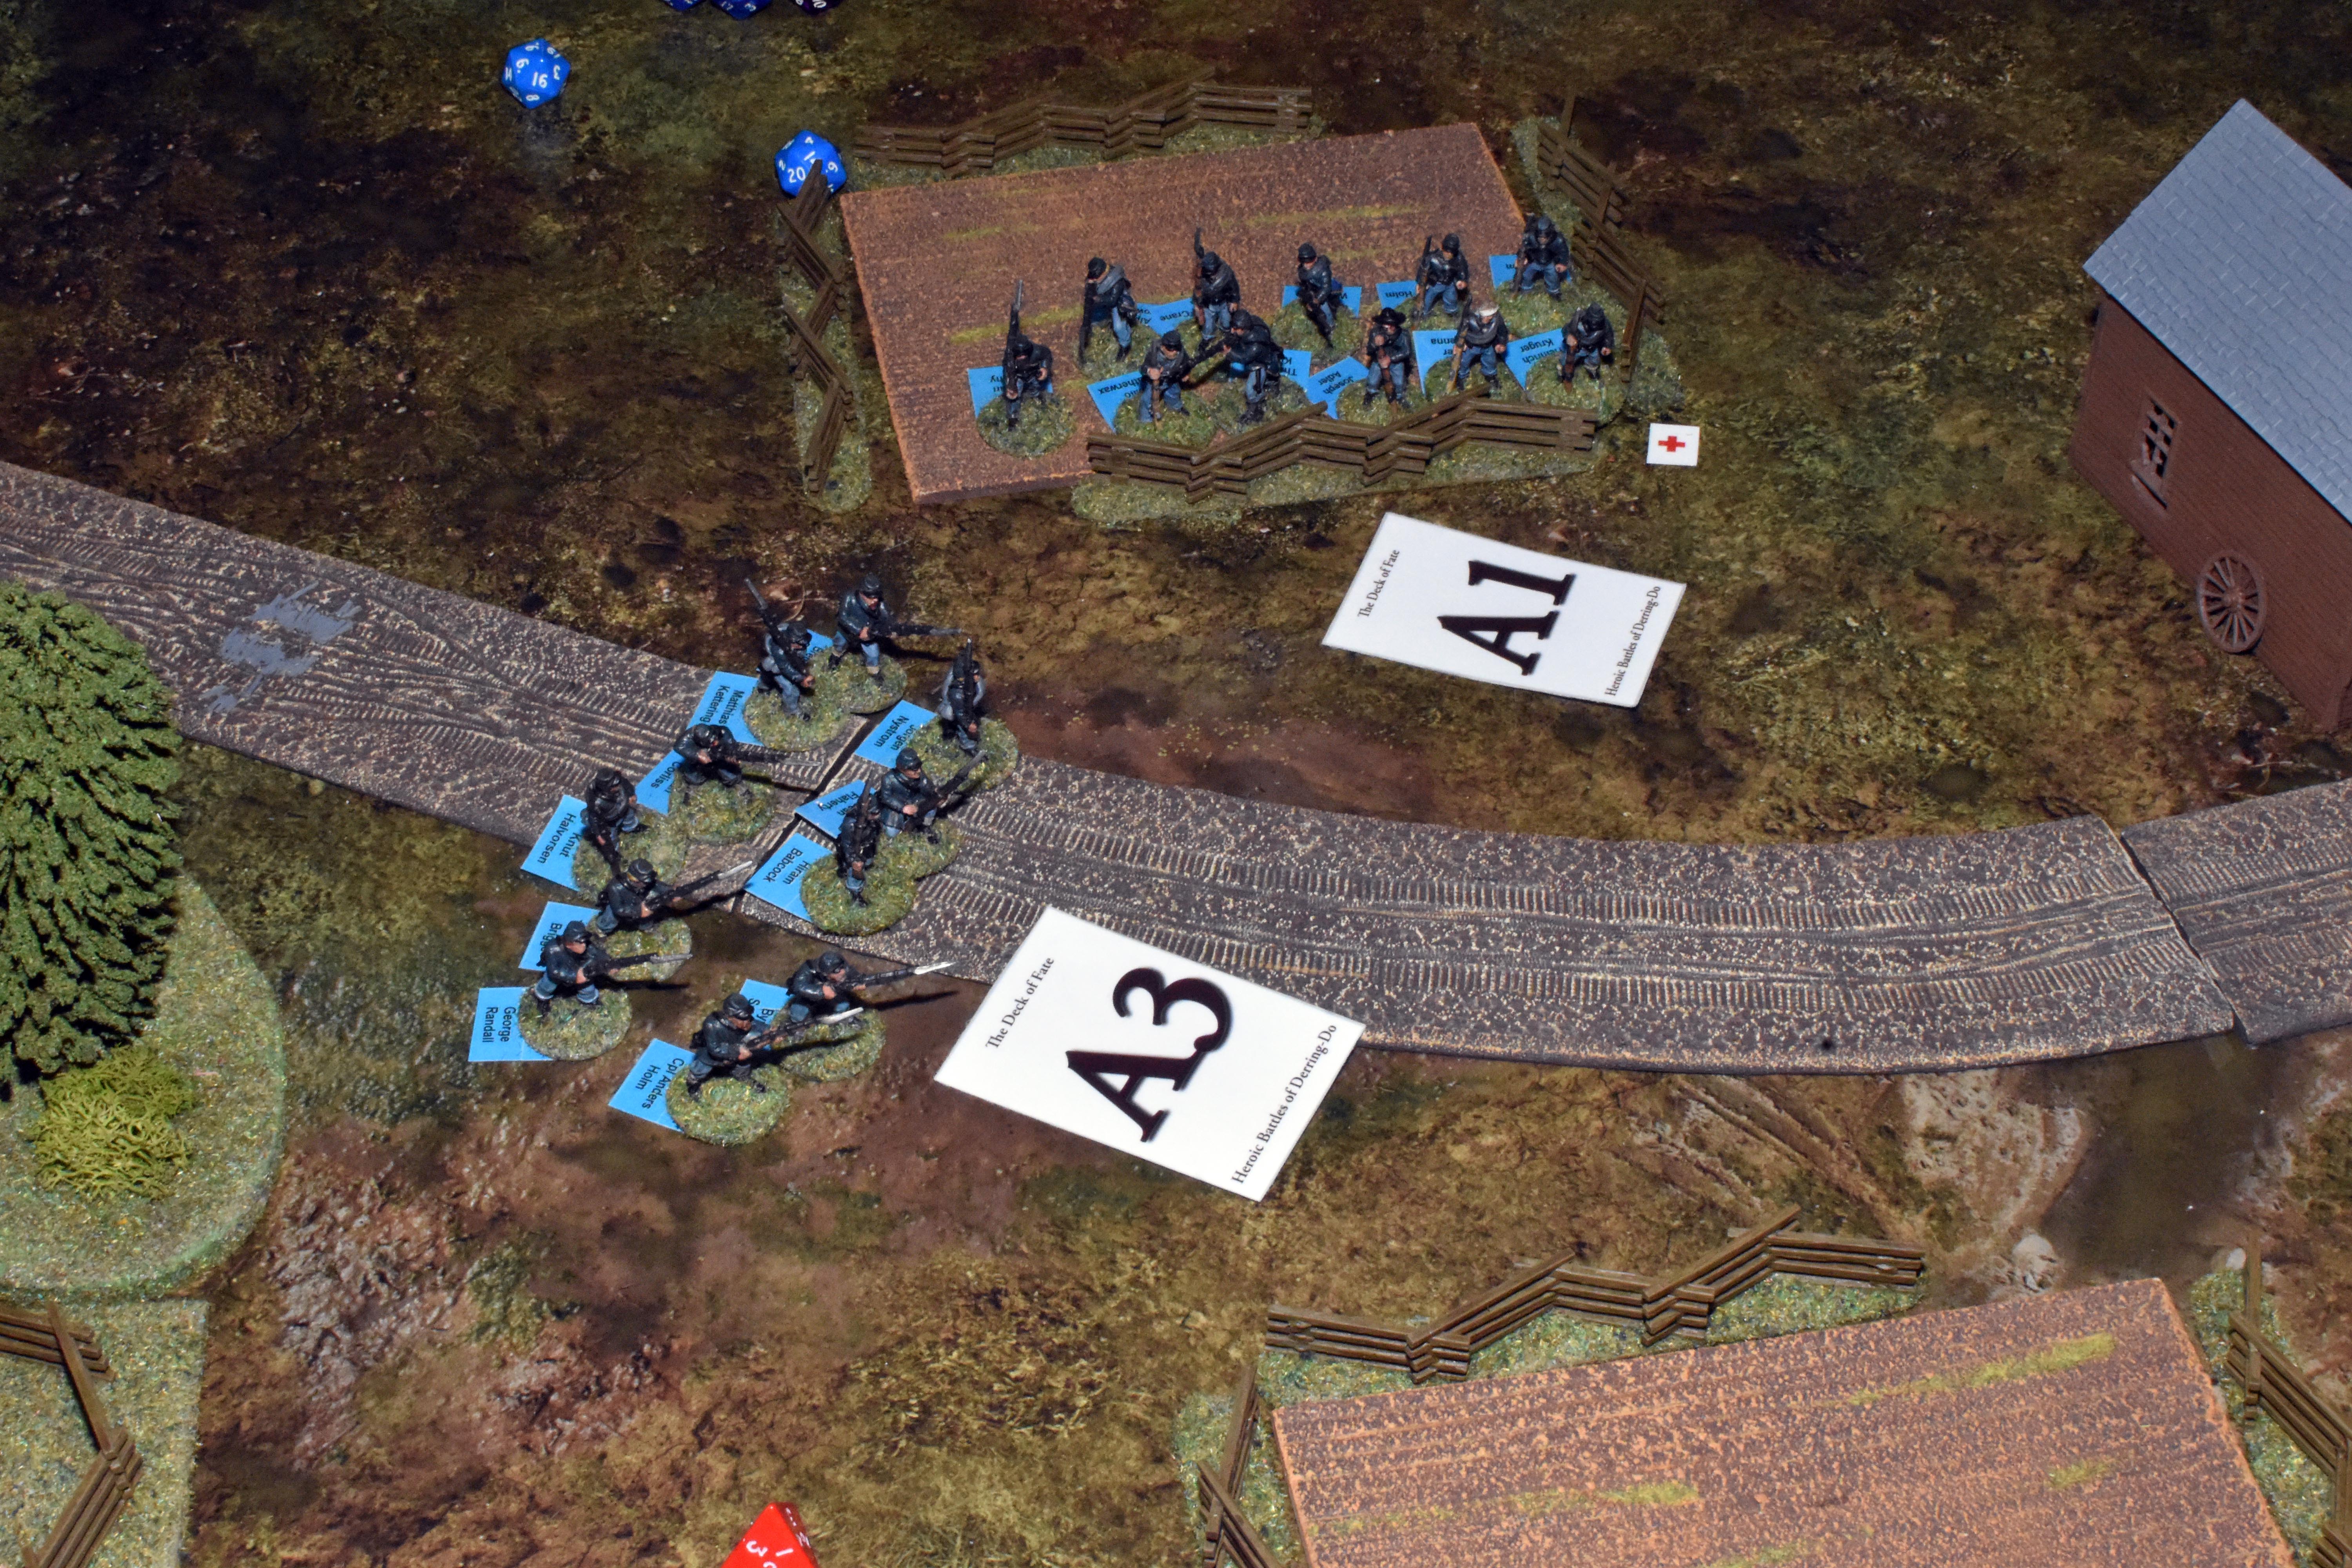
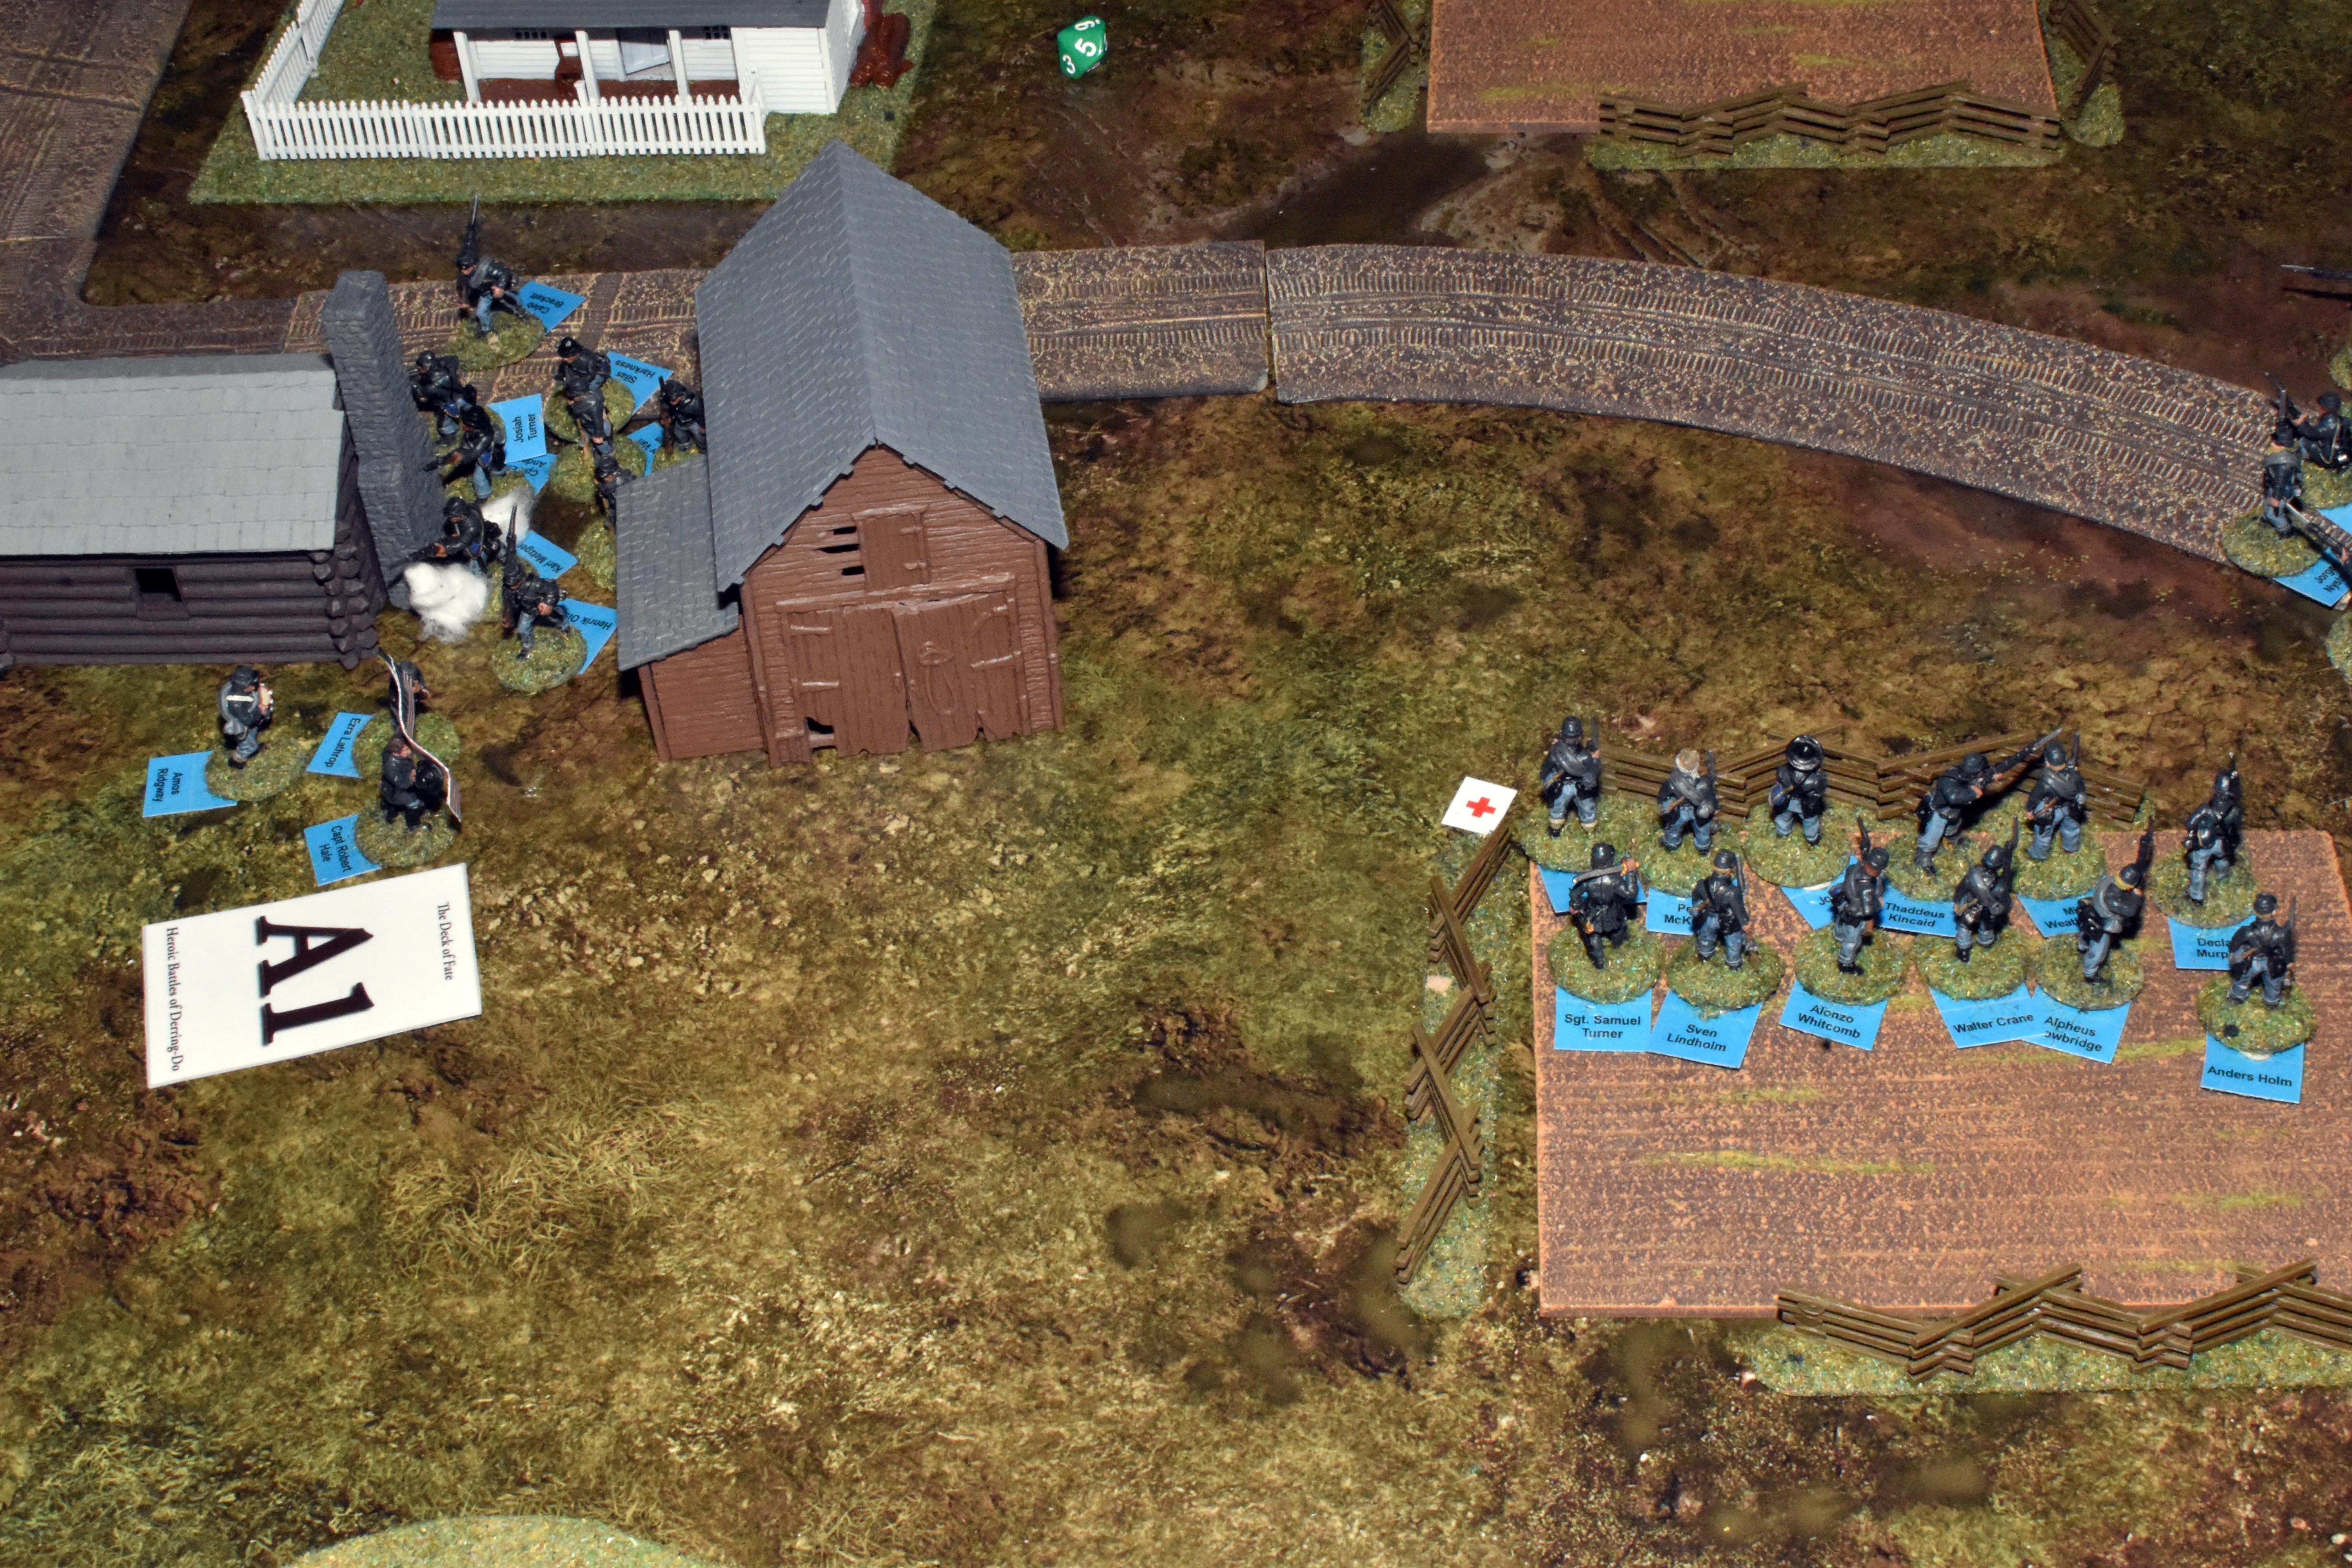
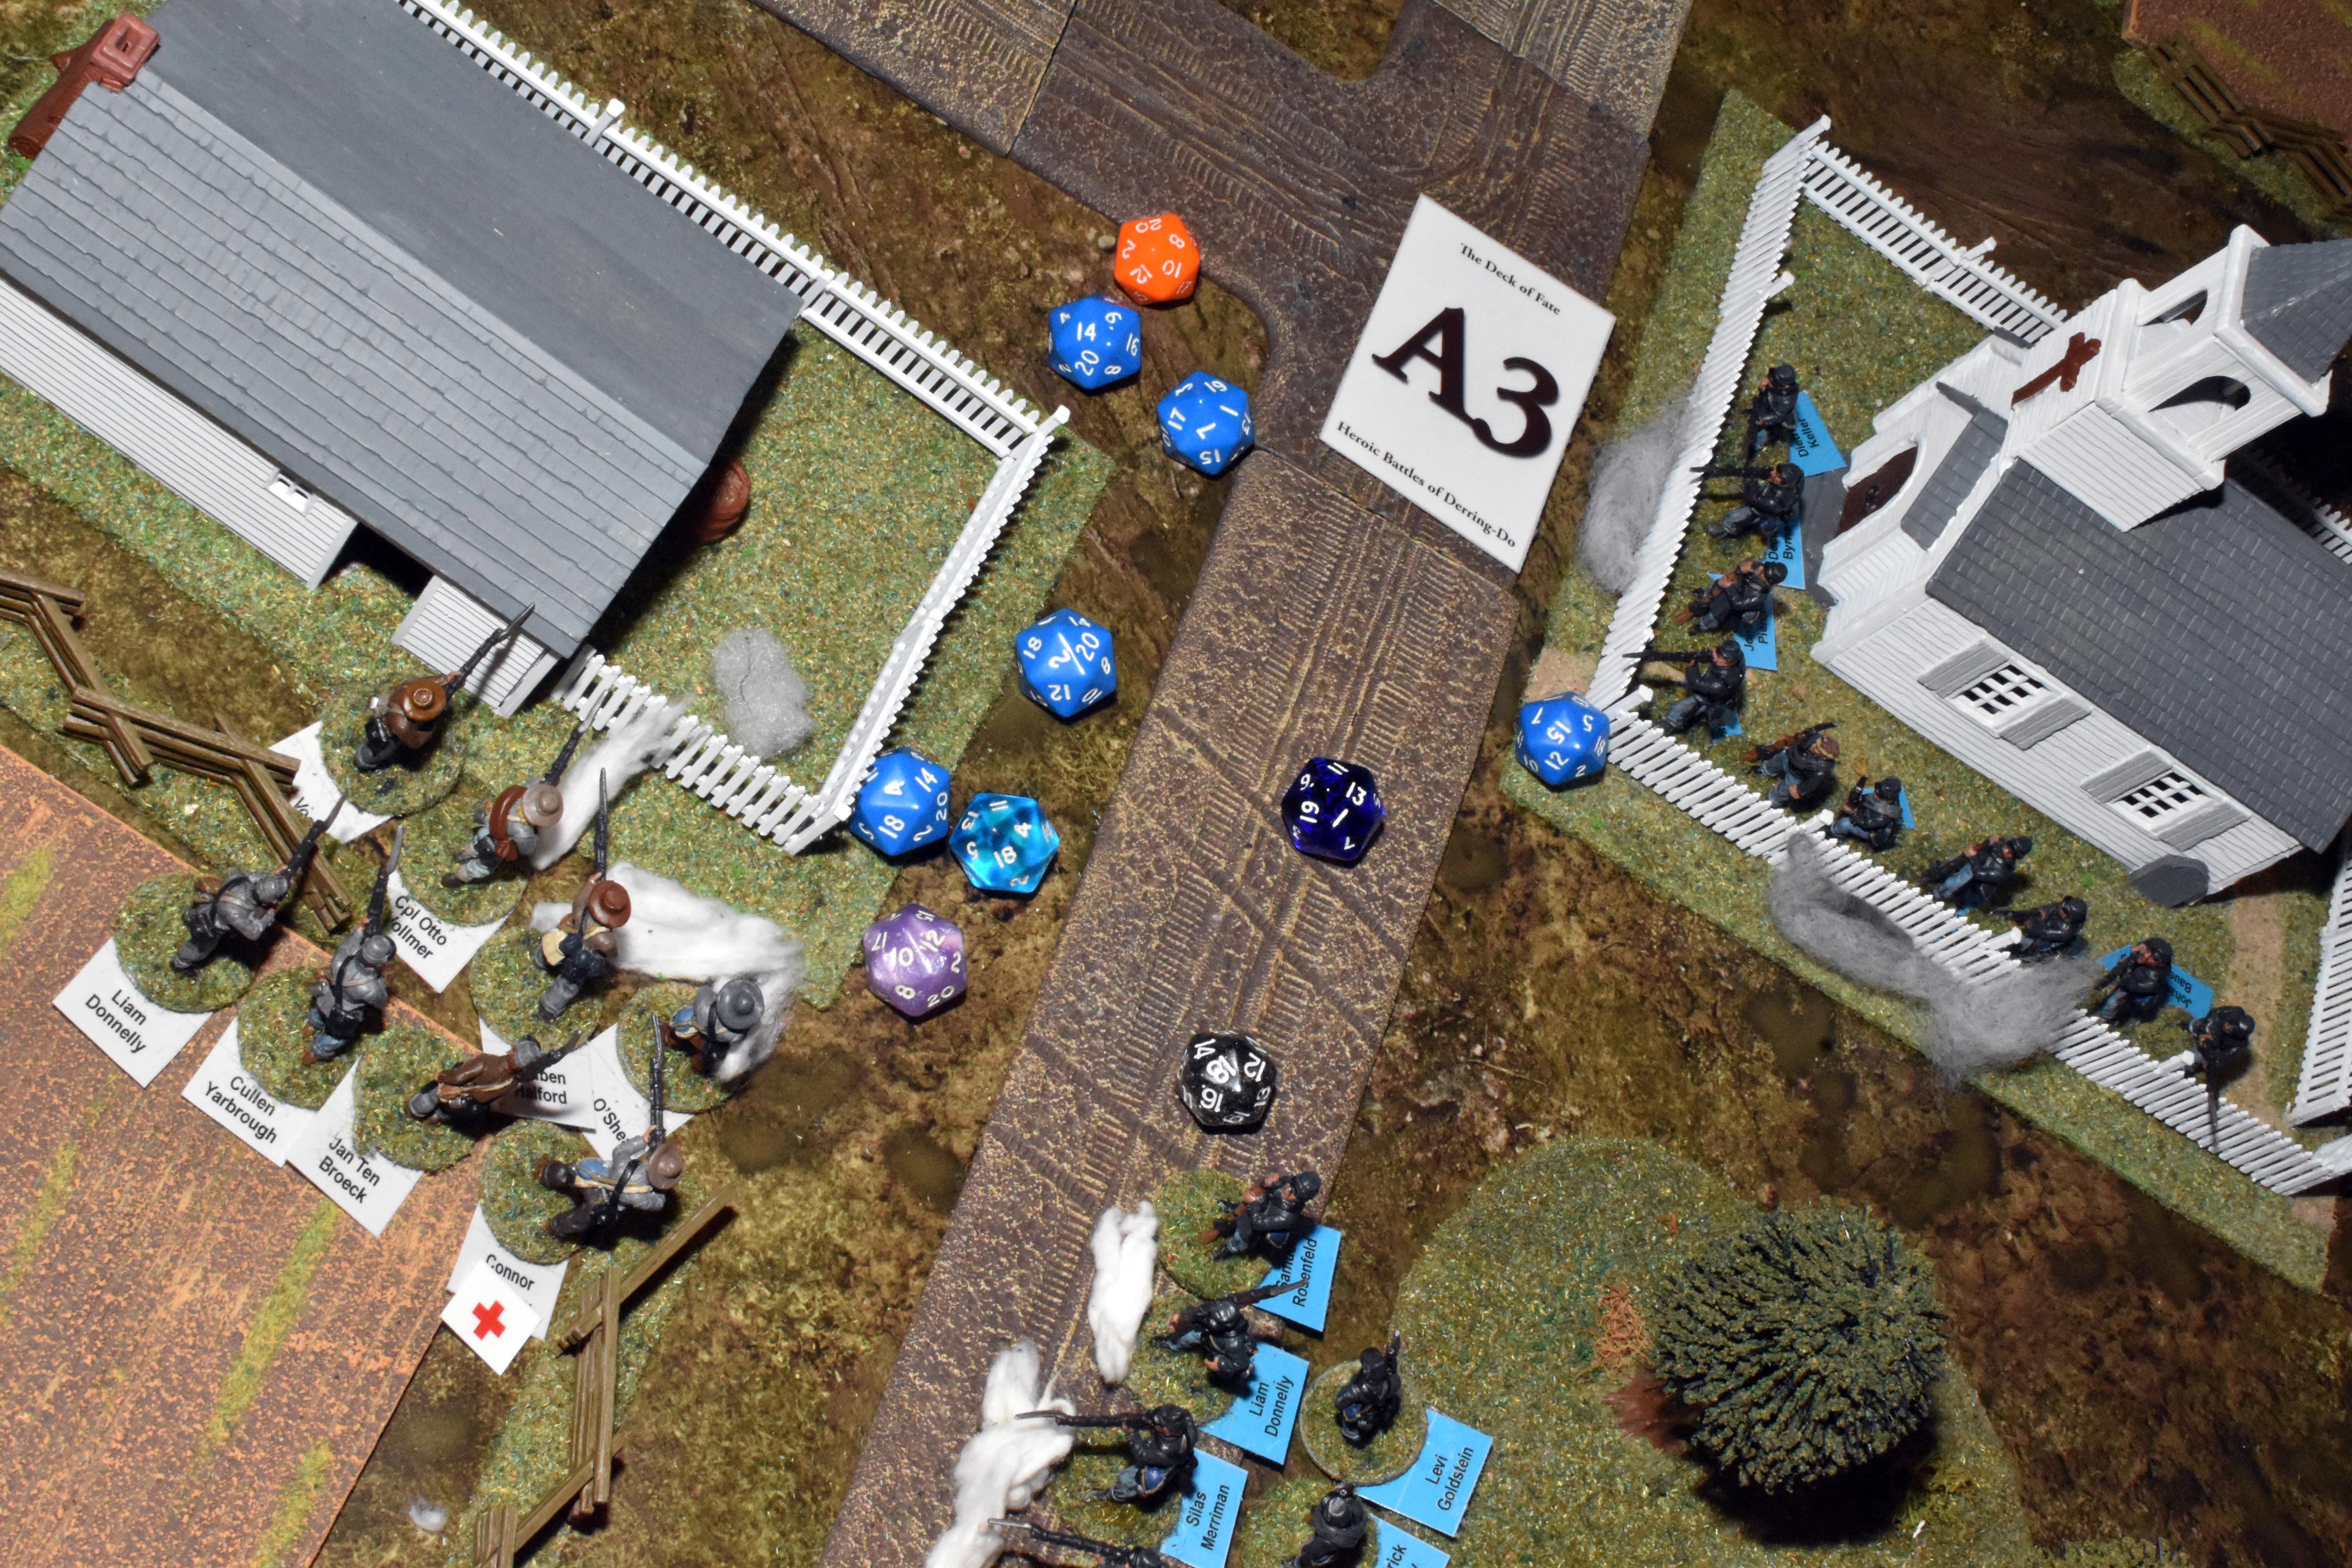
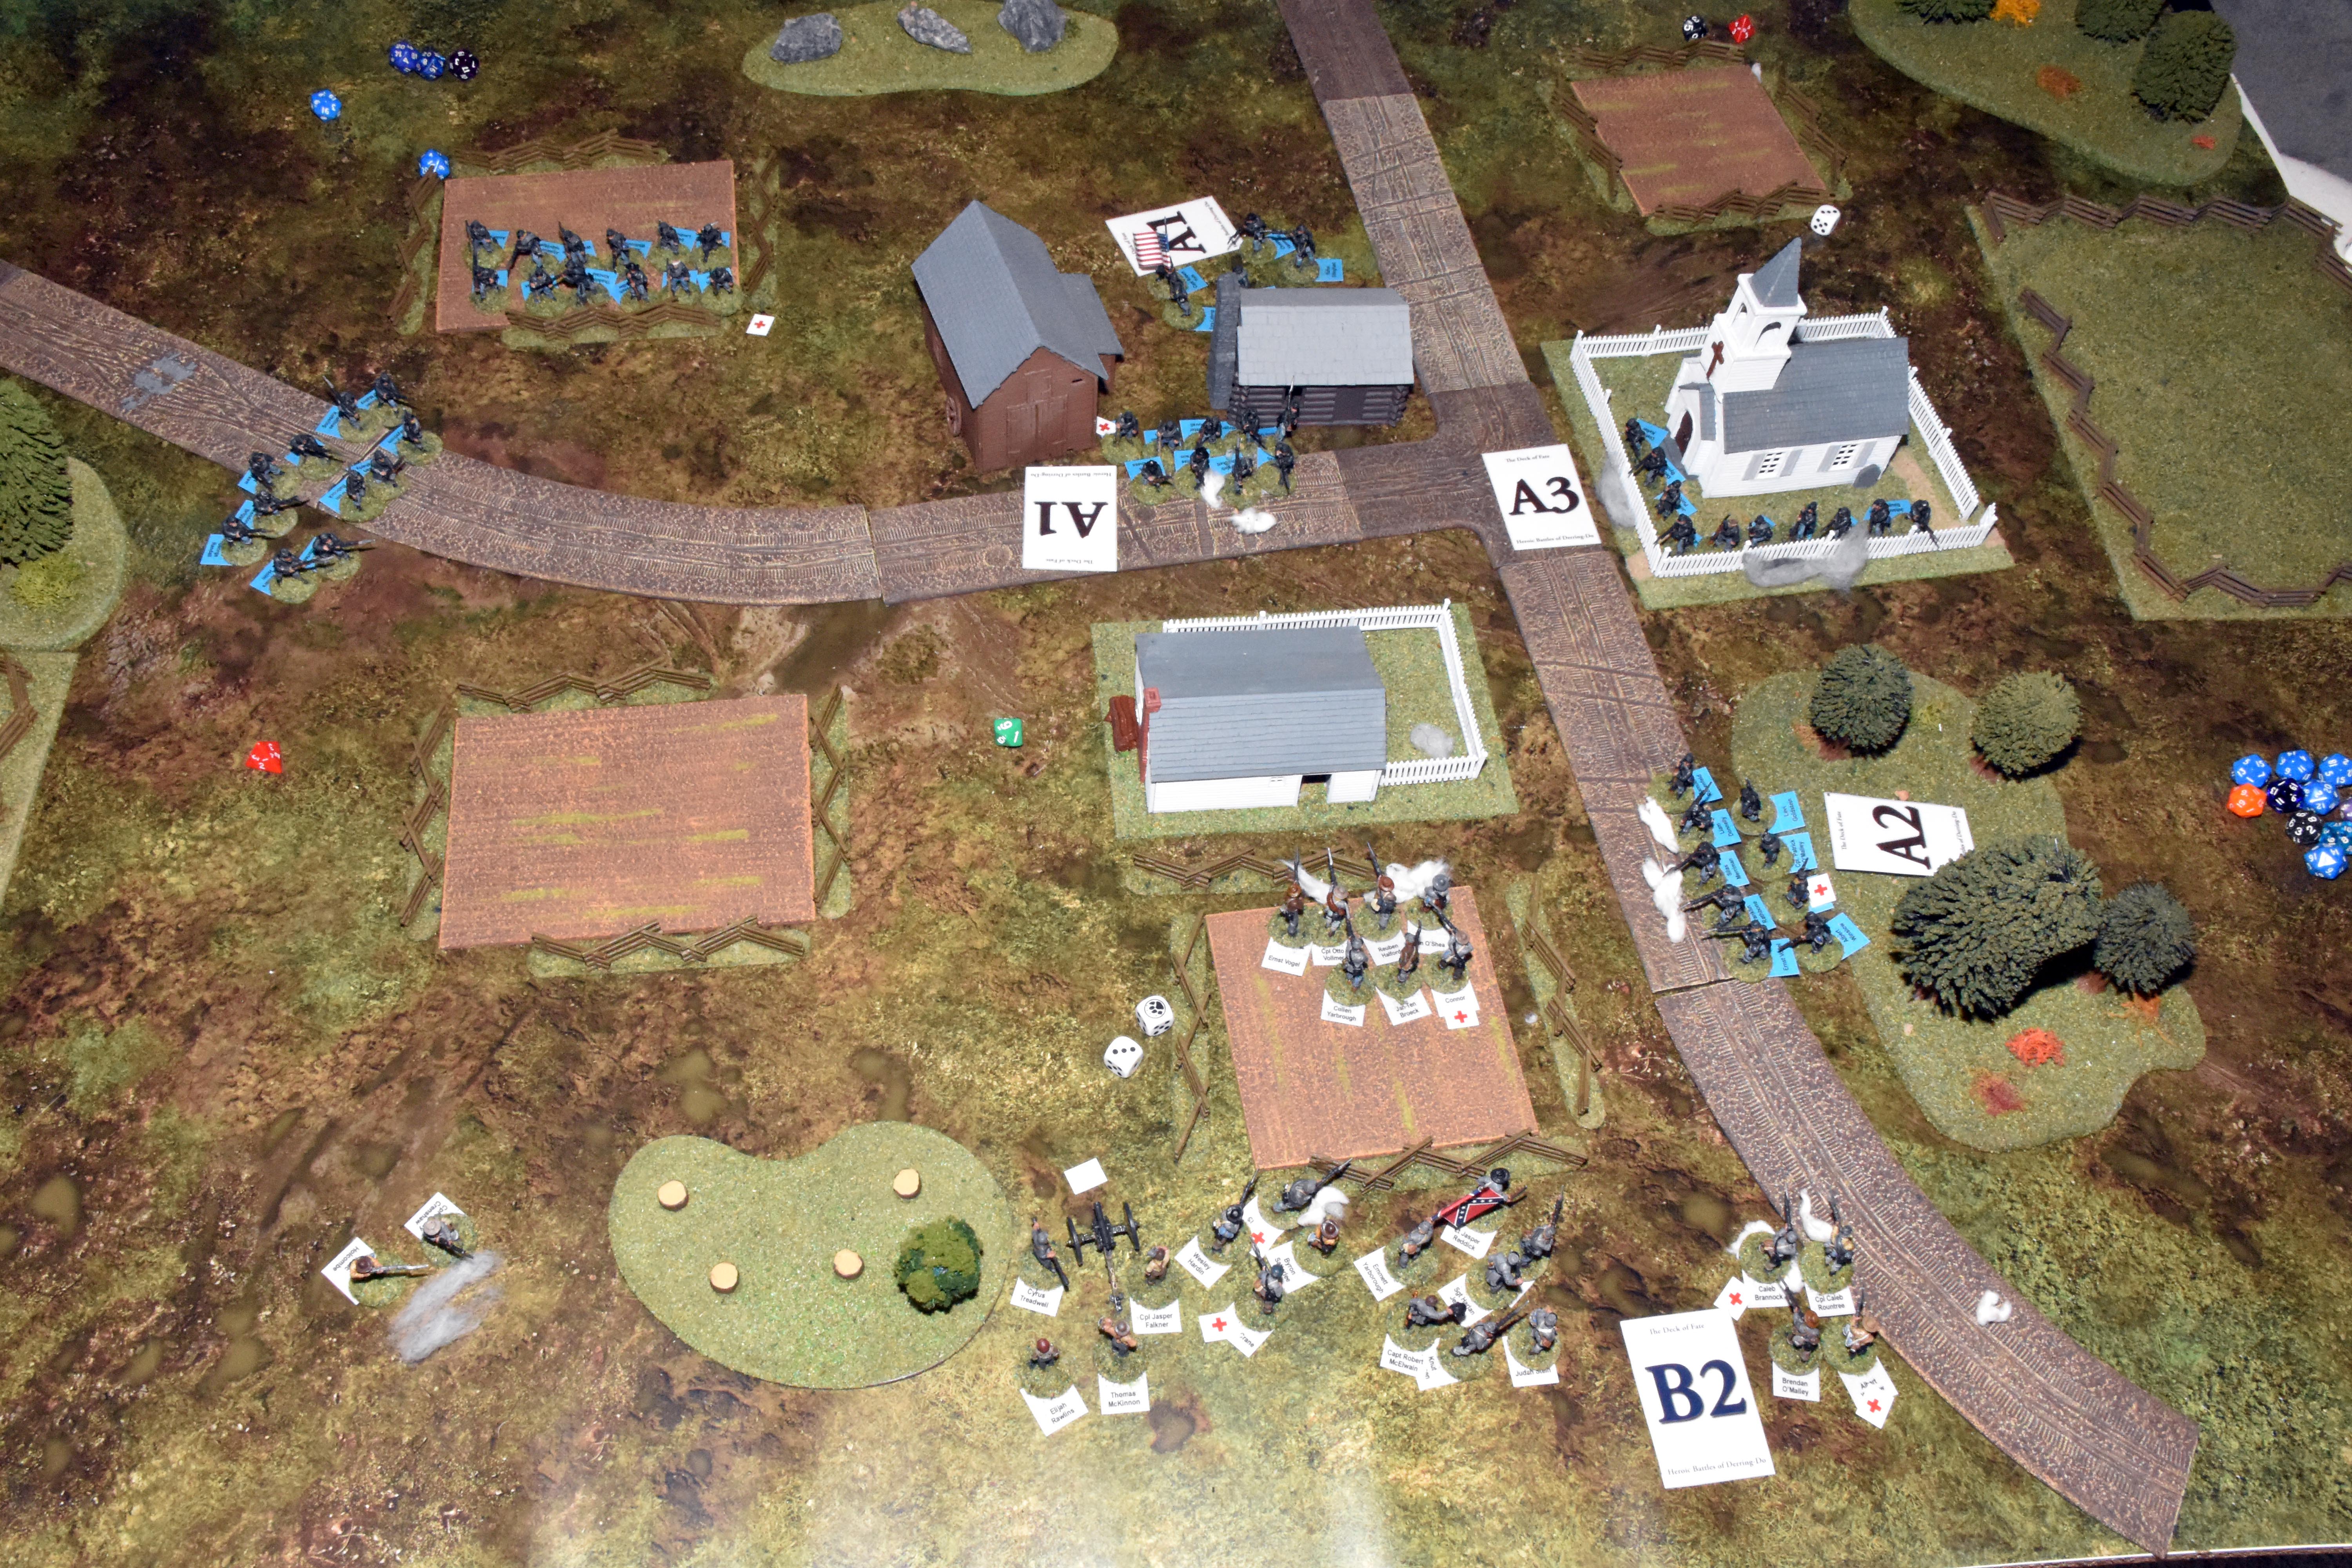
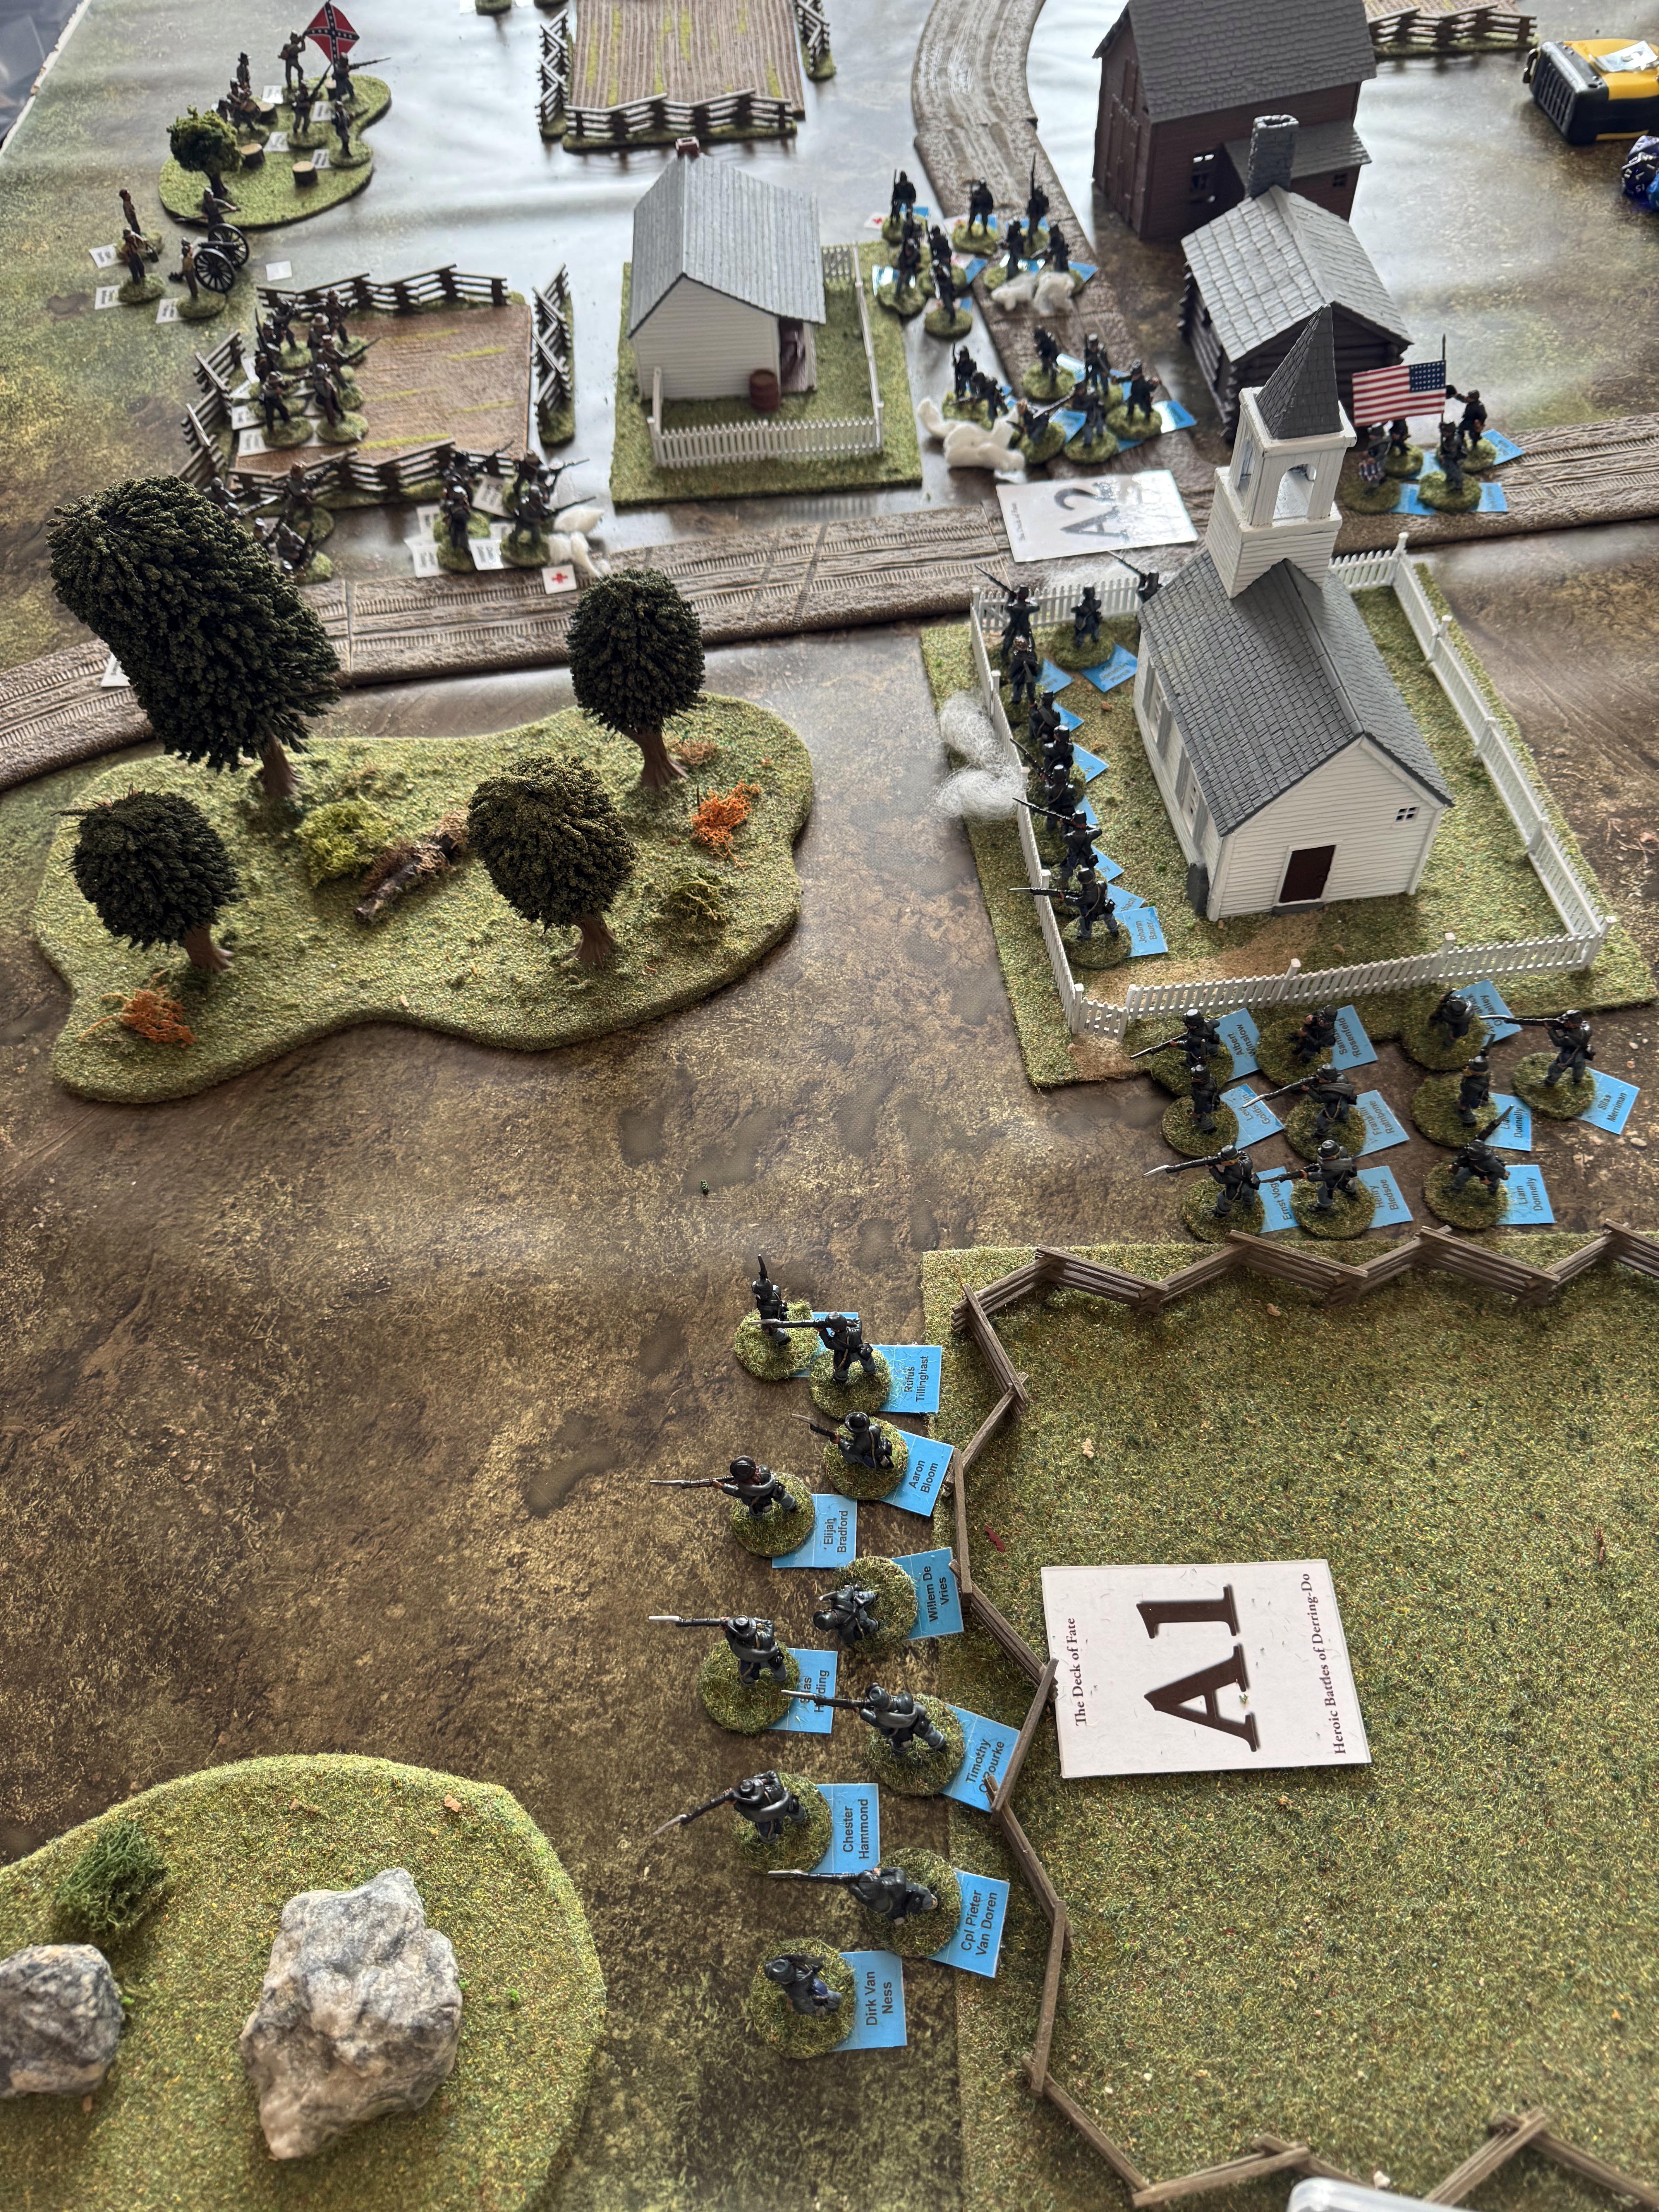
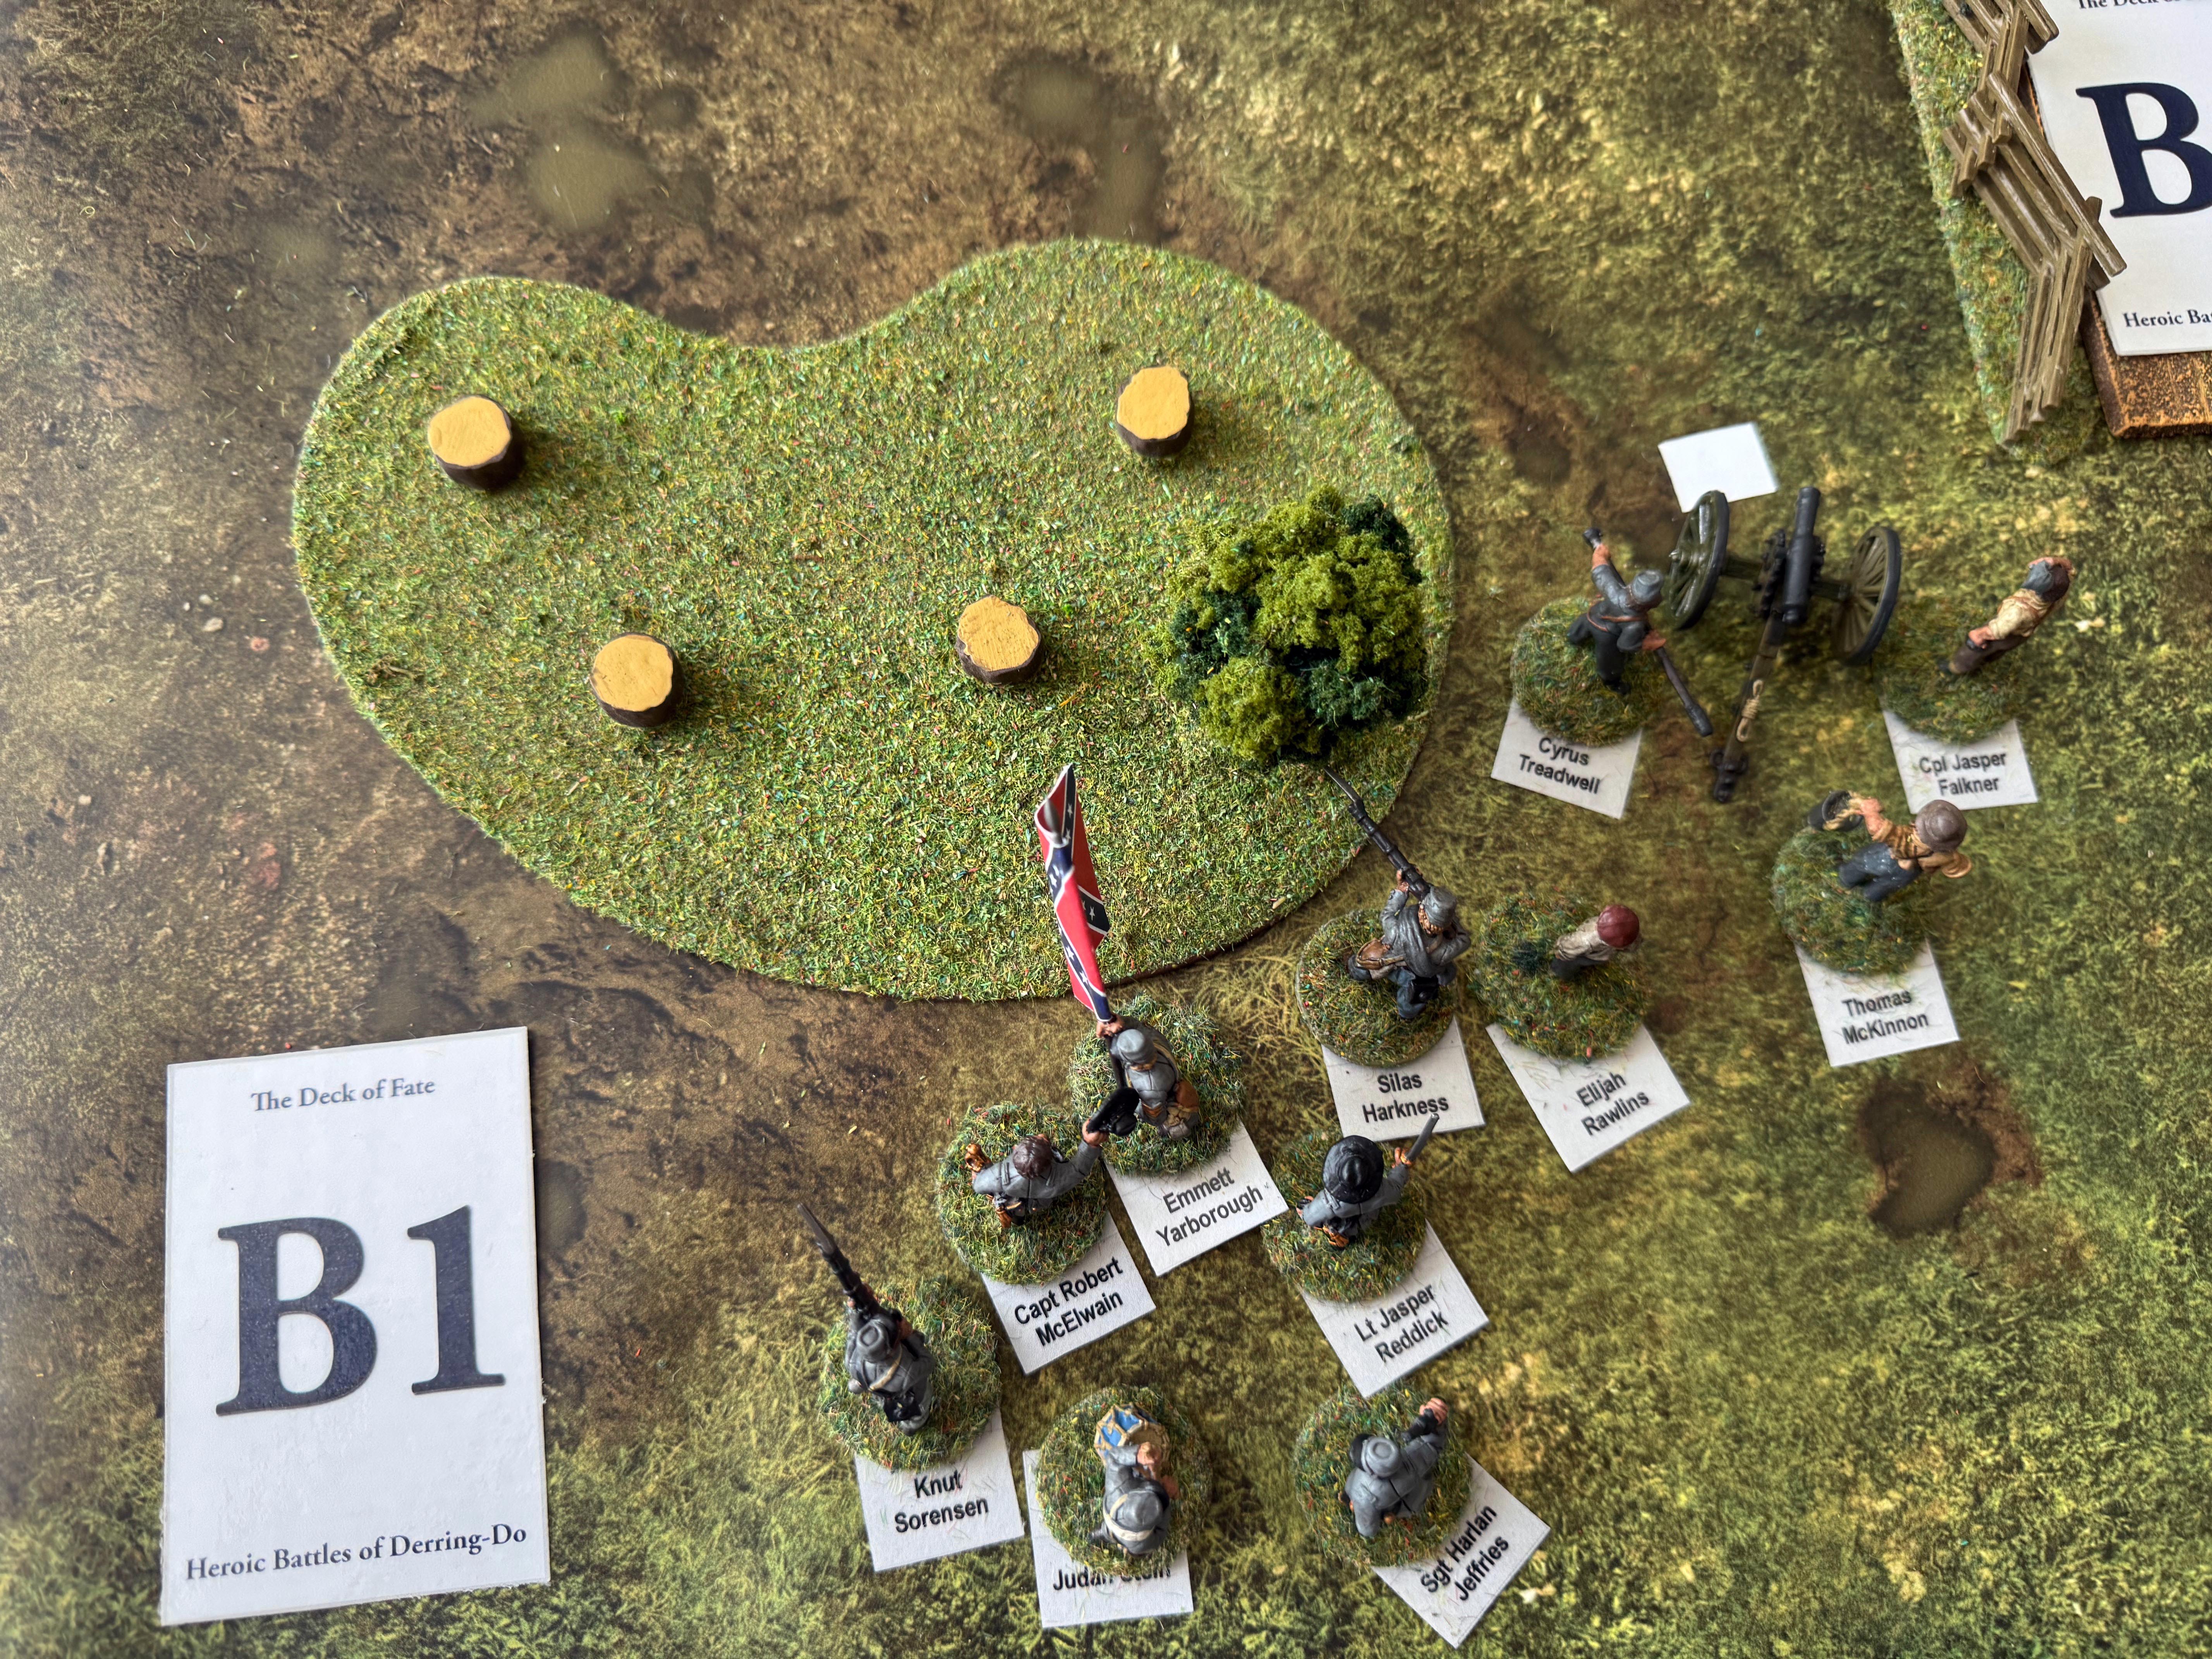
| B3 gives the first move to the Confederates allowing them the full 3 activations | In Open Order with 3 activations they roll 2d6 which they add to the first movement activation which is always a 6" move. In this case they can move 11" (the tree stumps are just for decoration here and do not impede movement). | The Confederates get the second card too - but this time only 2 activations. They enter in close order so roll an additional d4 movement to add to their 6". They specified that they were moving up to the fence and so stop there. It takes an entire activation to cross a barrier like this. | Finally the Union get a move. Some Green troops under Corporal Anderson march down the road in close order. This confers an additional 1" per activation. They only roll a 1 but end up with 9" of movement. 6" + 1" from the d4 plus the two extra road inches. |
![]() |
![]() |
![]() |
![]() |
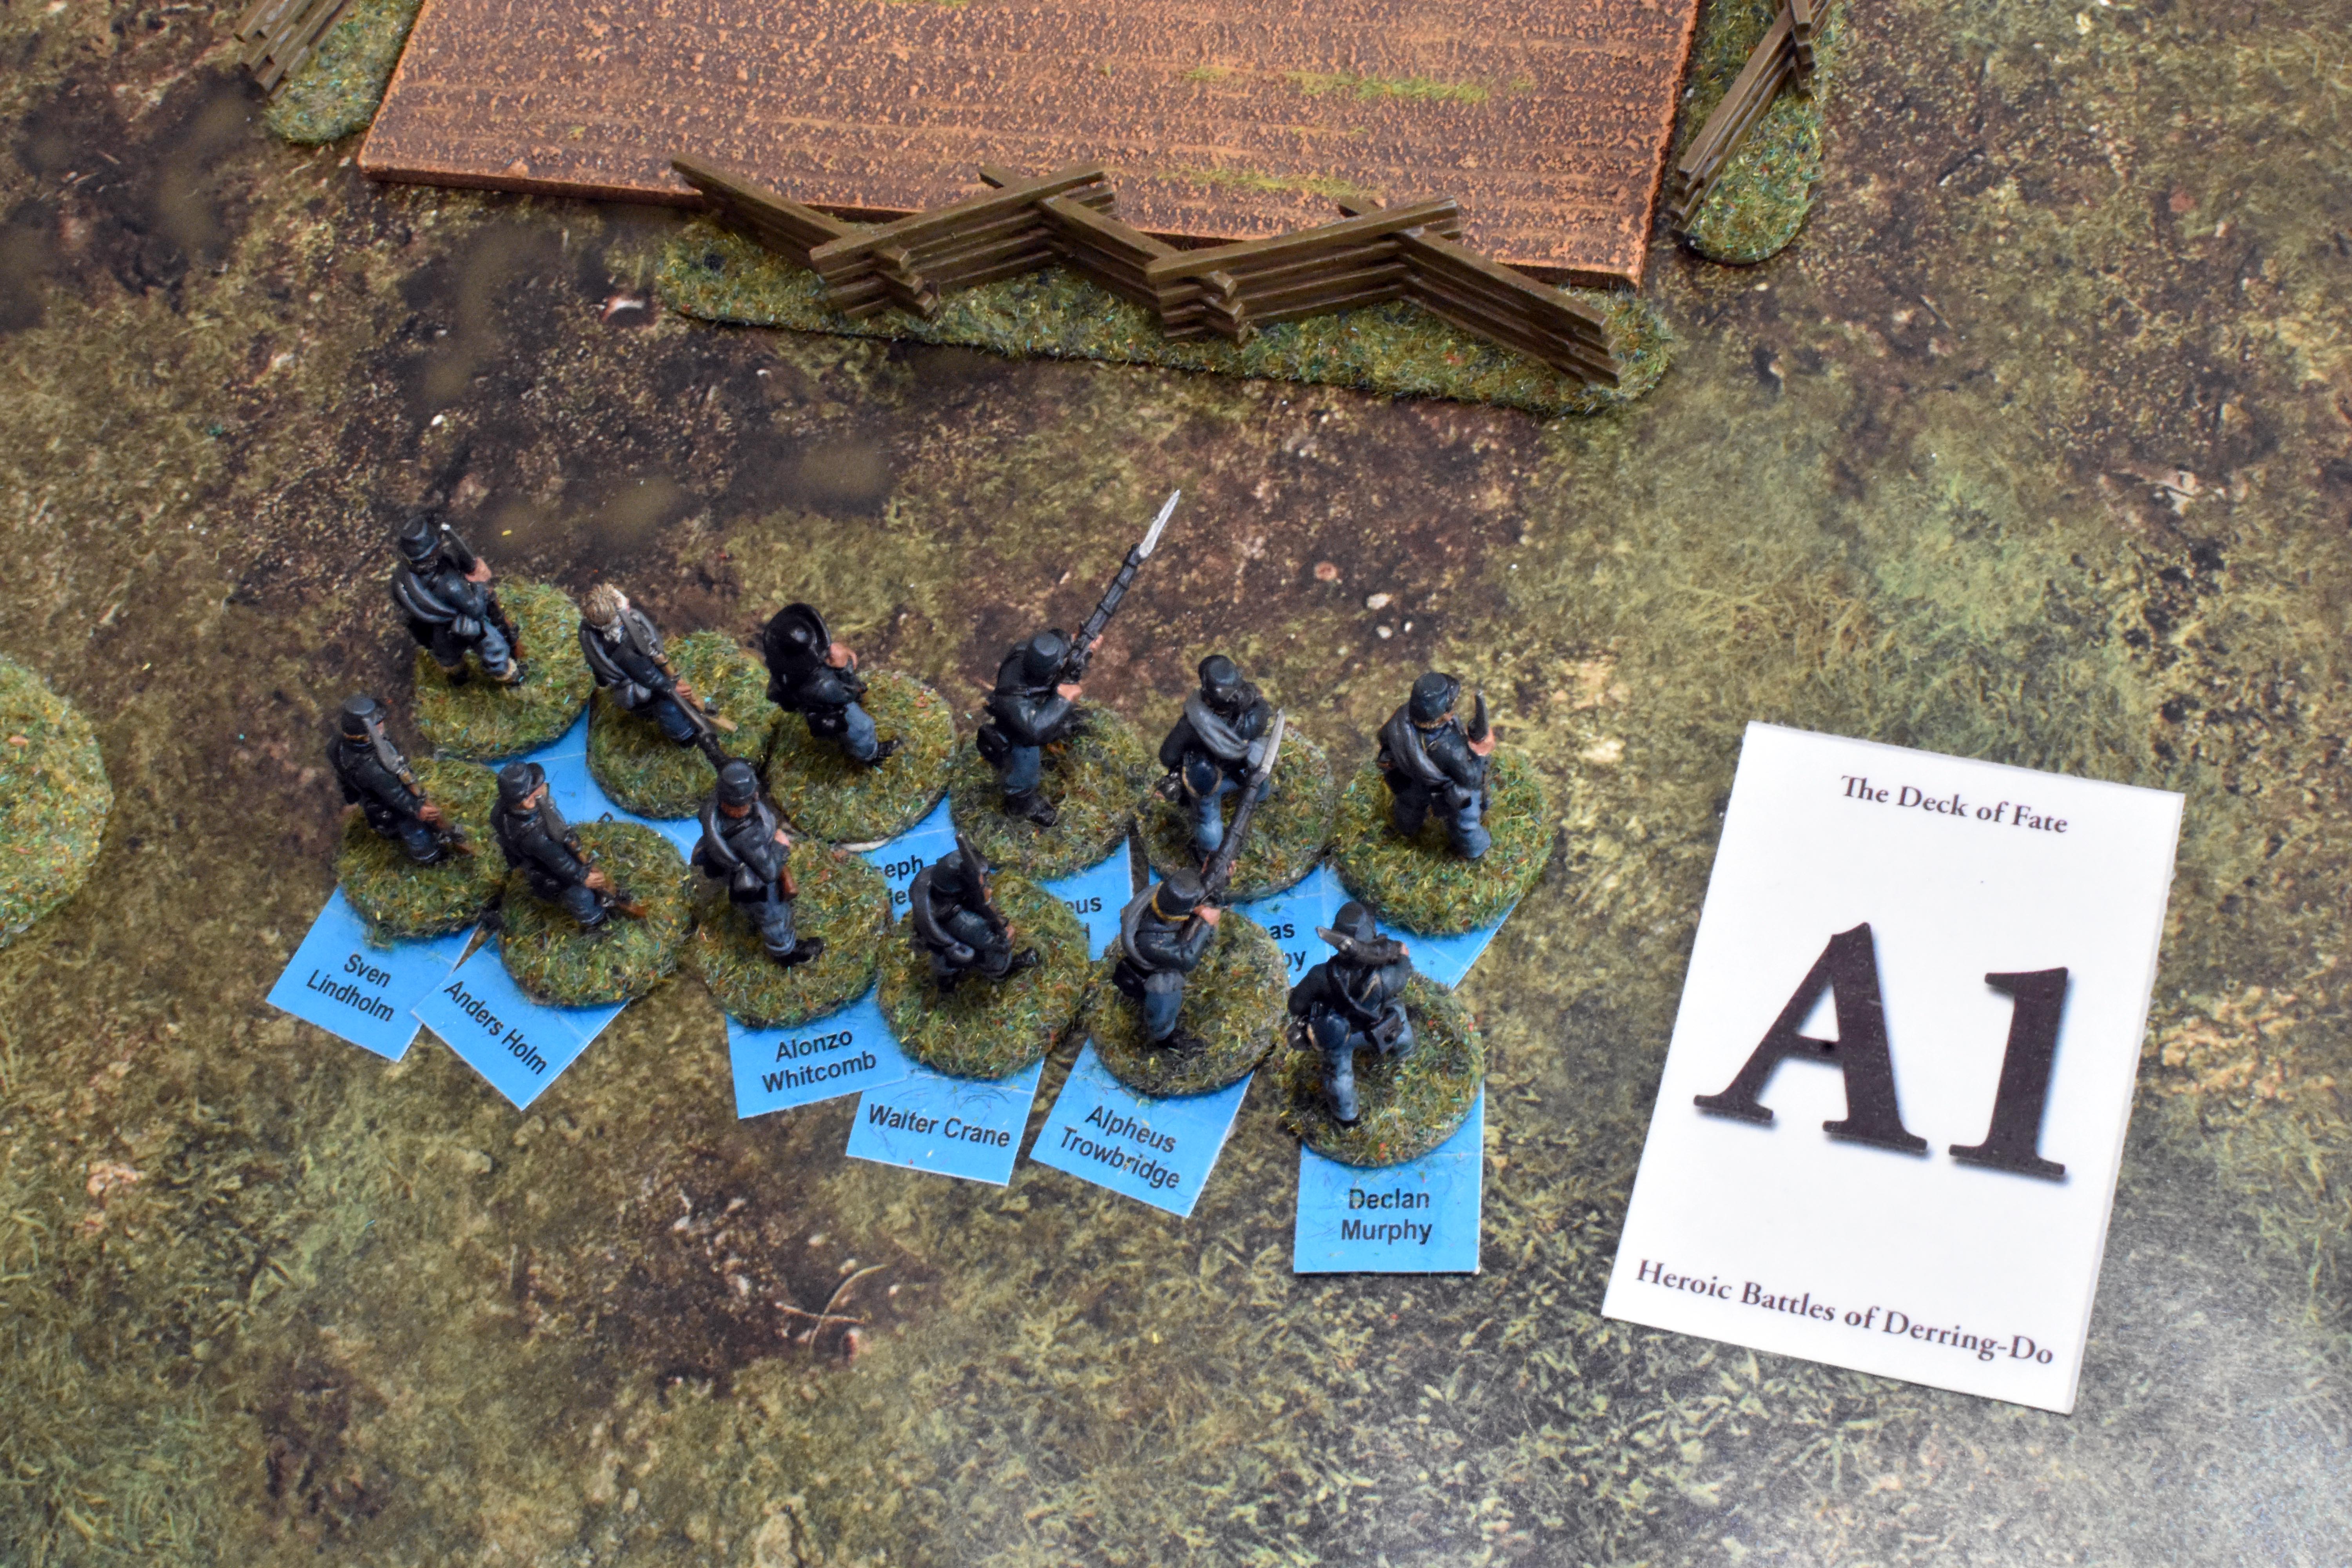
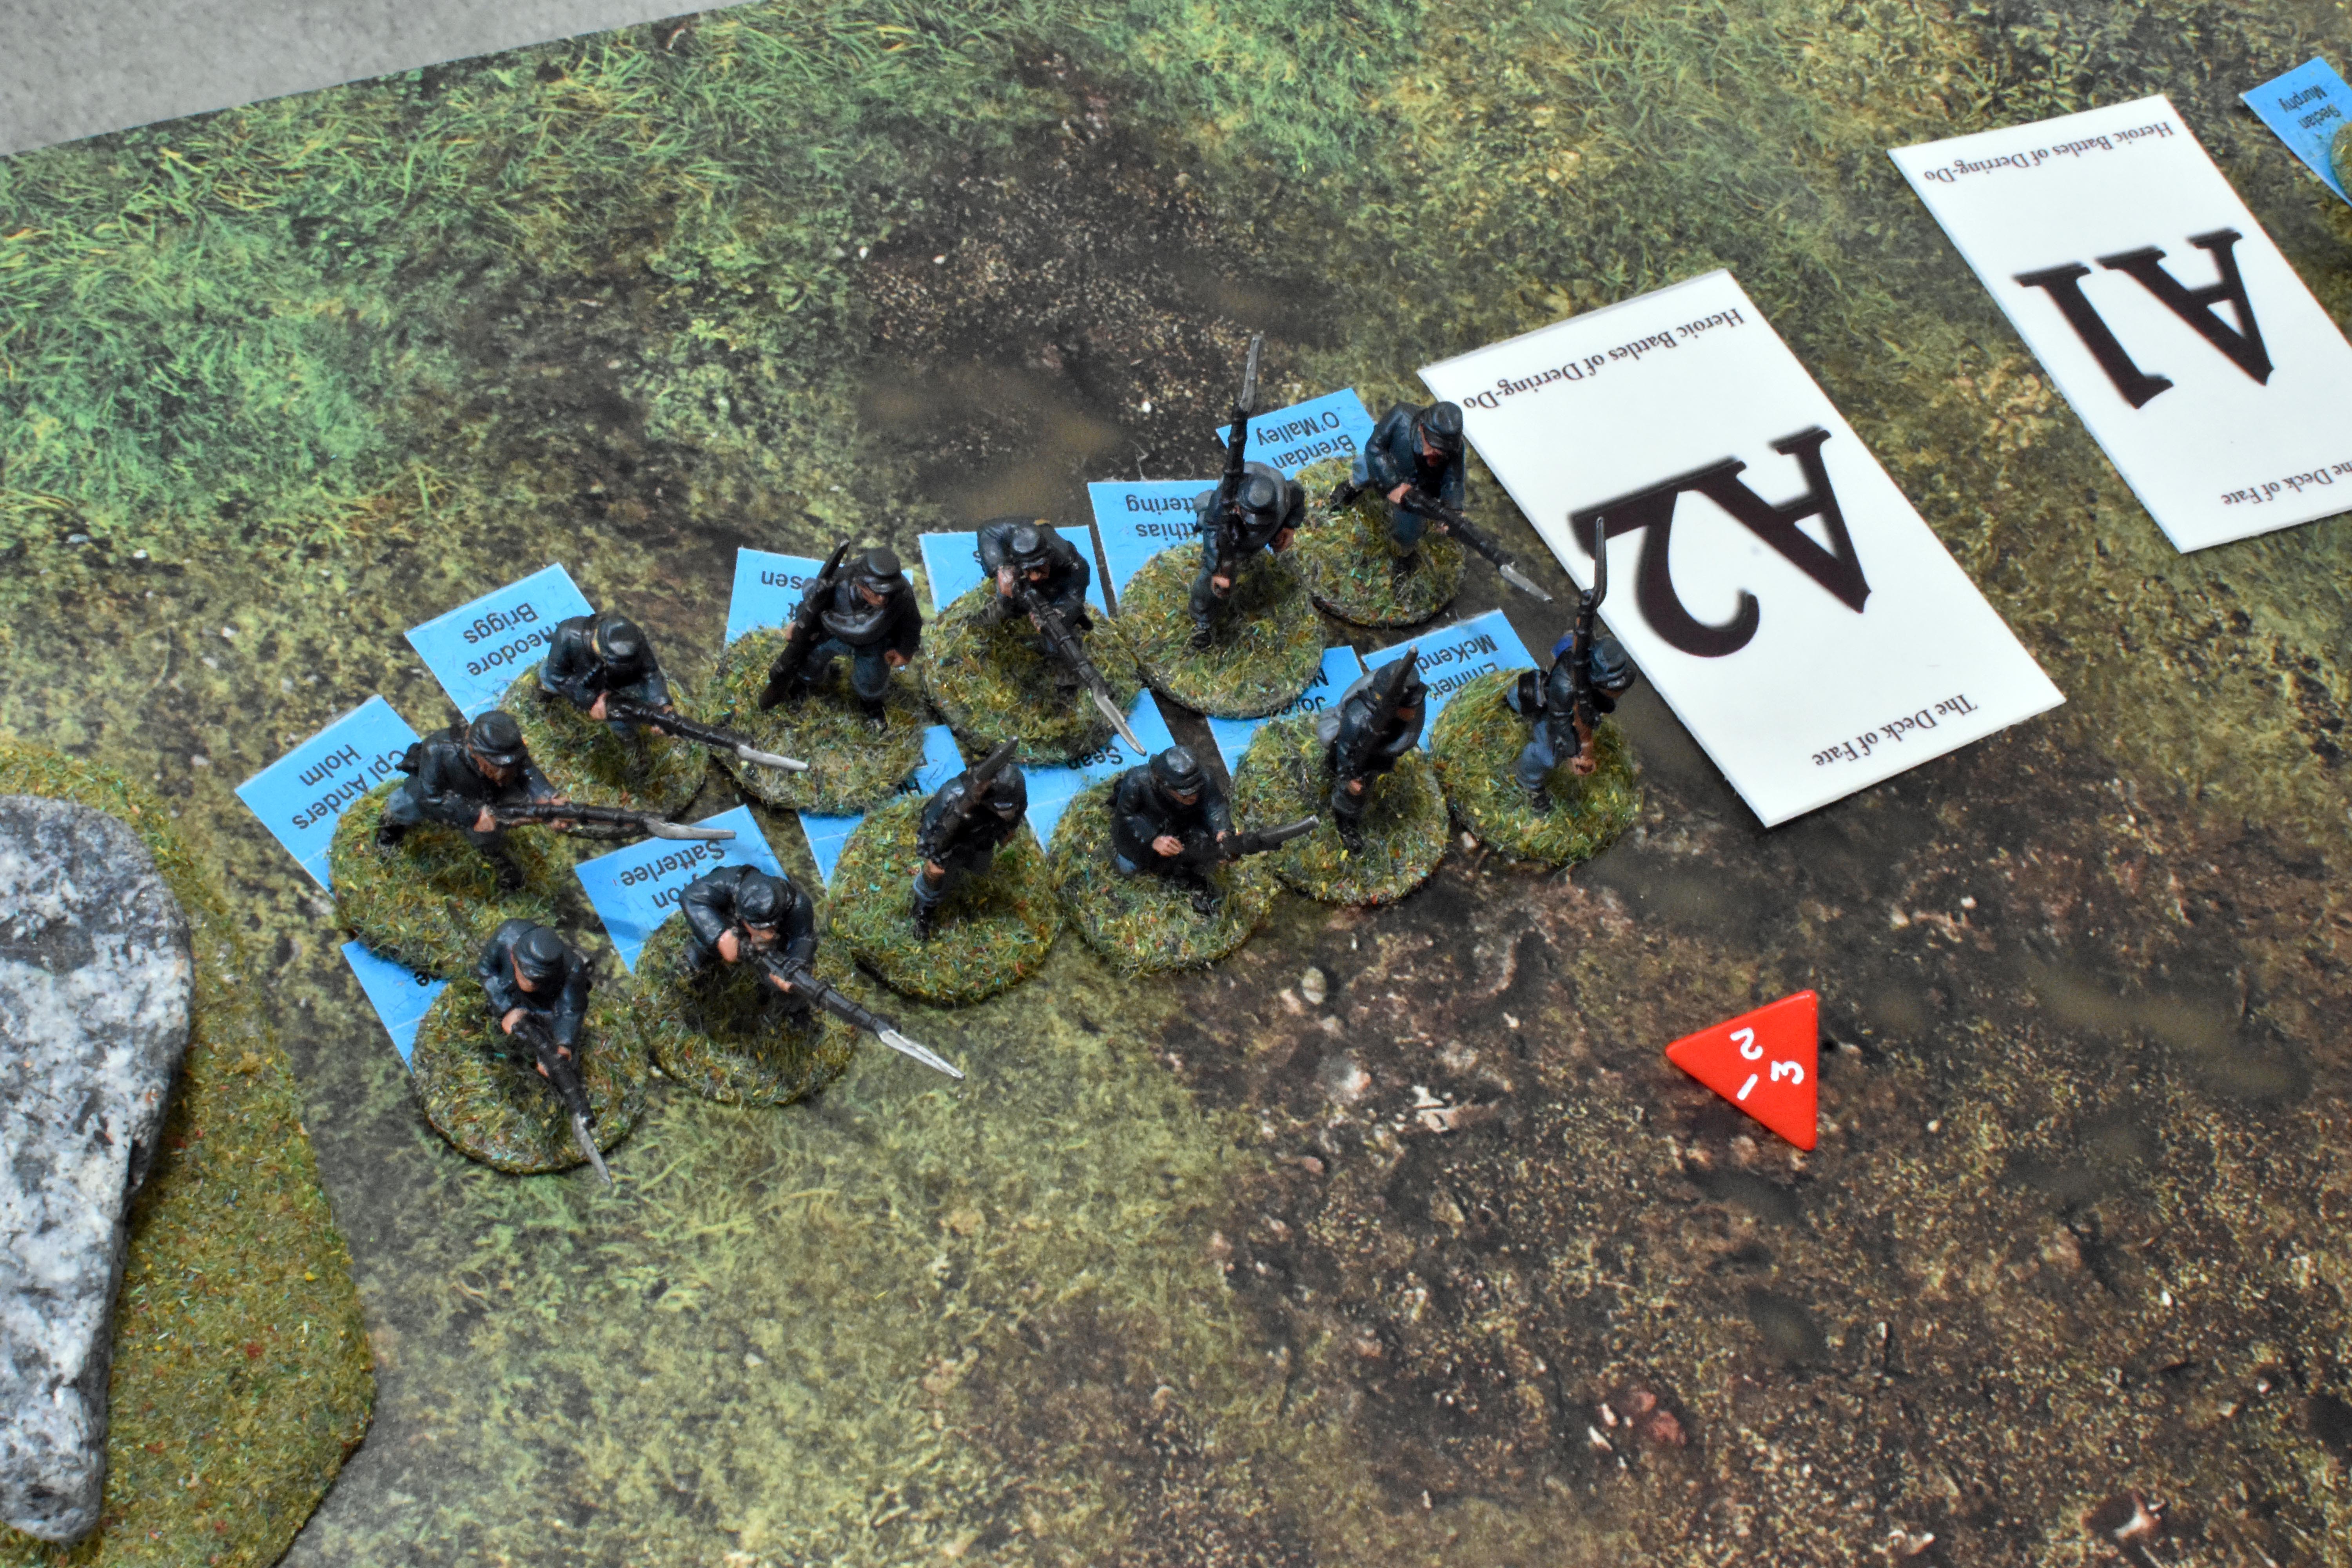
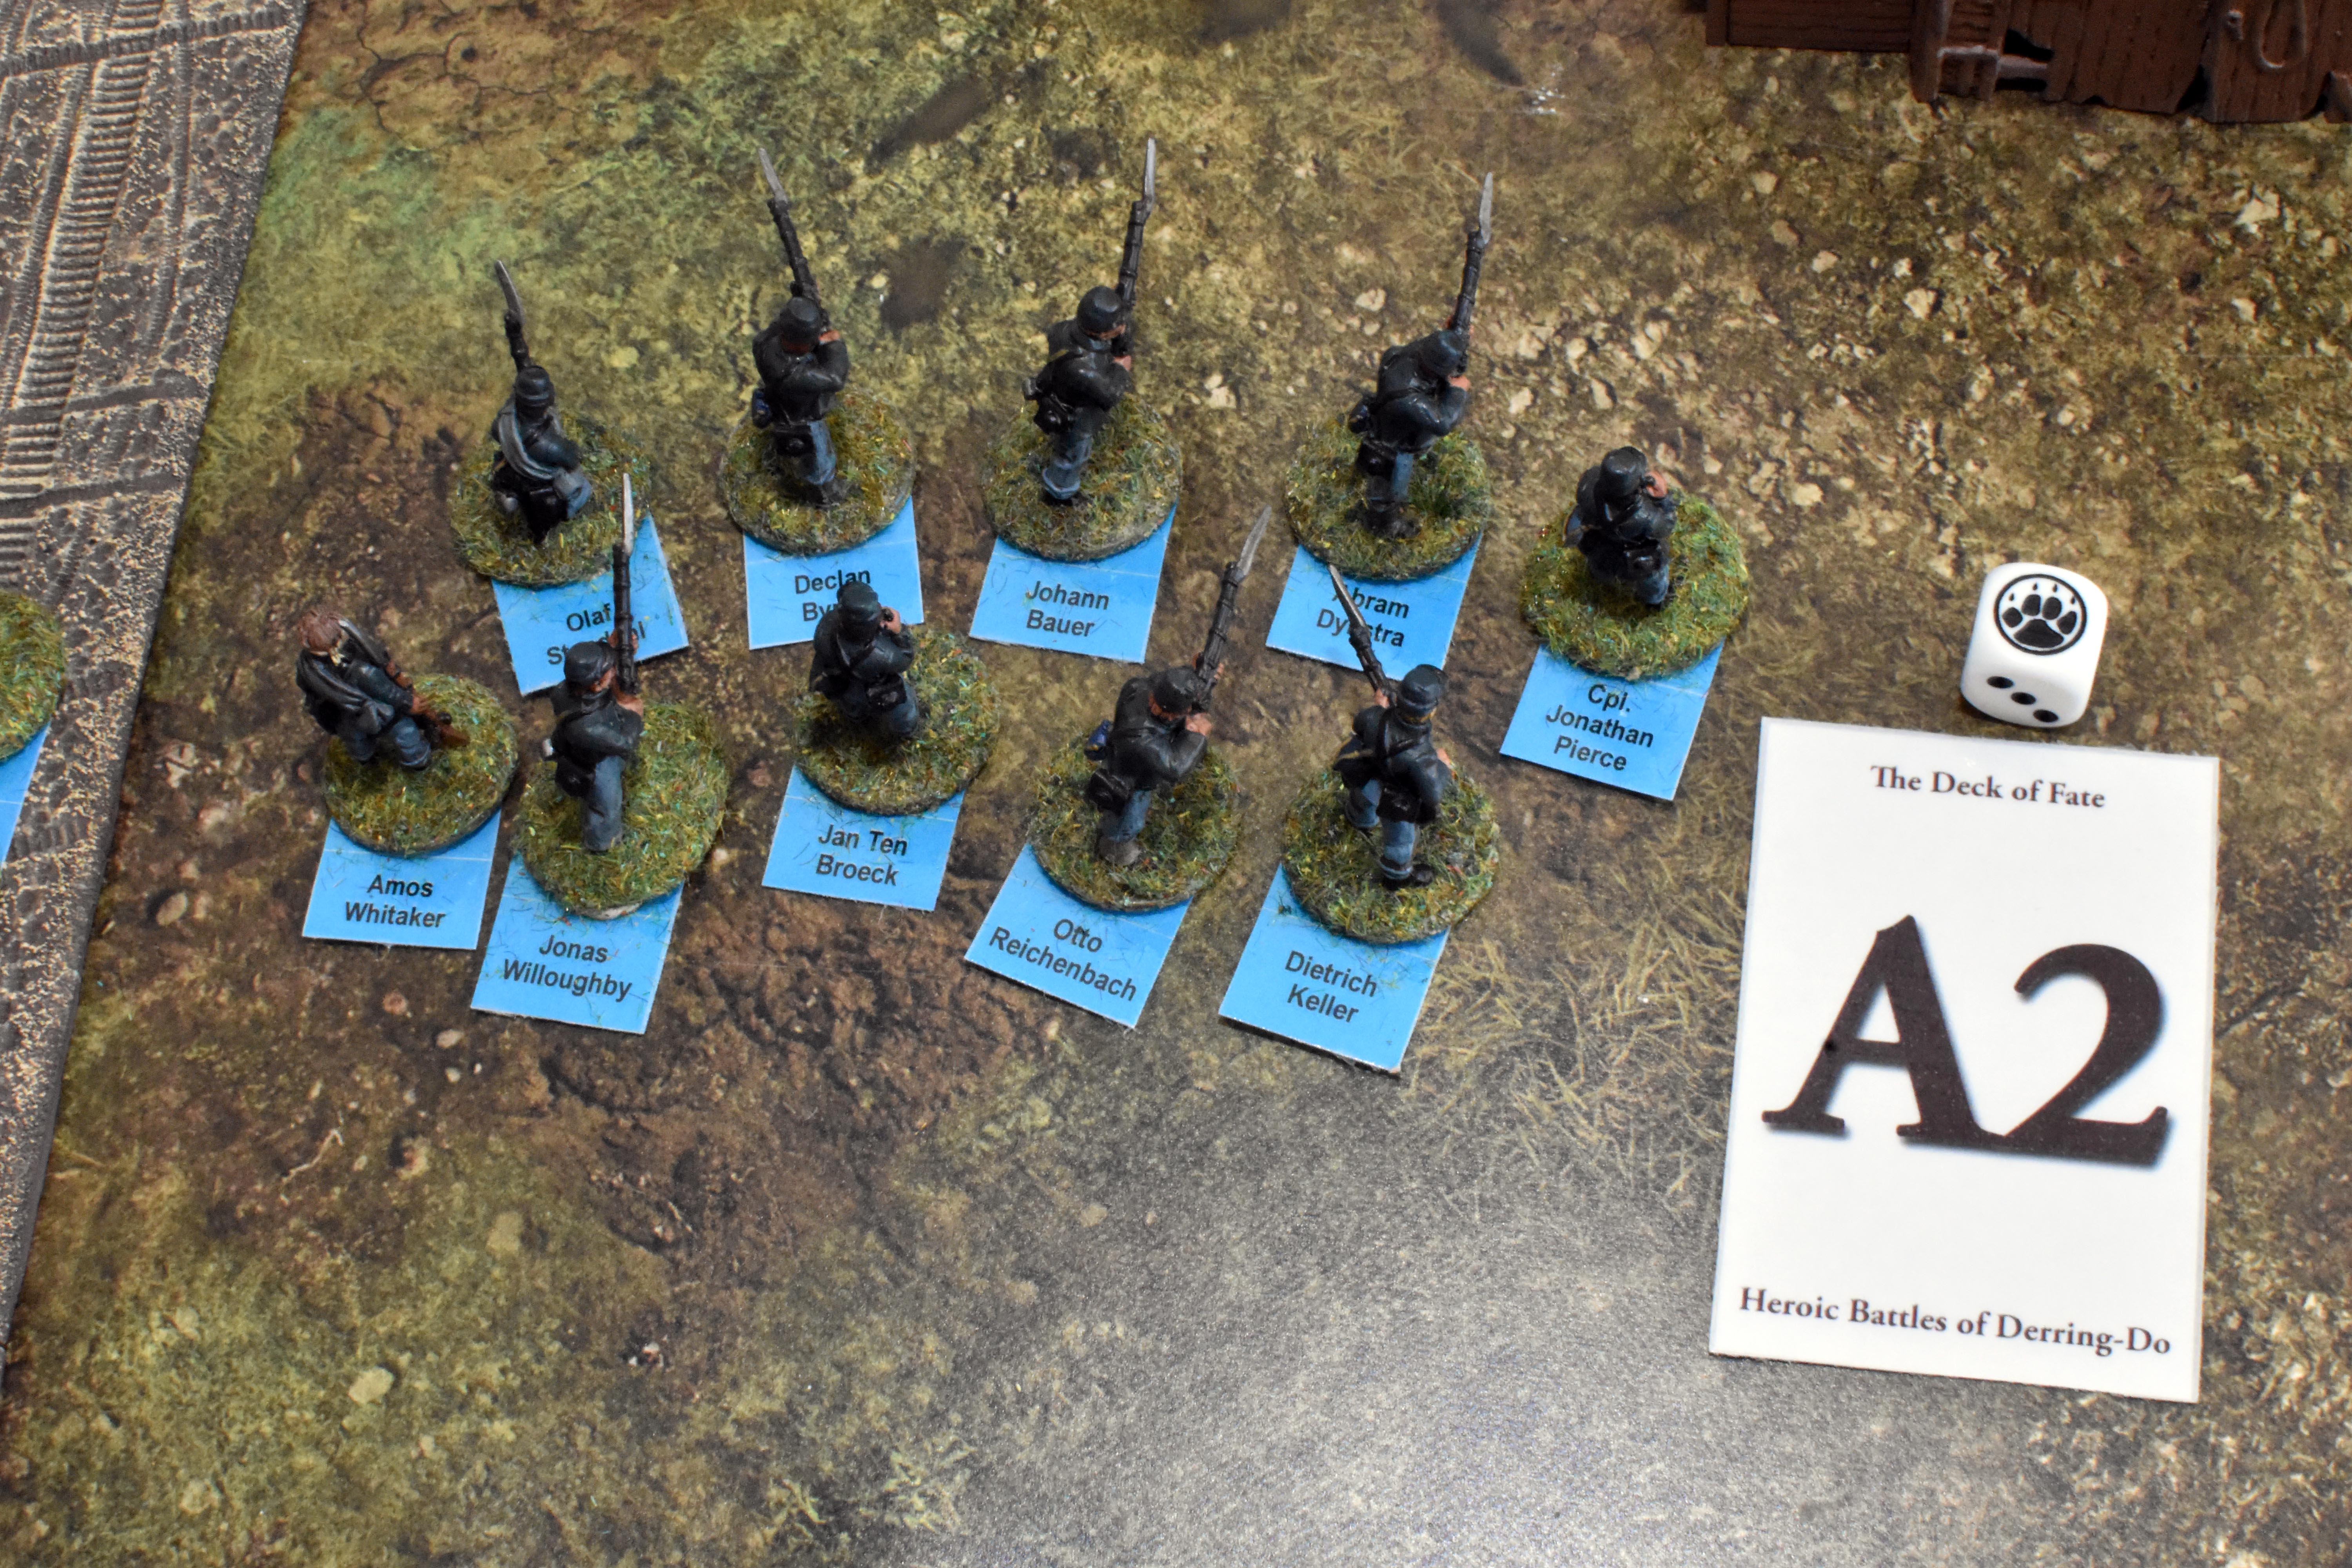
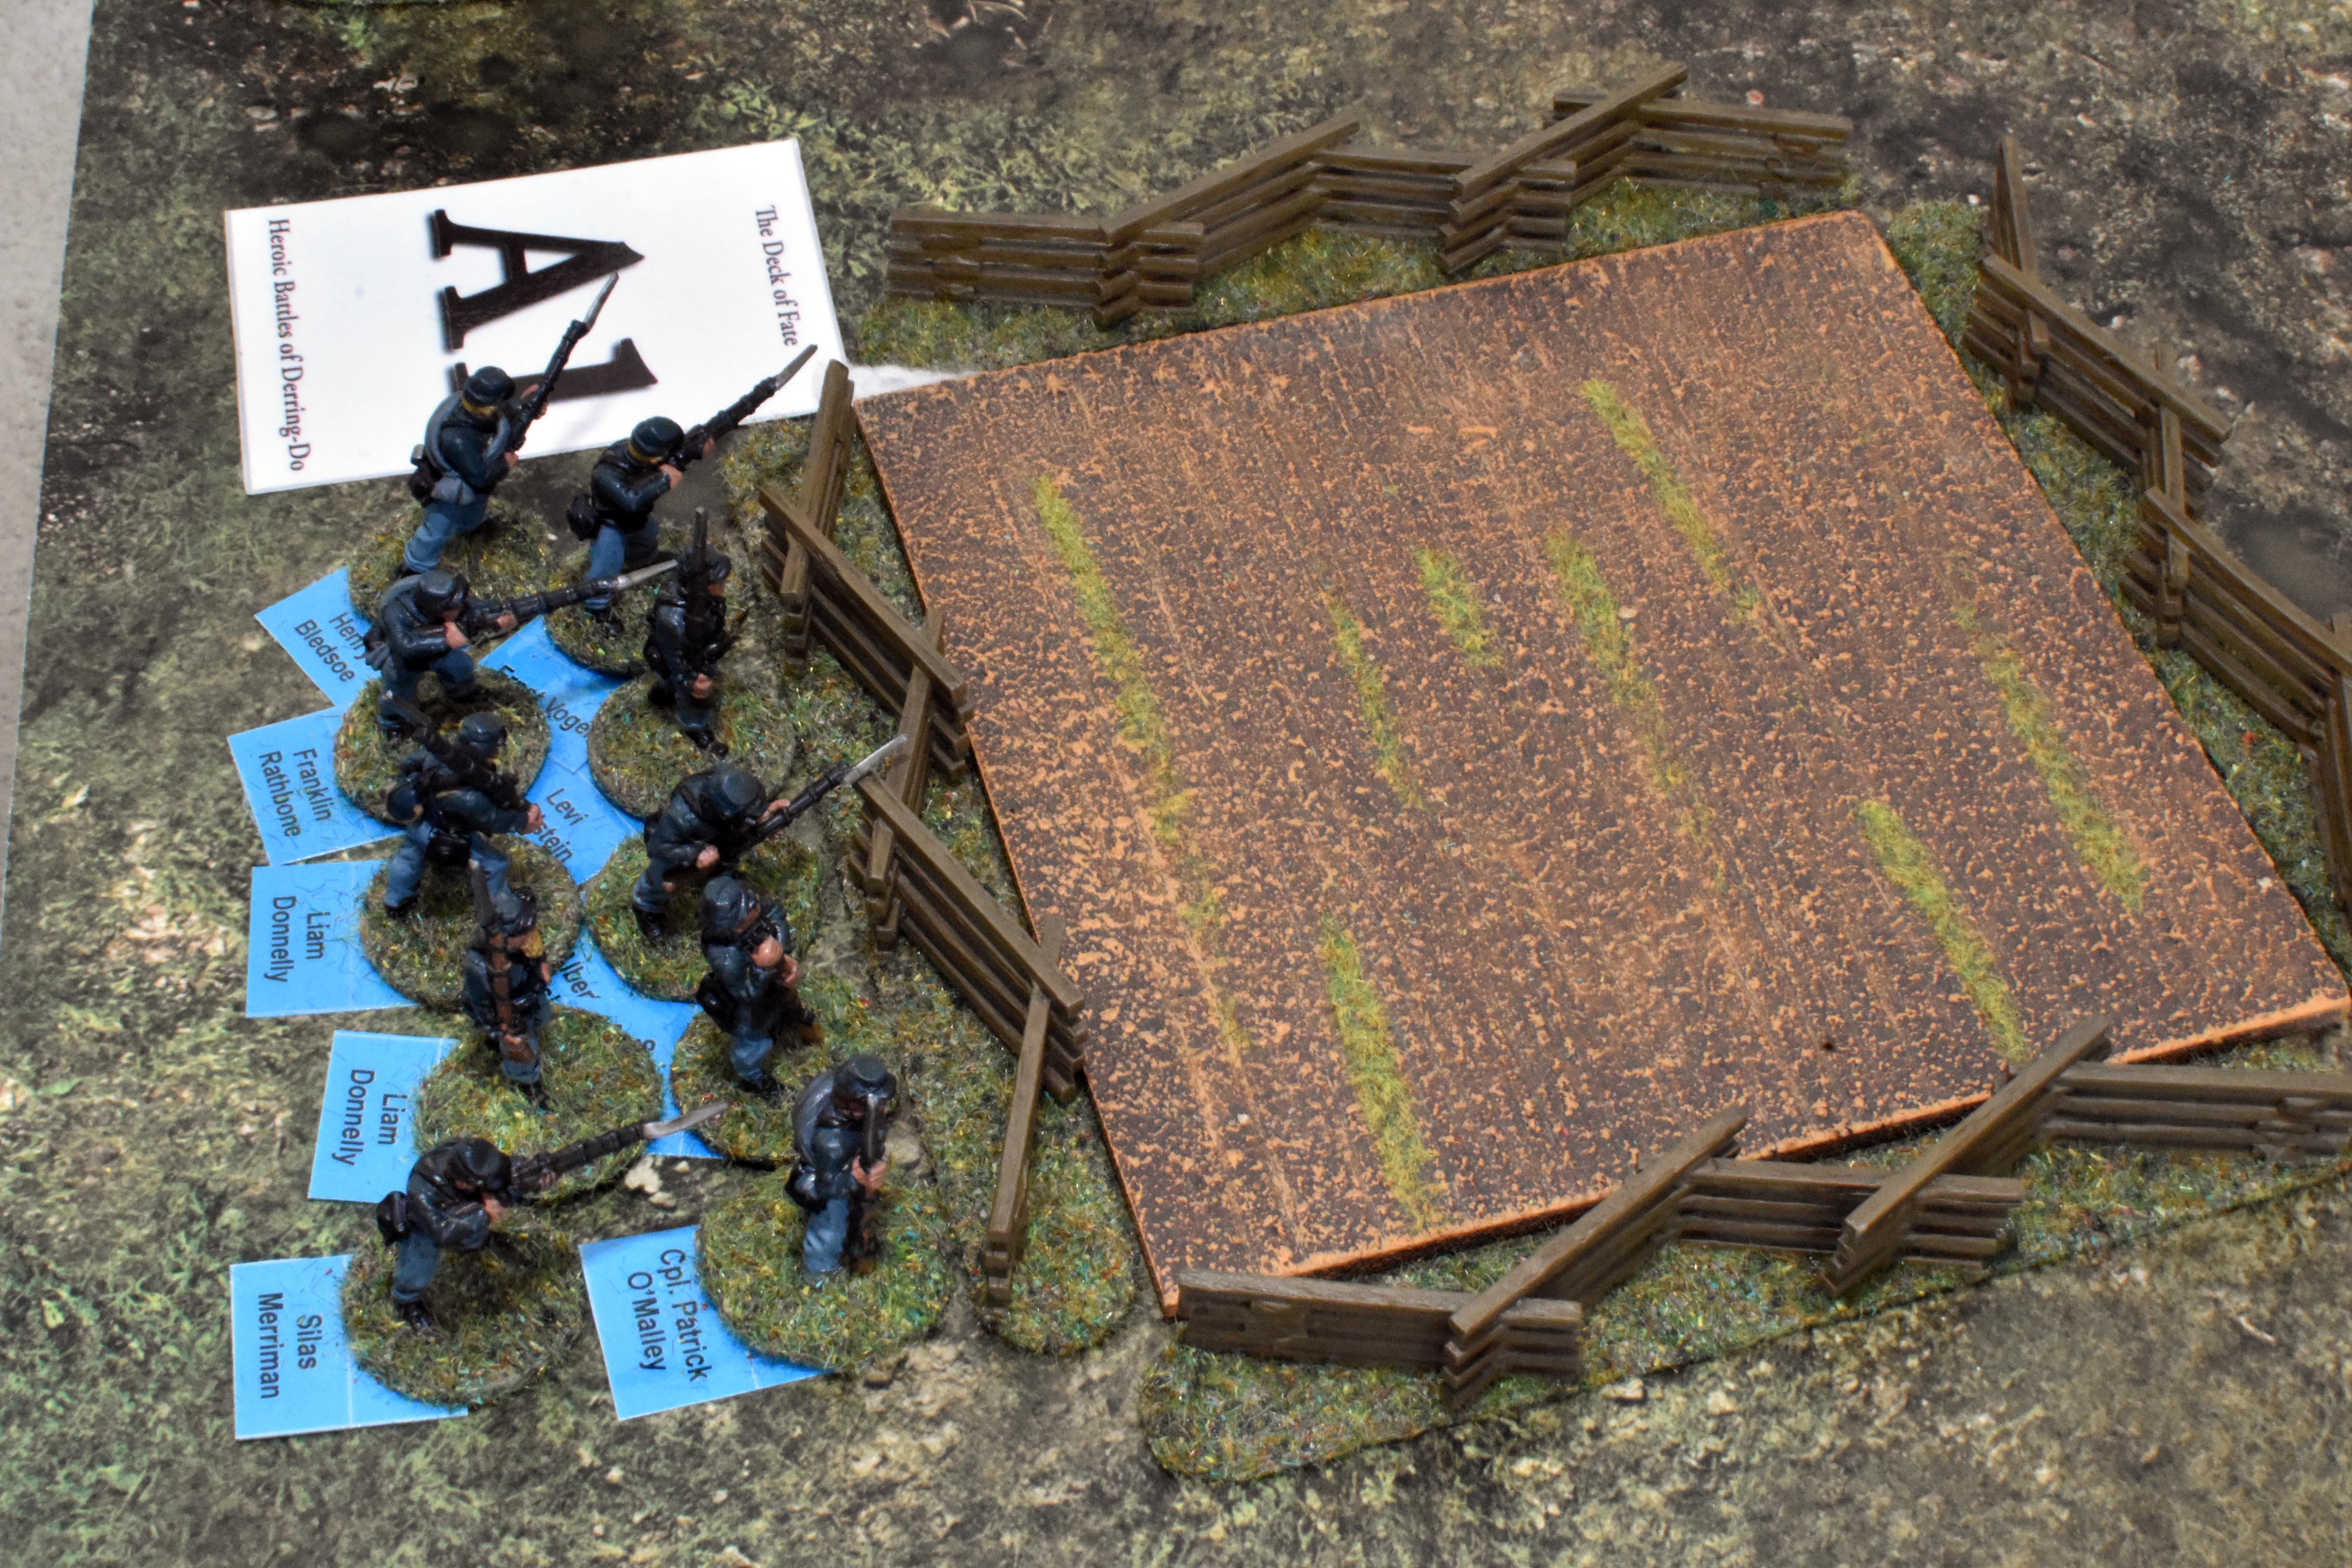
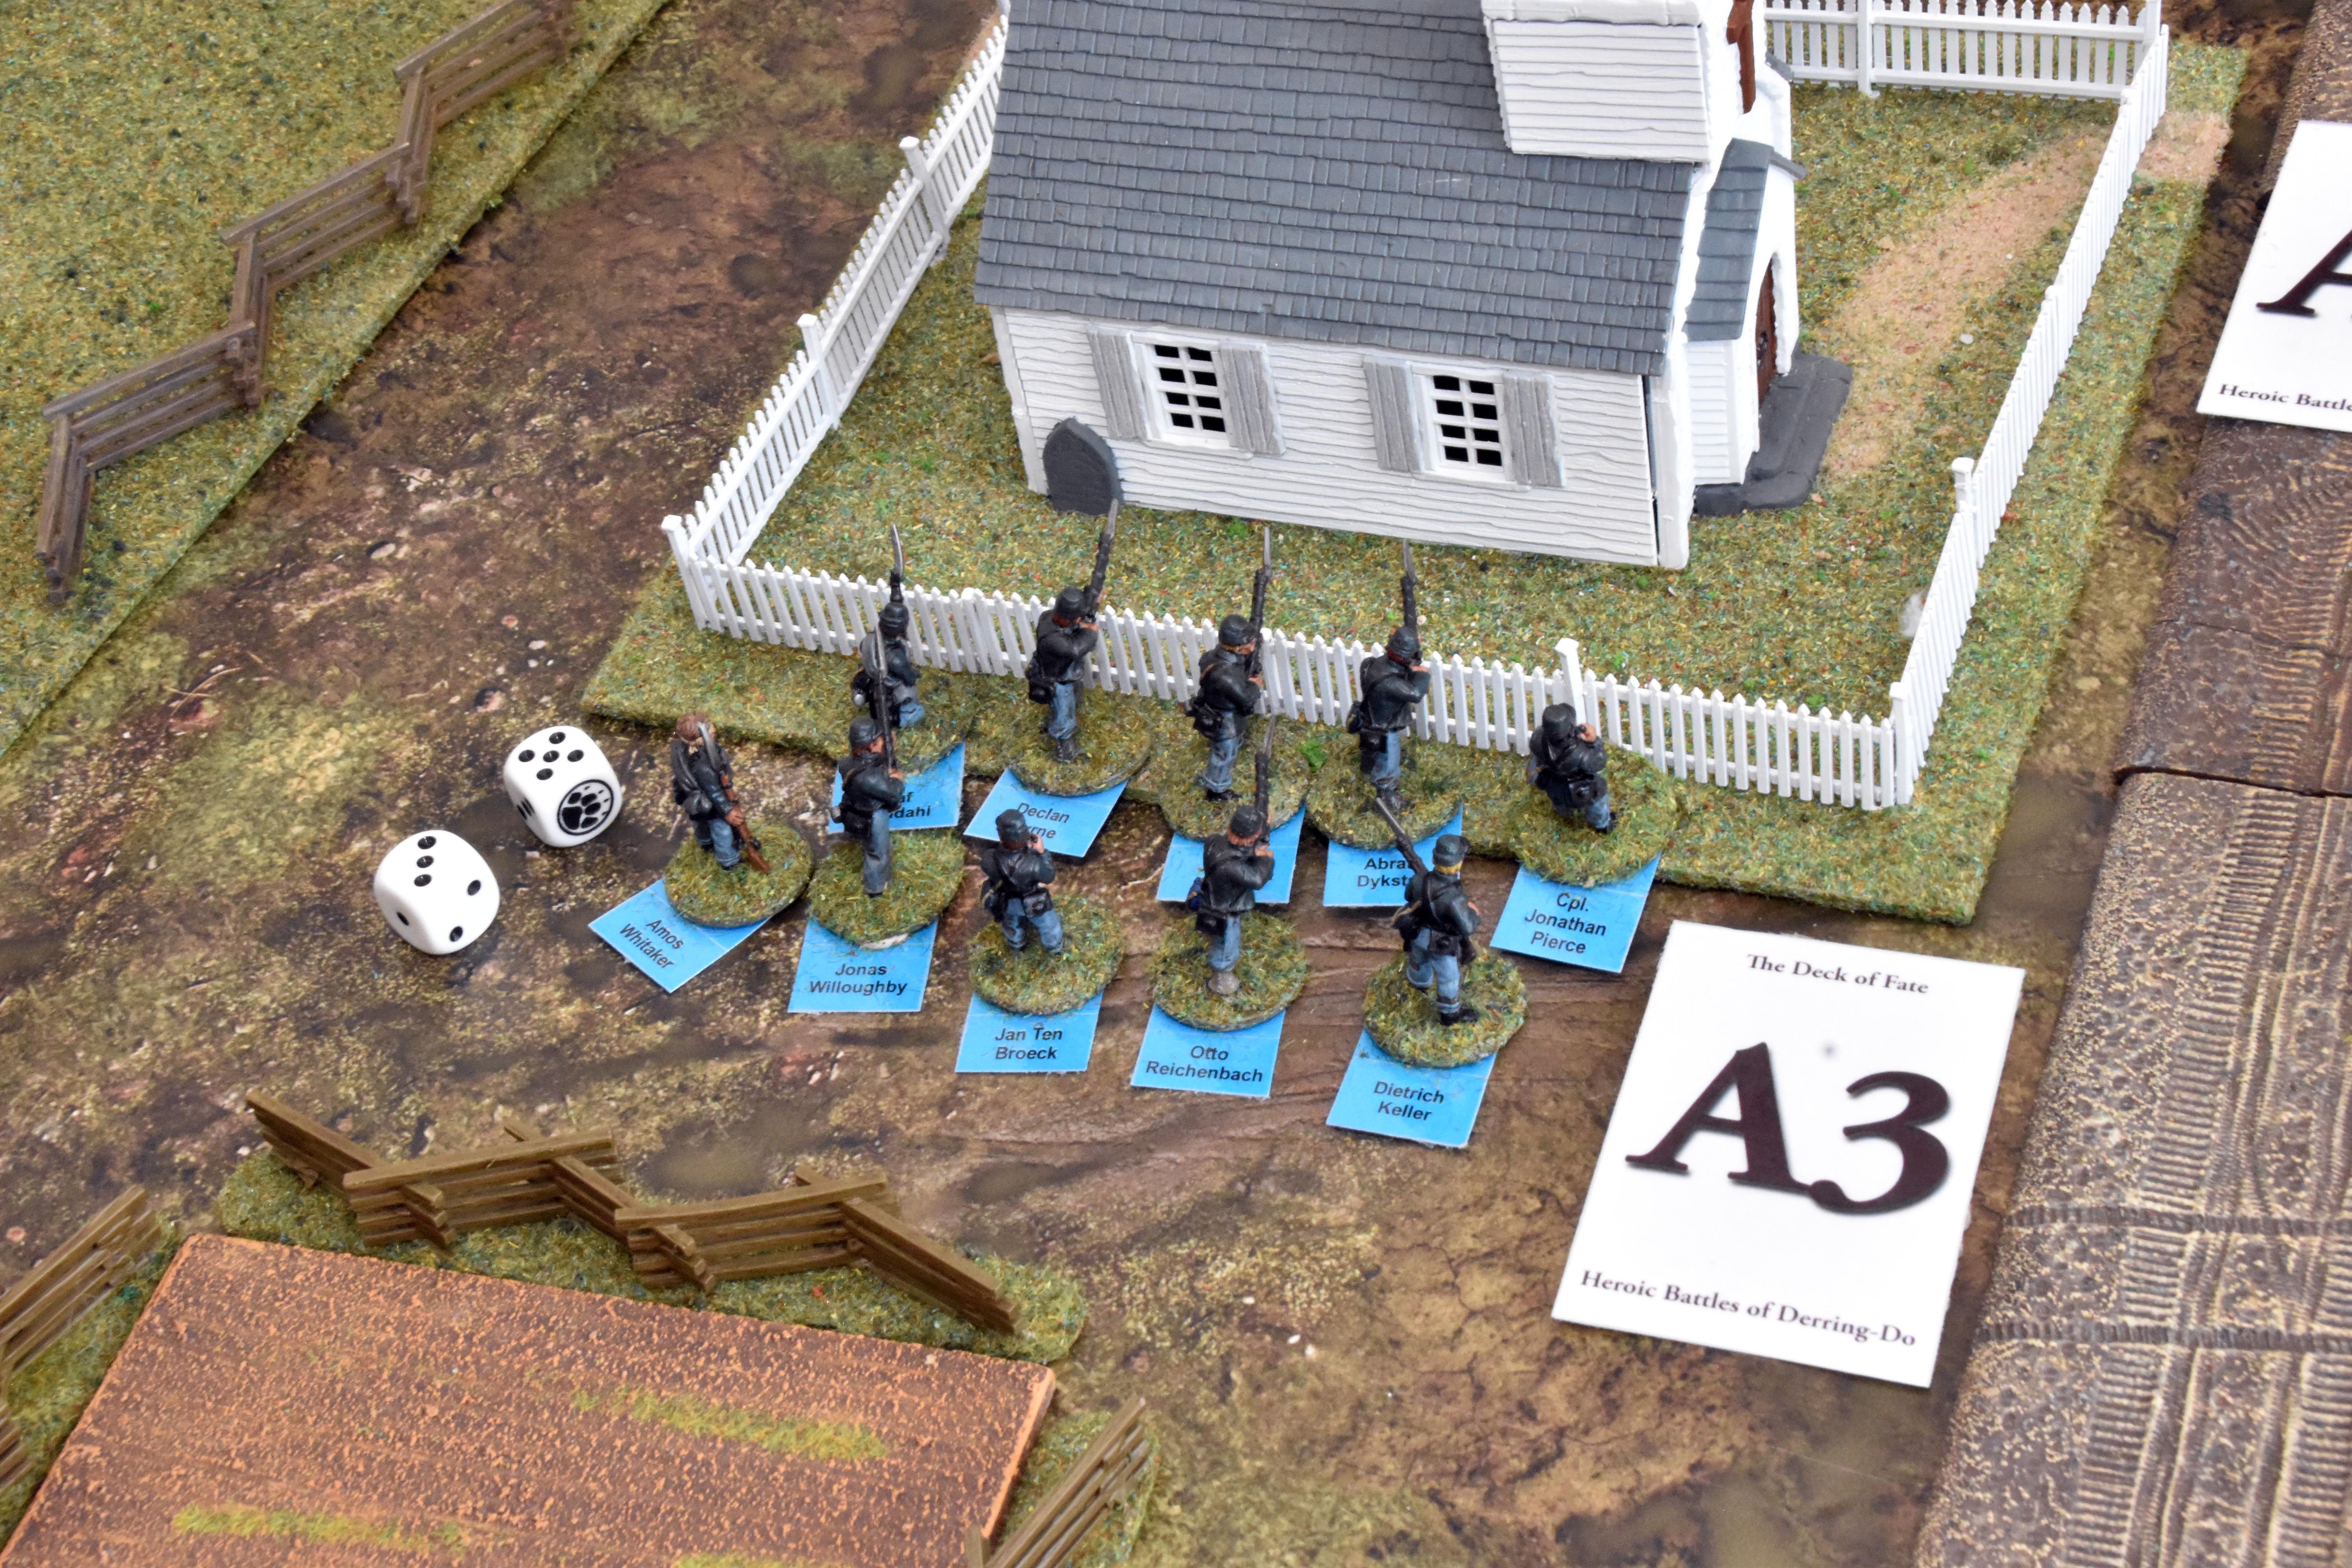
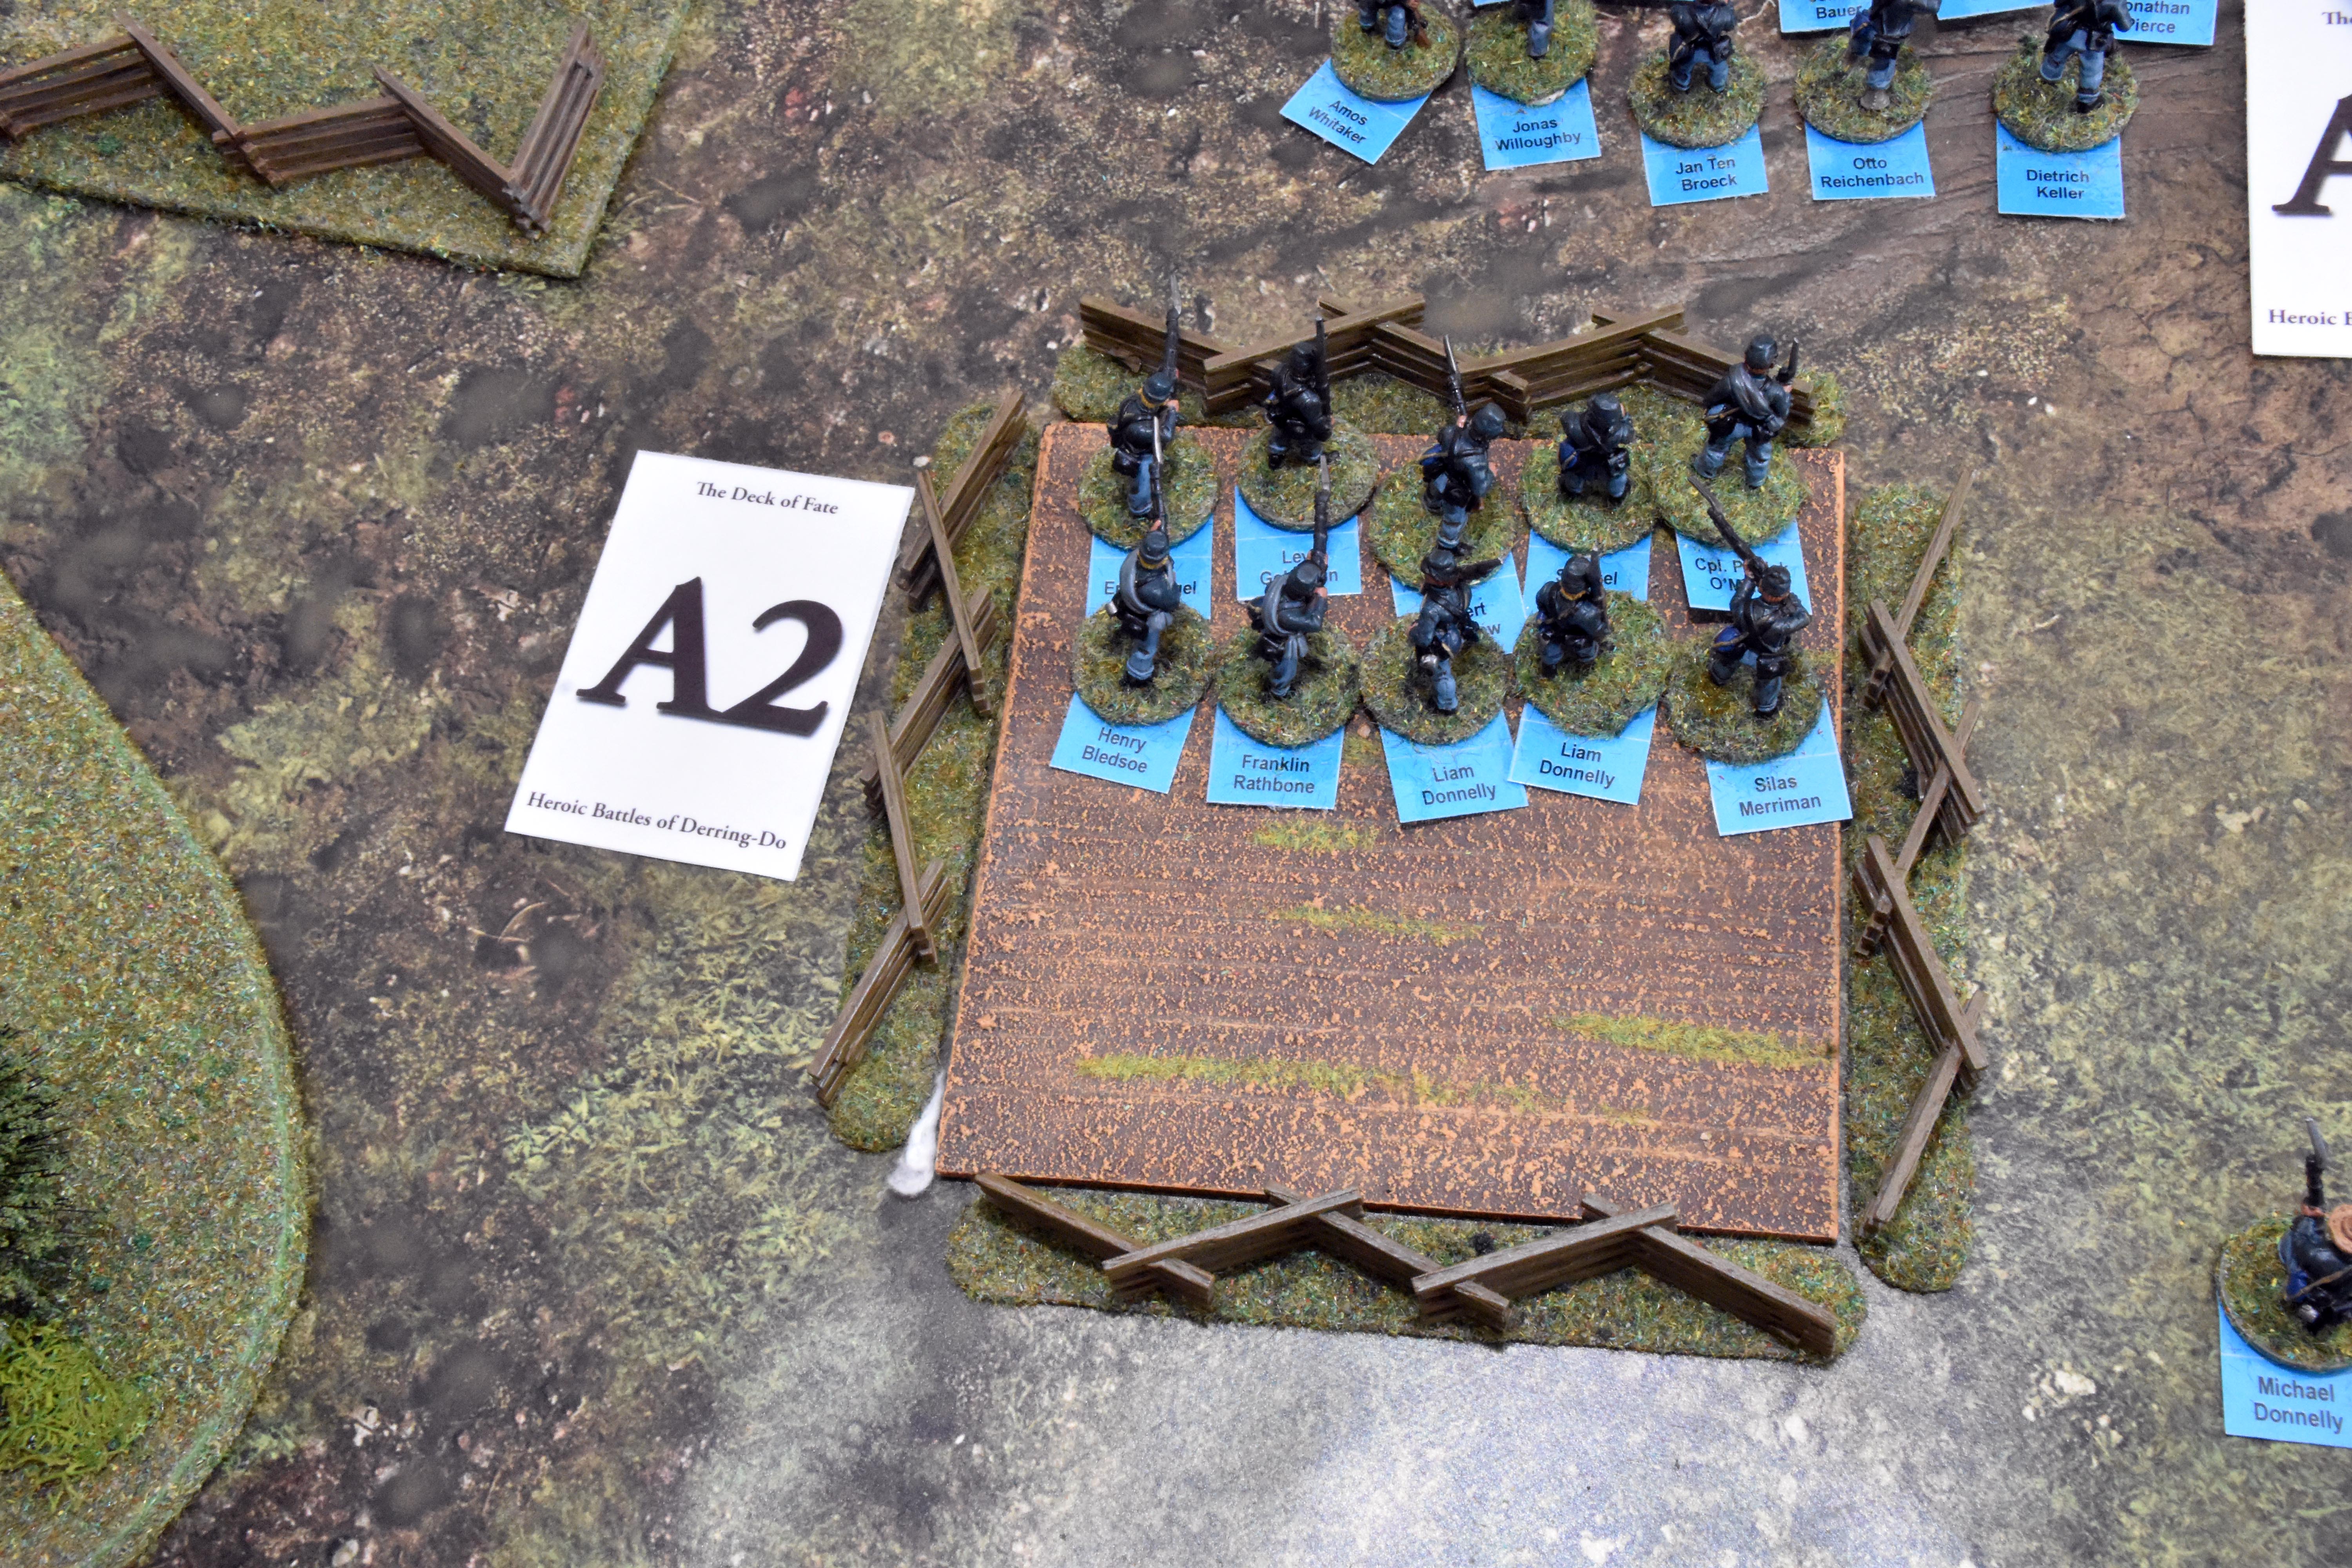
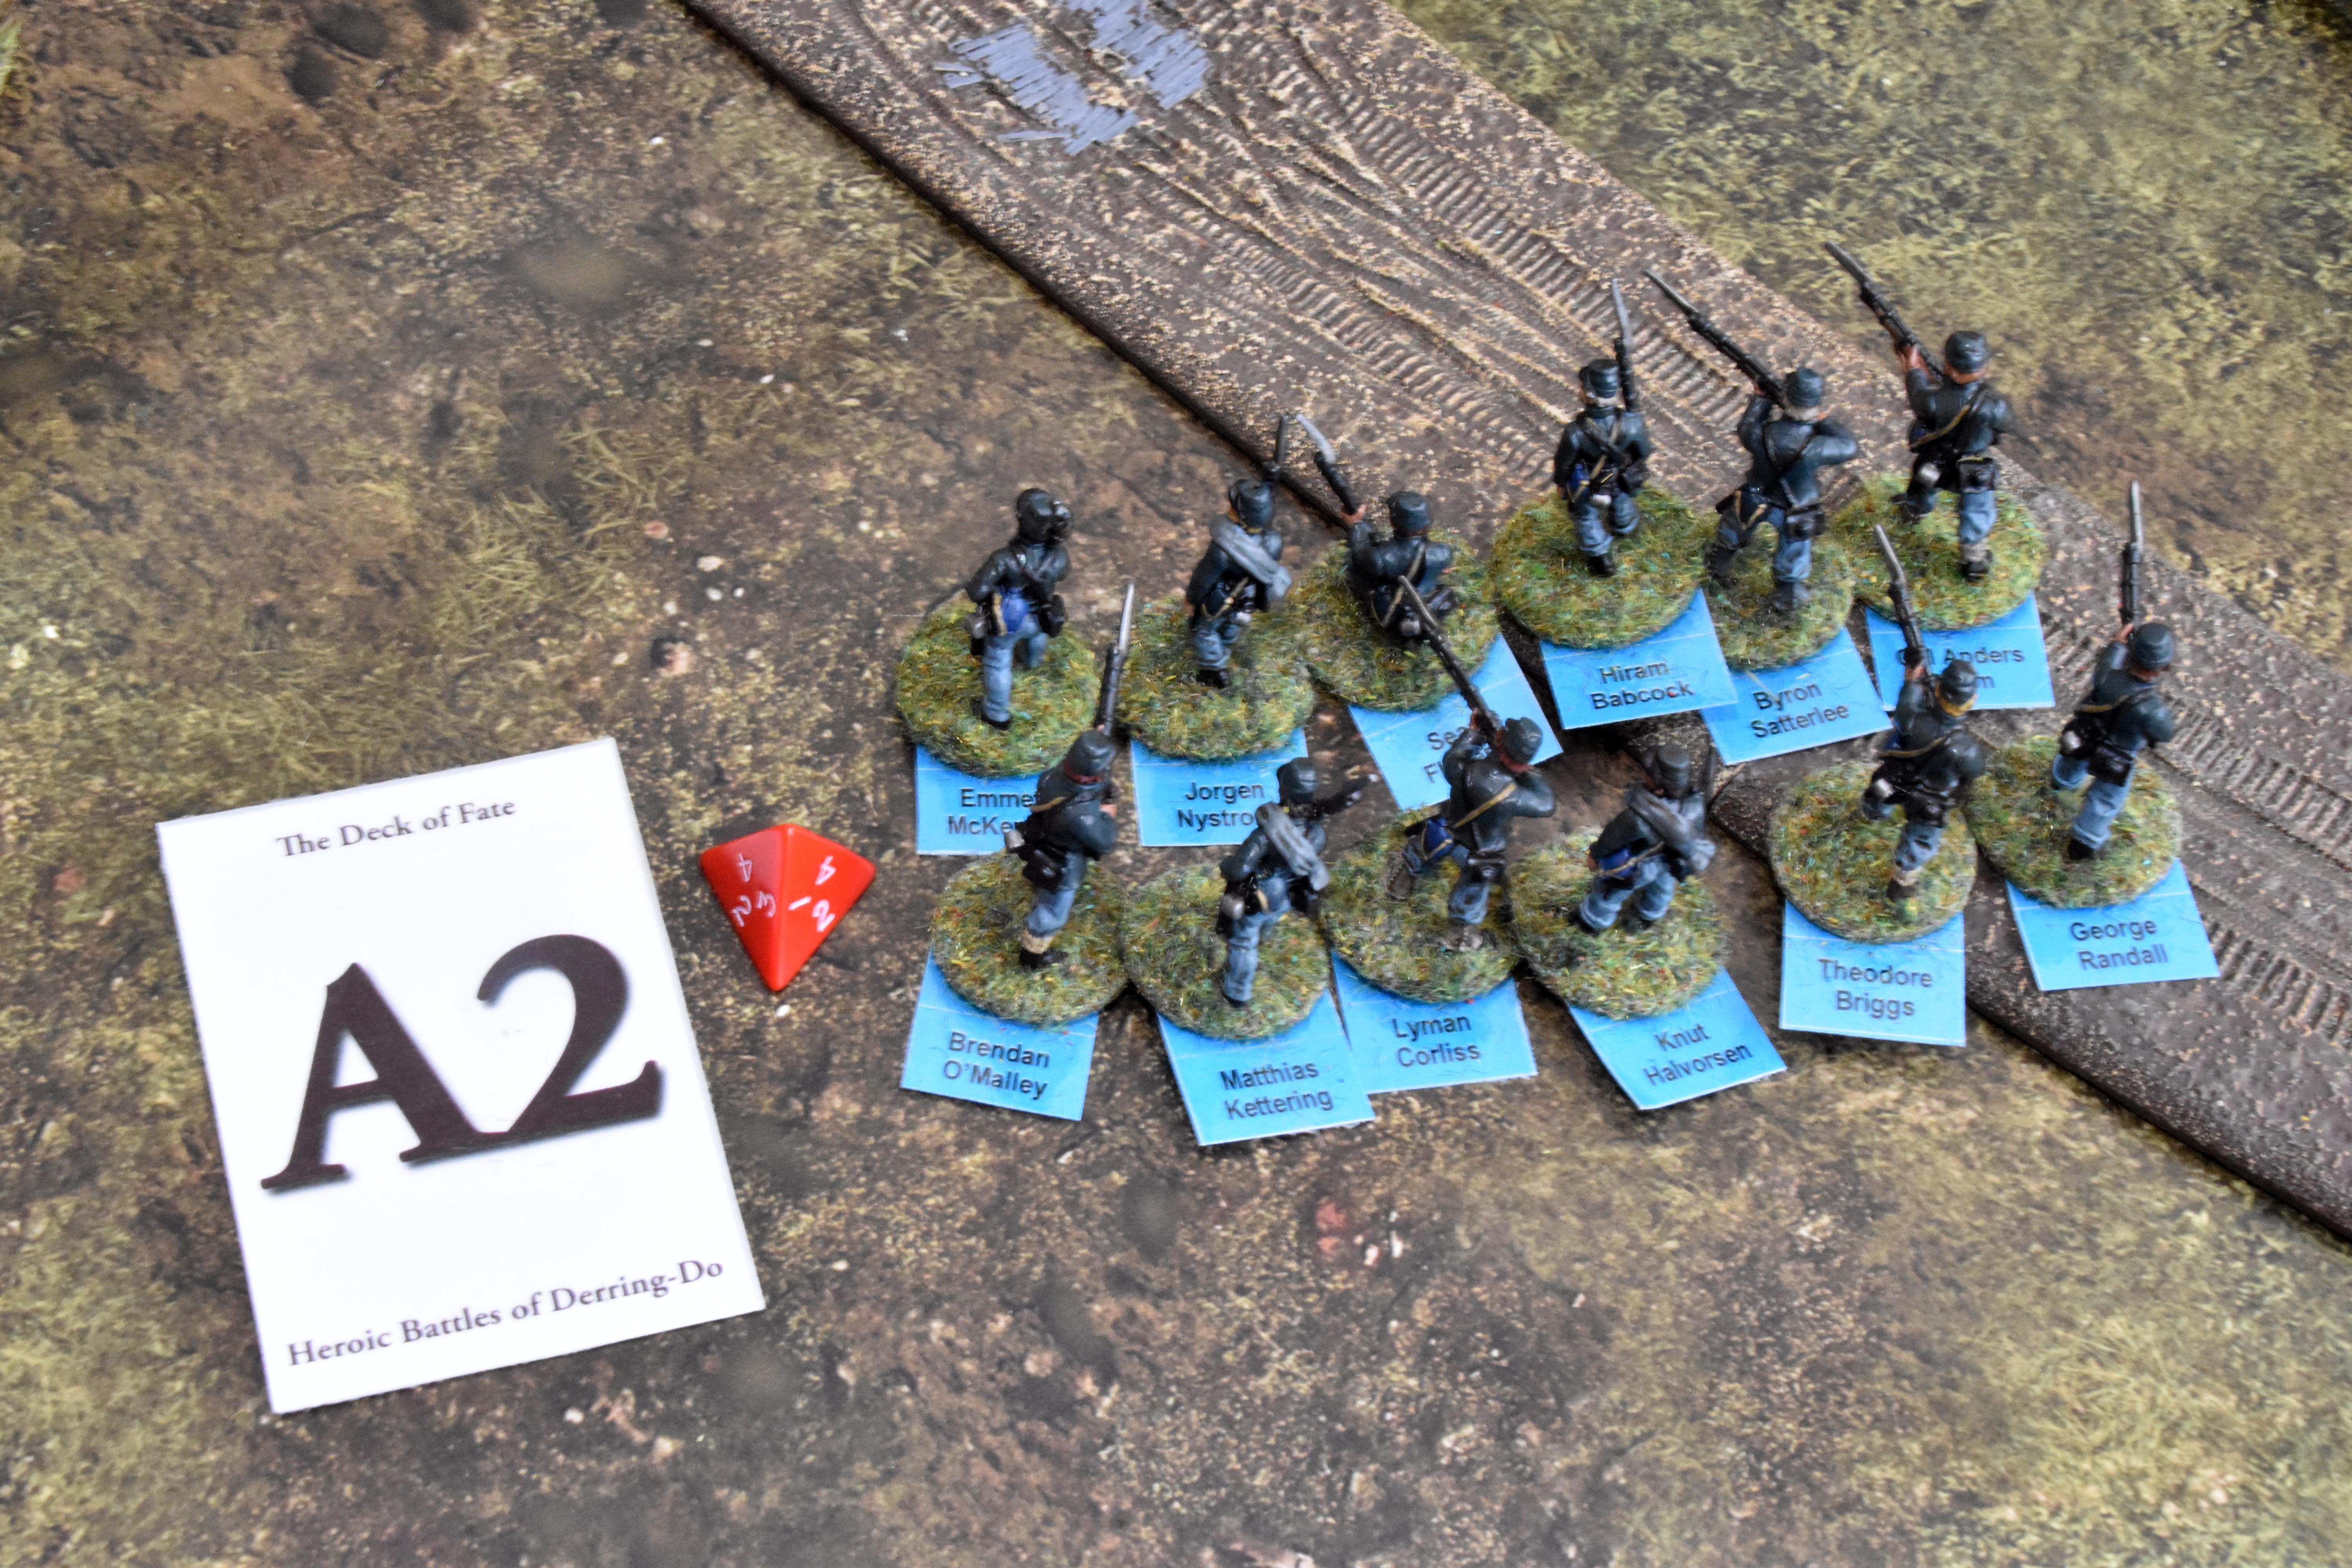
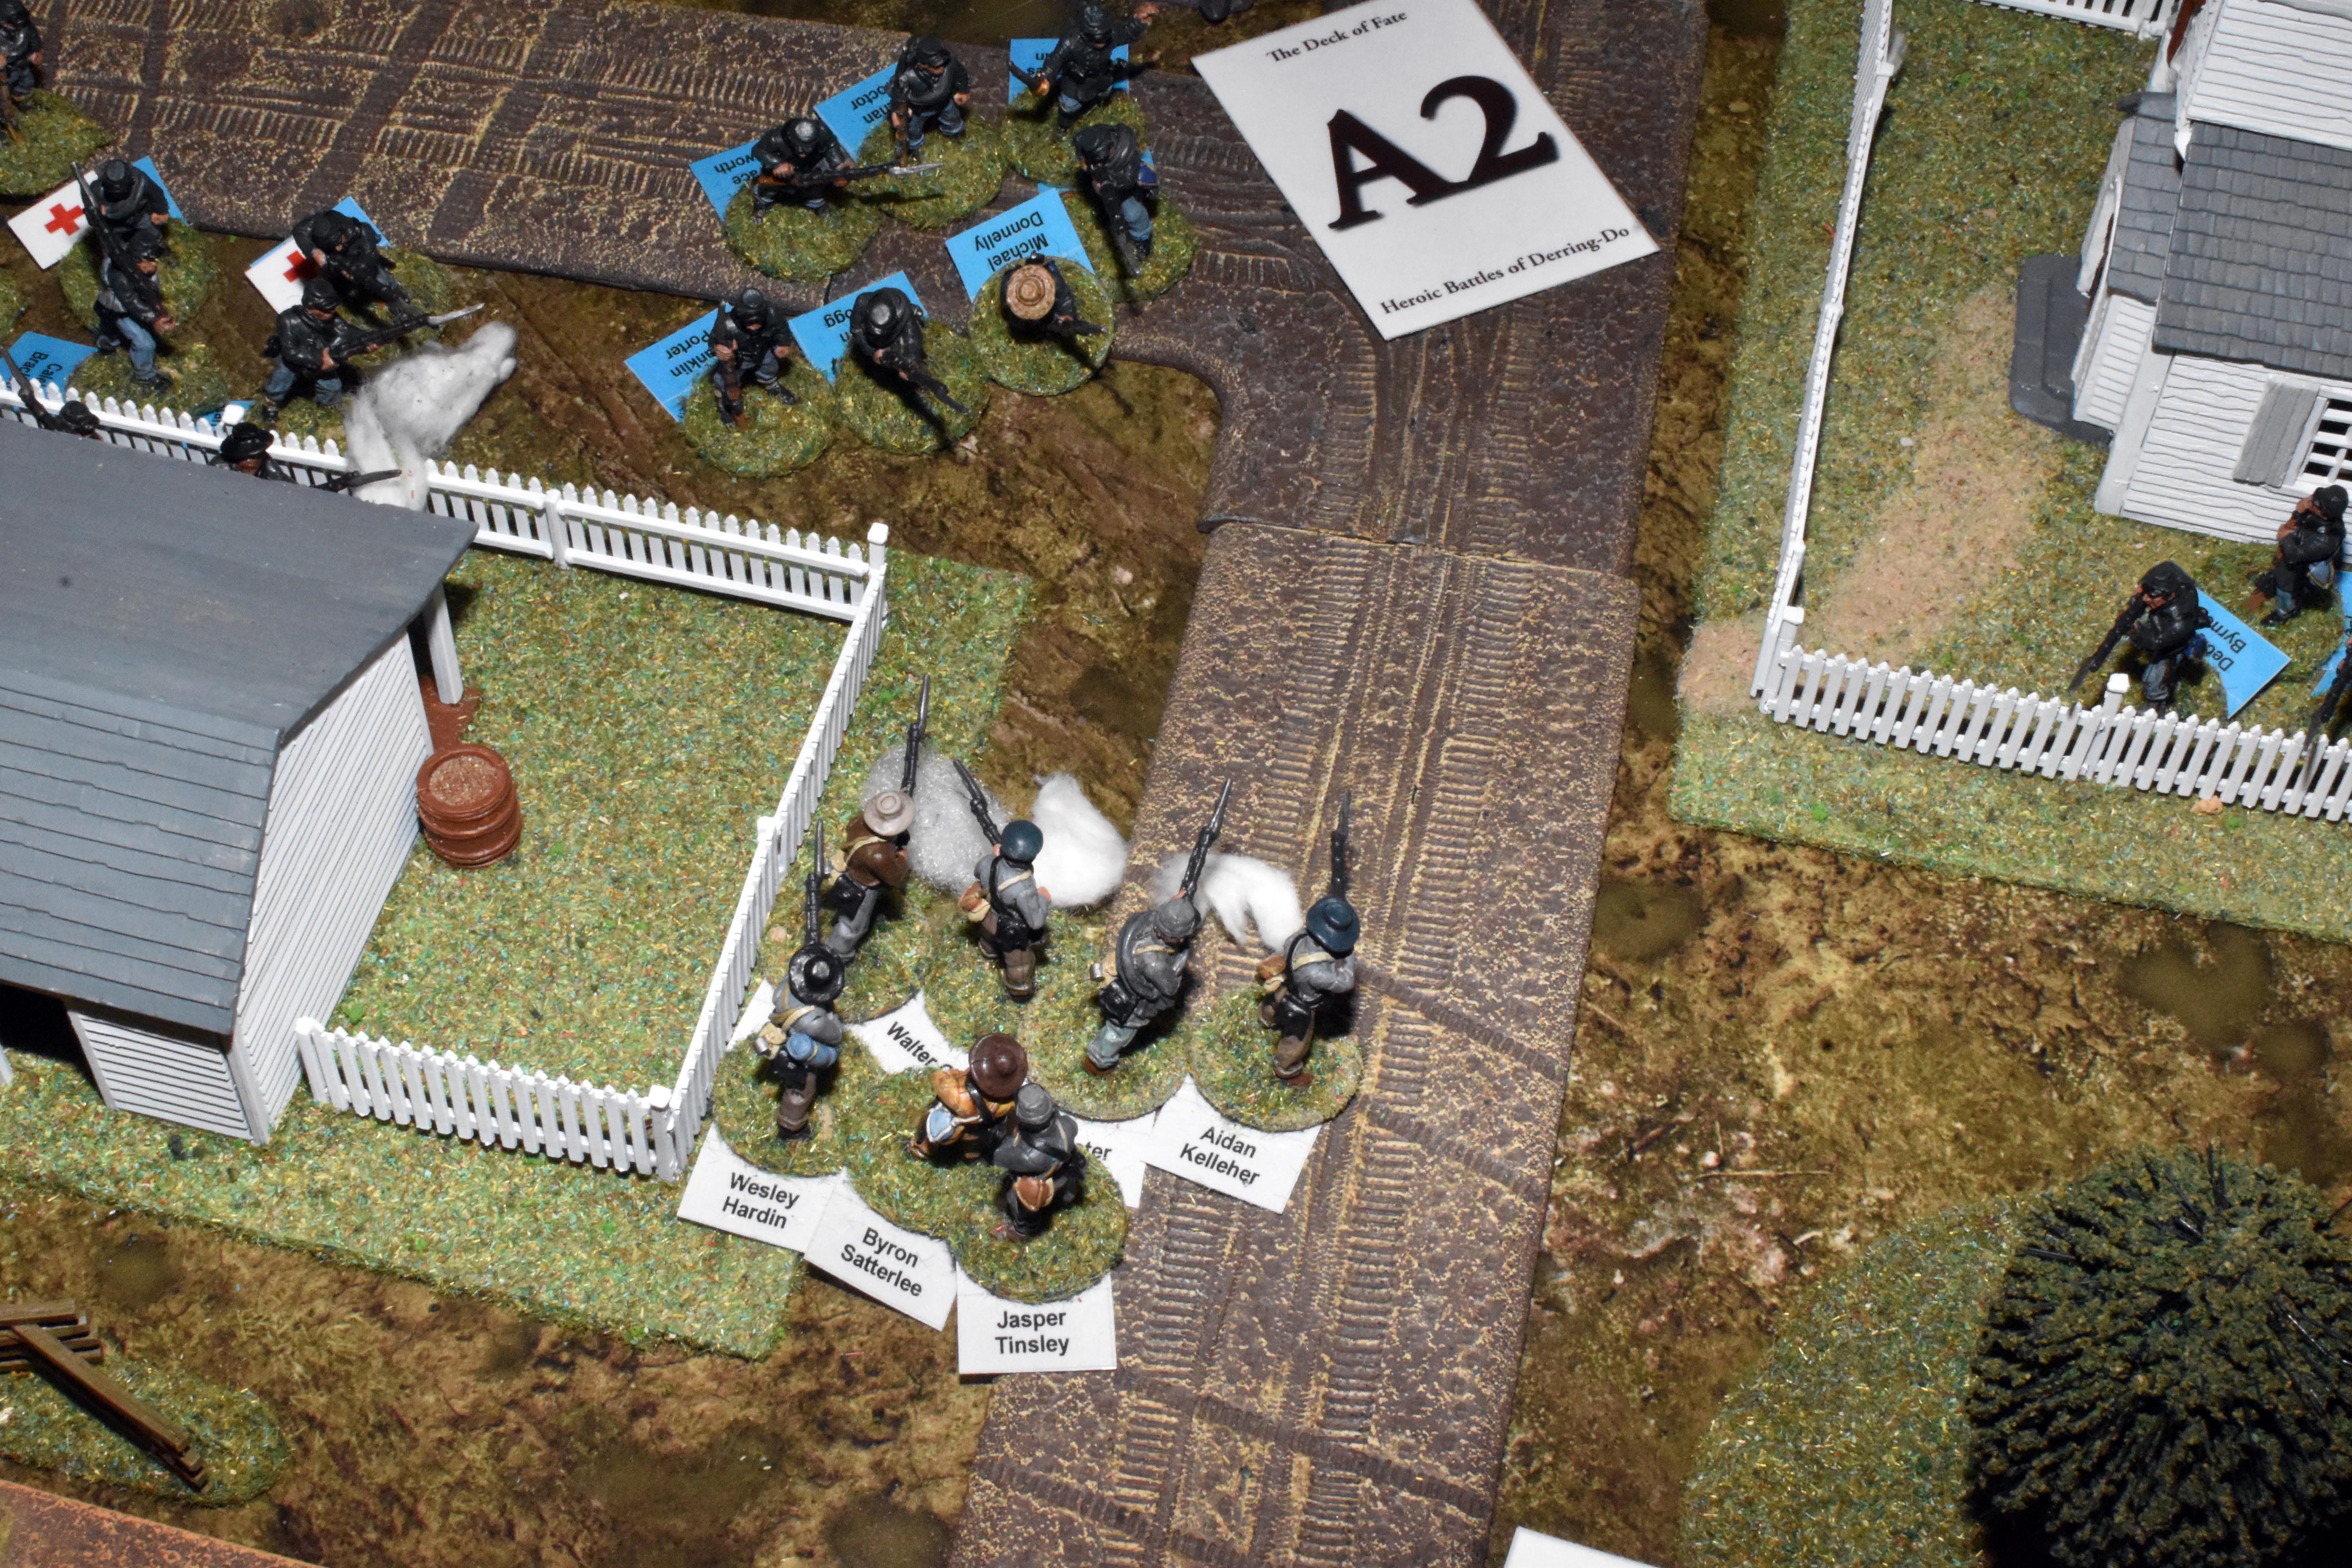
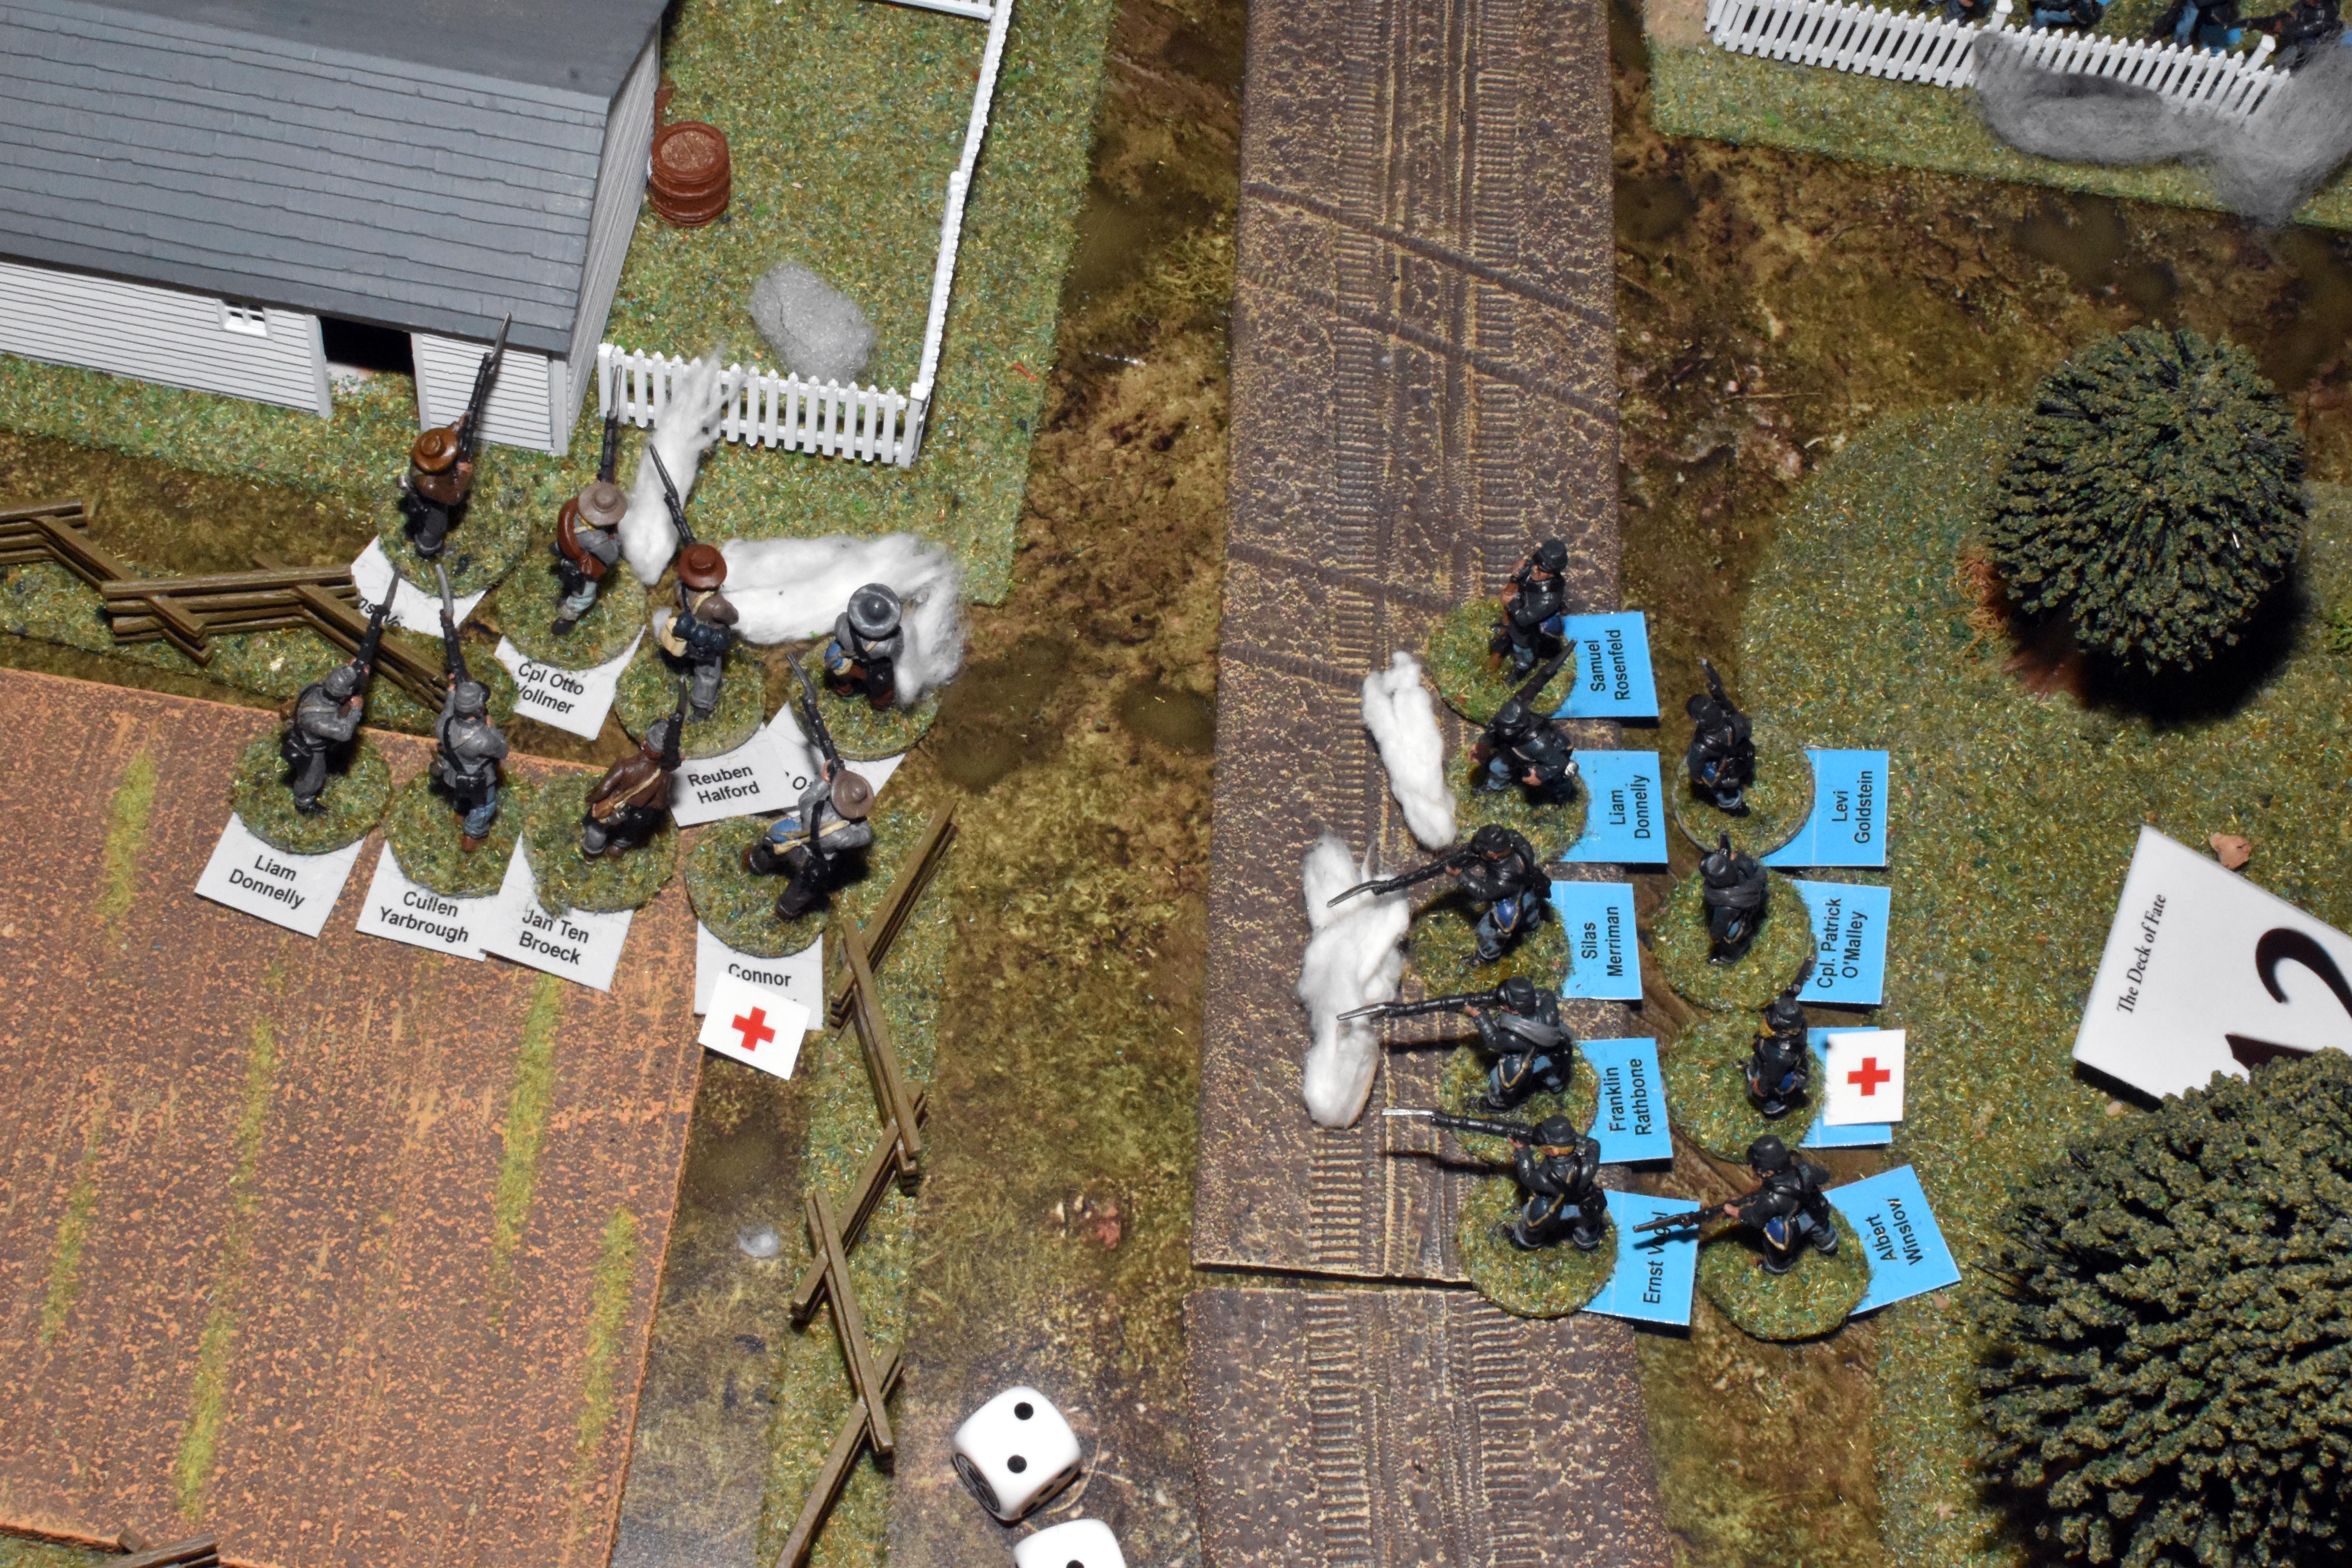
| Union get the next card but only 1 activation. This means they can only move the 6" regardless of formation. In this case they are in close order. | The Union are on a roll now with another activation. This time two are available. The last green unit comes on but again rolls poorly so they only get a 7" move on arrival. | The regular Union troops now start to arrive in earnest. Corporal Pierce doesn't dilly dally as his troops arrive in open order and he rolls a 6 to add to his initial 6" | All Union activity now it seems, but again just a solitary 6" move which has to stop at the barrier. |
![]() |
![]() |
![]() |
![]() |
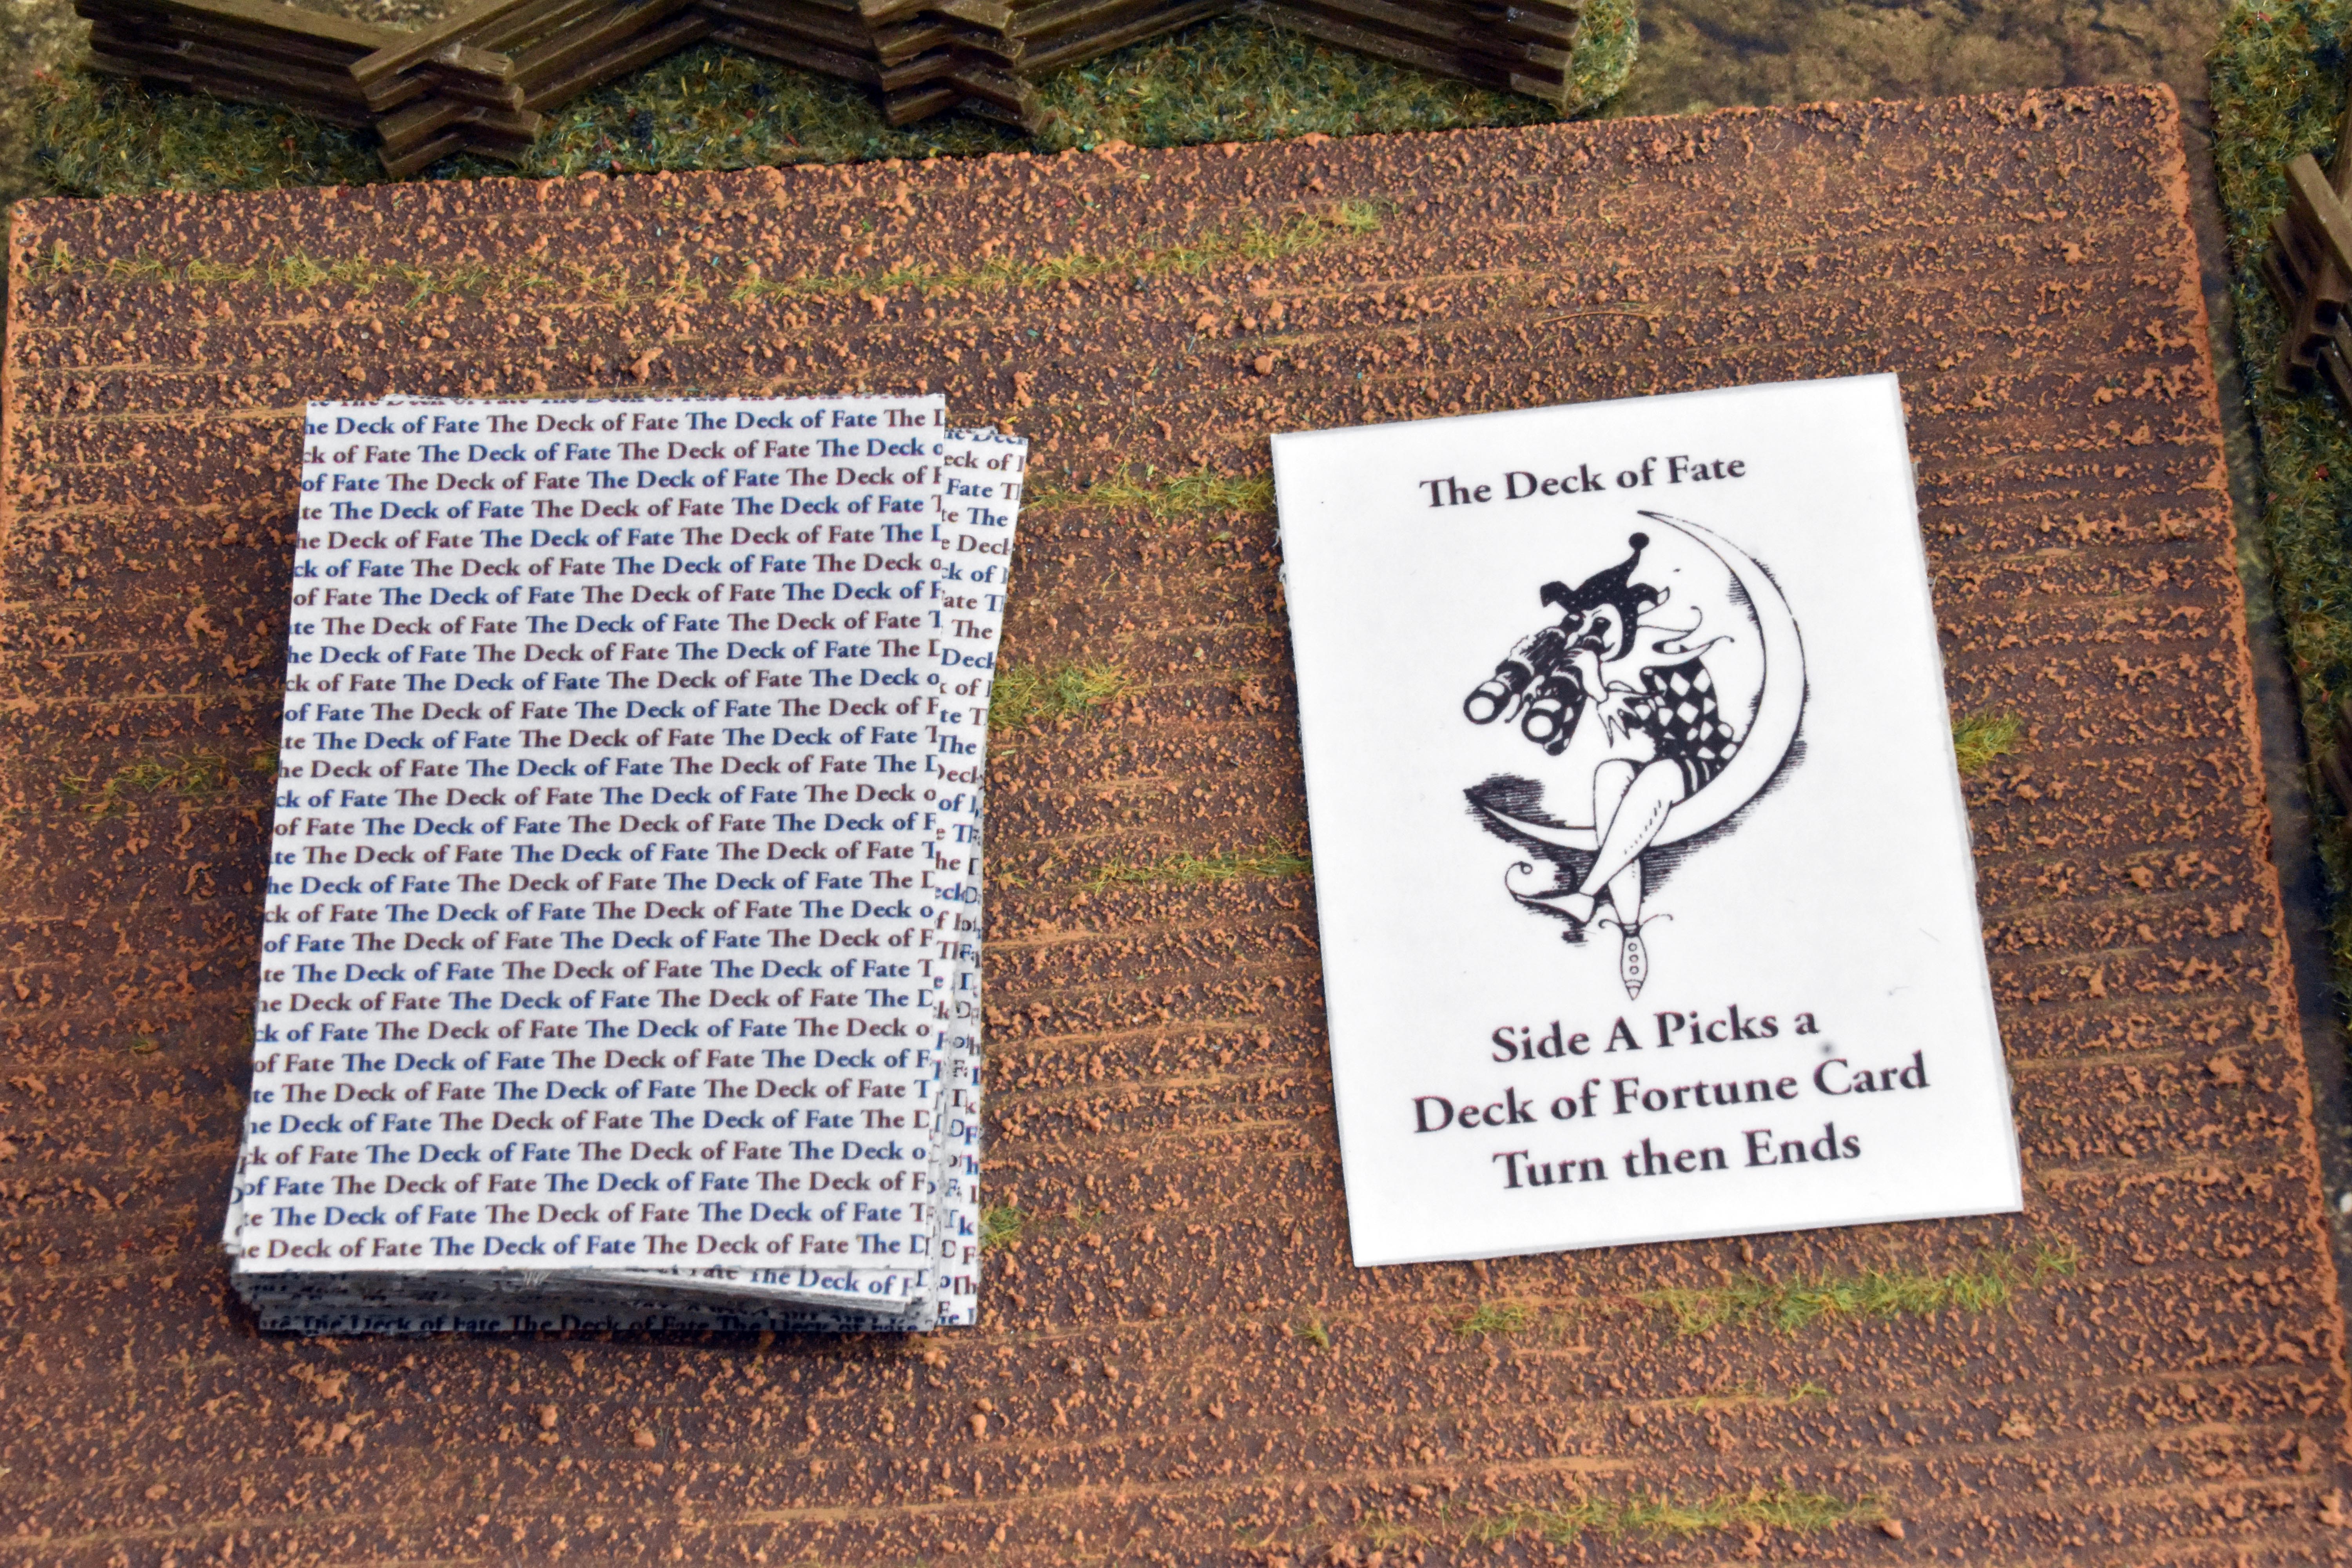
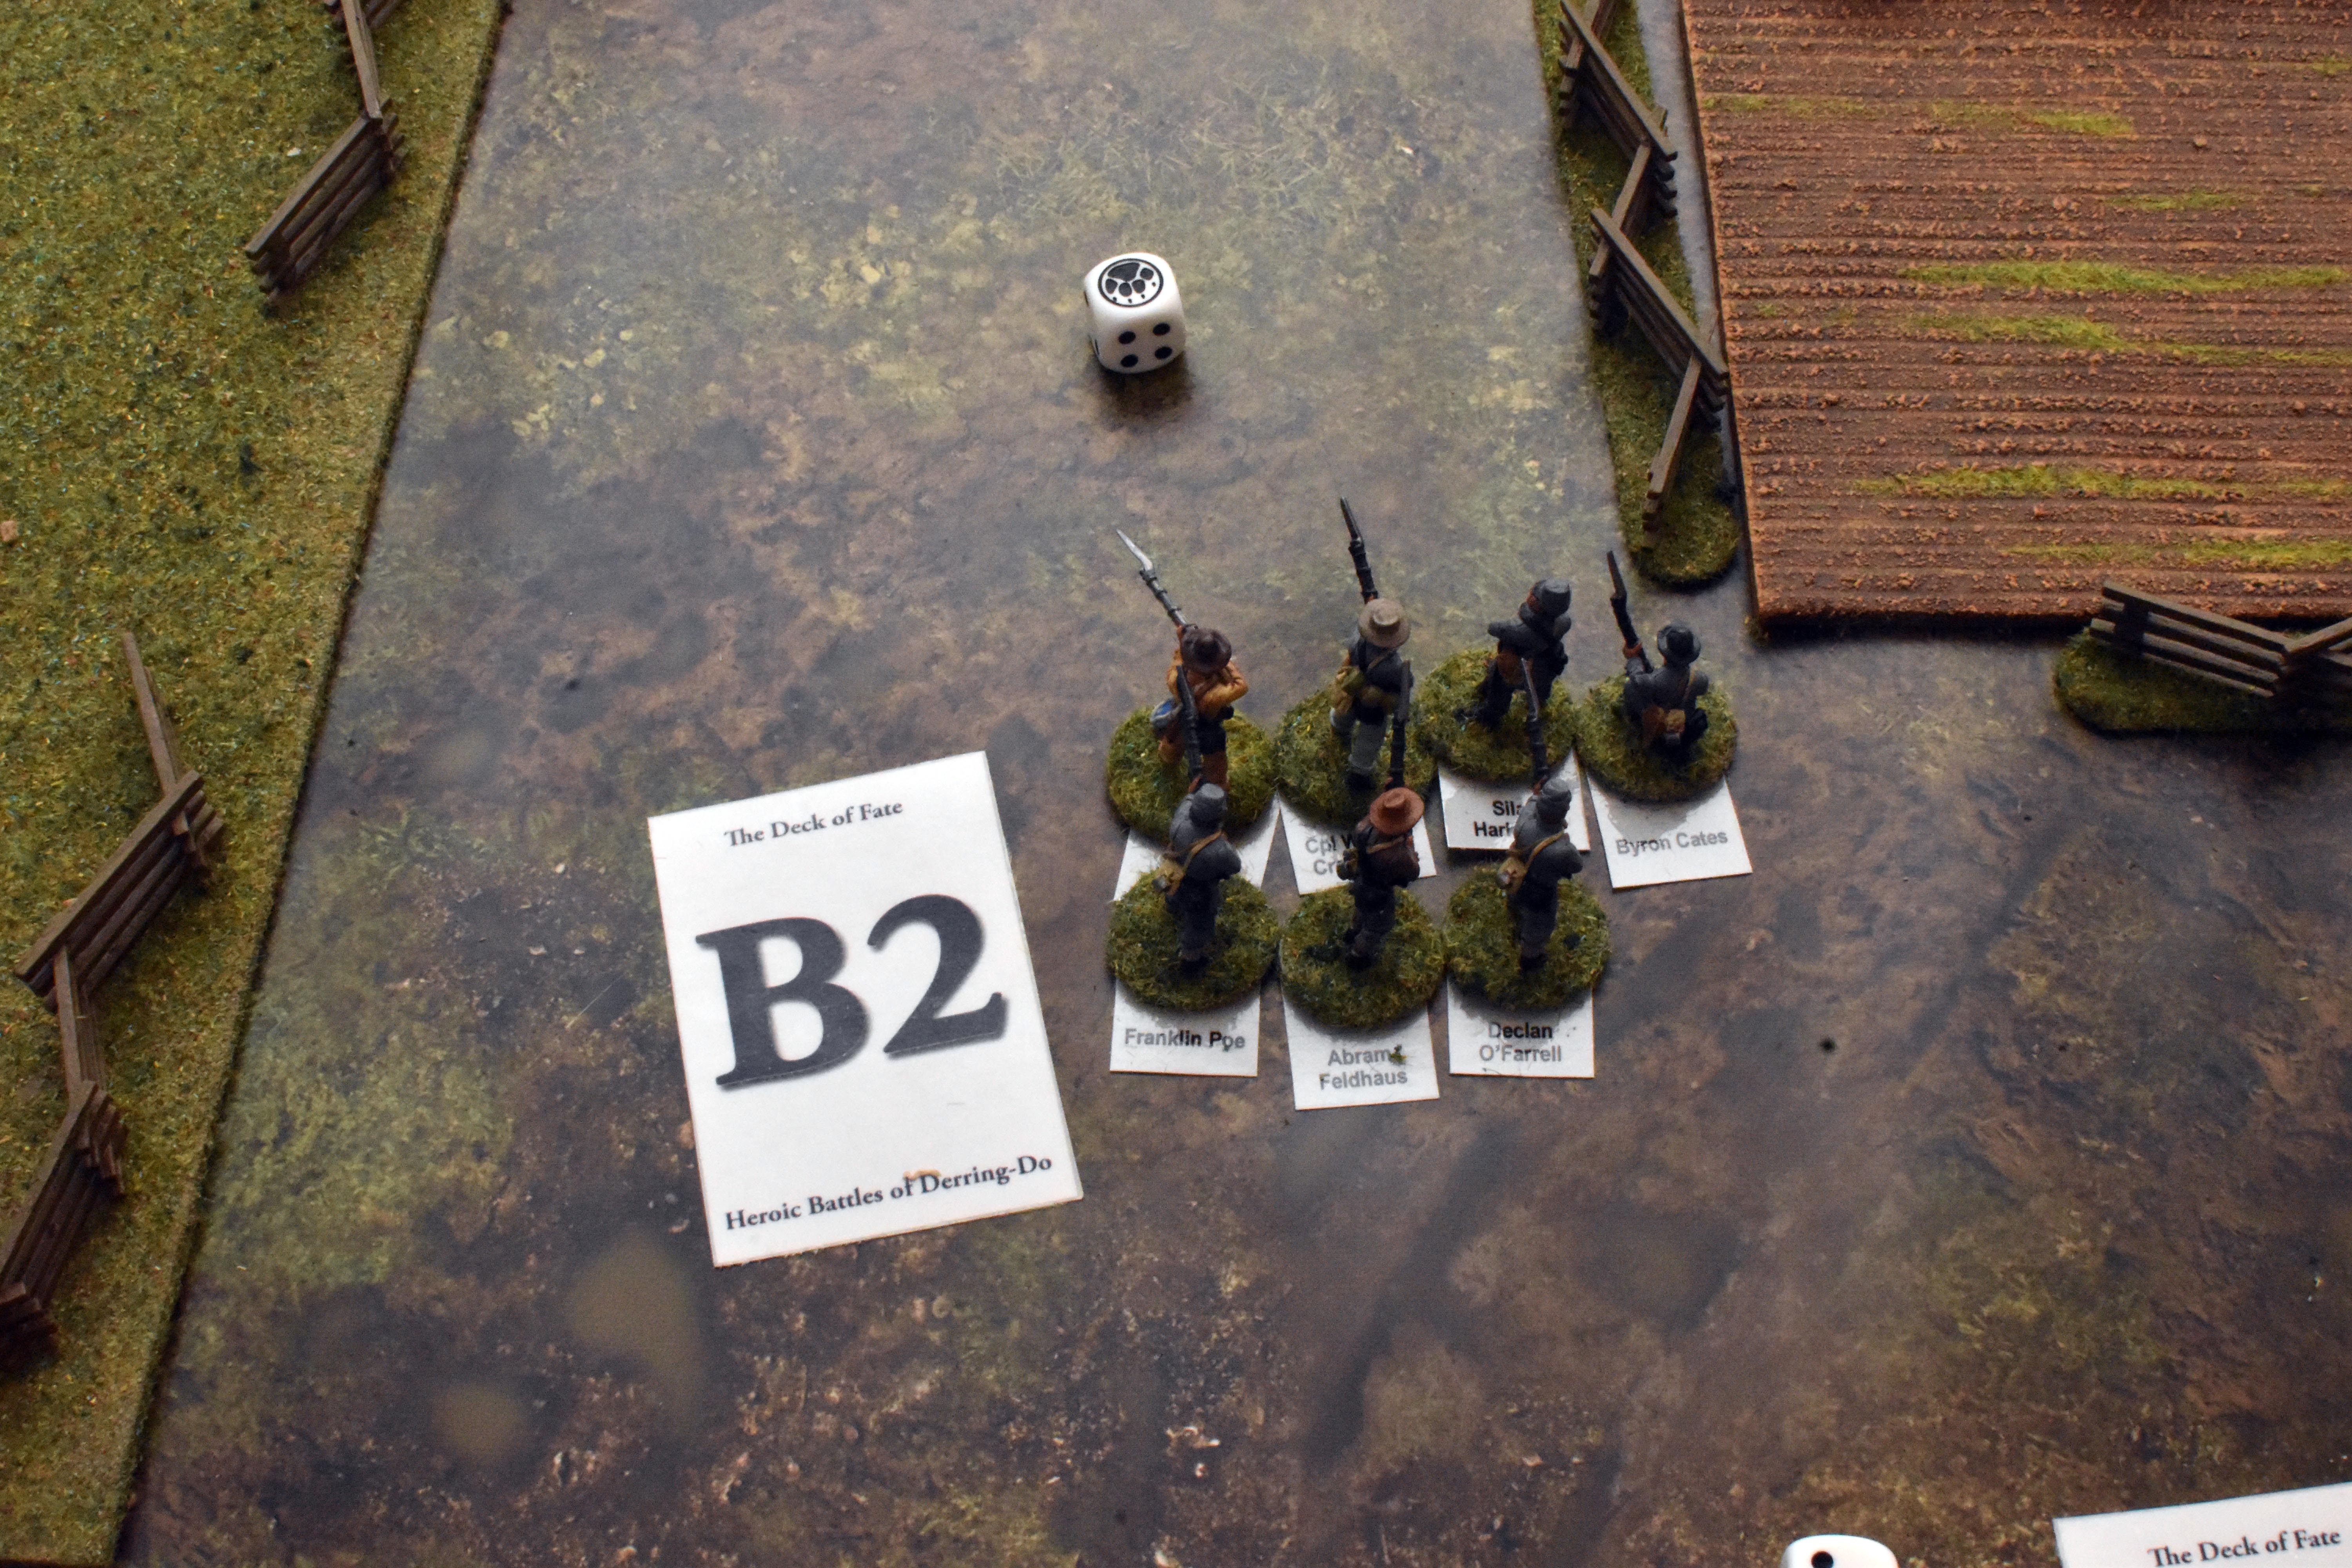
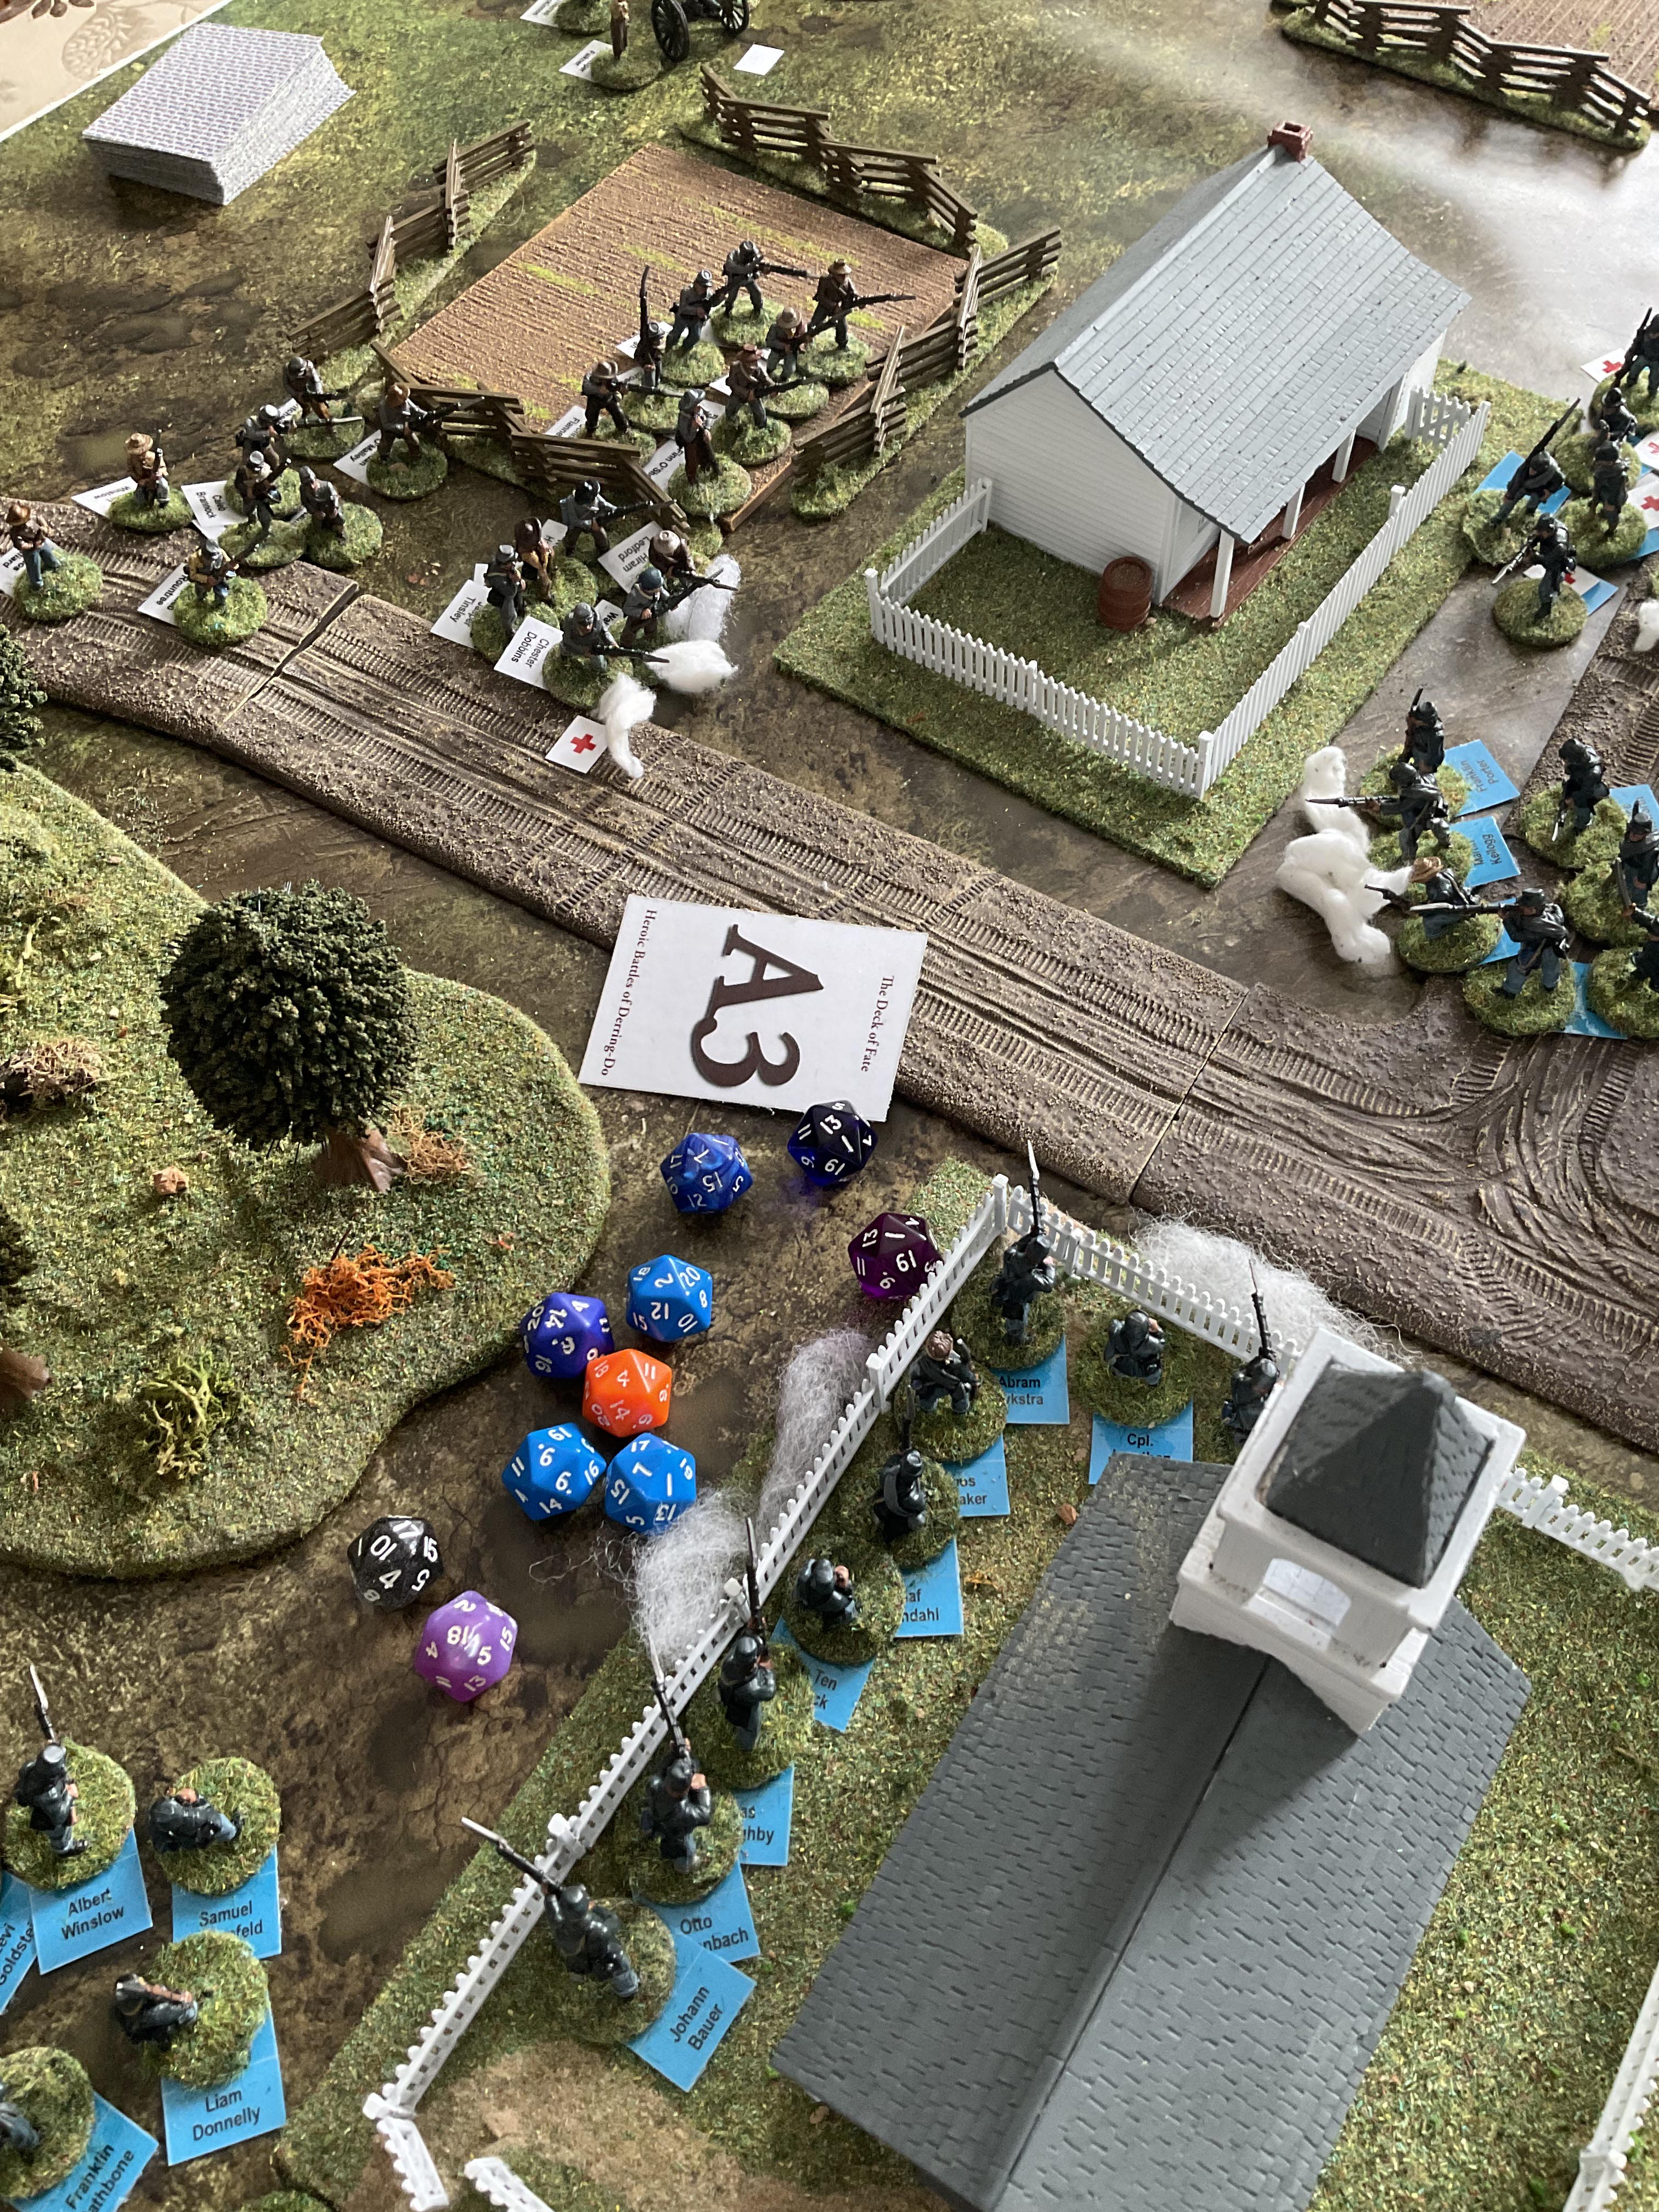
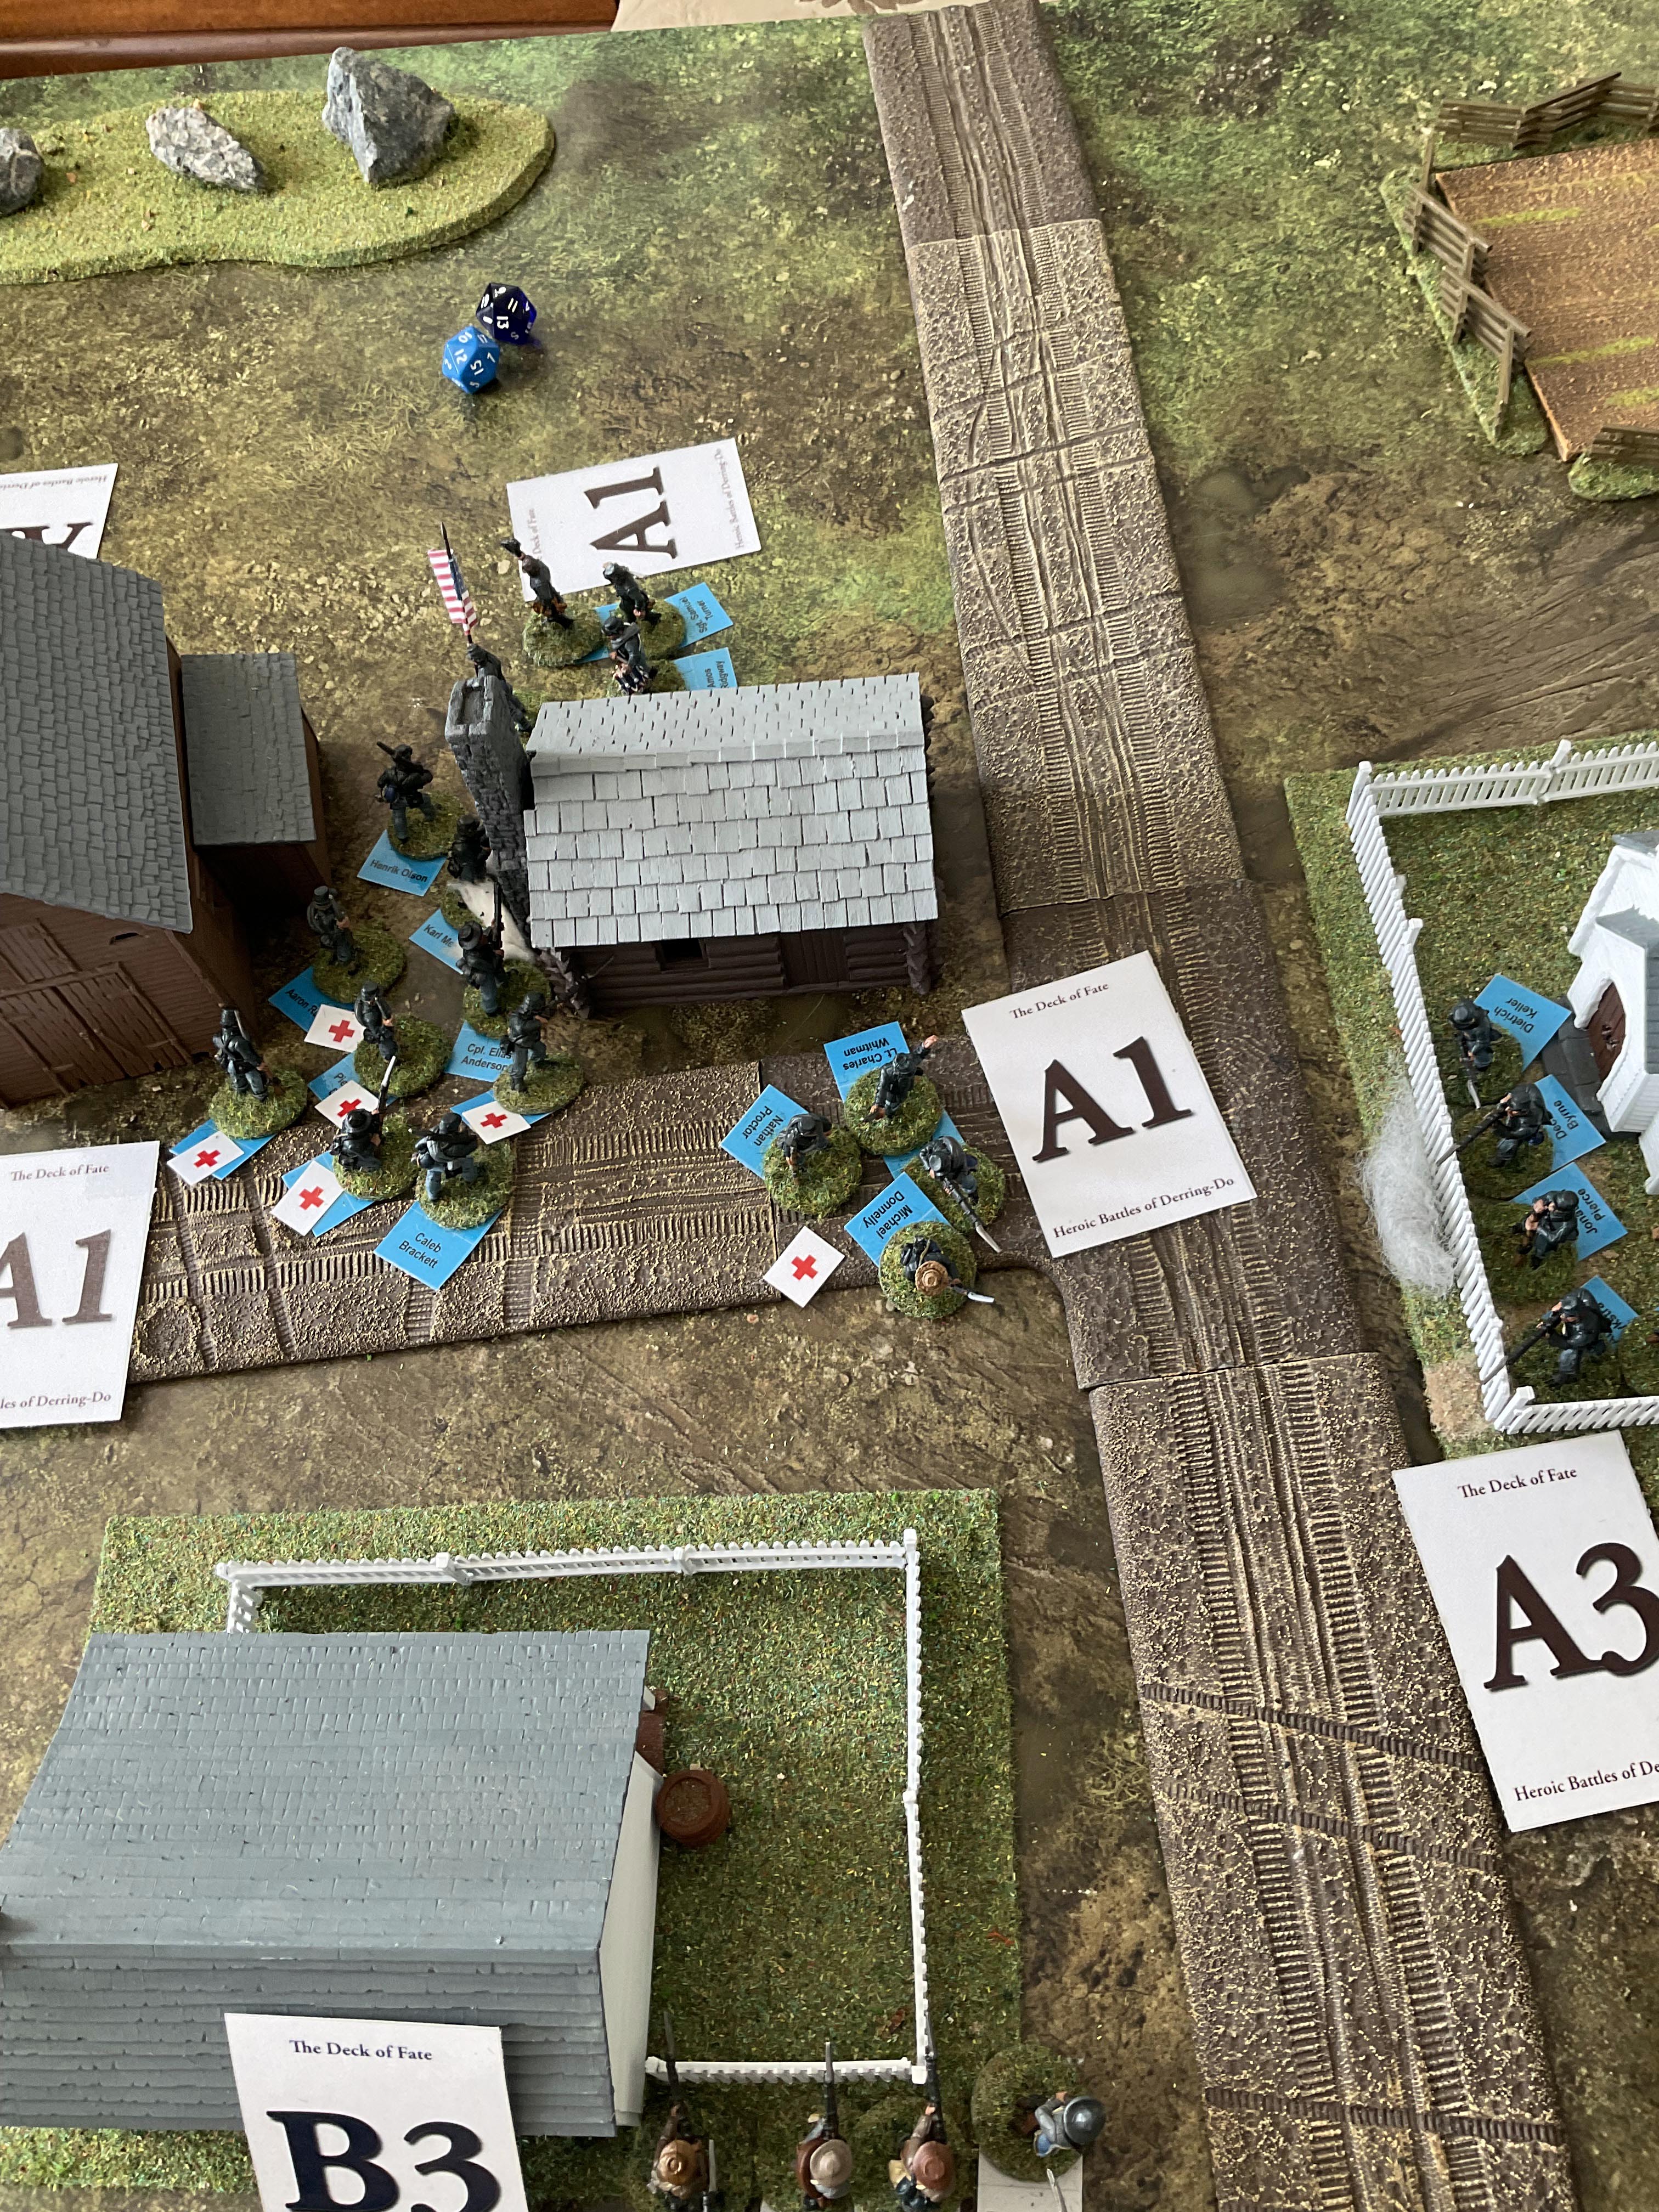
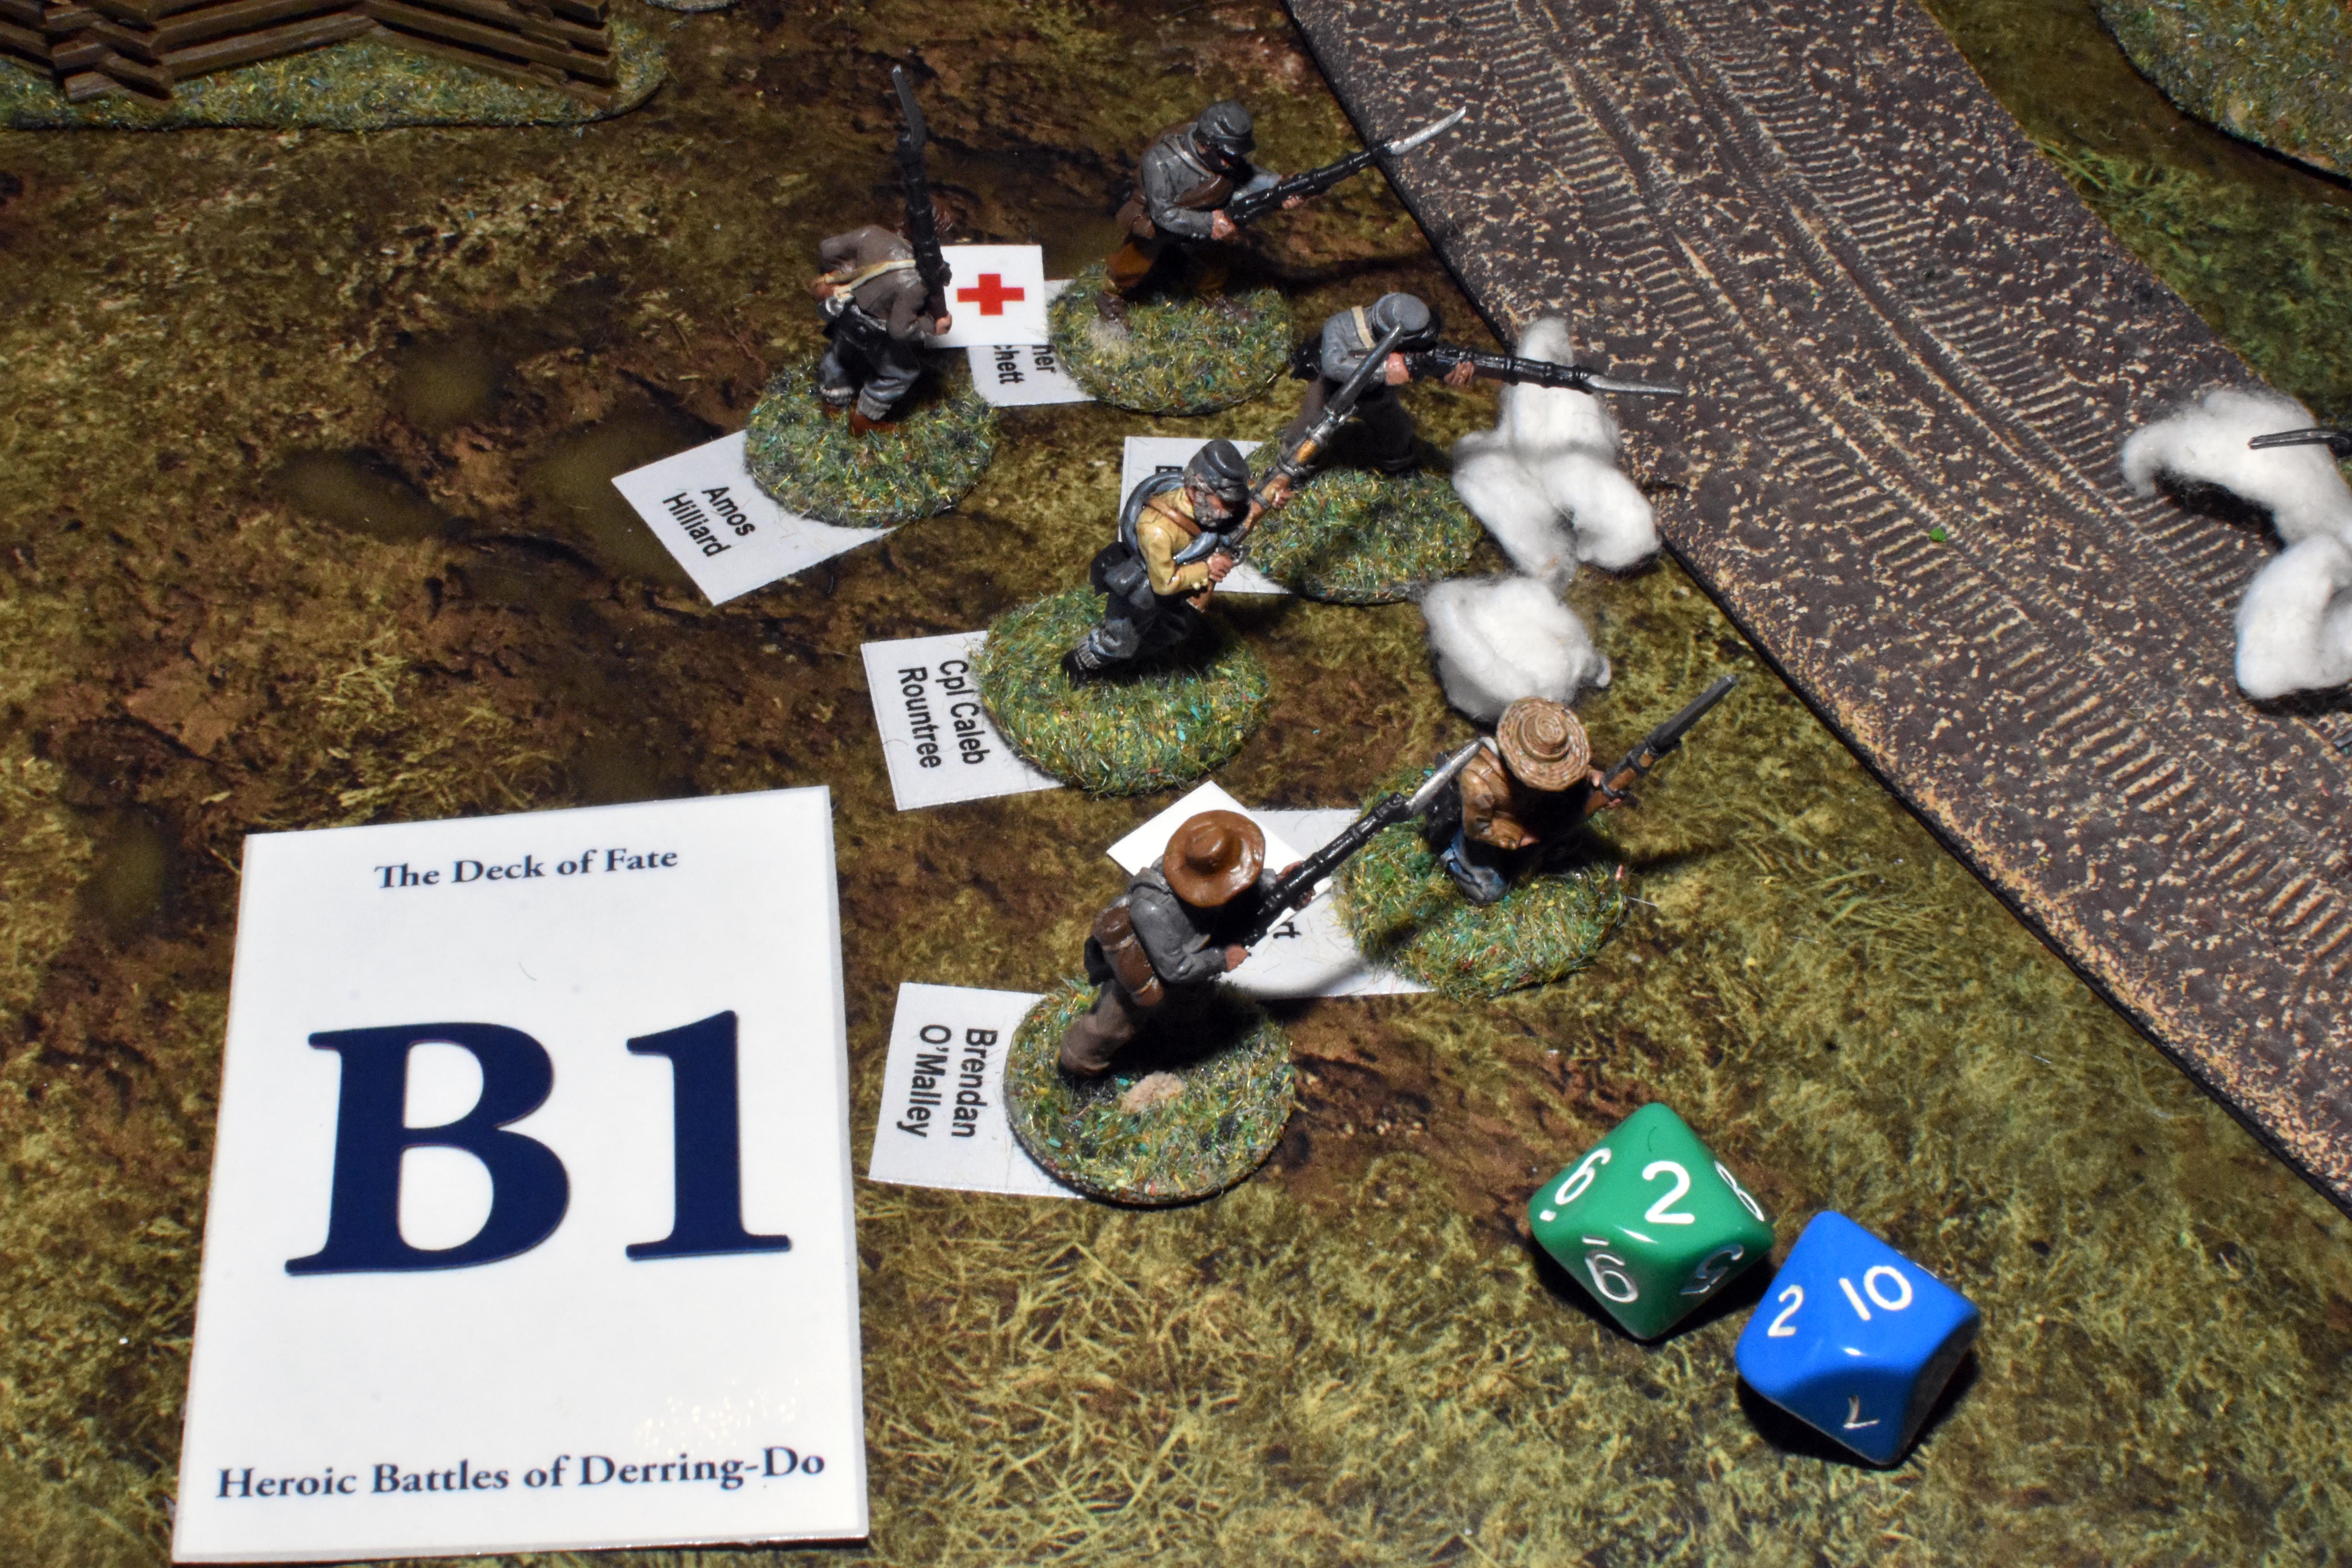
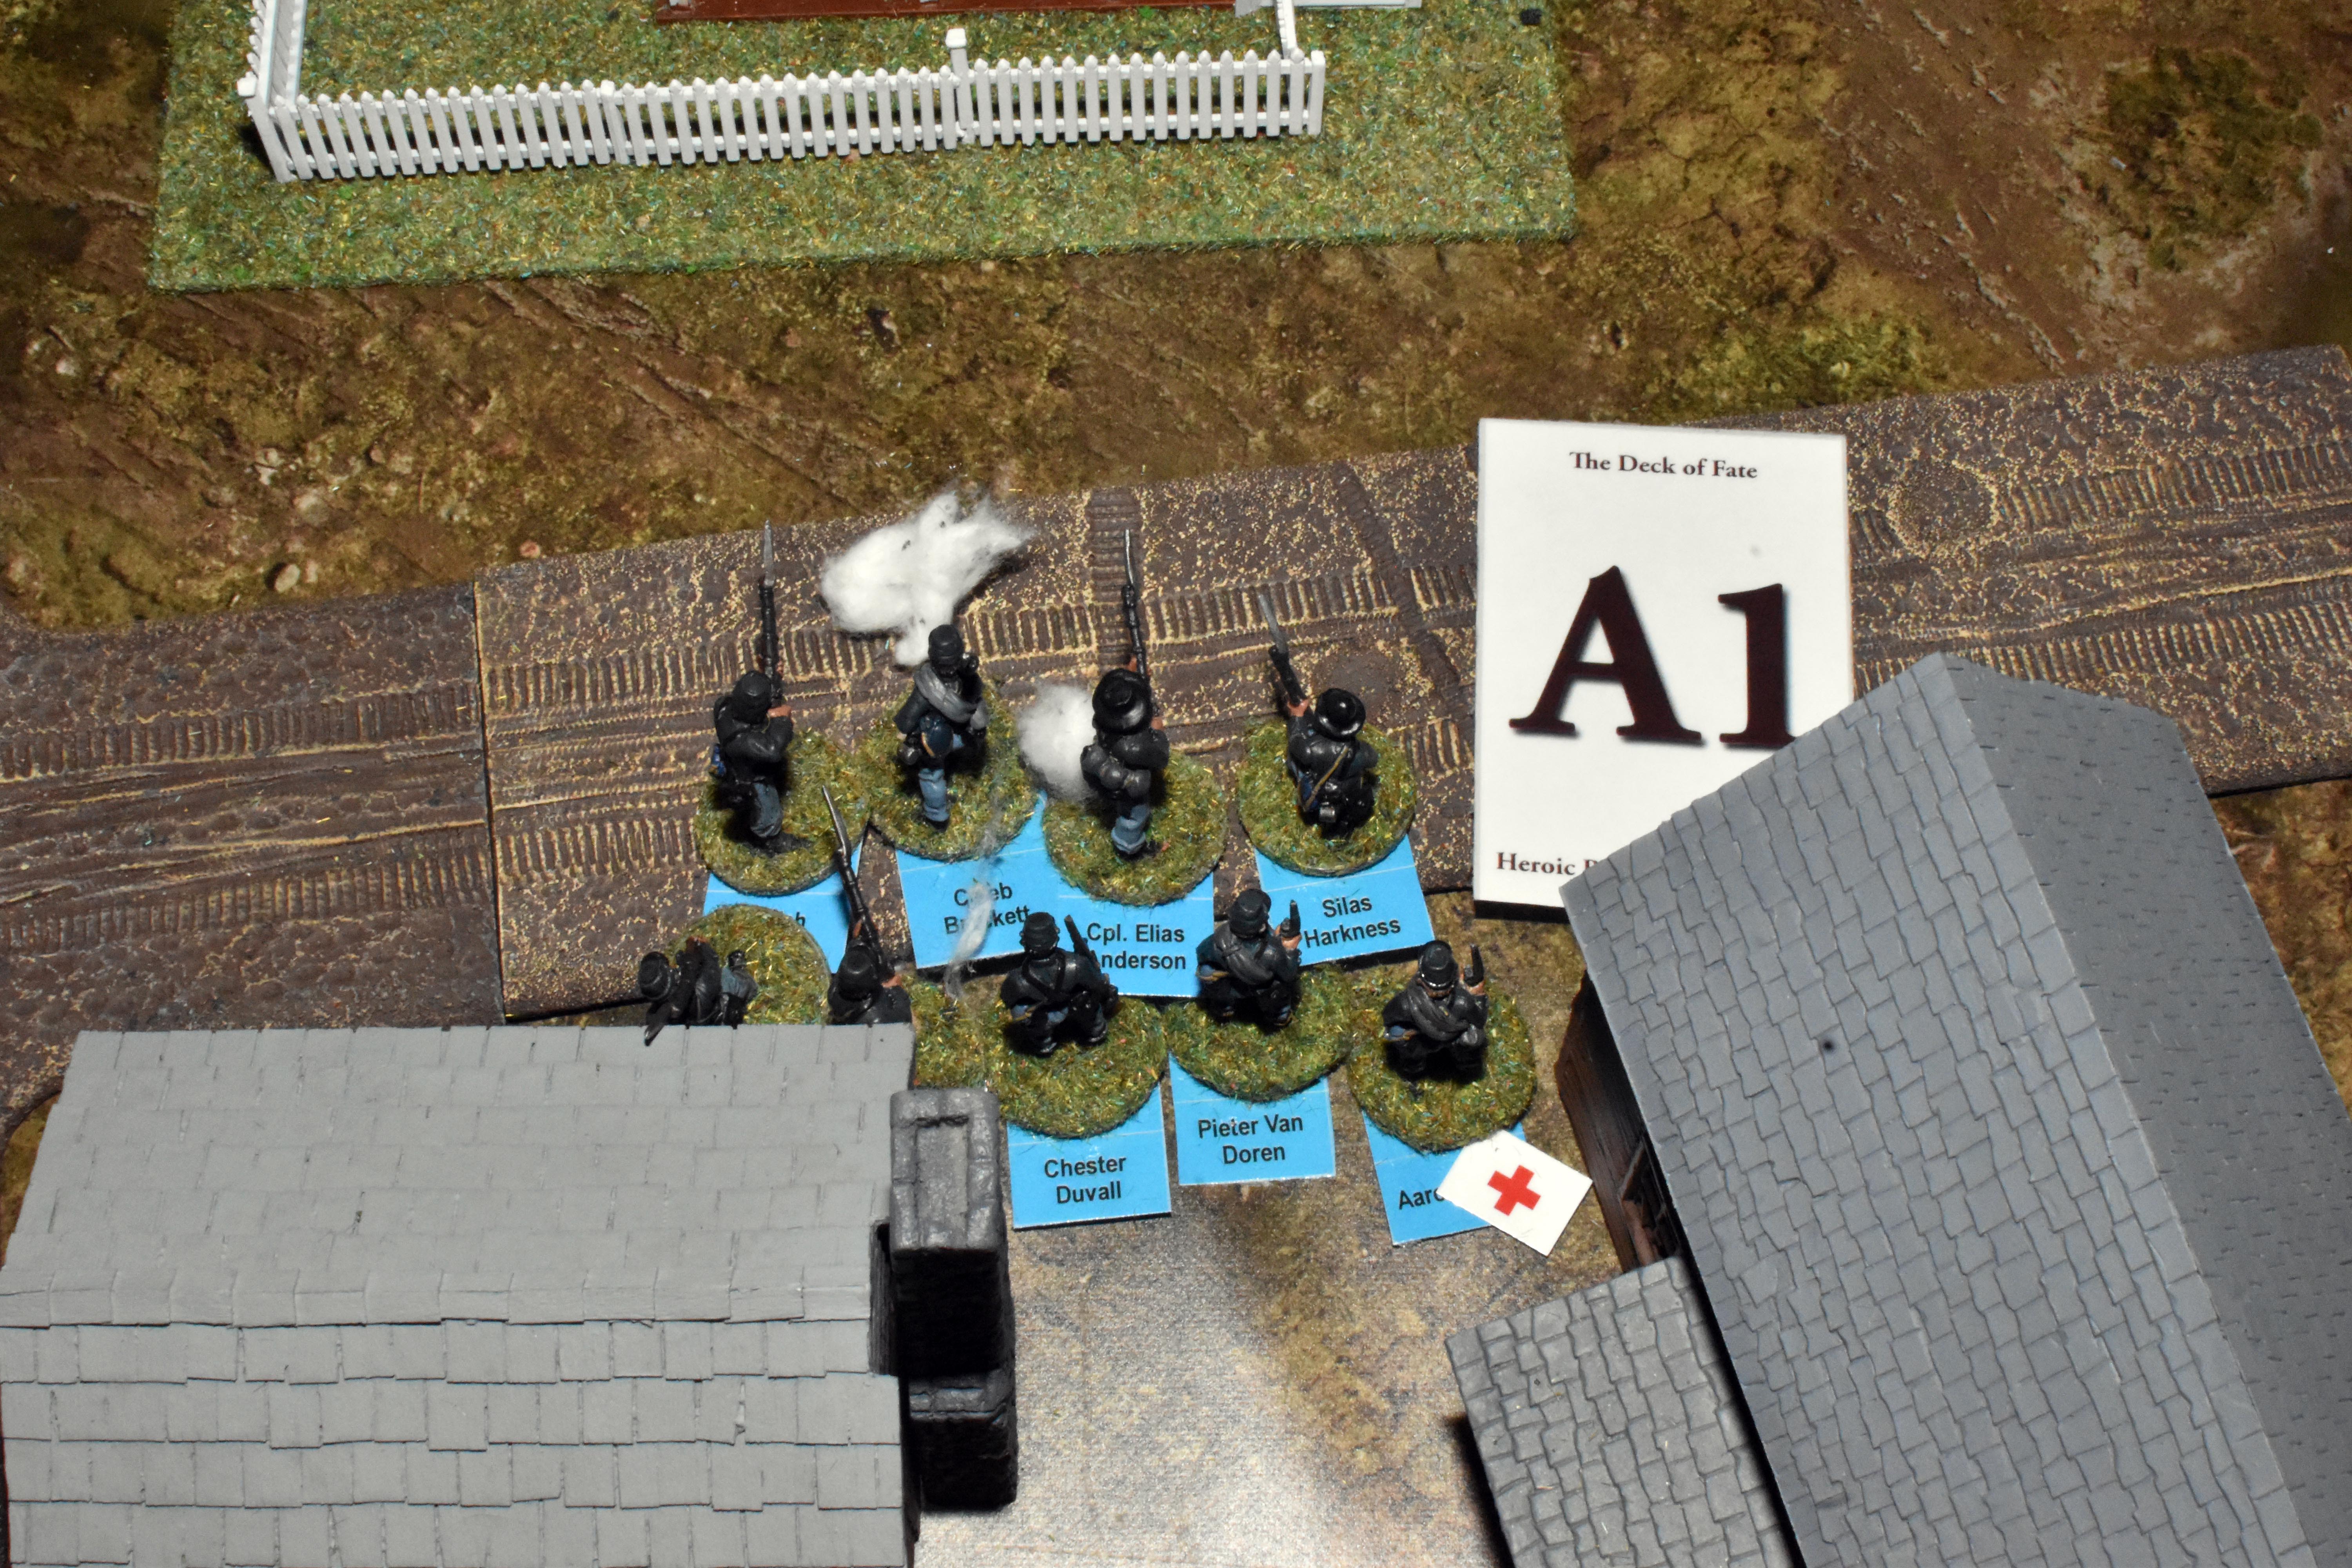
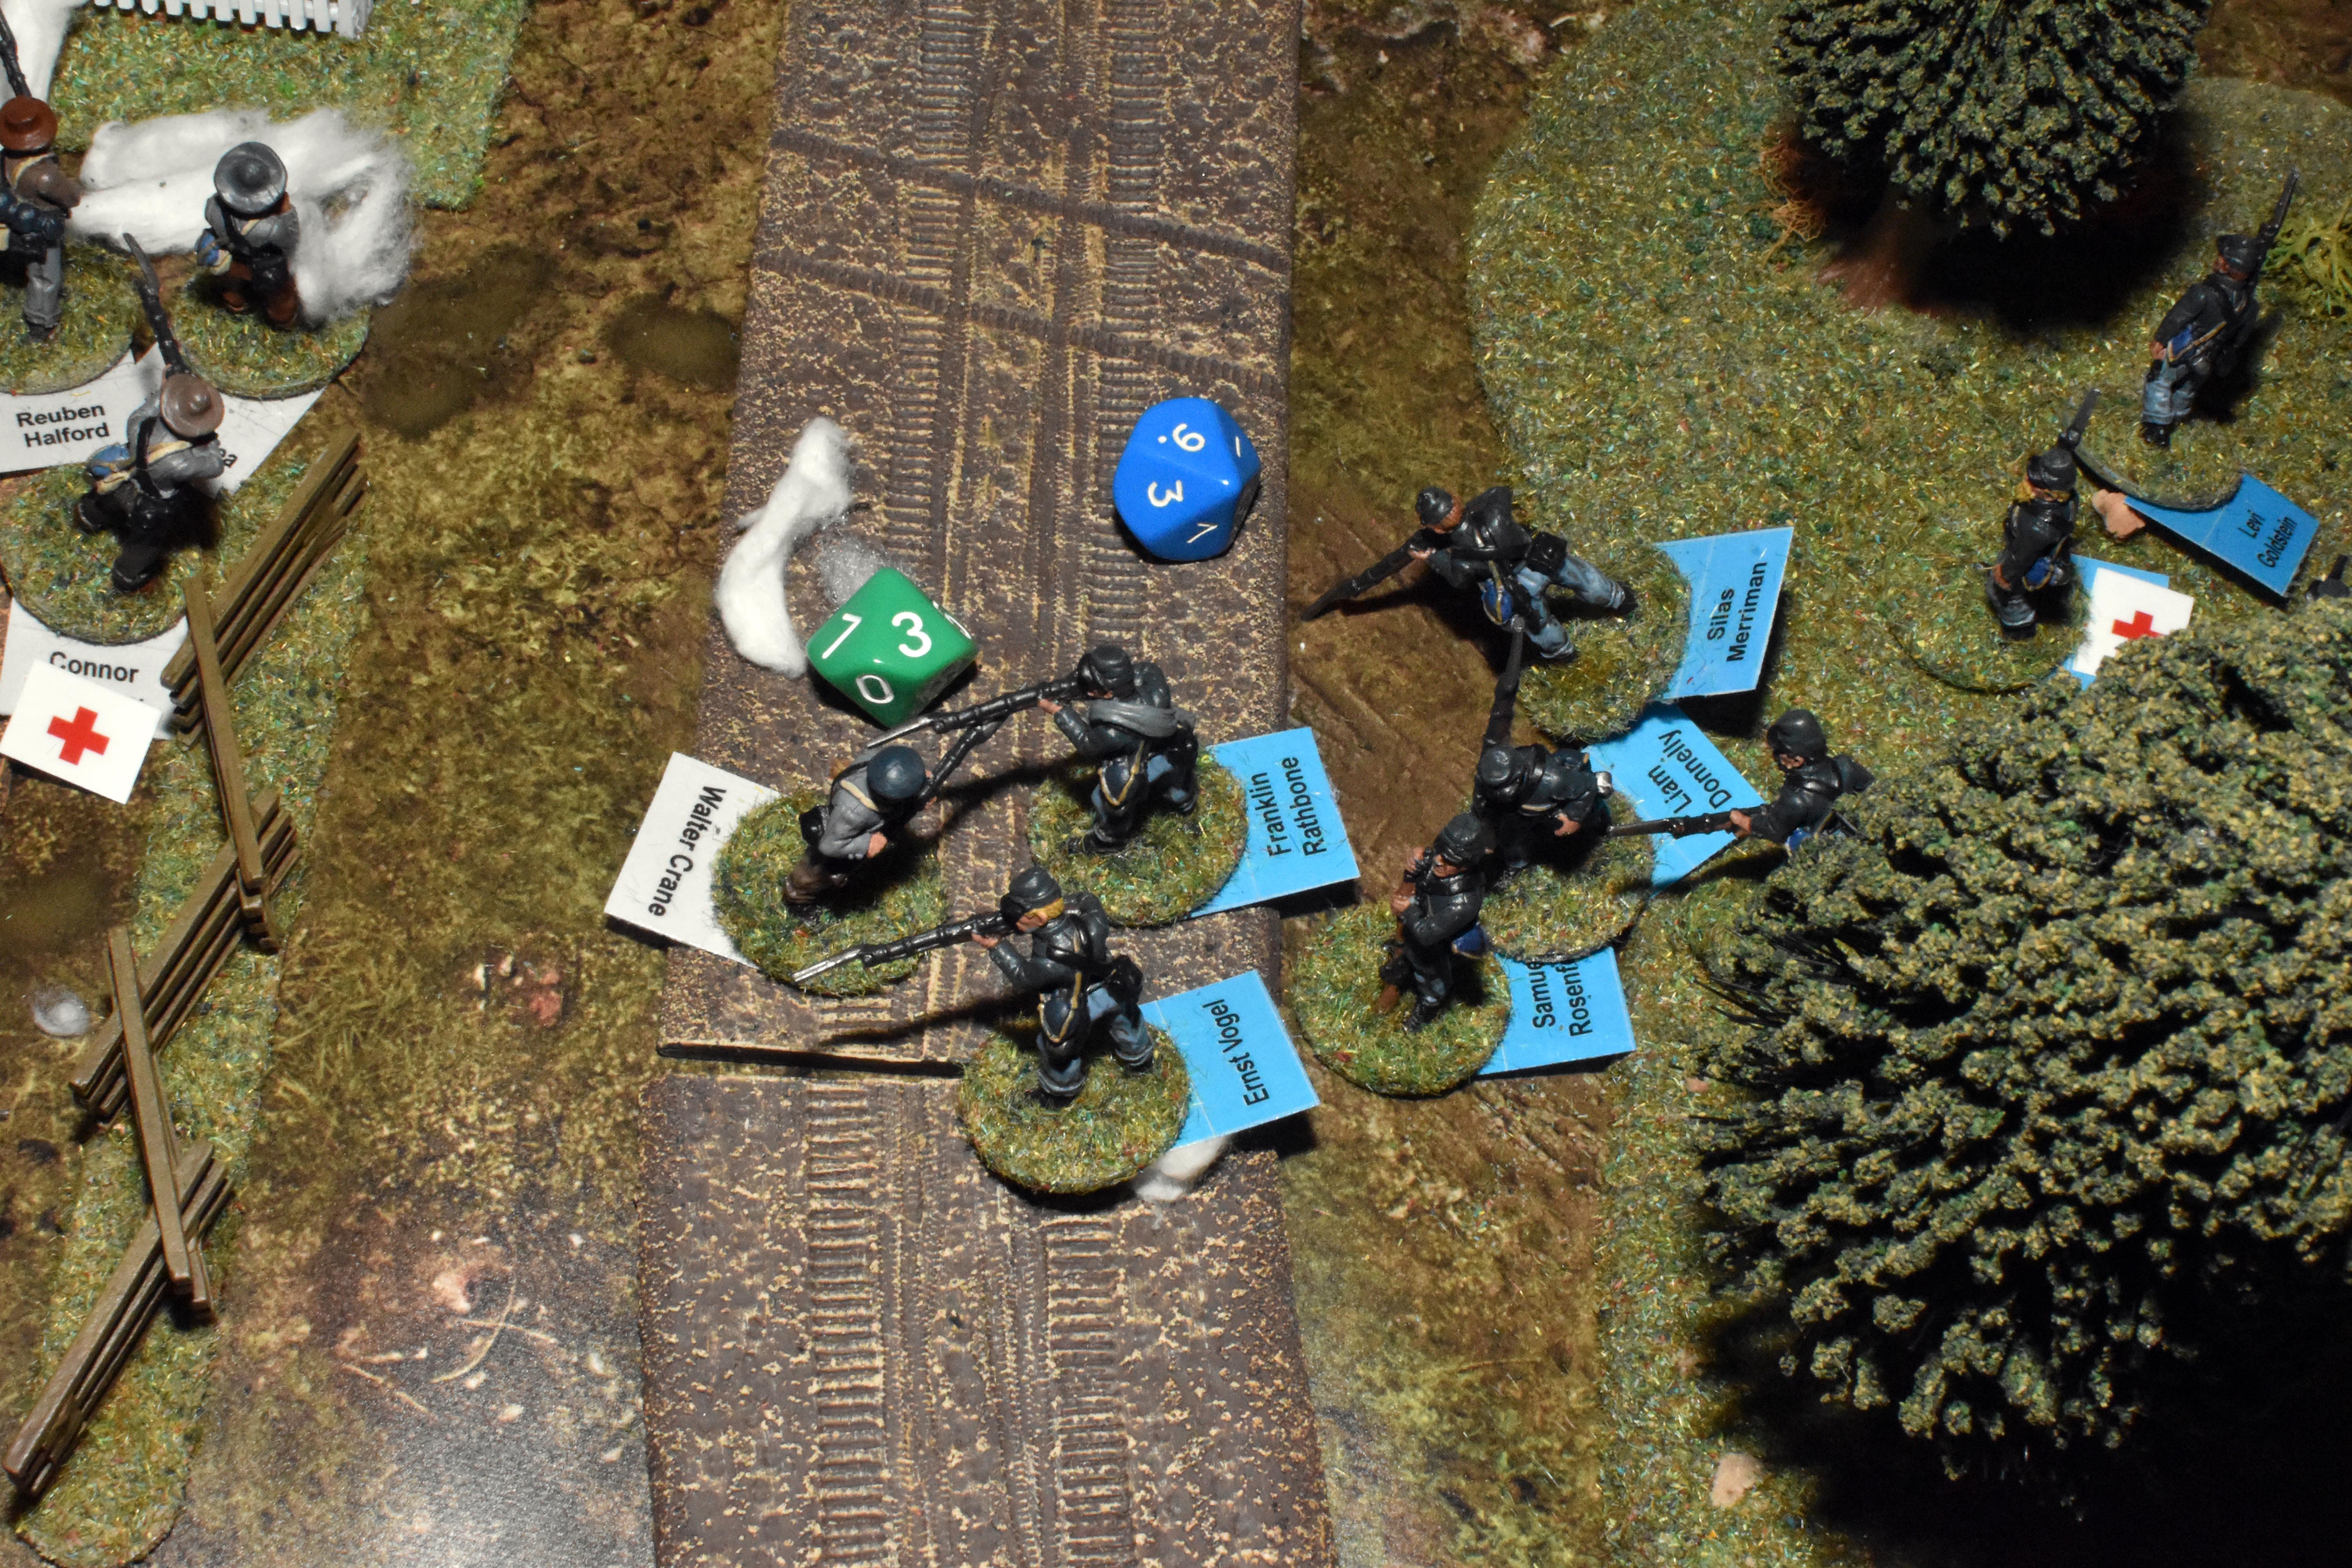
| And the joker is pulled after 5 straight Union activations. This means that the turn will end after a Deck of Fortune card is pulled. | Better news yet for the boys in blue is that they are the ones who are to pull a deck of fortune card. | And their card allows tells us that a sympathiser guides any one unit for a full extra activation of movement. Corporal Anderson leads his men into the village down the road as Turn one comes to an end. | Luck was with the rebels with two activations. In this case, the rebels brought on a fresh unit of veteran soldiers with a 6" move who then opened fire at long range with their muskets. |
|
|
|
|
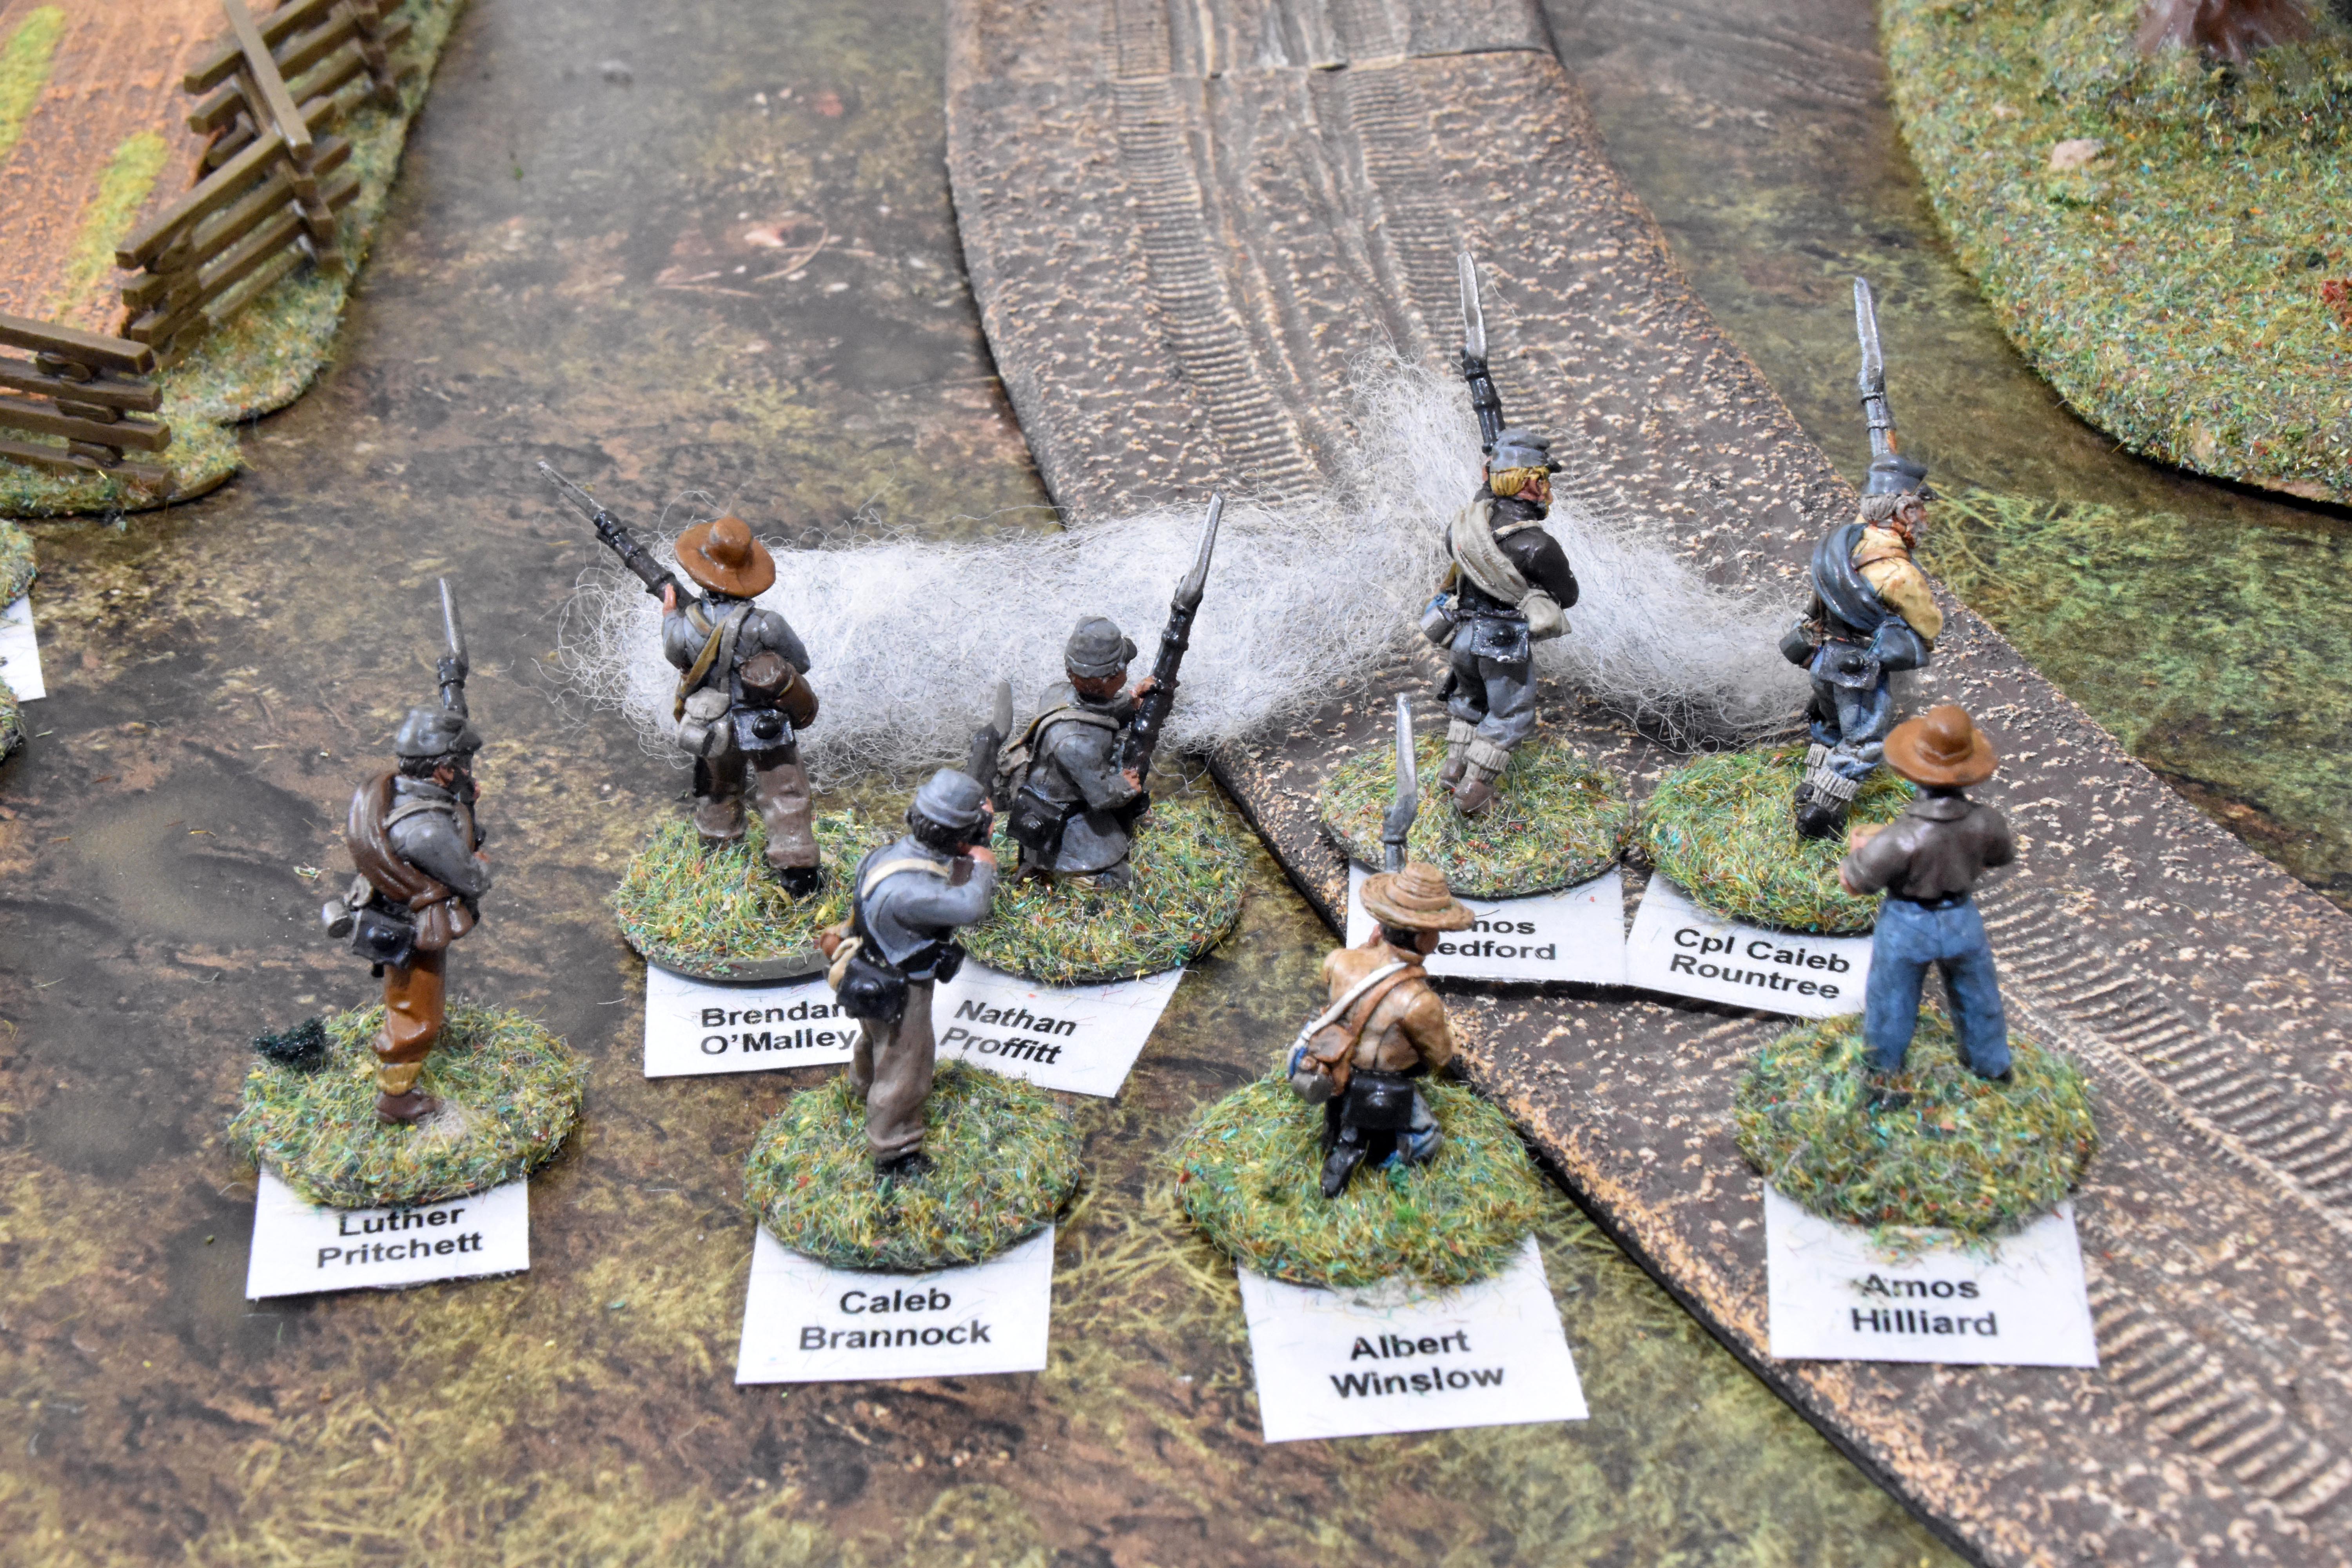
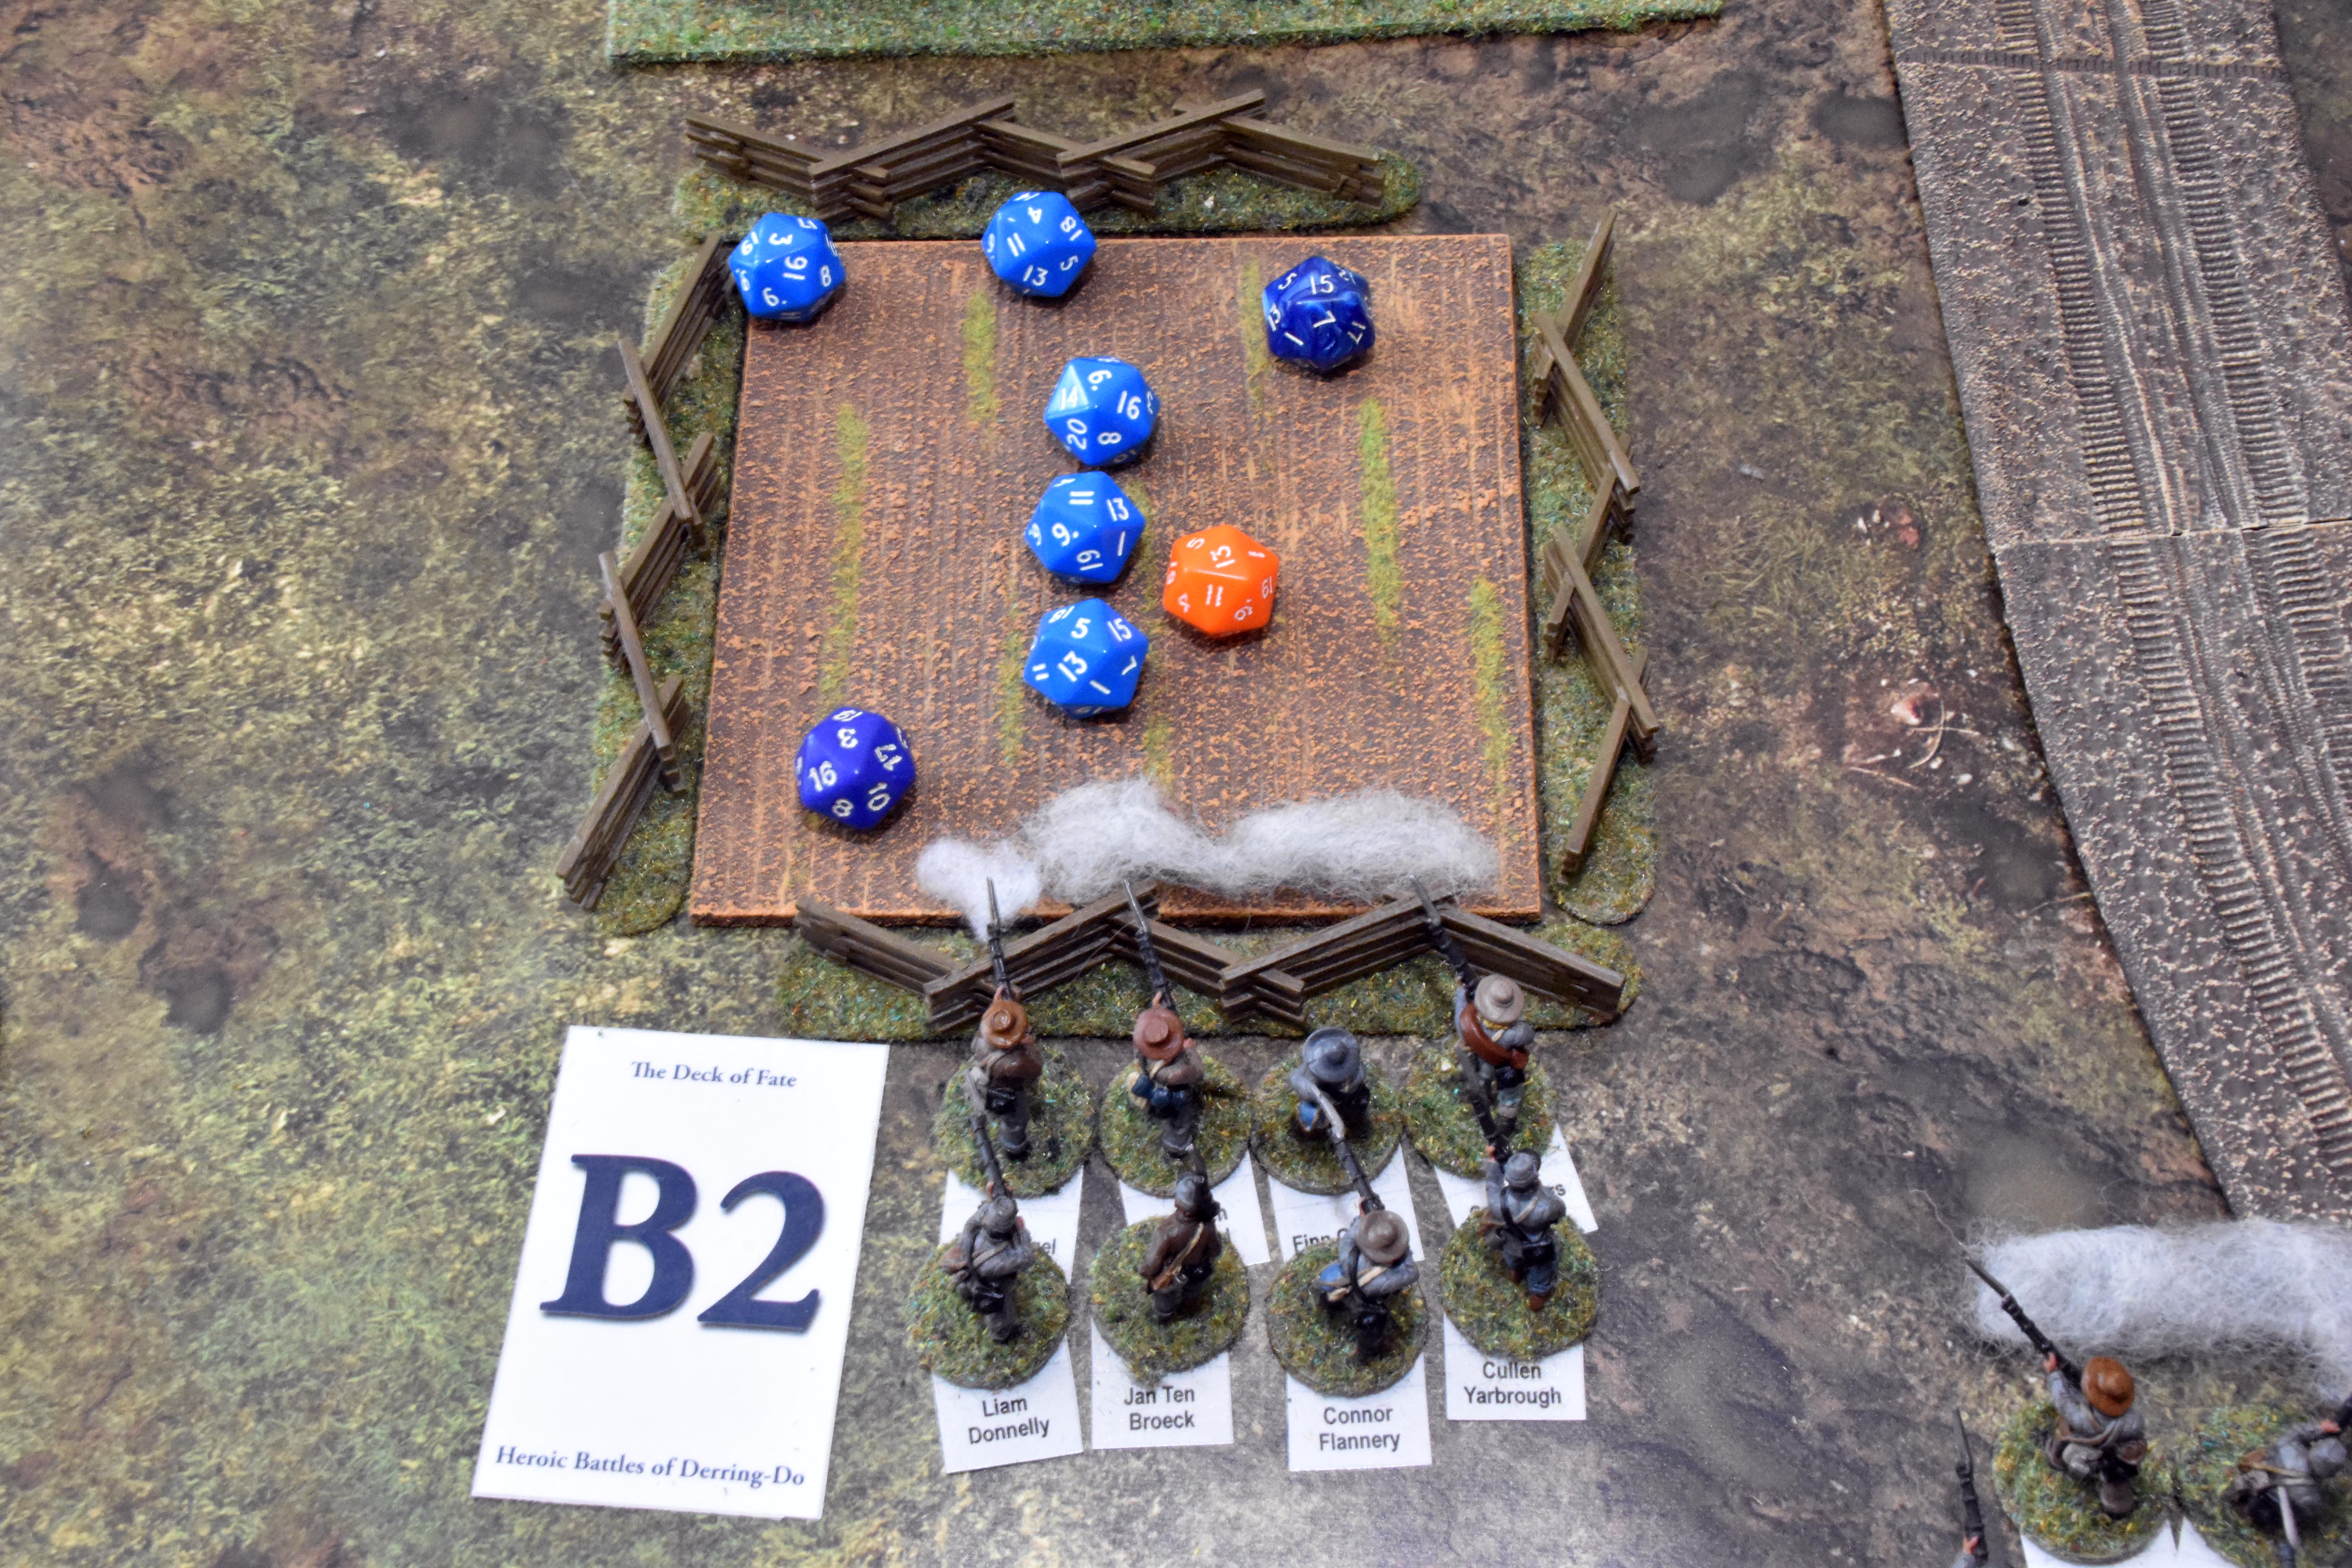
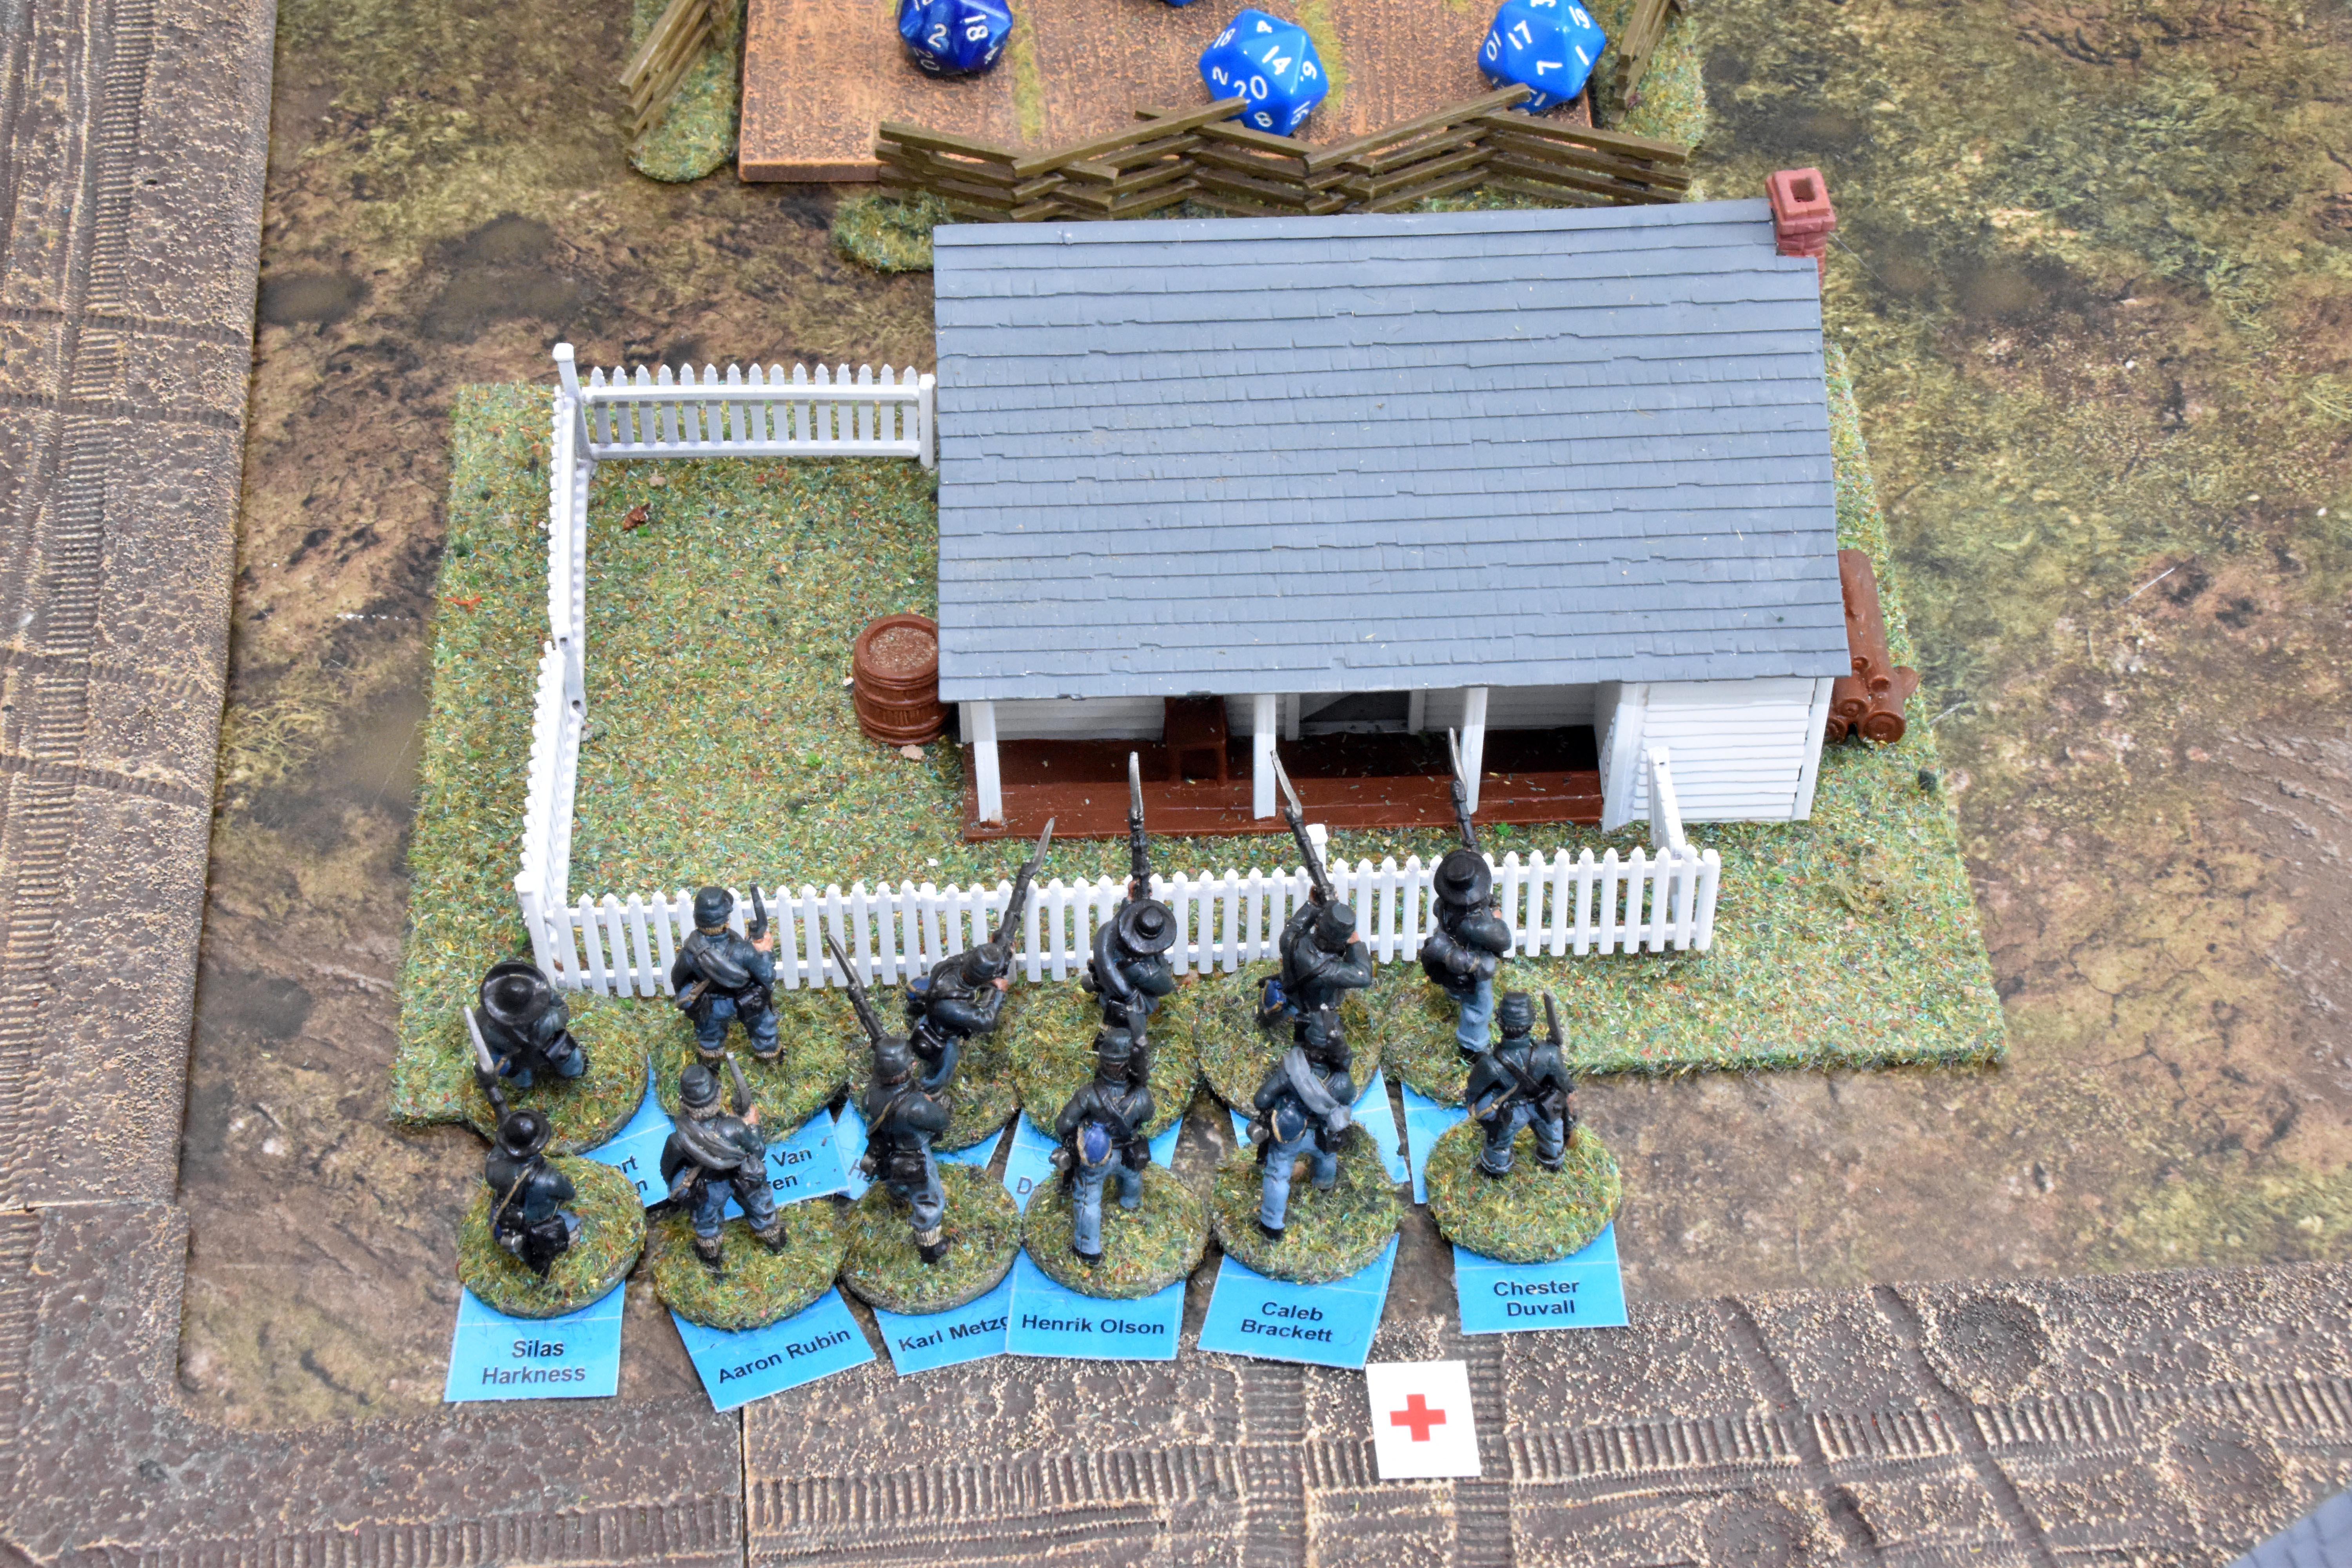
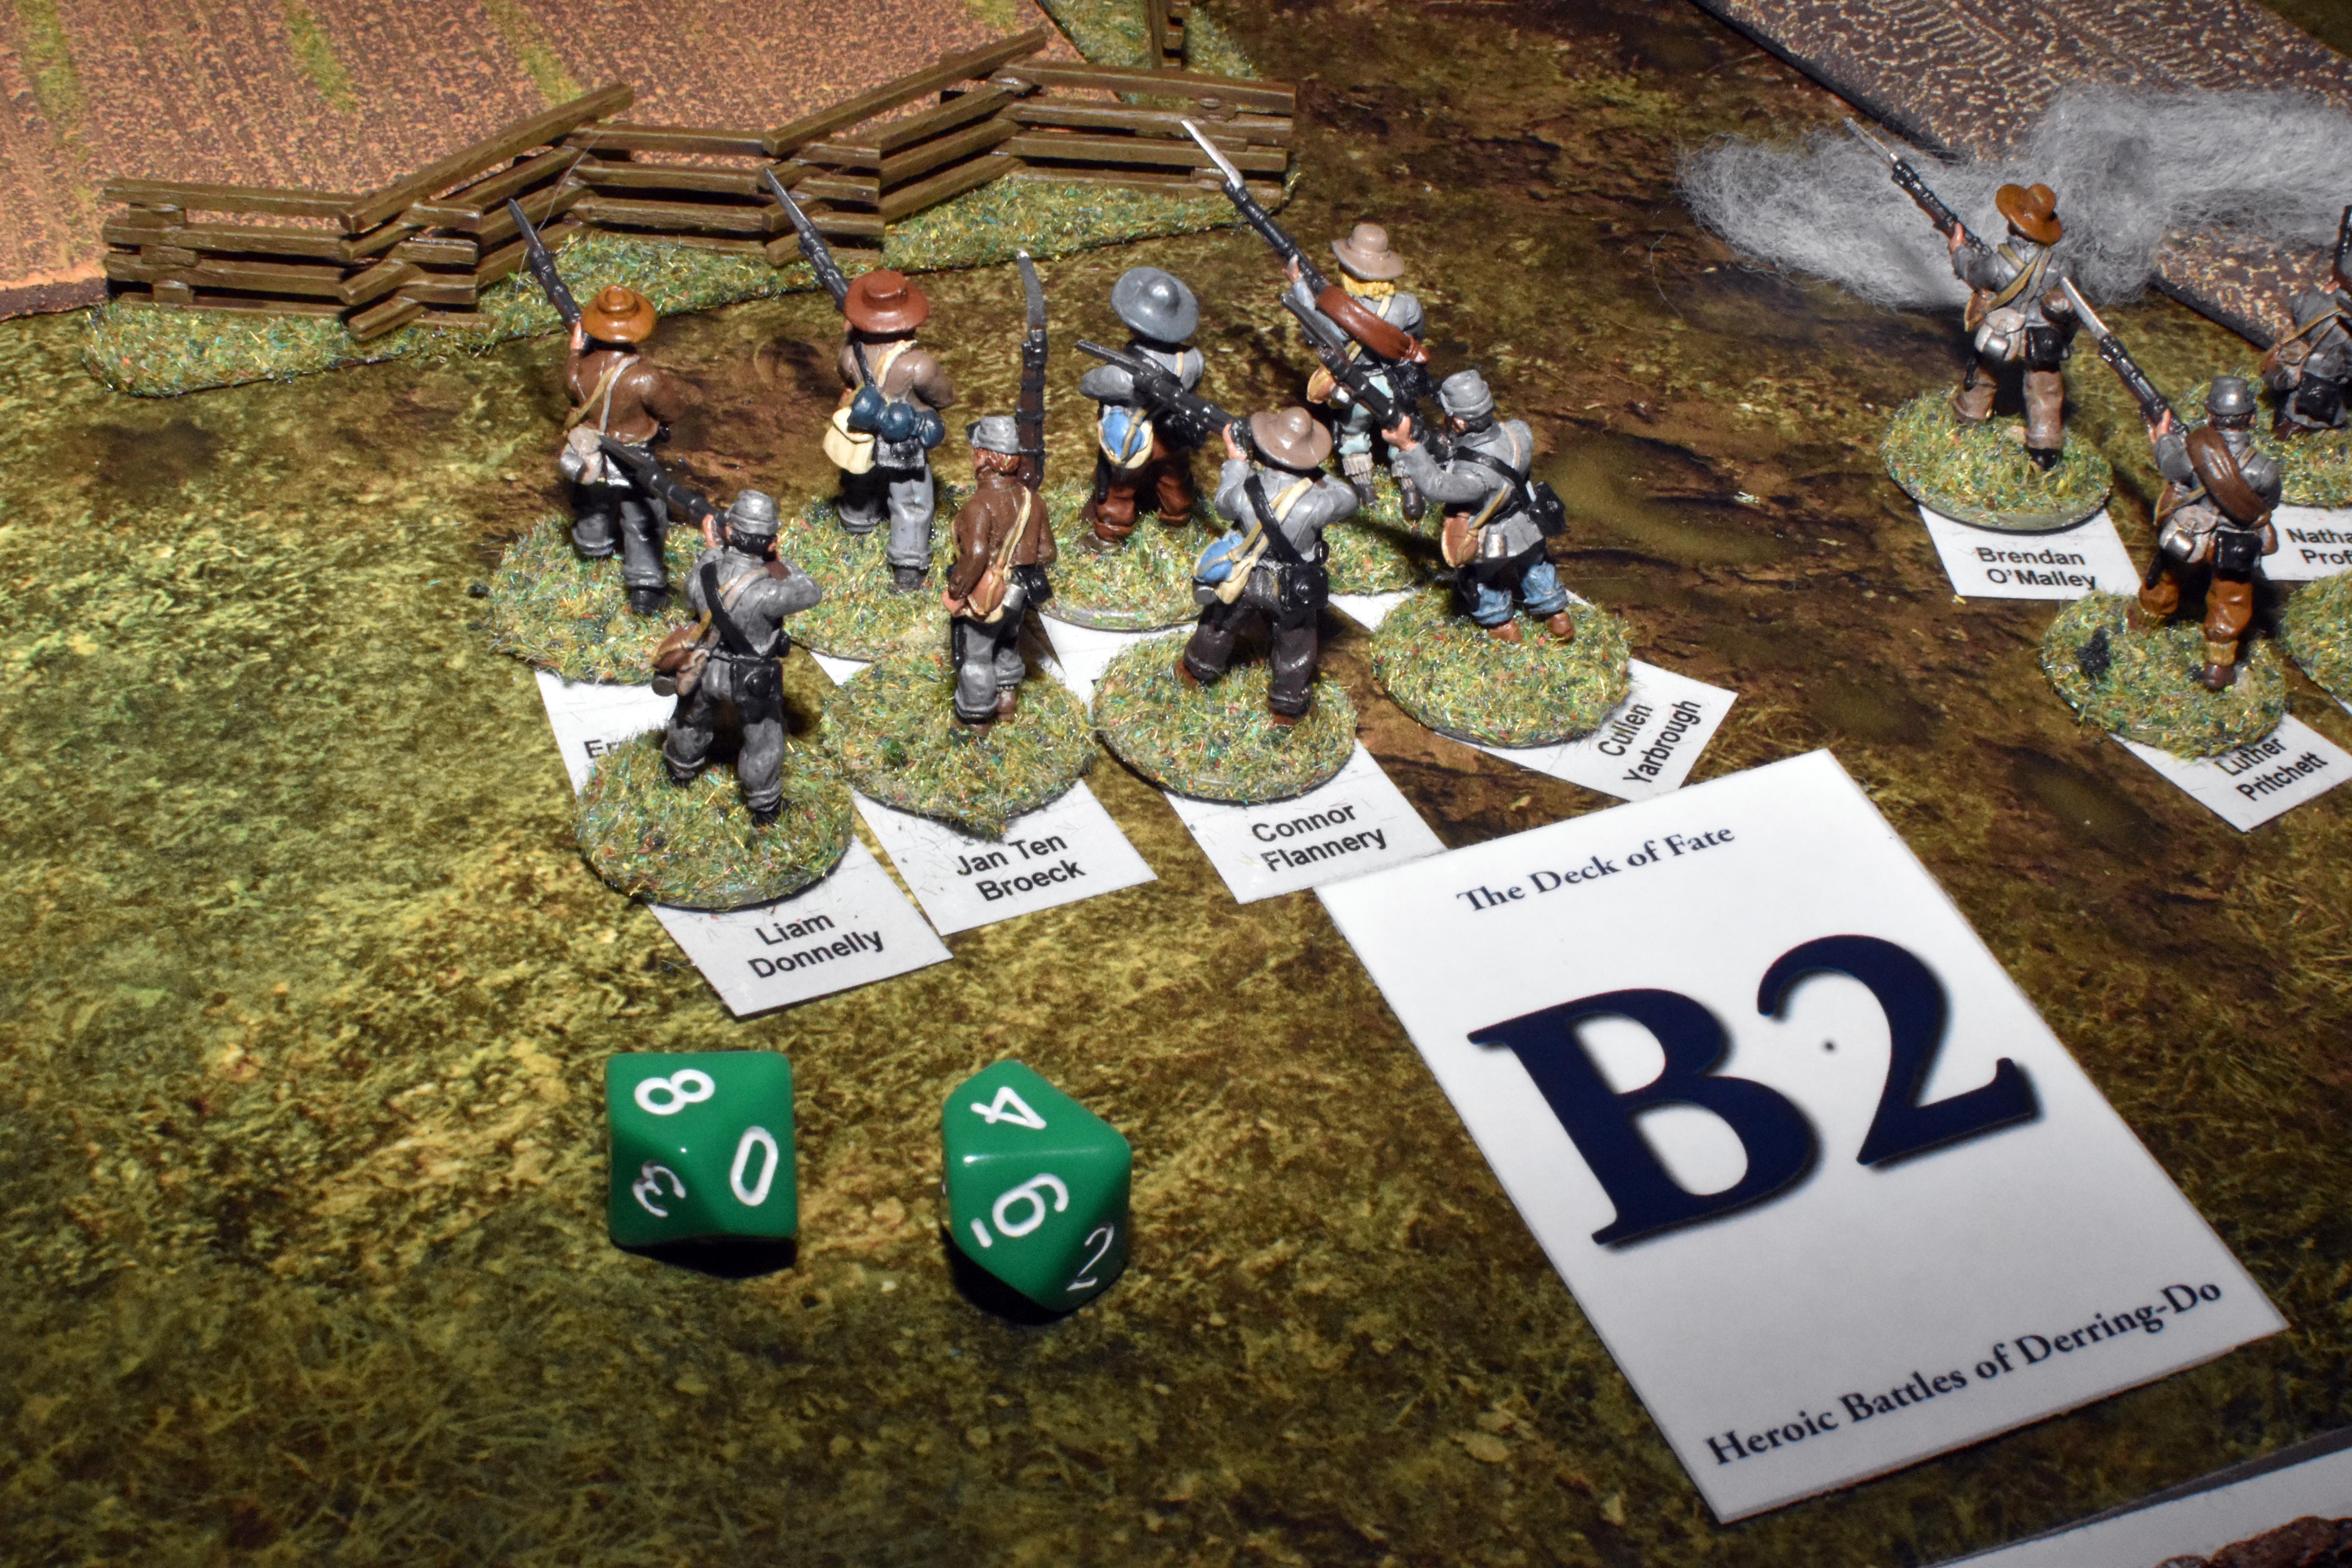
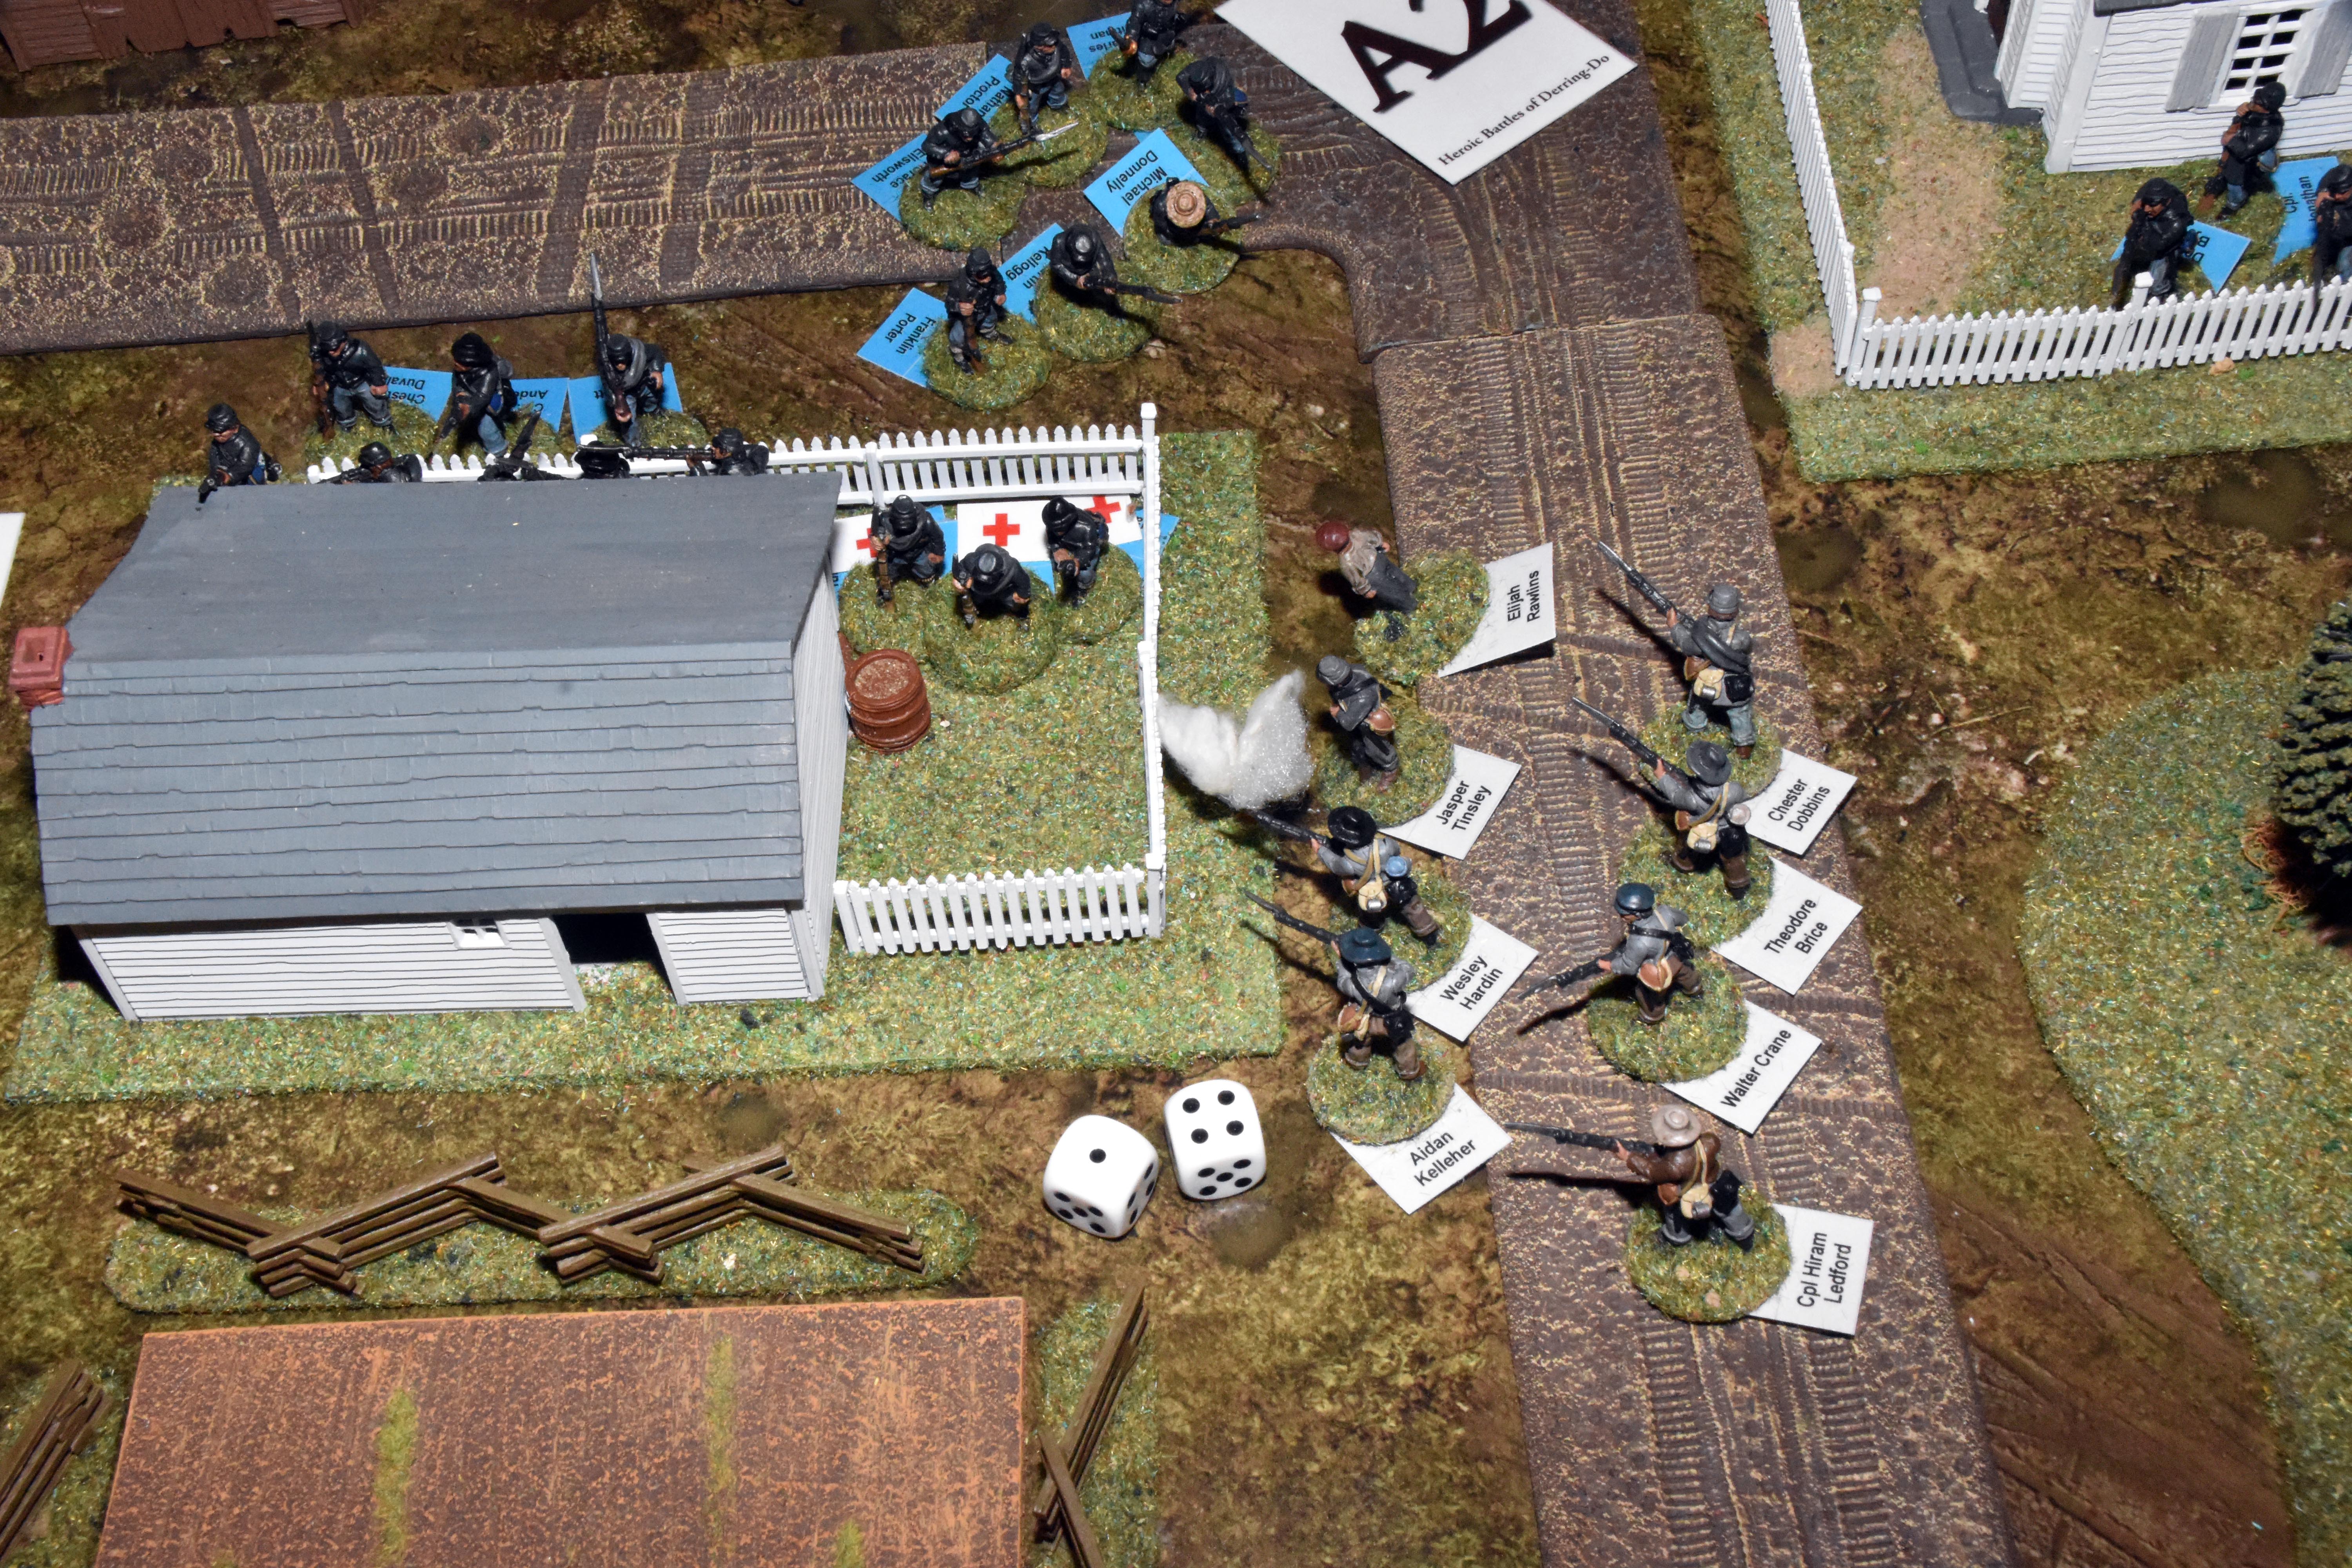
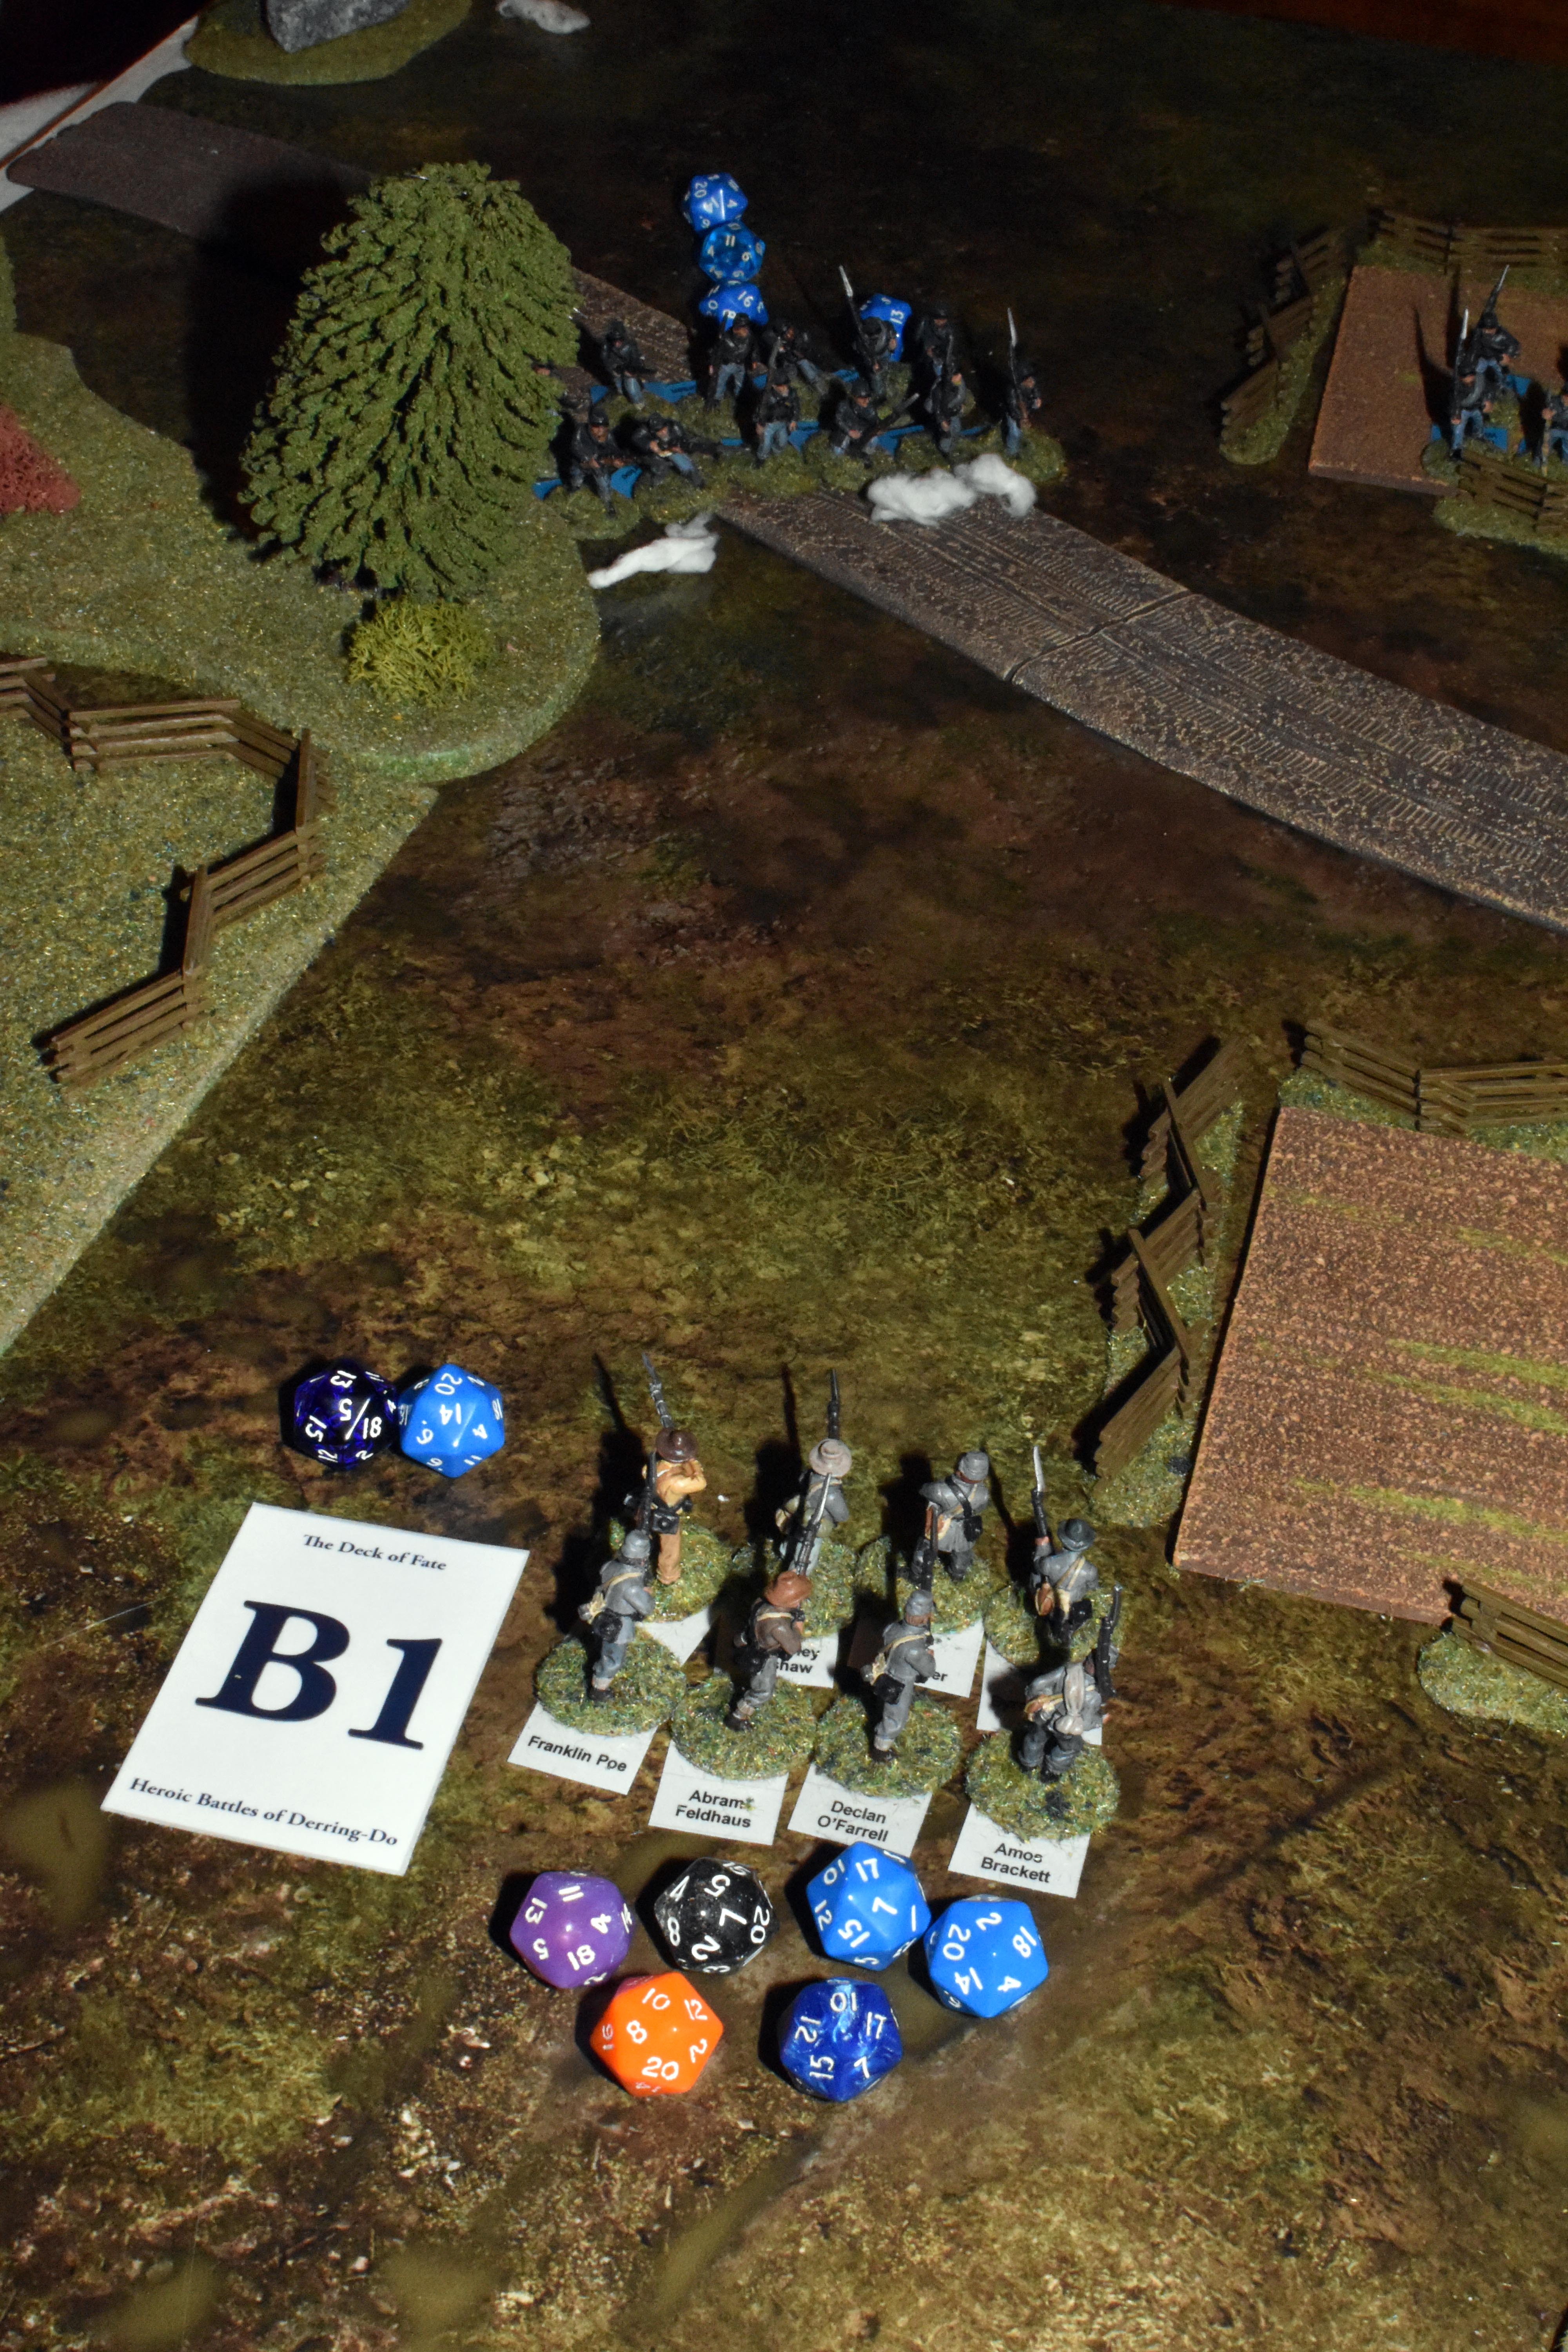
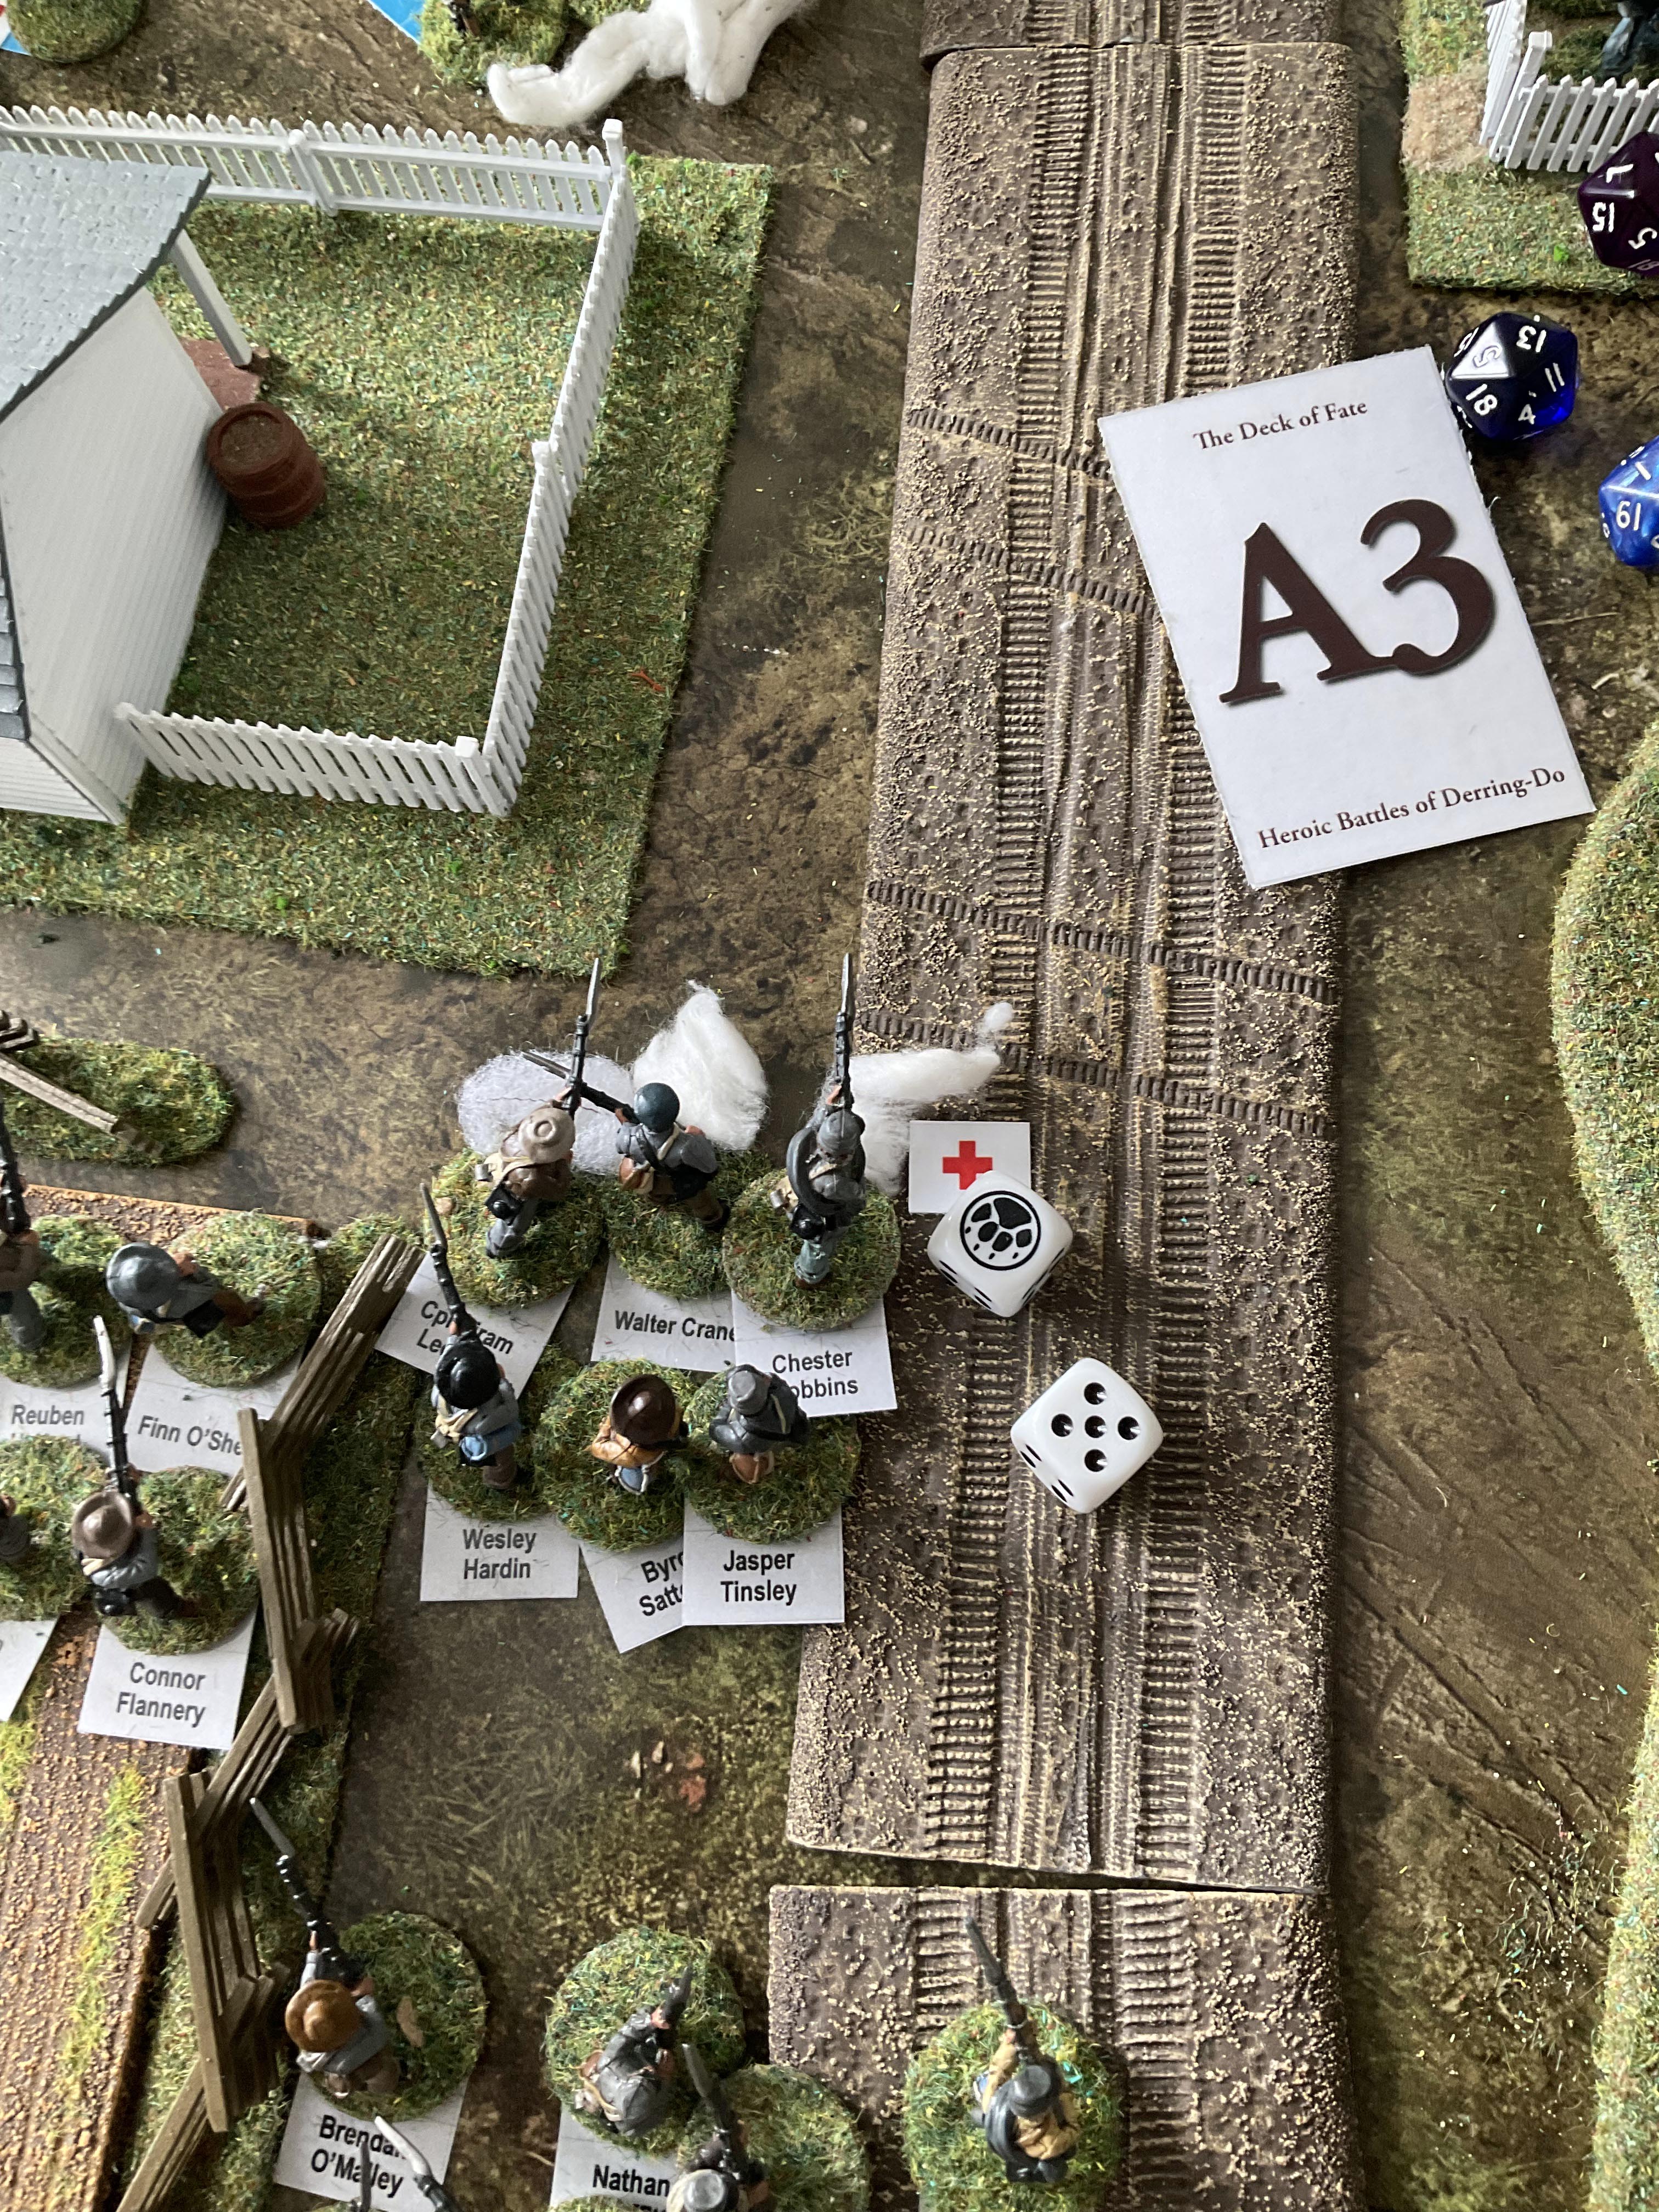
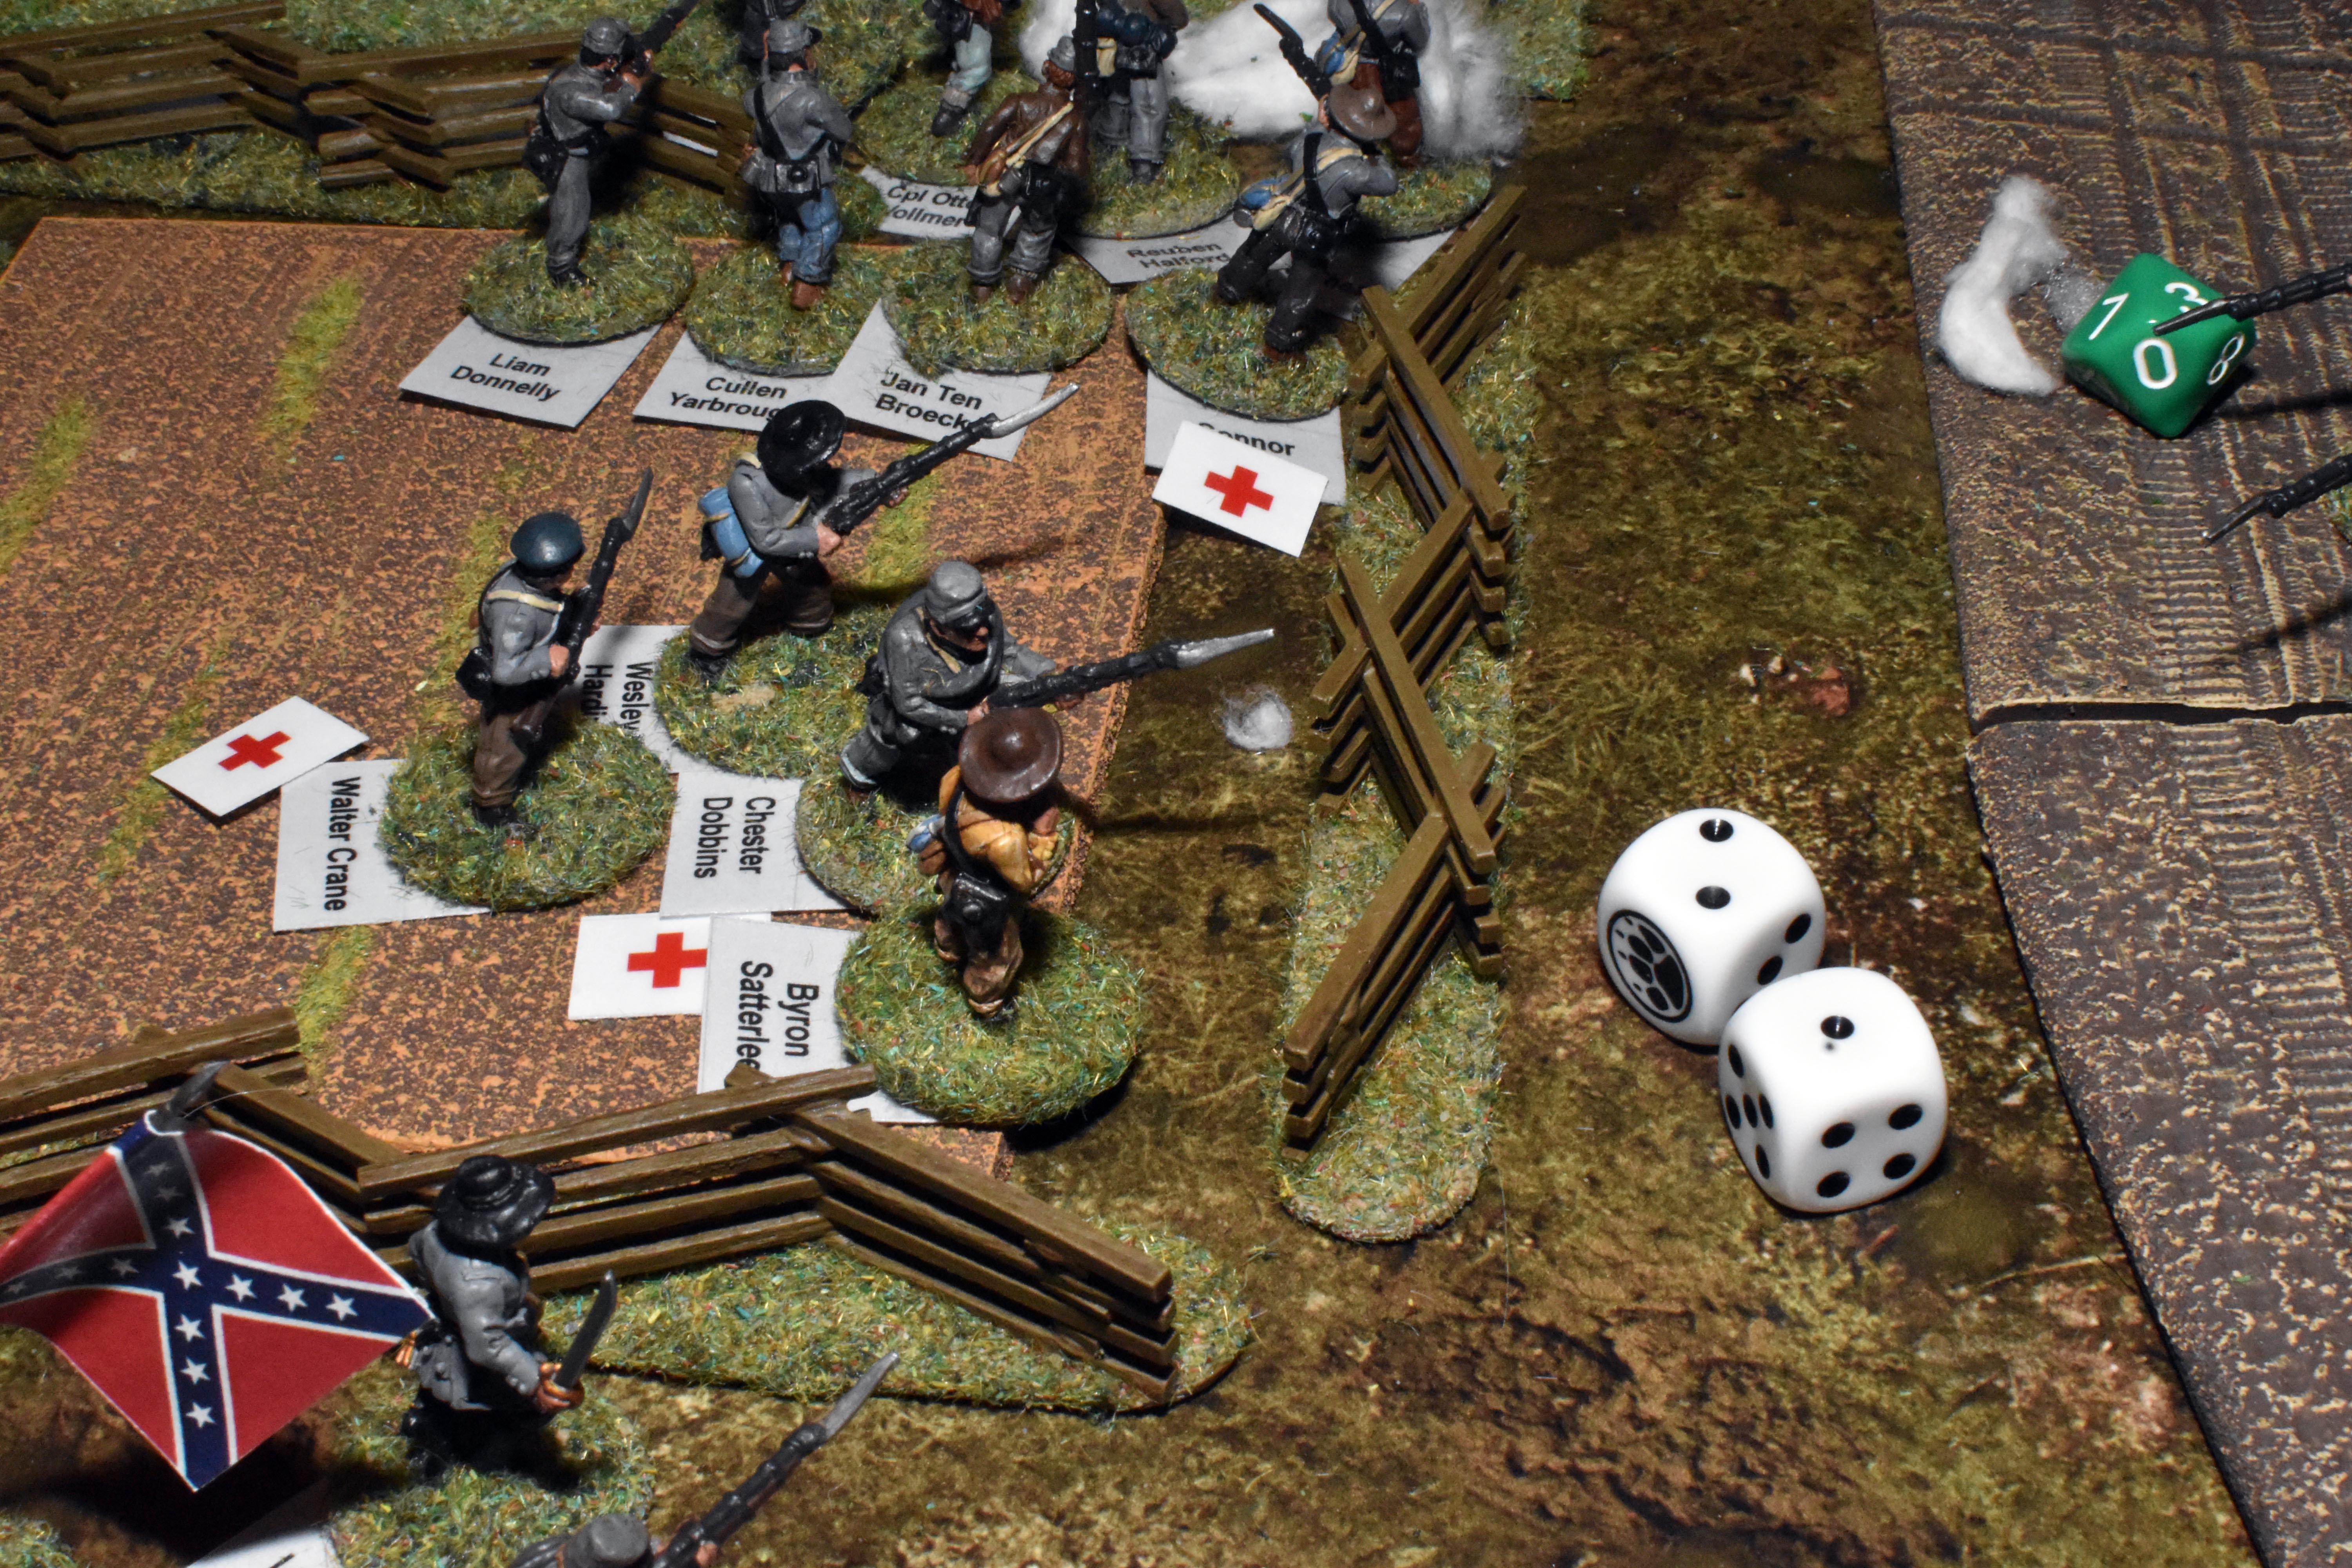
| With a -1 due to the range, the firing resulted in one soldier wounded and the unit pushed back 2" | The section commander rolls 2d6 to see if it is he who is the casualty (on an 11 or 12). It is not. Just poor Caleb Brackett. | As they have muskets they must indicate that they have fired and need to reload. | The rebels get the next card and so another round of firing. With two activations they could aim giving them a +1 to hit. However there were intervening barriers and so -1 was applied making it evens. After all that, they only received another 1" recoil result. |
|
|
|
|
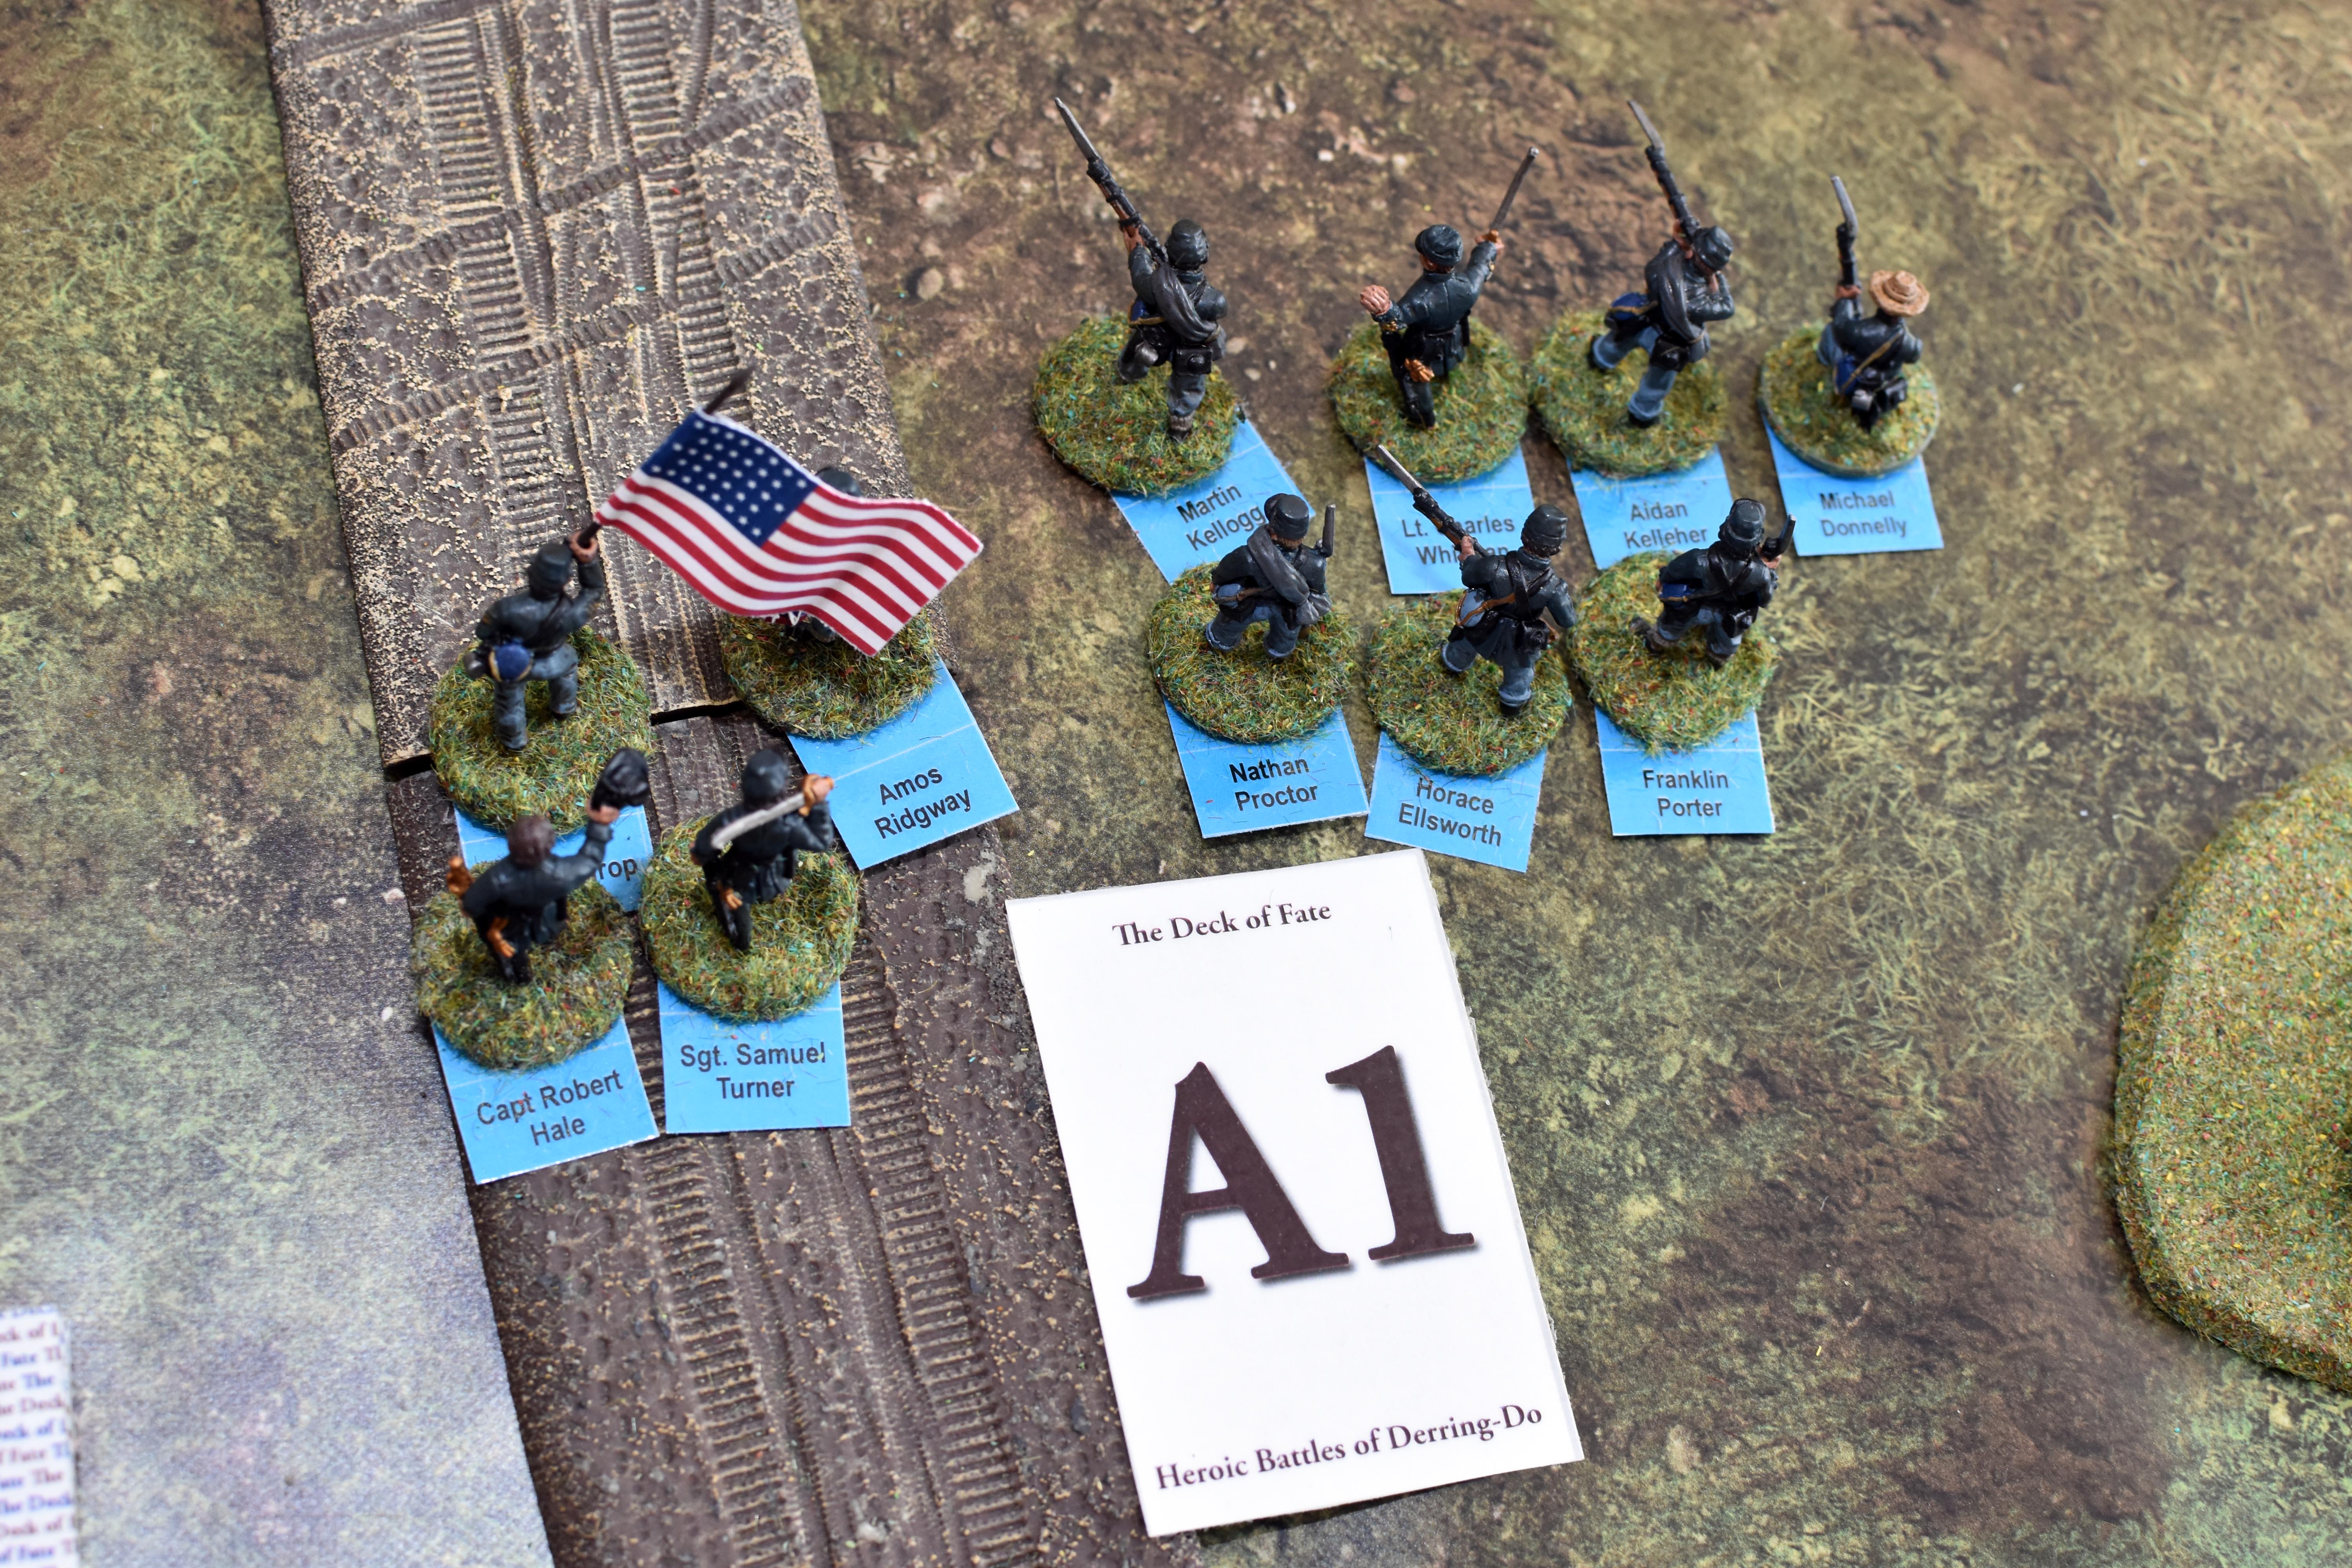
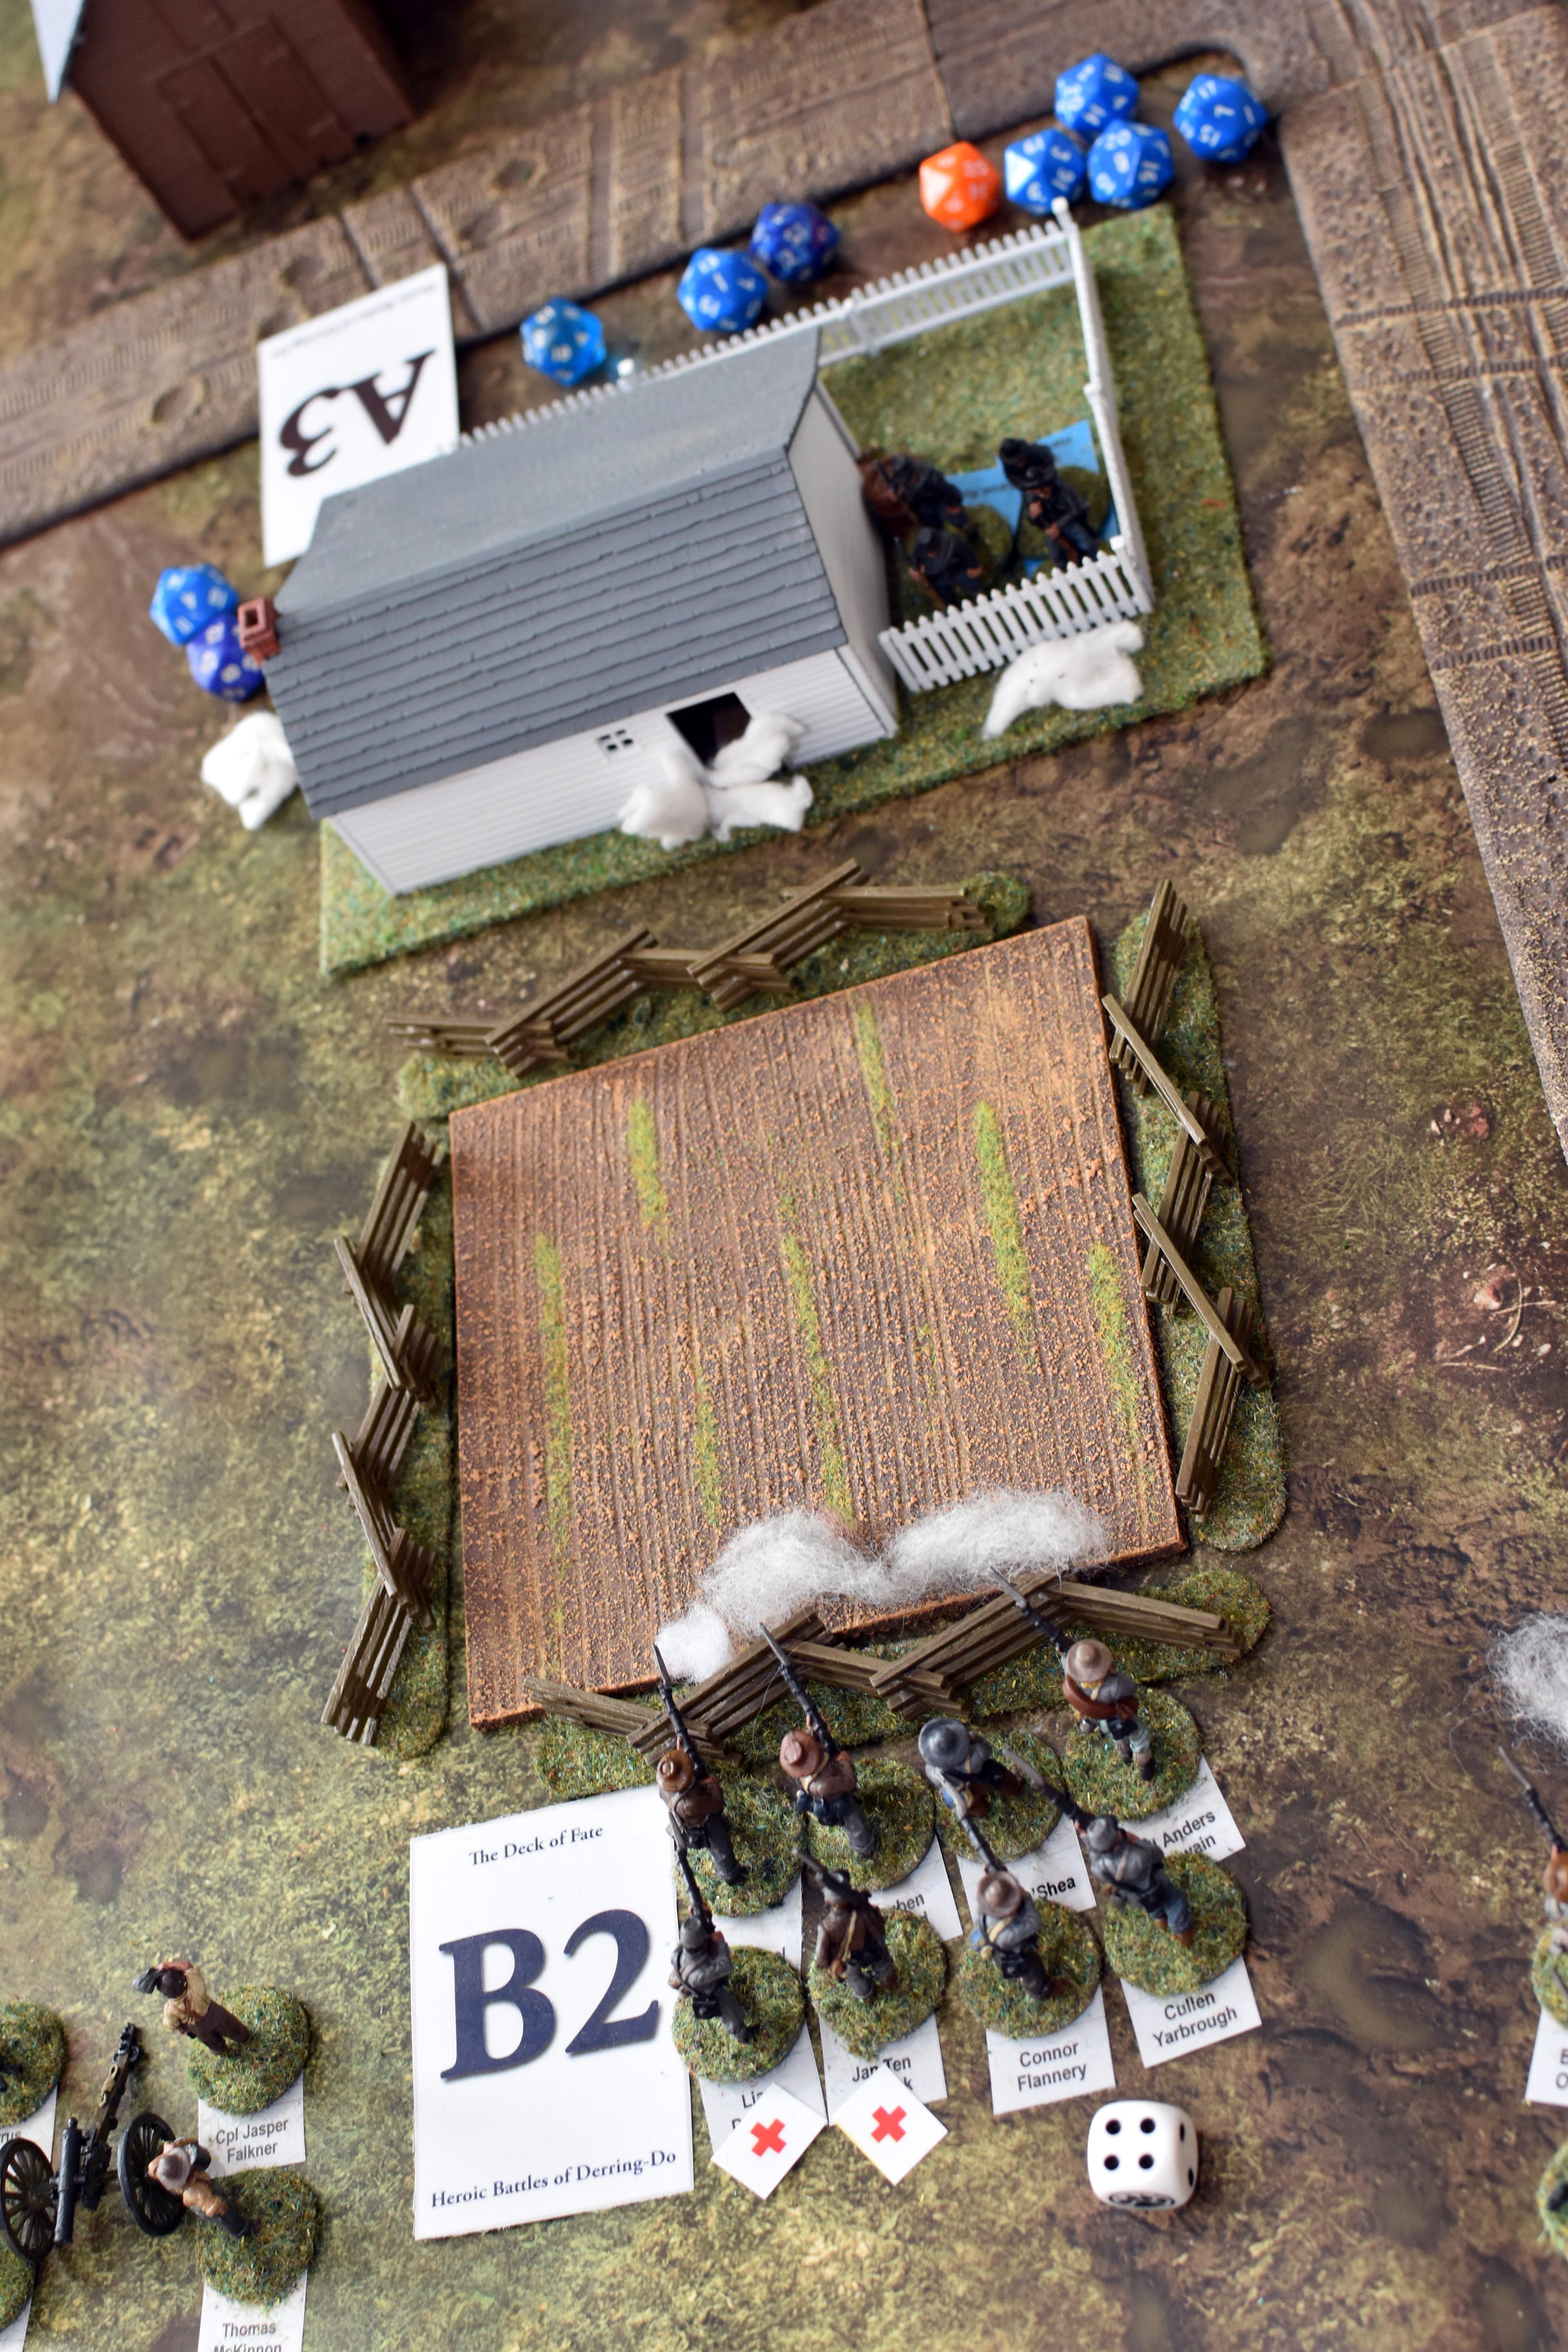
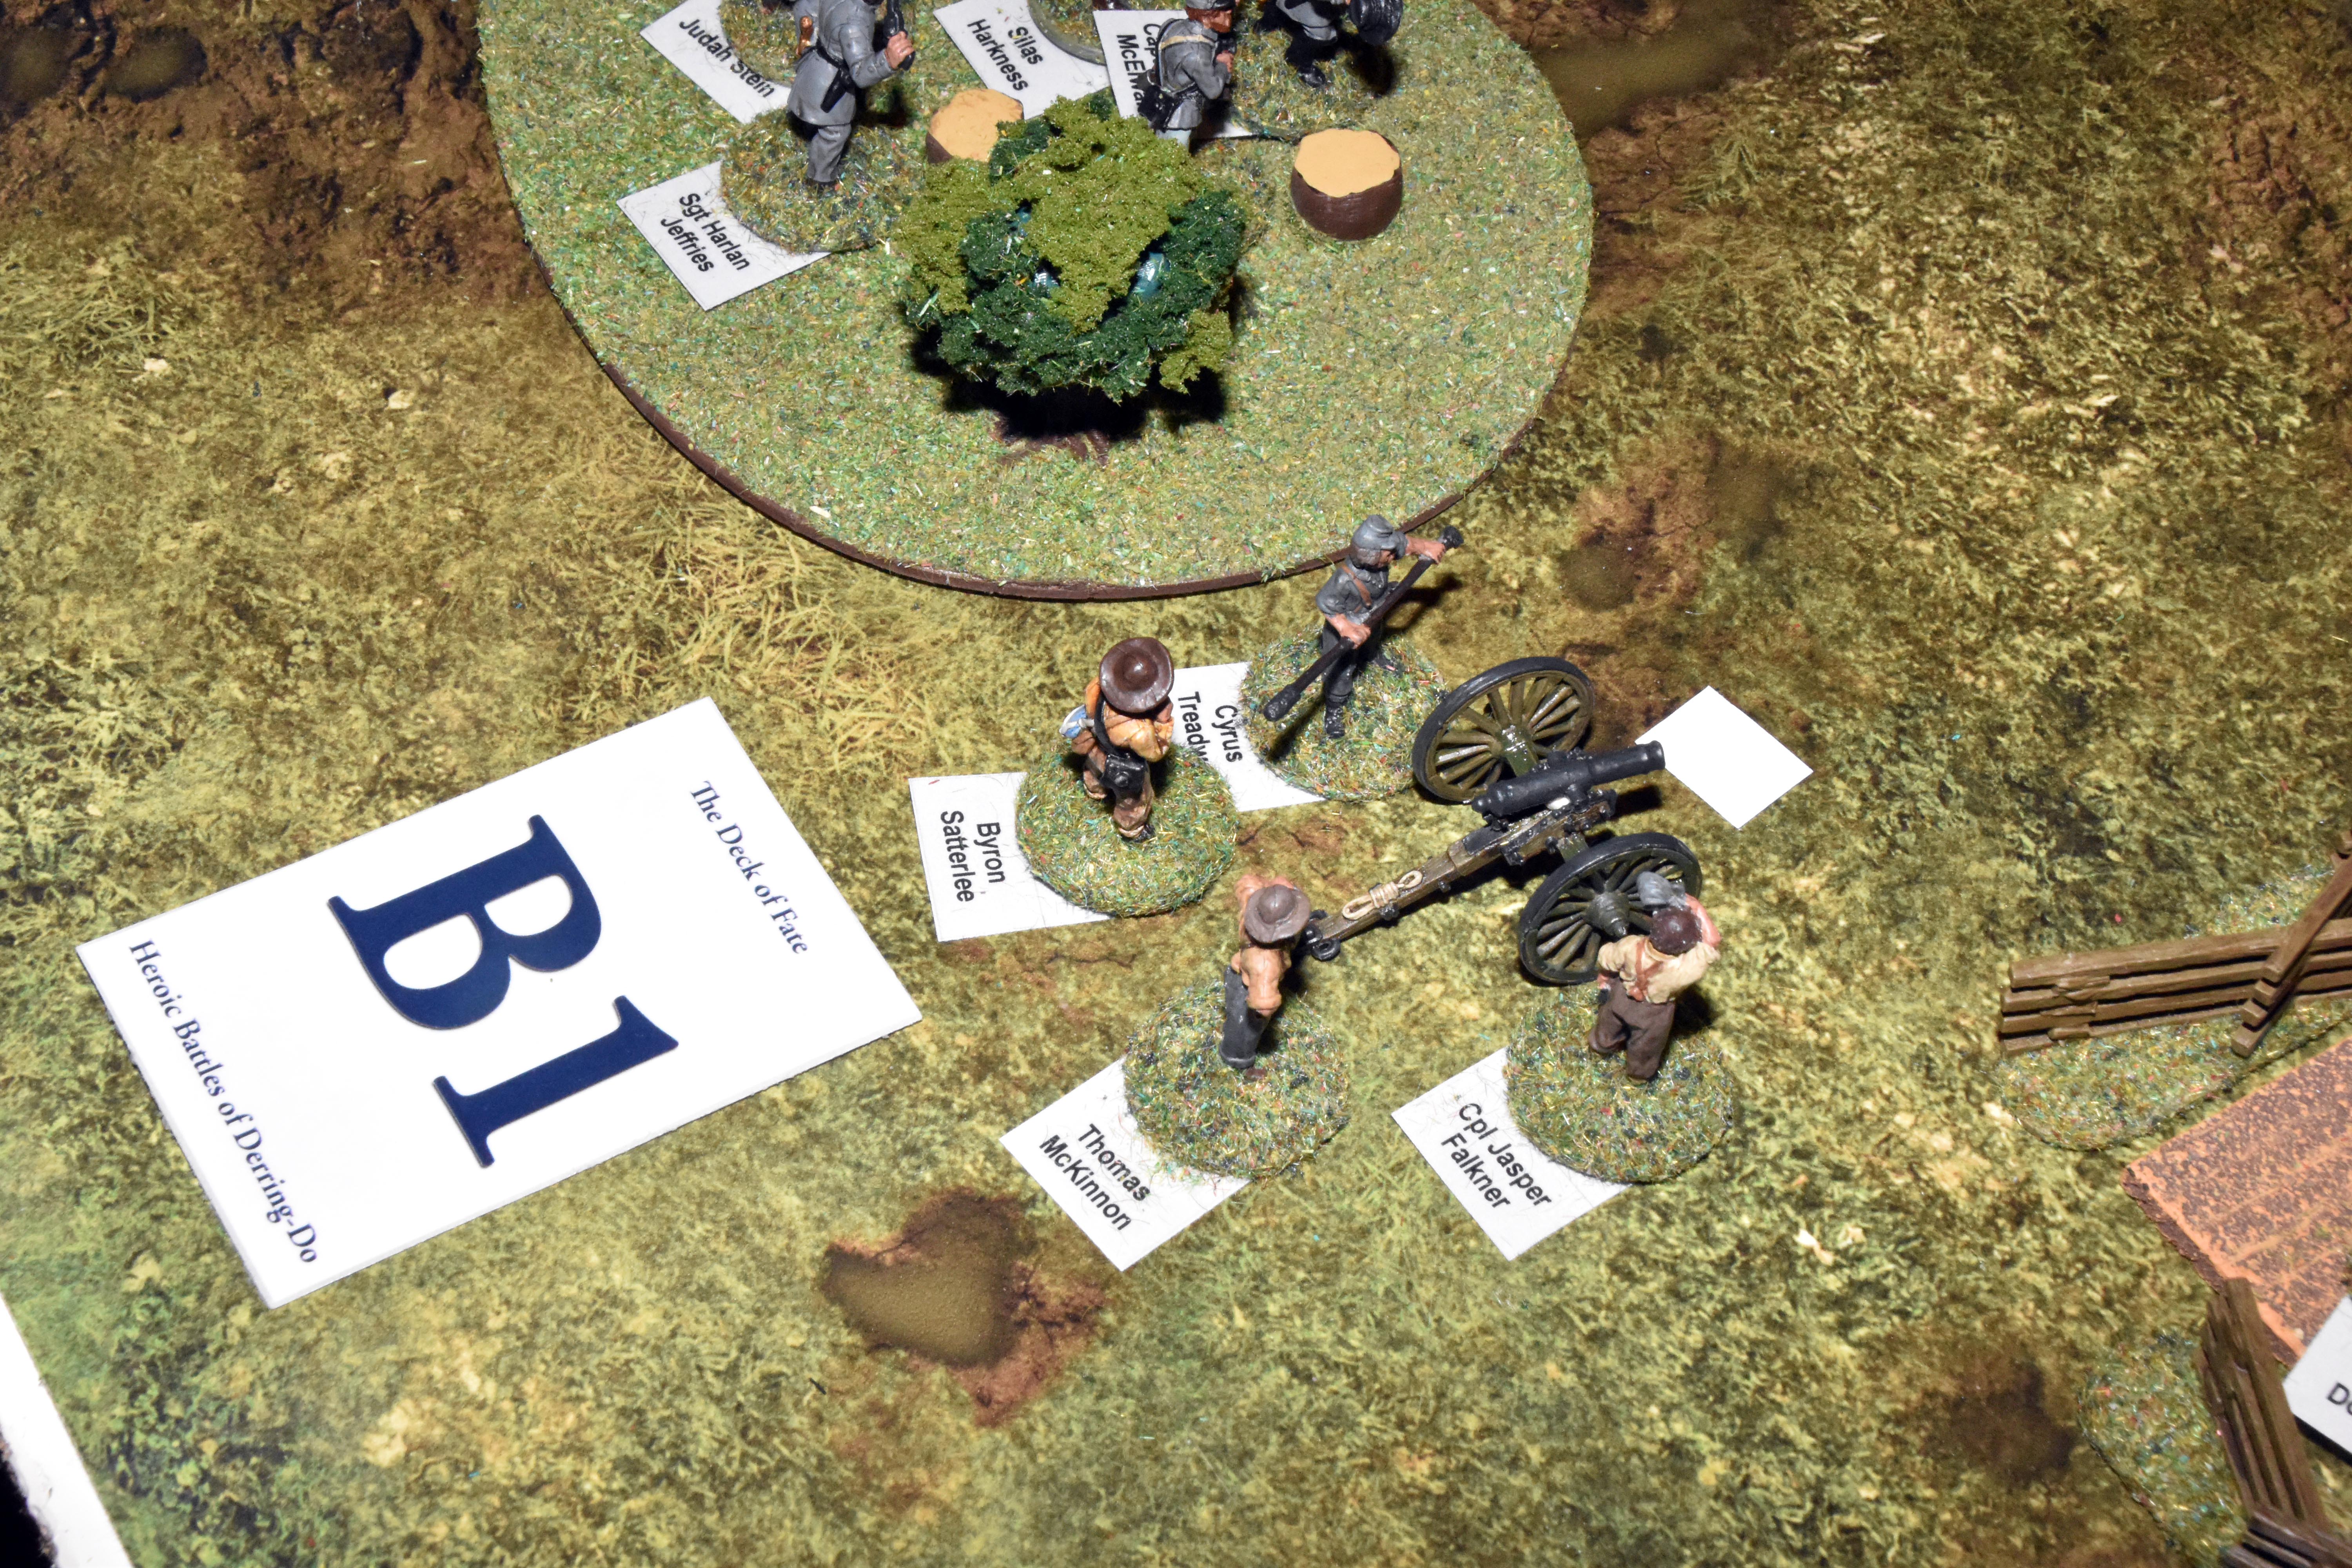
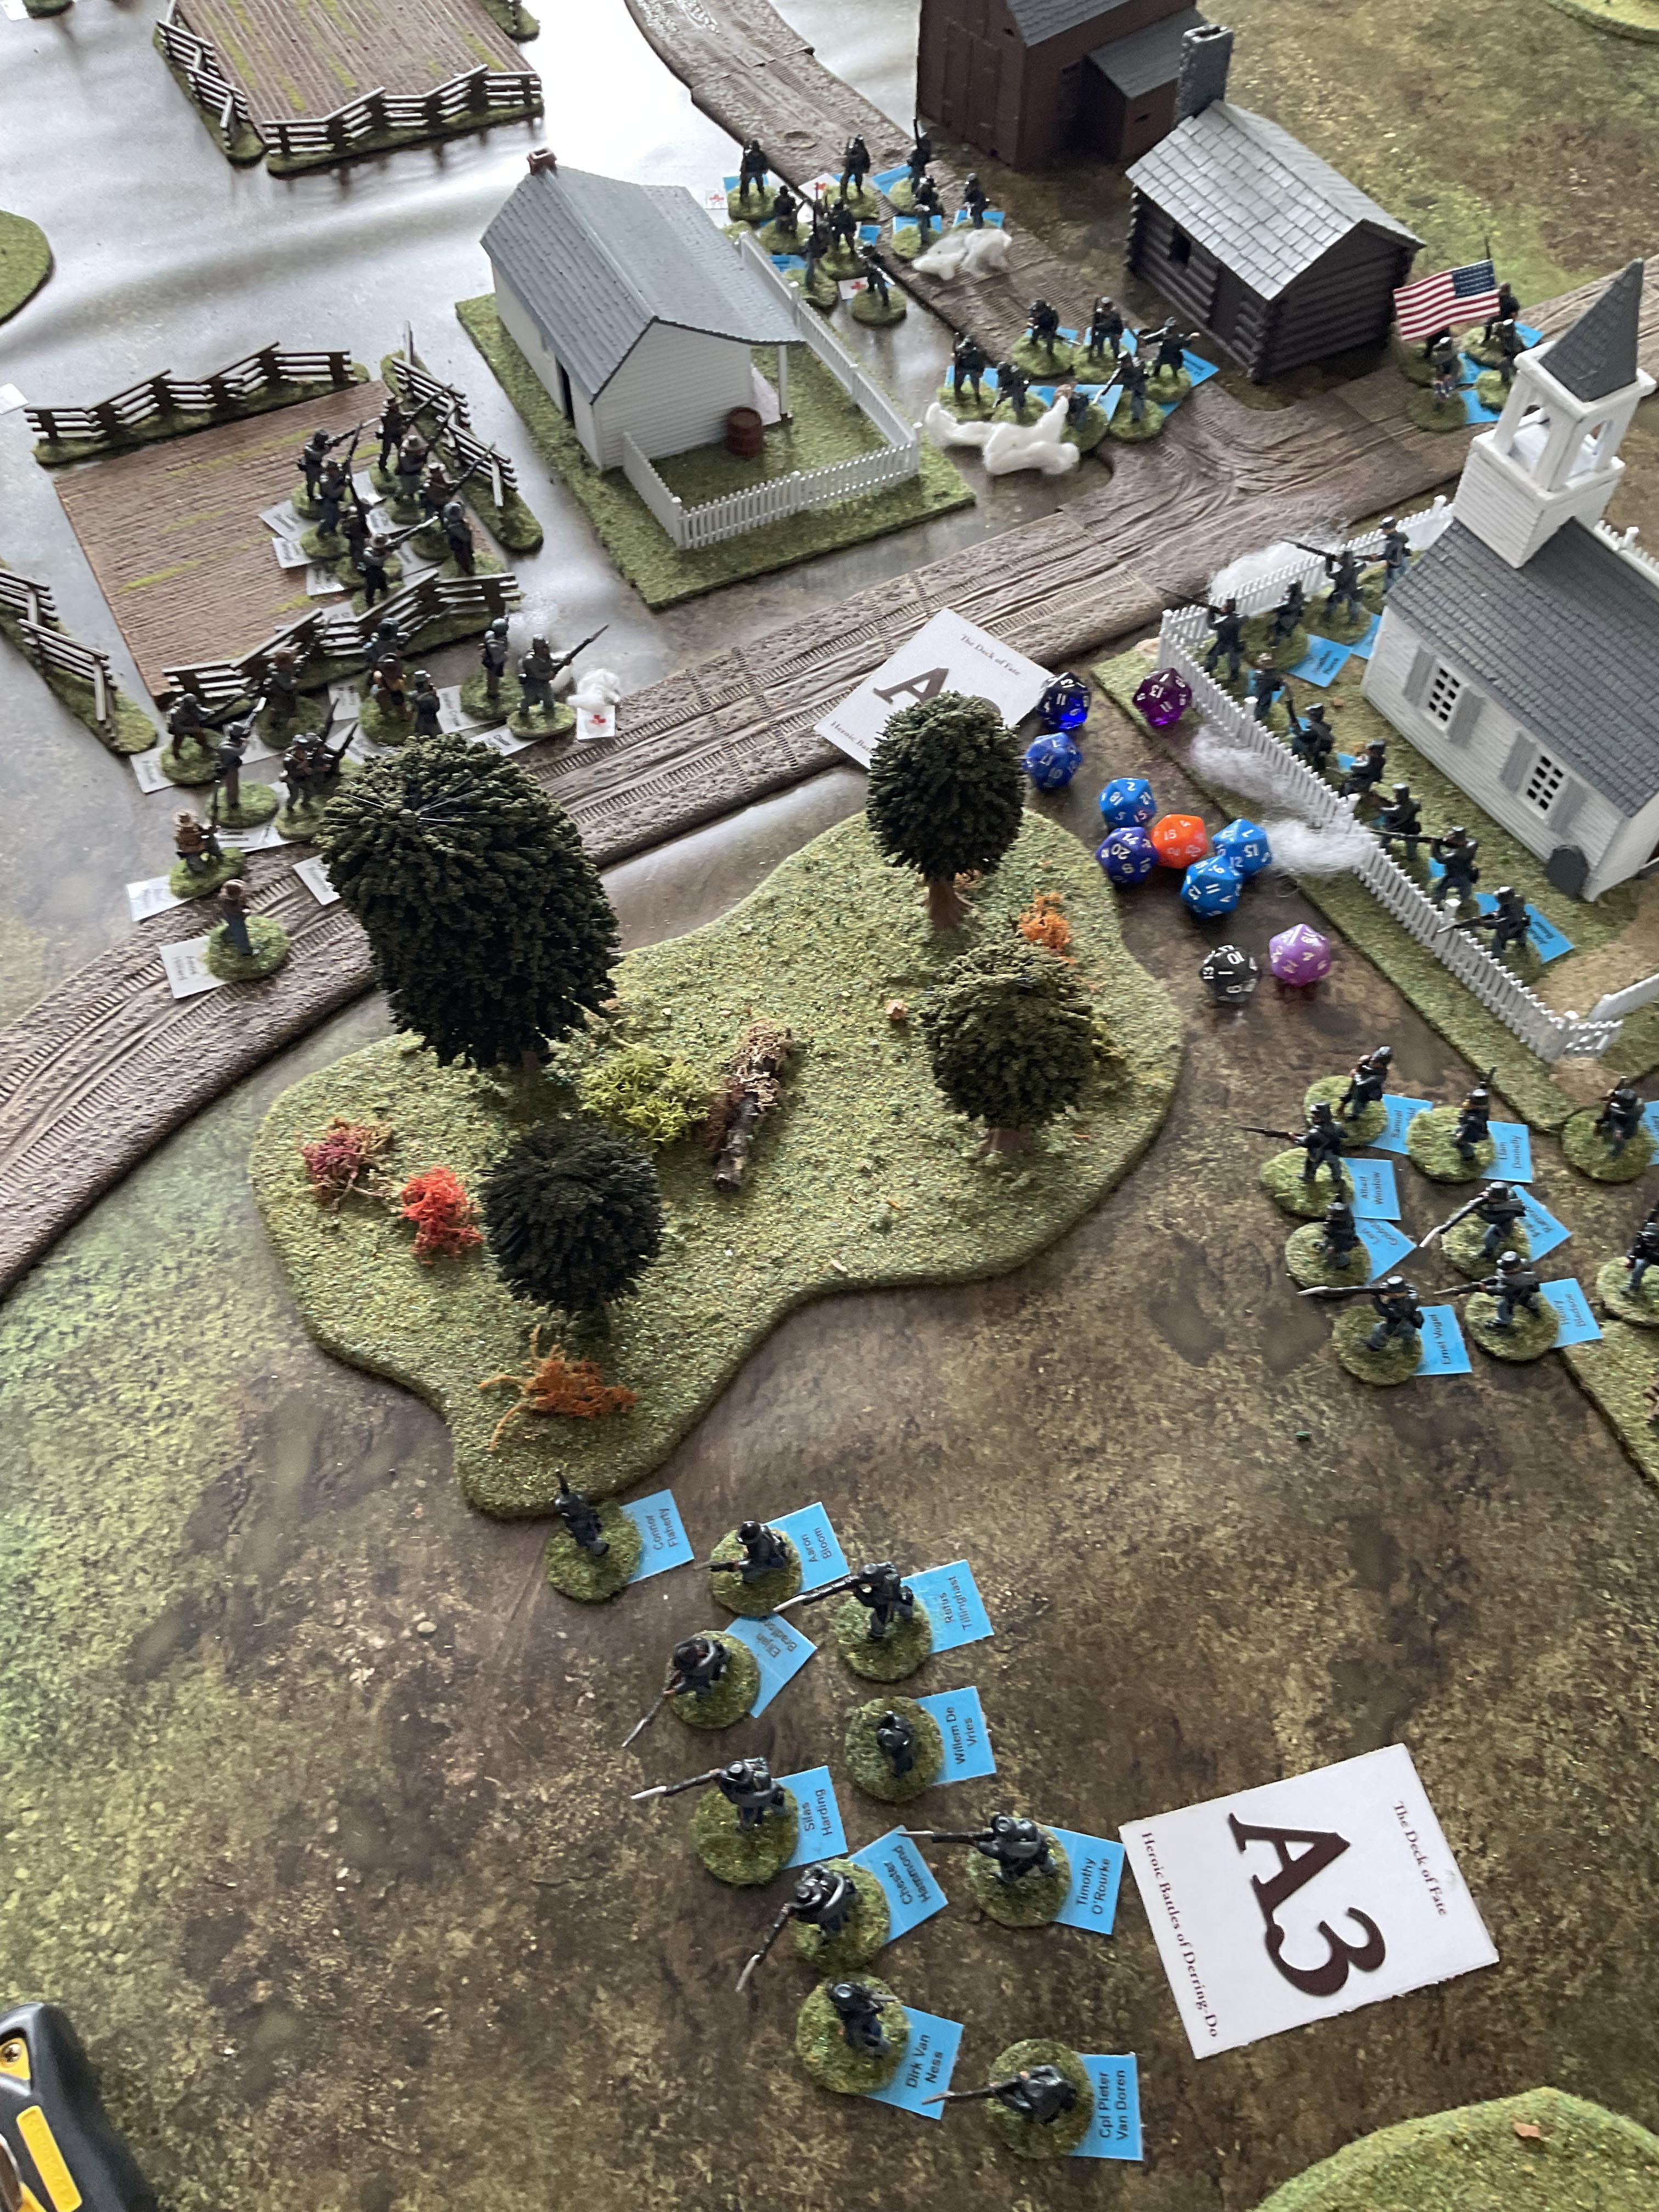
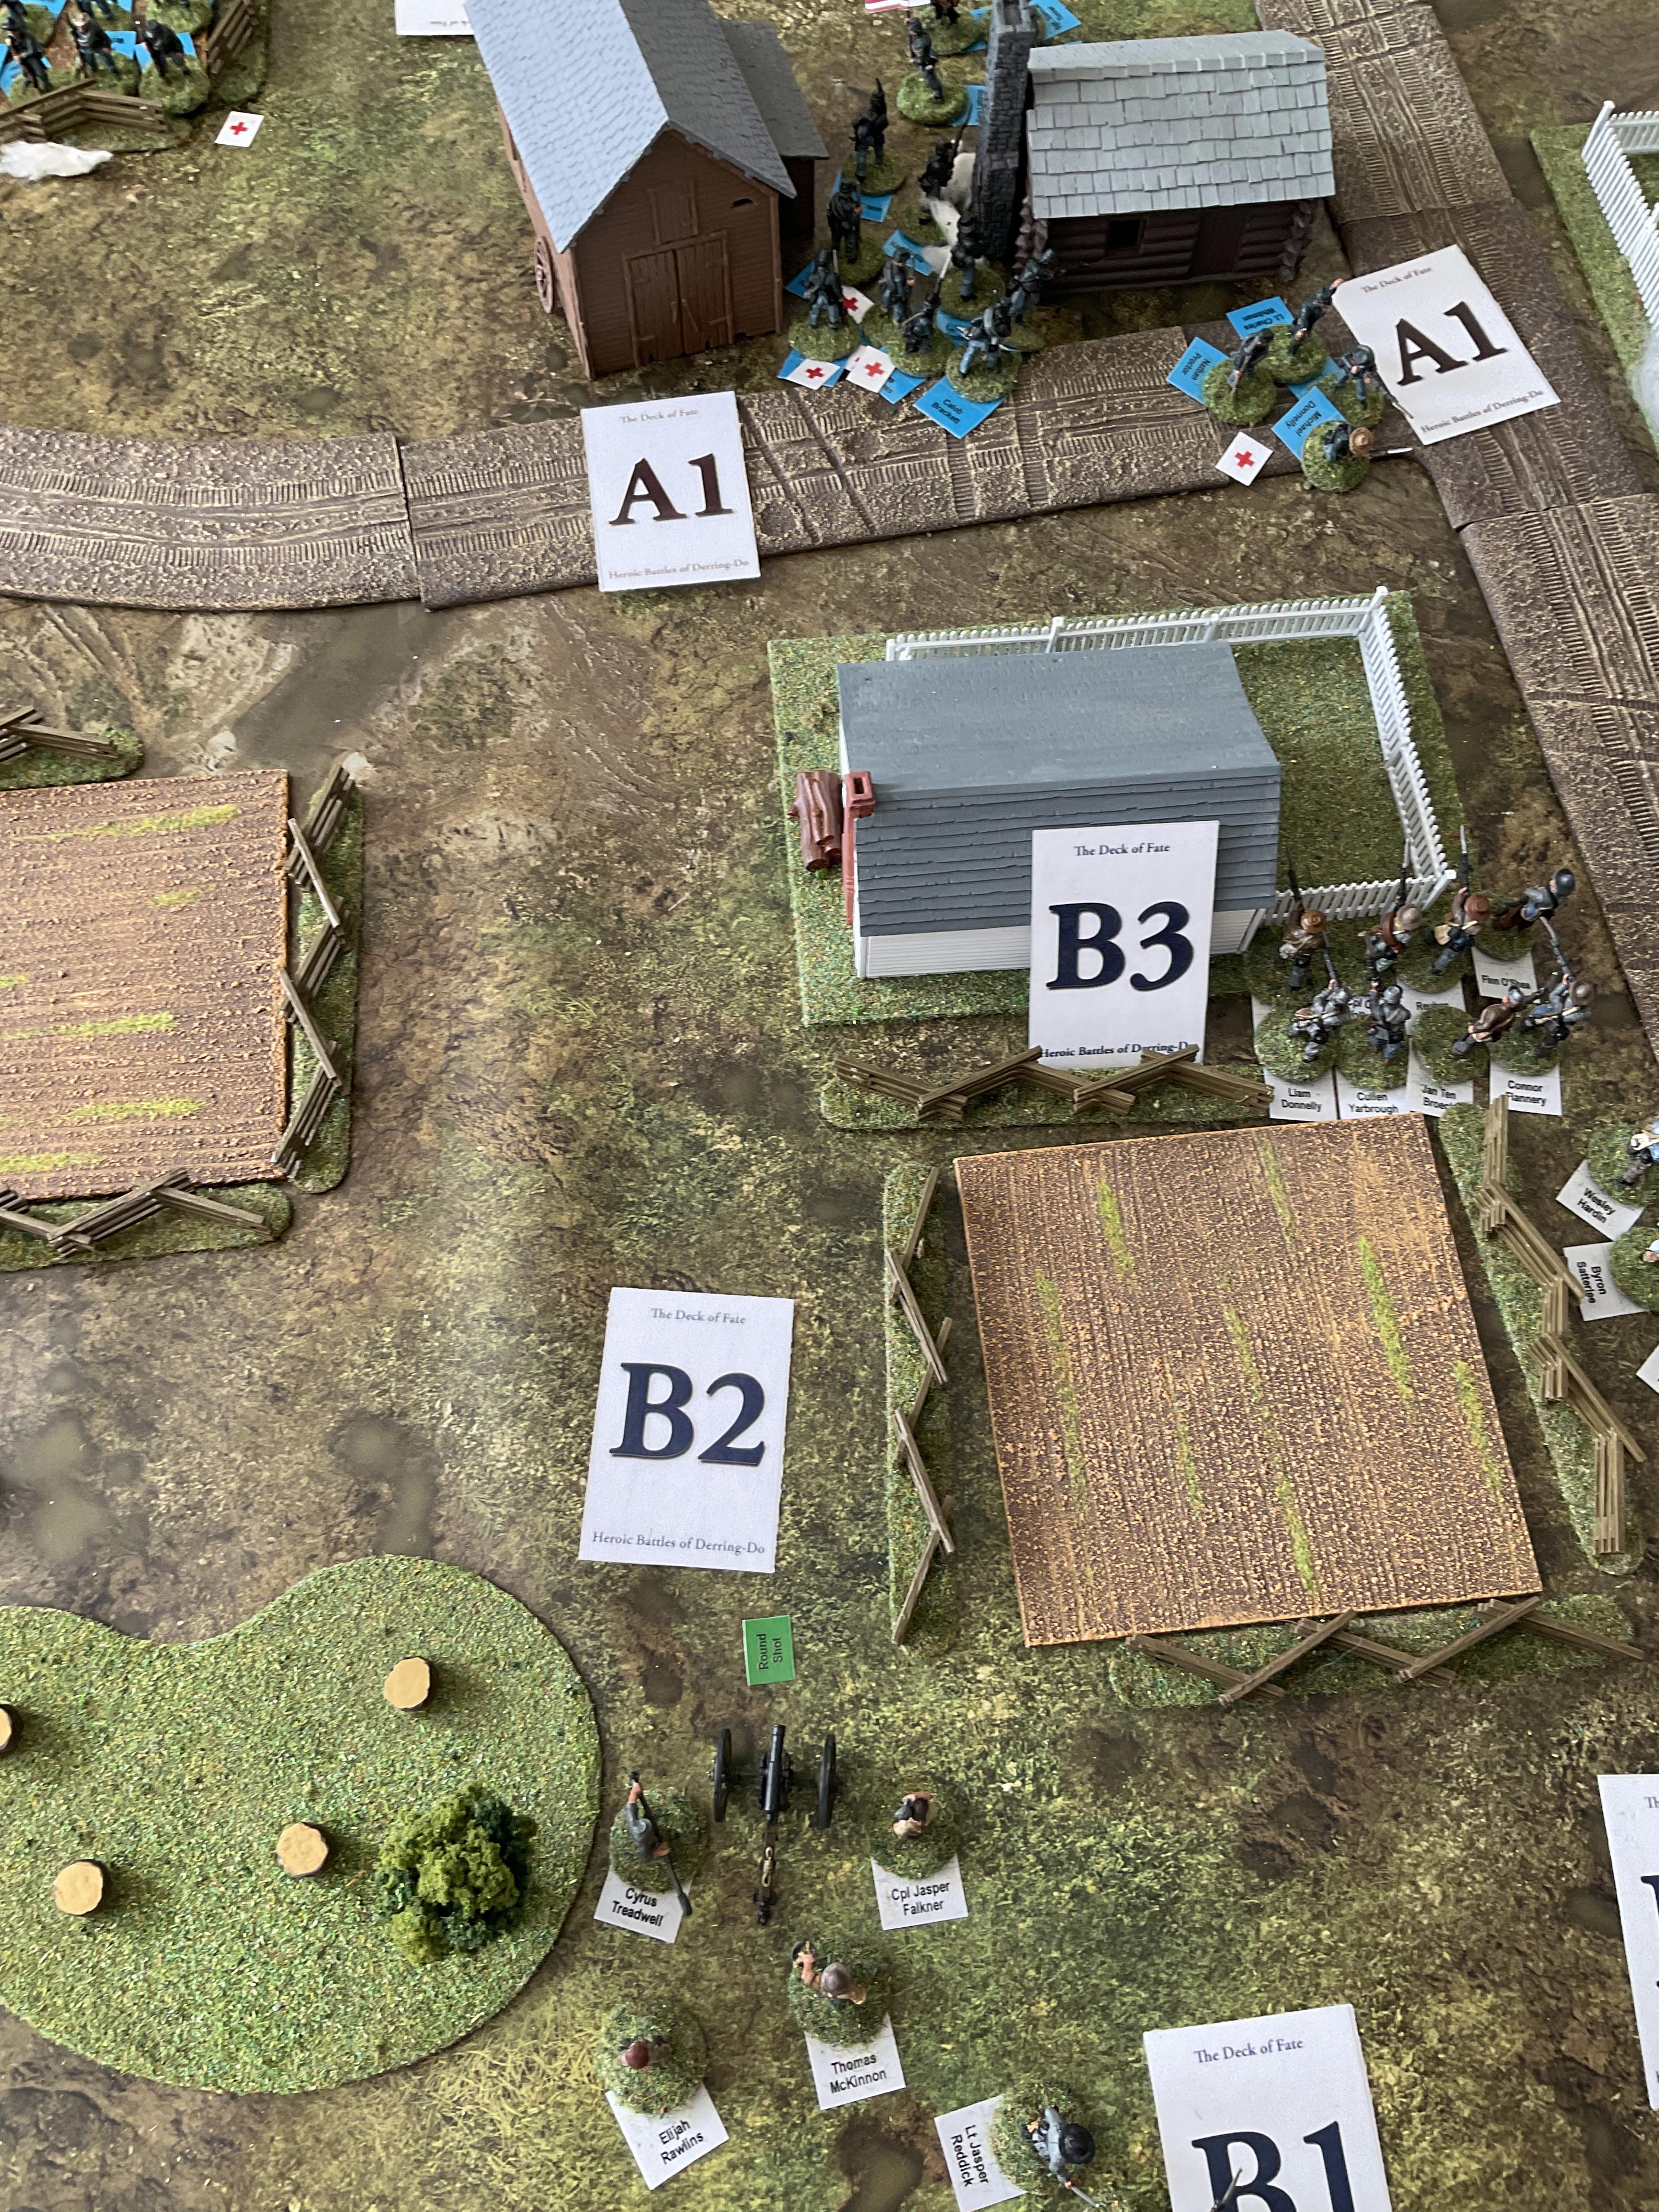
| At last the Union commander got a card but it was just one activation which was not enough to help Corporal Anderson, so Captain Hale himself entered the battle centrally to help direct its course. | With just a single activation, Corporal Crenshaw's men just moved up to the picket fence. | And more lackadaisical rebels dribble on to the battlefield | Already limbered up the artillery piece makes an appearance and moves 6" |
|
|
|
|
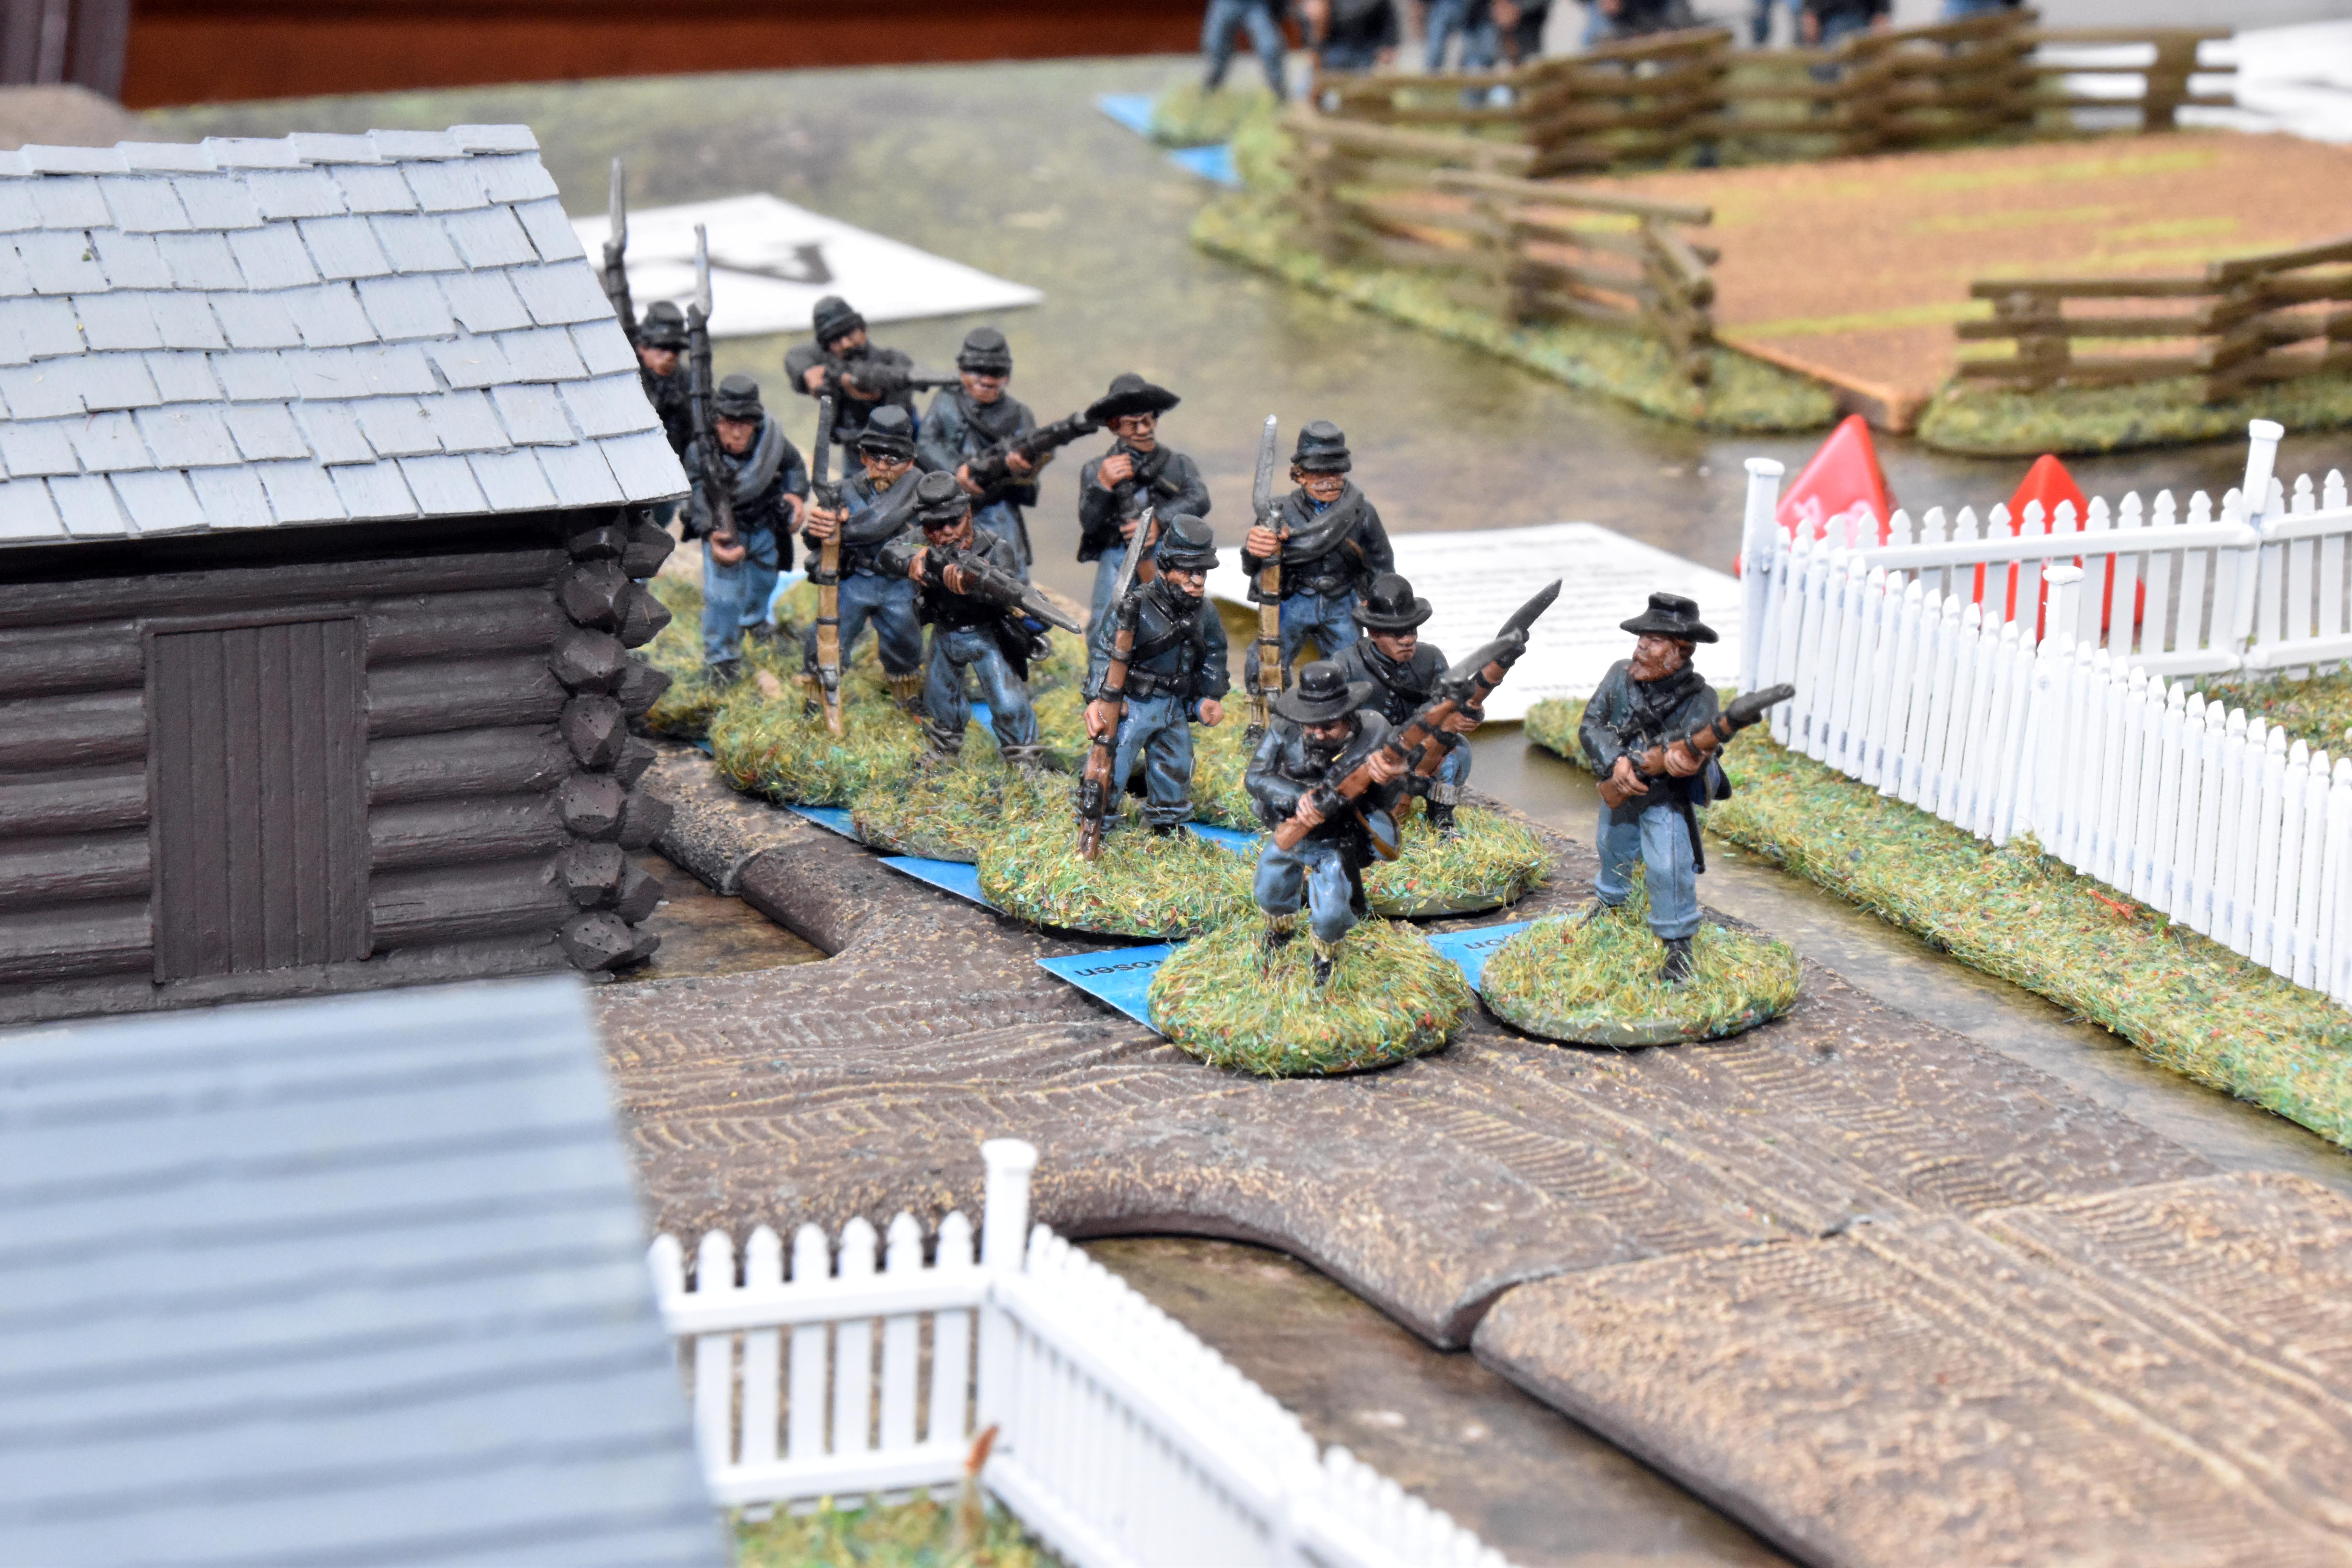
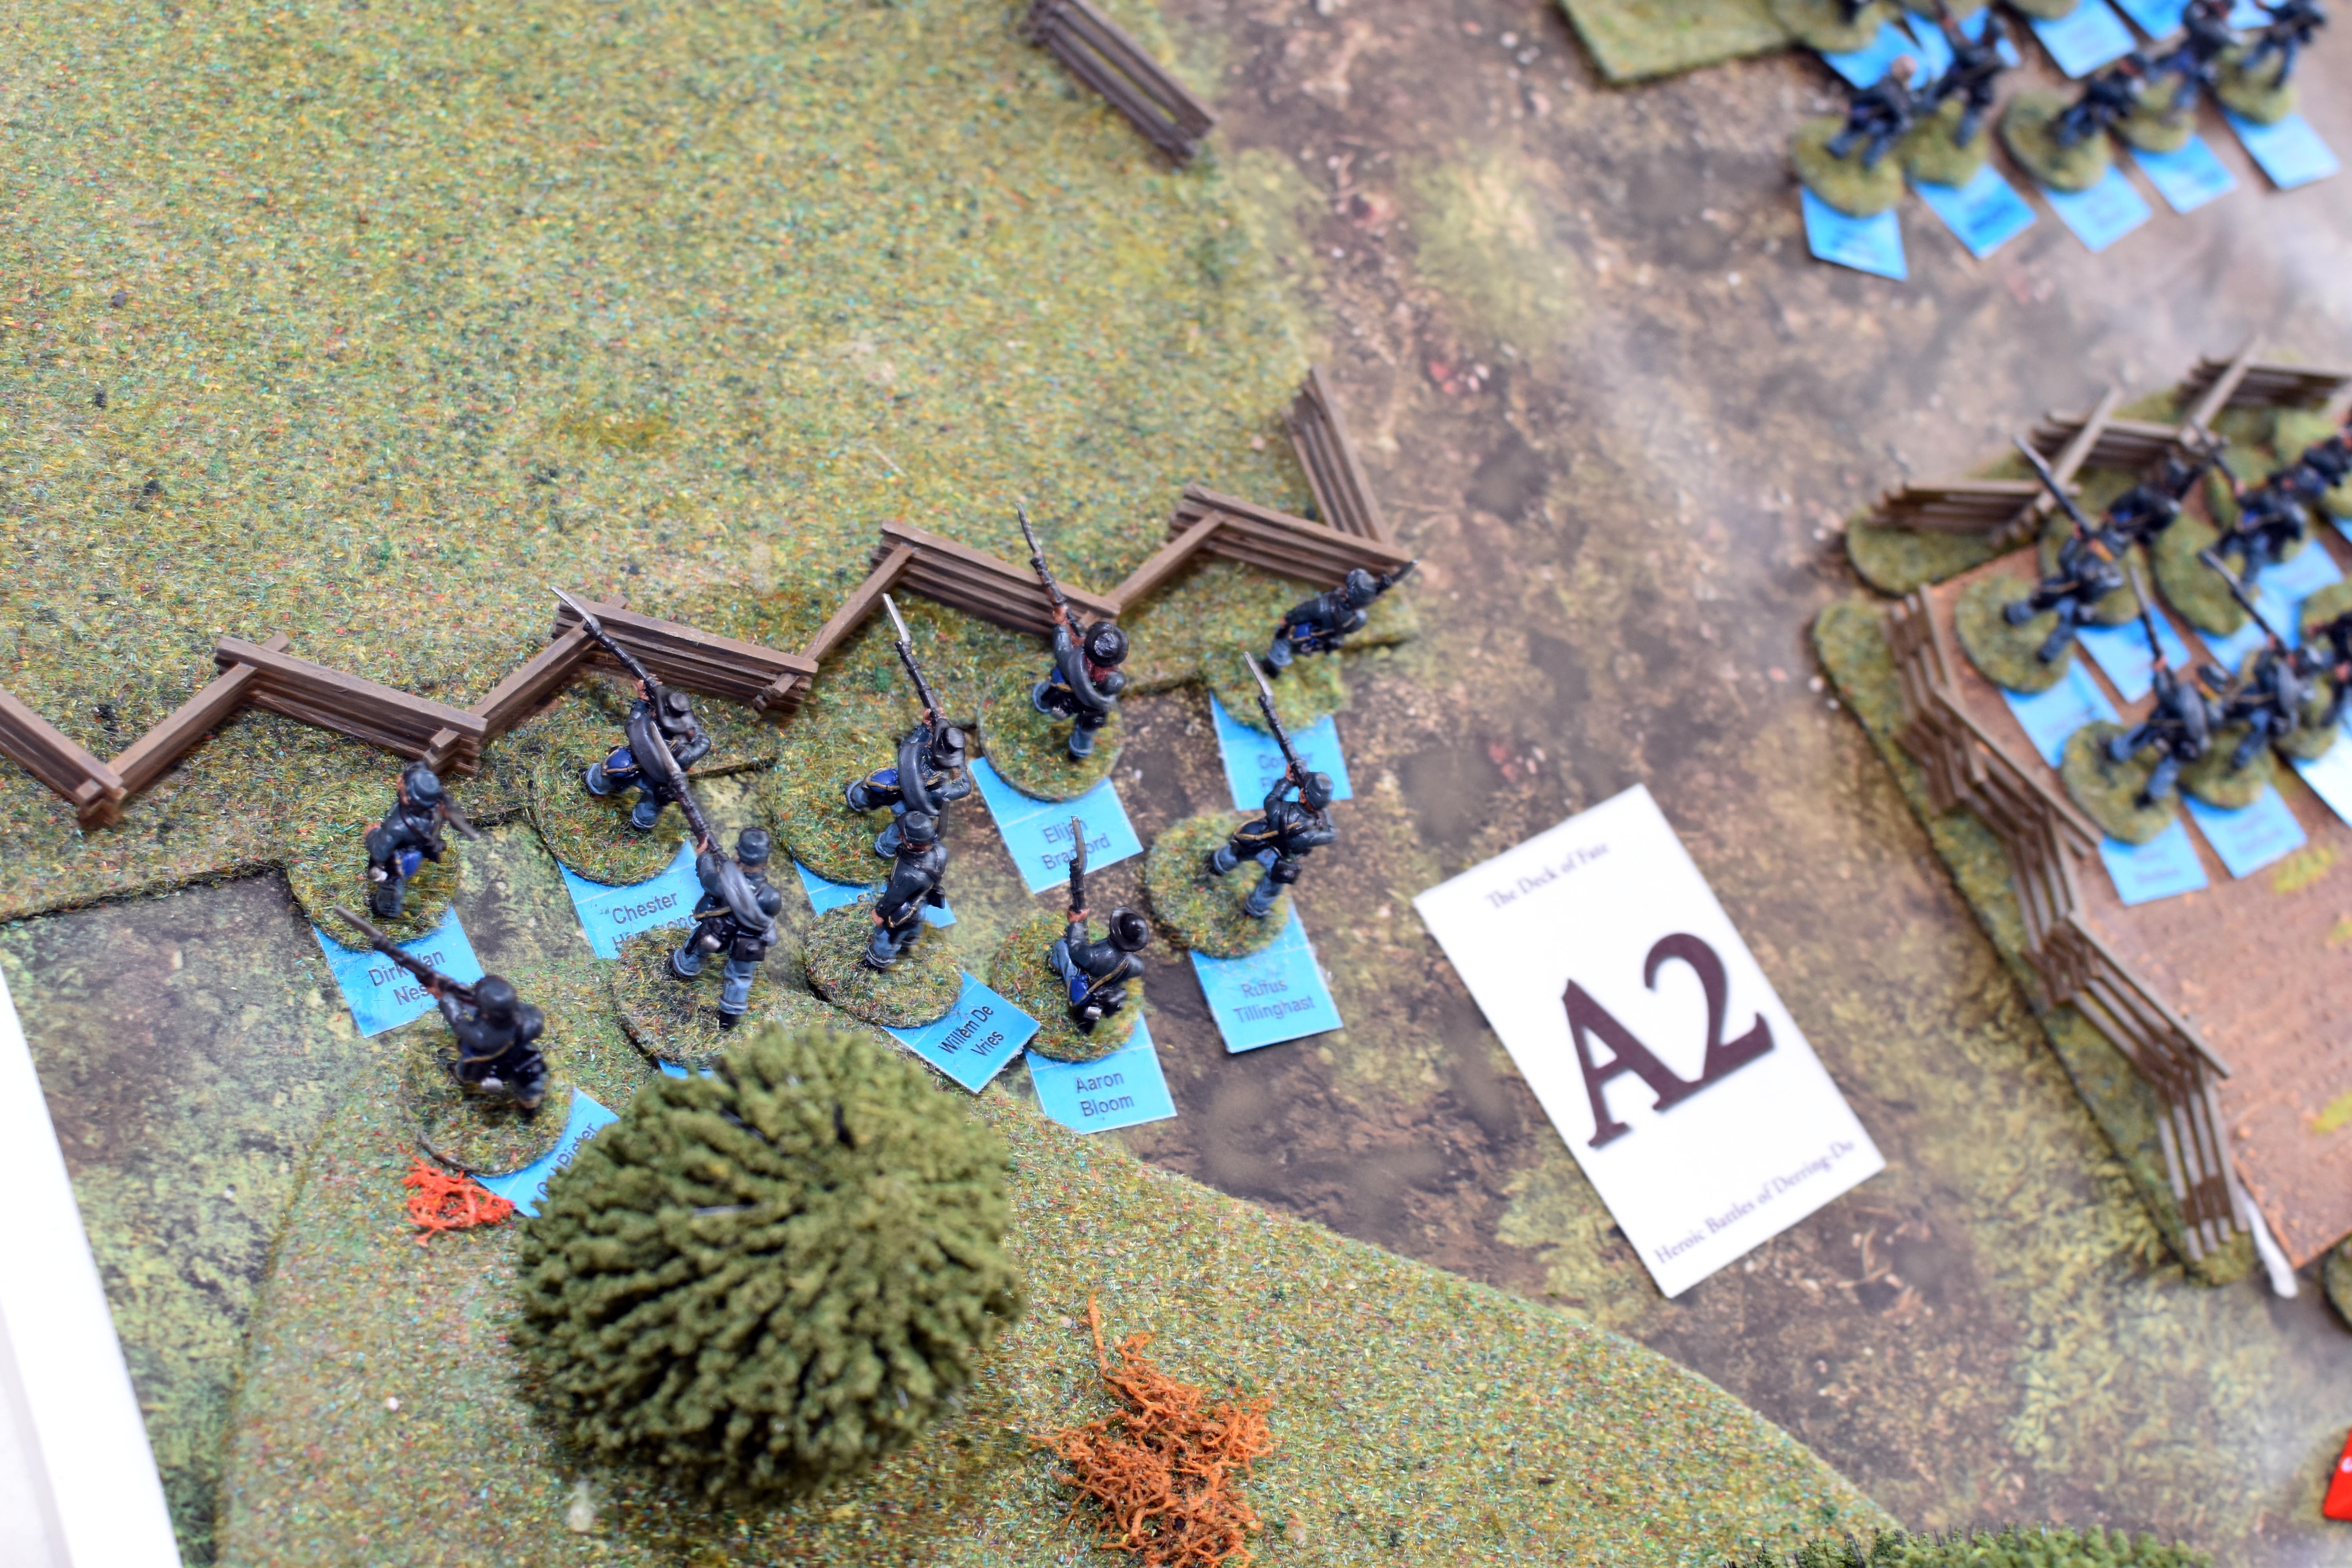
| The rebels have the cards but not the activations and their commander finally enters the fray meaning that there are no more rebels to move this turn. | Corporal Anderson's troops get 3 activations allowing them to wheel into some cover and turn and face the threat from the front. | Corporal Pierce's troops have been taking some exercise as they rolled high again. Seeing an artillery piece ahead, they decide to jog on over to the left flank instead. | Behind them Corporal O'Malley's troops cross the fence and move 6" |
|
|
|
|
| Corporal Holm's troops on the right flank wheel 8" in Close Order. | The last Union offboard unit arrives and filters through the trees just 3" as movement costs double in terrain and they must be in open order to be able to do this. | And the last unit moves up to the fence and hops over it. | This turn ends as all units have been activated. |
|
|
|
|
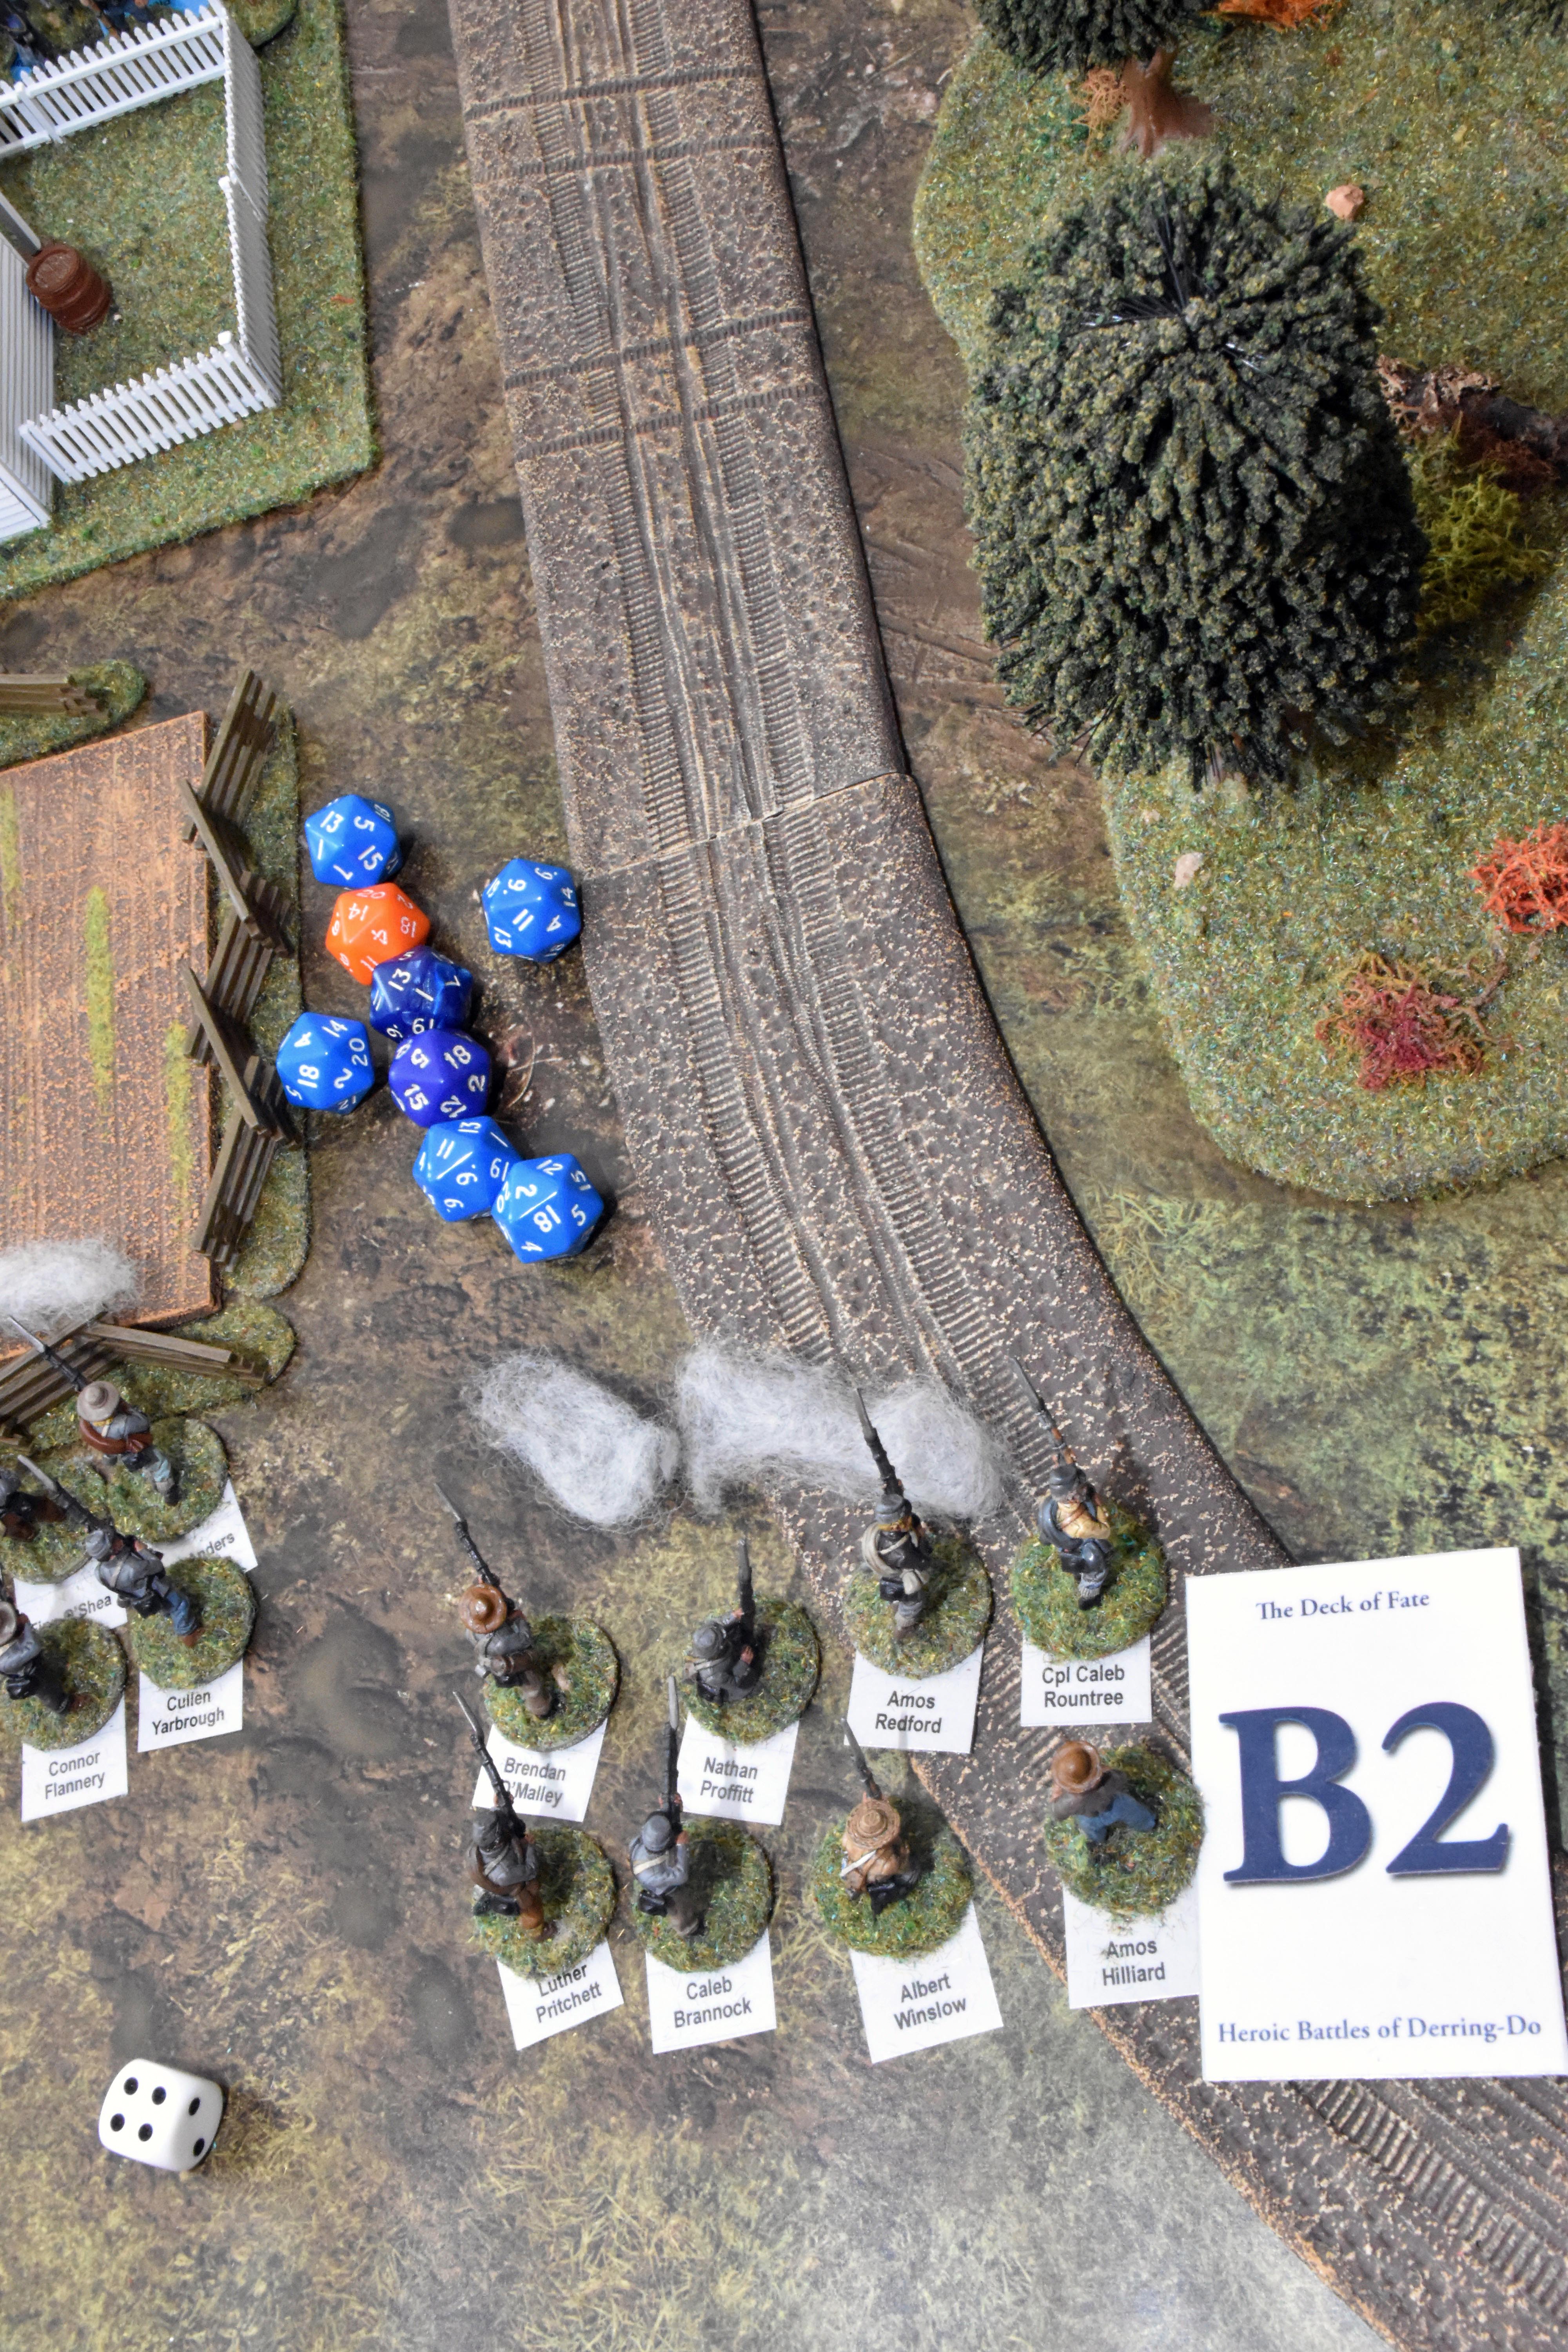
| First two activations went to the rebels but as their muskets were unloaded they had to reload first and just let off a hurried shot and at -1 due to the long range and another -1 due to intervening cover. They didn't hit a sausage. | The only other unit to move were these rebels who started to sneak through the woods. | The Union side didn't get to move a single unit. But at least the joker was likely to be in their favour. | Some extra soldiers report to duty - 3 in fact. |
|
|
|
|
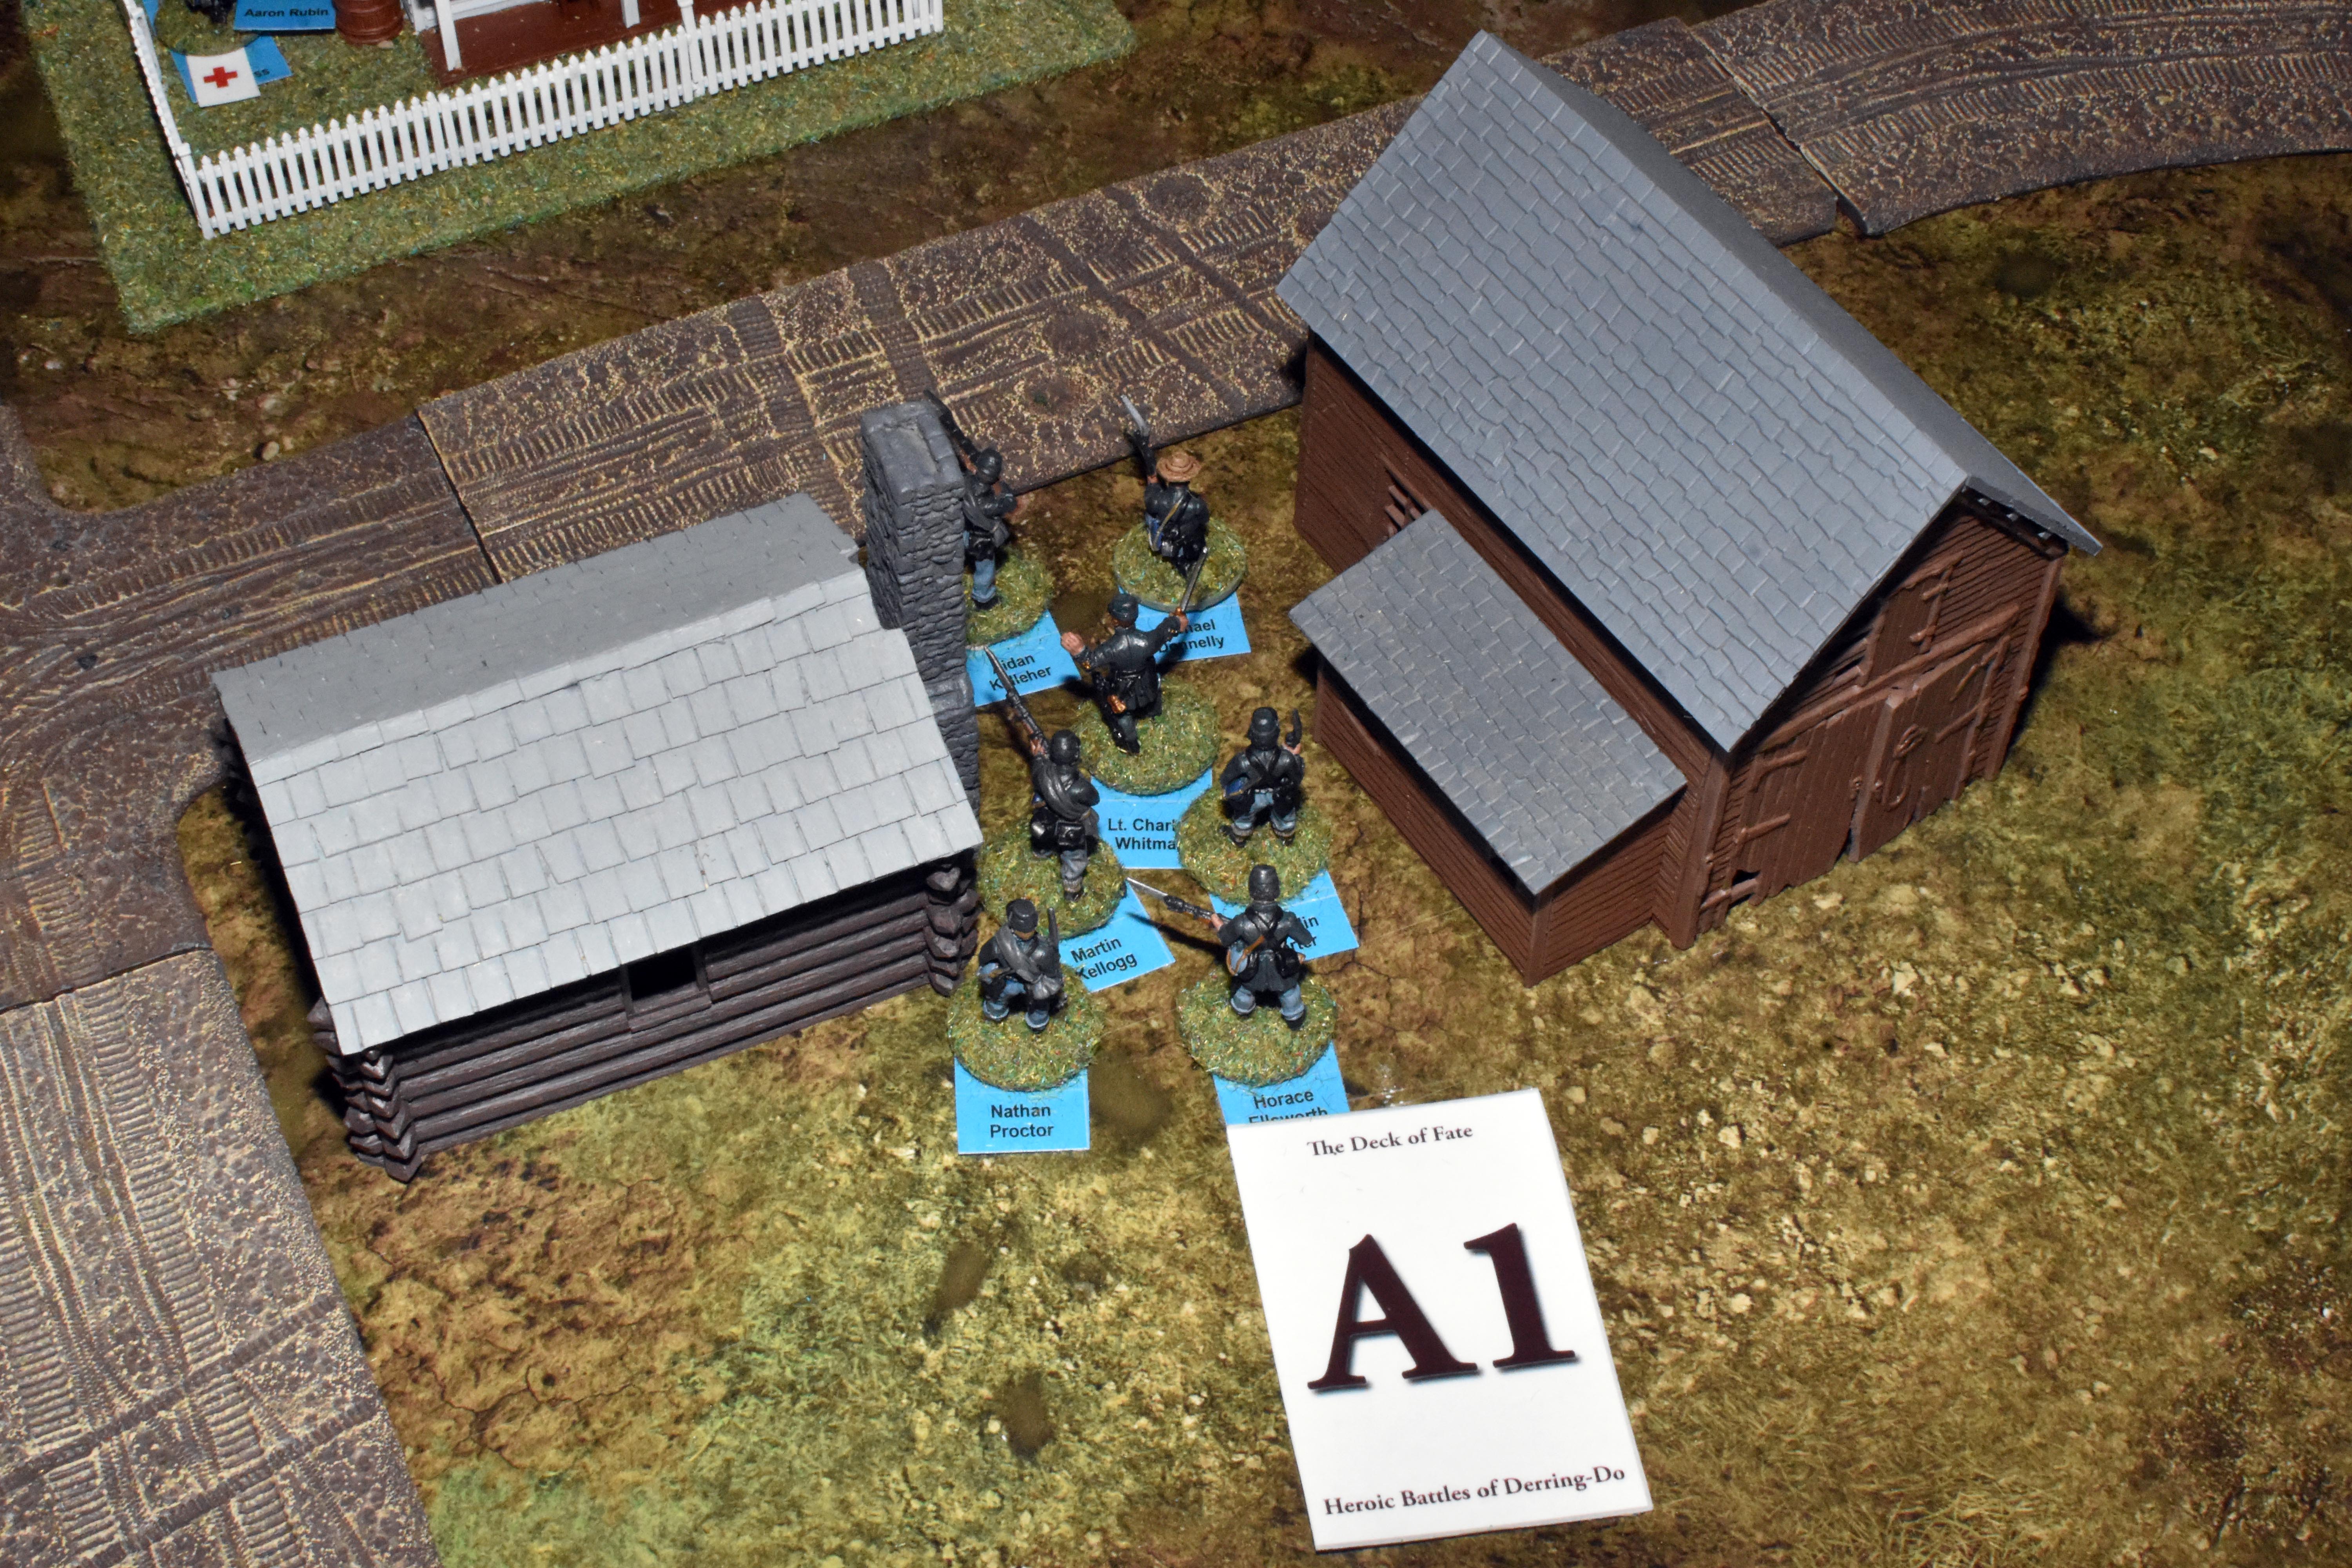
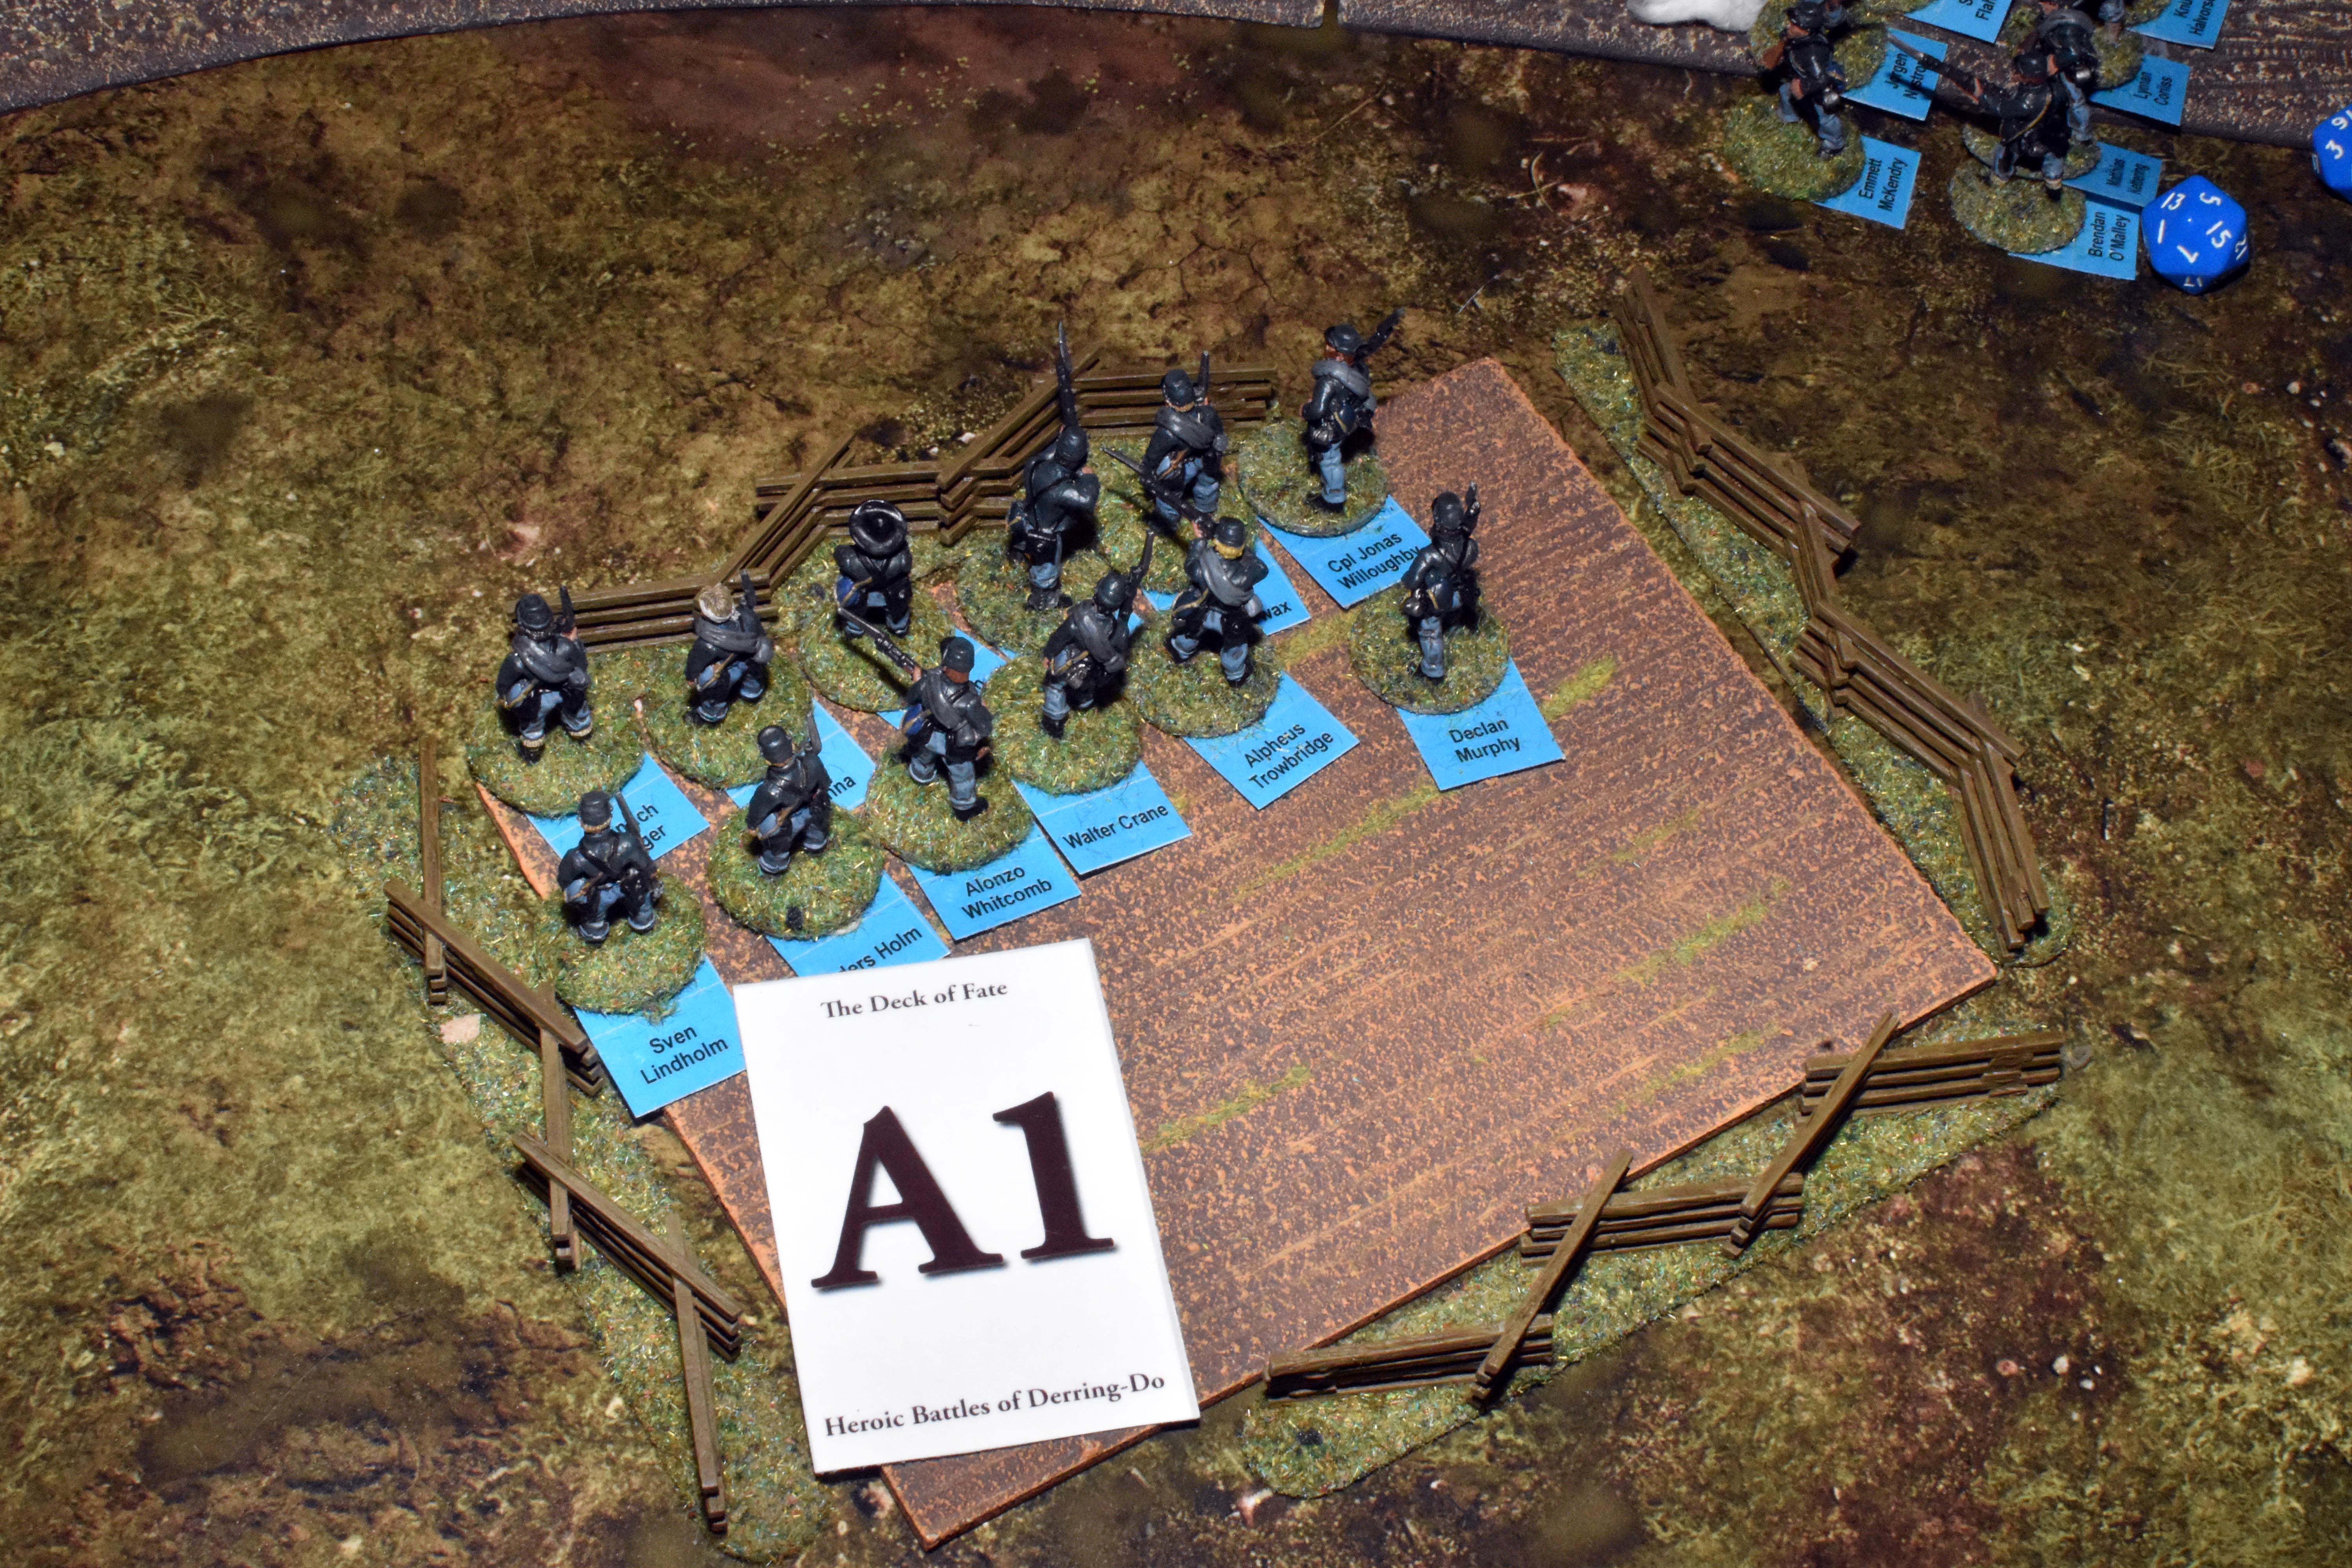
| These new soldiers join the HQ unit and can be fed into existing units as replacements when they start to take casualties. Alternatively, the Lieutenant or Sergeant in the HQ could be delegated to create a new fresh unit to take in to battle. But this will need to be done with a HQ activations which was not forthcoming this turn. | The rebels get to reload and shoot - but not very effectively. They only get one recoil but because their target is in soft cover they can ignore that first recoil result. | Captain Hale does indeed tell Lieutenant Whitman to take 6 infantrymen and form a new section. | Corporal Willoughby's green soldiers were certainly paying attention in musketry practice. Even with a -2 (one for range and one for green) they still inflict two wounds and two recoils. As the target is in soft cover they can ignore that first recoil but not the second. They would lose that recoil bonus if any further recoil results were imposed on them. |
|
|
|
|
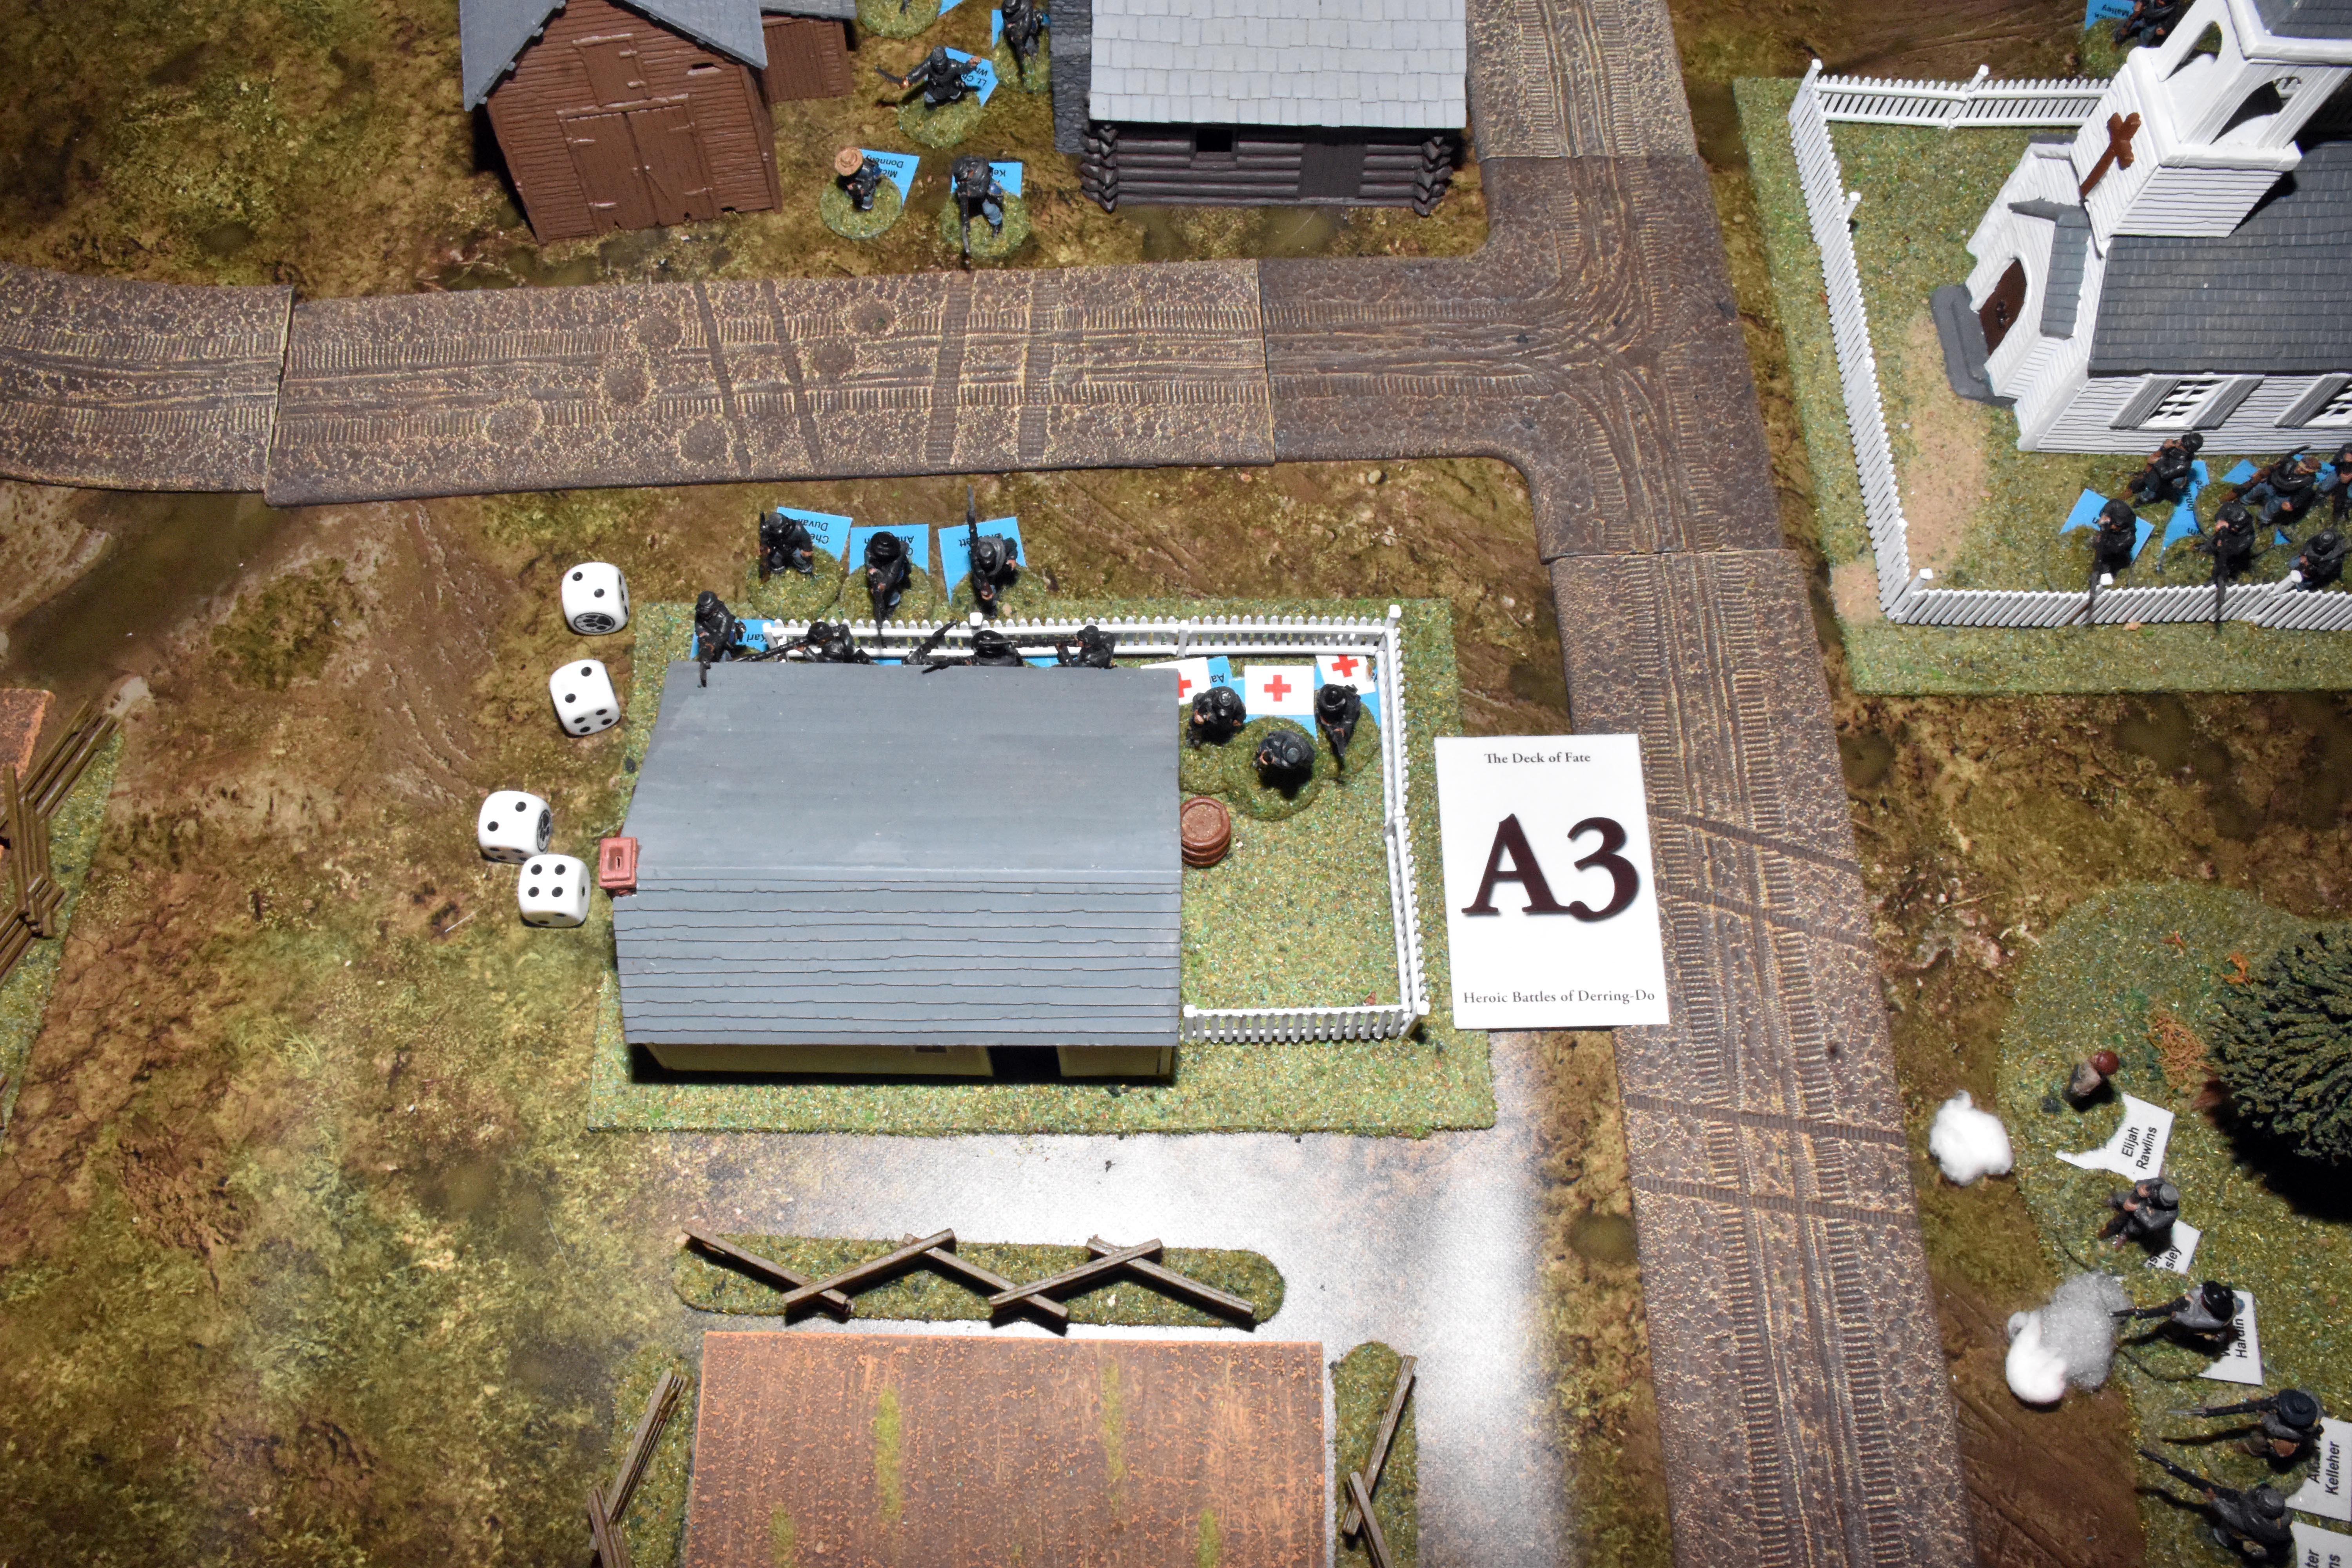
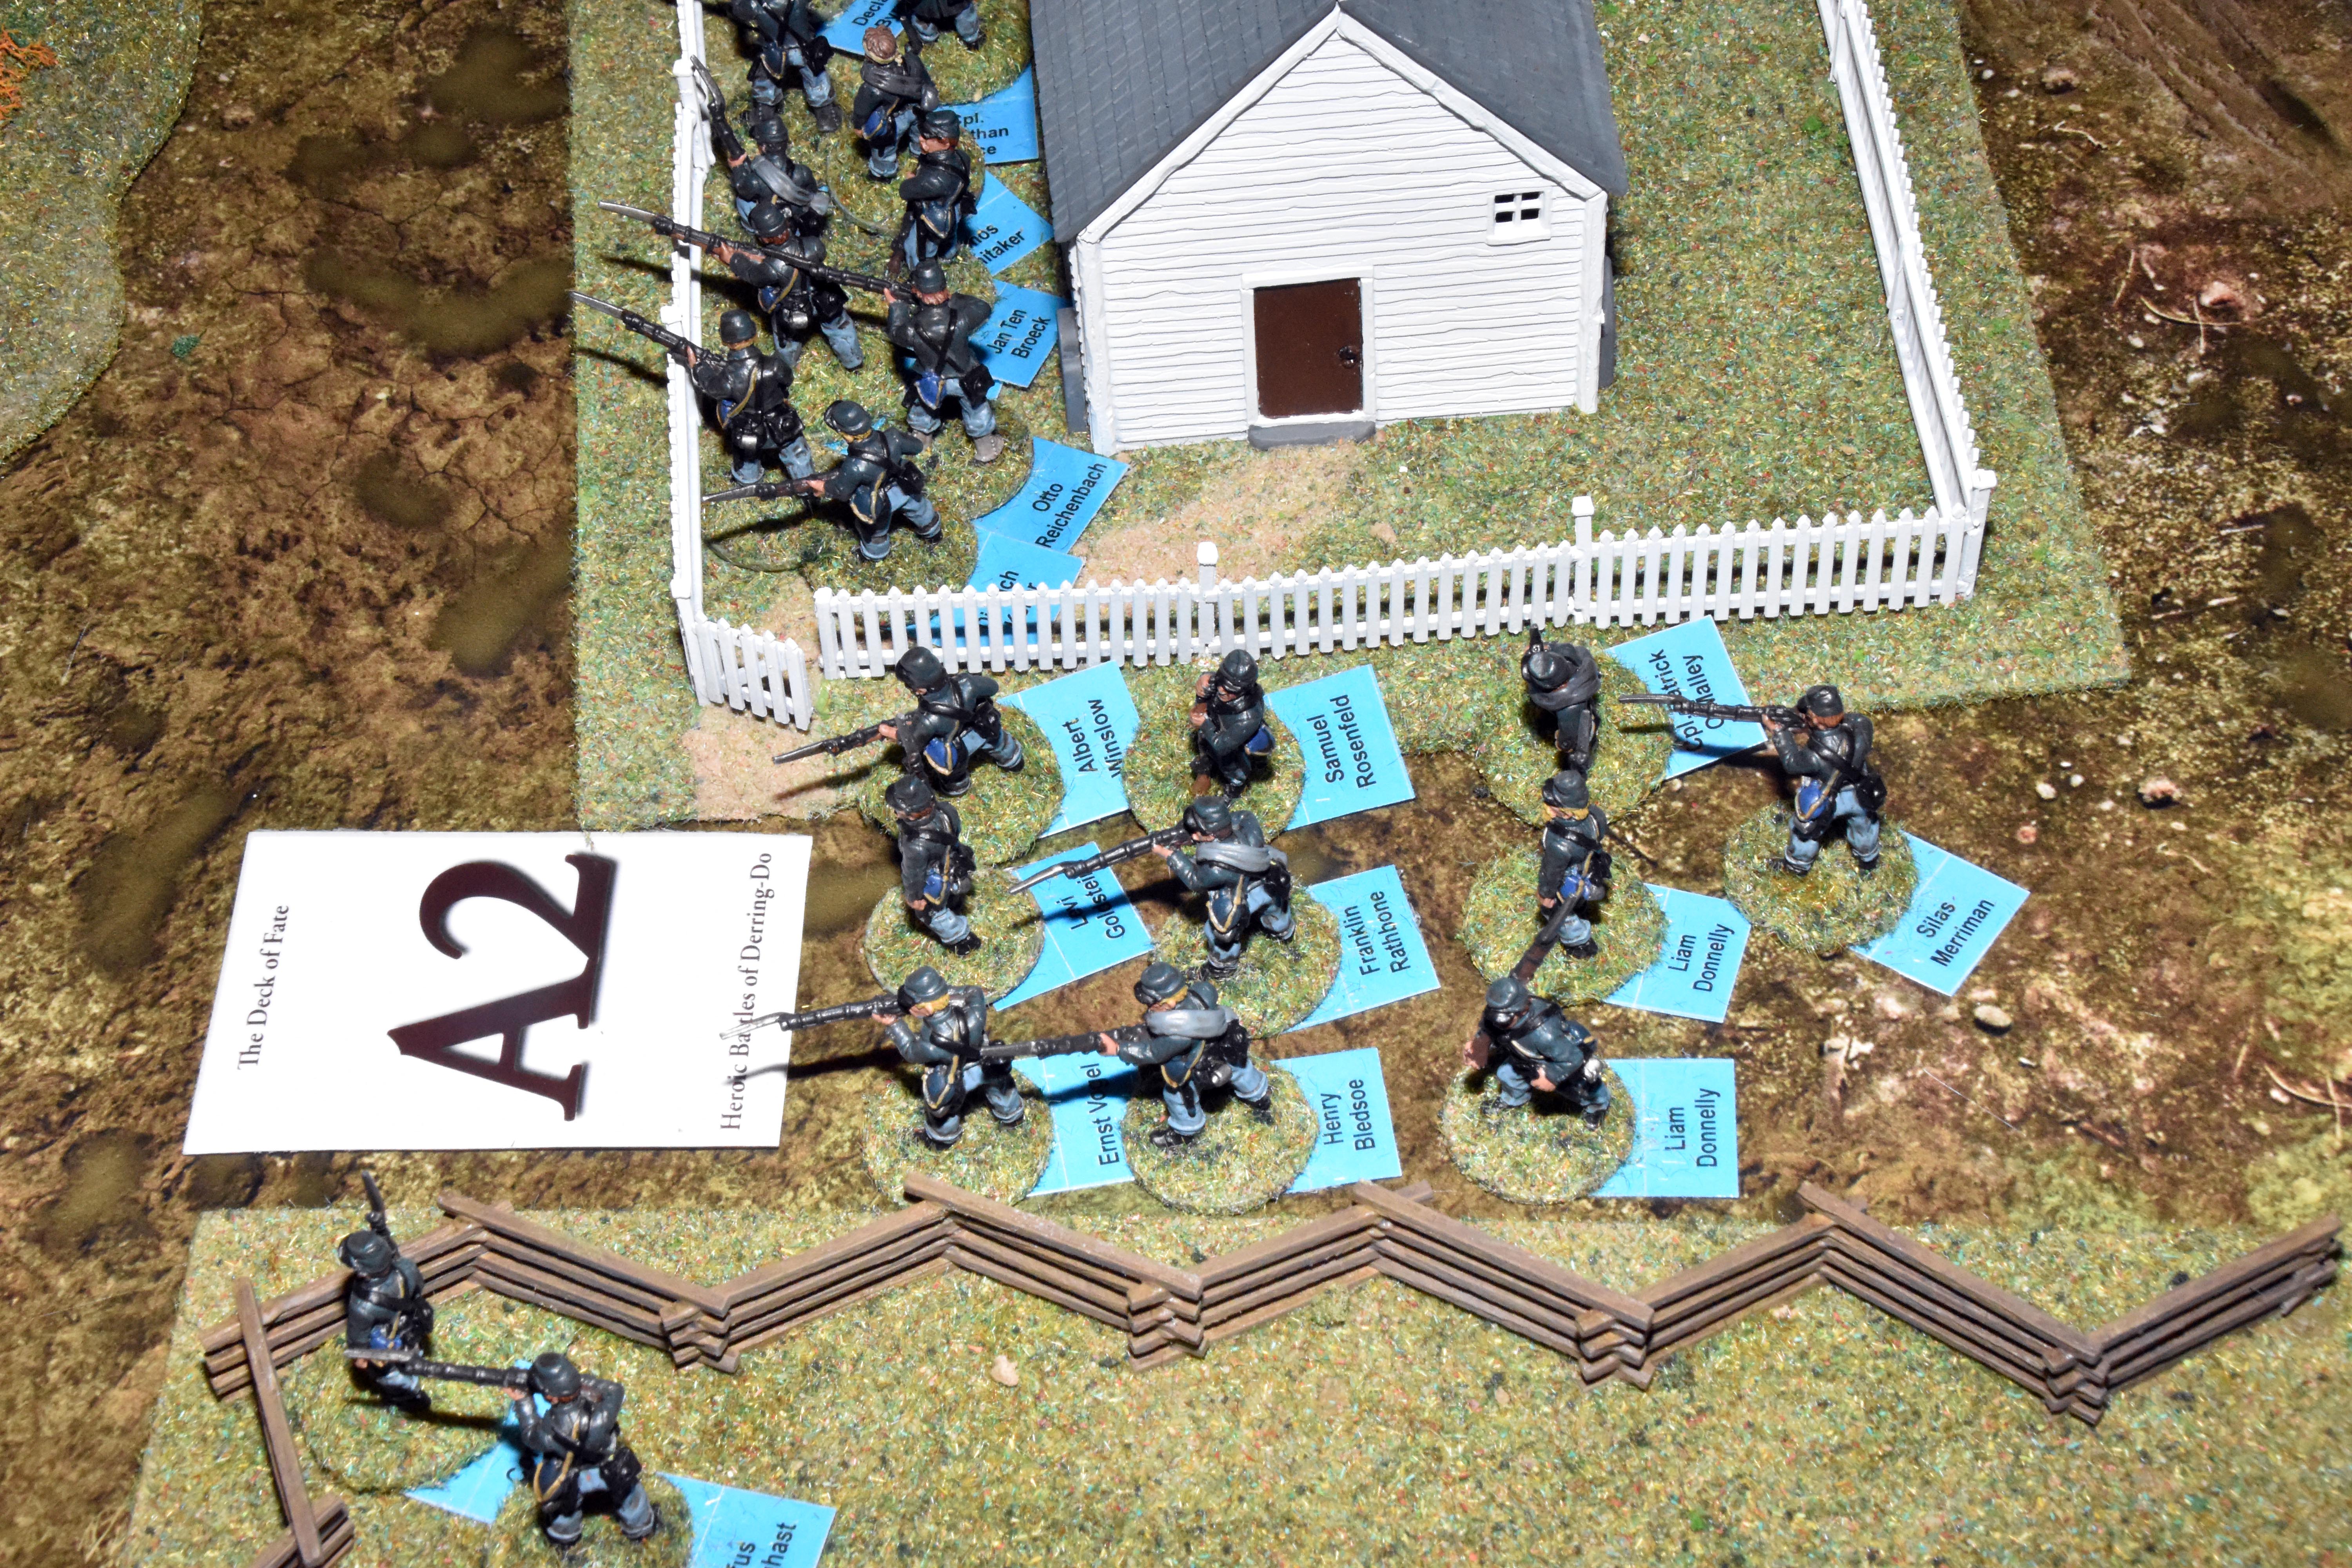
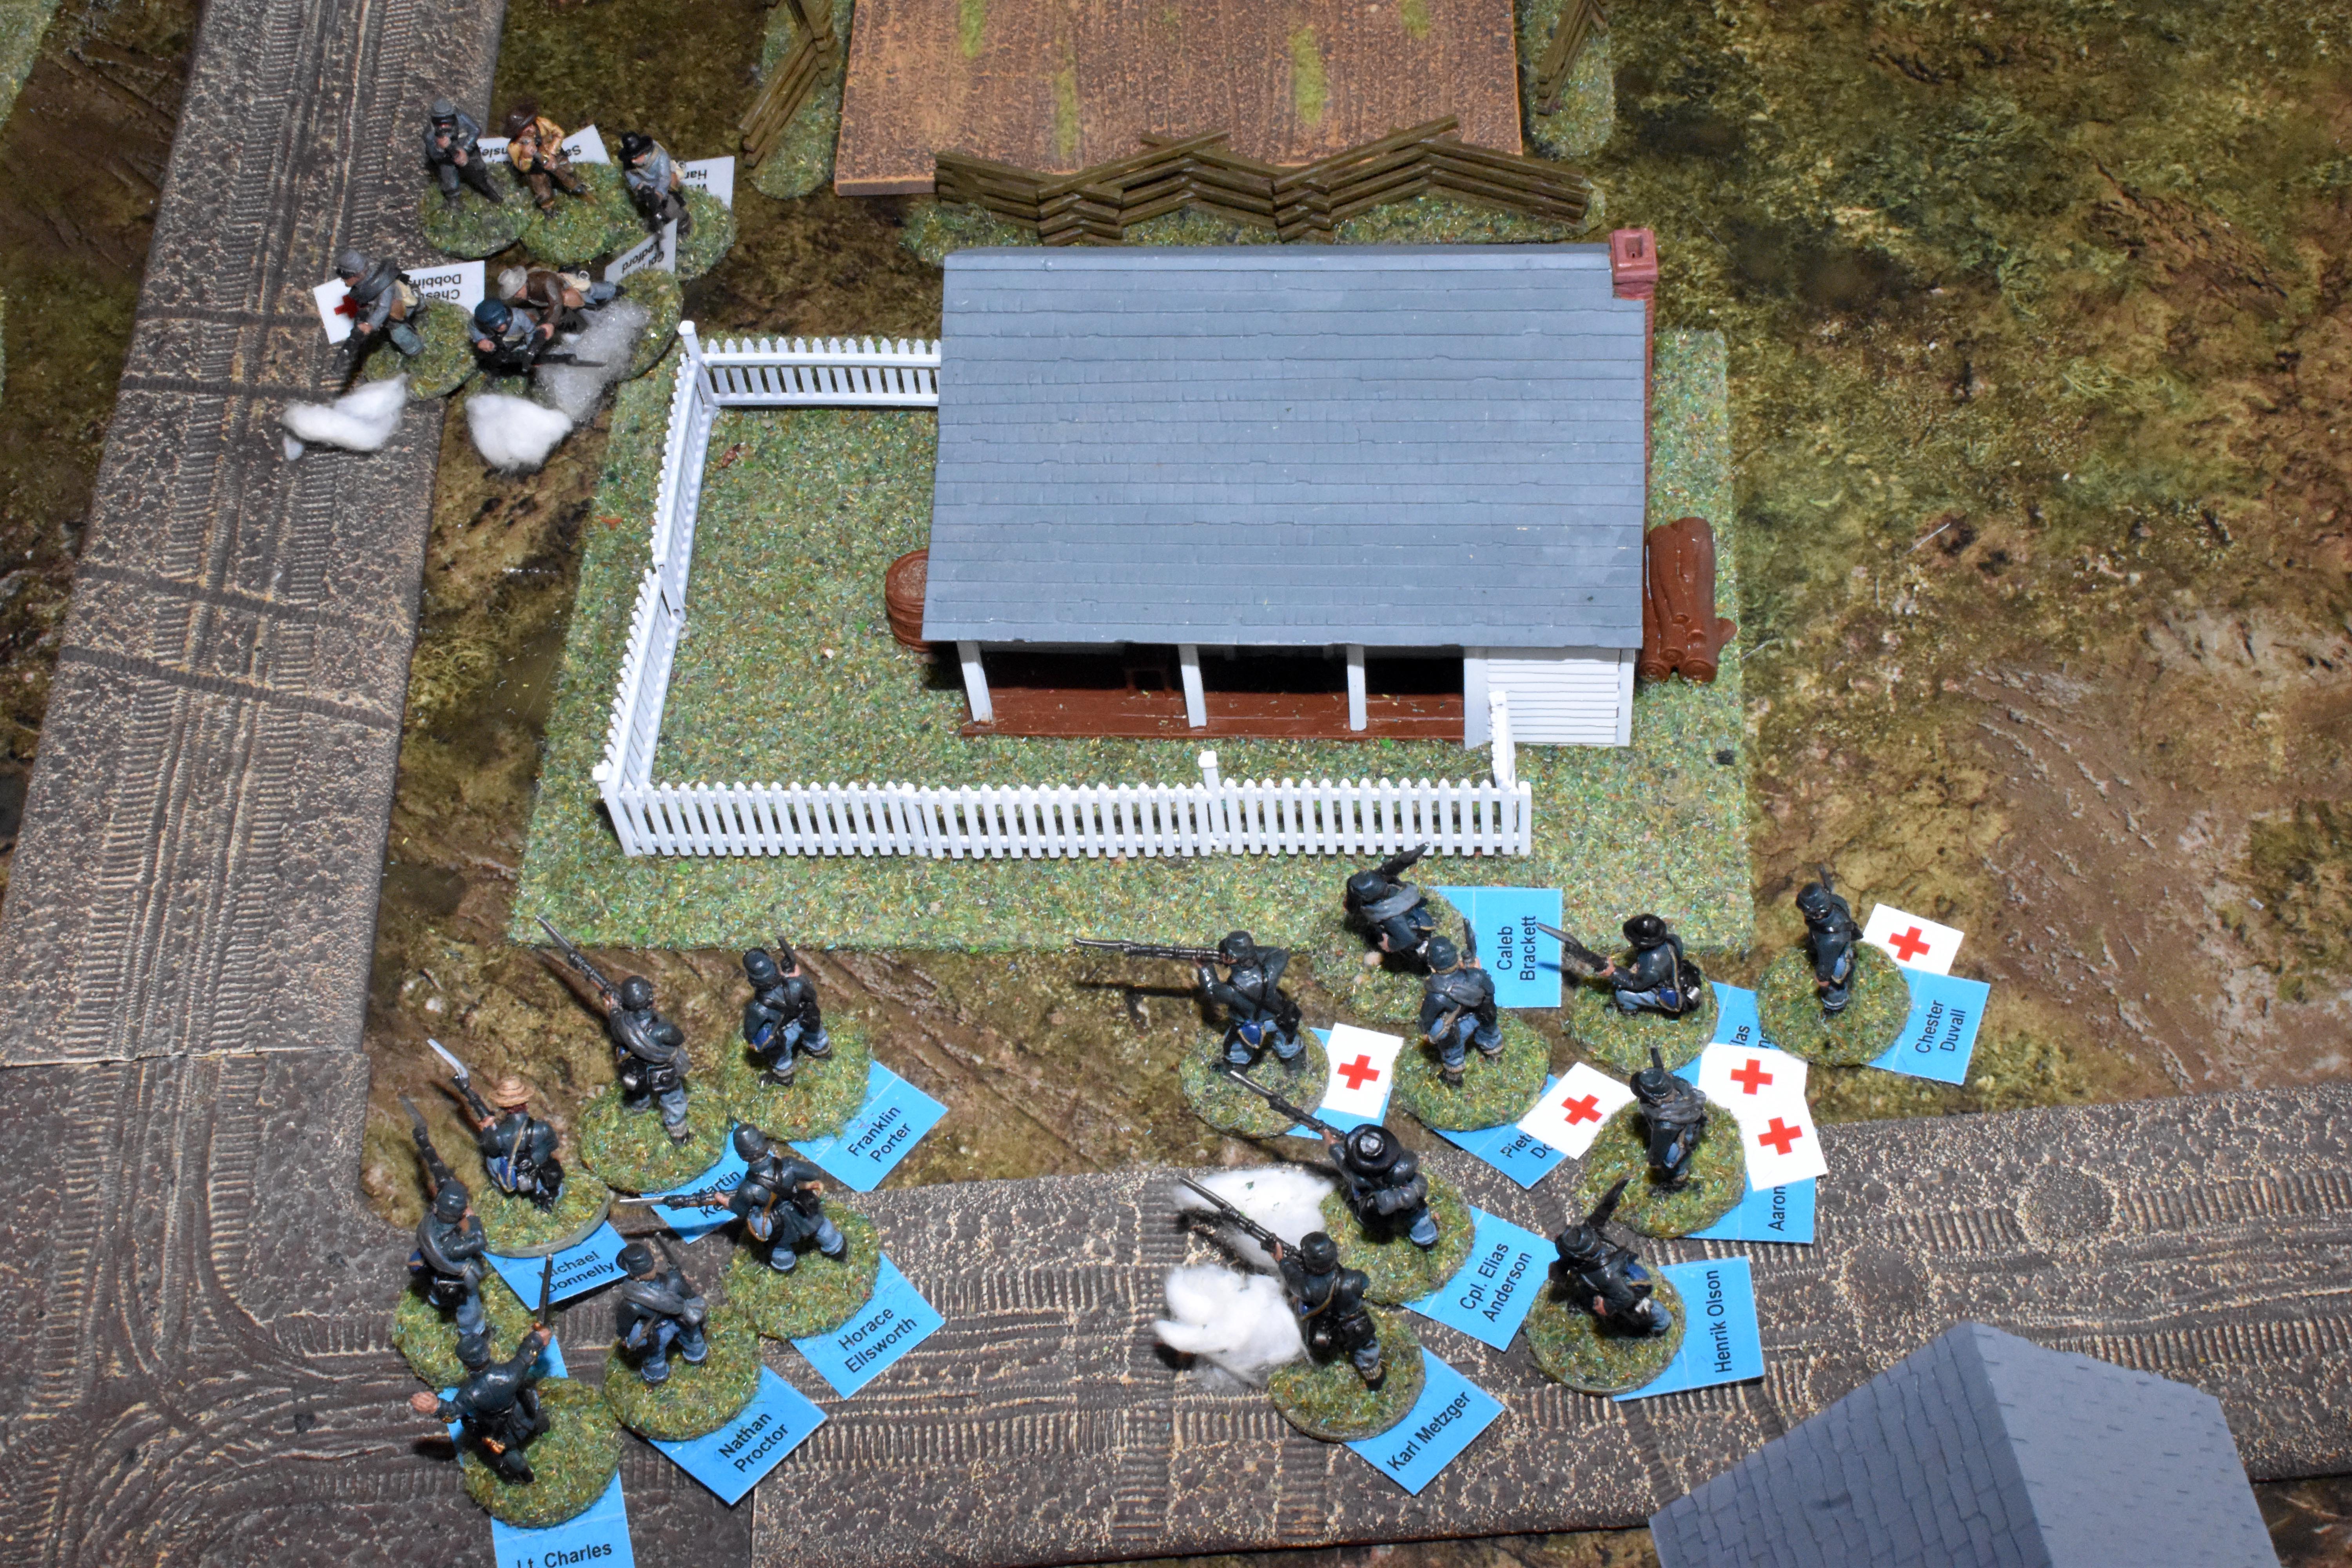
| the 2d6 shows that the wound does not impact the corporal in charge of the section. | The other Union green unit wheels into position on the right flank | A hefty 3 activations allows Corporal Anderson's unit to hop the fence, take up firing positions in the house and even let loose a shot. In a building two soldiers can fire from each doorway or window. | Some more good Green musketry sees two soldiers wounded (not the corporal). They would have been pushed back also but the cover lets them remain in place |
|
|
|
|
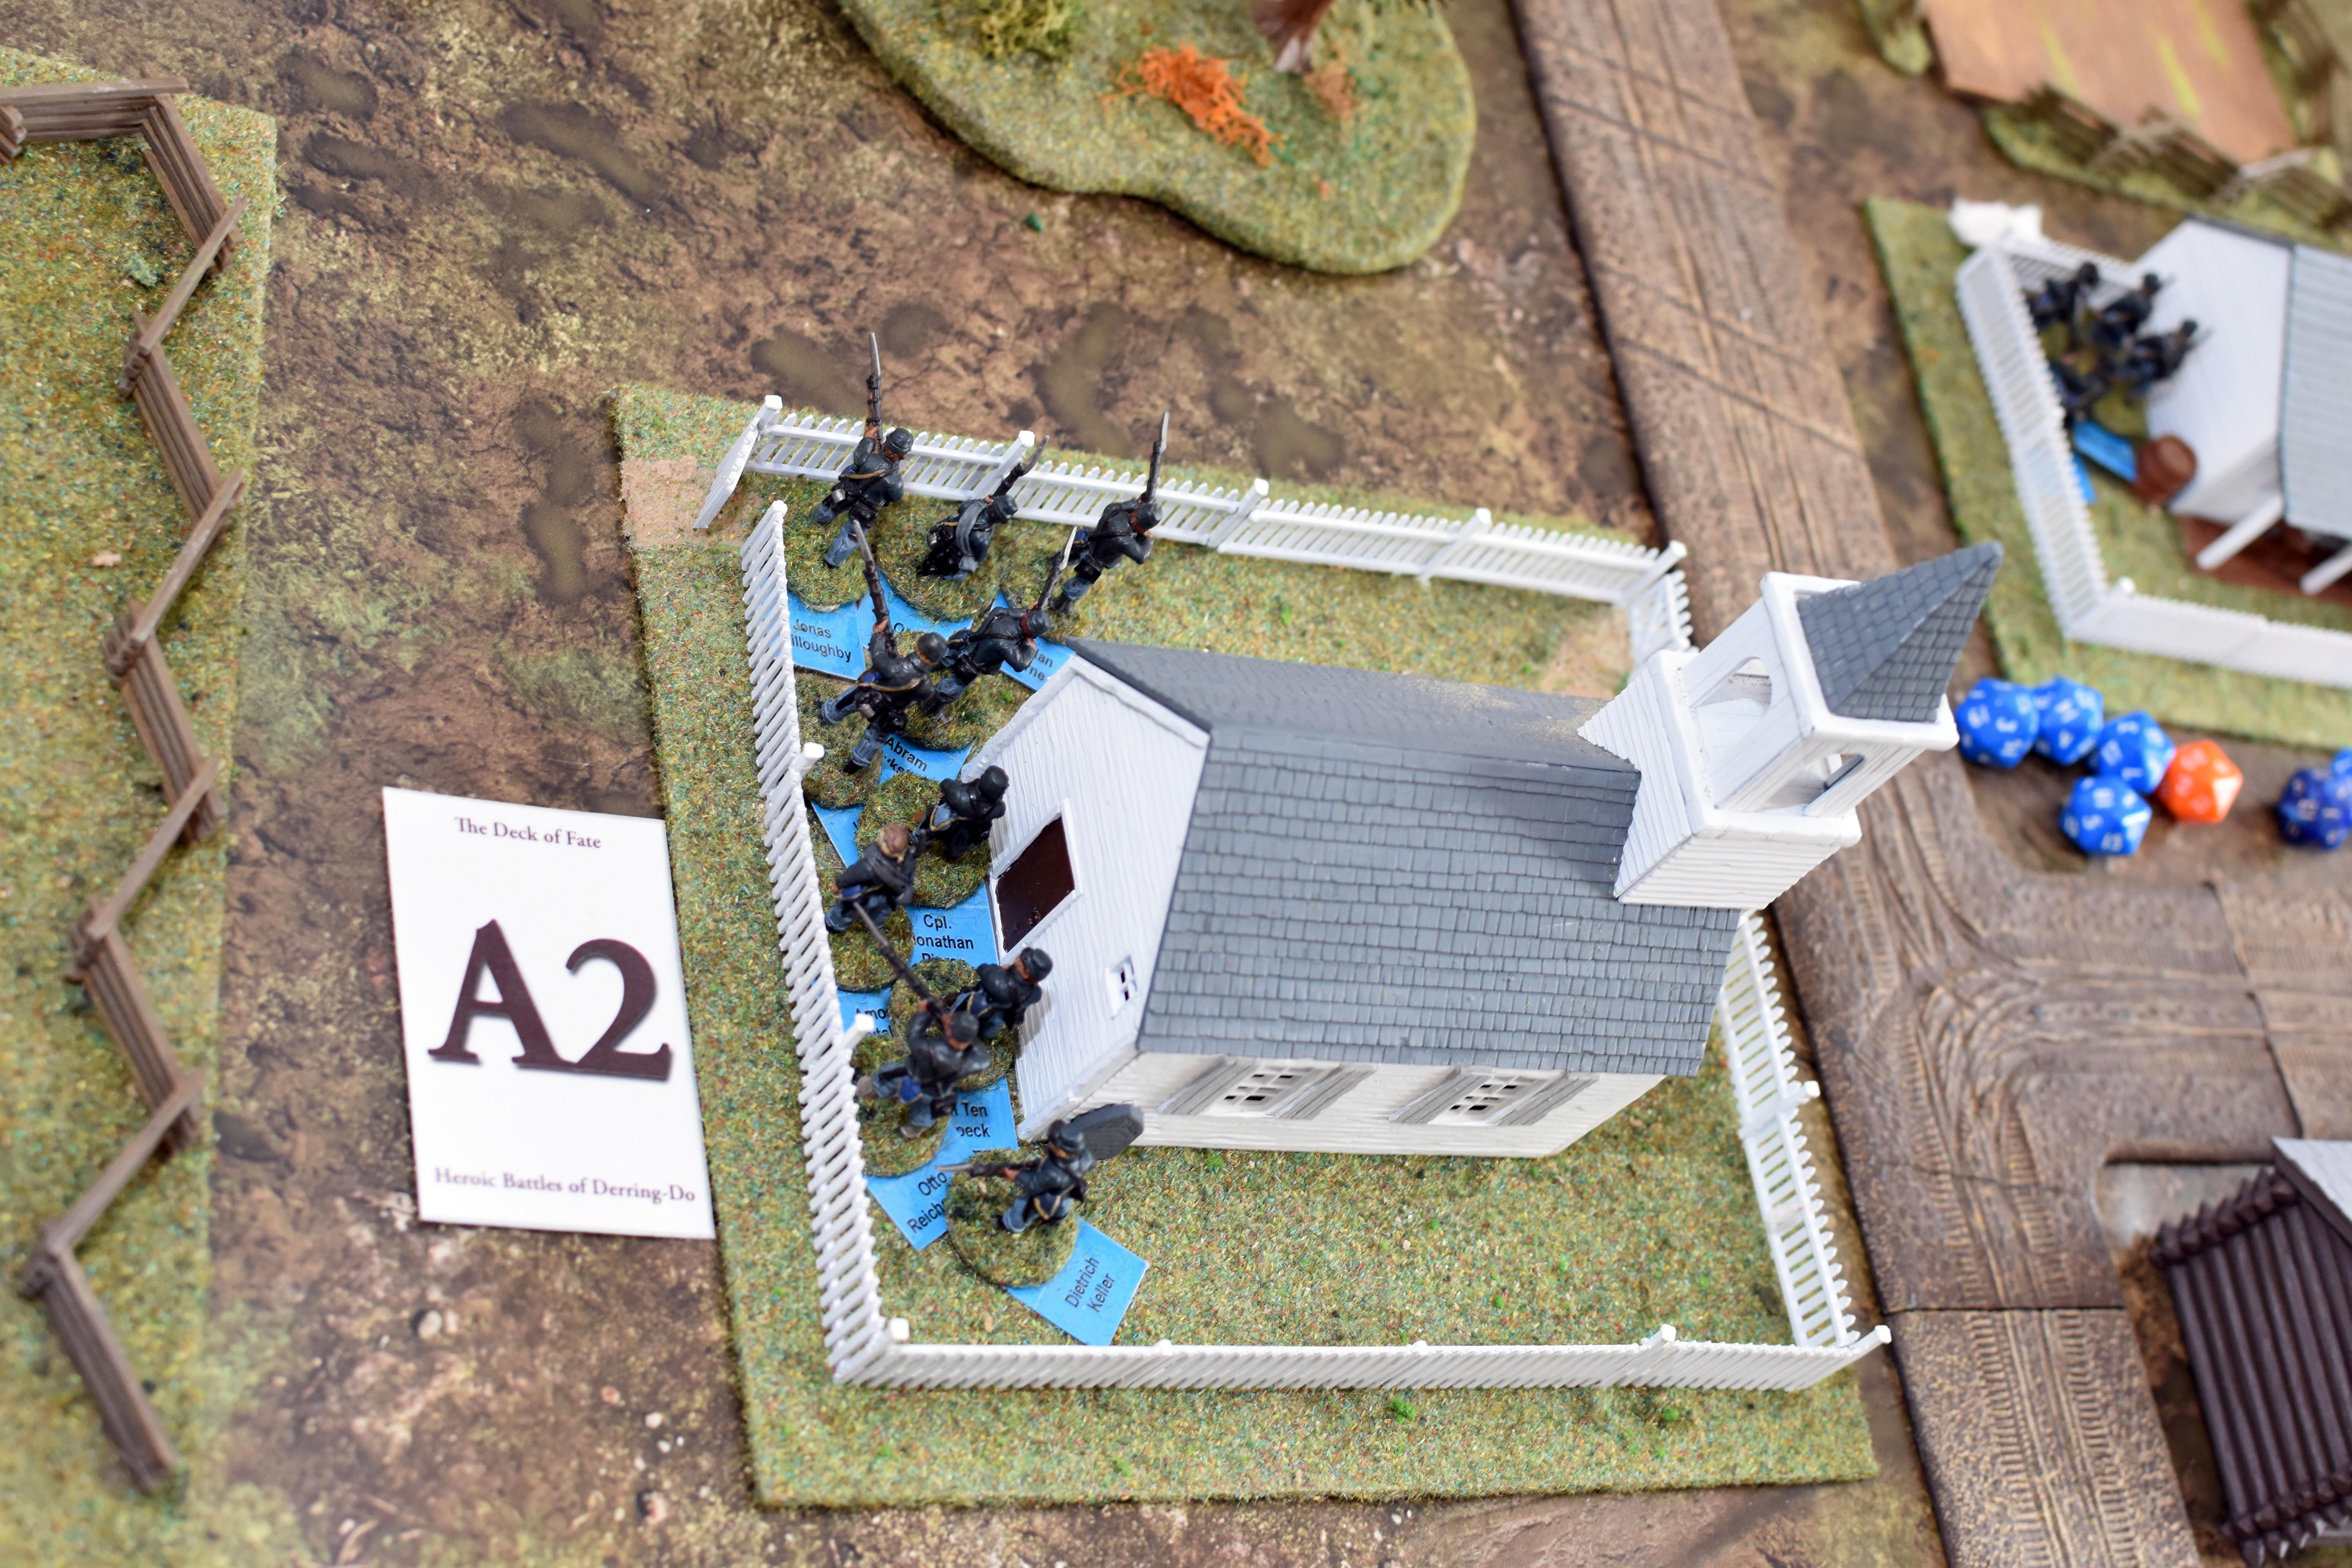
| The Union most left section comes out of the woods and takes up position along a fence. | Corporal Pierce's troops leap the fence and fan around the church. | Corporal O'Malley's section crosses the fence | The rebel unit receiving accurate fire decides to do a rally. Normally this would be with a d6 require a 4+ but because they are in command range of their Commander they can use his d10 instead. They still manage to fail one. With their other activation they move back up to the fence. |
|
|
|
|
| Captain McElwain tries on his own activation to rally Isaac Holcombe and this time succeeds on his d10 roll of a 6. | The last unit to be activated is the artillery who decide they don't like those Unionists in the building in front of them! | Troops are now getting into position for more shooting which is not at long range! | On the right flank though two activations allow Corporal Holm's section to aim and fire. This makes it -1 at the range, -1 thanks to cover but +1 with the aim. Some more good shooting from the green troops see them fell one rebel and recoil with another although this is absorbed by the soft cover. |
|
|
|
|
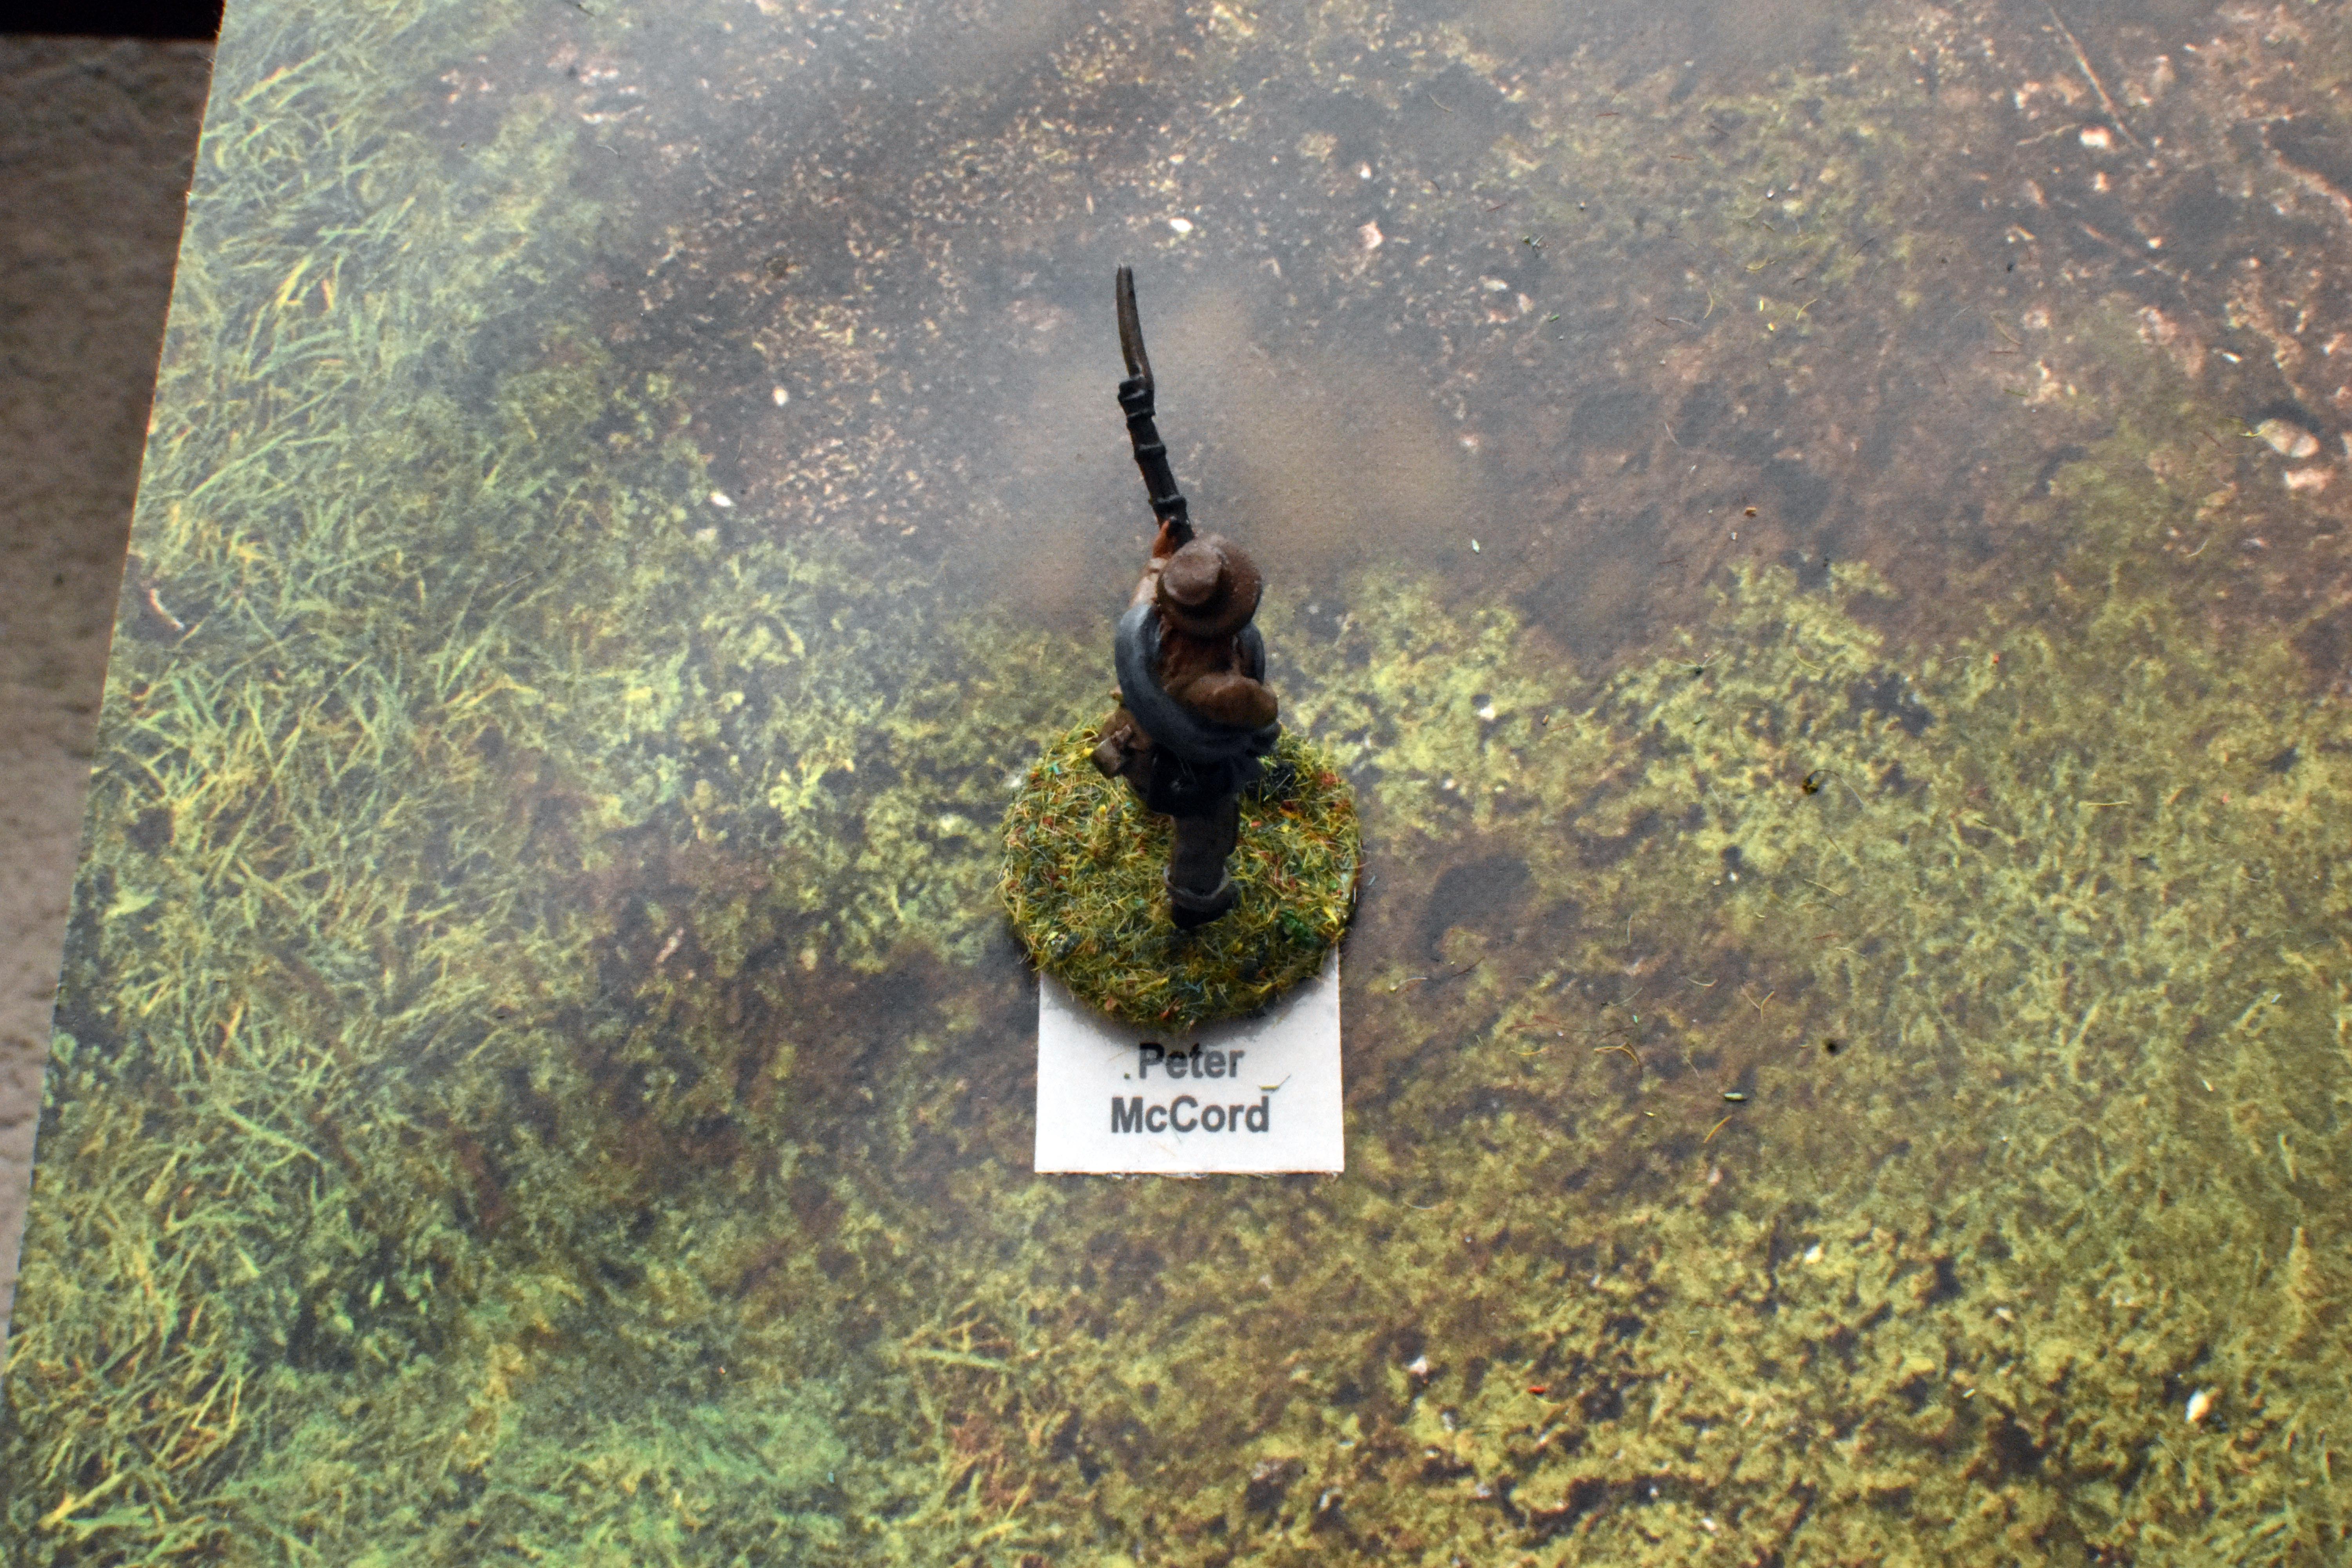
| With just the one activation, the union commander plays conservatively and just asks that Corporal Van Doren's section just cross the fence on their left flank | Alas Captain McElwain will have to write to the family of Peter McCord and tell them of his sacrifice | The Confederates do some rallying on a d10. | Corporal Pierce's soldiers fan into the front section of the church and aware of enemy troops in the woods ahead form up into close order - just in case any rebel yells emerge from the trees. |
|
|
|
|
| A steady stream of 1 activations frustrates the ambitions of Captain Hale. His troops plod forwardss | and the new unit of Lieutenant Whitman plods forward diligently. | battleAlas another 1 - Corporal Willoughby tells his tired men to reload055 | But at last in the thick of the battle, Corporal Anderson's men can reload, aim and fire. This allows them to fire without penalty despite the cover. They actually manage to push the rebels back an inch from their cover with two recoils - one of which is ignored. |
|
|
|
|
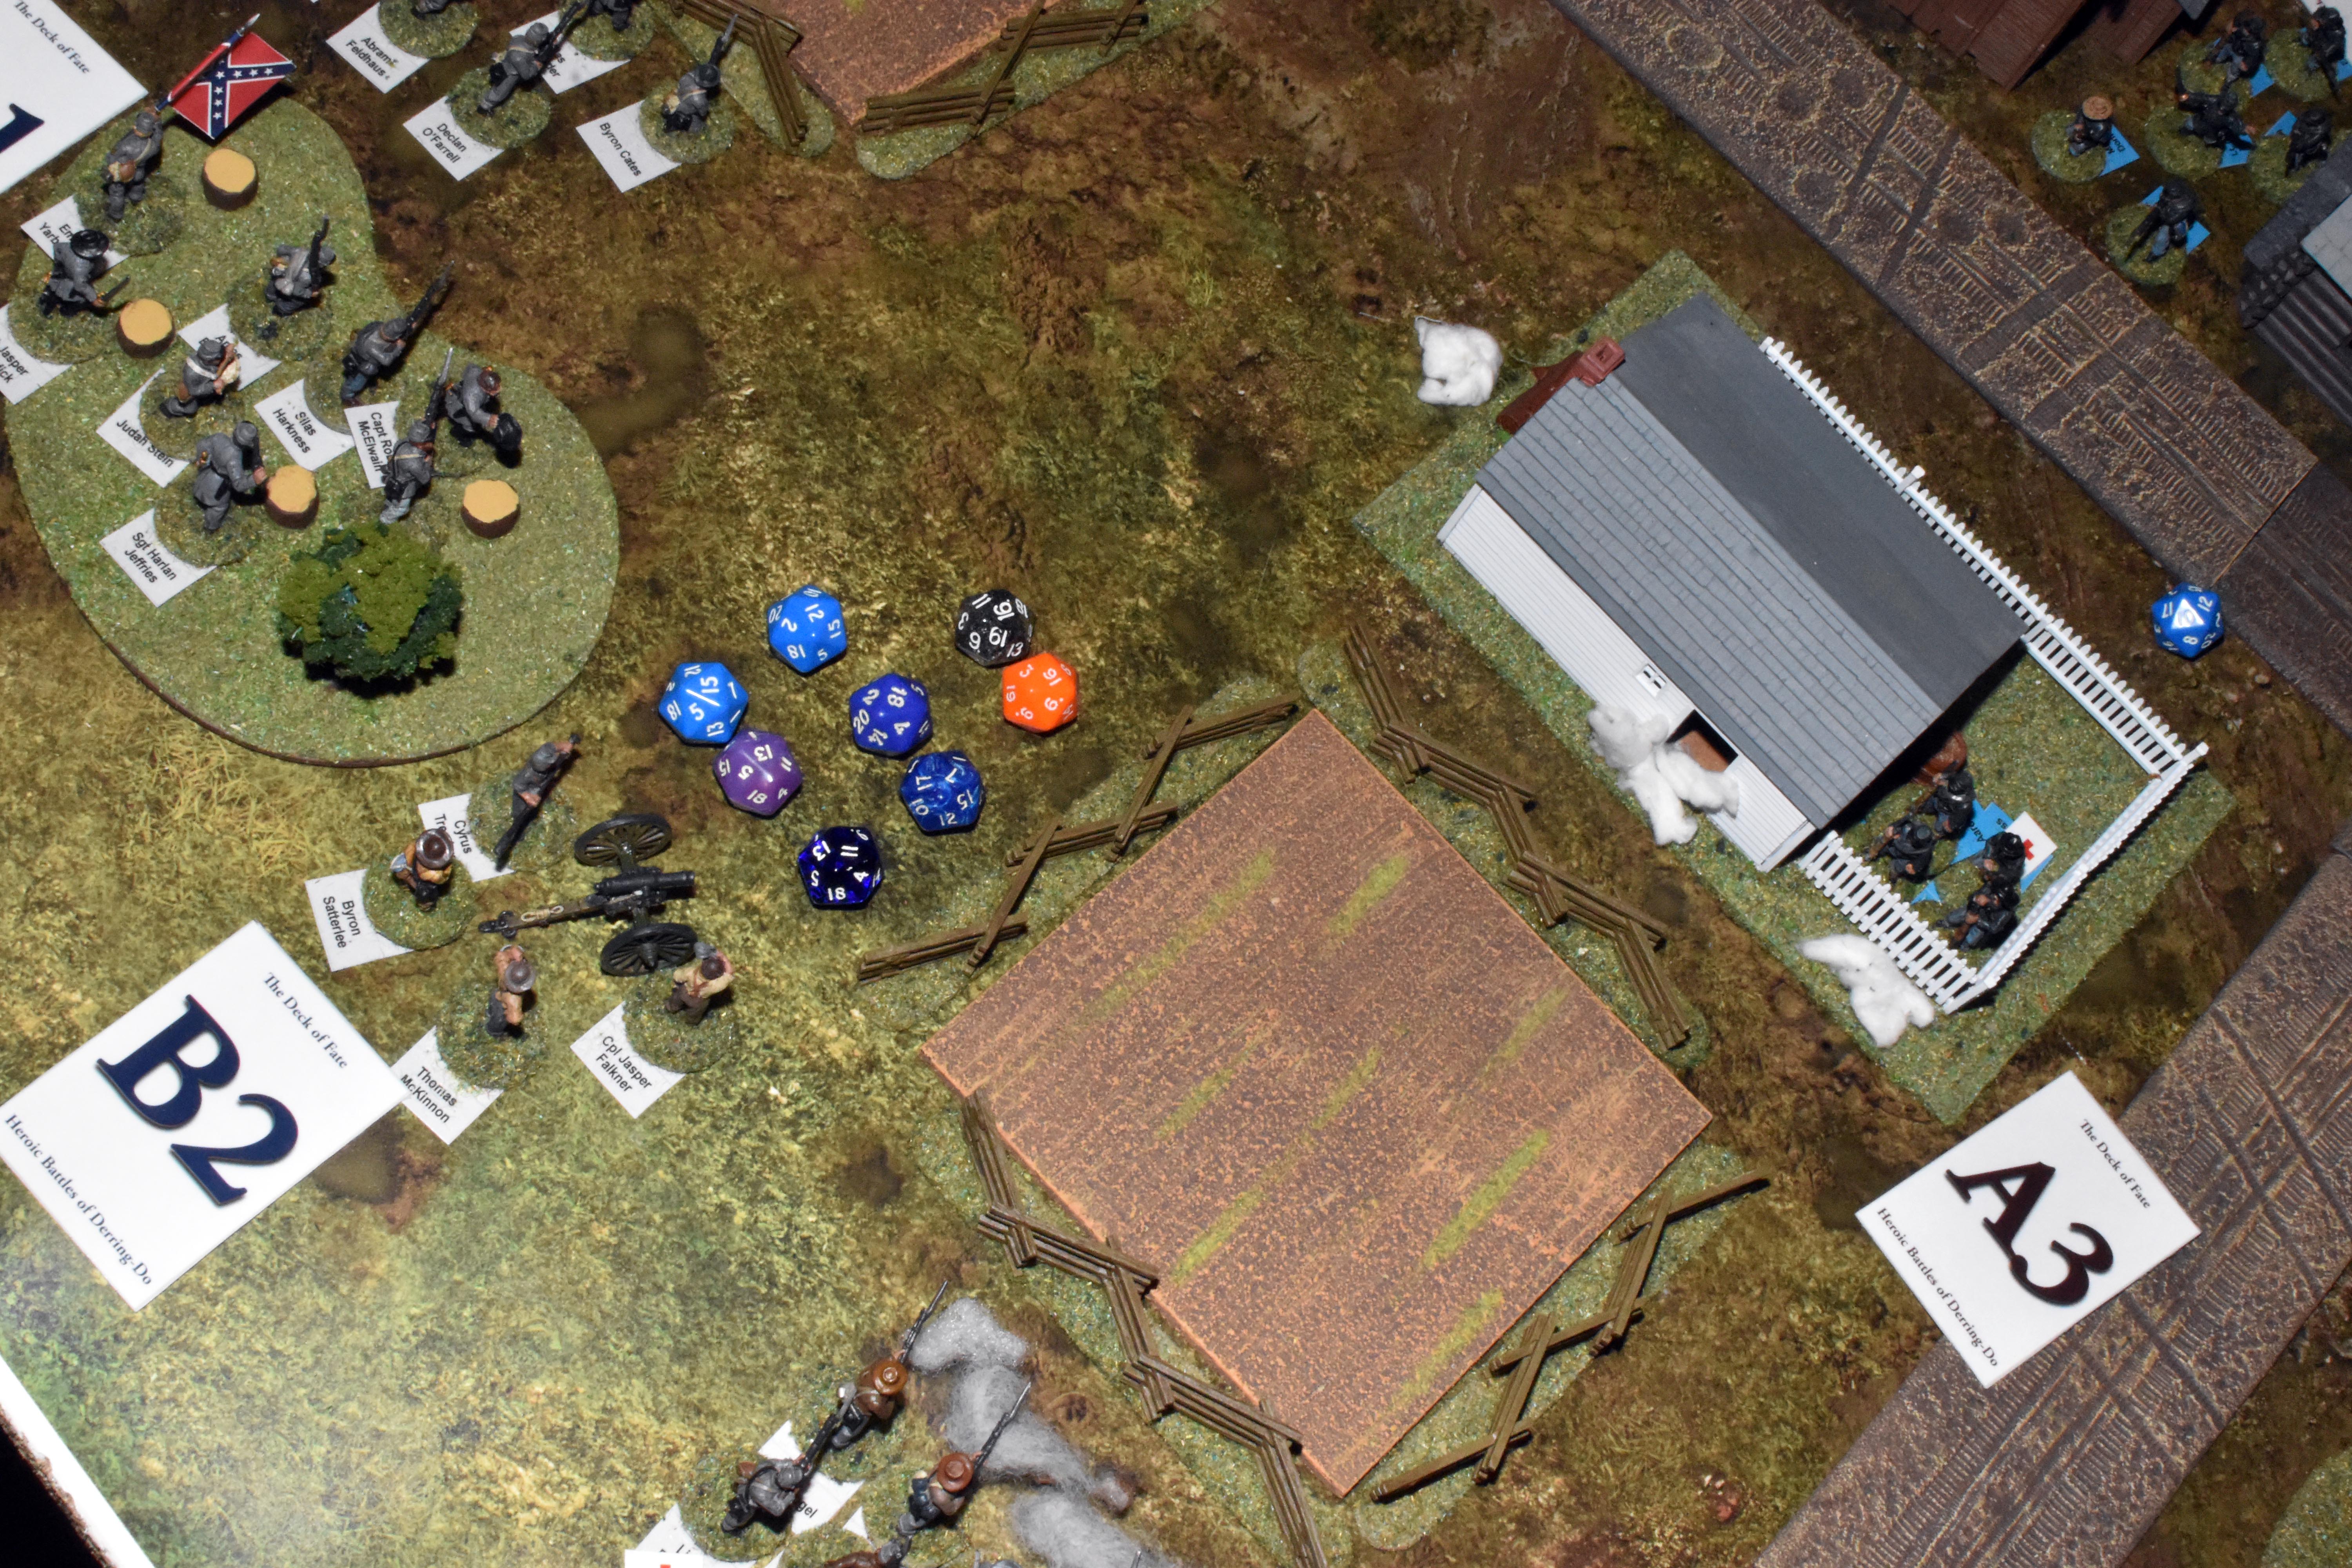
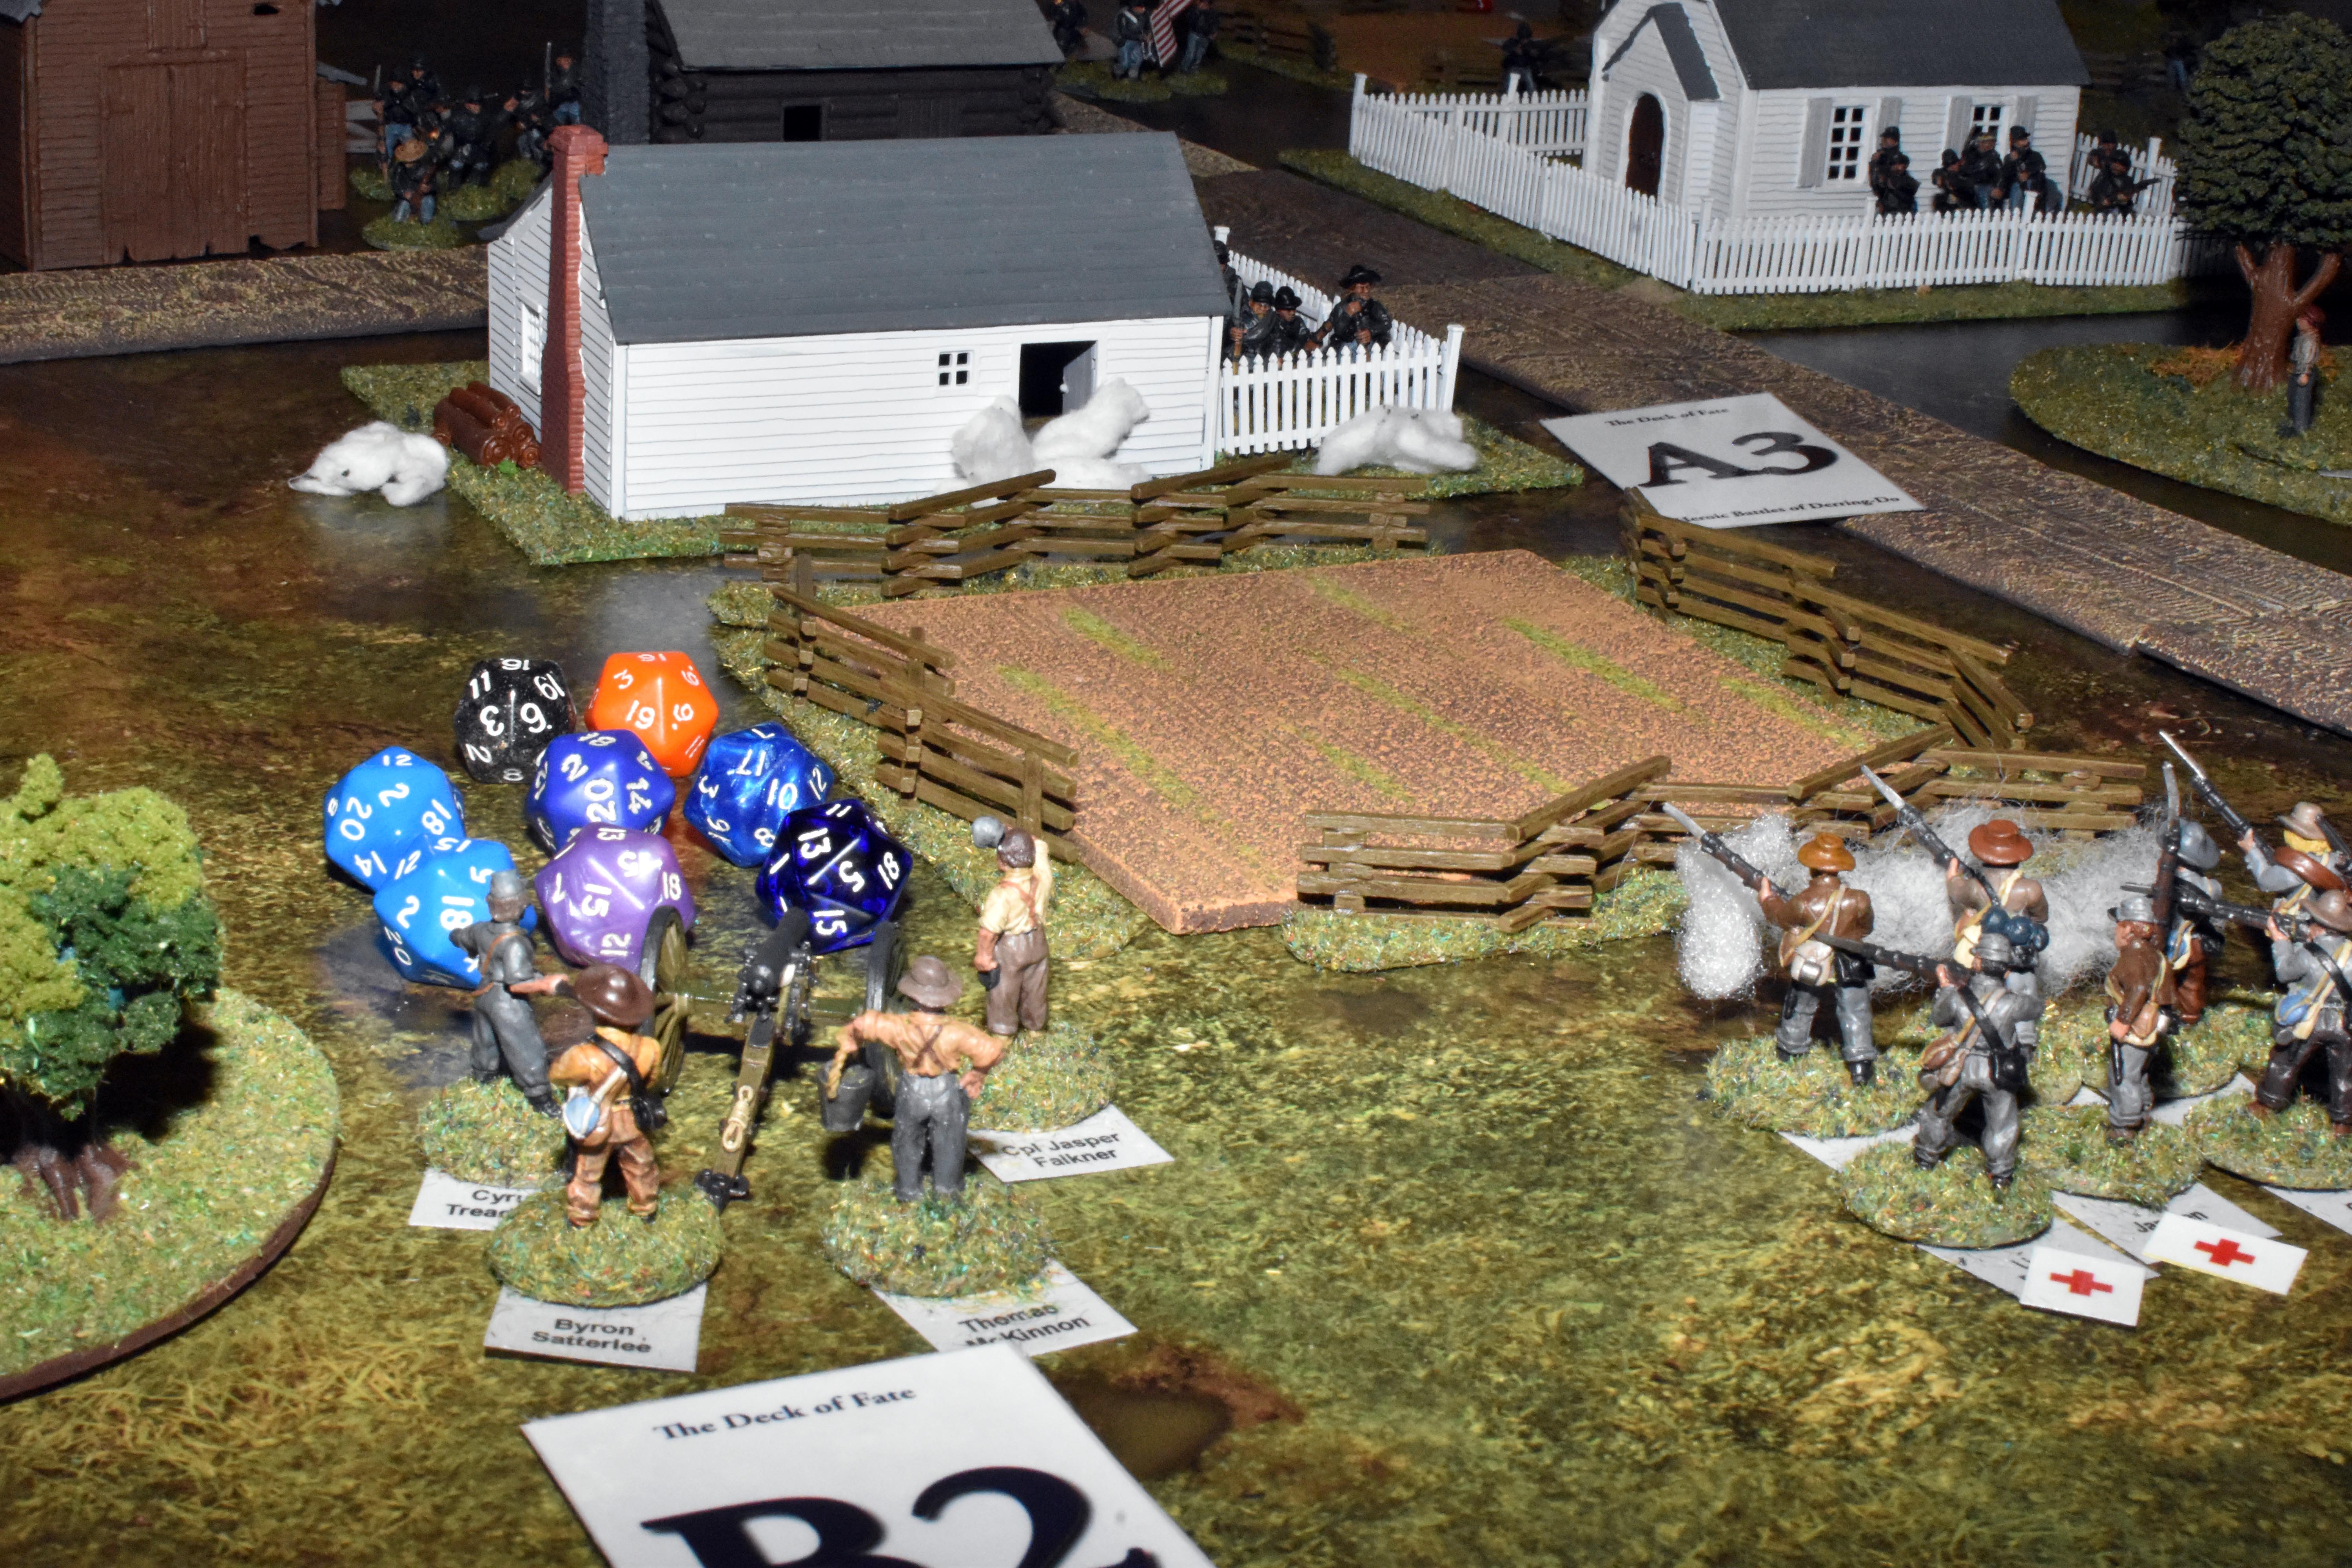
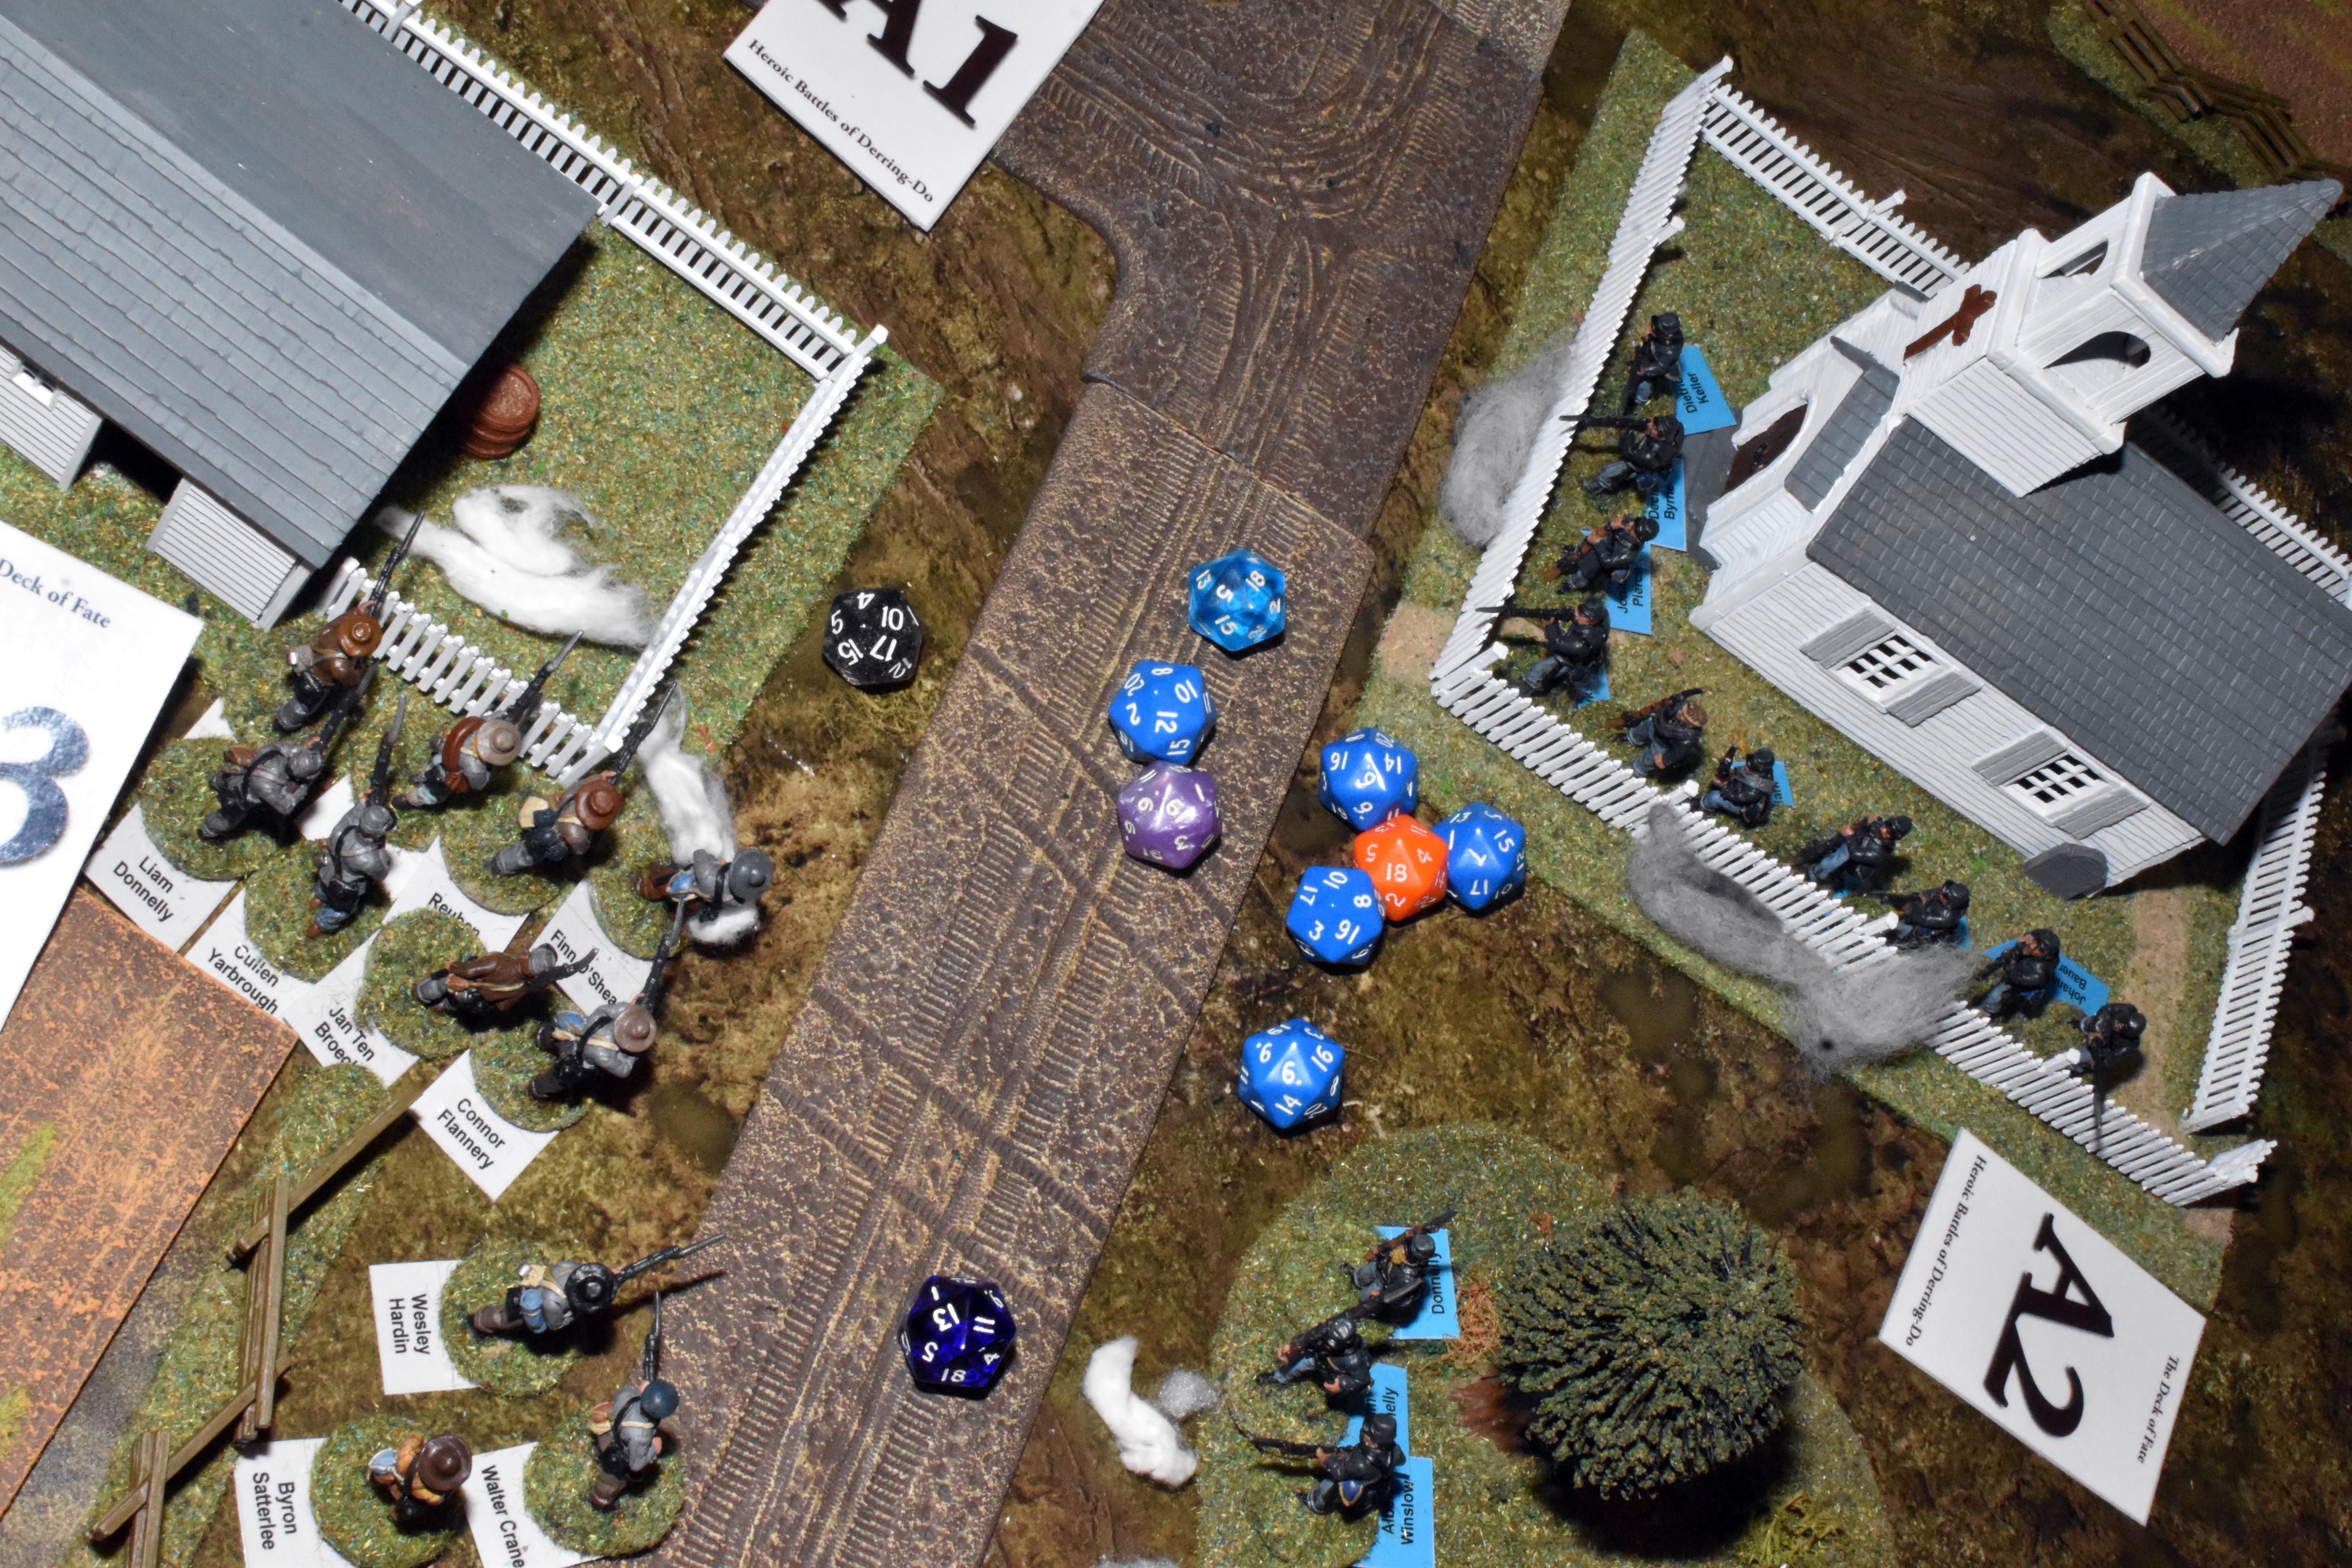
| But bad news for the defenders when they realise they are in canister range. The rebel guns load canister and loose their deadly ordinance. | One Union soldier is wounded but critically they are pushed back from the windows and fence in the face of such fury. | With union musket quietening from the front, Corporal Vollmer's squad in site of the colours and within sound of the drums rallies on d10s and reloads the troops. | Corporal Ledford's troops skulk through the trees and fire at Corporal Pierce's troops in the house. Two fire at short range, the rest at medium range. They kill one and wound one. |
|
|
|
|
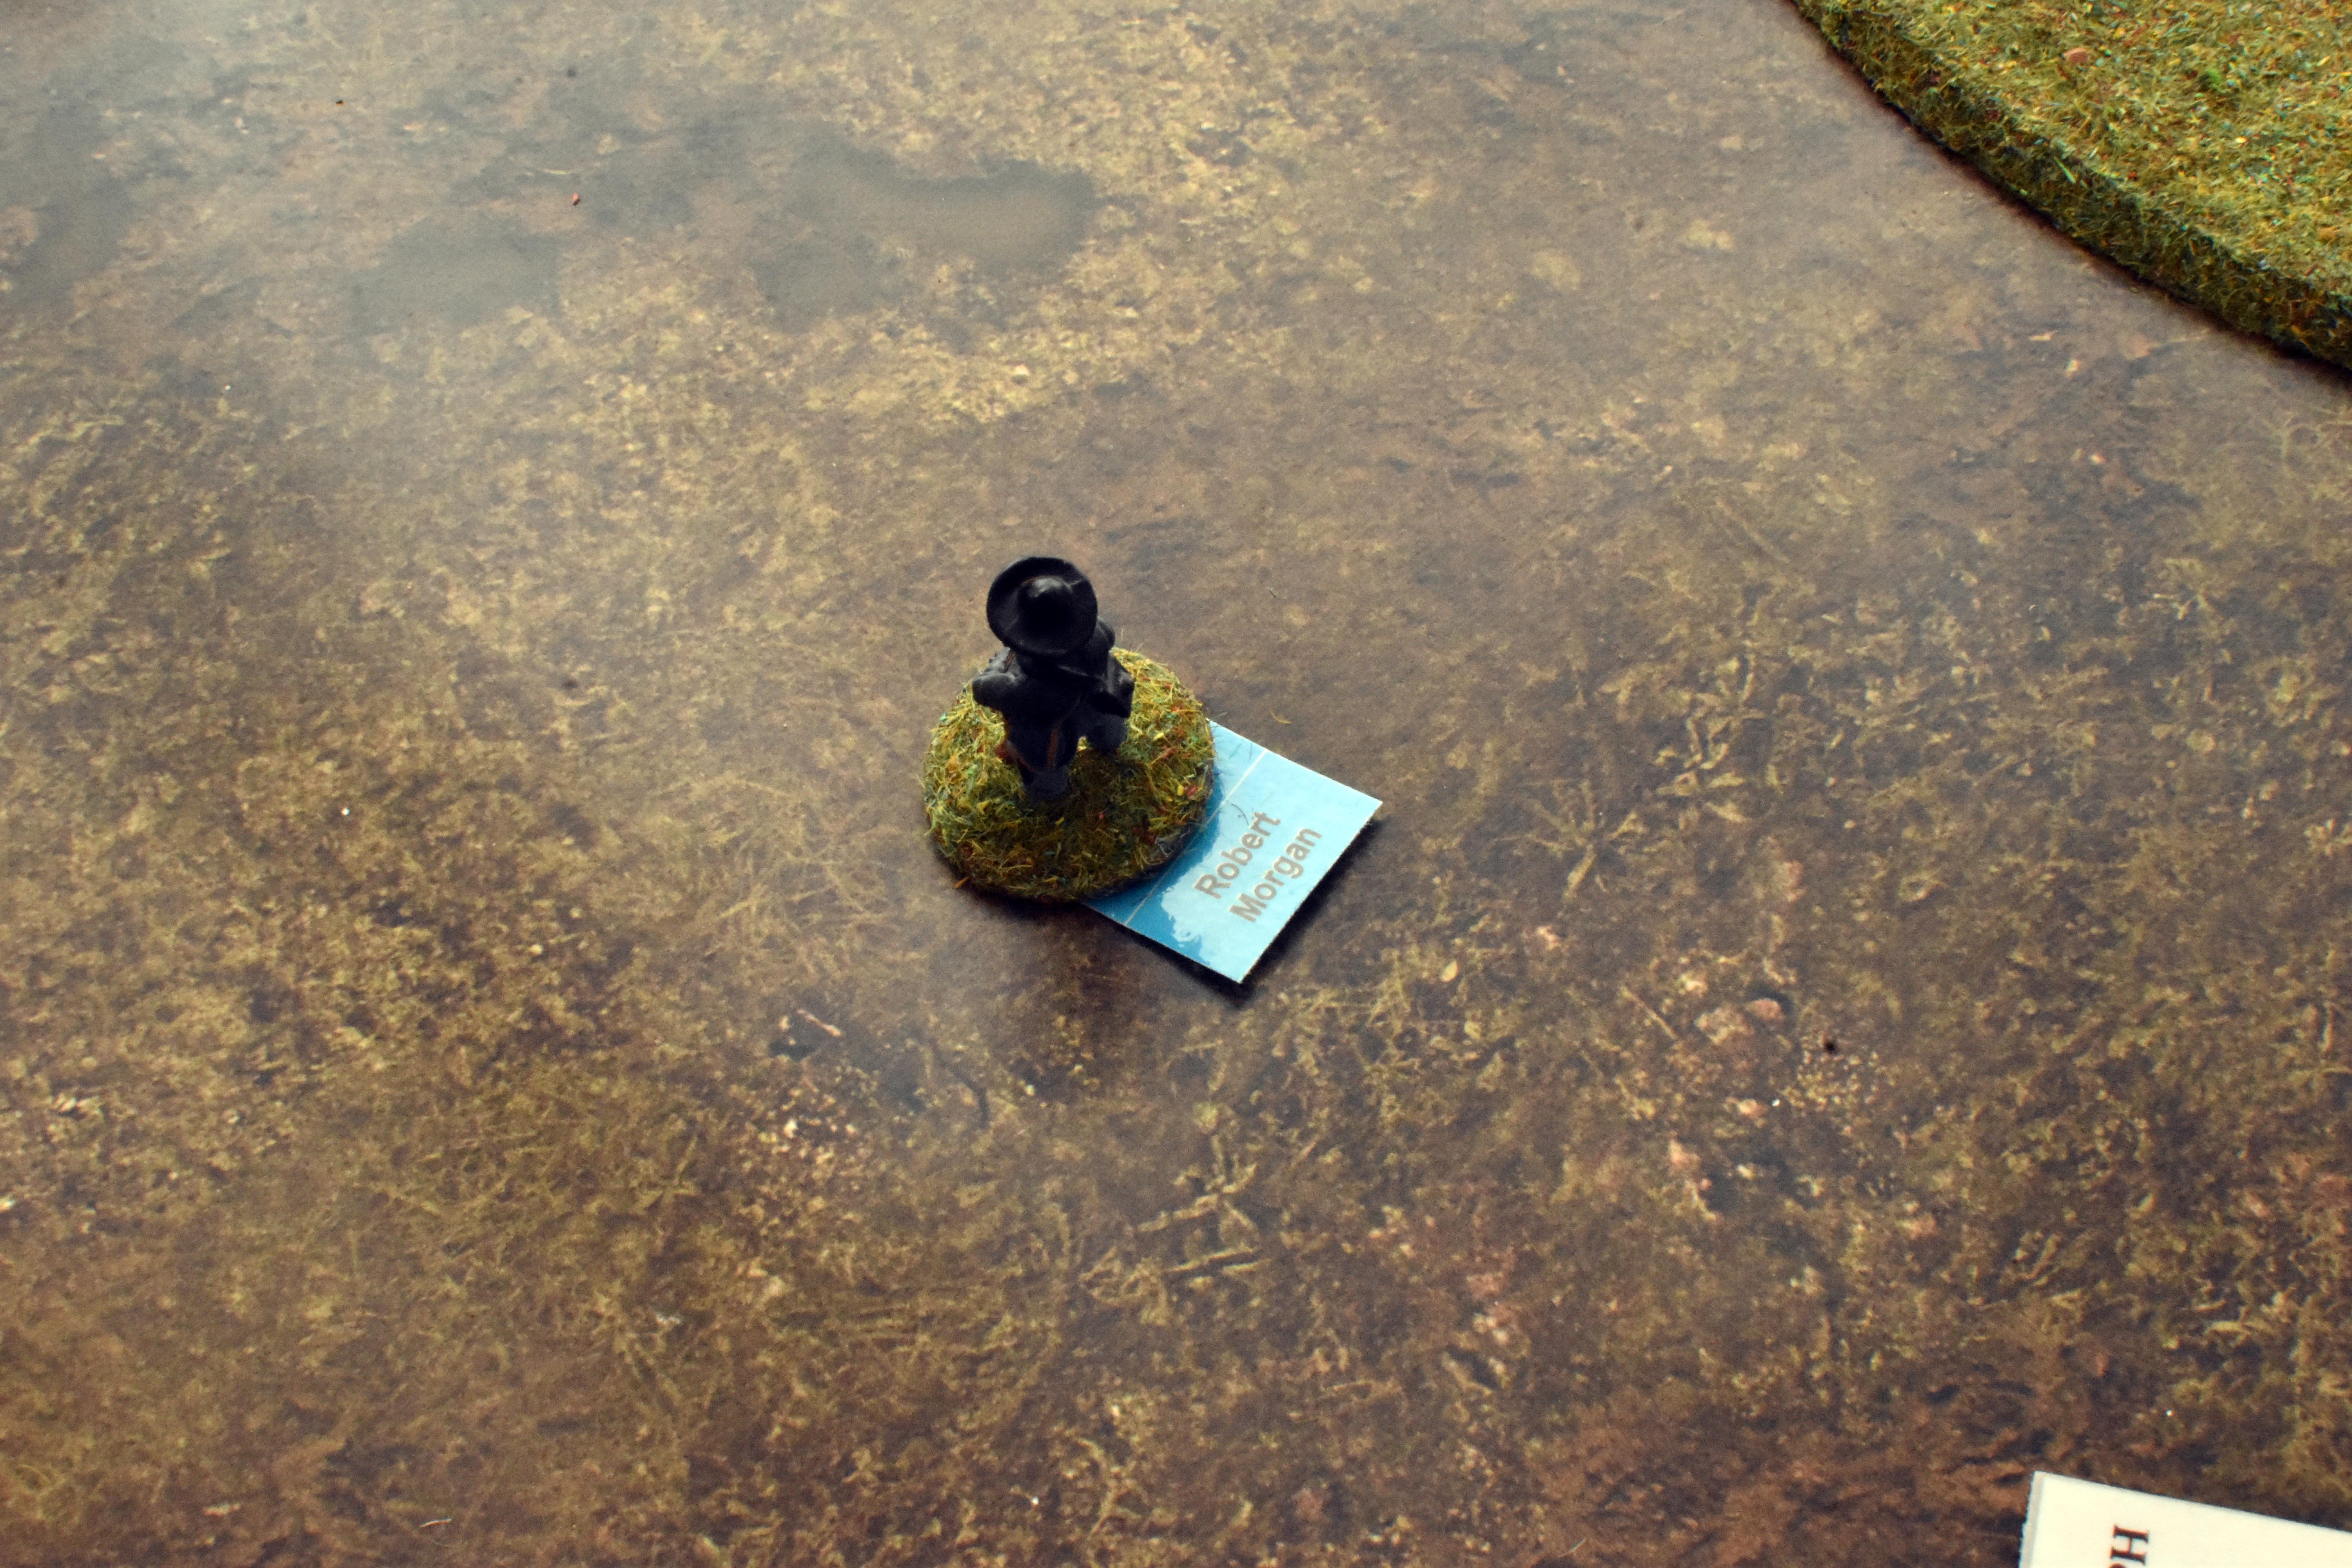
| Alas poor Robert Morgan buys the farm! | The final activation sees Corporal Crenshaw appreciate that he is outgunned 3 to 1 so maybe time to try plan B. In open order they move to the side and then form up into Close order. | Corporal Pierce's troops in the house in the centre are taking a severe beating. He will probably need to rally or withdraw as his force is close to the 50% mark in able bodied men. | noticing a lull in the firing from the building, Corporal Rountree begins to advance forward tentatively. |
|
|
|
|
| In a bit of a mess, Corporal Anderson tries to rally his men, but only one pulls himself together (the CO is too far away and so he only succeeds on a 4+ on d6s (one for each man wounded). He then pulls his men back and reloads. | Sensing that they are pushing at an open door on their left flank, corporal van Doren pushes forward aggressively. | Without a target they can see clearly, they are forced to reload - the corporal of the gun actually has to put what he is loading face down. it may not be changed without discharging or reloading. | More aggressive pushing forward on the left flank |
|
|
|
|
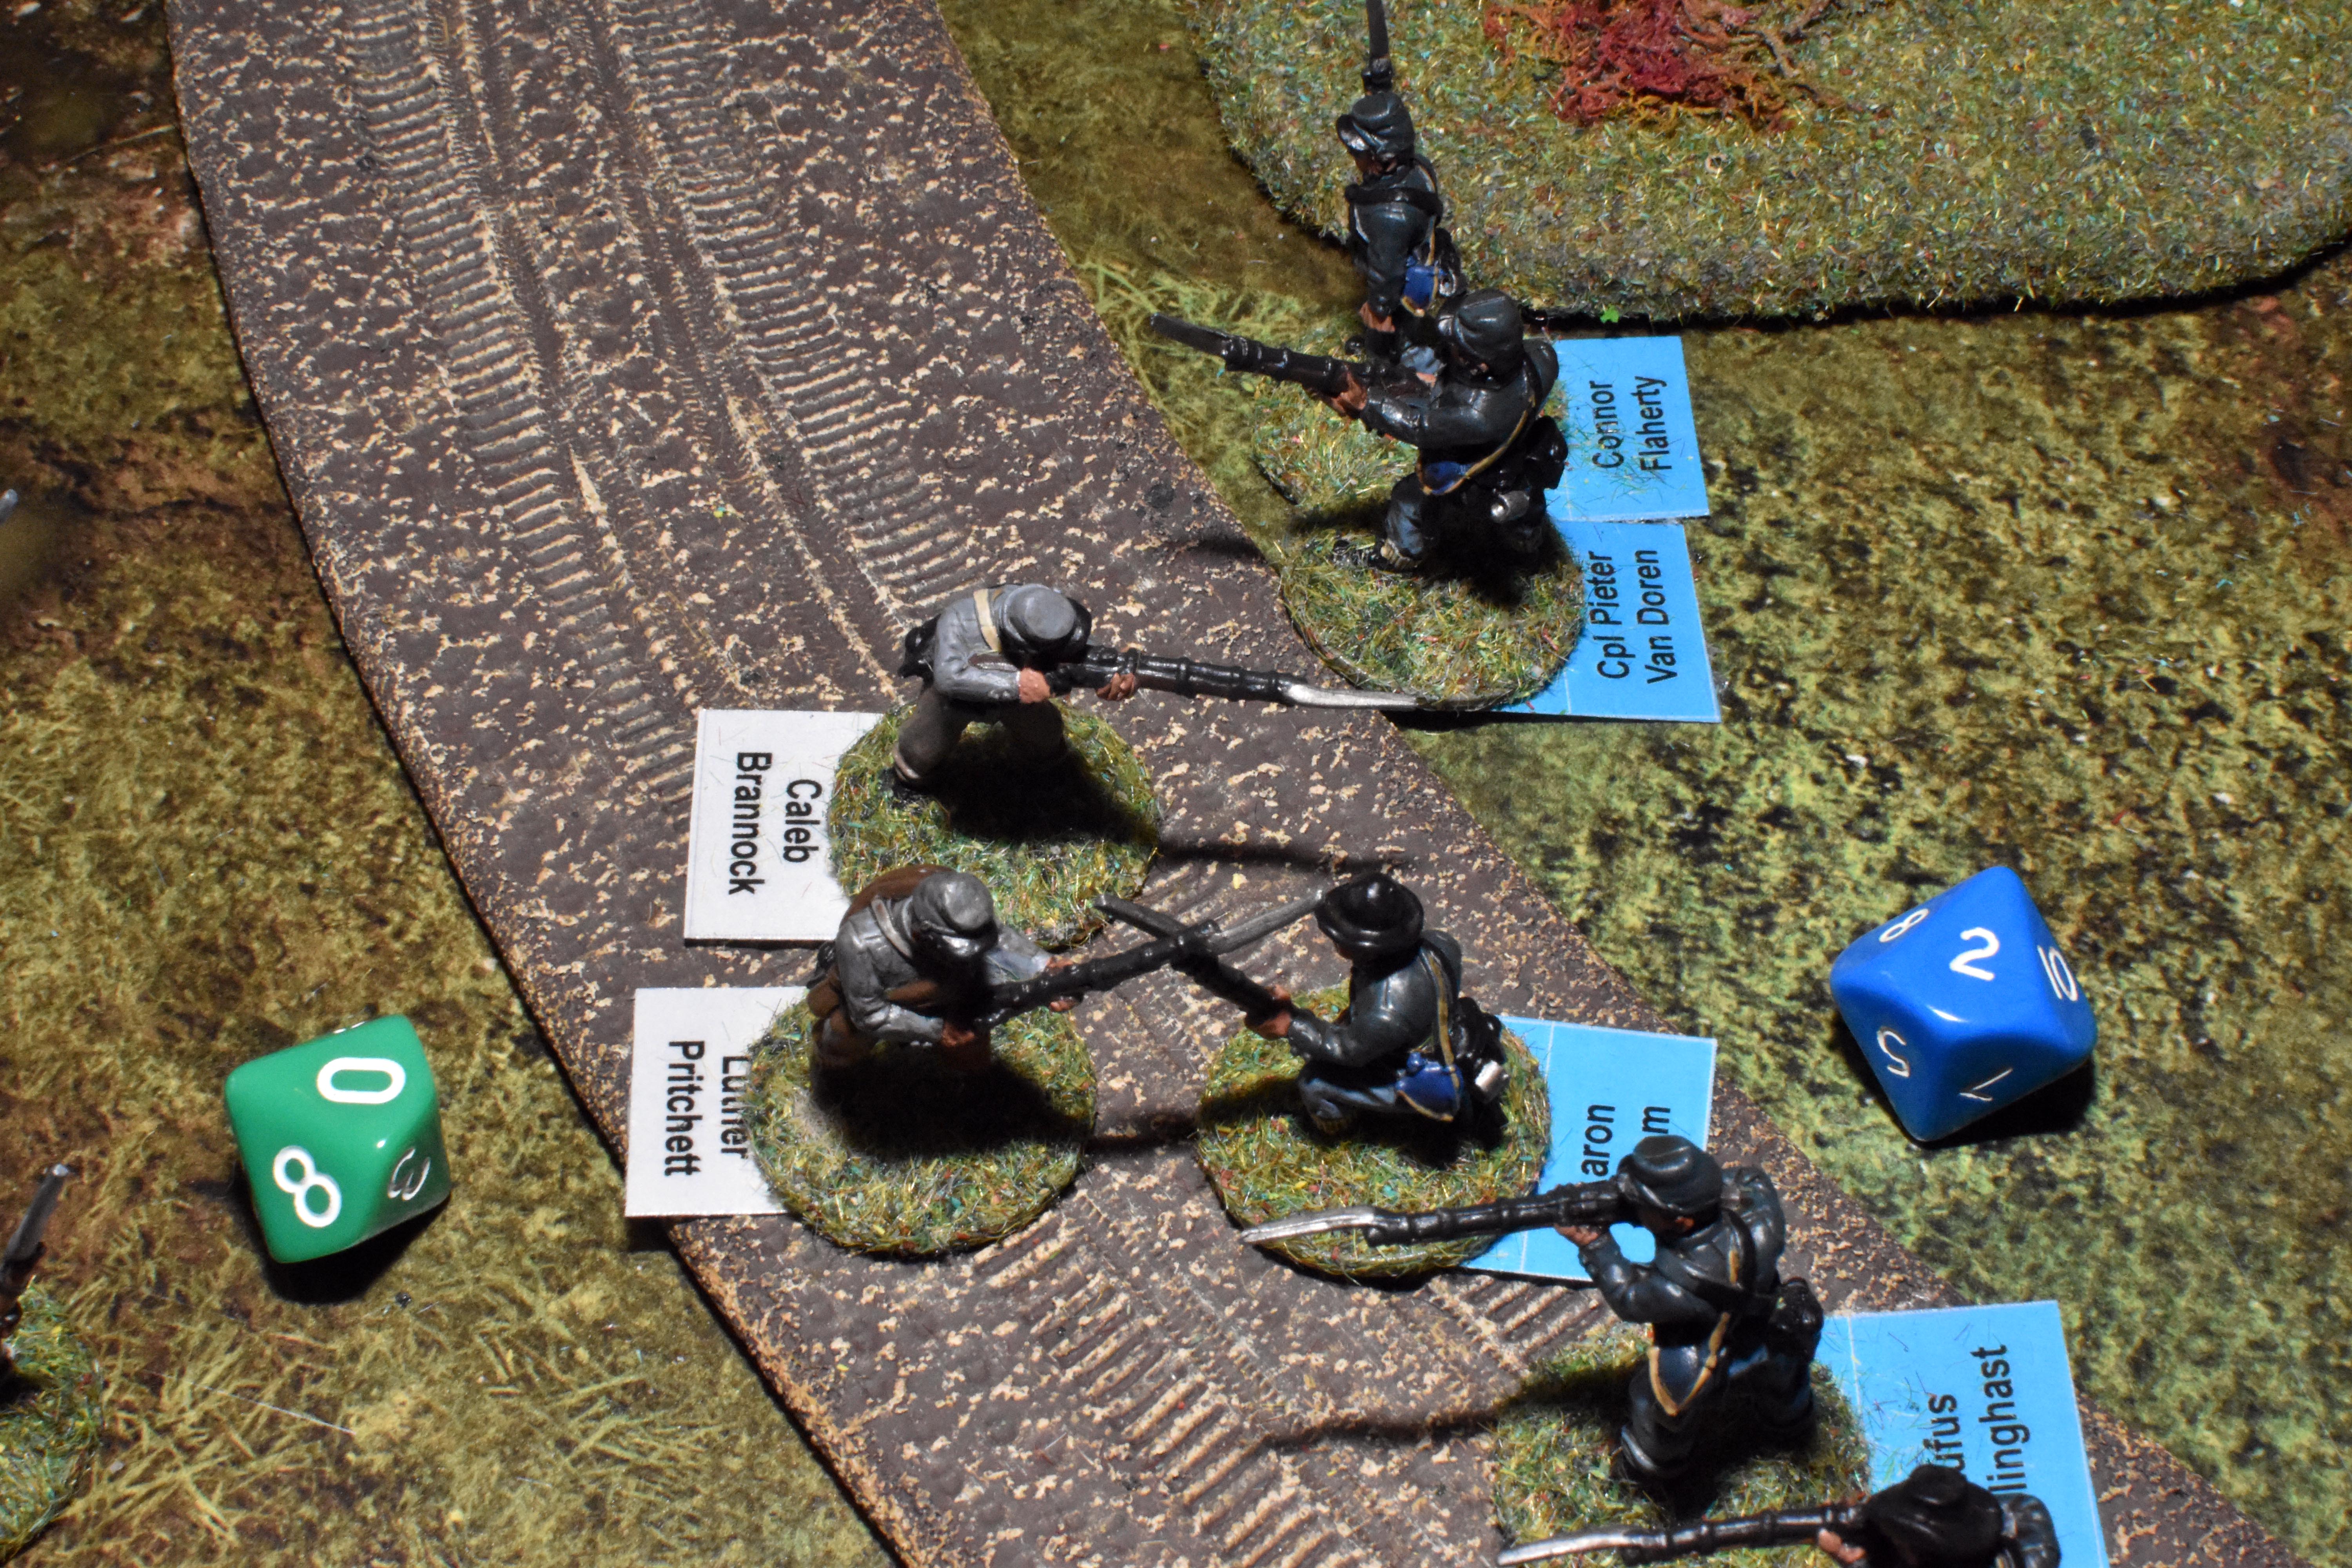
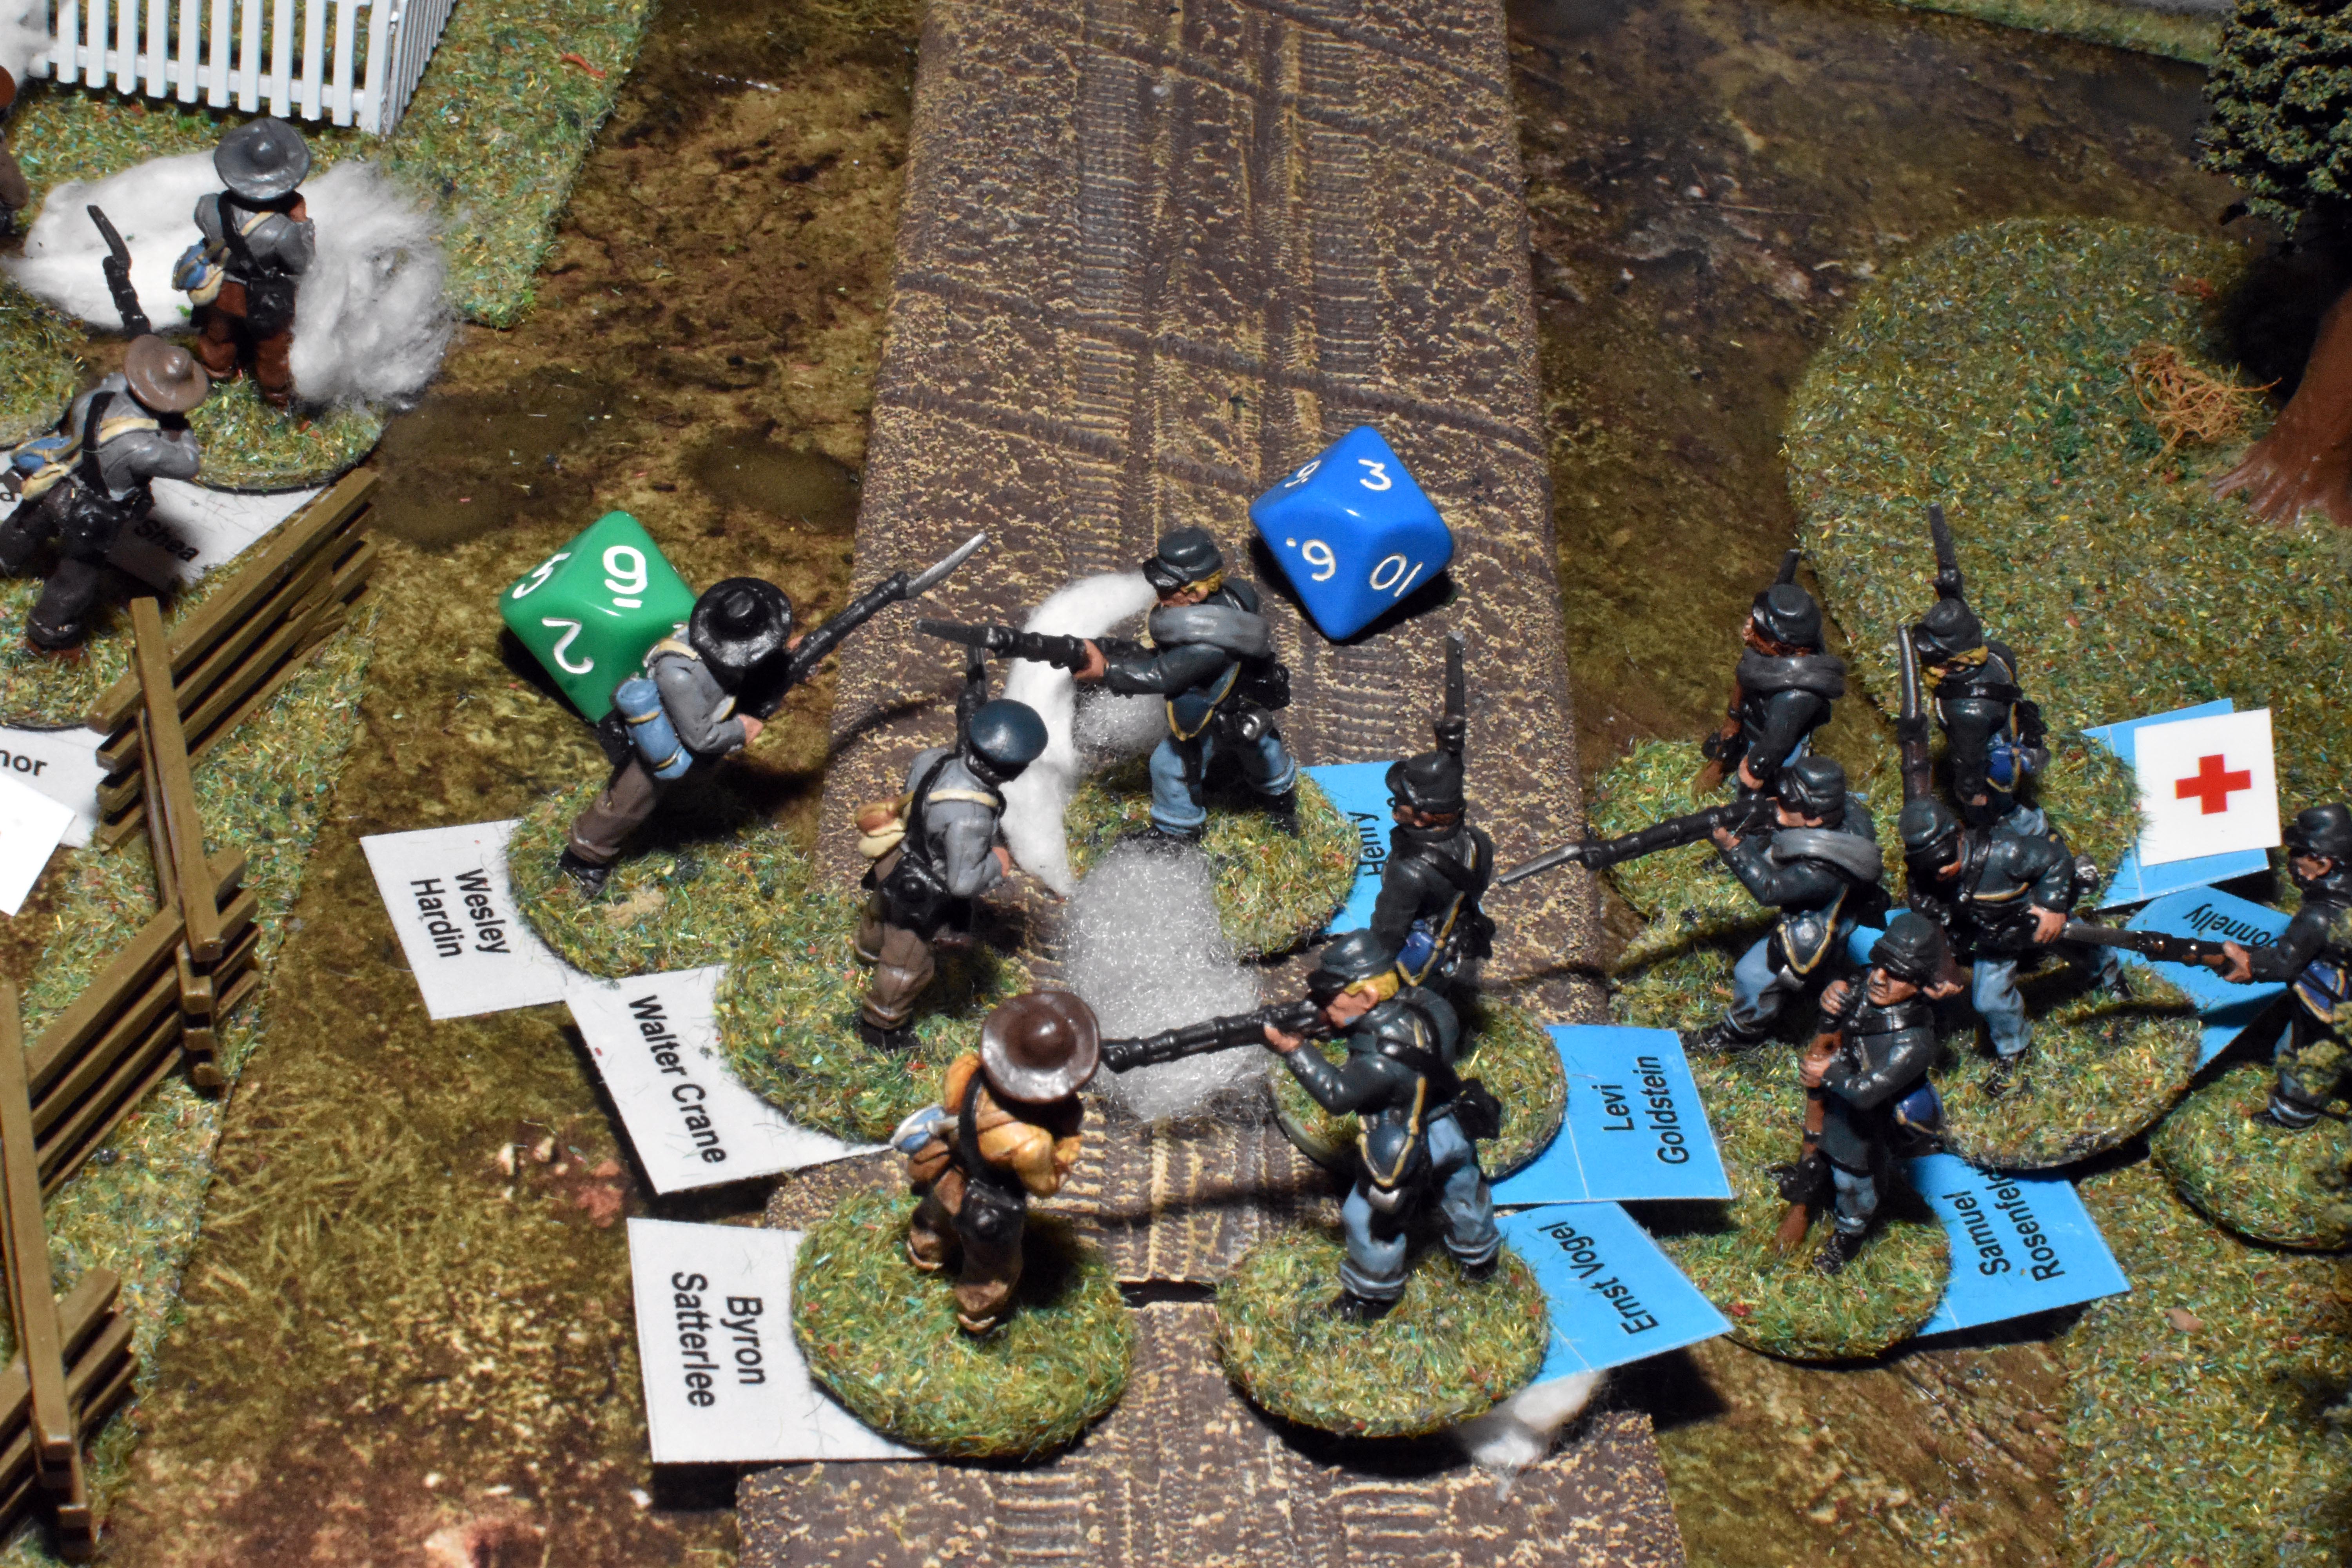
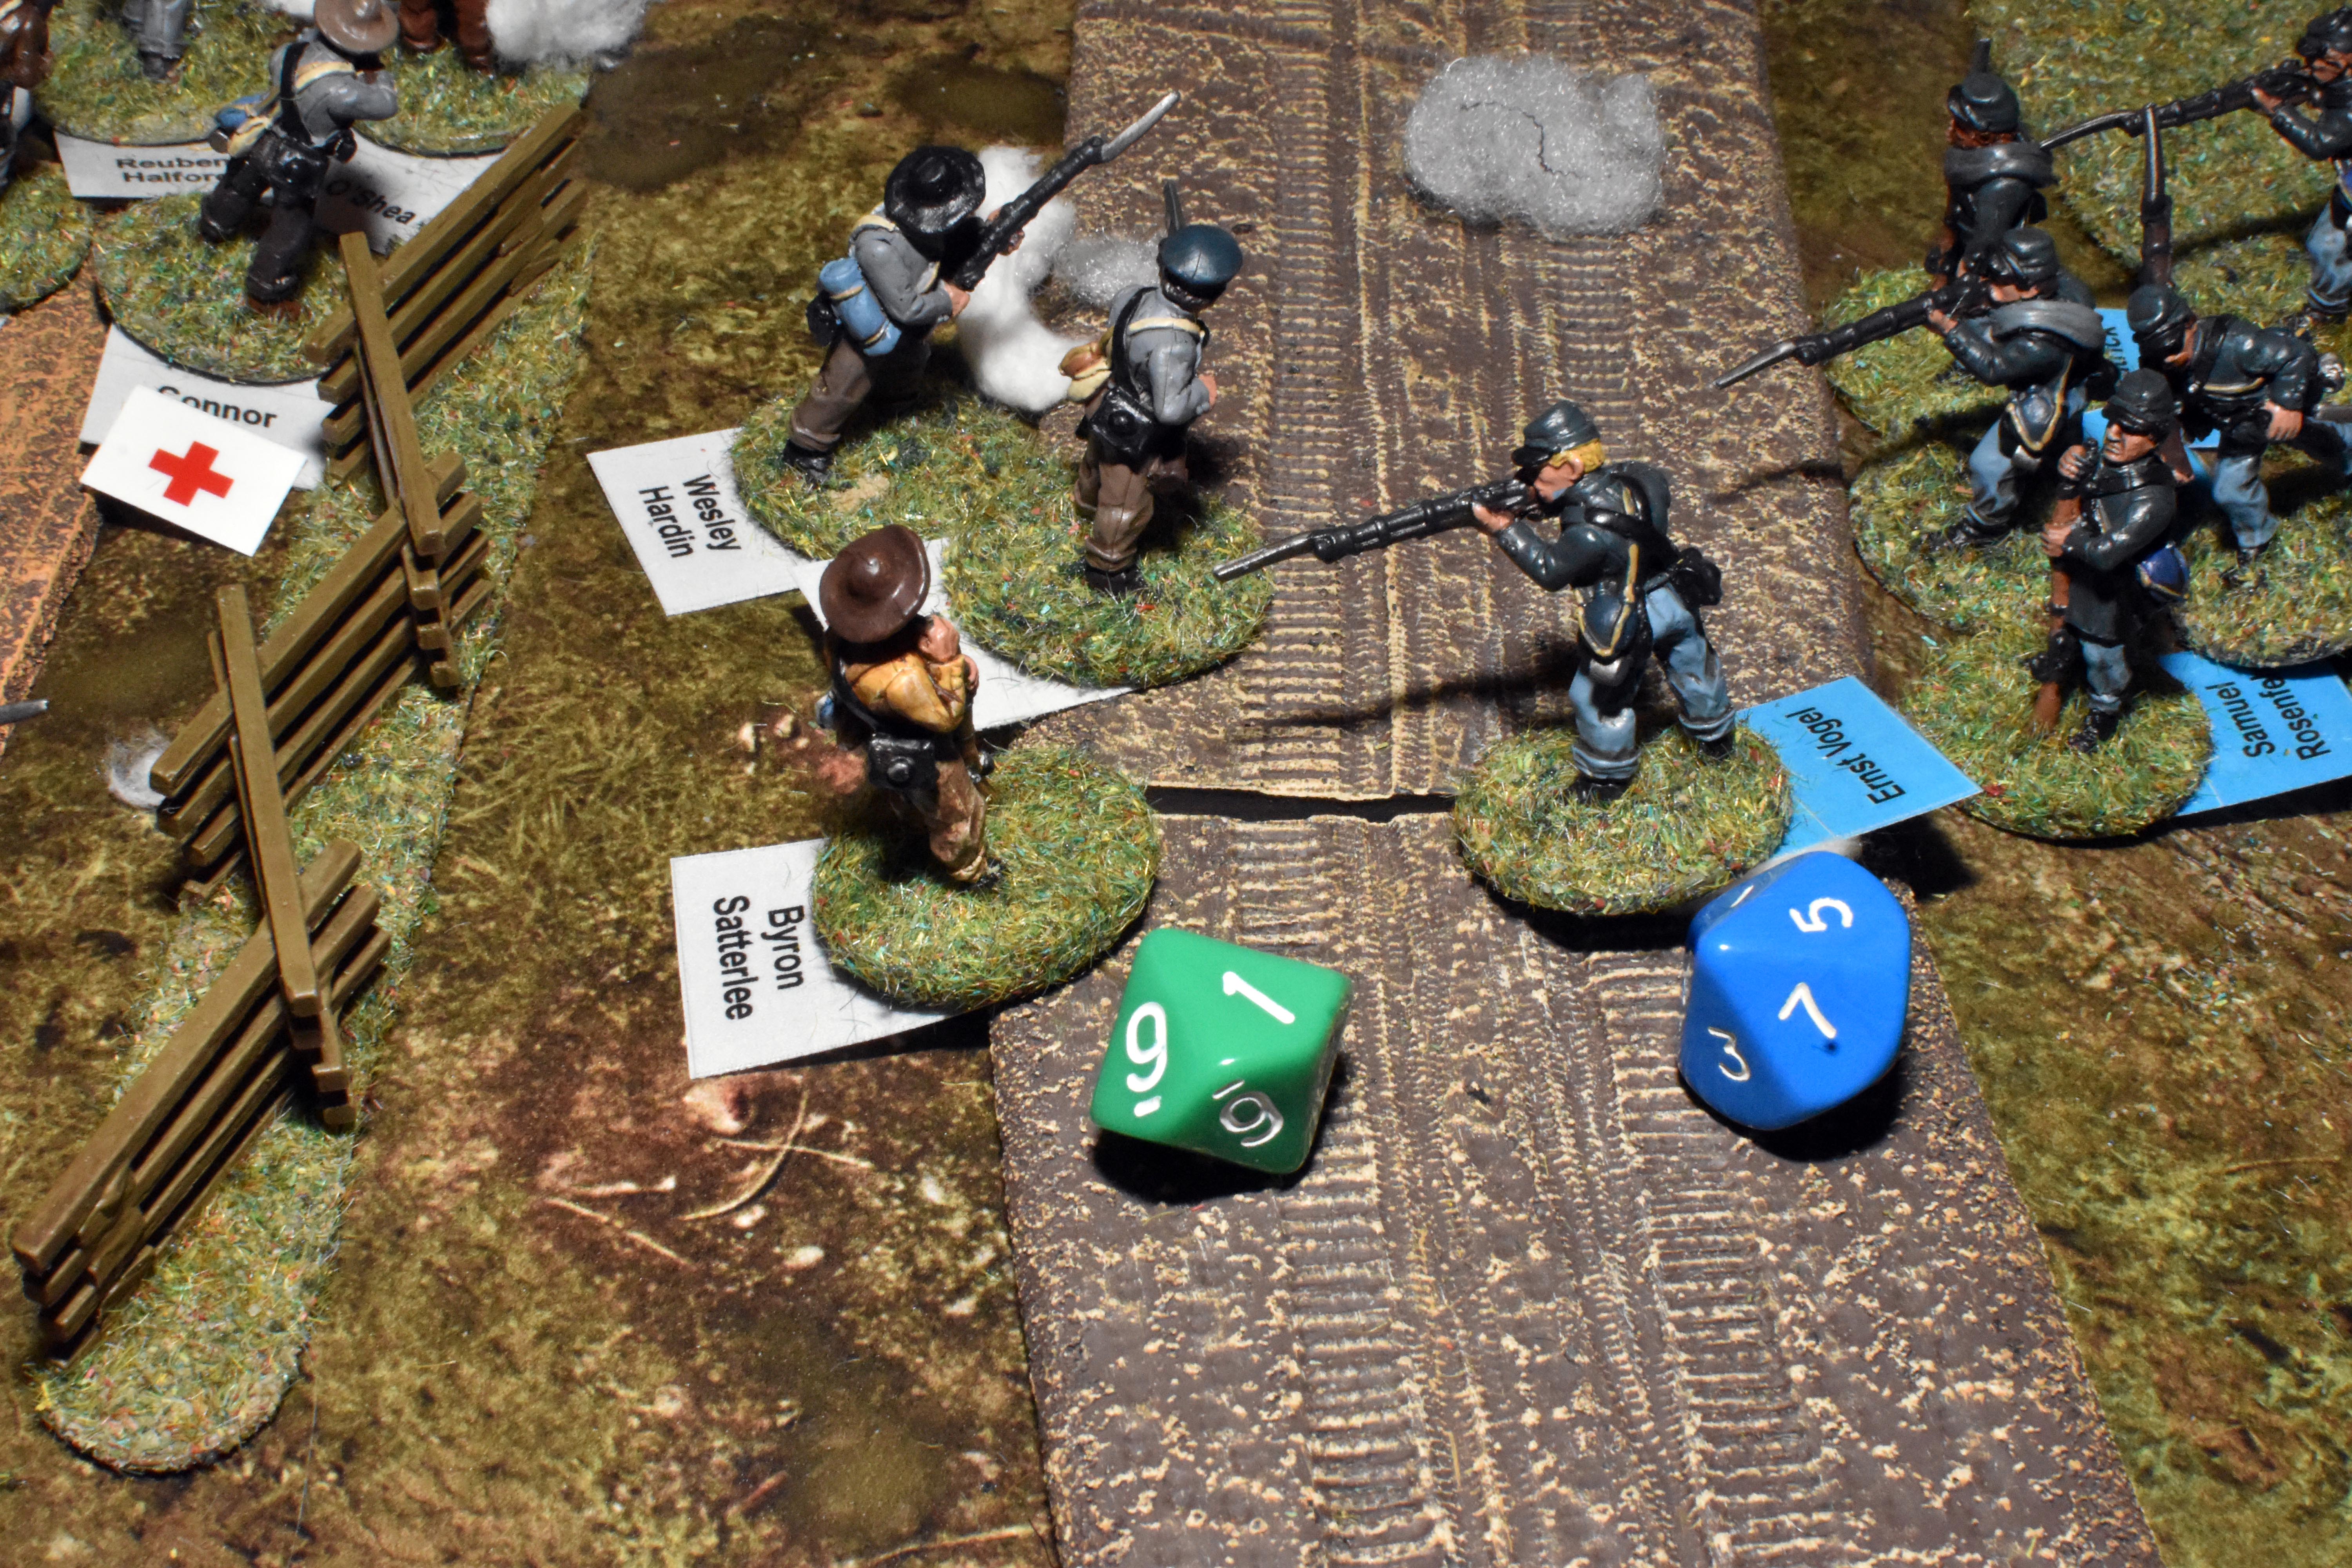
| Lieutenant Whitman sensing that Corporal Anderson's men are fragile tries to plug the centre | But no sooner does he do this than rebels come running out of the trees on 3 activations. They can see Corporal Anderson's men at the beginning of their move and so can charge them. They have to stop 3" short and roll a 2d6 morale roll but without any casualties, being veterans and aggressive they pass with ease. | As they come from beyond the front 180 line it counts as a frontal charge despite looking a little flankish. It is also abstracted at this point and the placement of the troops is more indicative than accurate. The Union forces will count as being in cover as the rebels have to clamber over fences to get to them. | Despite the rebel yells the rebels don't get a charge bonus as their opponents are in cover. Indeed the union forces get a +1 for defending said cover but lose this as they are green troops. The rebels have +1 for being veterans and another +1 for being aggressive giving them +2 over their opponents when matching d10 to d10 (both sides have bayonets cancelling this out). |
|
|
|
|
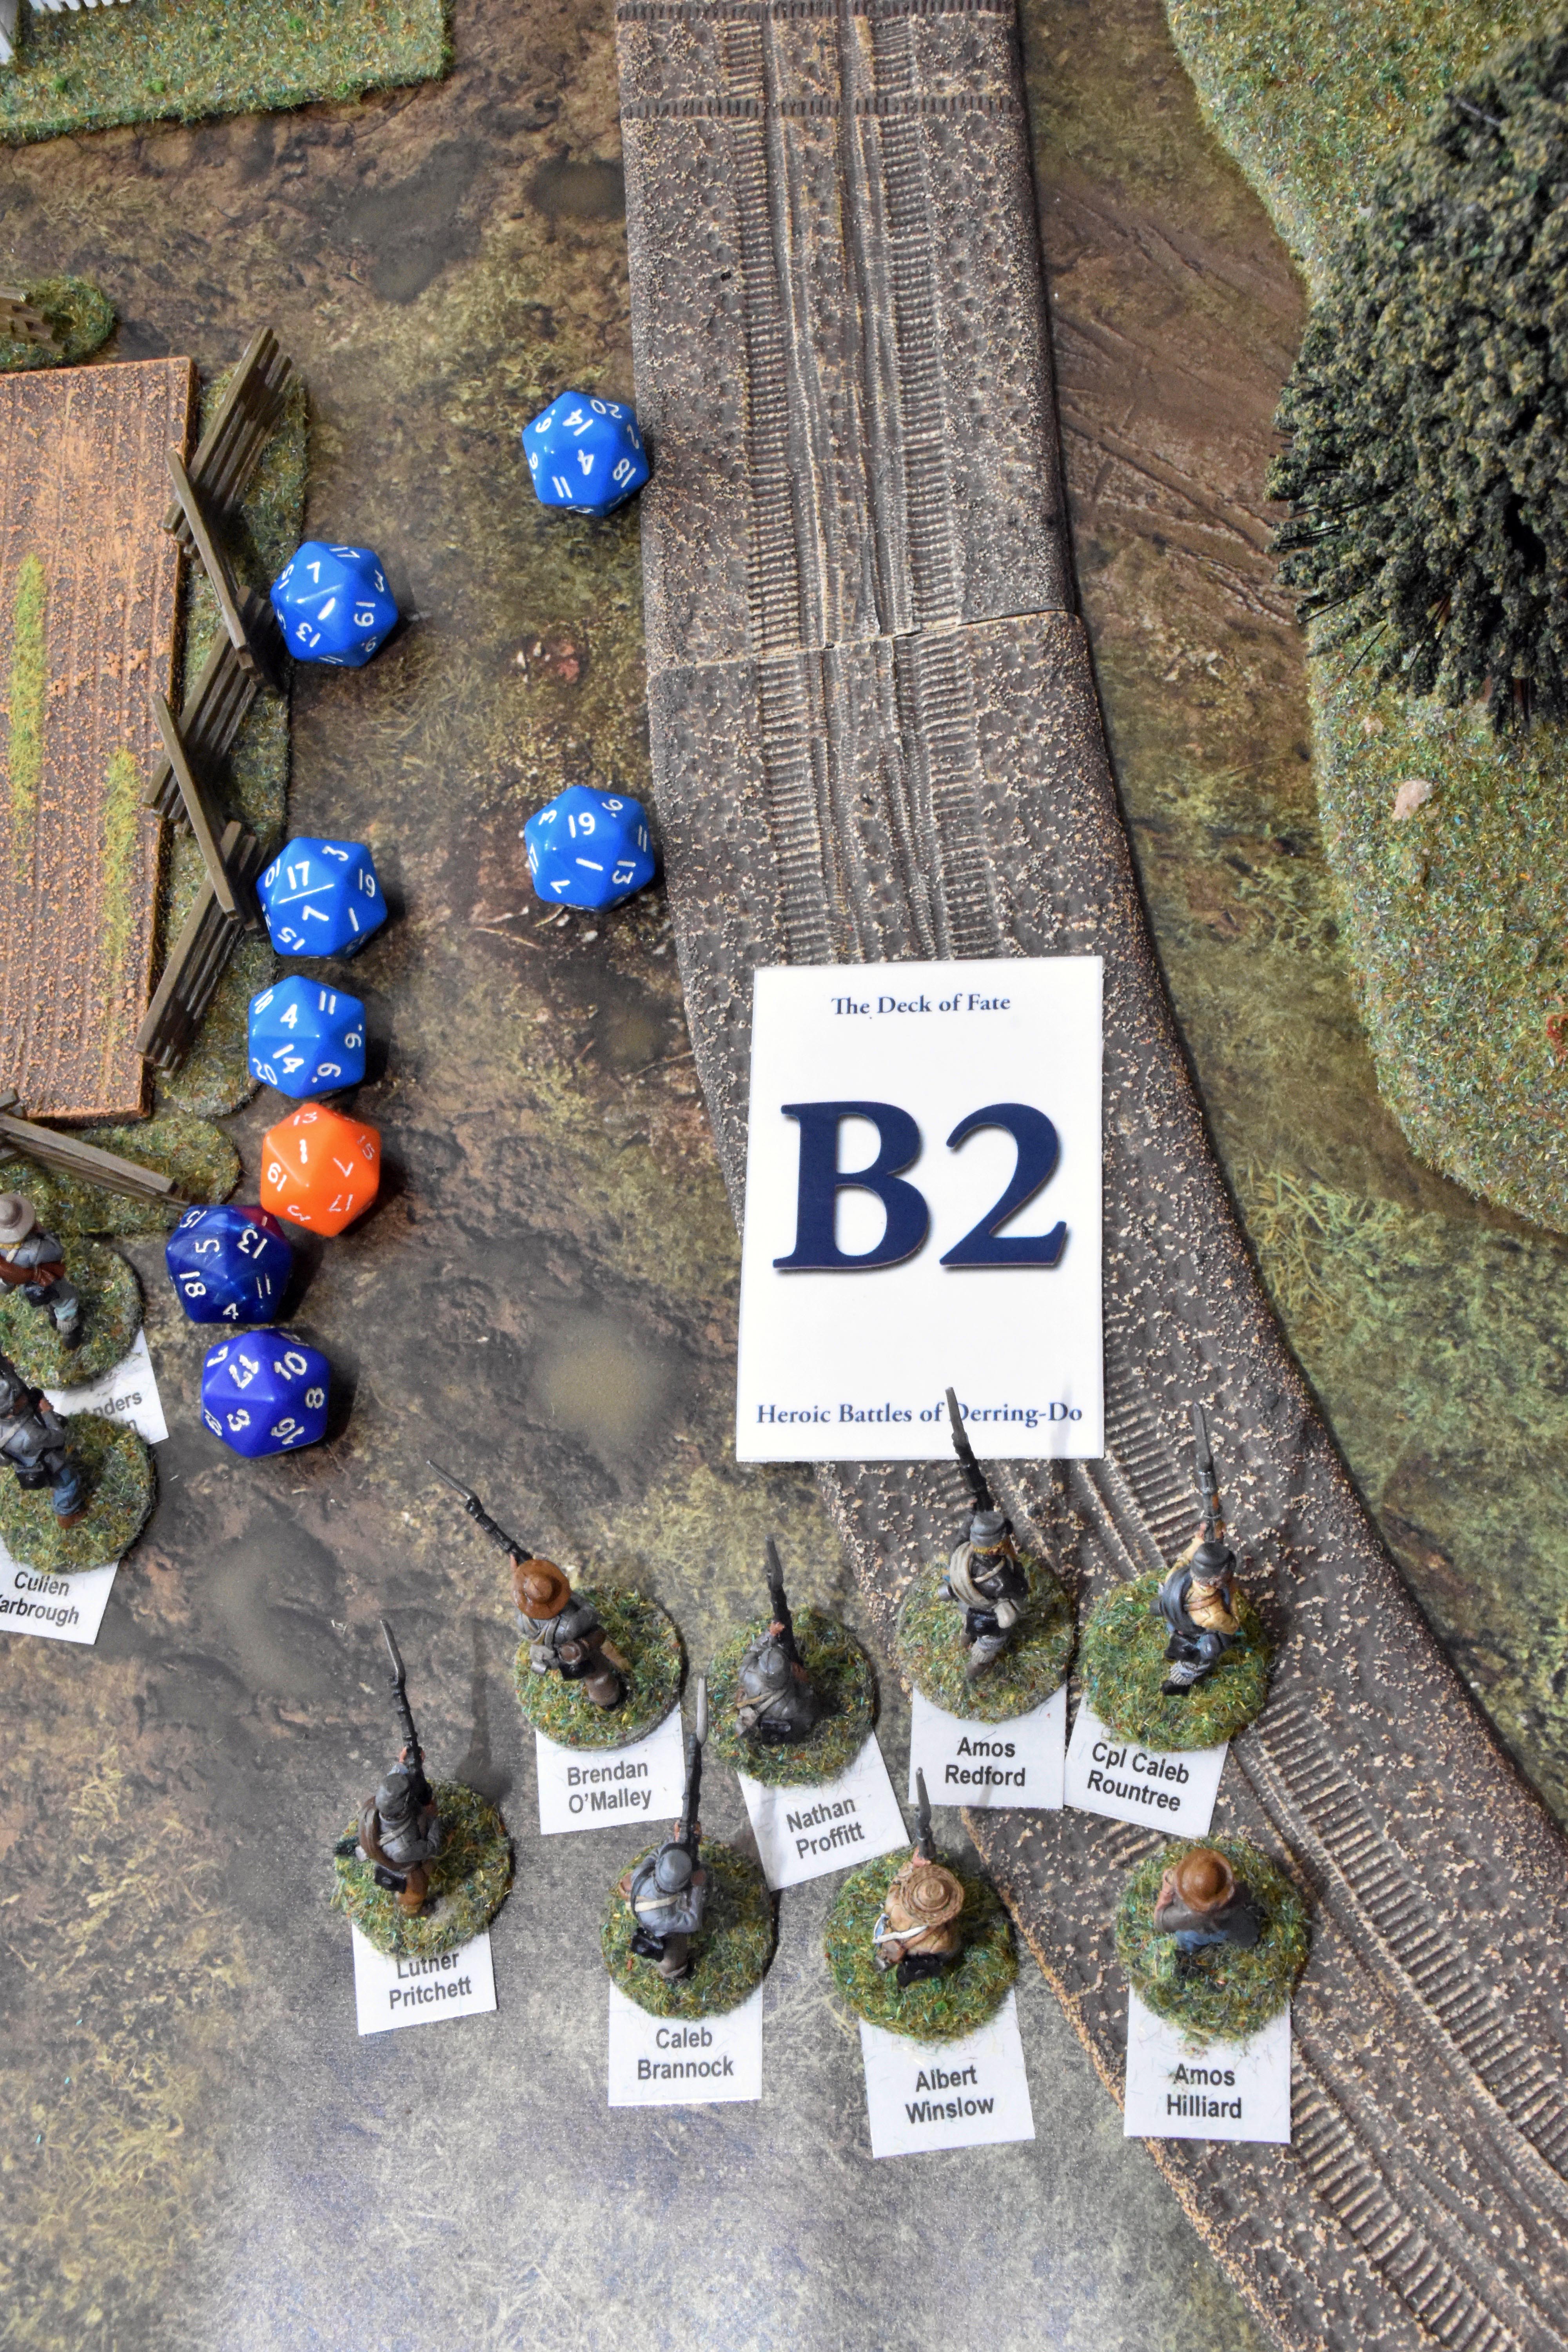
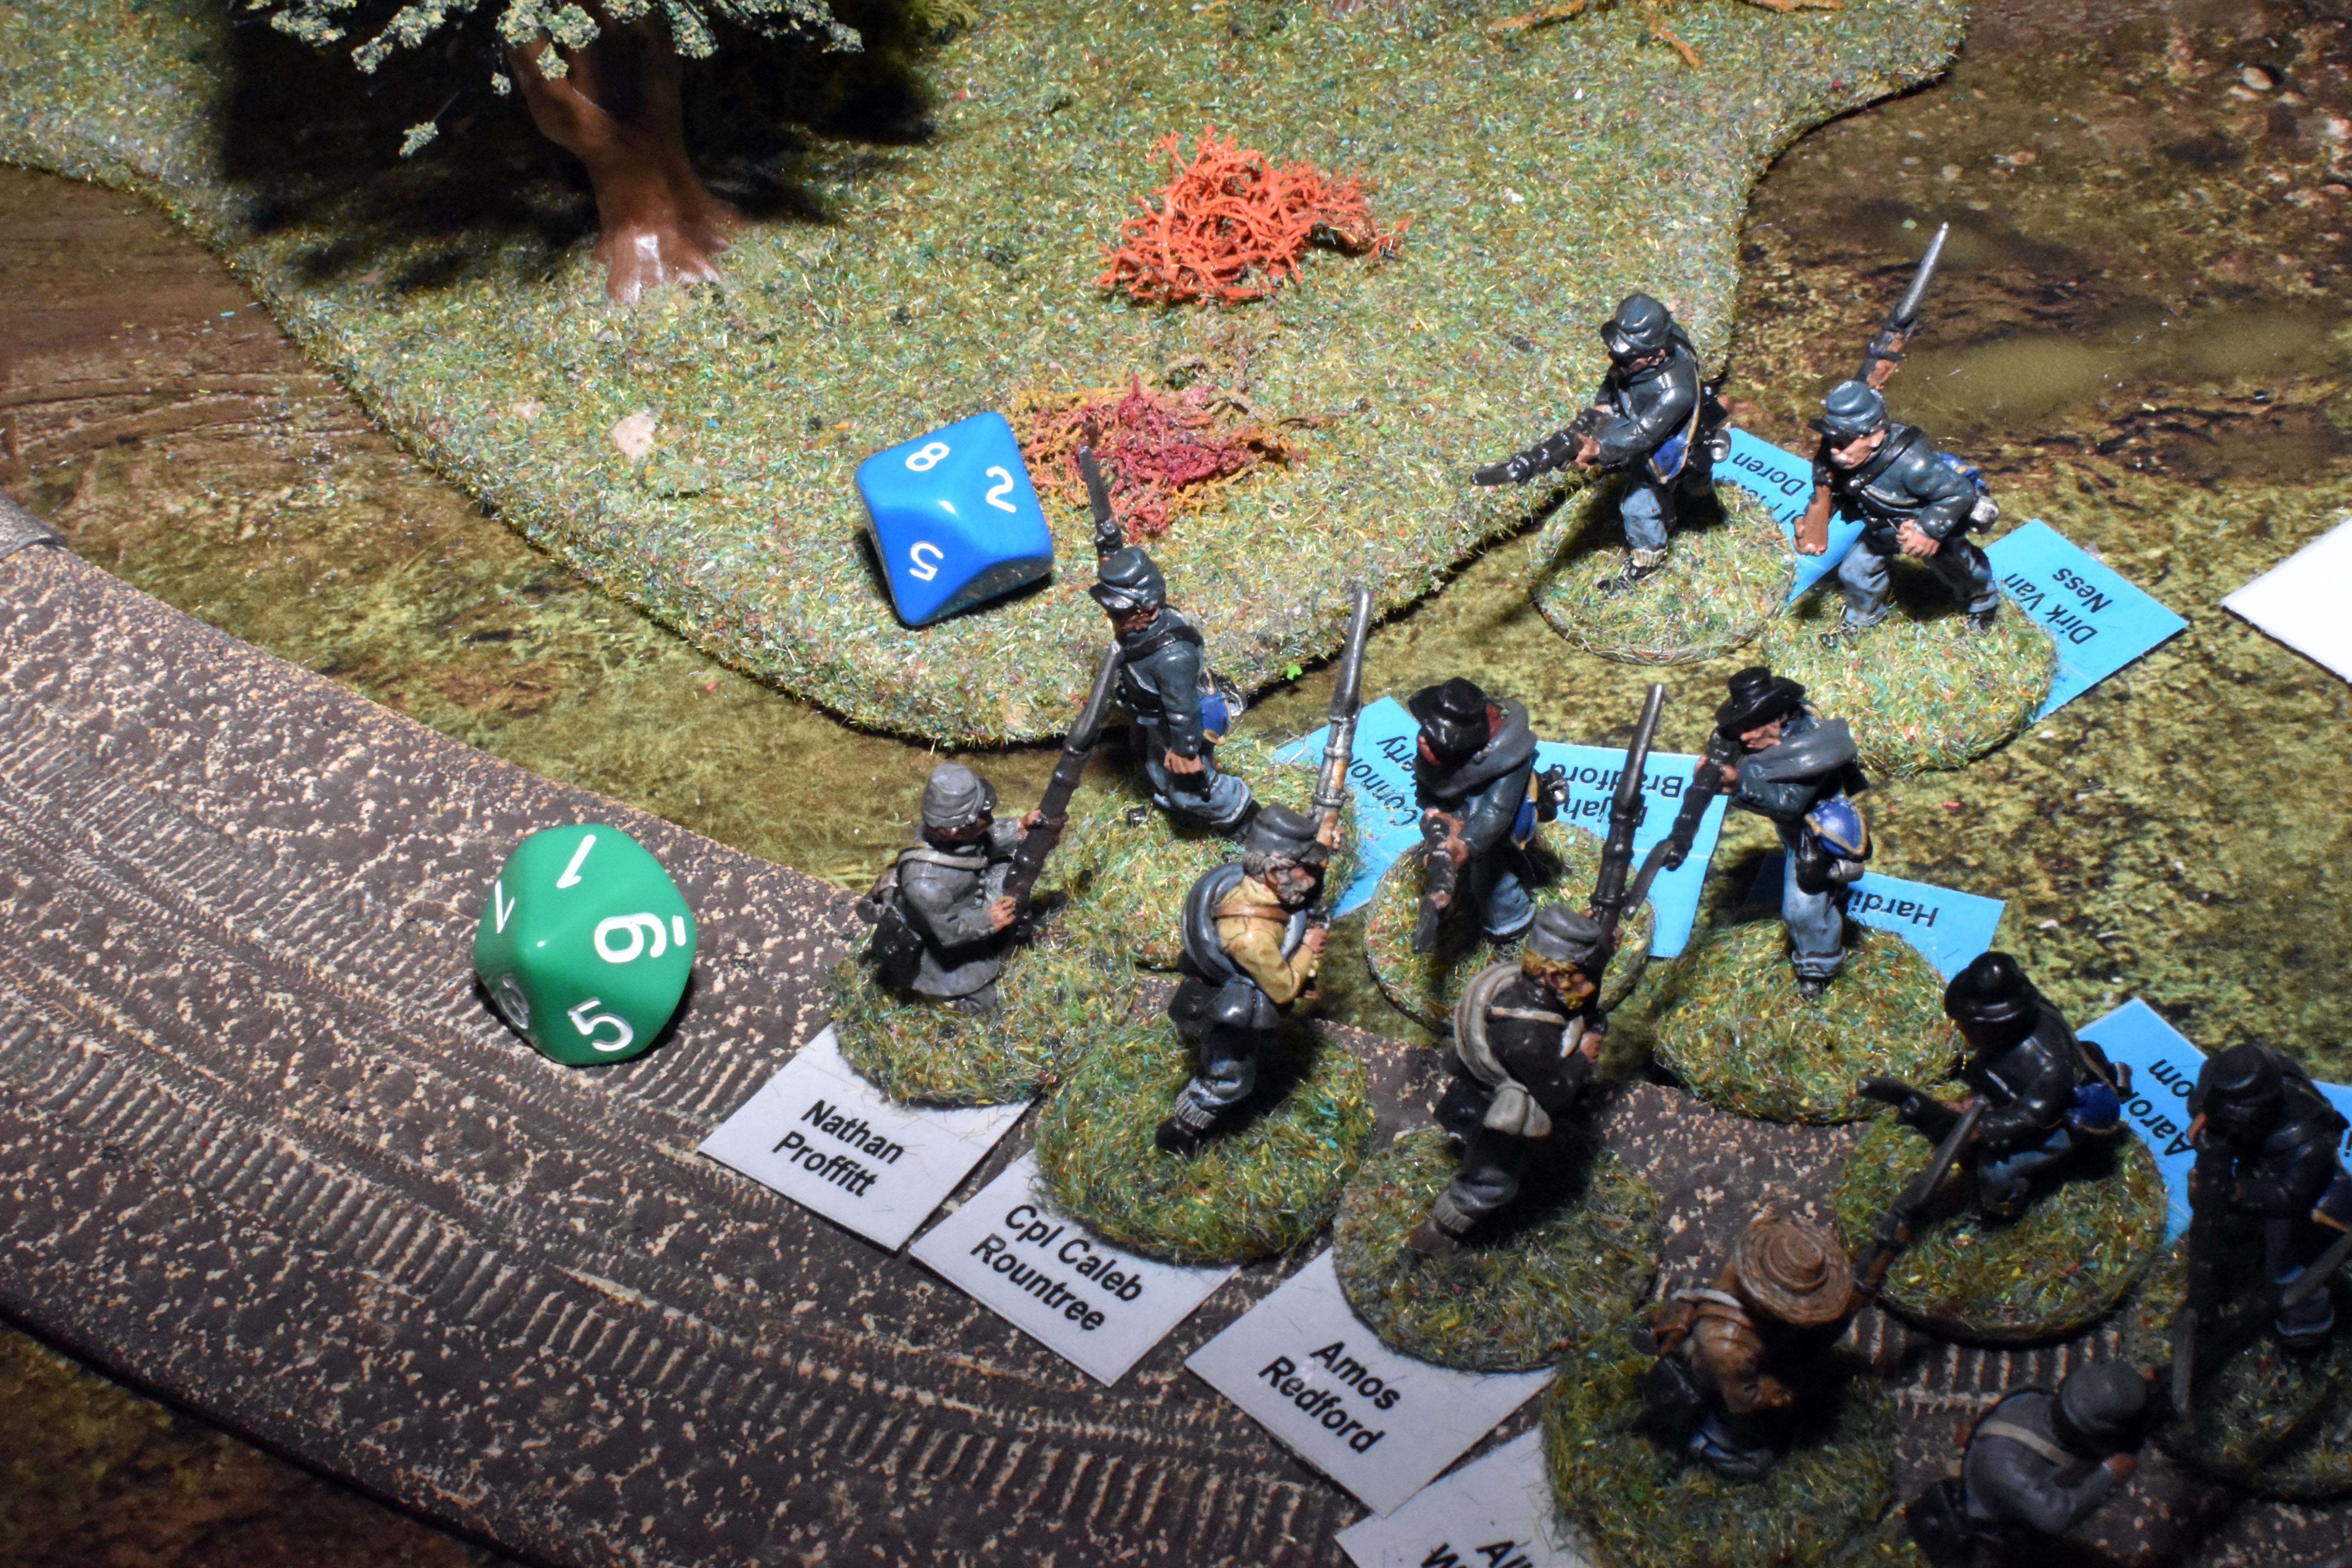
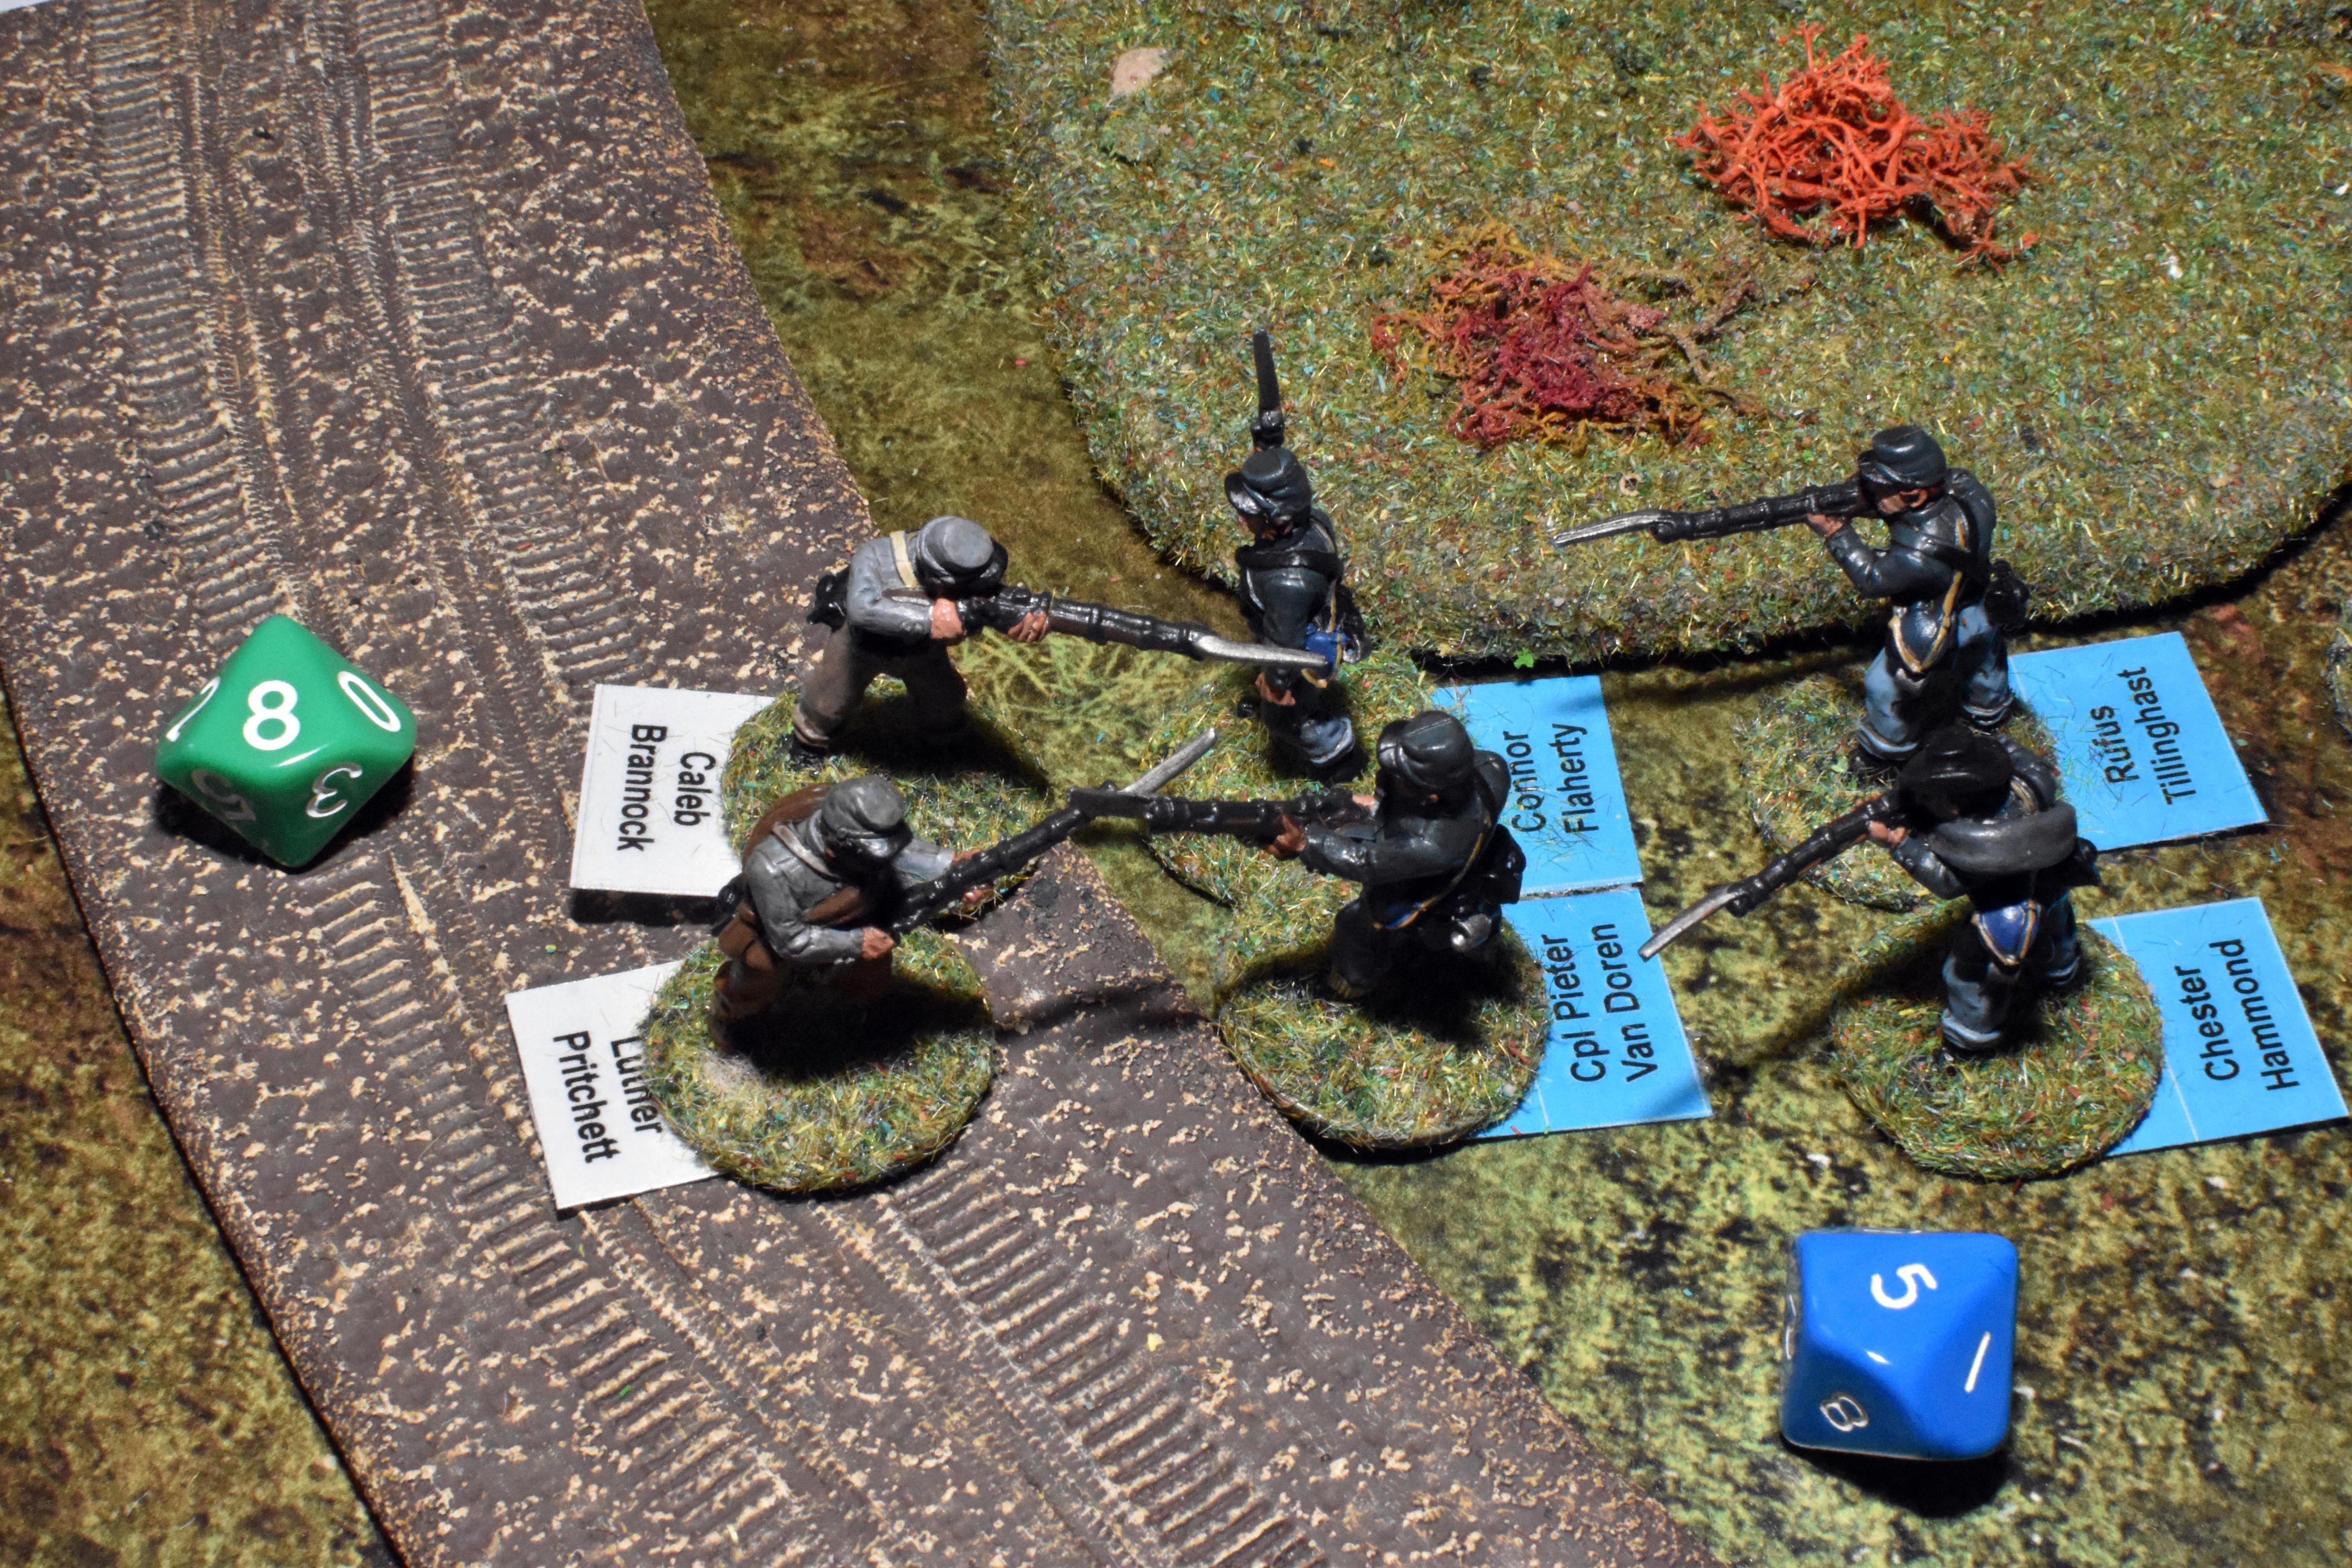
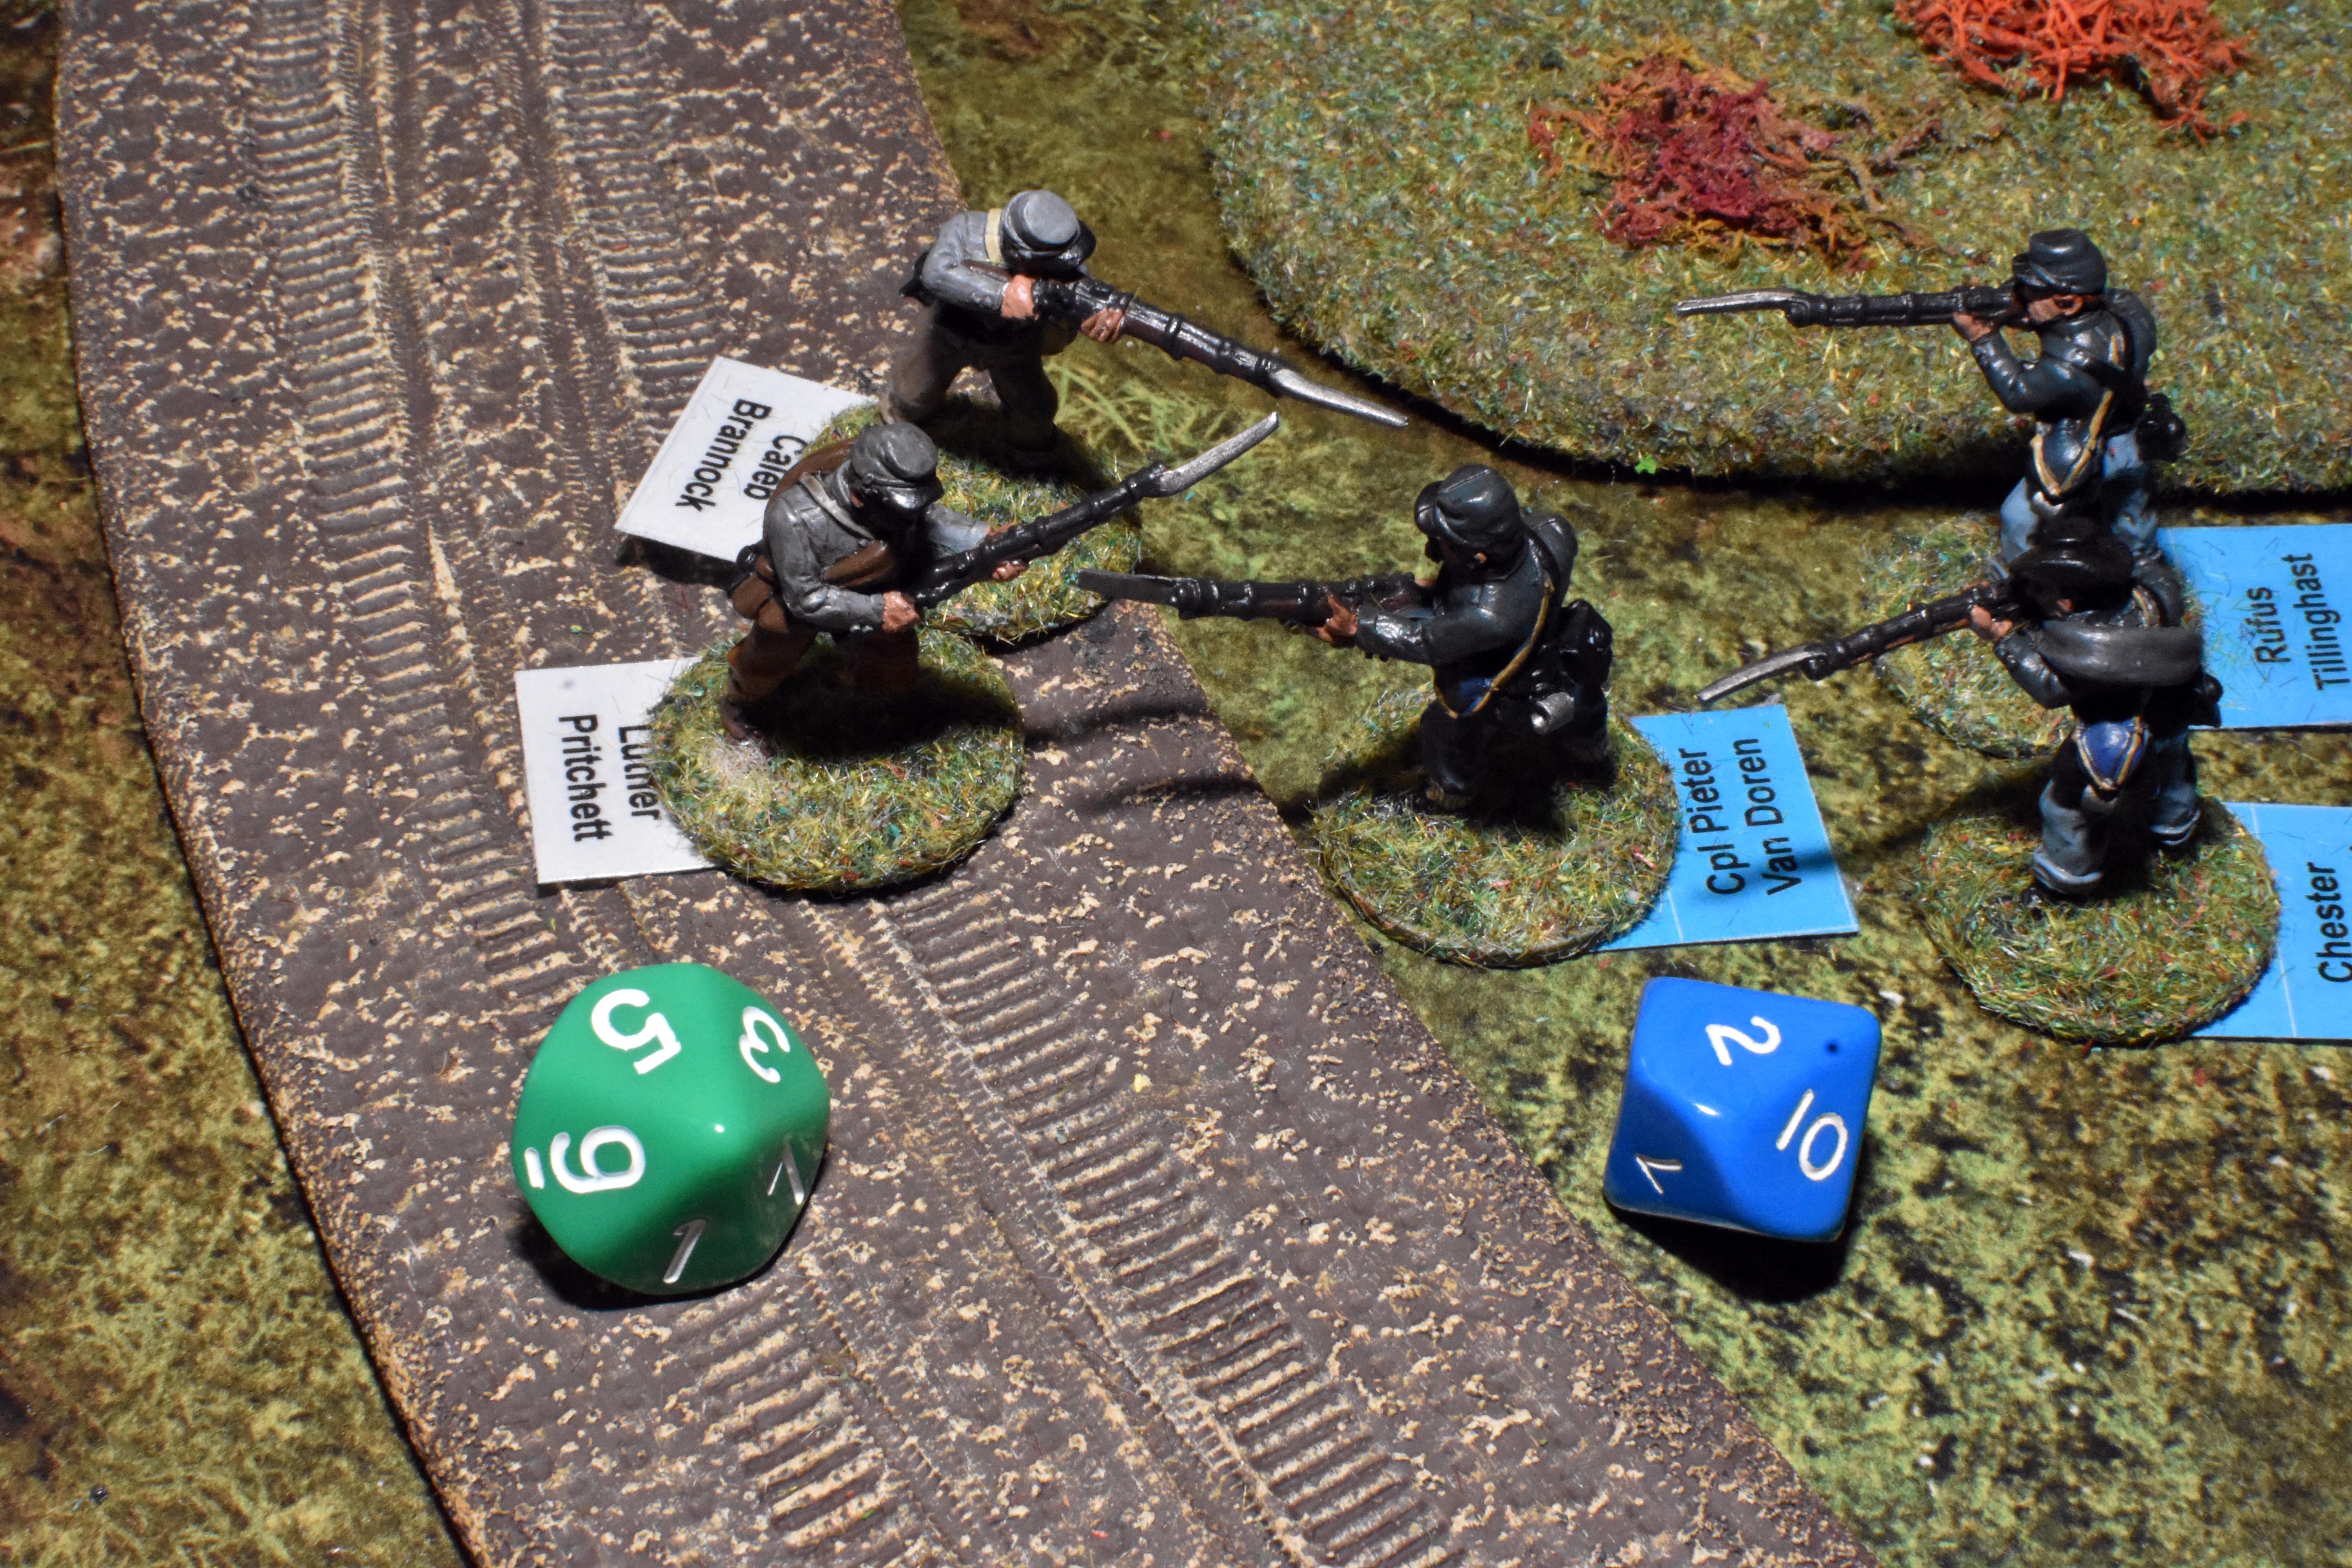
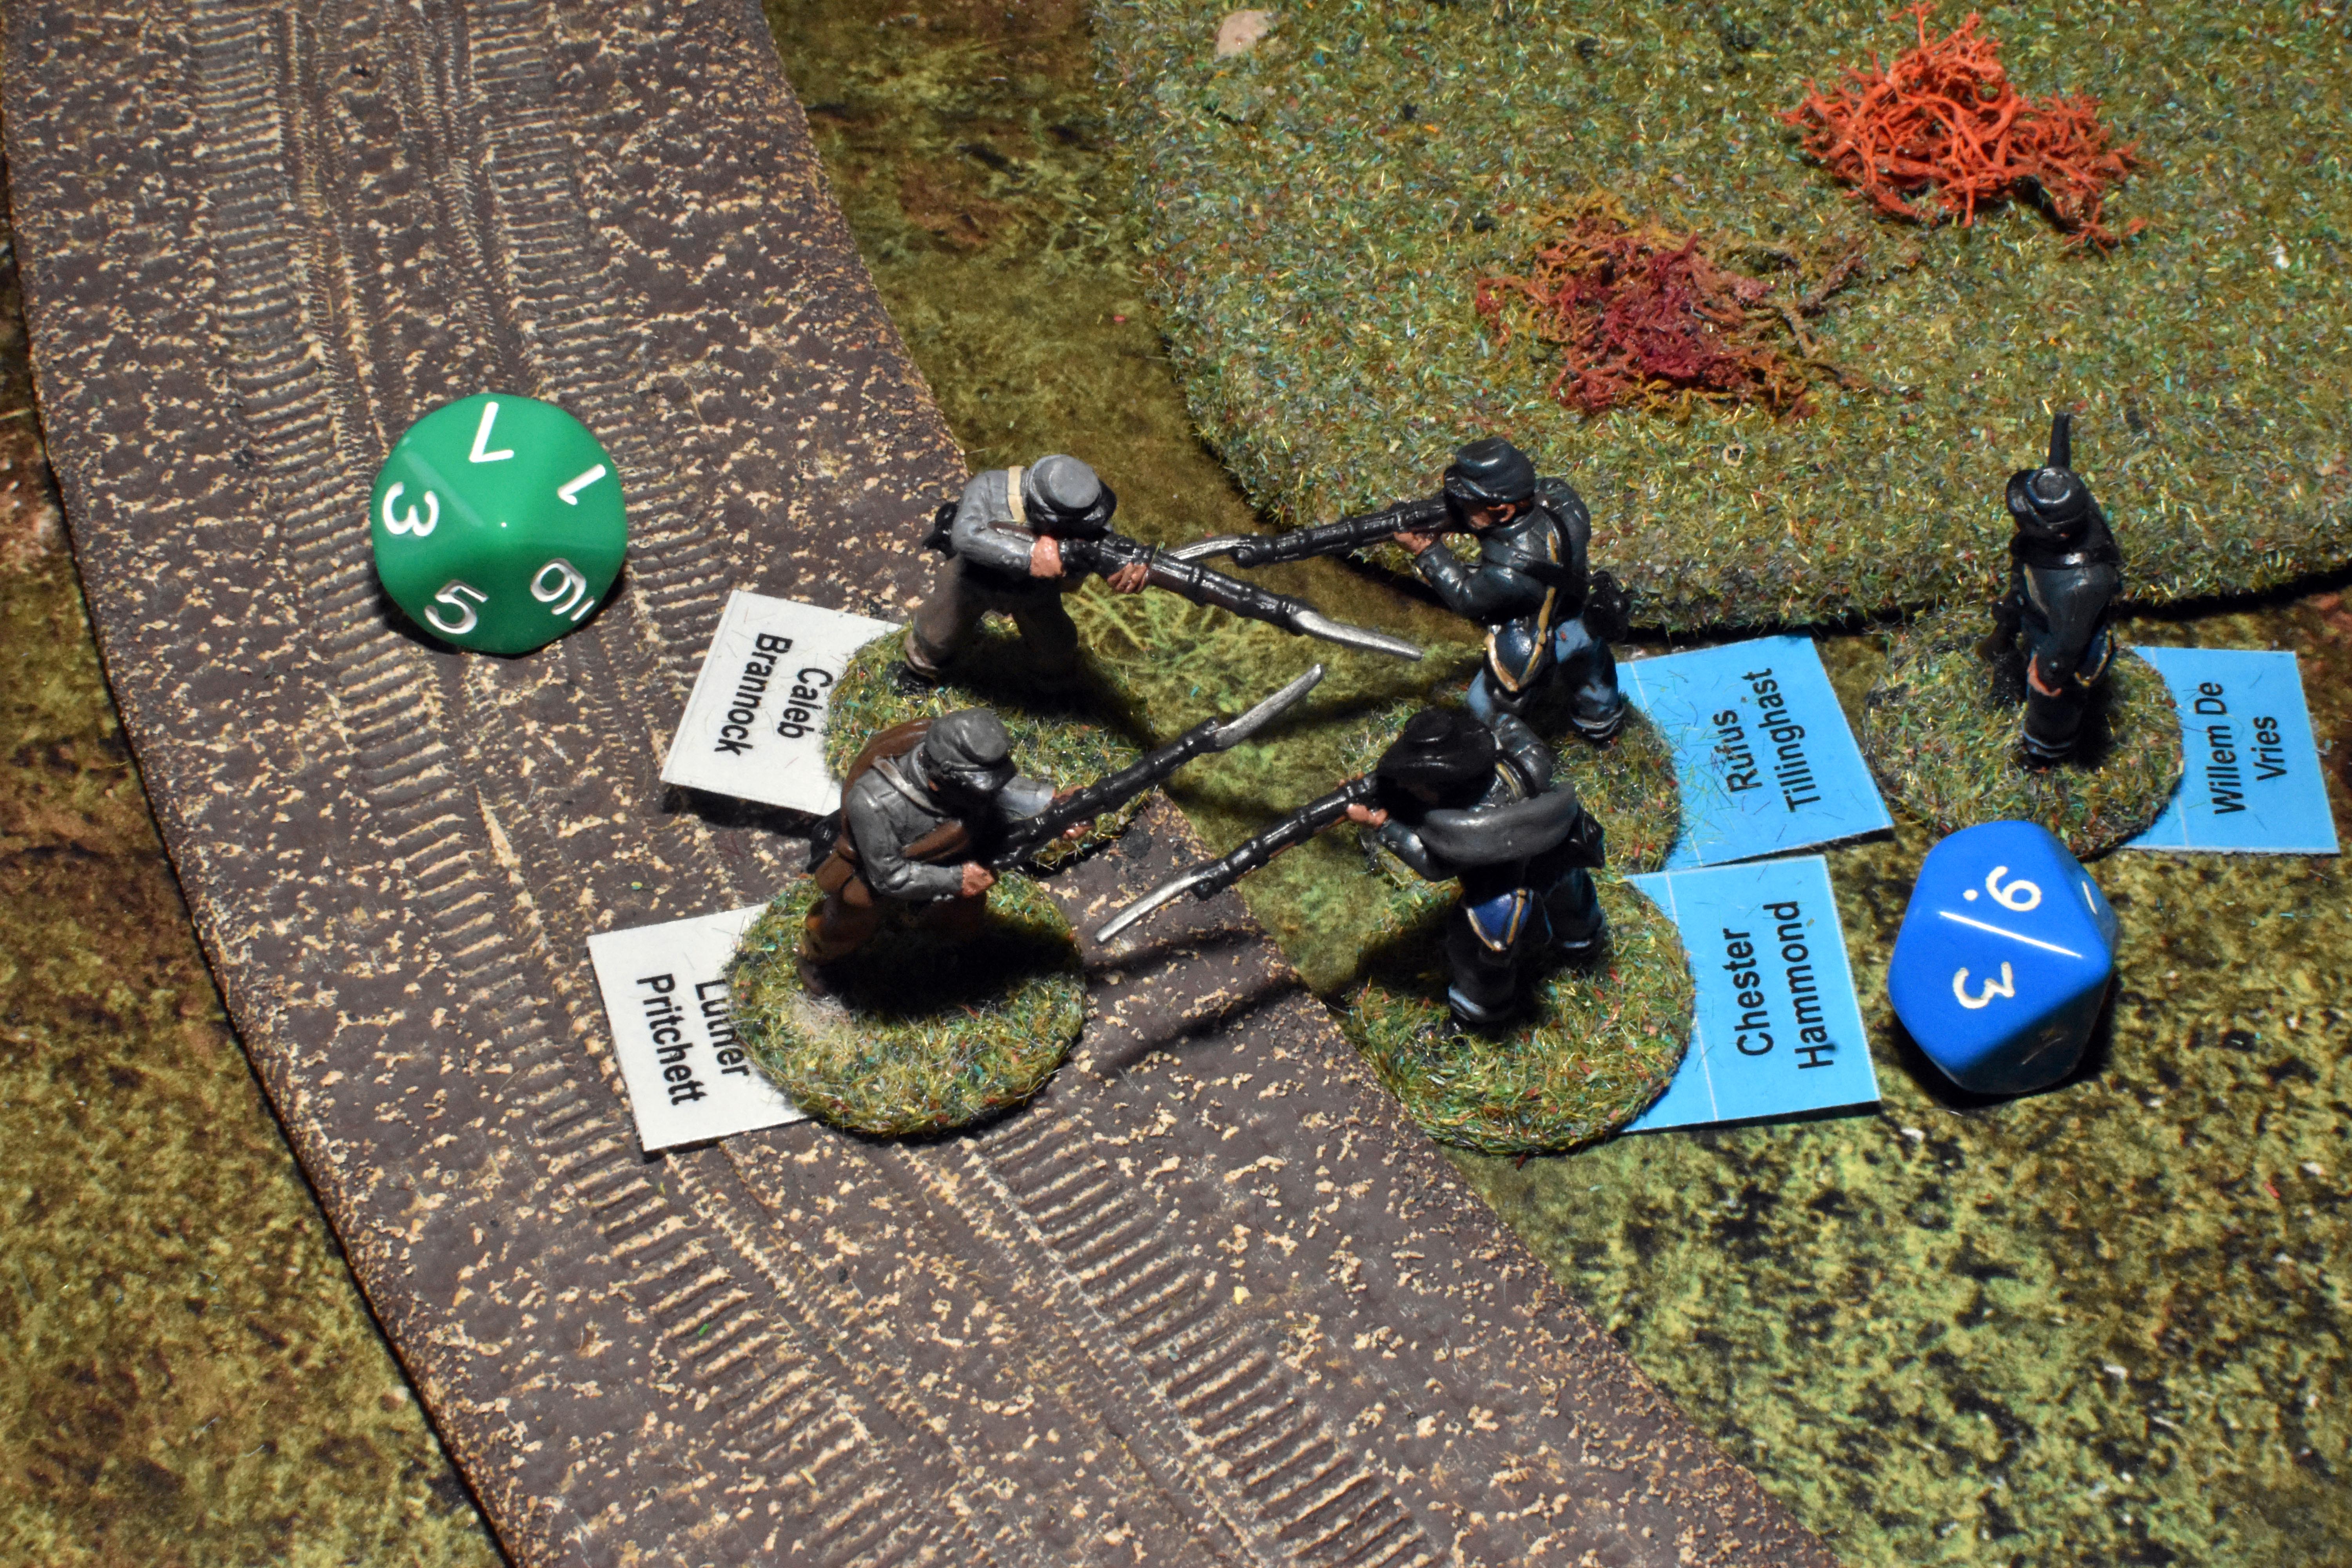
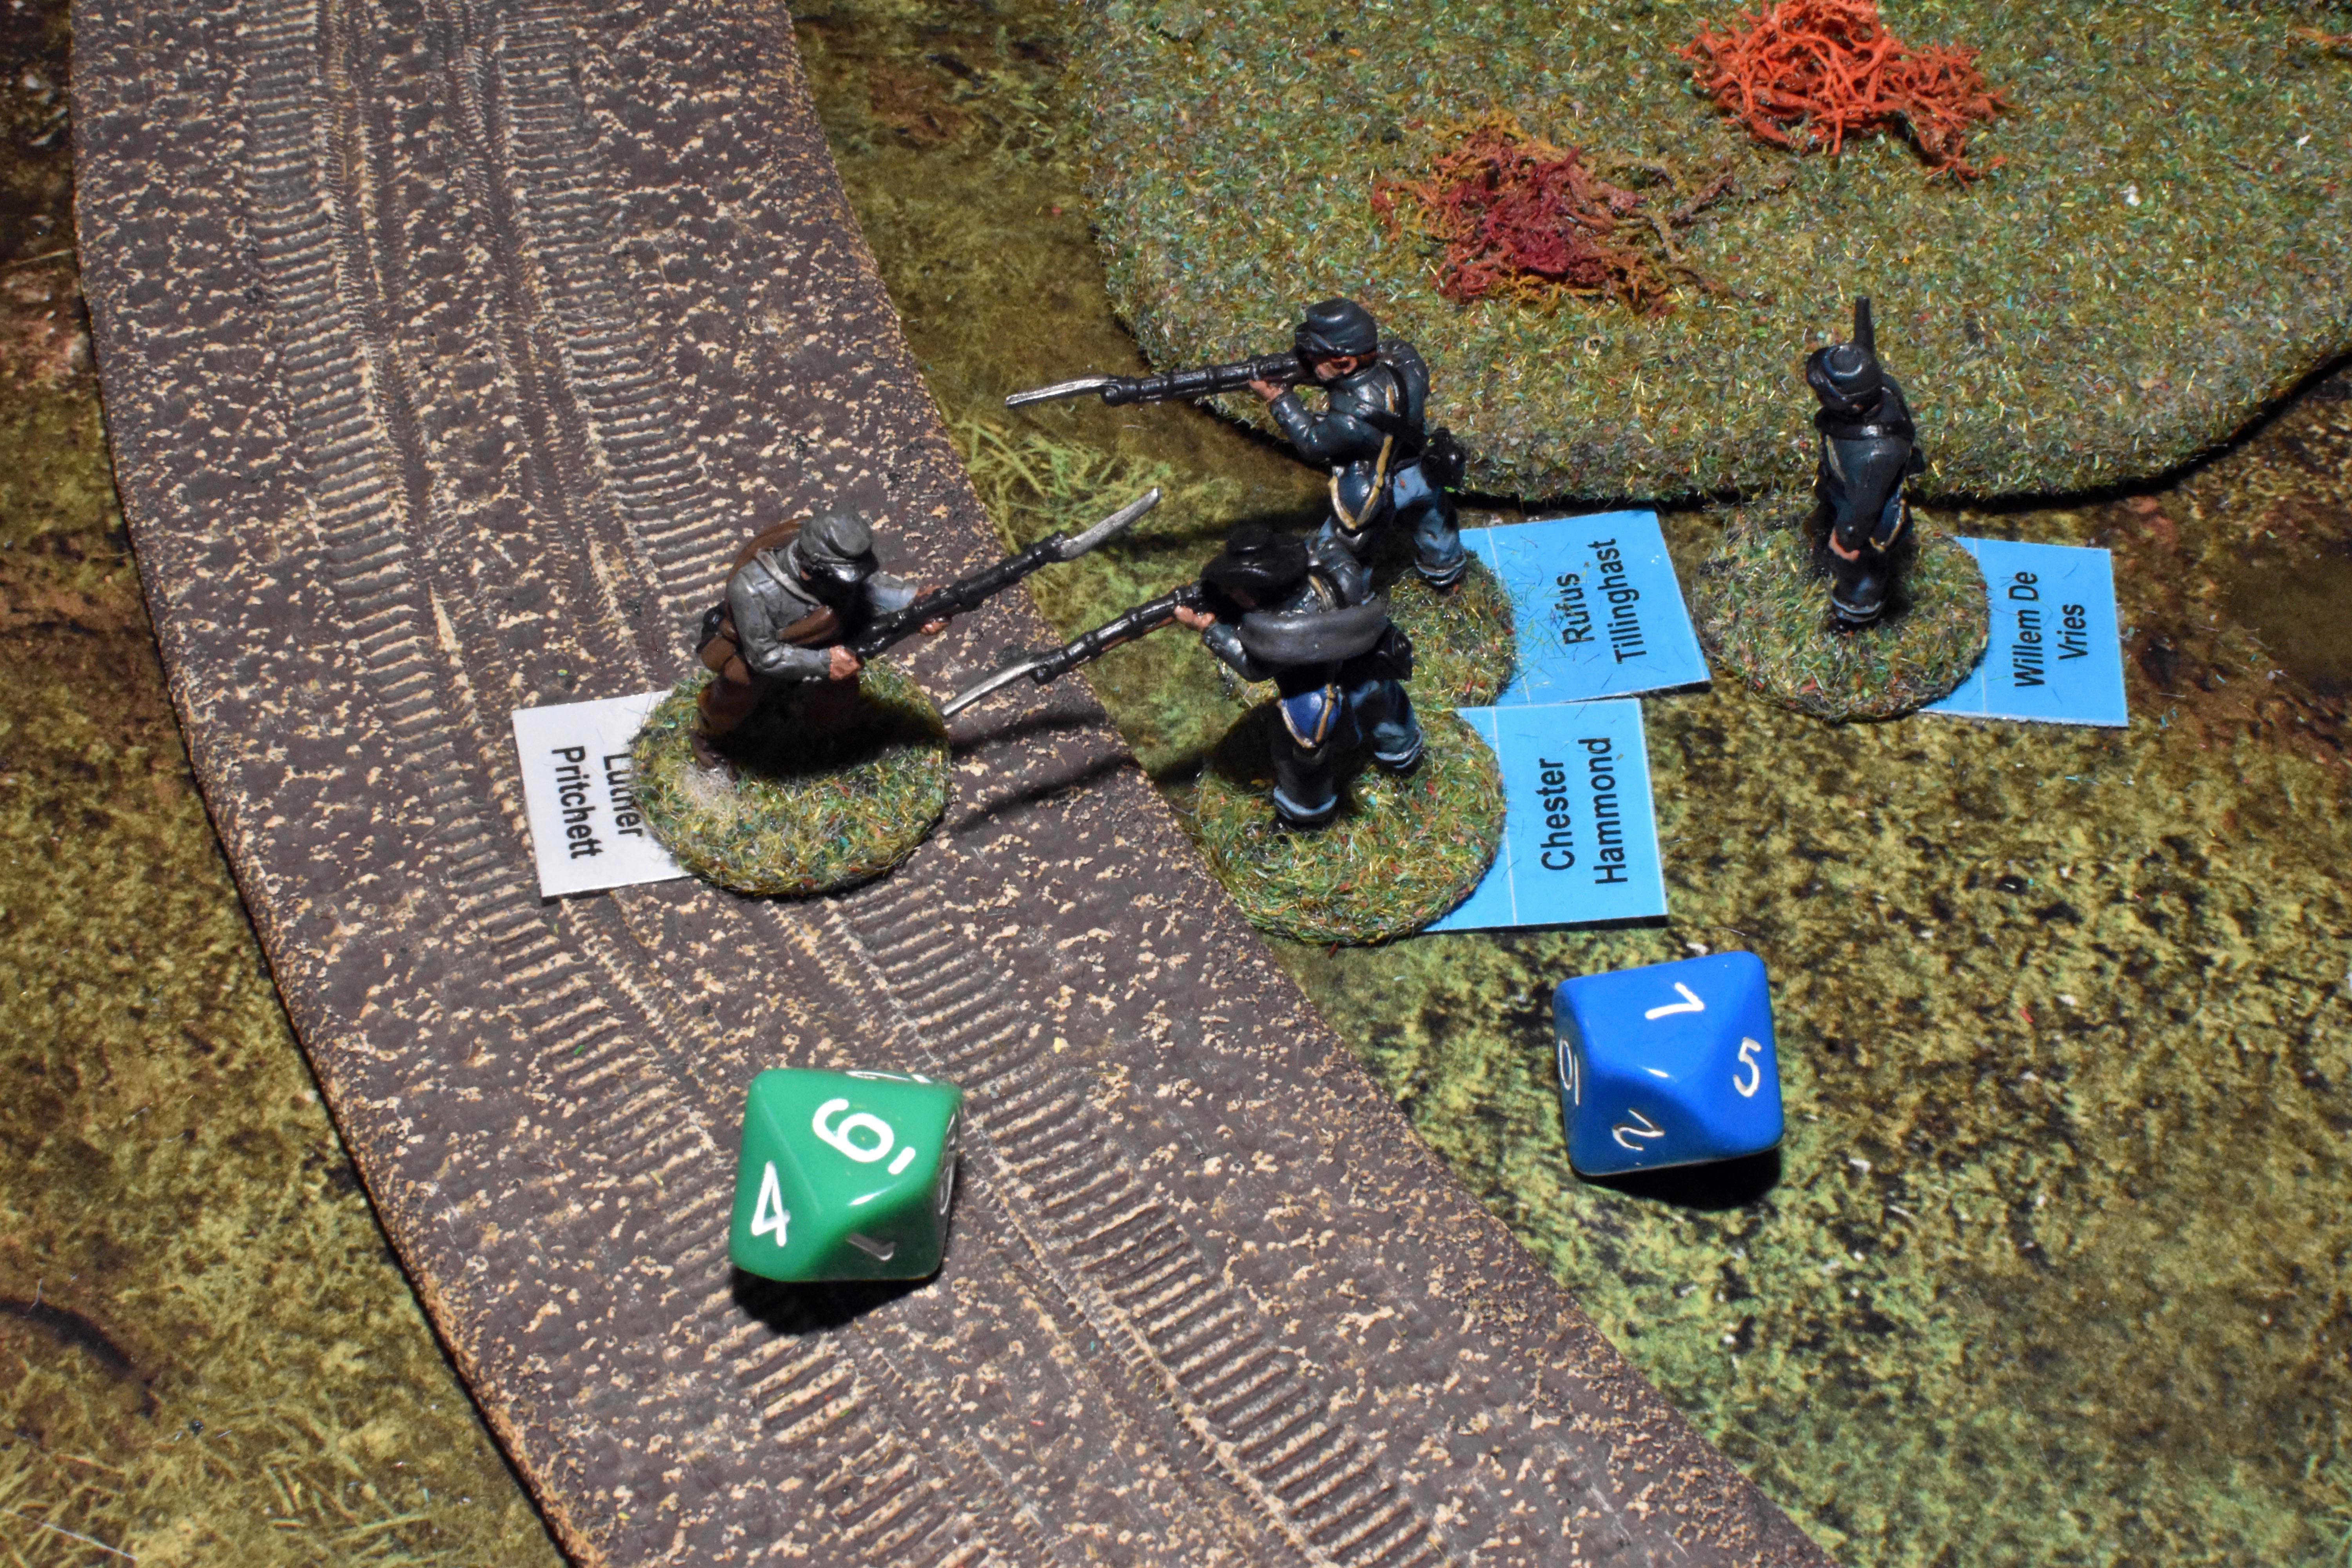
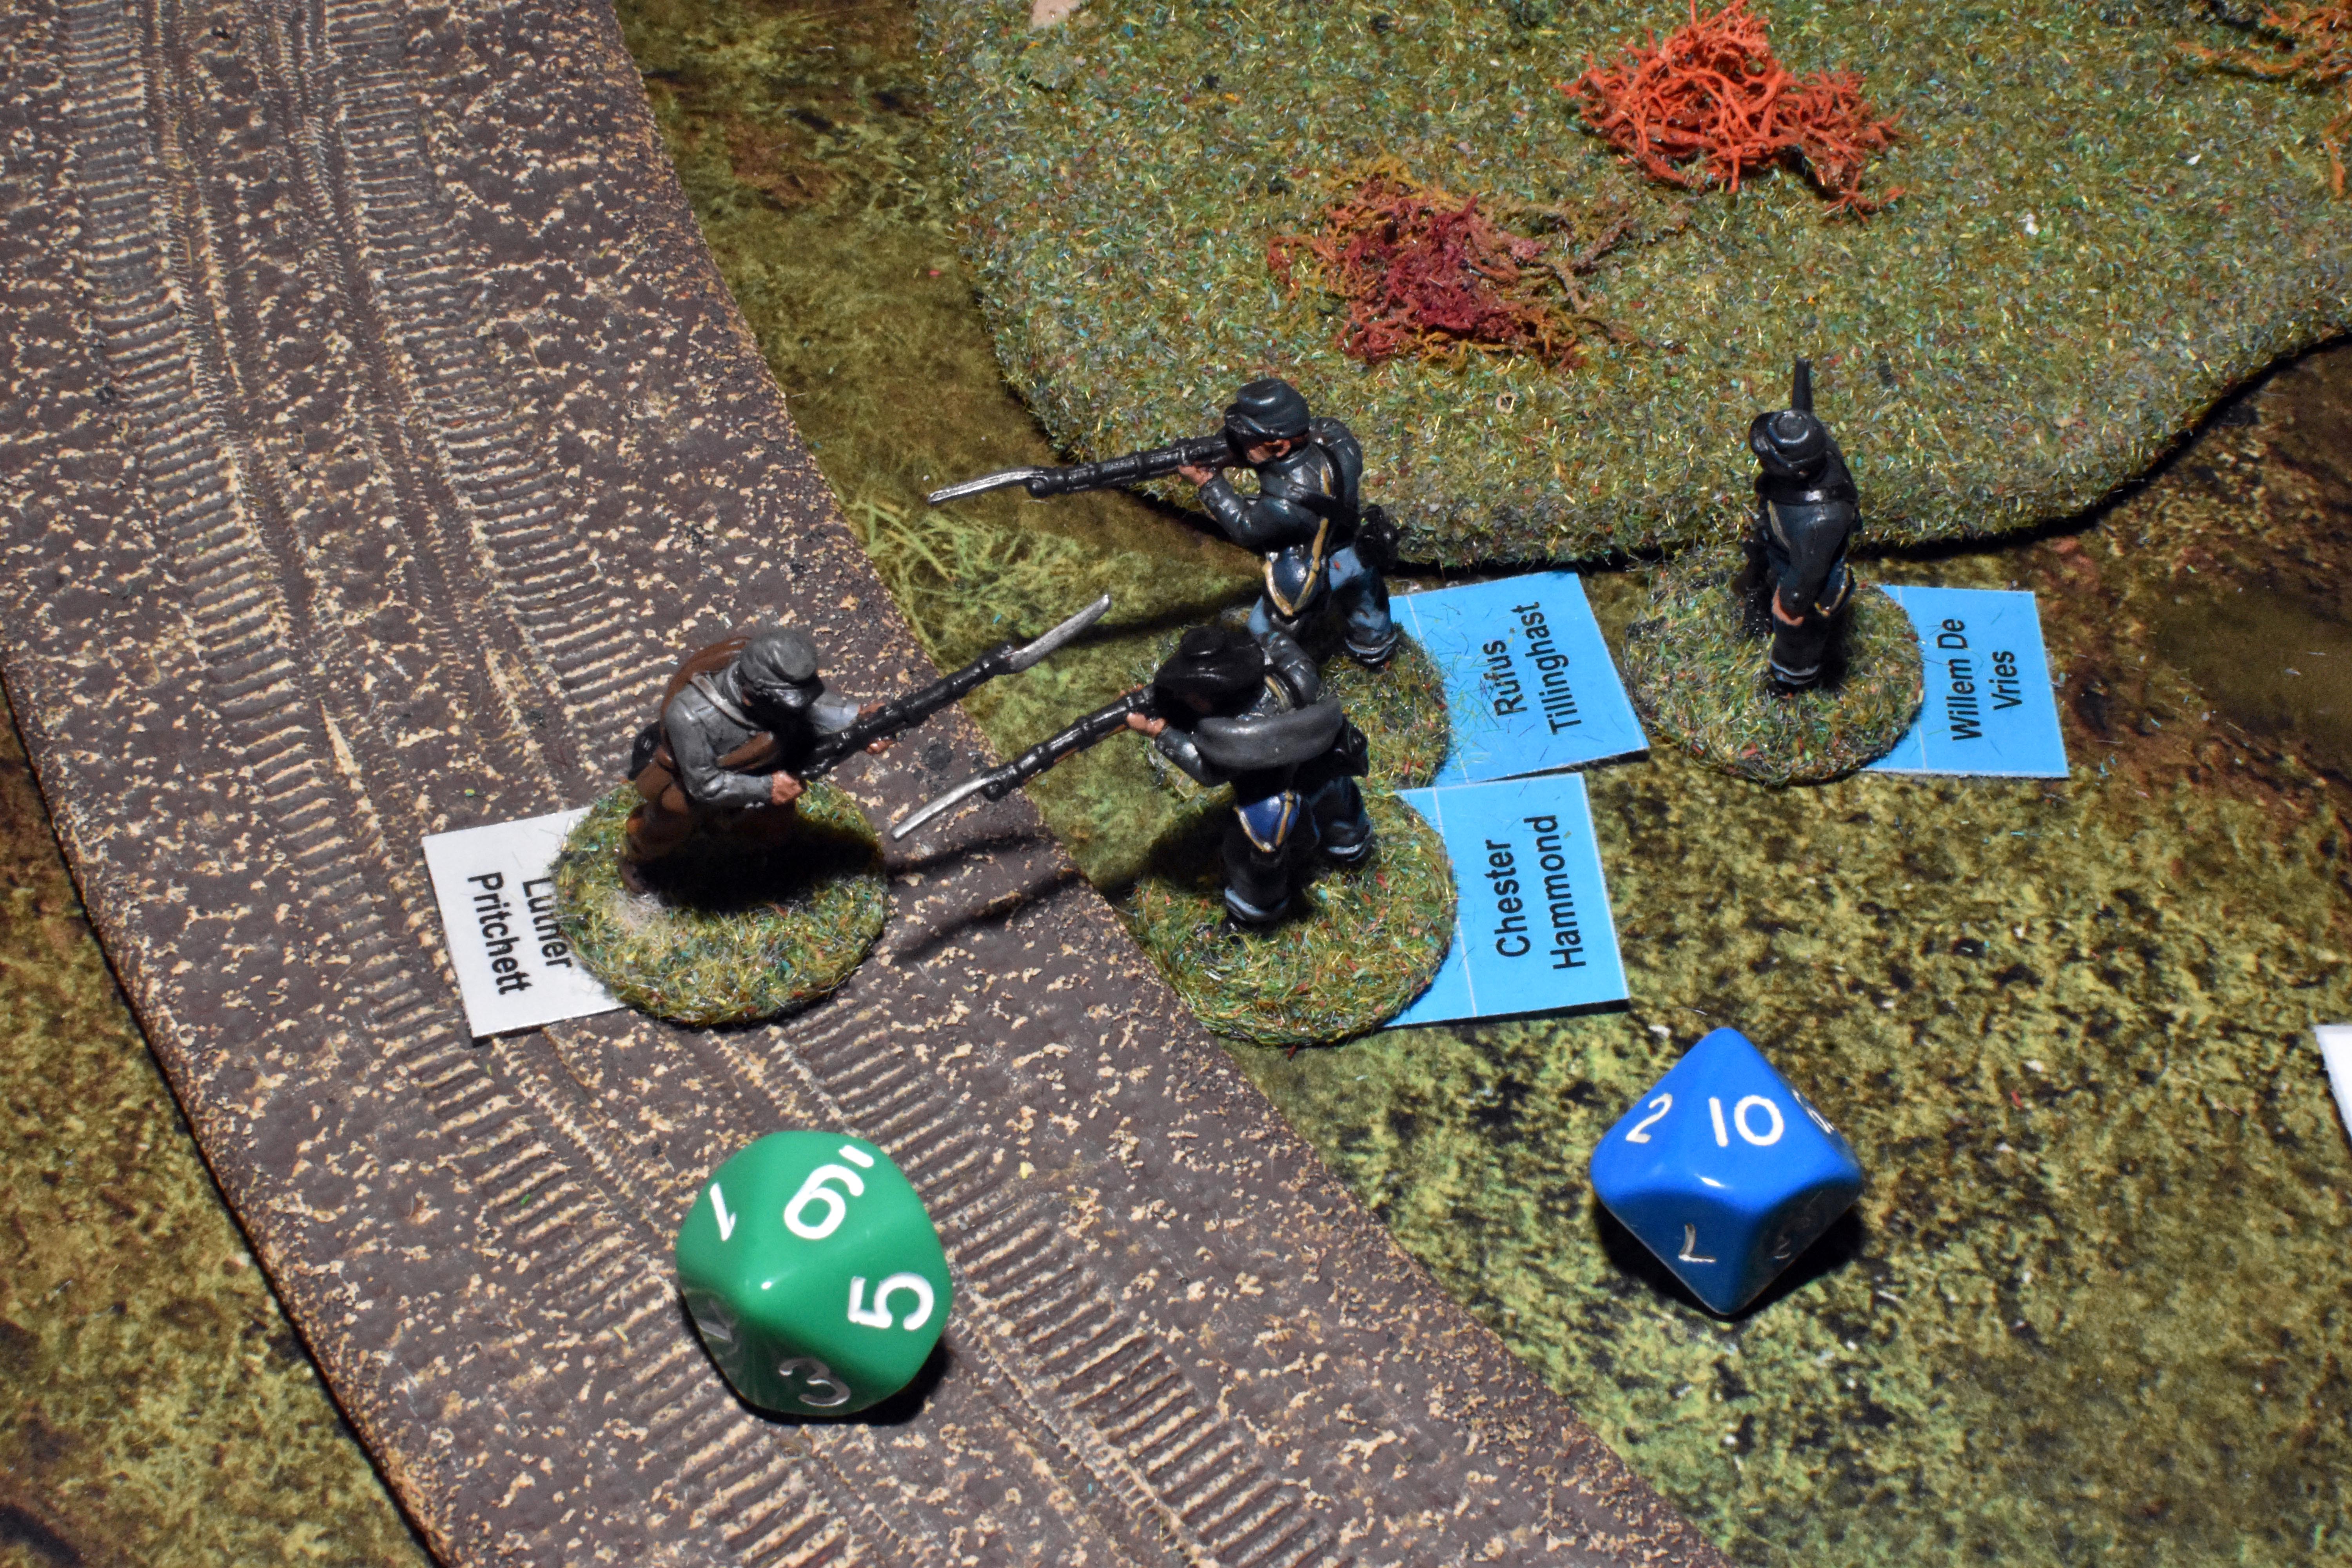
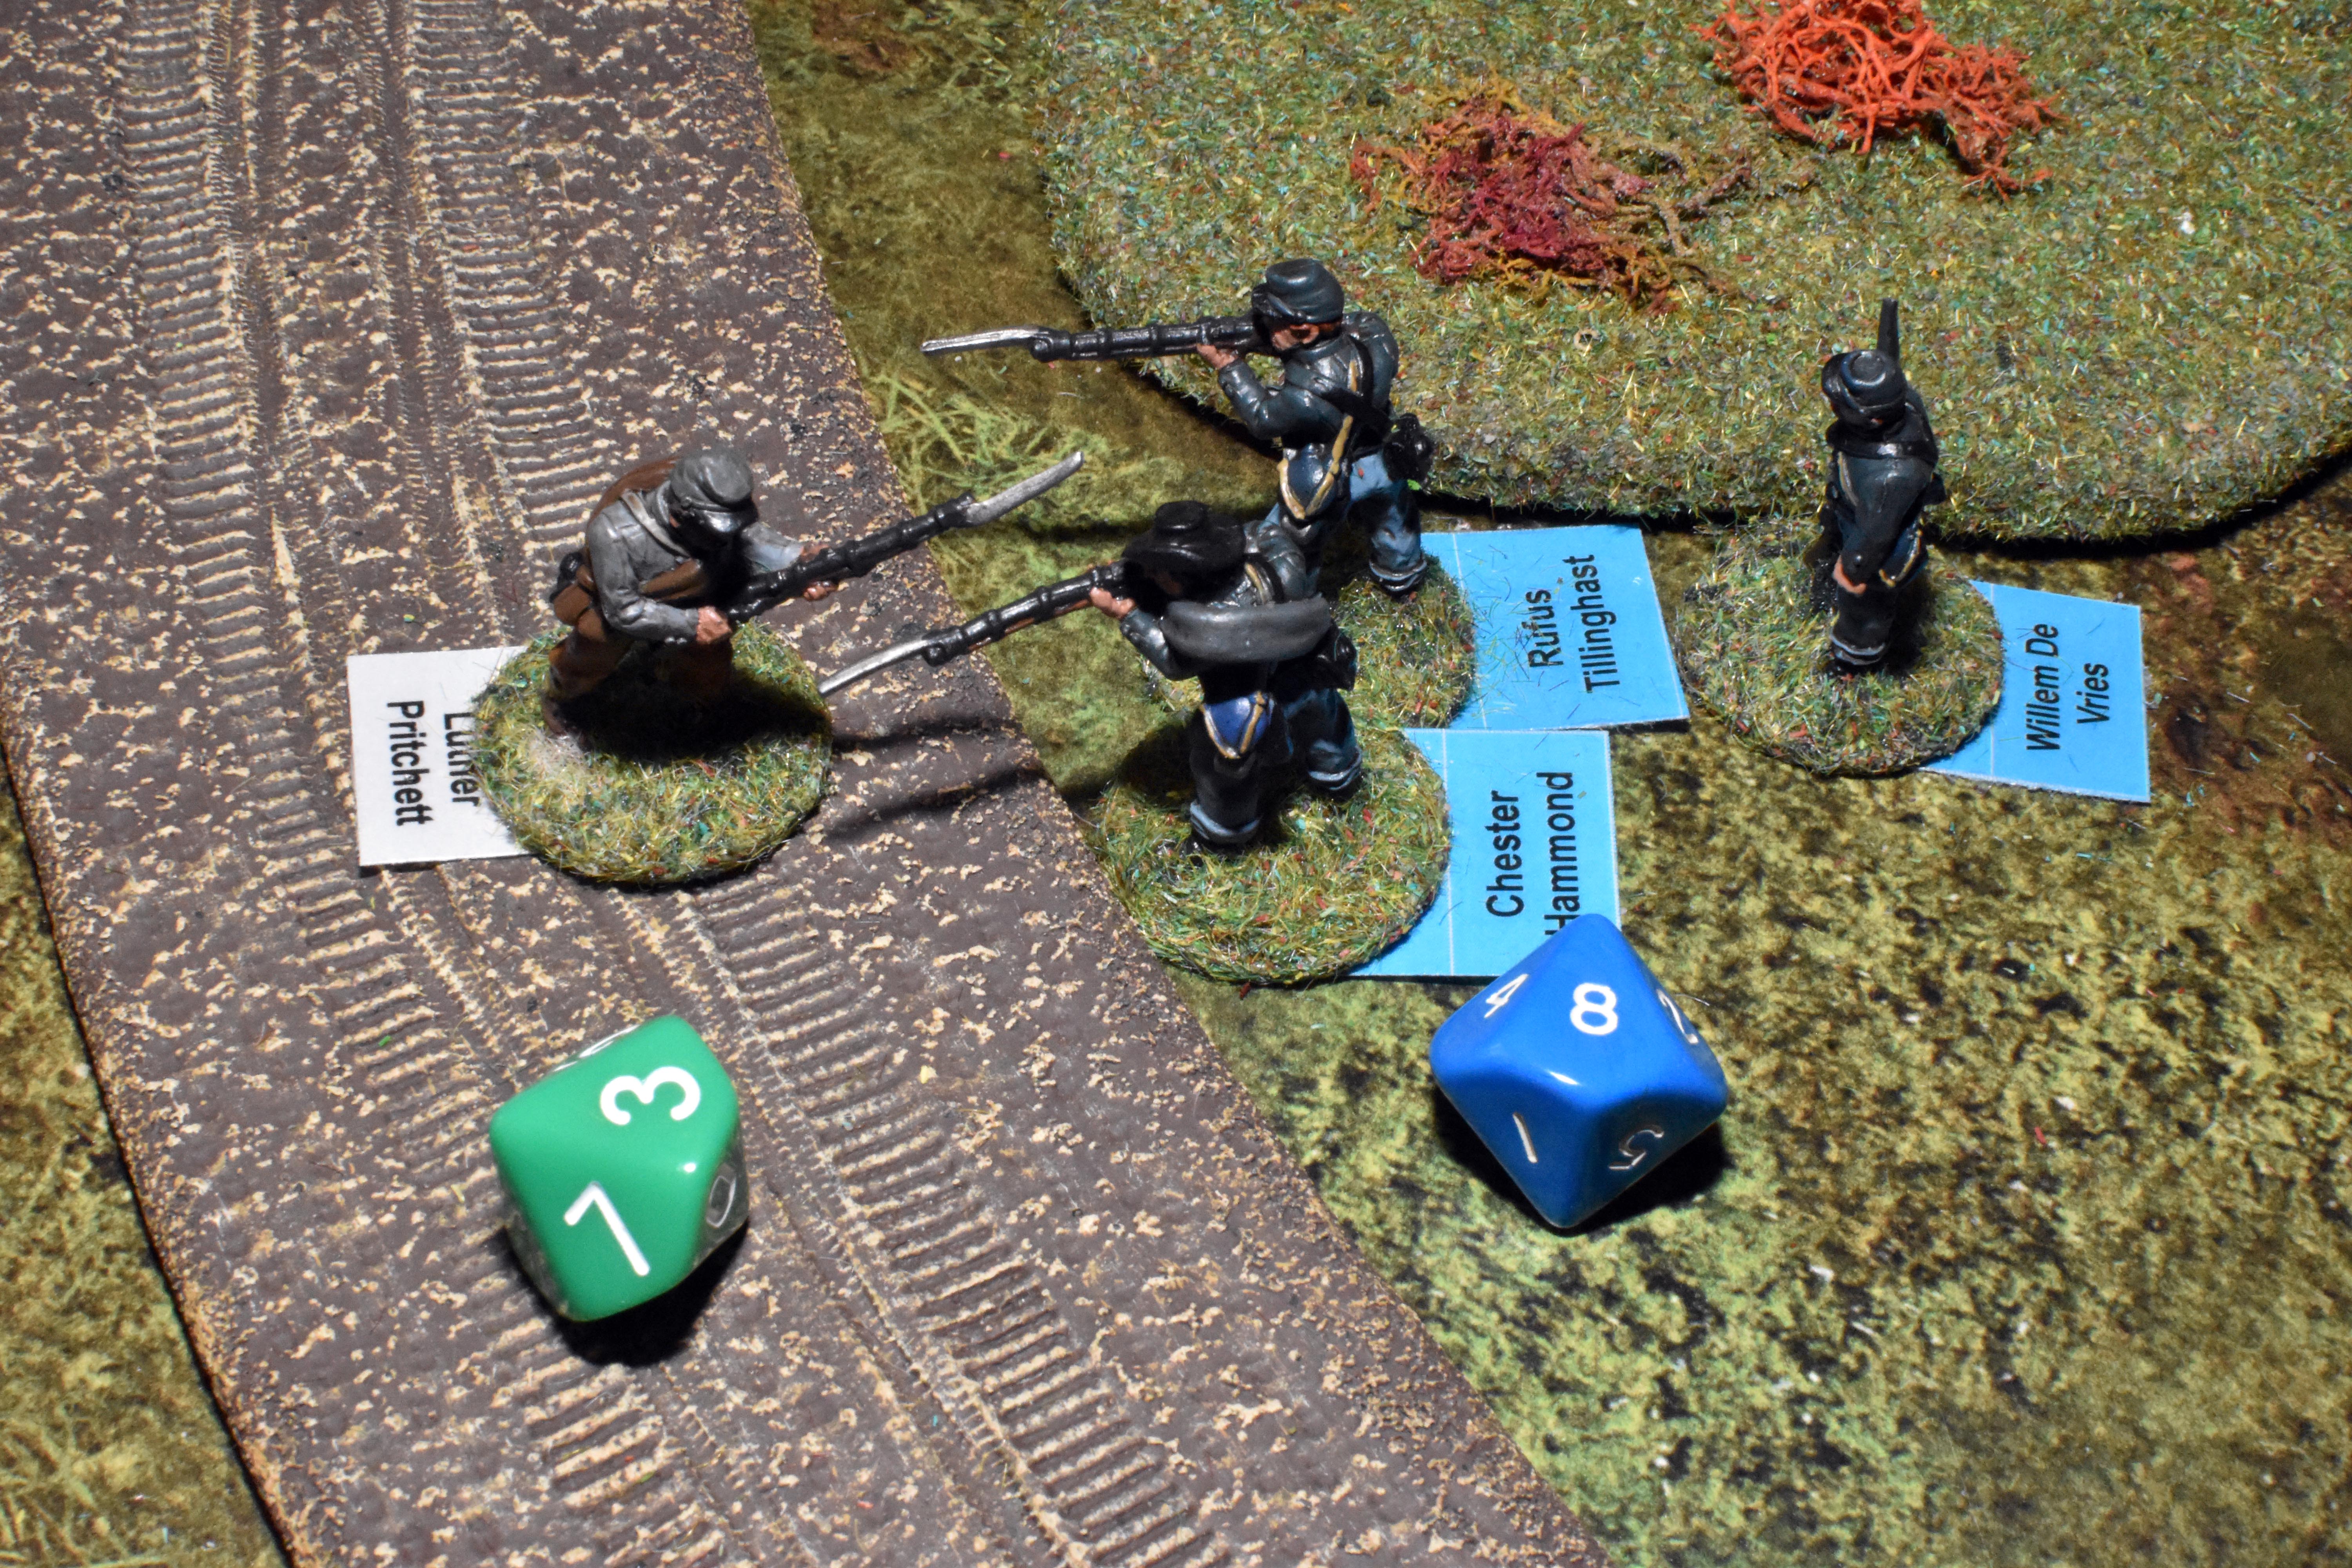
| Here the rebel 9 becomes 11 which is way more than 5 greater than the union player - resulting in his death! | but here the union player triumphs | but generally the news is disappointing to the union player. | a steady stream of wounded and fleeing soldiers abandon their position. |
|
|
|
|
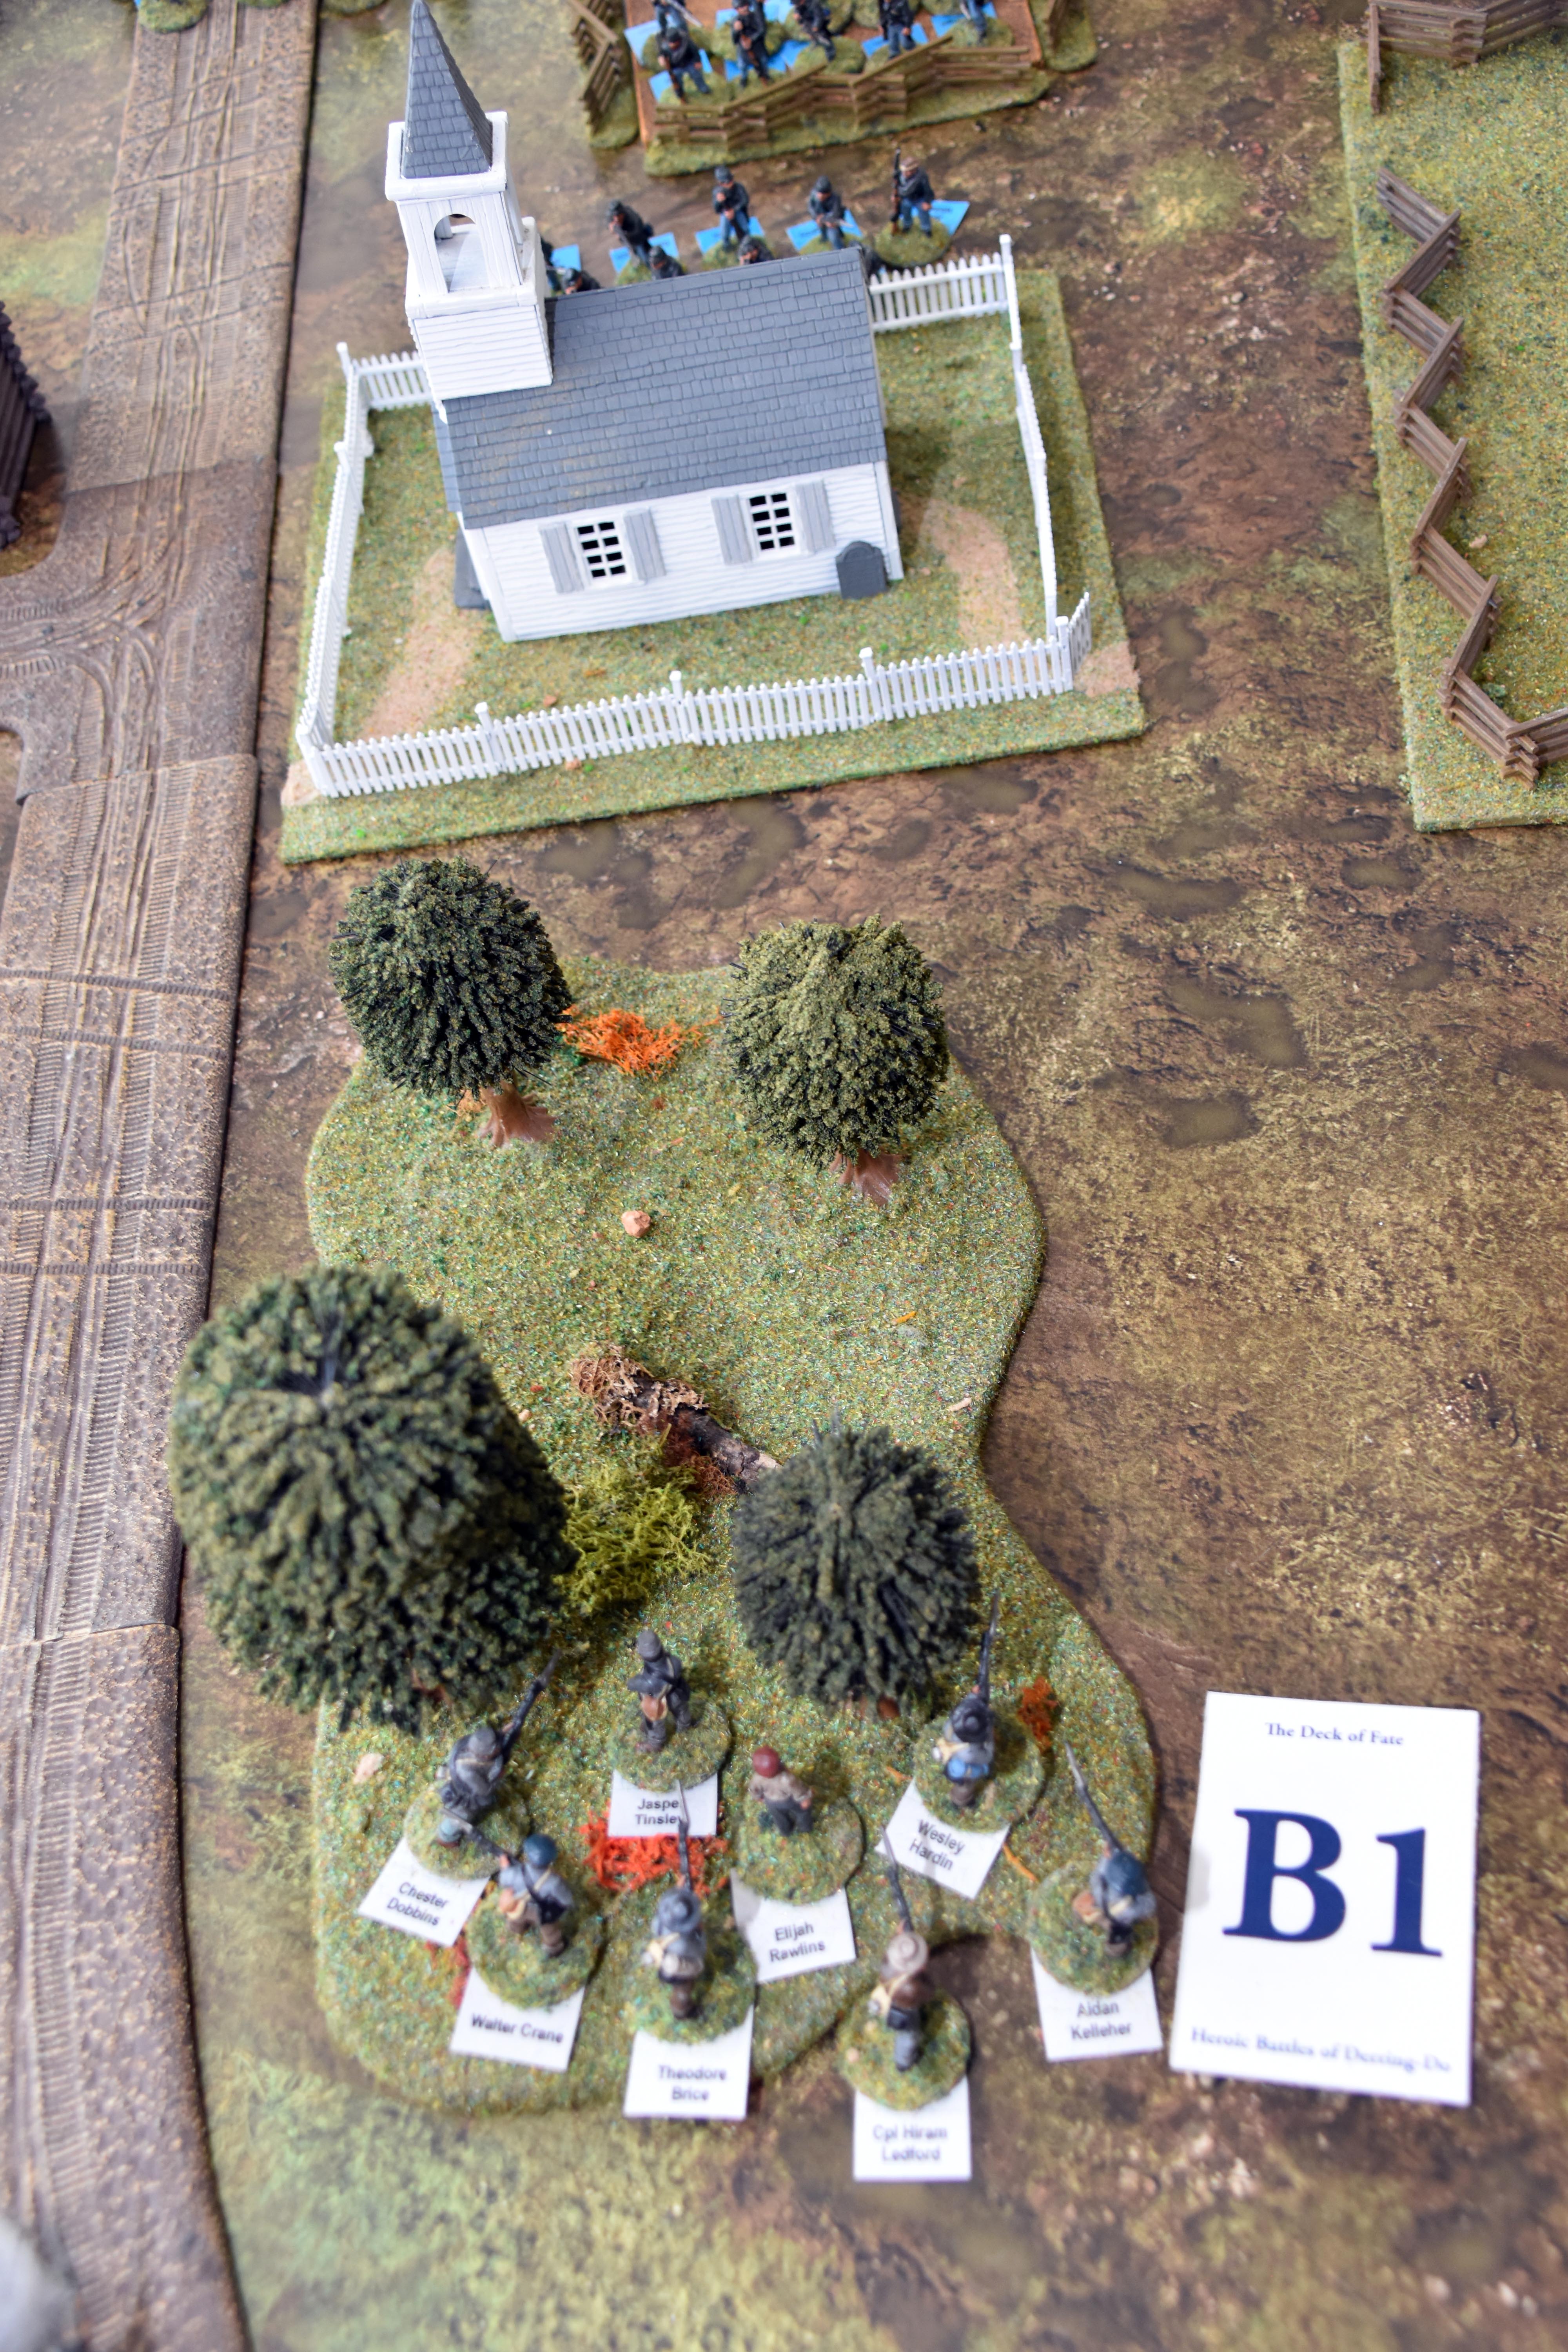
| Another Union death | The last two Union soldiers try desperately to restore some honour to their newly raised unit. | but there is a slight fightback by Chester Duvall especially | He sends several rebels packing |
|
|
|
|
| but there is a slight fightback by Chester Duvall especially | He sends several rebels packing | but his luck doesn't hold for too long | The losing unit is effectively 3" behind where they started directly away from the direction they were charged - don't worry about any obstacles. They then have to take a morale test. If they pass they remain where they are - otherwise they will retreat or flee! This section has to subtract -4 due to the number of dead they have endured so far but add 1 as they can see the colours from their position which stir their heart. They end up with an additional 3" retreat. Perhaps they can be rallied back into the battle. |
|
|
|
|
| The victorious rebels are allowed a free reorganisation move and considering how many enemies are around them decide to change facing in close order. Both units finish the combat with empty muskets. | Captain McElwain sends one reinforcing soldier over to Corporal Crenshaw's section | Corporal Crenshaw really wanted to advance but the cards said otherwise, but they did at least manage to fell a Union soldier and push back their foes to their front. | A little dejected the retreating Union soldiers can do little but reload |
|
|
|
|
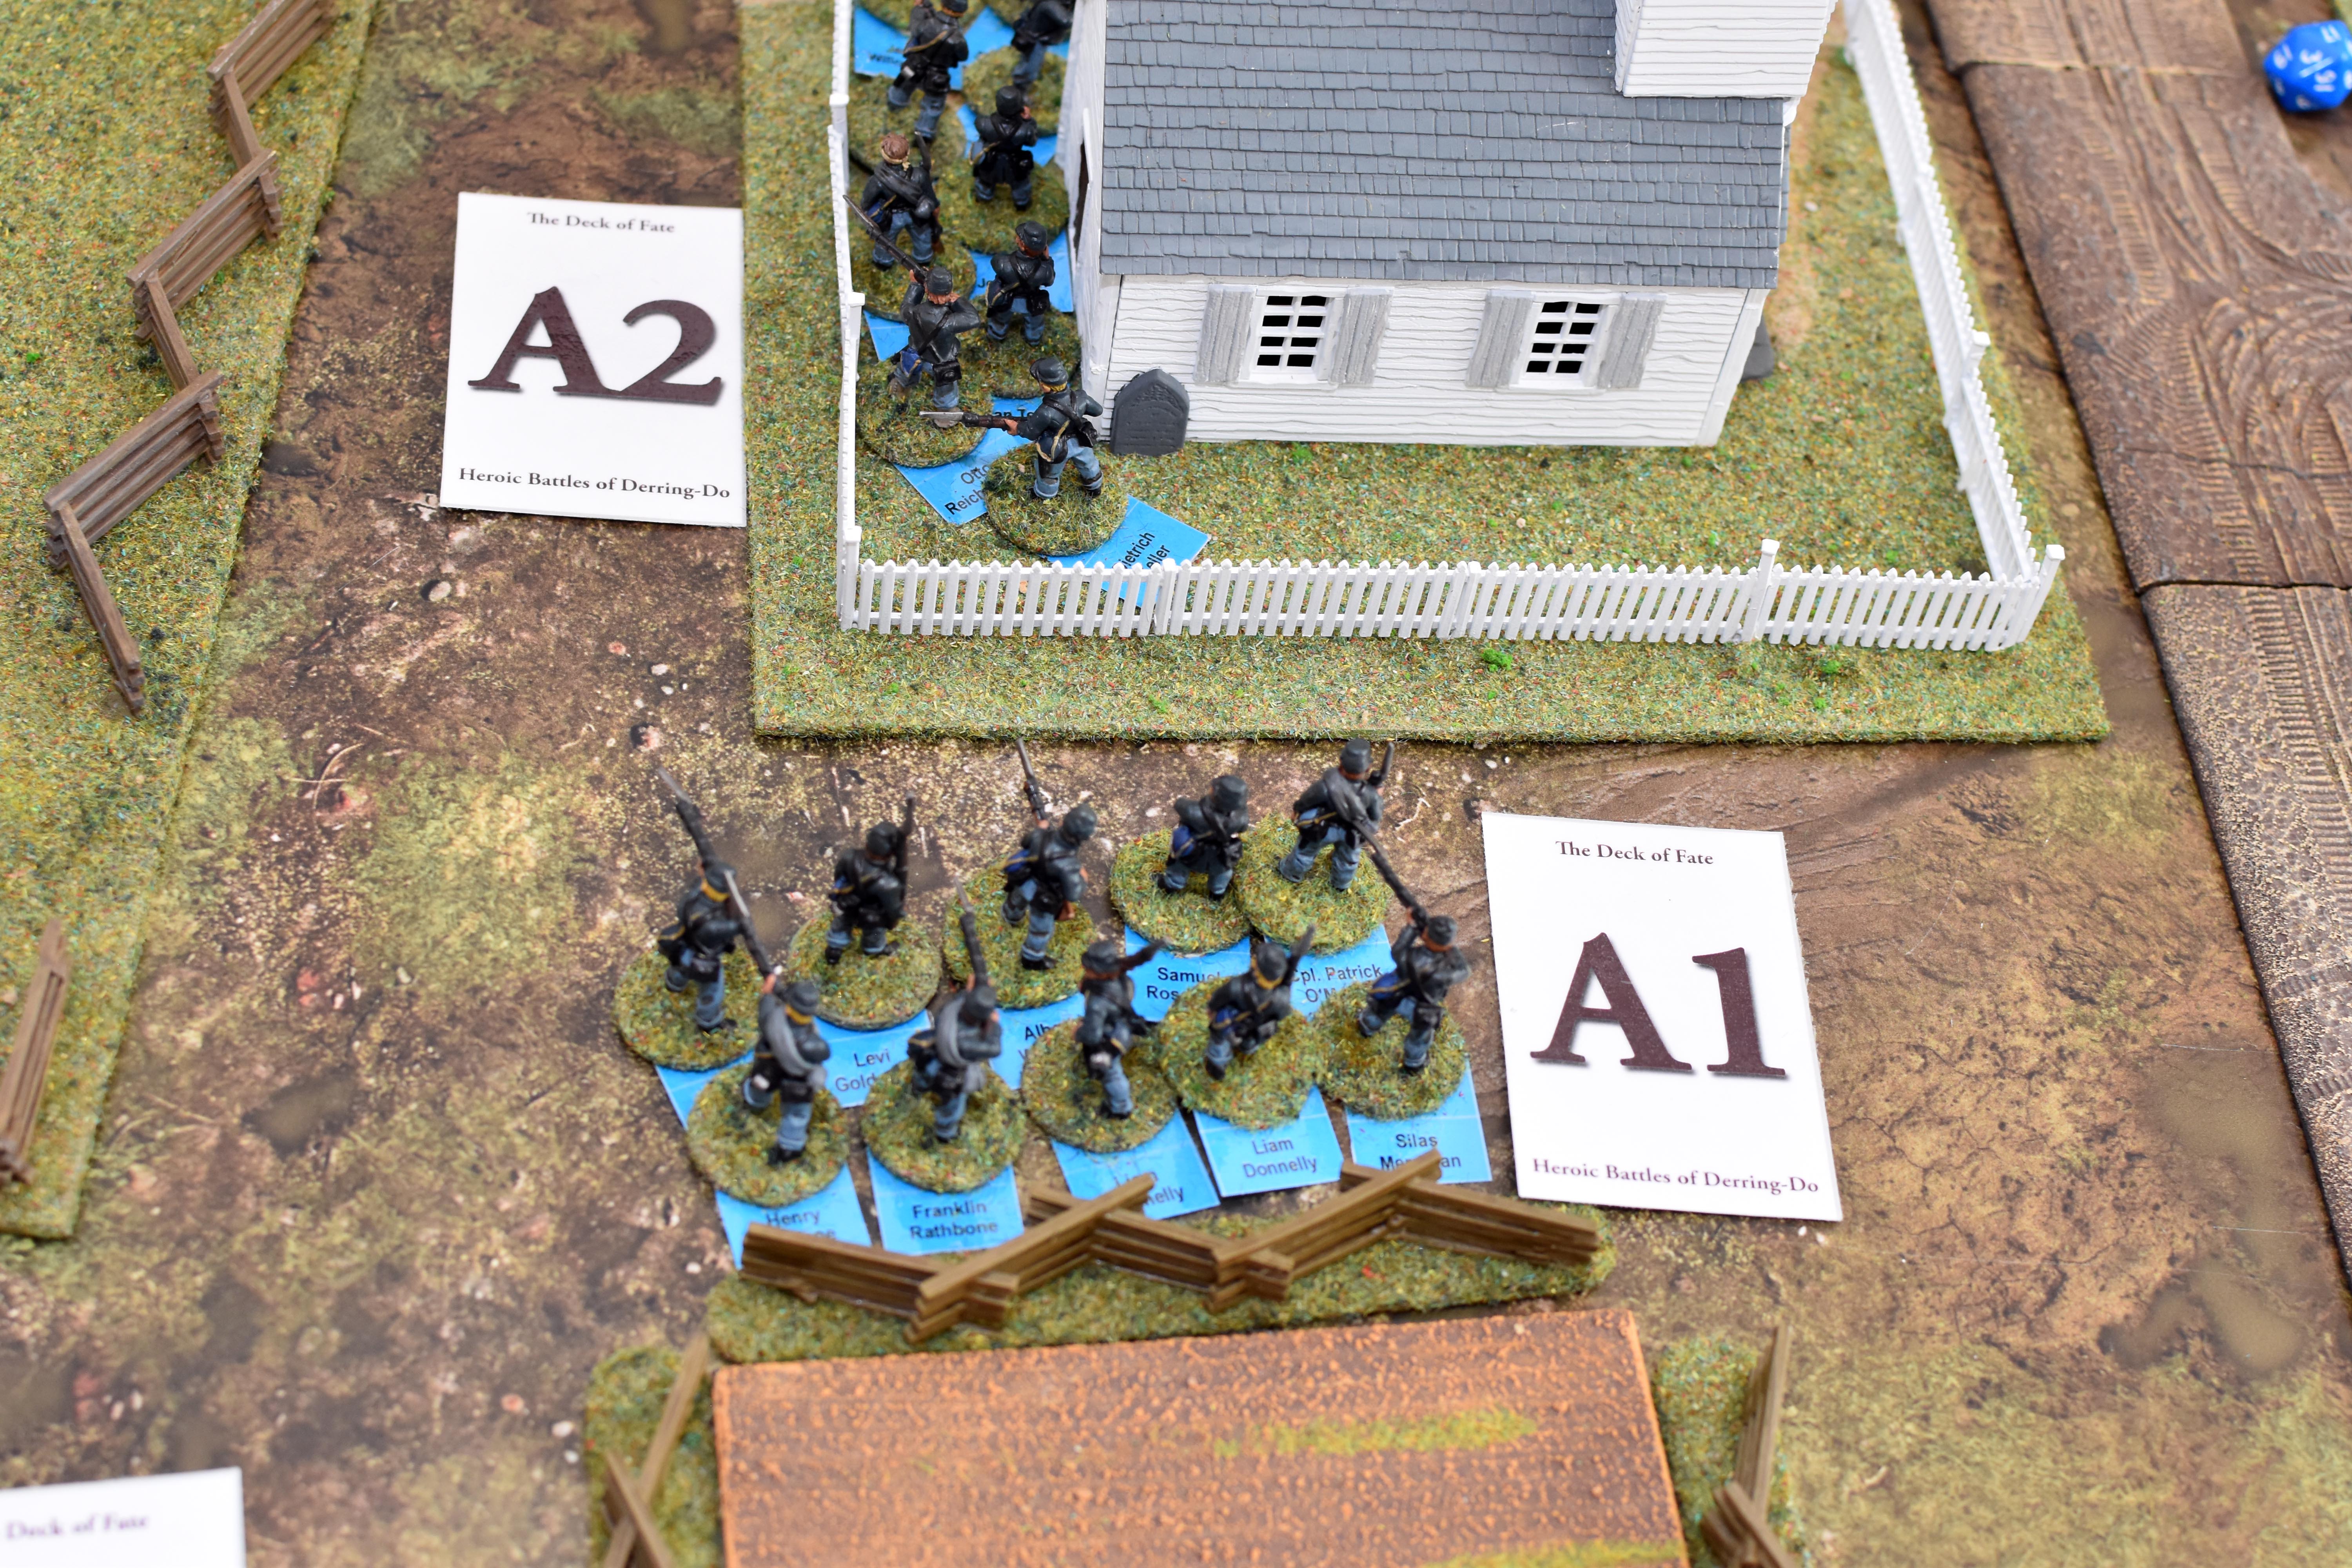
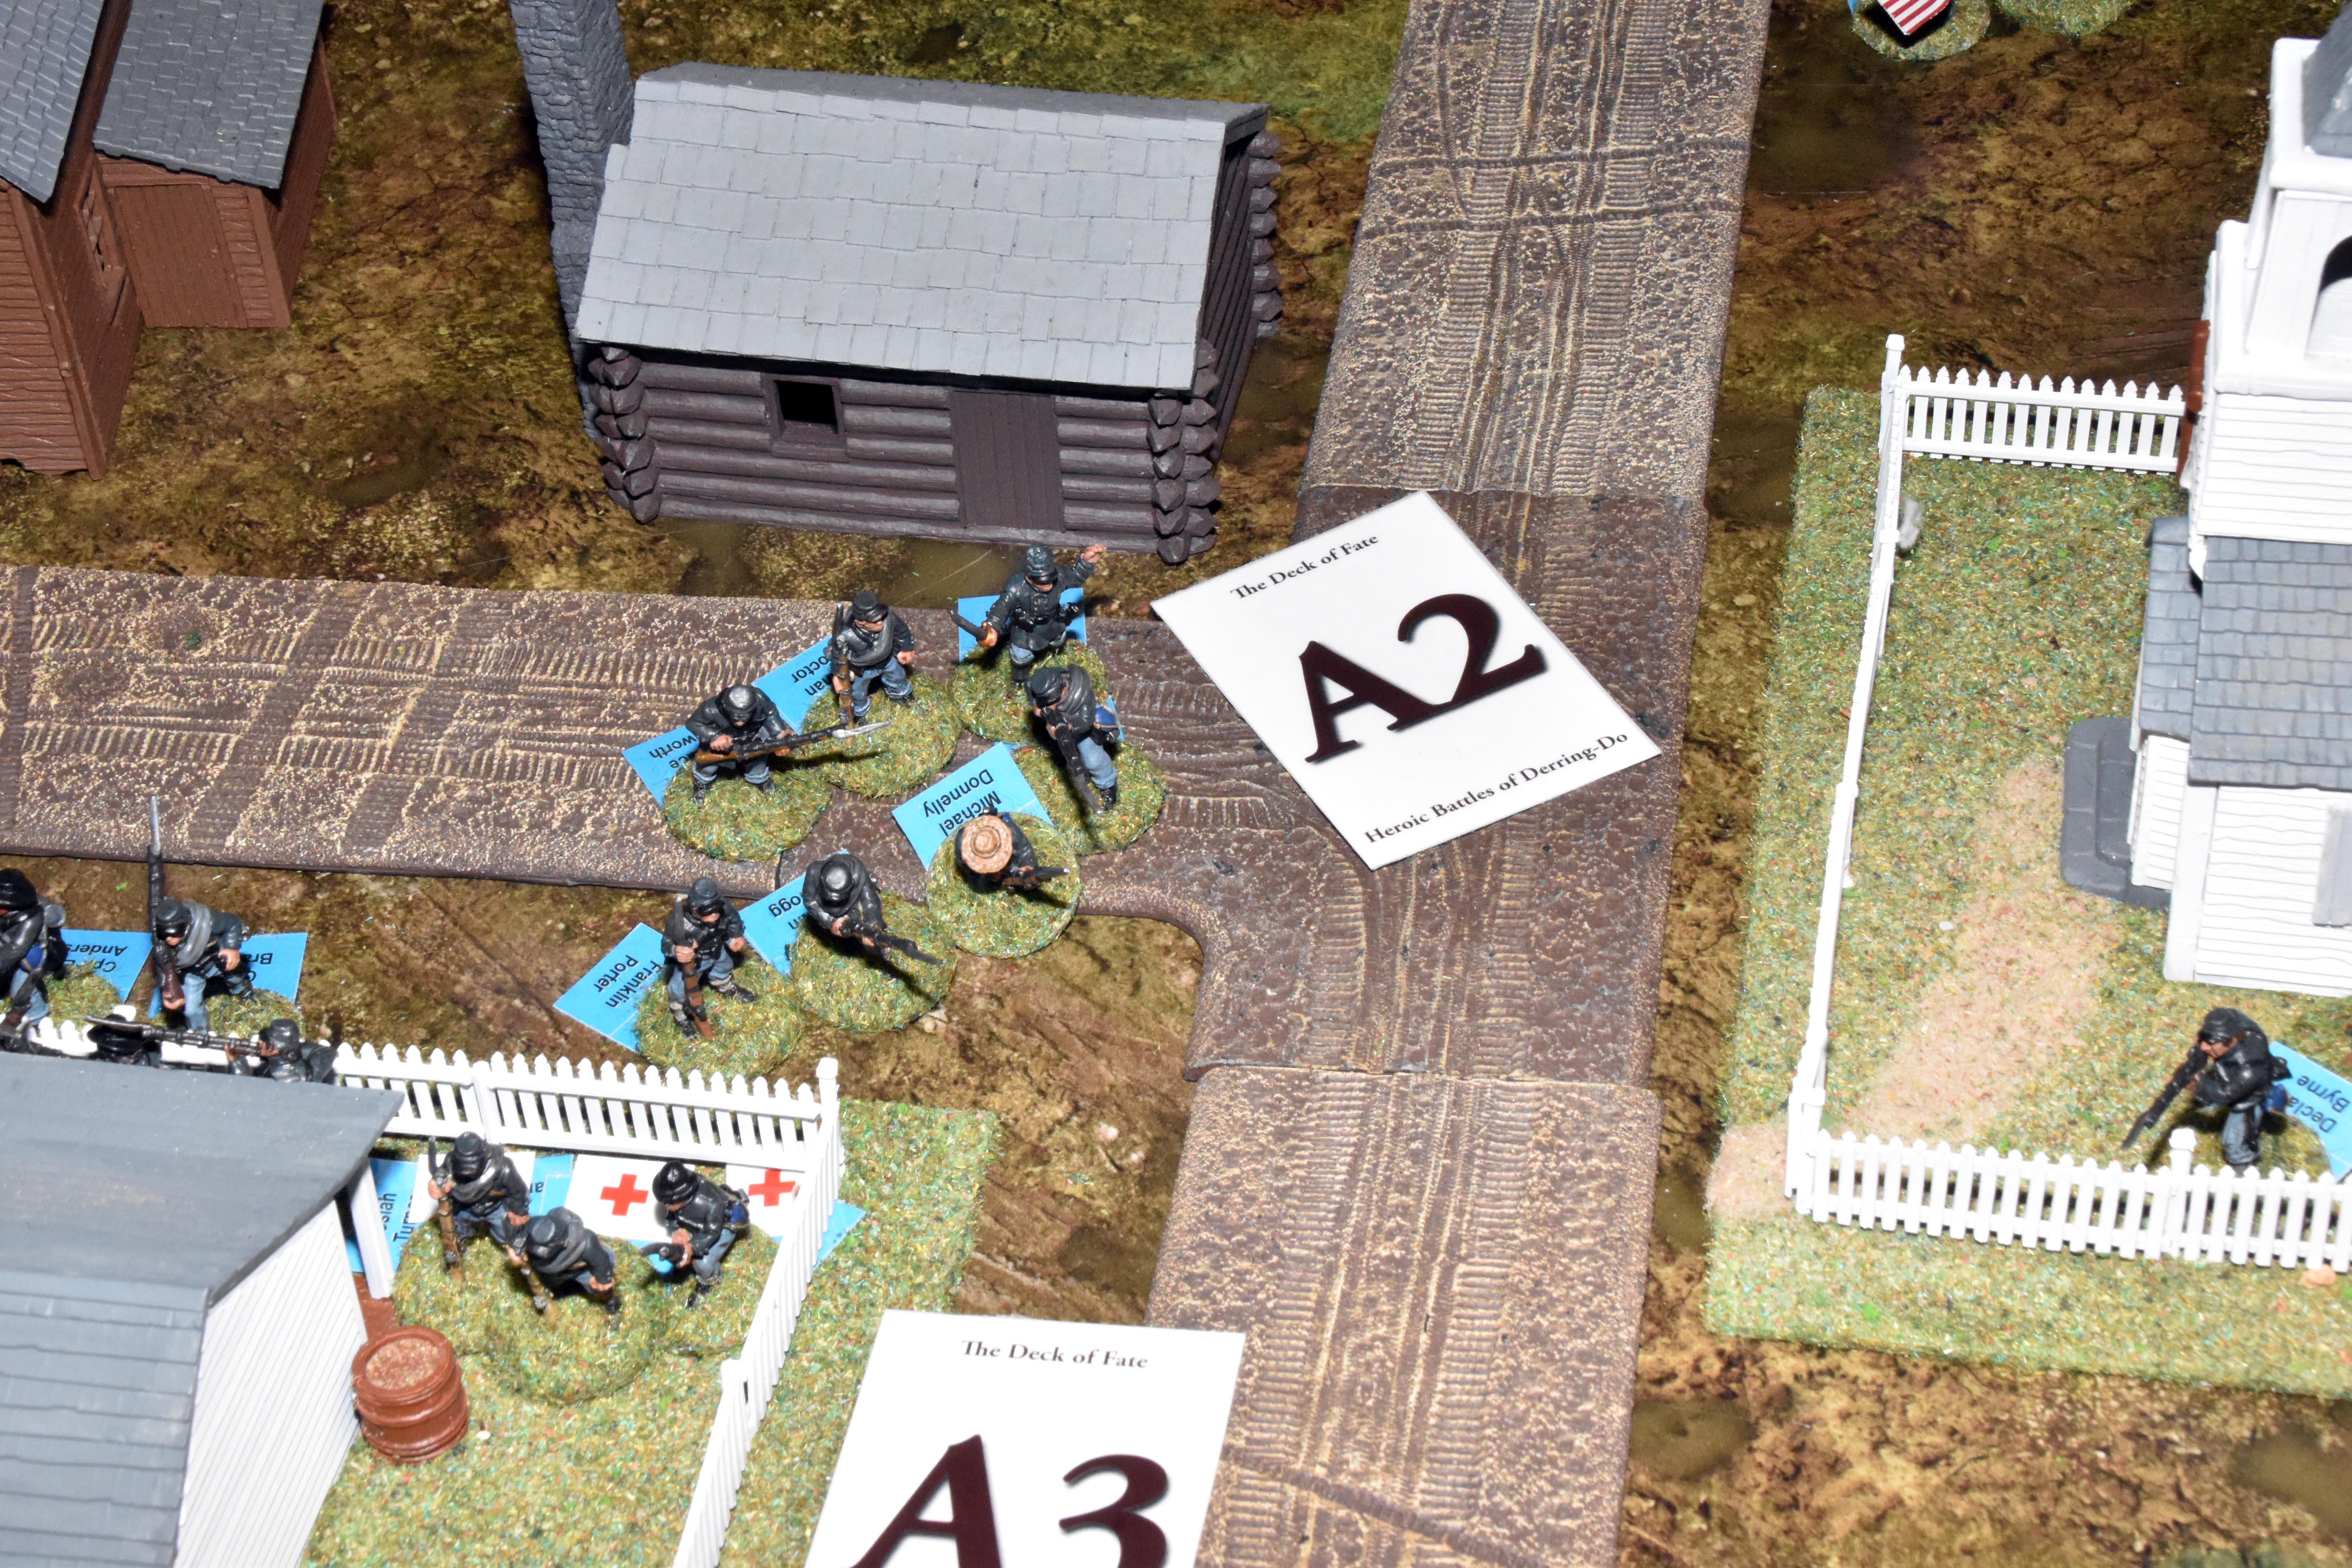
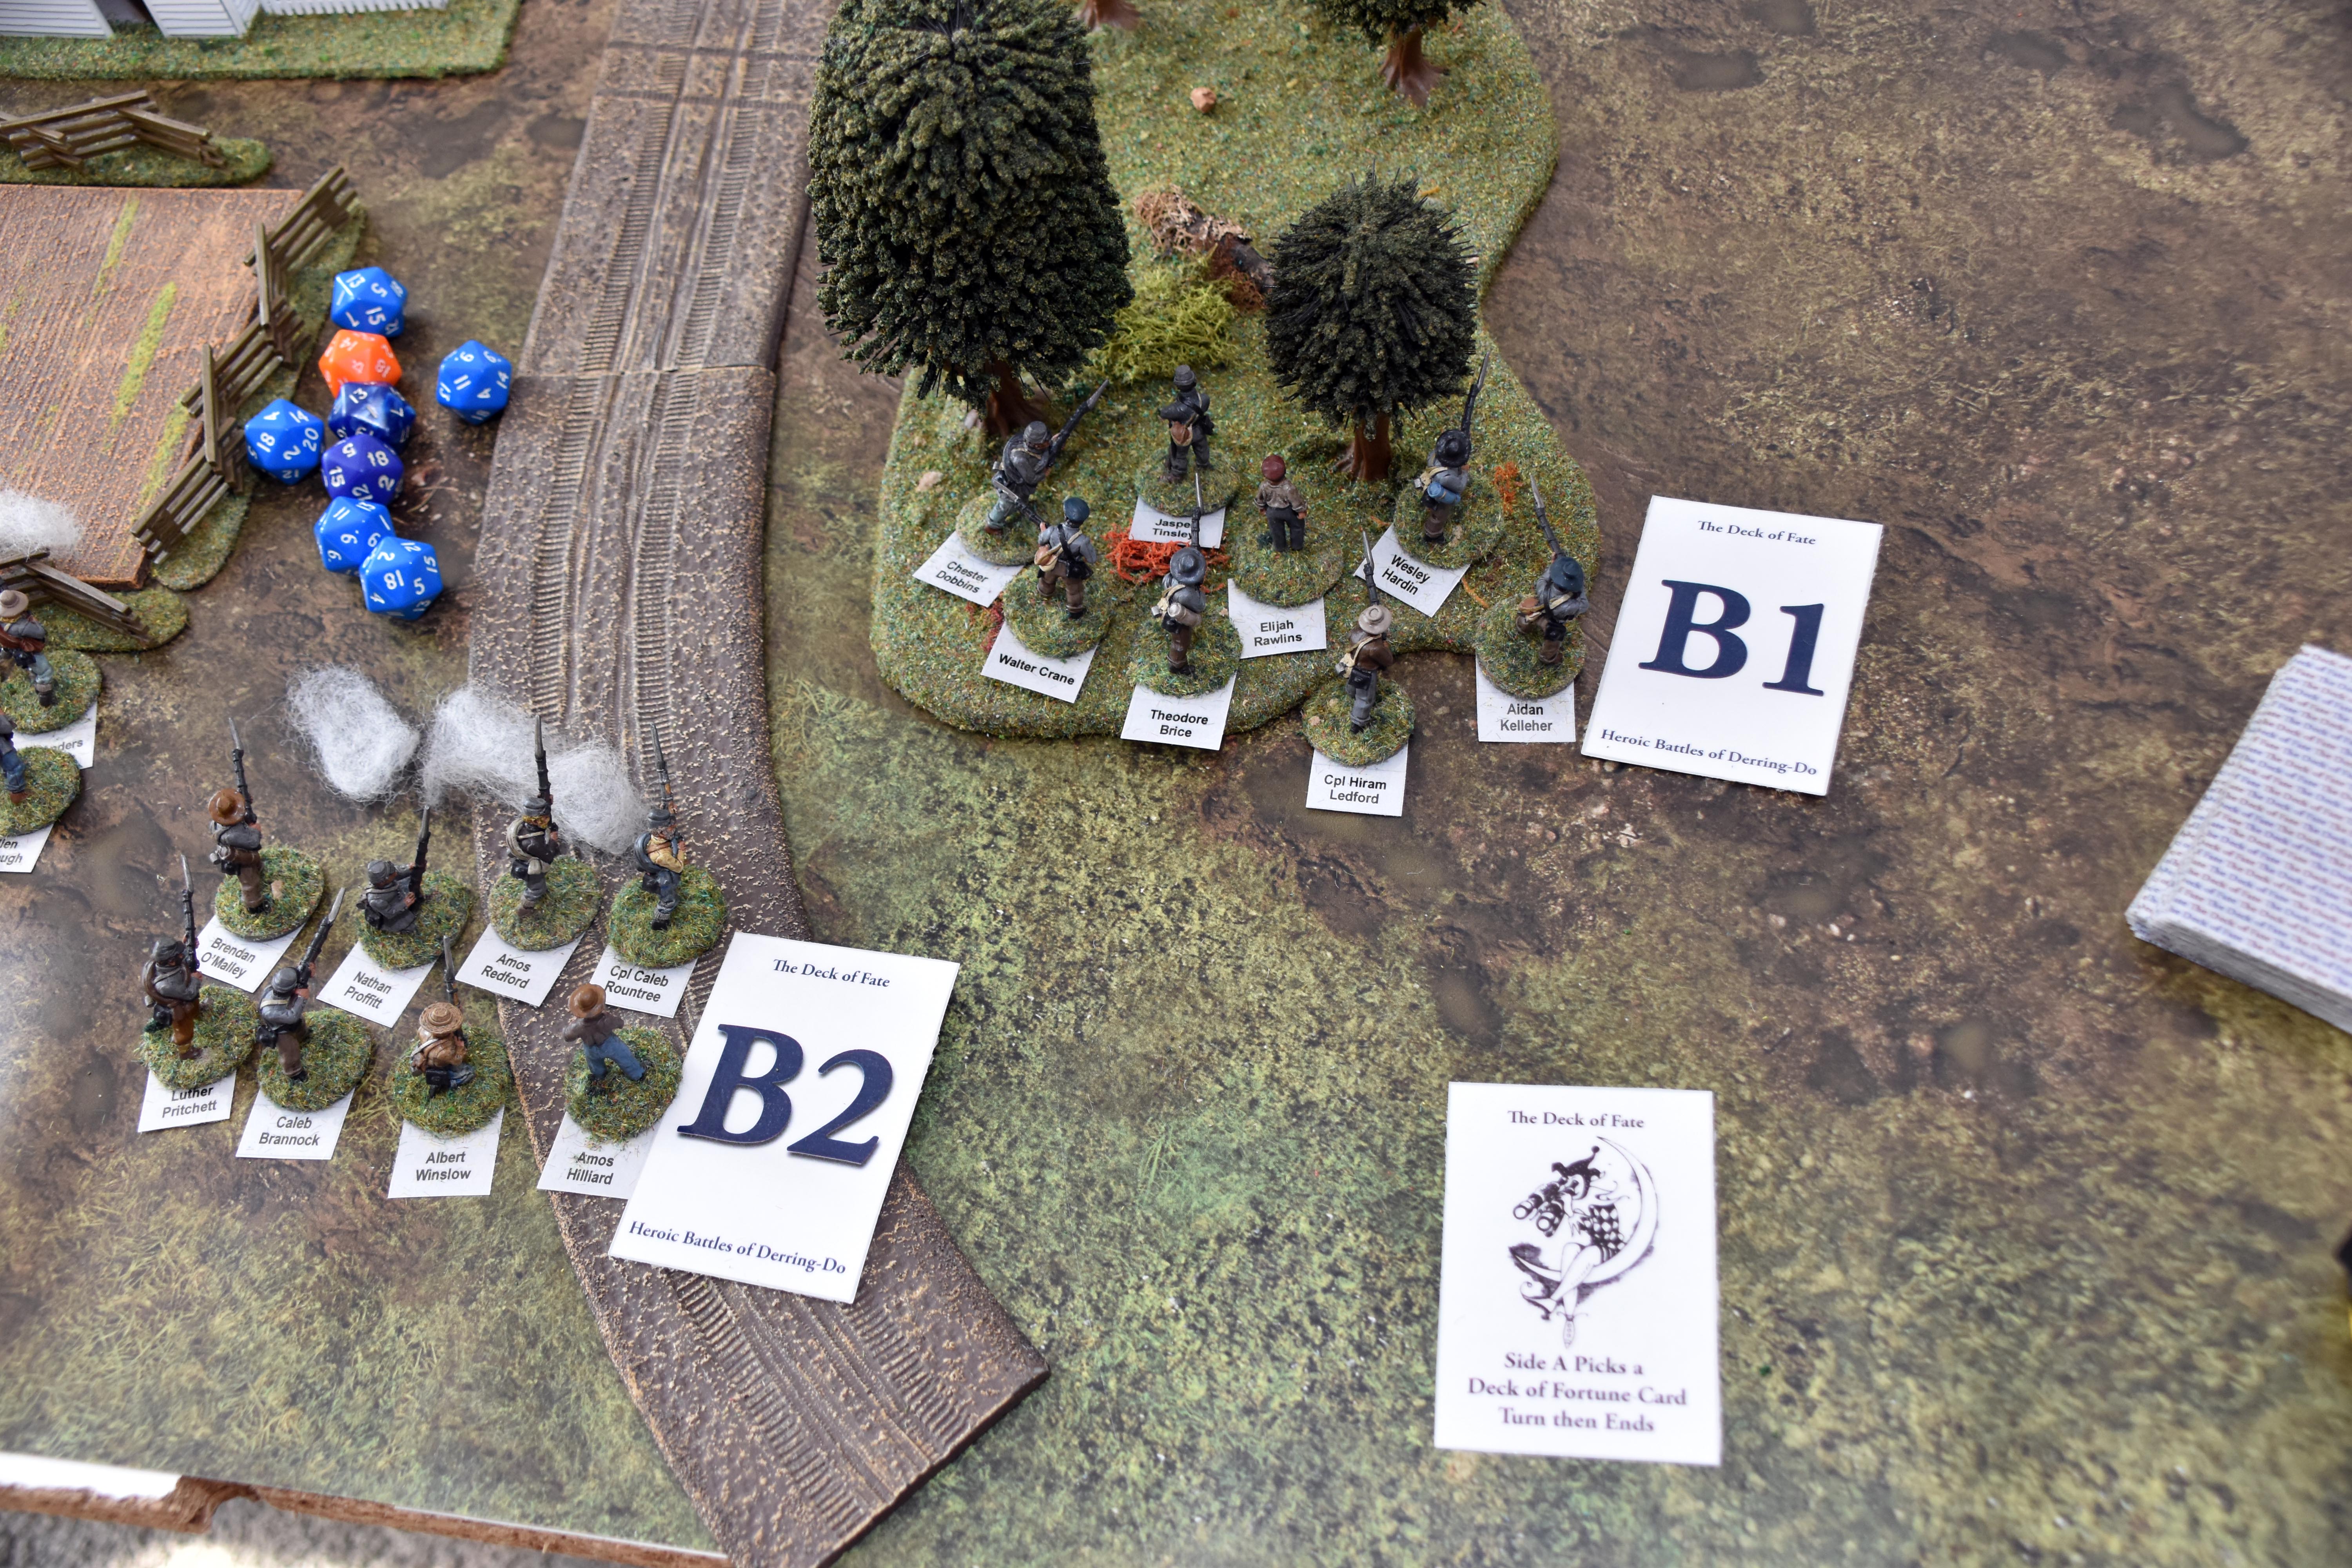
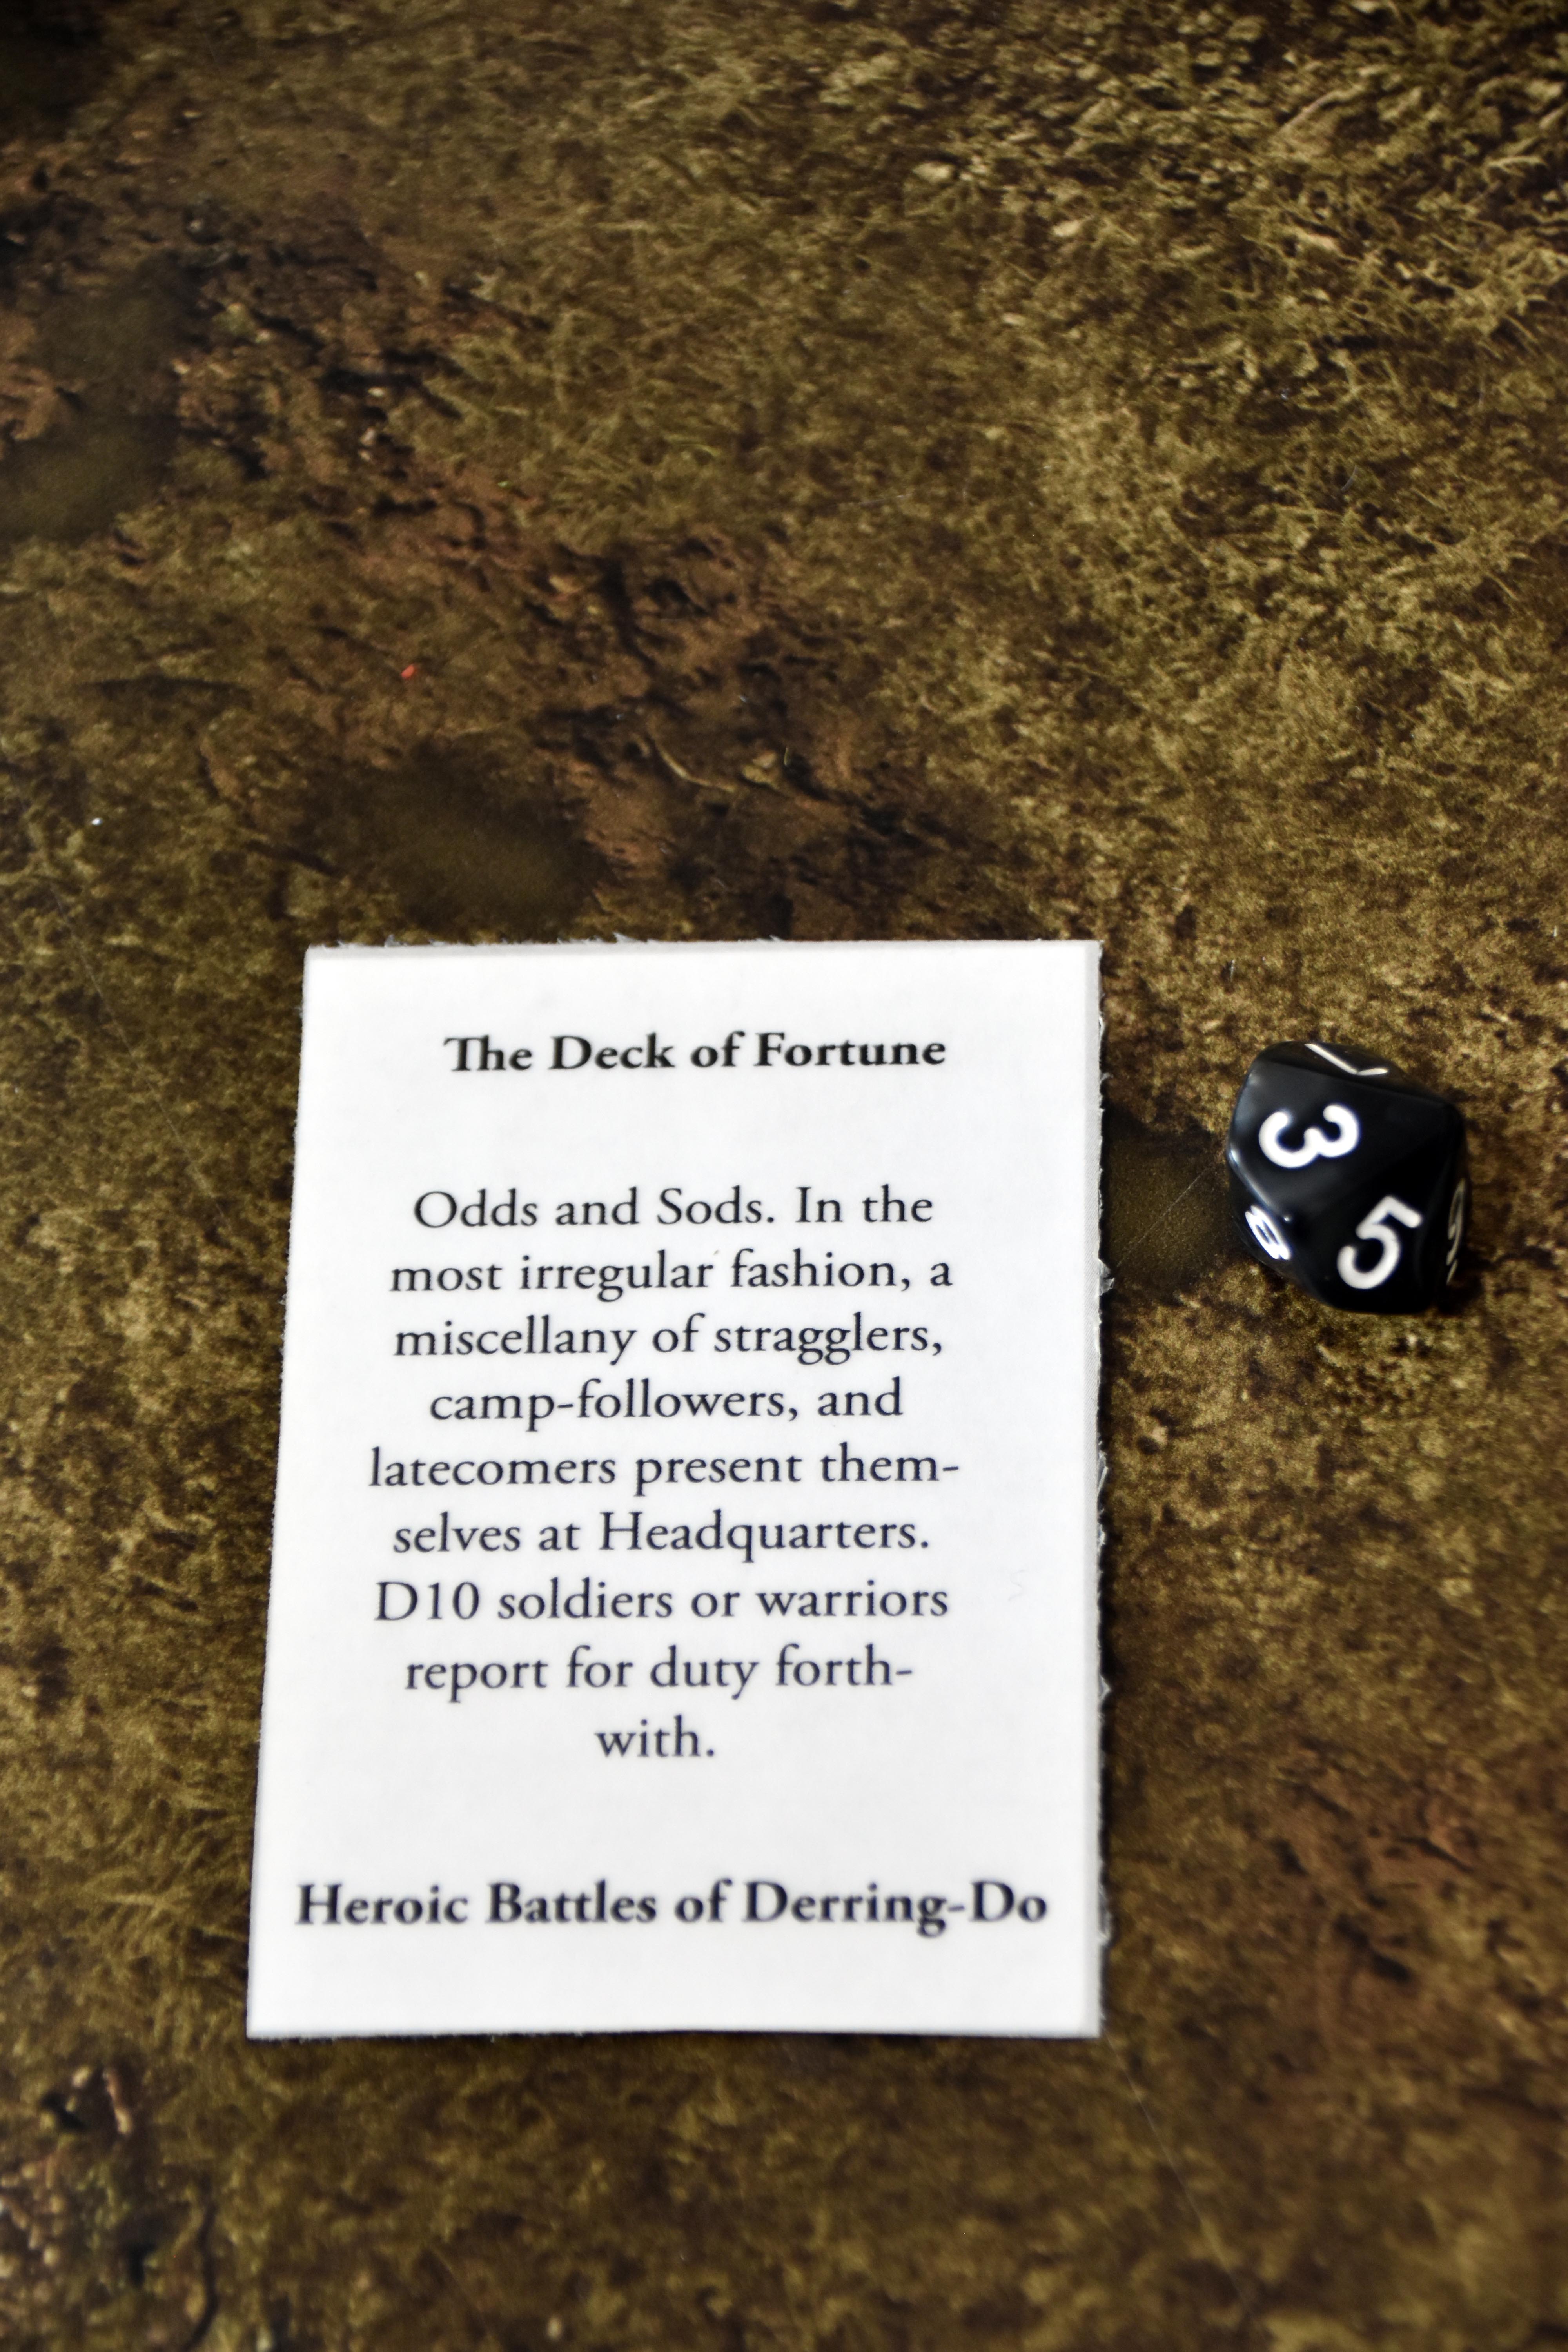
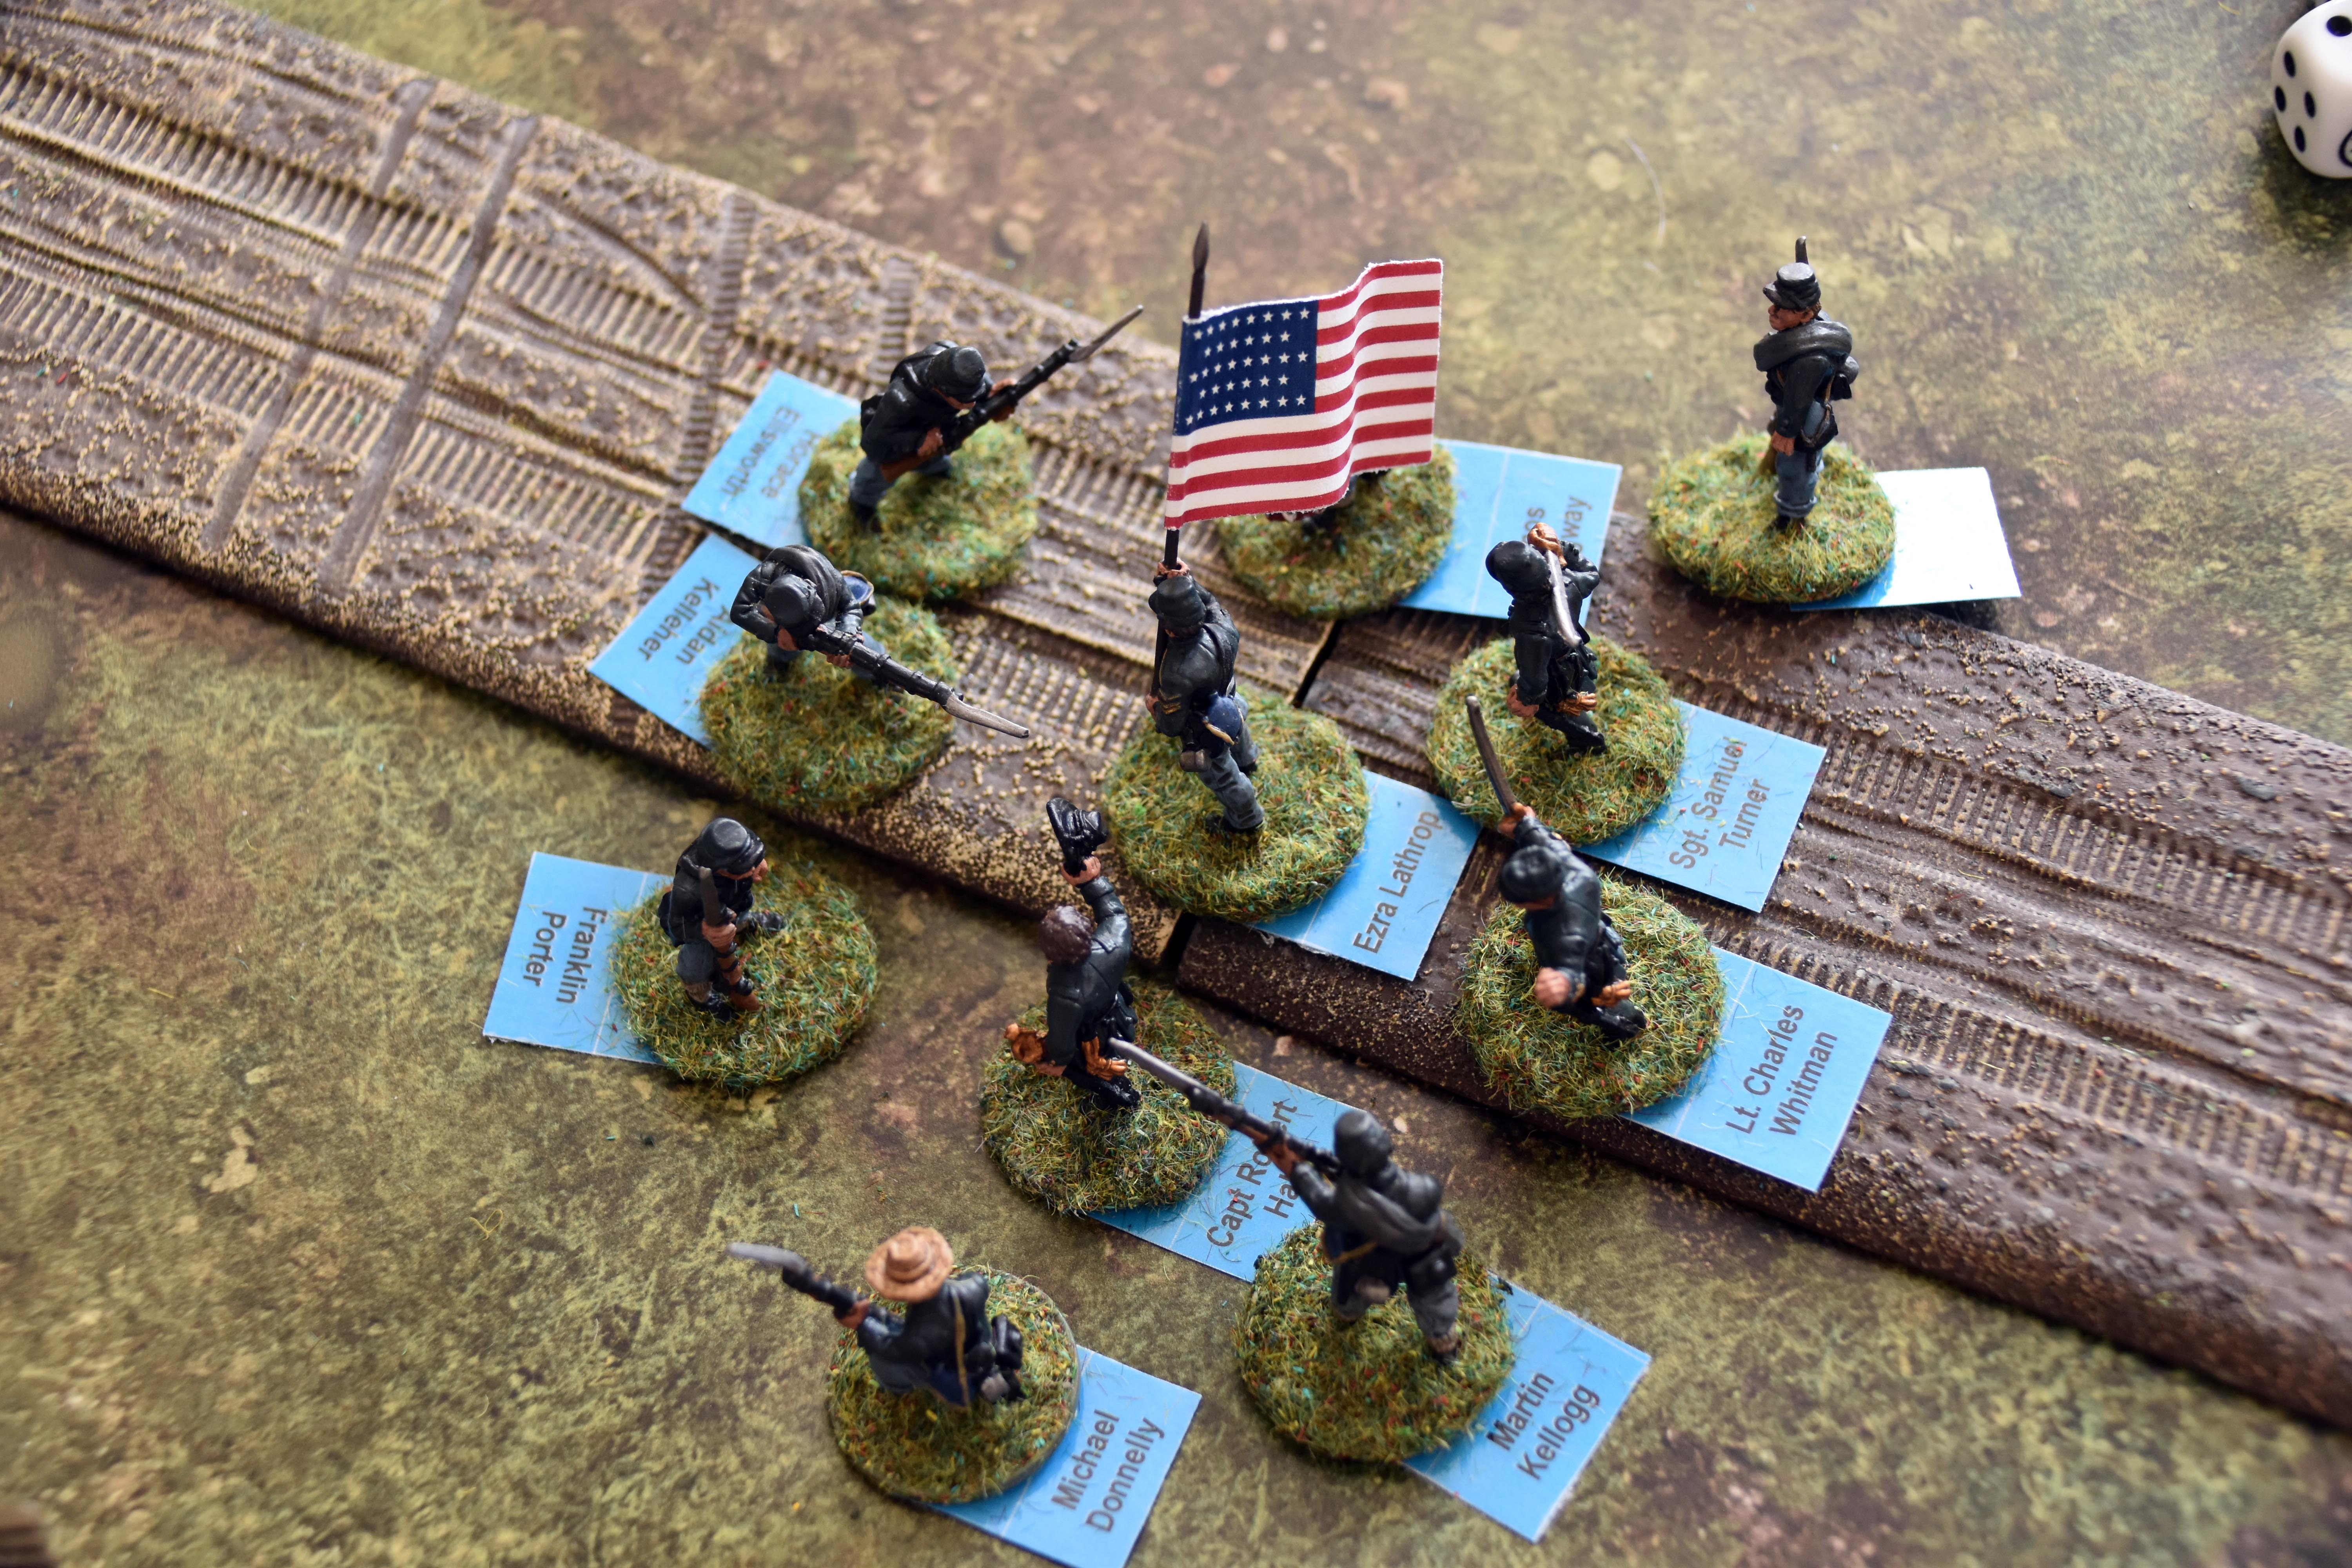
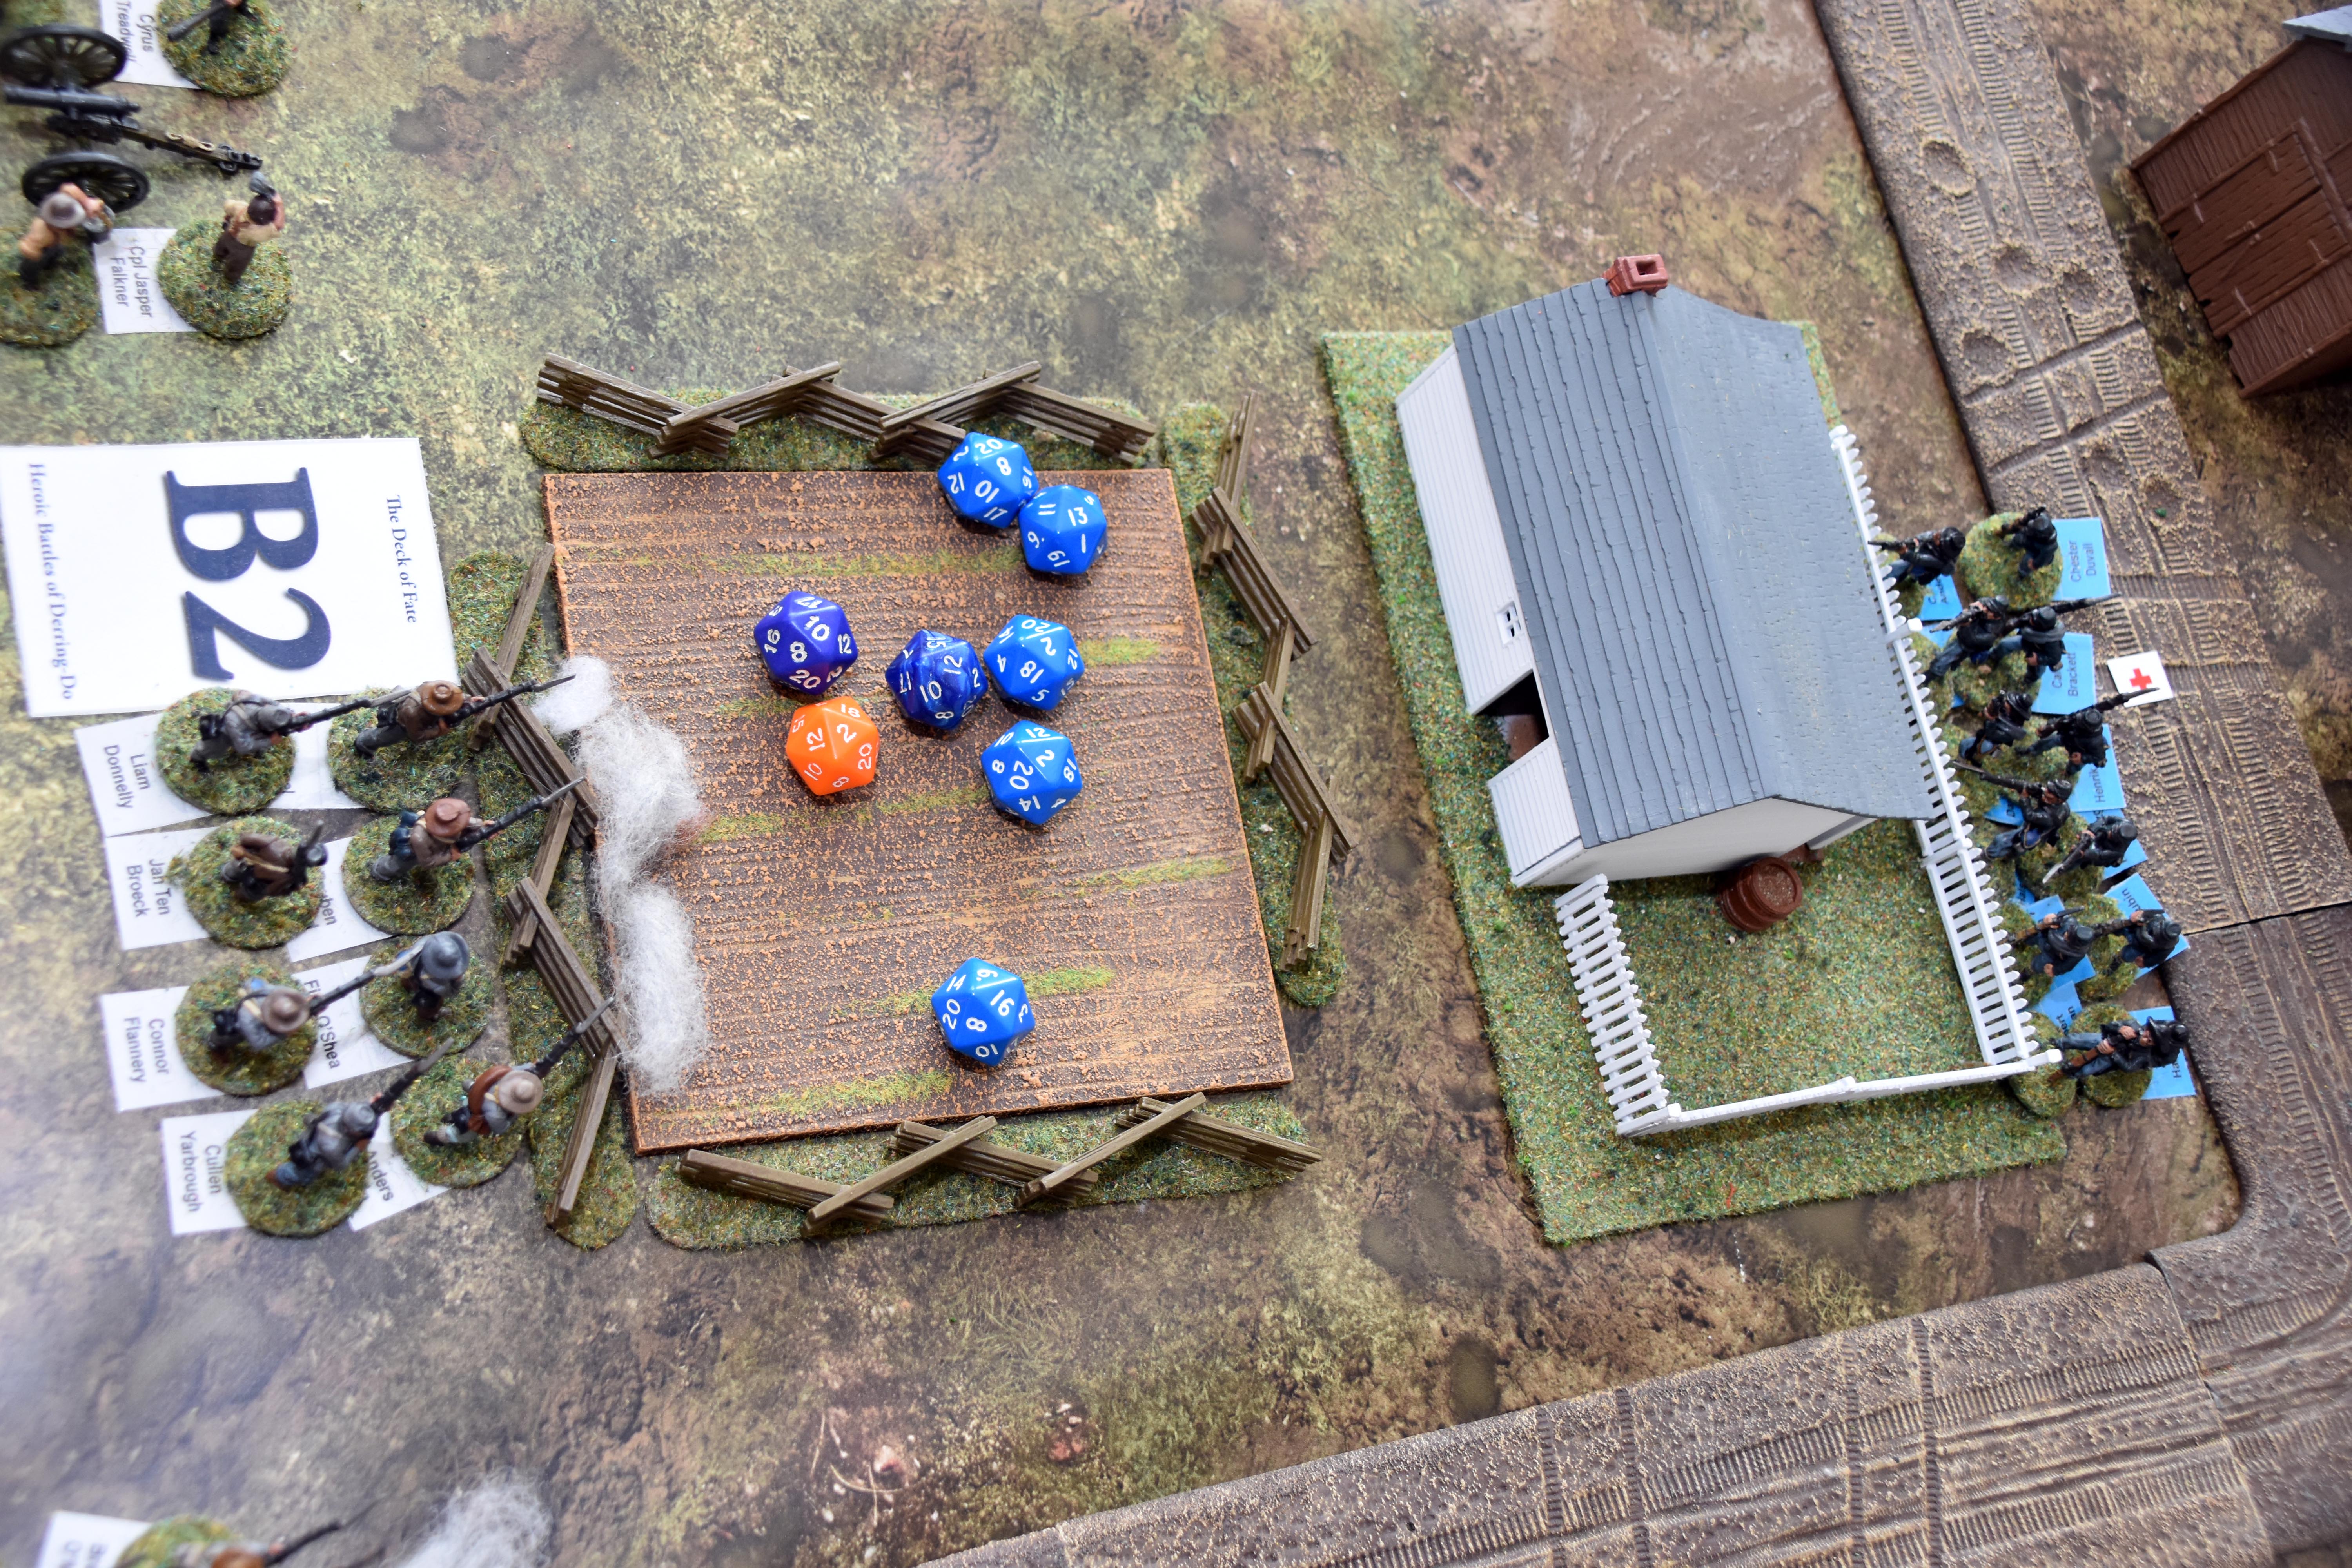
| The last unit to activate is also a bit disappointed with his freedom of action but decides to cross the fence and advance forwards. | With an A2 the Union side lets Lieutenant Whitman open fire with a volley. He rolls only 6 dice as he himself only has a pistol. These are normal Line Infantry and so do not suffer the -1 of the greens. 4 of them are also at close range for a +1 and with +1 for the volley. But despite all the smoke and fury they only succeed in pushing back the Confederates. | Hoping for more options, the A1 is used to clamber over a fence on the left flank. | the neighbouring unit also receives an A1 and steadily advances |
|
|
|
|
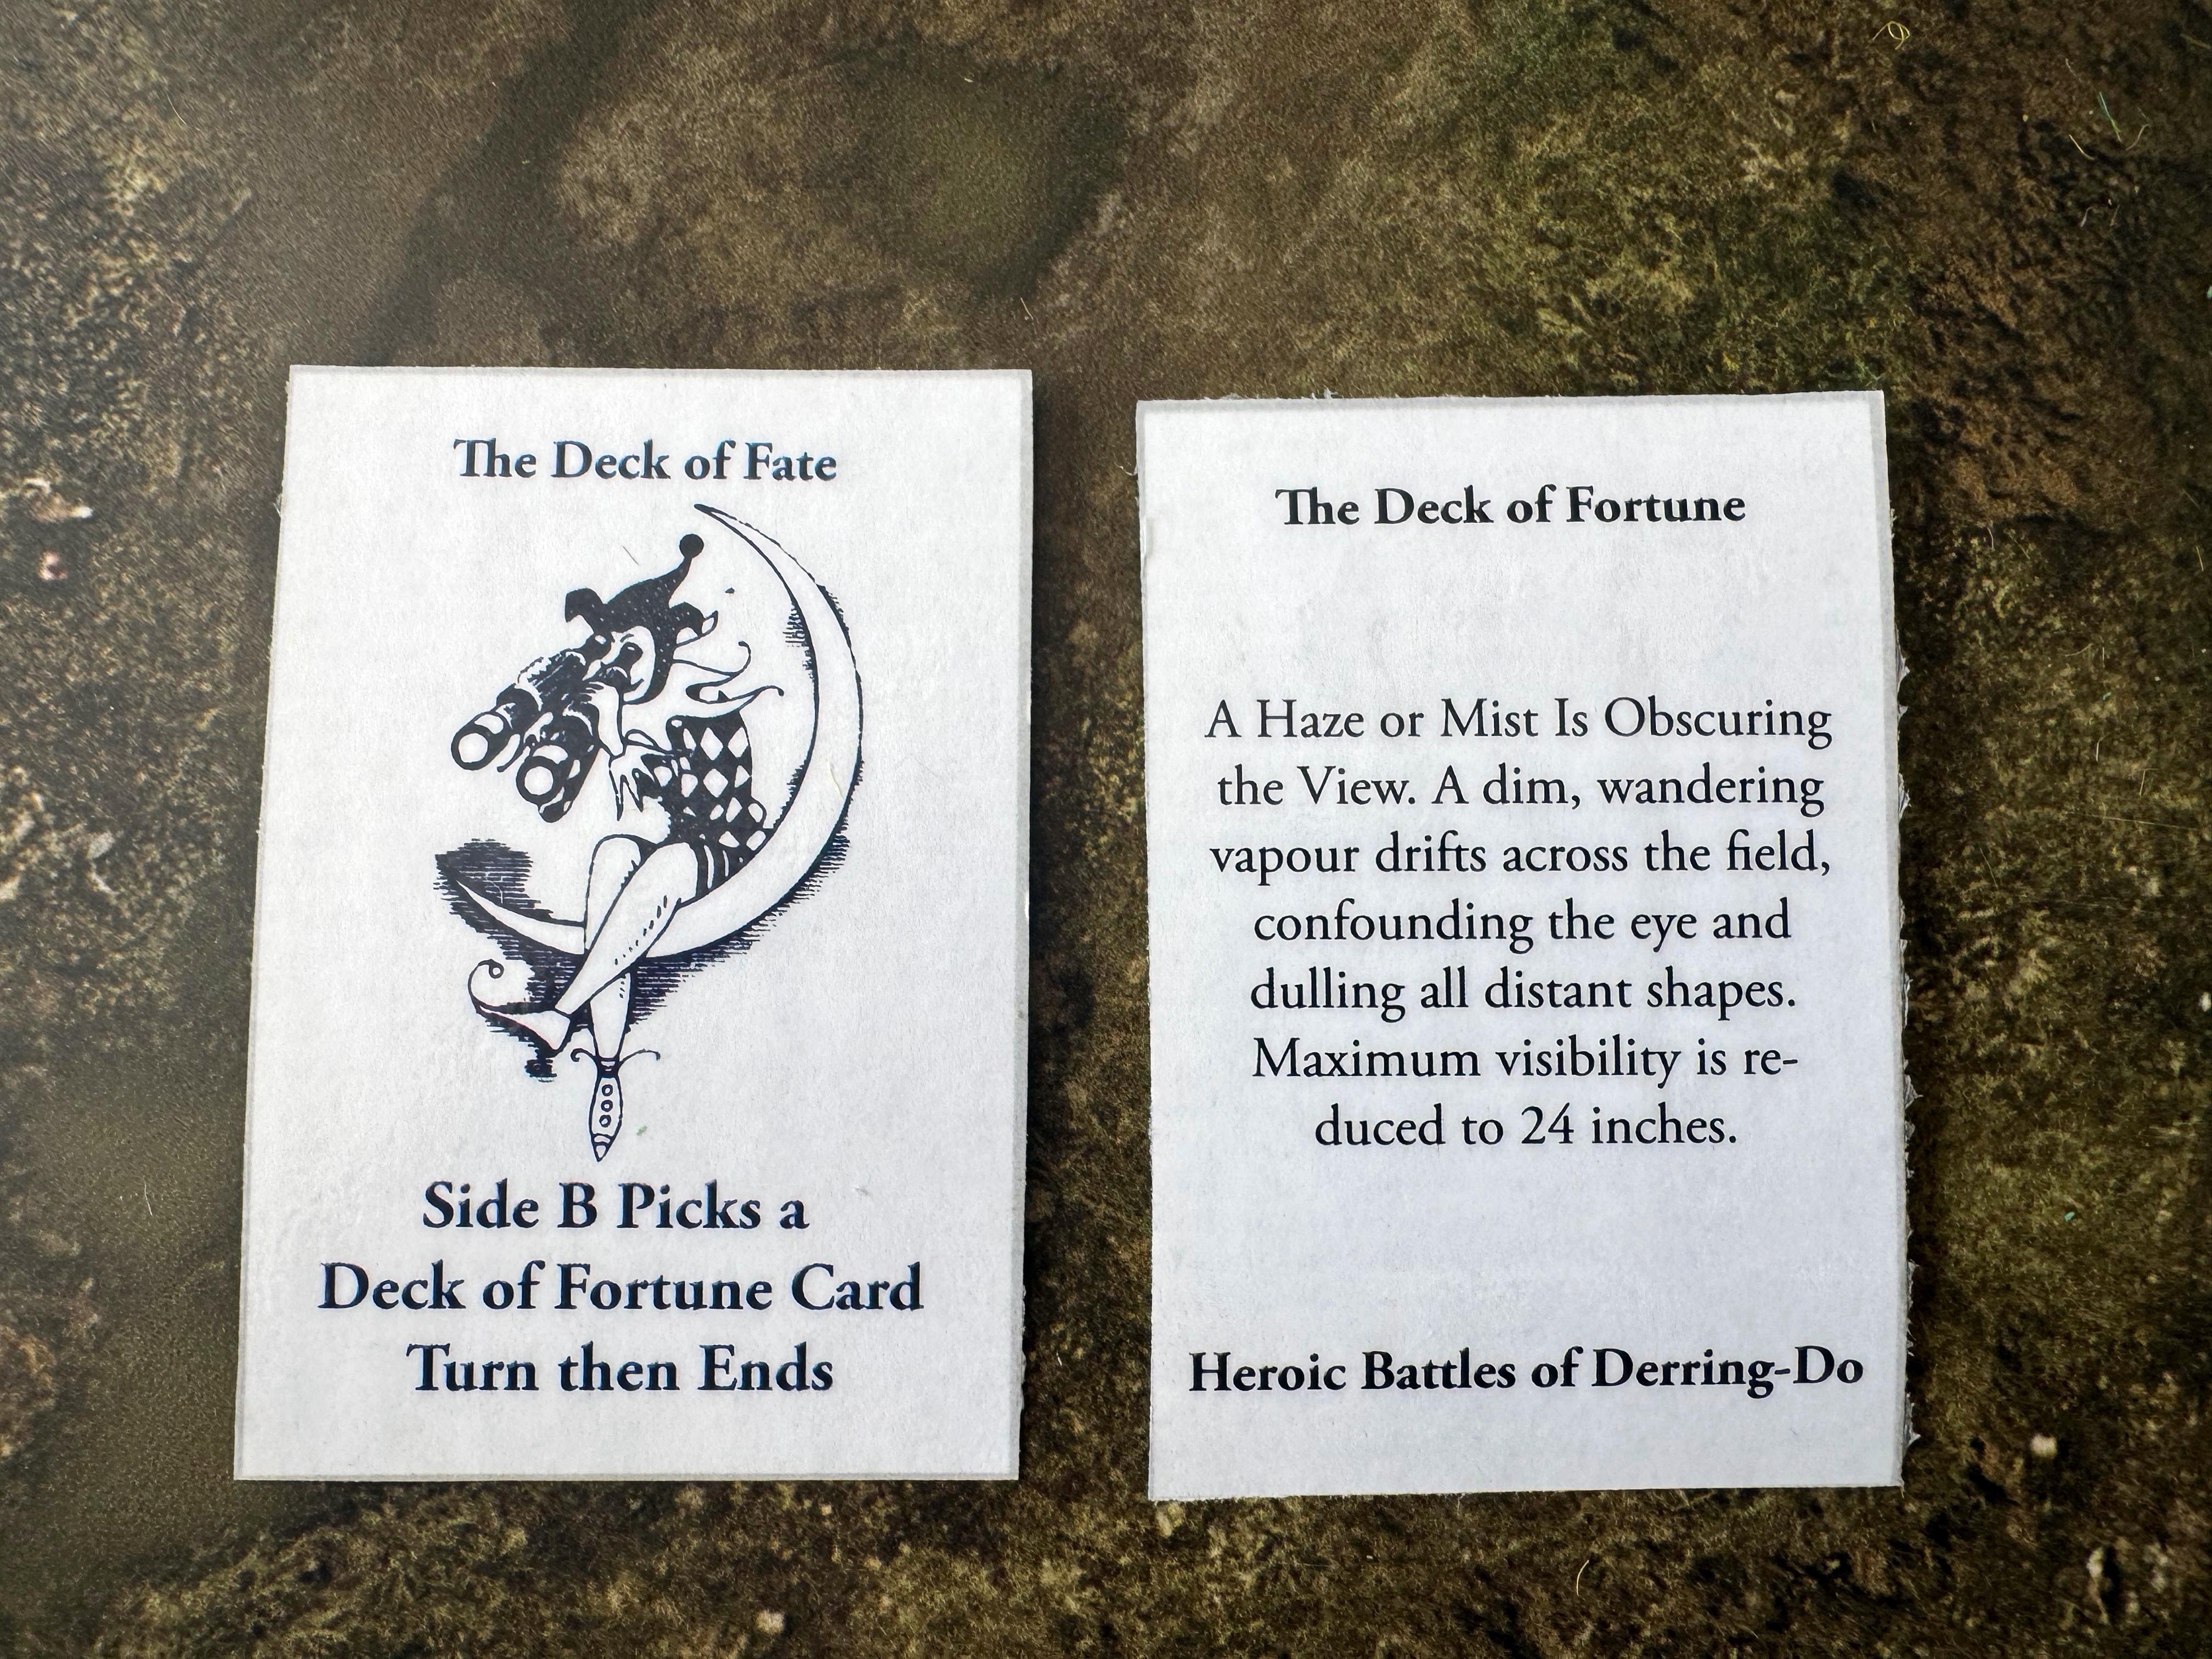
| The rebels are equally frustrated hoping for better, Captain McElhain starts to move from his left flank to the right flank where more of the action seems to be. | Ah fickle Fate.... a Joker ends the turn with an event that helps and hinders both equally. It is probably all the smoke from the battlefield congregating. But maximum visibility is now 24" until another Deck of Fortune card says otherwise. The most annoyed are probably the artillery gunners. | Not much change this turn. | The Union player started with the initiative and the unit in the church reloading, aiming and firing killing one and pushing them back |
|
|
|
|
| Worse news for the rebels was that on the 2d6 roll it showed that the commander of the section was the victim. | Corporal Ledford was no more. | With another A3 the Union side pushes hard to their left flank | Corporal Rountree hears the movement and moves to meet the new threat |
|
|
|
|
| More Union soldiers move through the trees in open order. | But then the initiative swings to the rebels who clamber over some fences to line up and open up on the Yankees at the junction delivering a fearsome fusillade which fells 3 soldiers. | Lieutenant Whitman struggles to control his remaining troops but the steadying hand of the CO and colours keeps them loyal to the battle. | And yet more decisive action sees the rebels on the left flank move up and fire killing and wounding one. |
|
|
|
|
| This time it is a Yankee commander at risk. He rolls an 11 marking him out. As there was a wound and a fatality to inflict he rolled a d6 with a 50:50 chance. Alas for him, the 6 confirmed his death. | The Union soldiers can no longer aim nor do volley fire but they can retreat and they can do a normal shot and do inflict a little pain on their tormentors. | The Yankee cause found an unusual hero with Corporal Holm and his green militia. He orders them to do an aimed, volley shot and inflicts fearsome casualties on the rebels - a full 5 fatalities. Over half the unit. Despite the carnage the Corporal Crenshaw stays on the battlefield but with a much diminished section. No victory will be won on this flank. | Just two survivors!!! but they pass their morale being veterans |
|
|
|
|
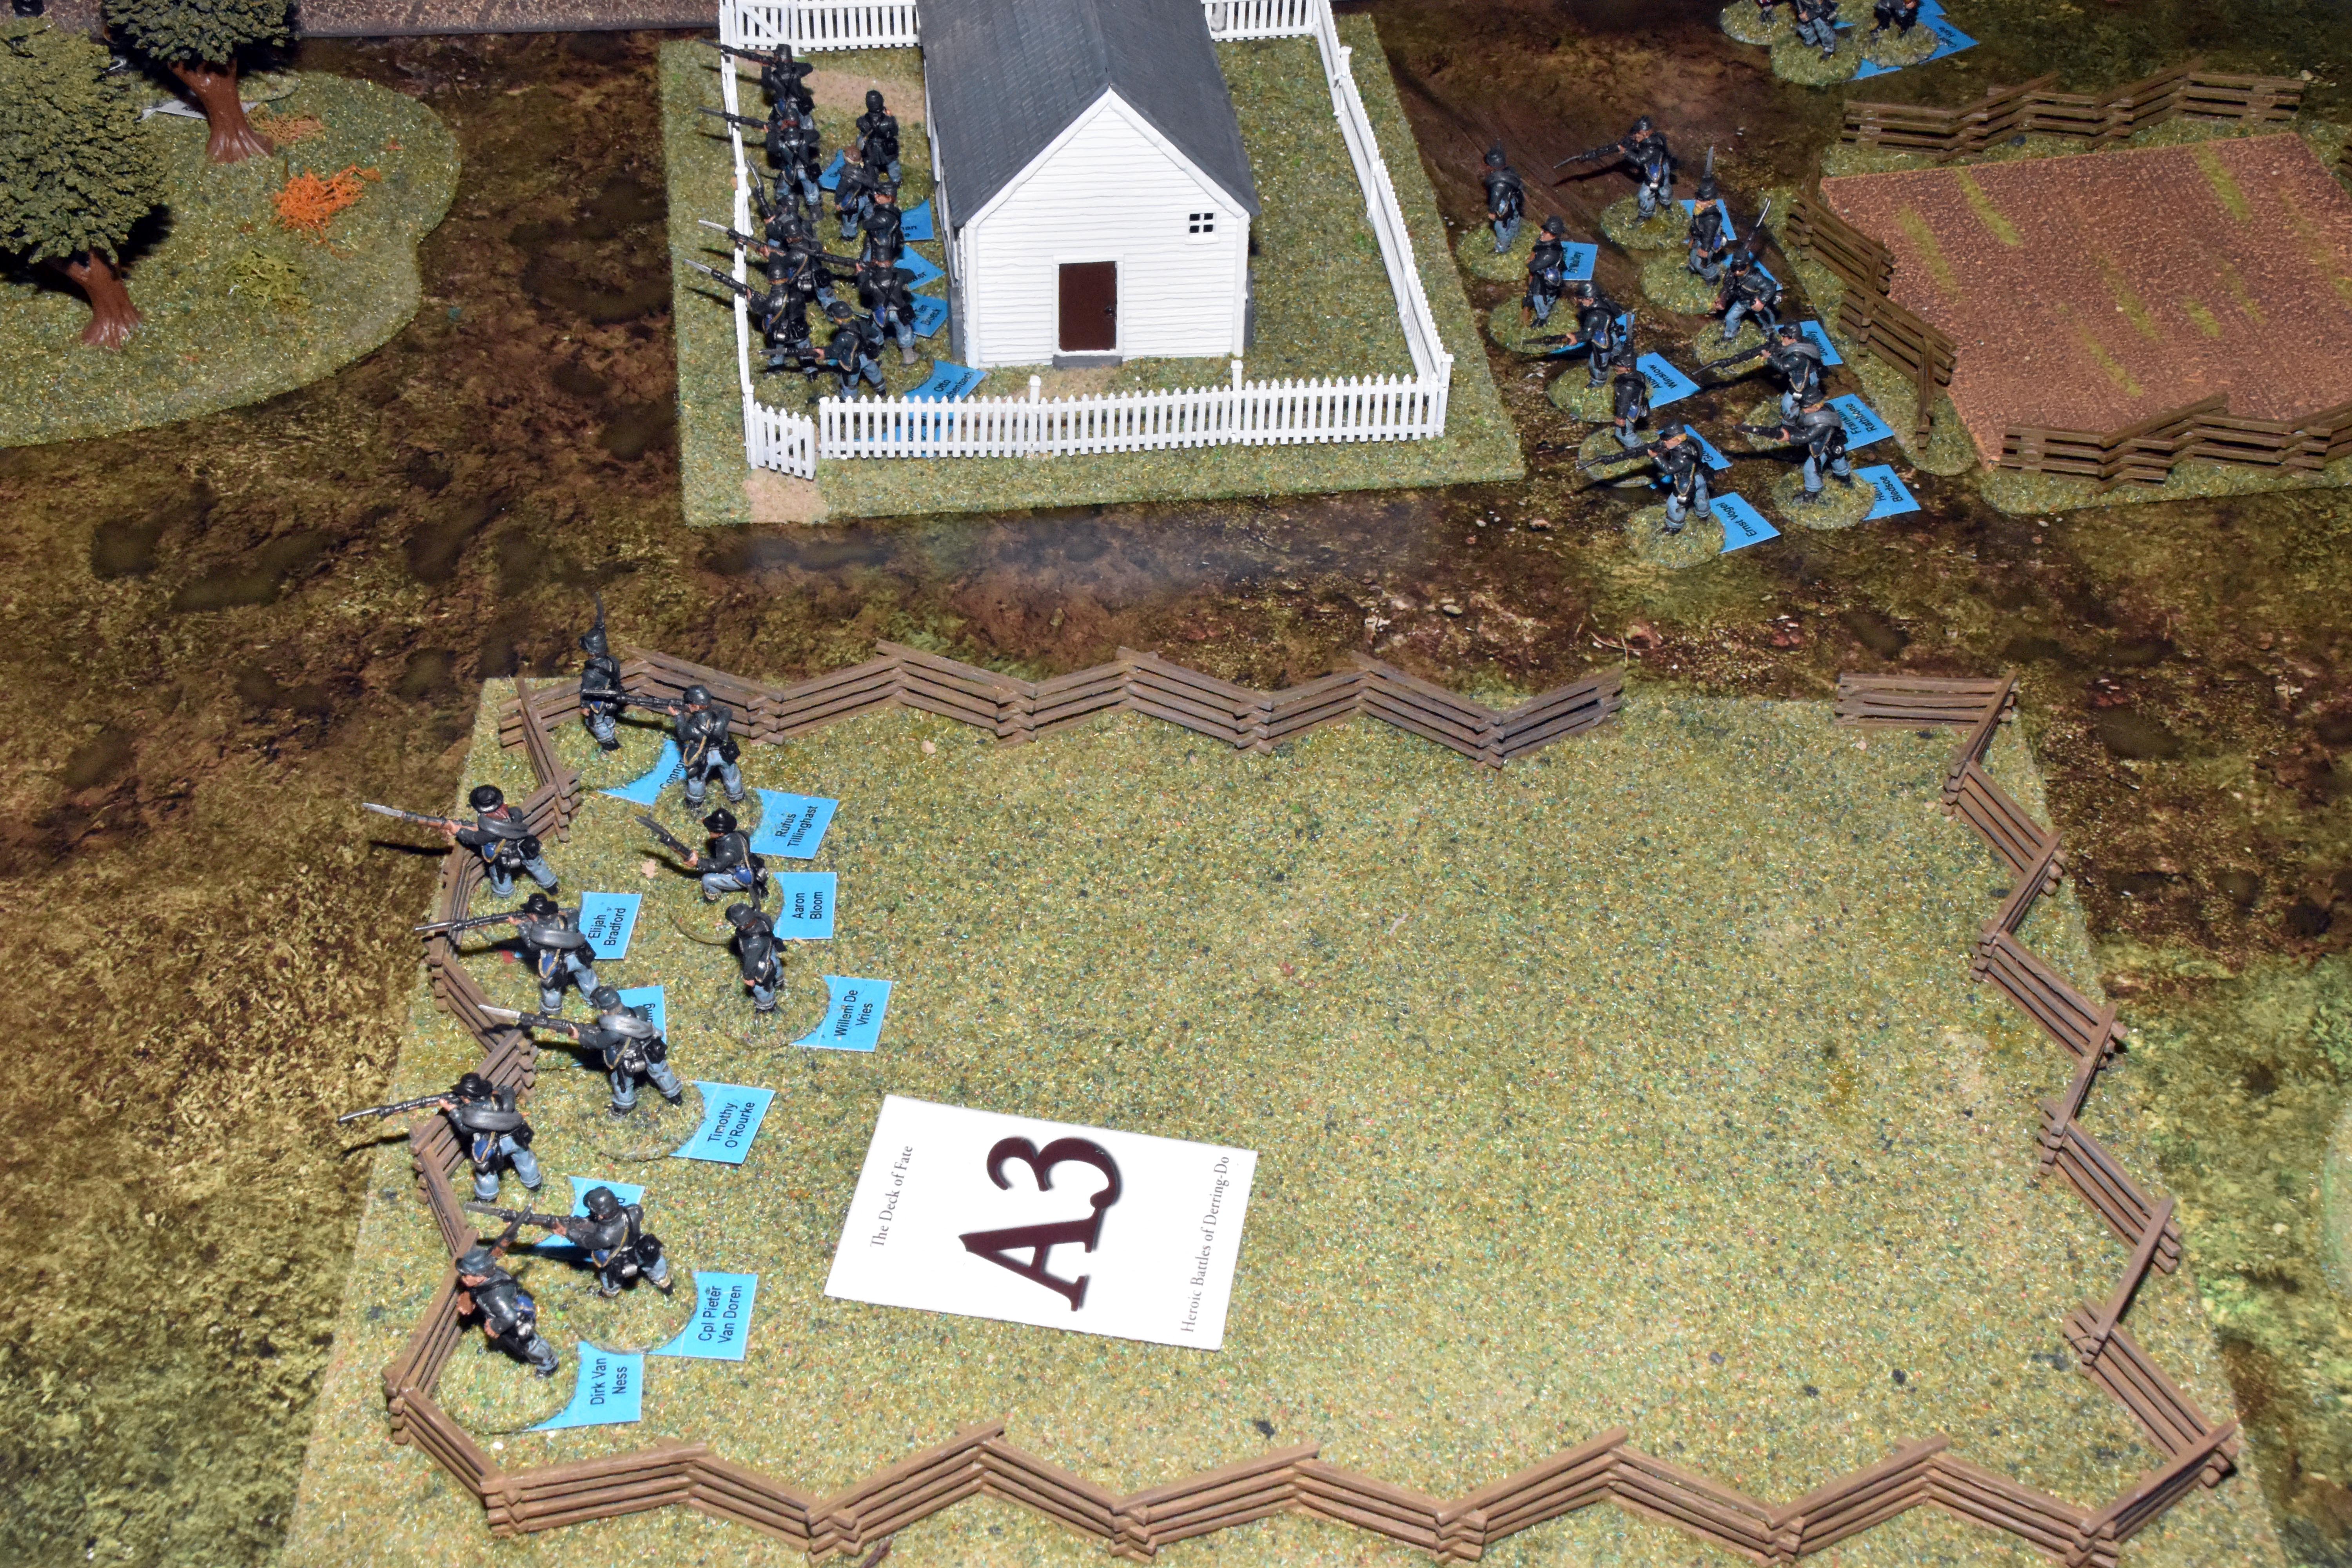
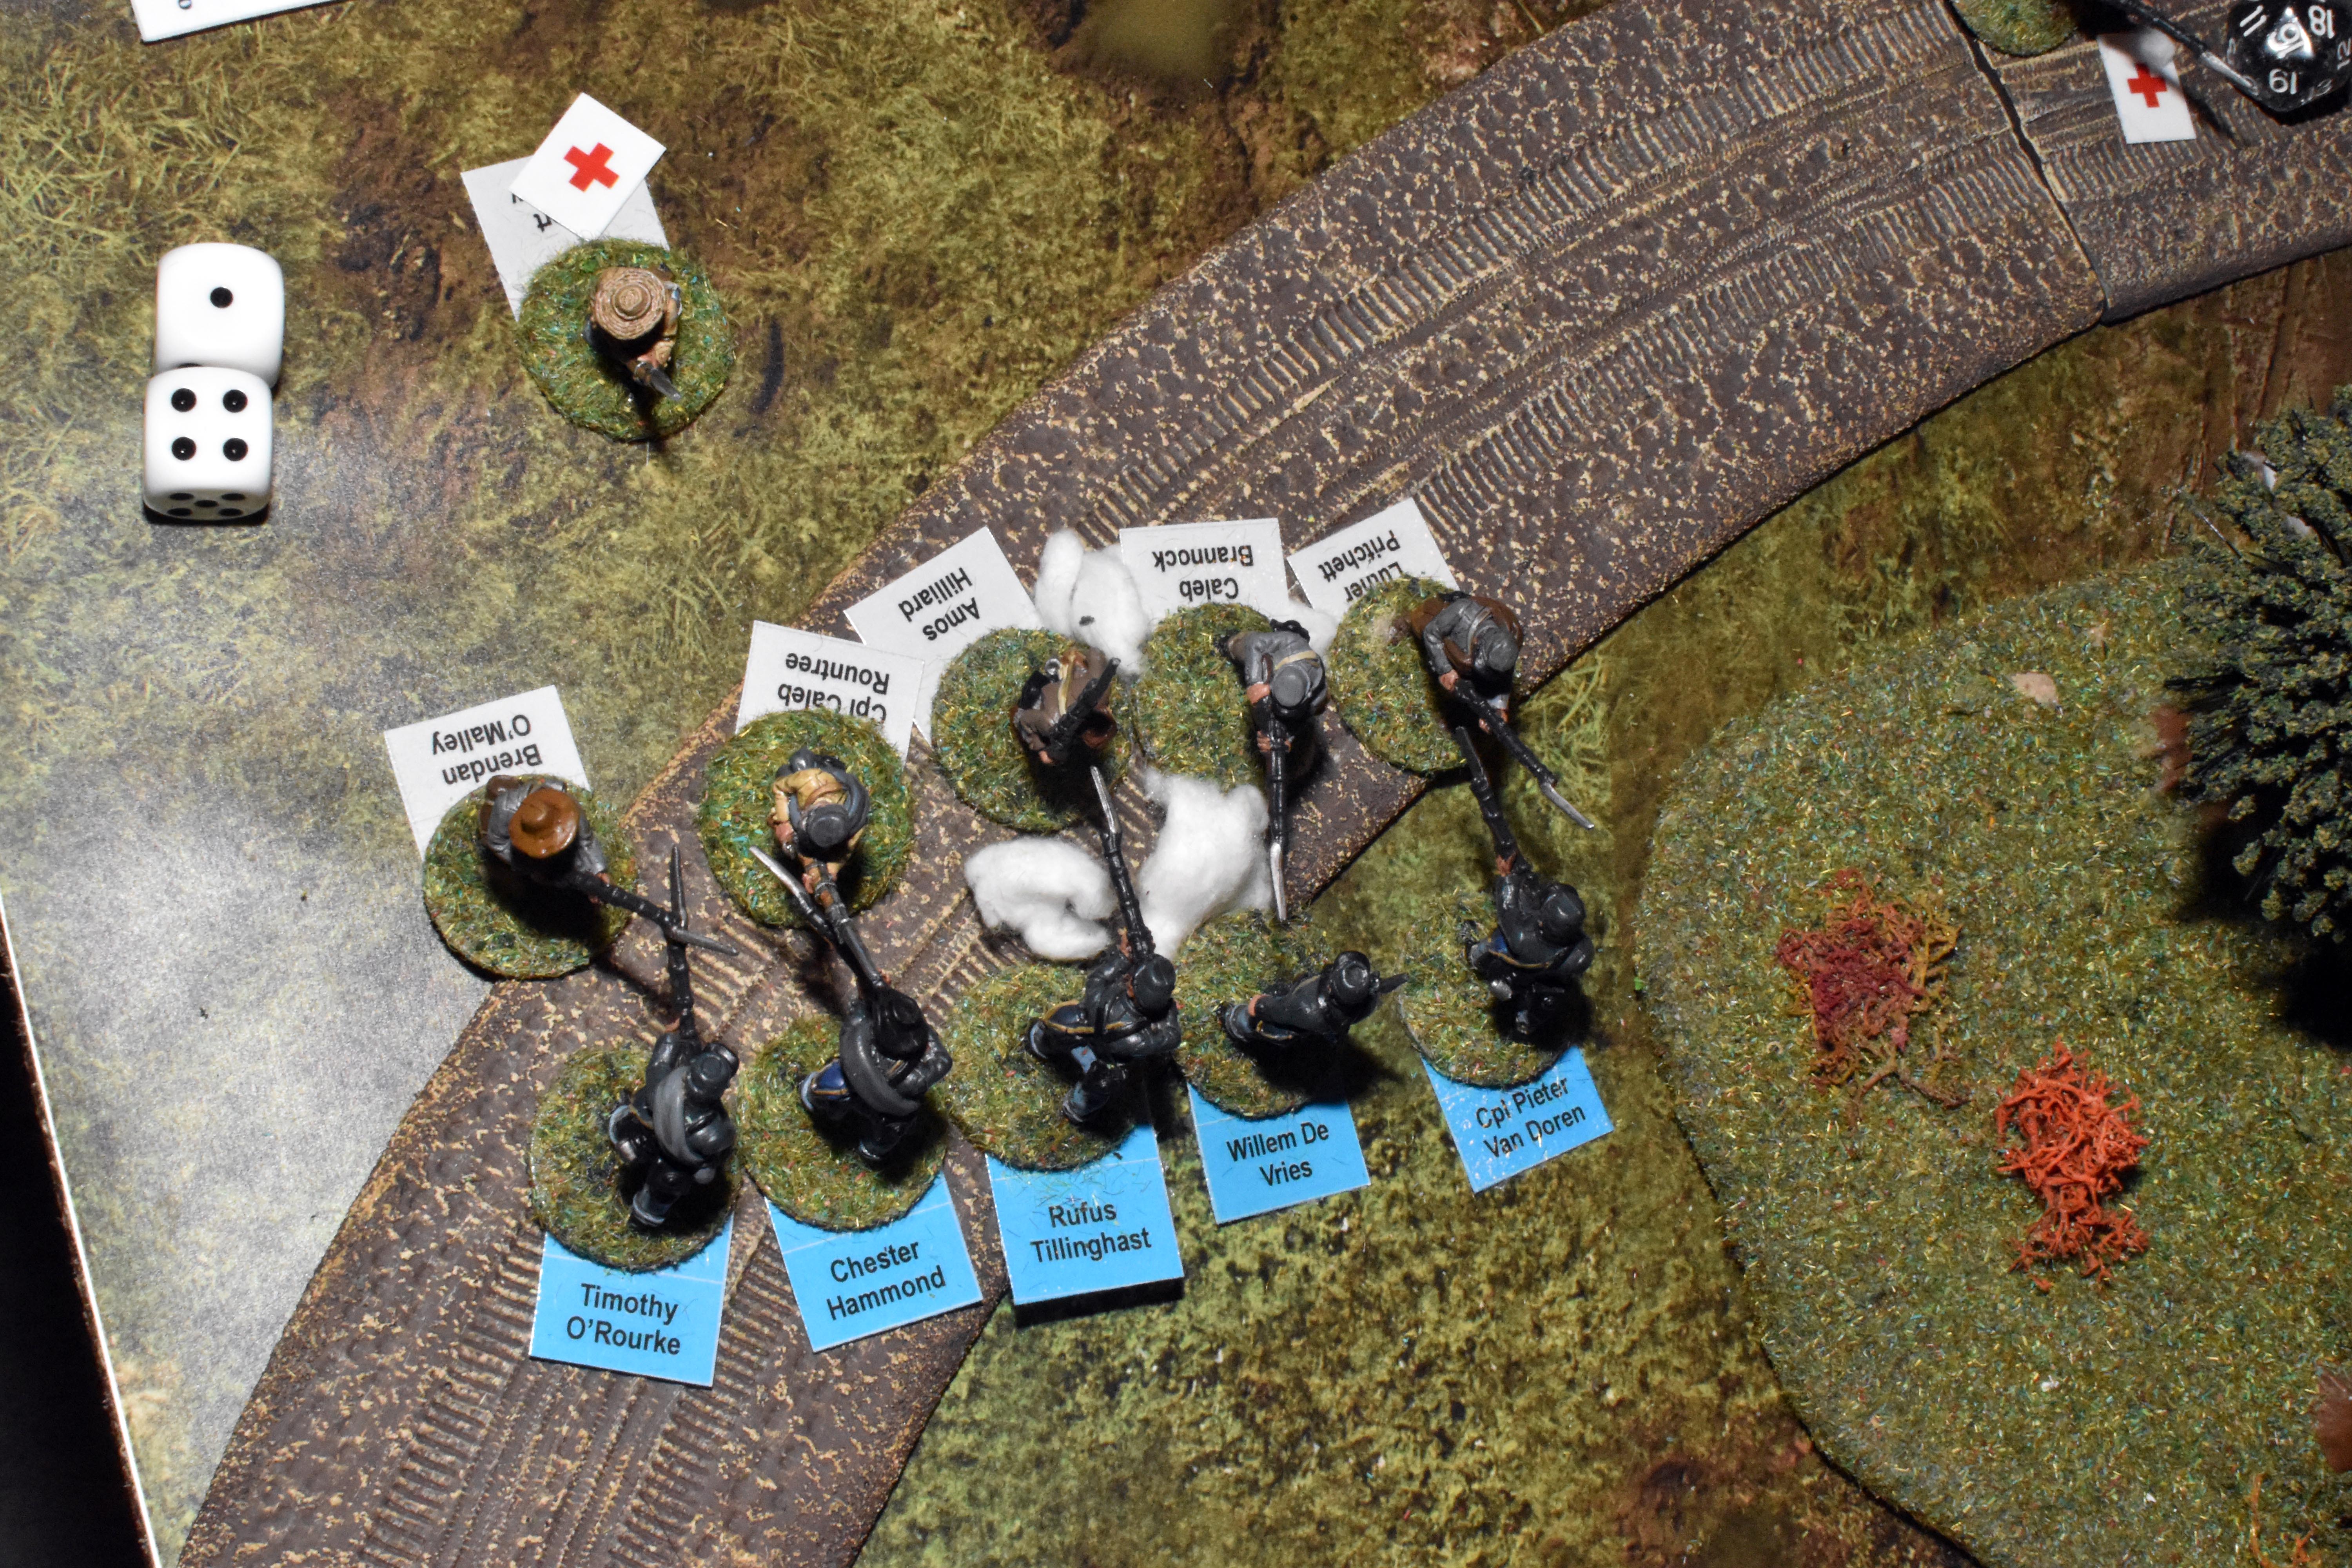
| In the centre, the Unionists pull back and the HQ begins to rebuilt and rally the troops for another heave. | A parting shot from the rebel gun does little other than to make the Yankees run faster. | A turn of fluctuating fortunes for both sides! | With an A3 Corporal Van Doren decides to go hell for leather and charge into the rebel flank |
|
|
|
|
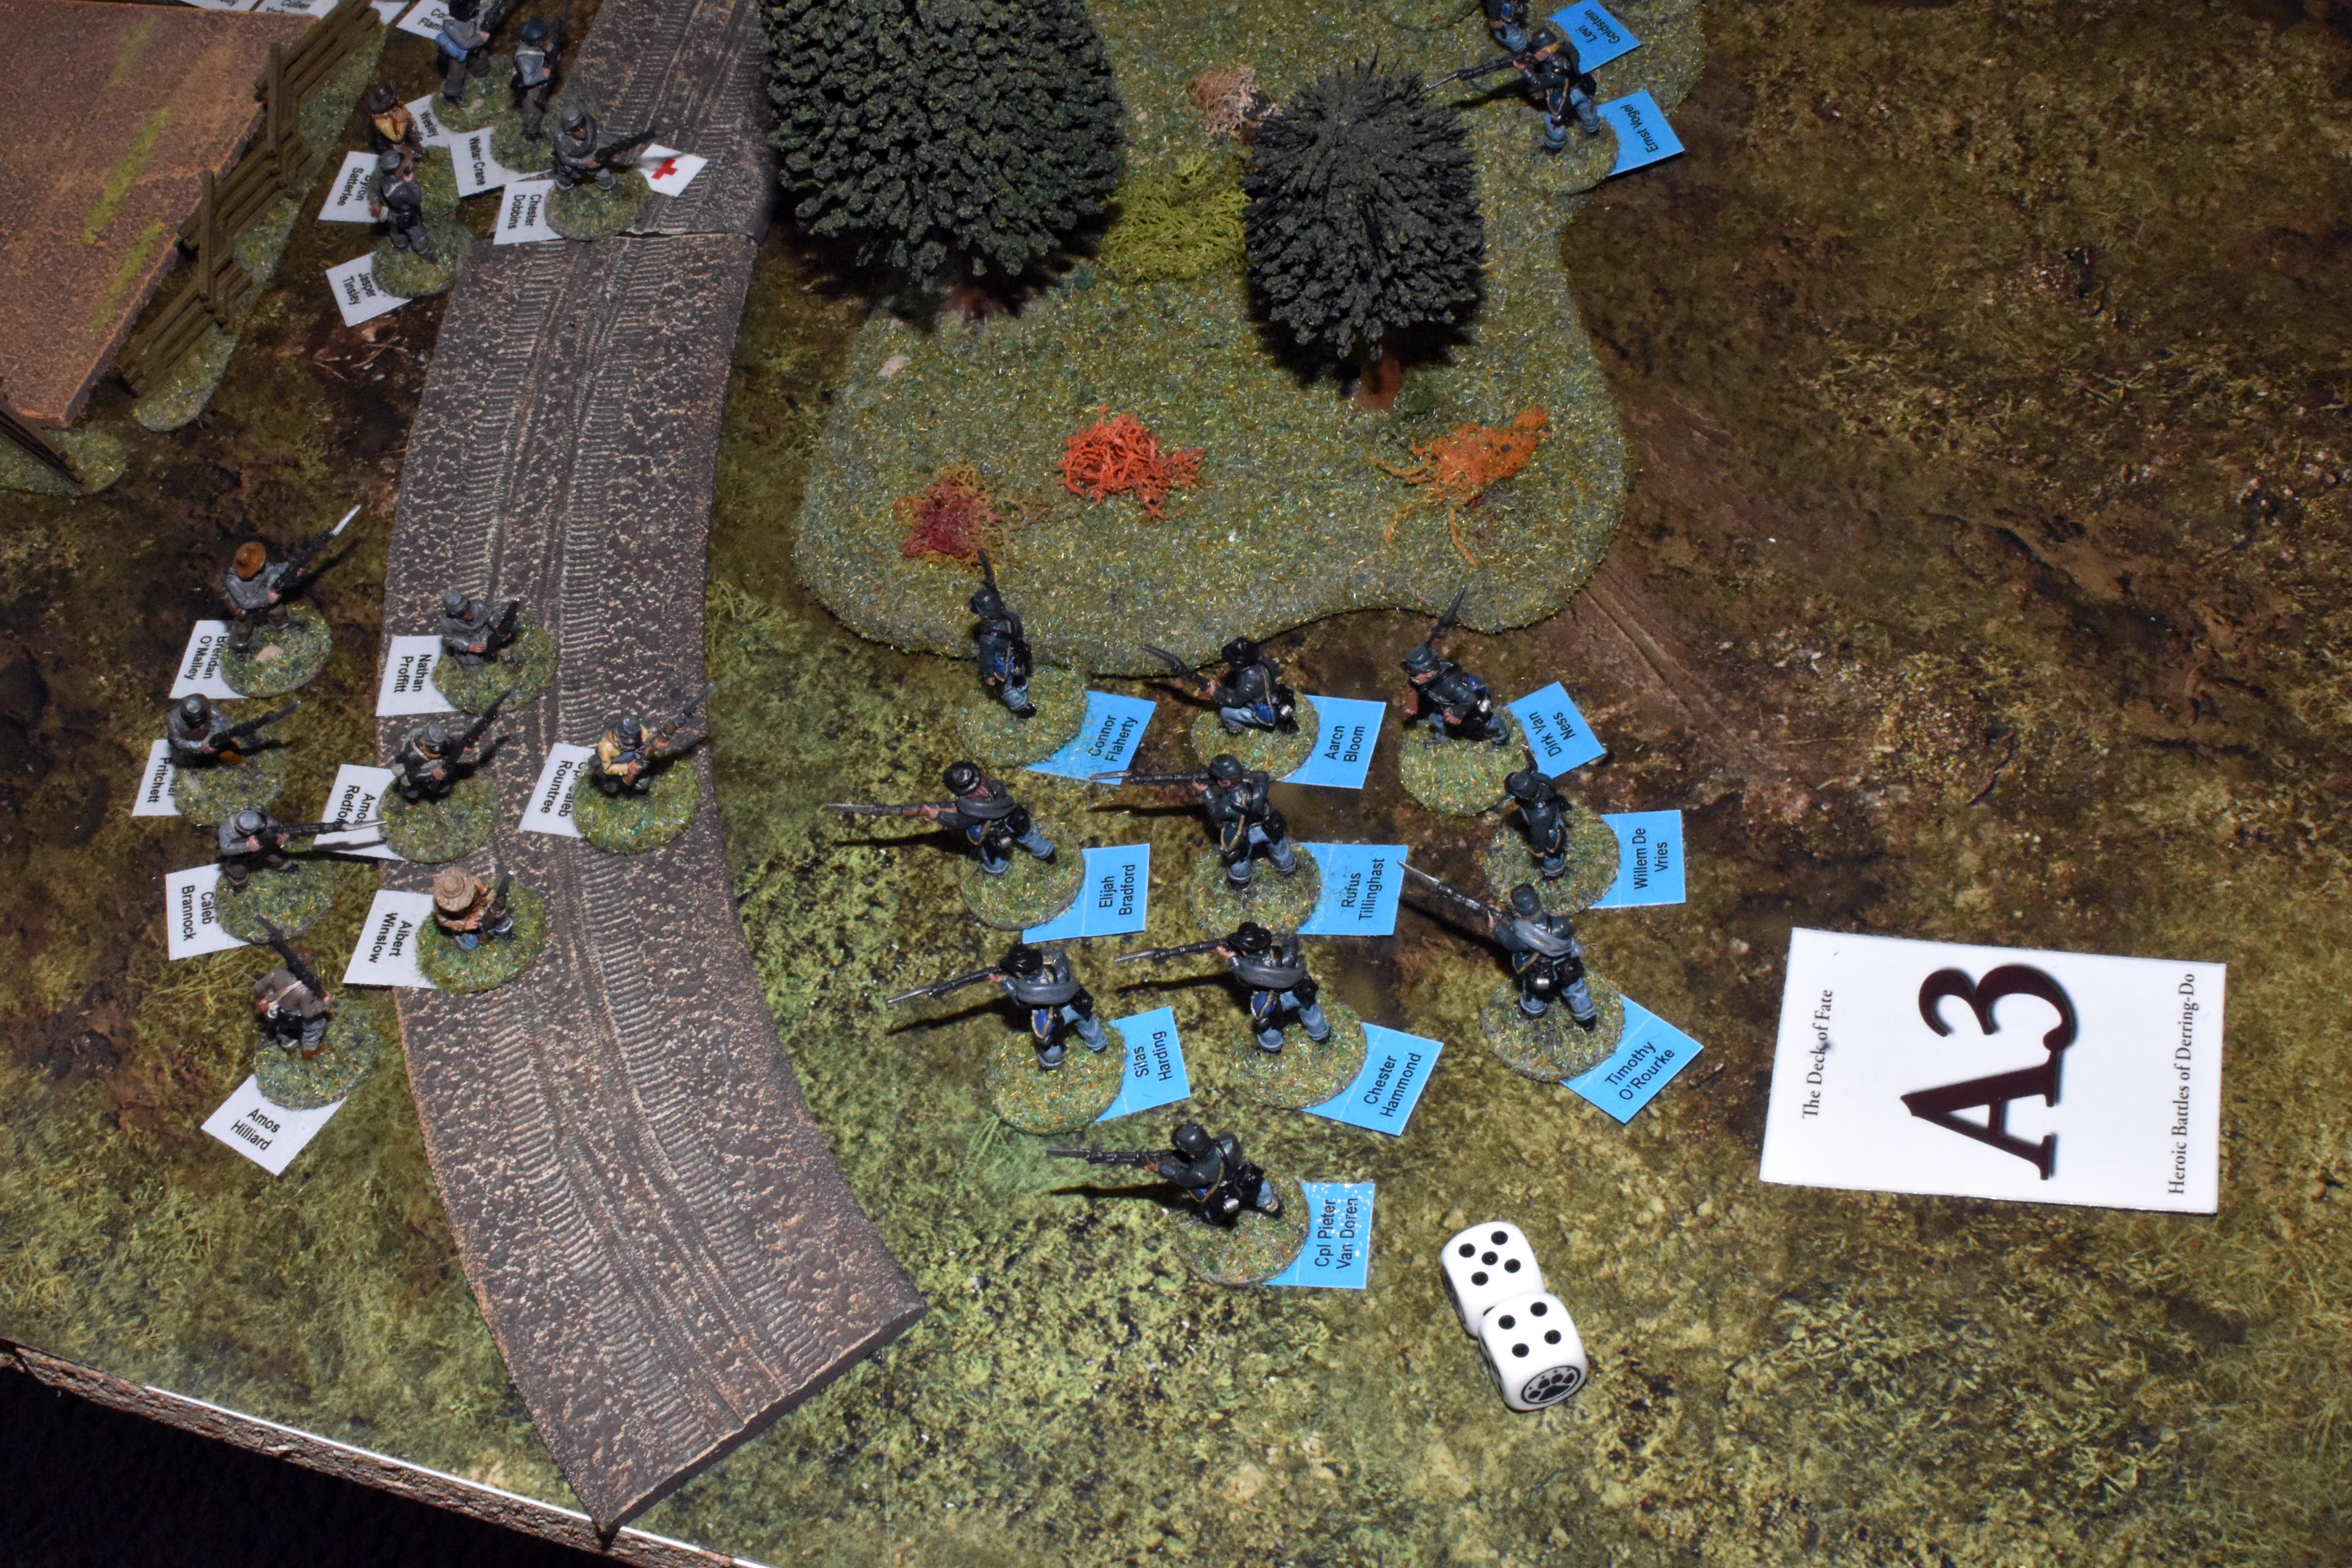
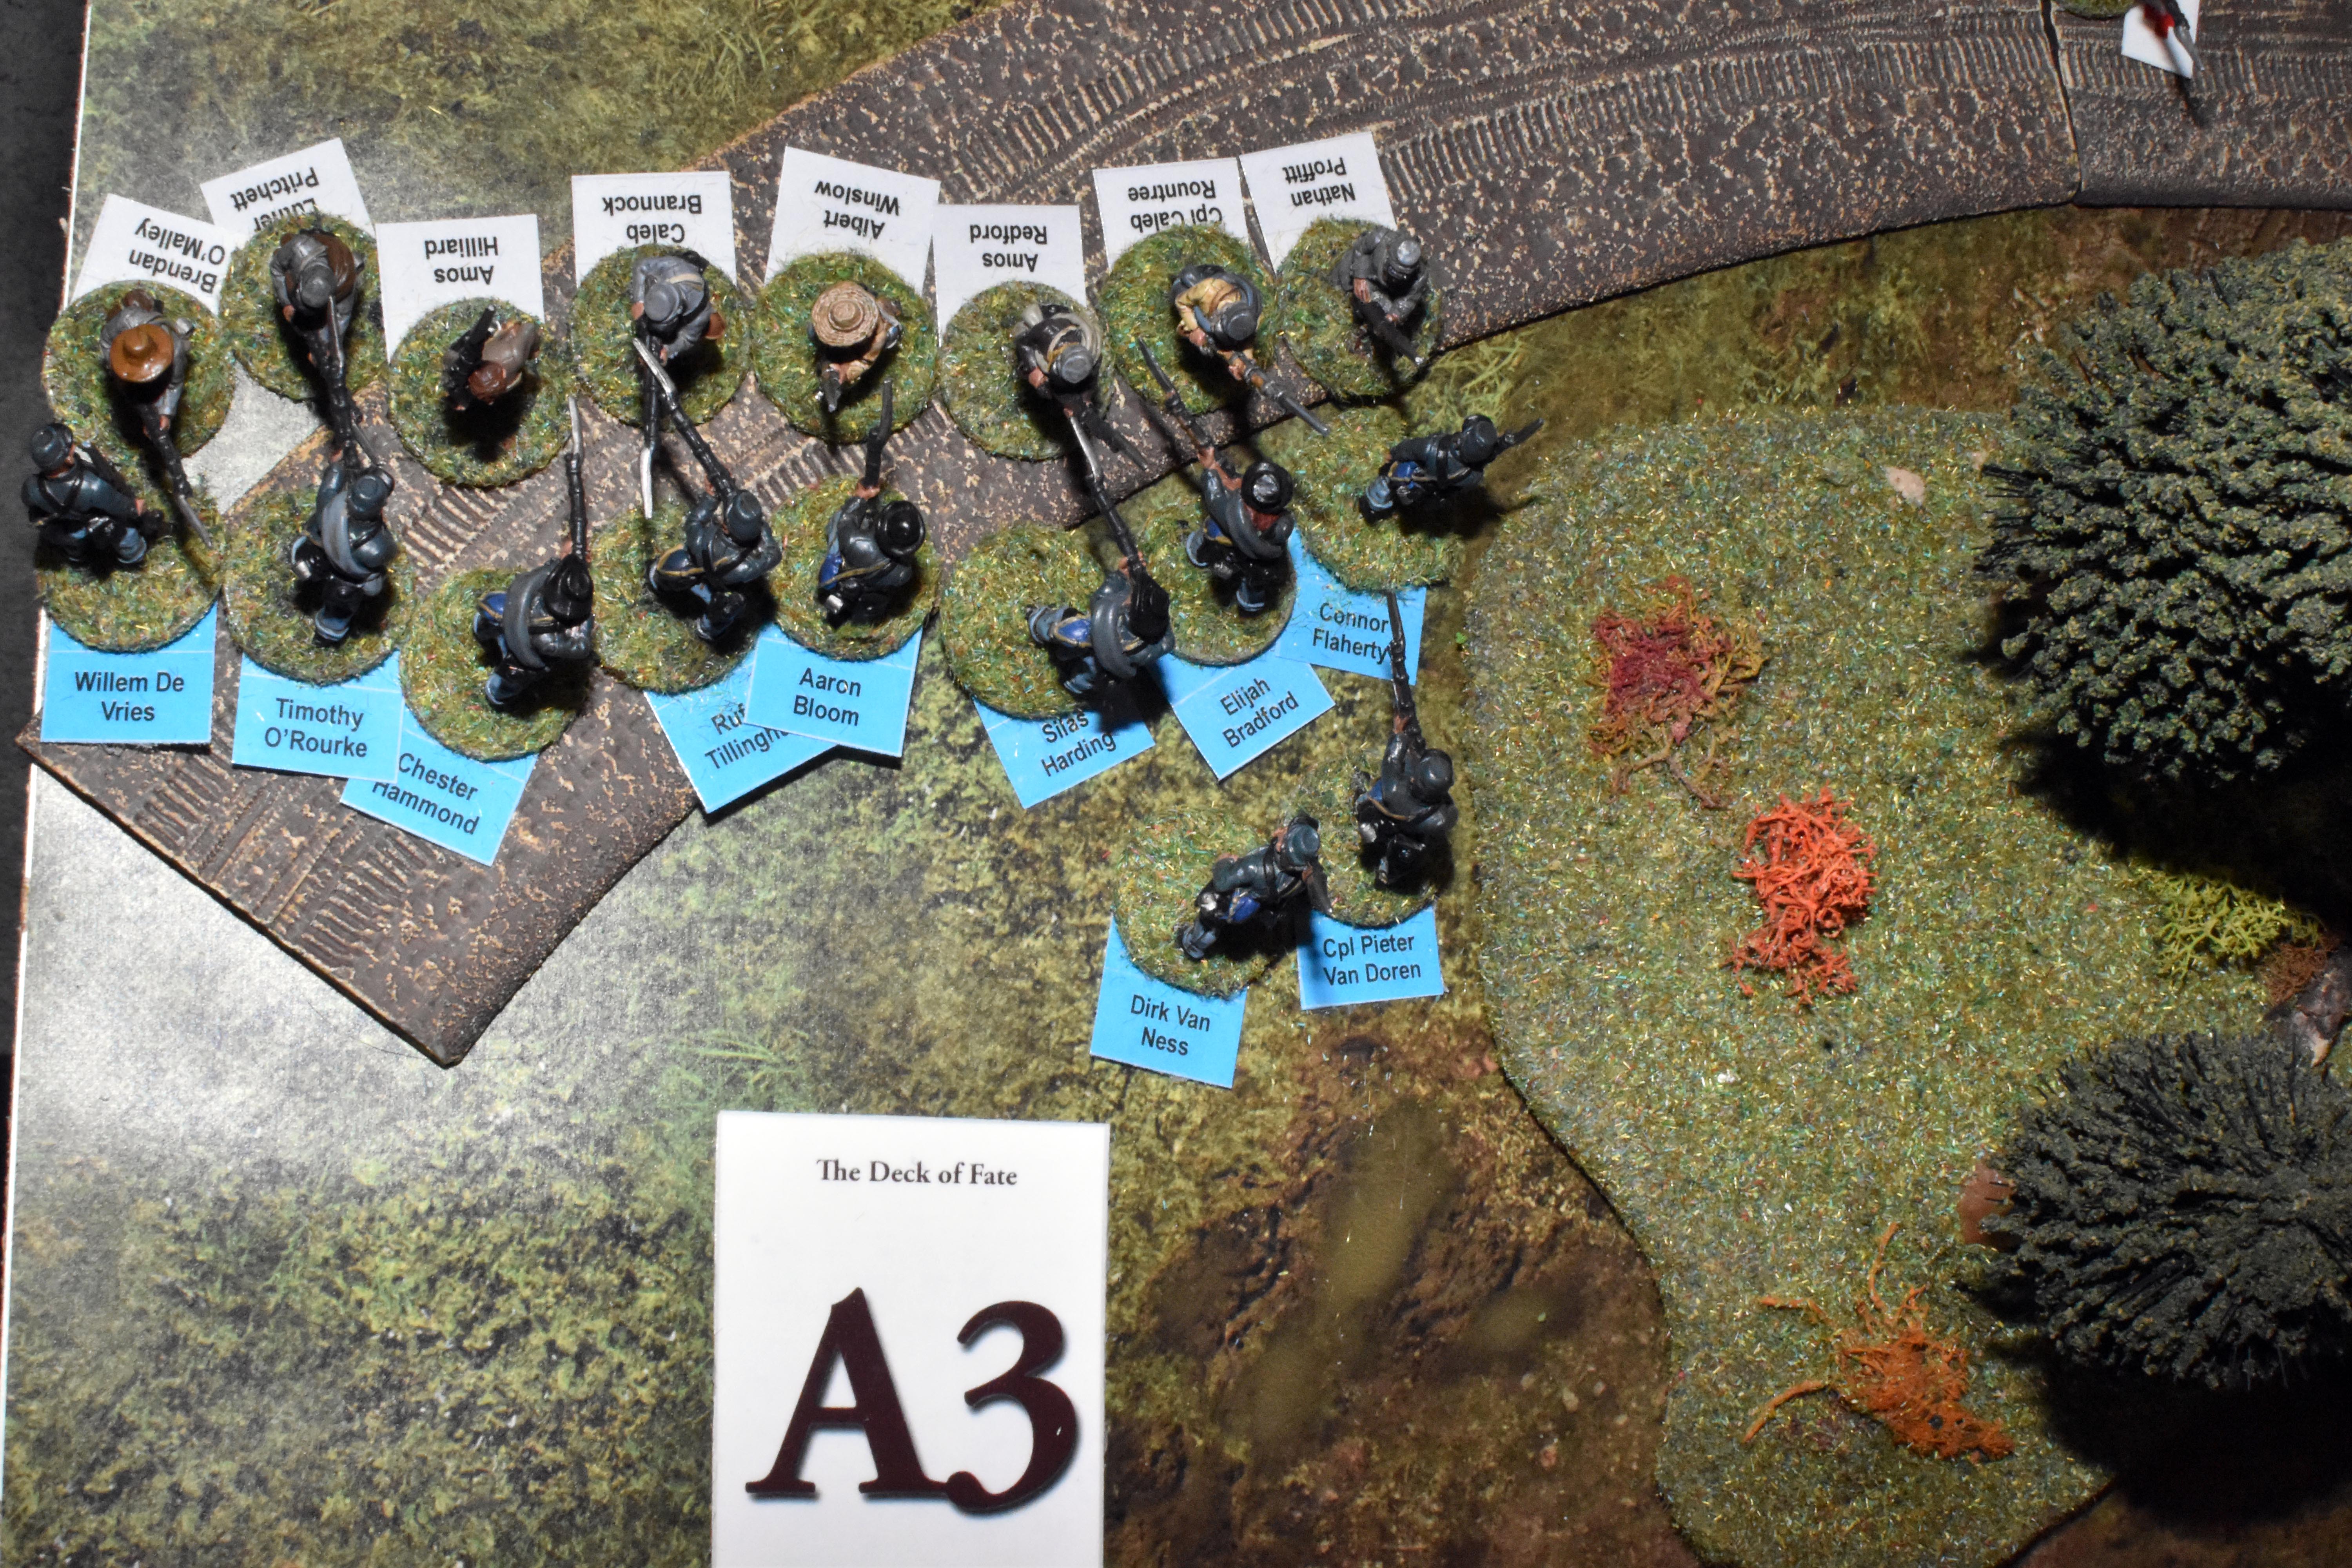
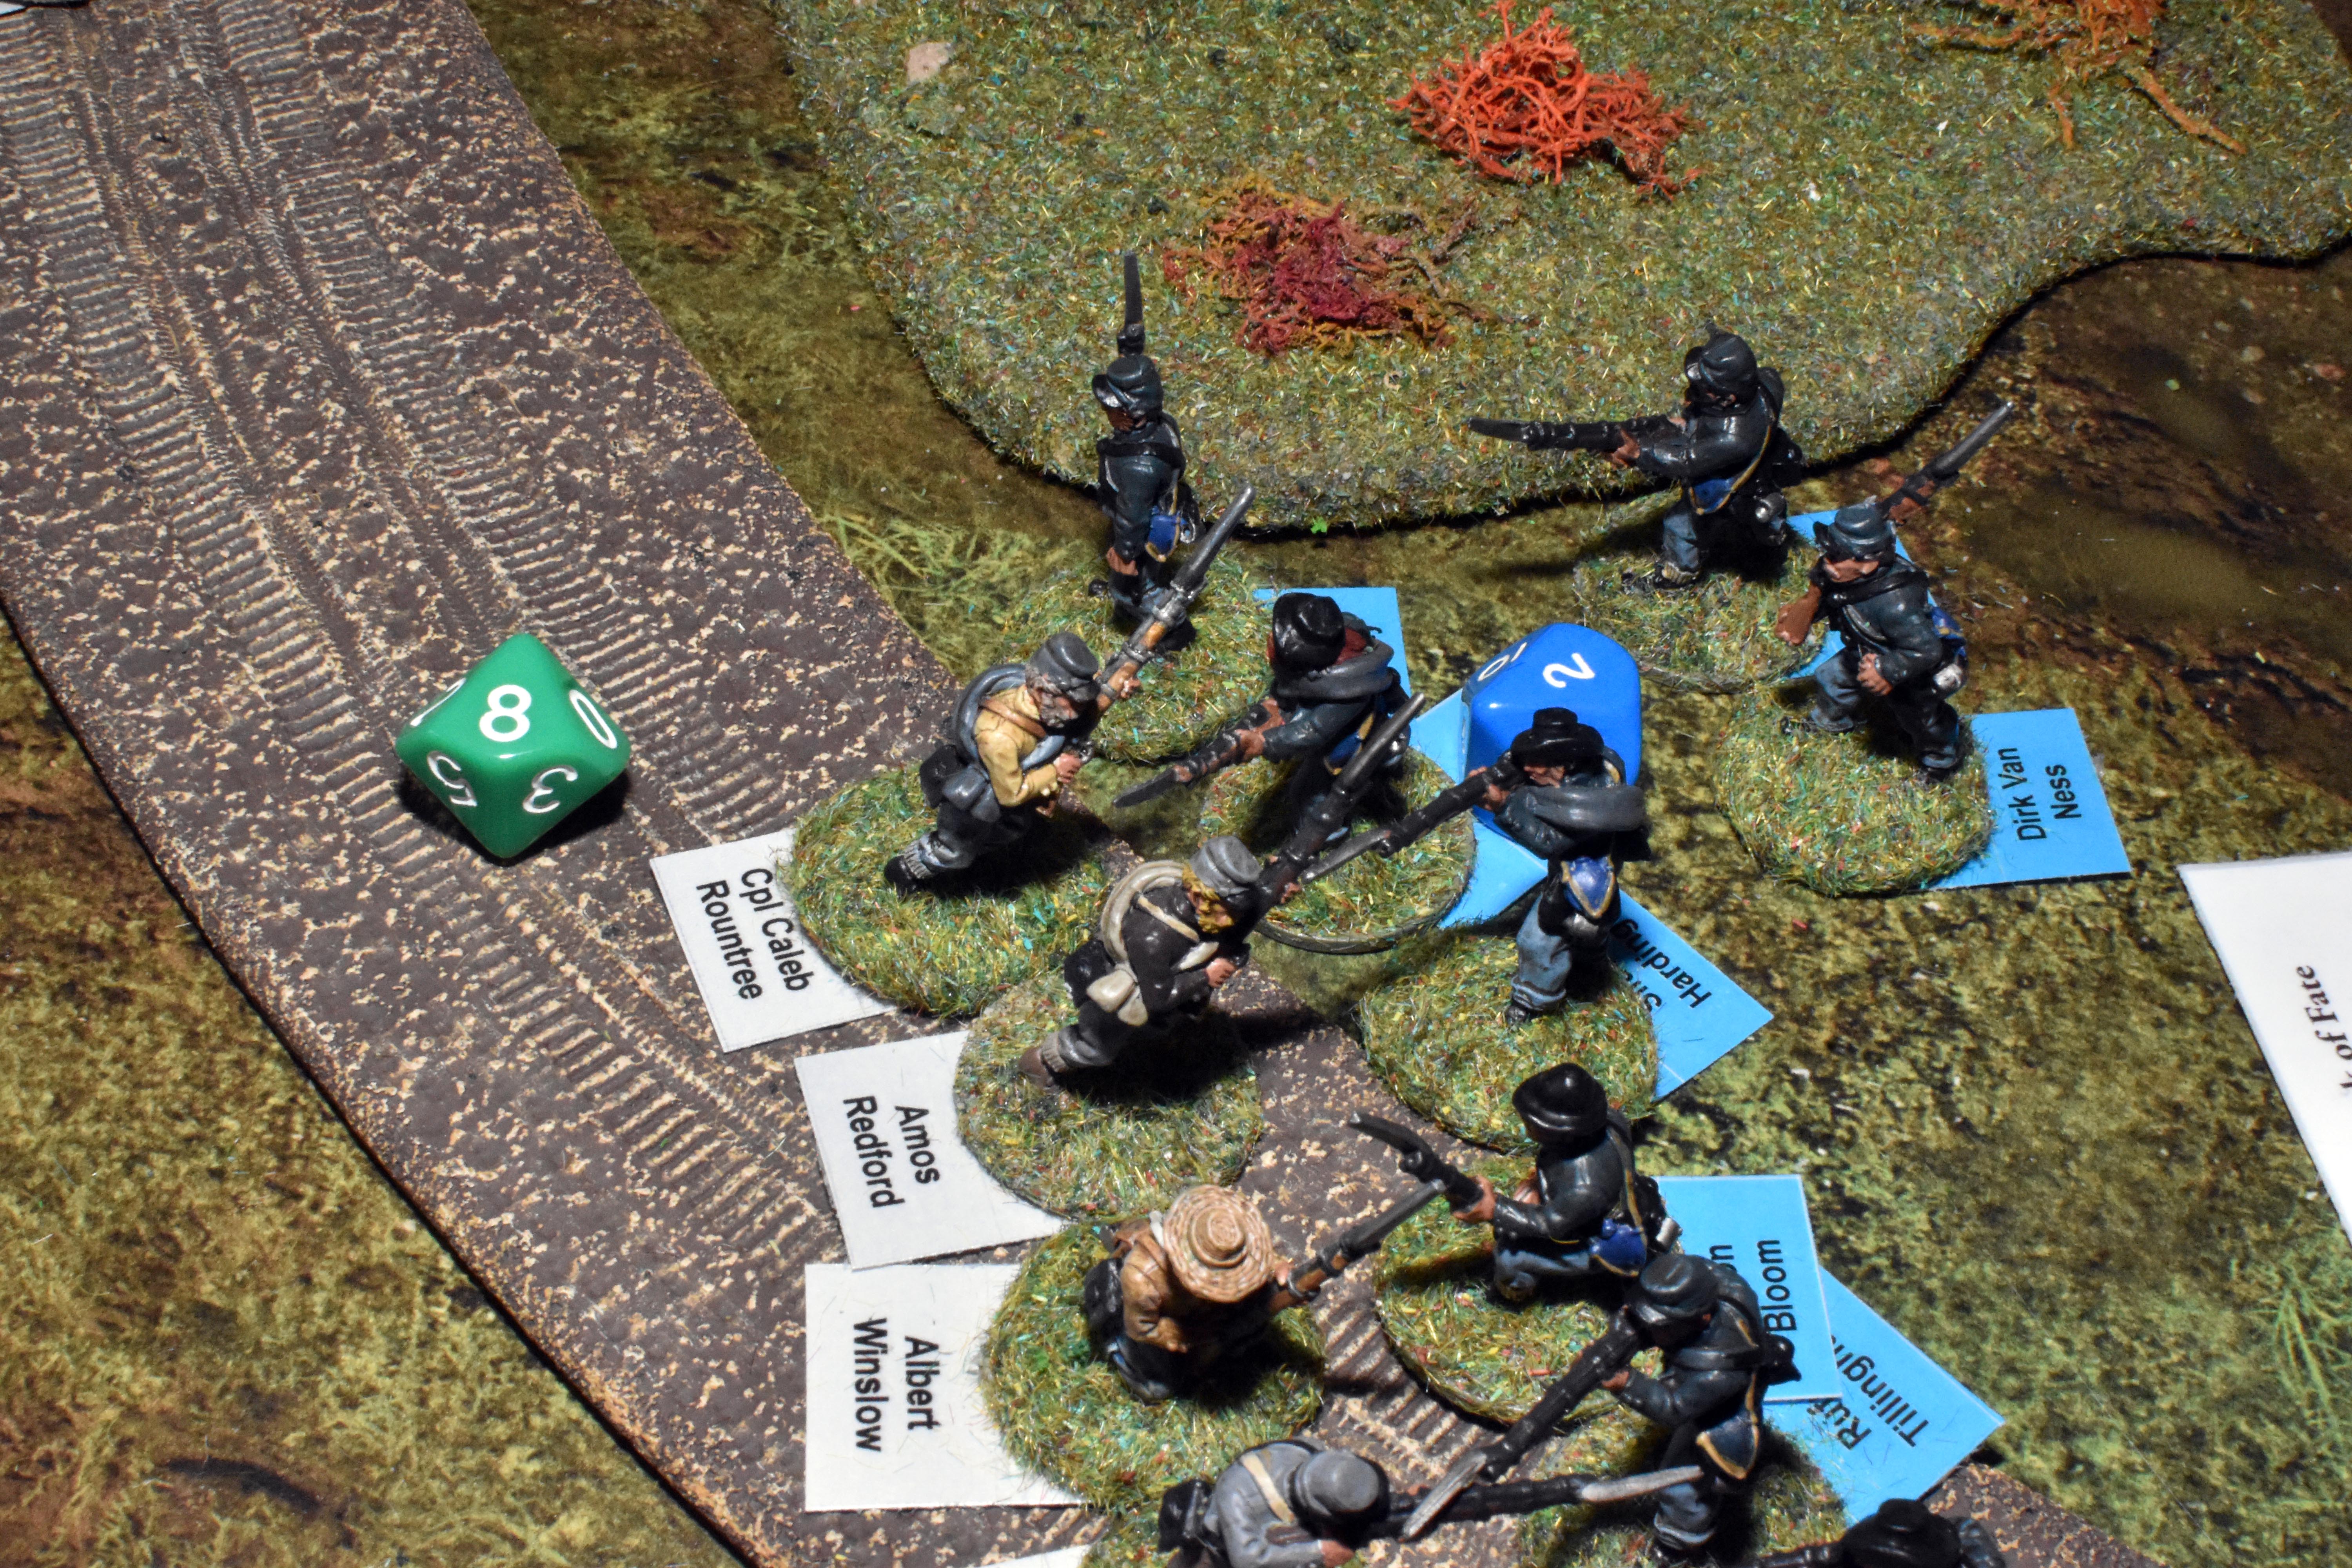
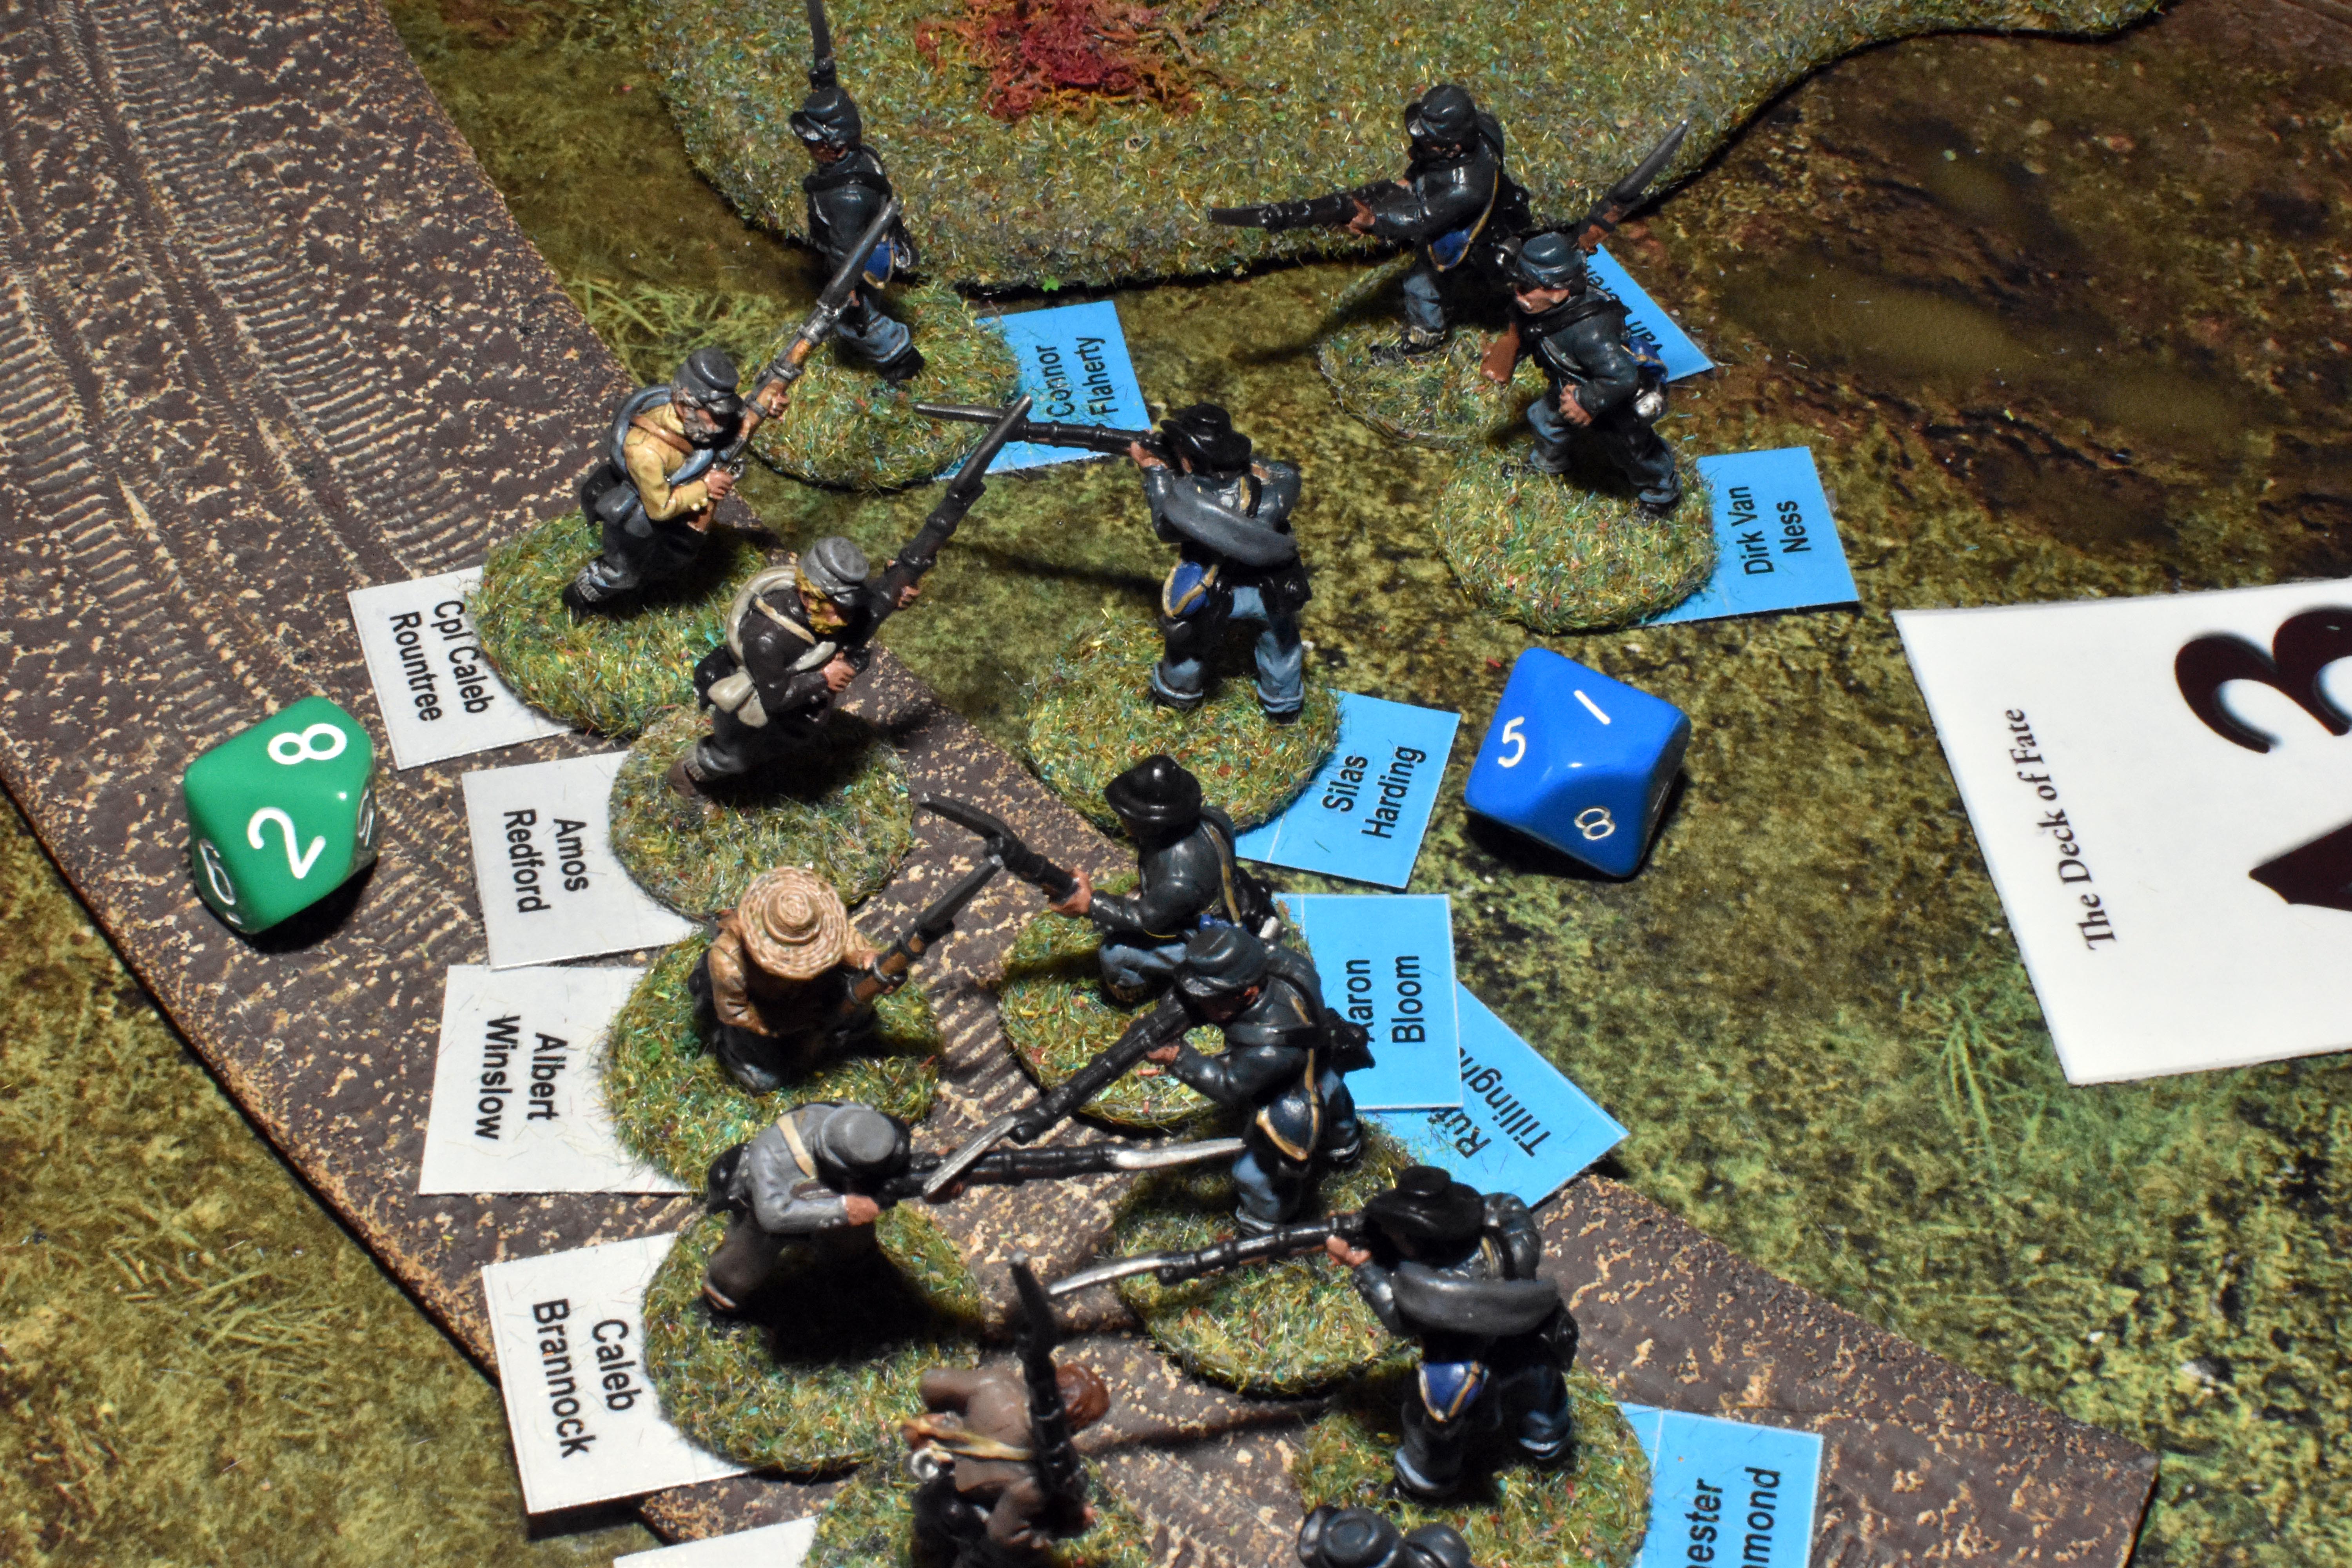
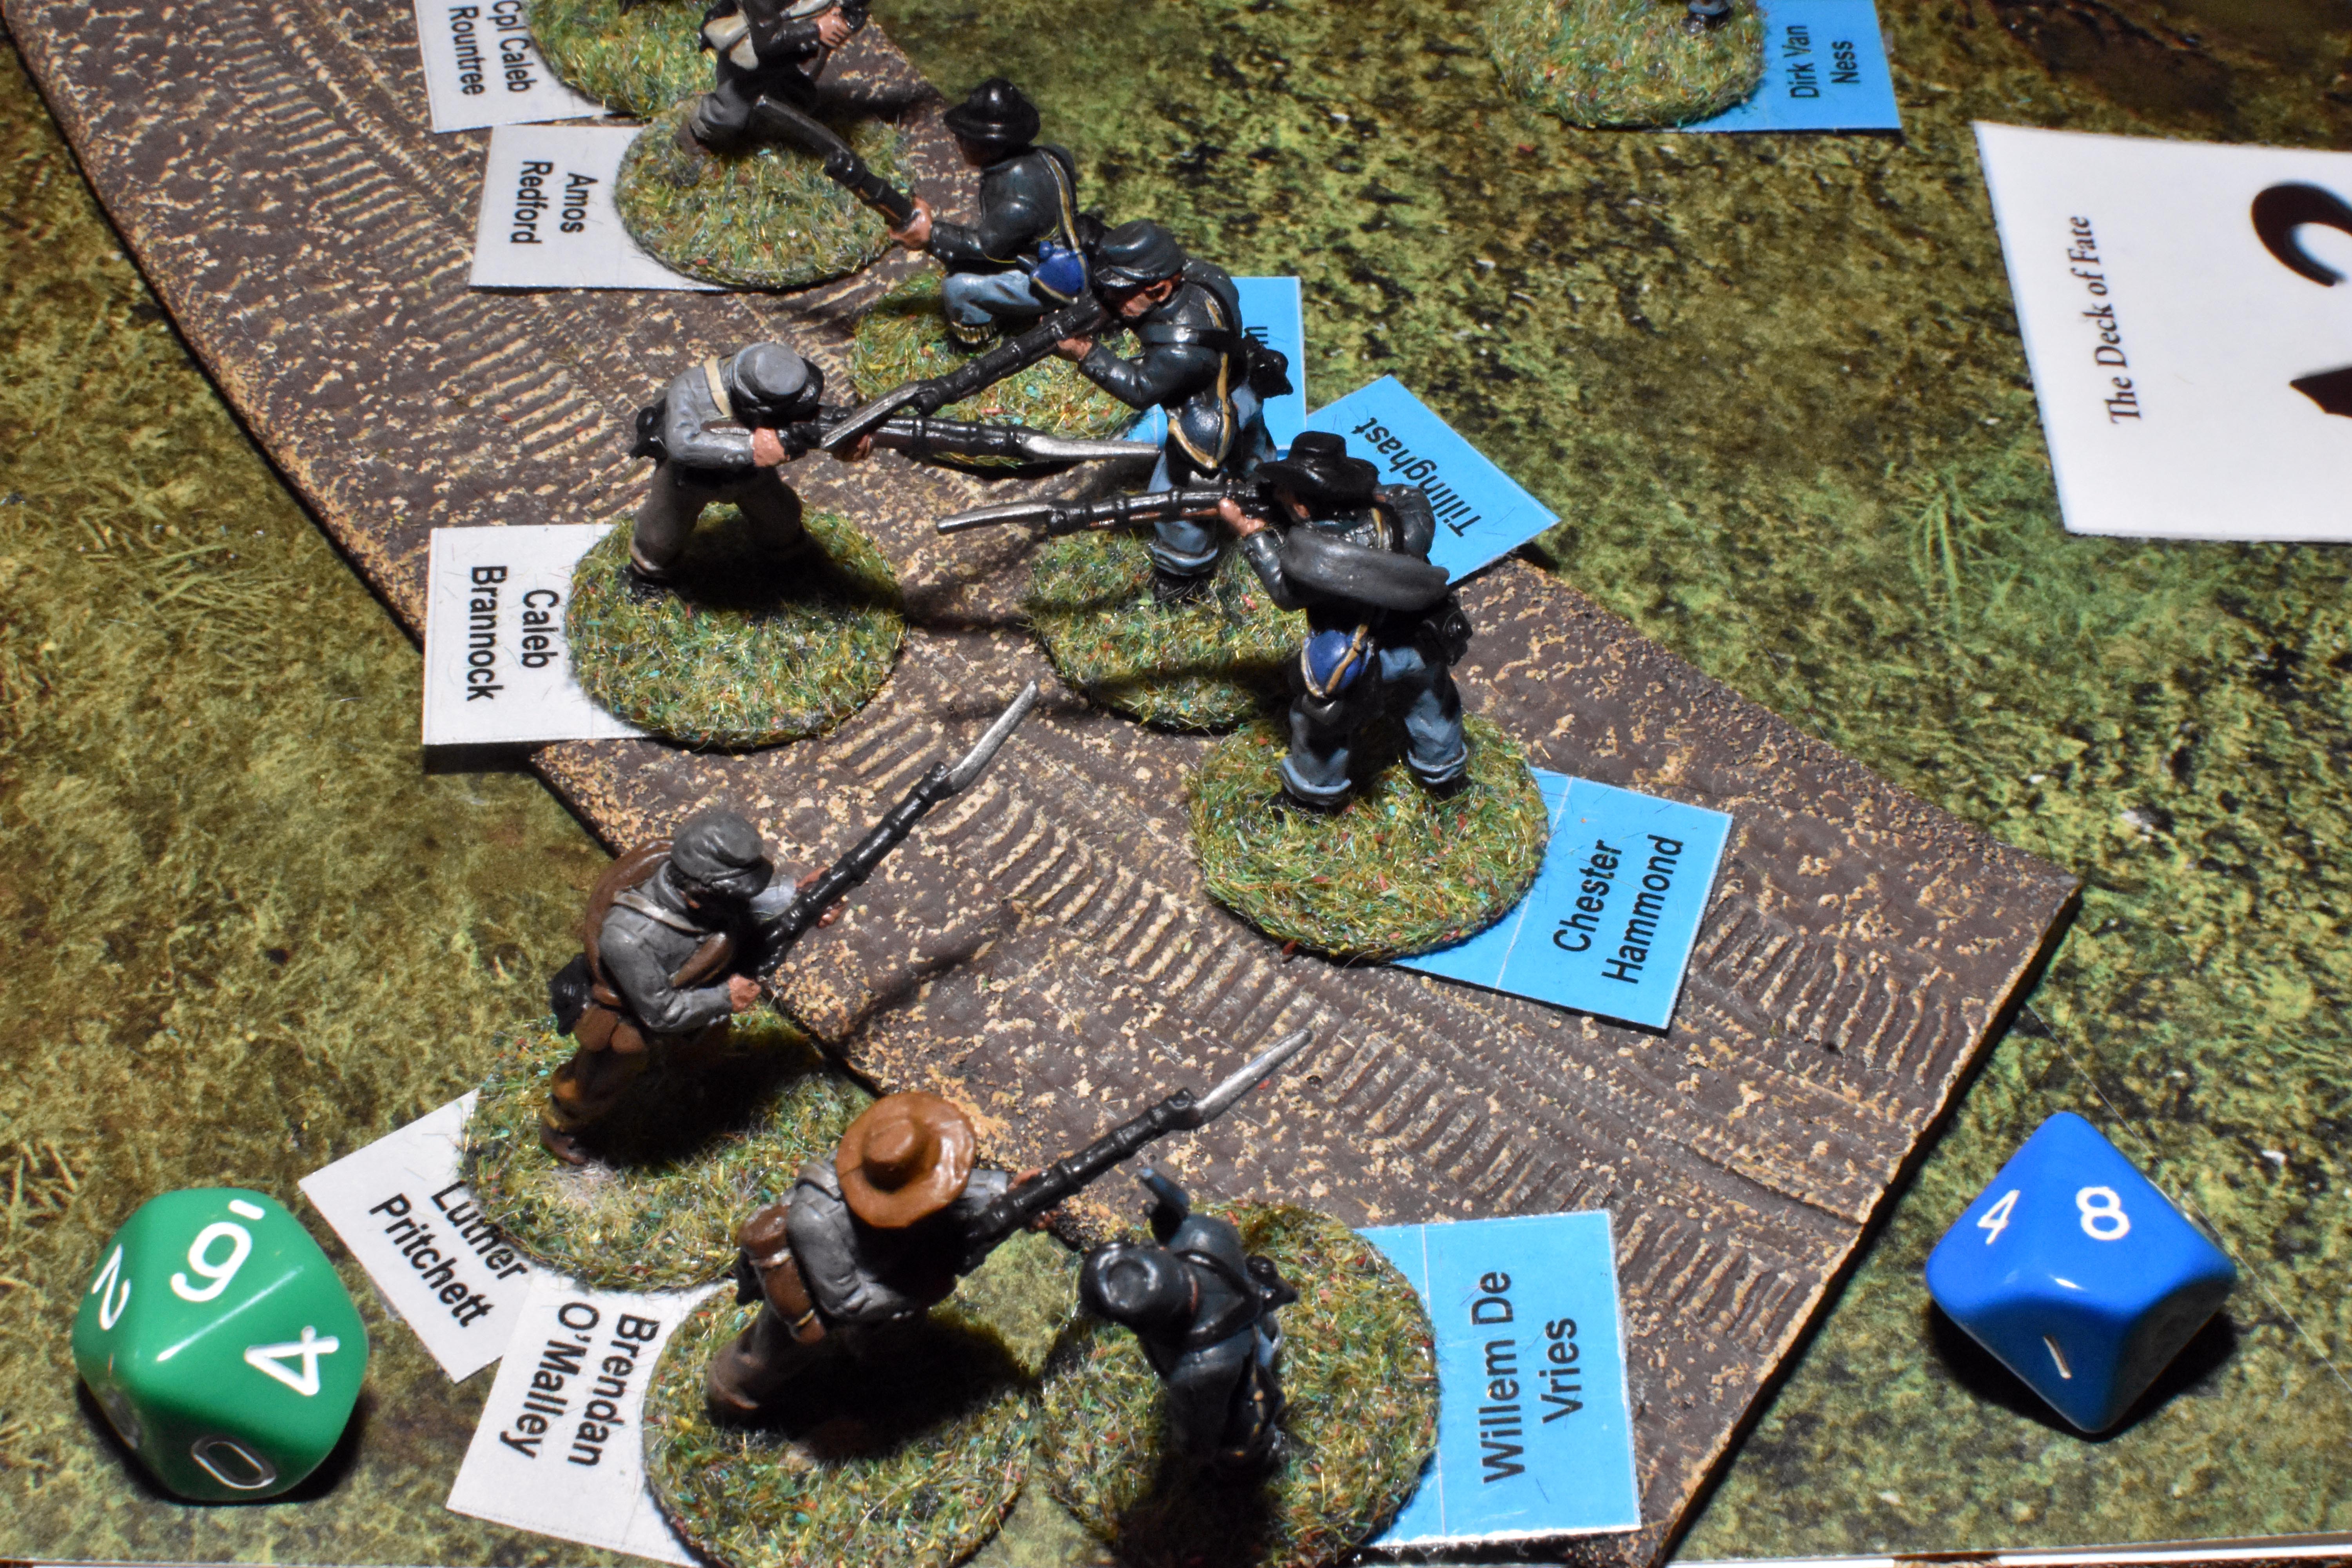
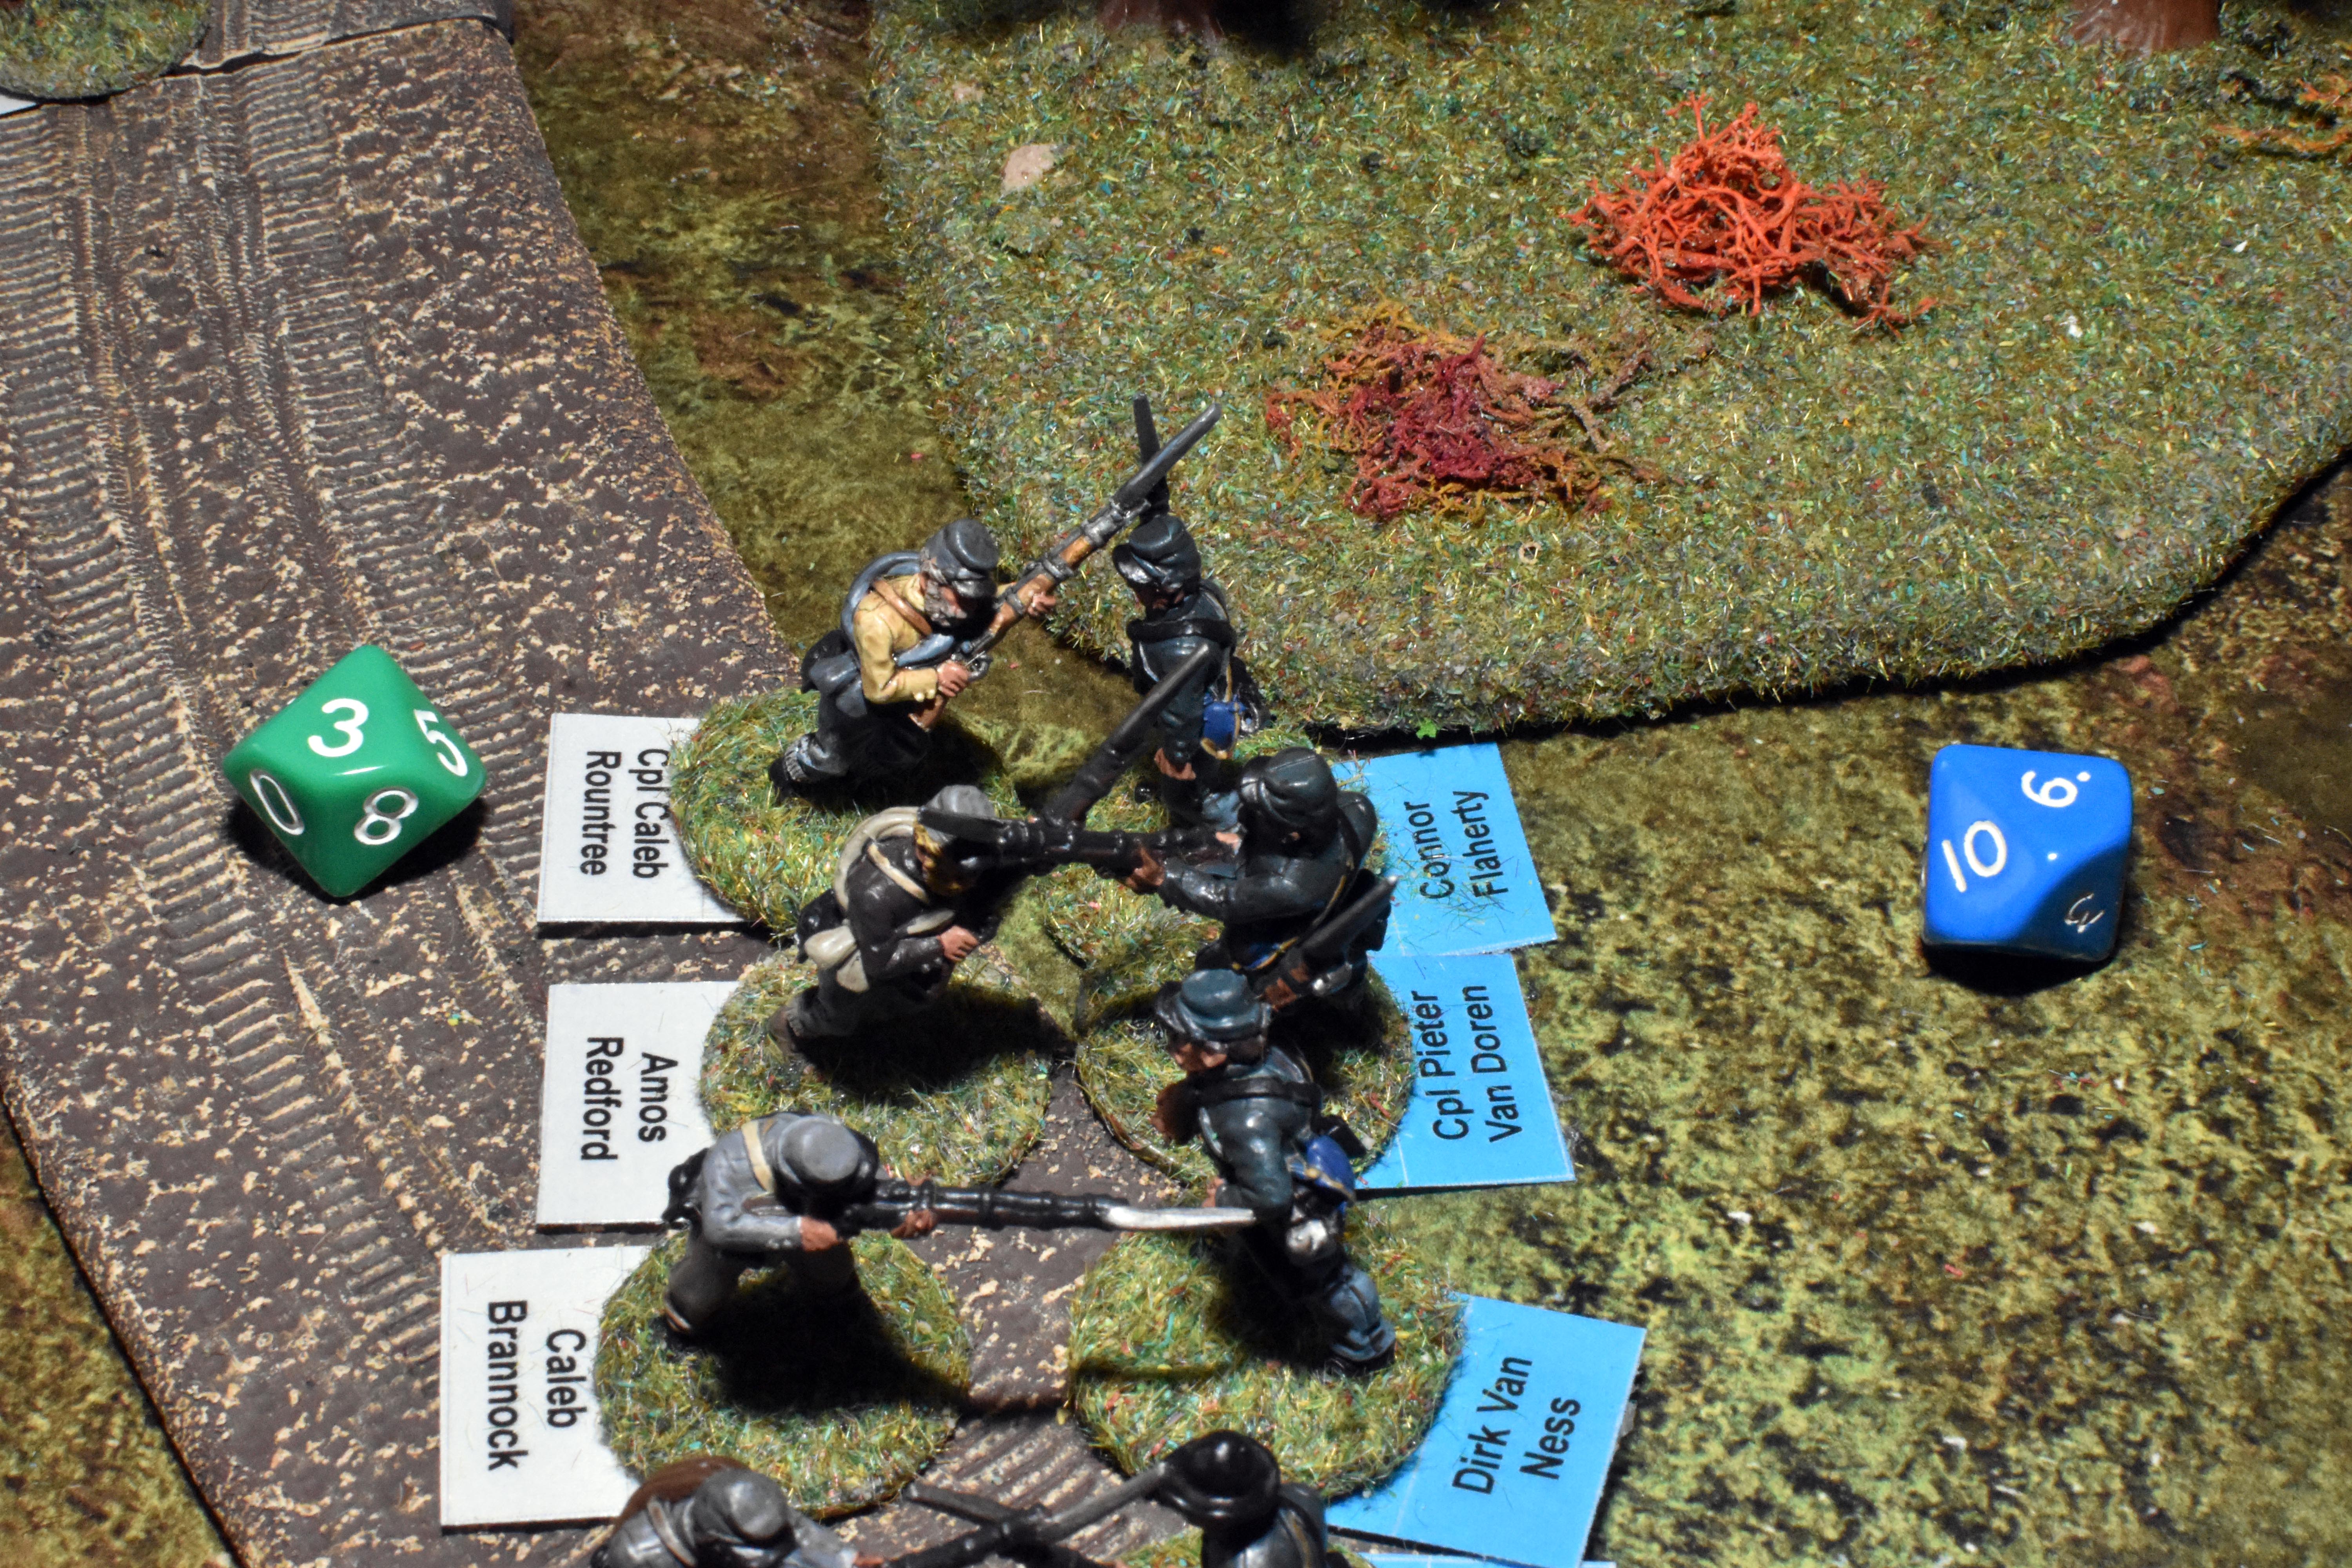
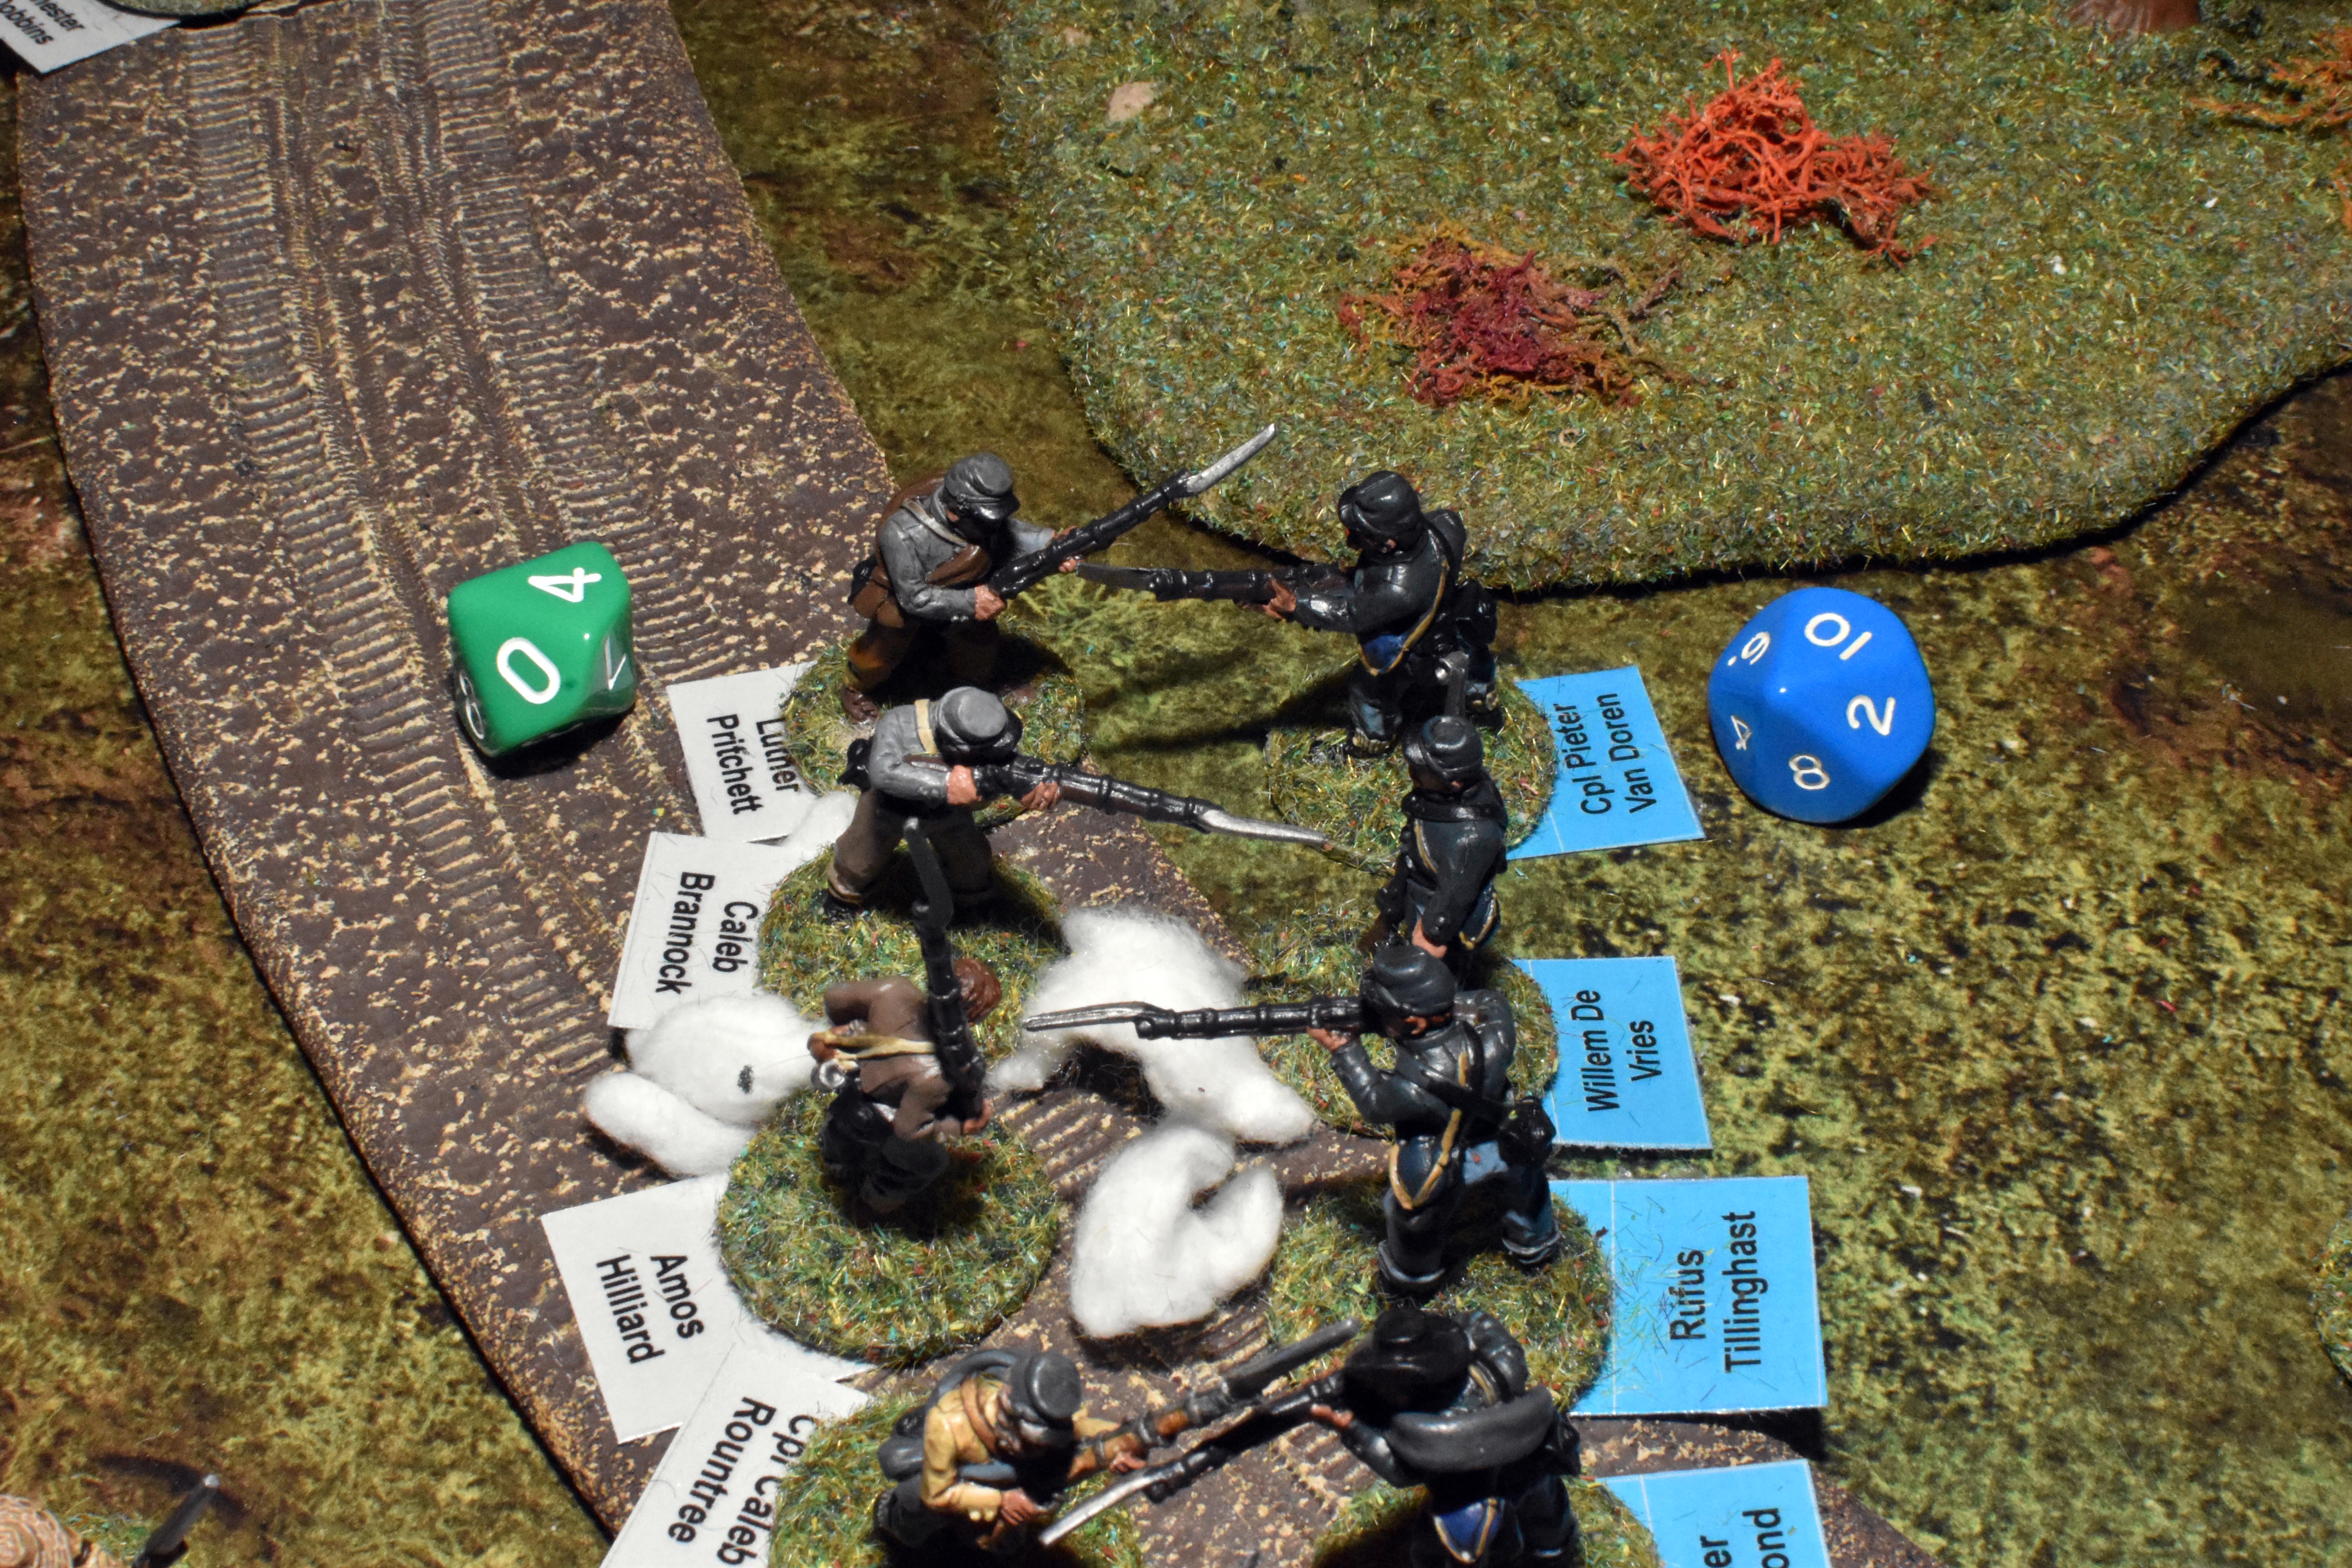
| The yankees outnumber the rebels so they have 2 ready for the next round. As they are charging they get a +1 in this first round. The rebels get +1 for being veteran but they do not get +1 for being aggressive. That only occurs when they are the chargers. They both have bayonets and they both are well trained. So overall evens in the first round and then a +1 to the rebels in subsequent rounds (corporals get a +1 also) | Bloody start with a Yankee bayoneting a rebel | but soon death returns to the Union side | And another Yankee is felled |
|
|
|
|
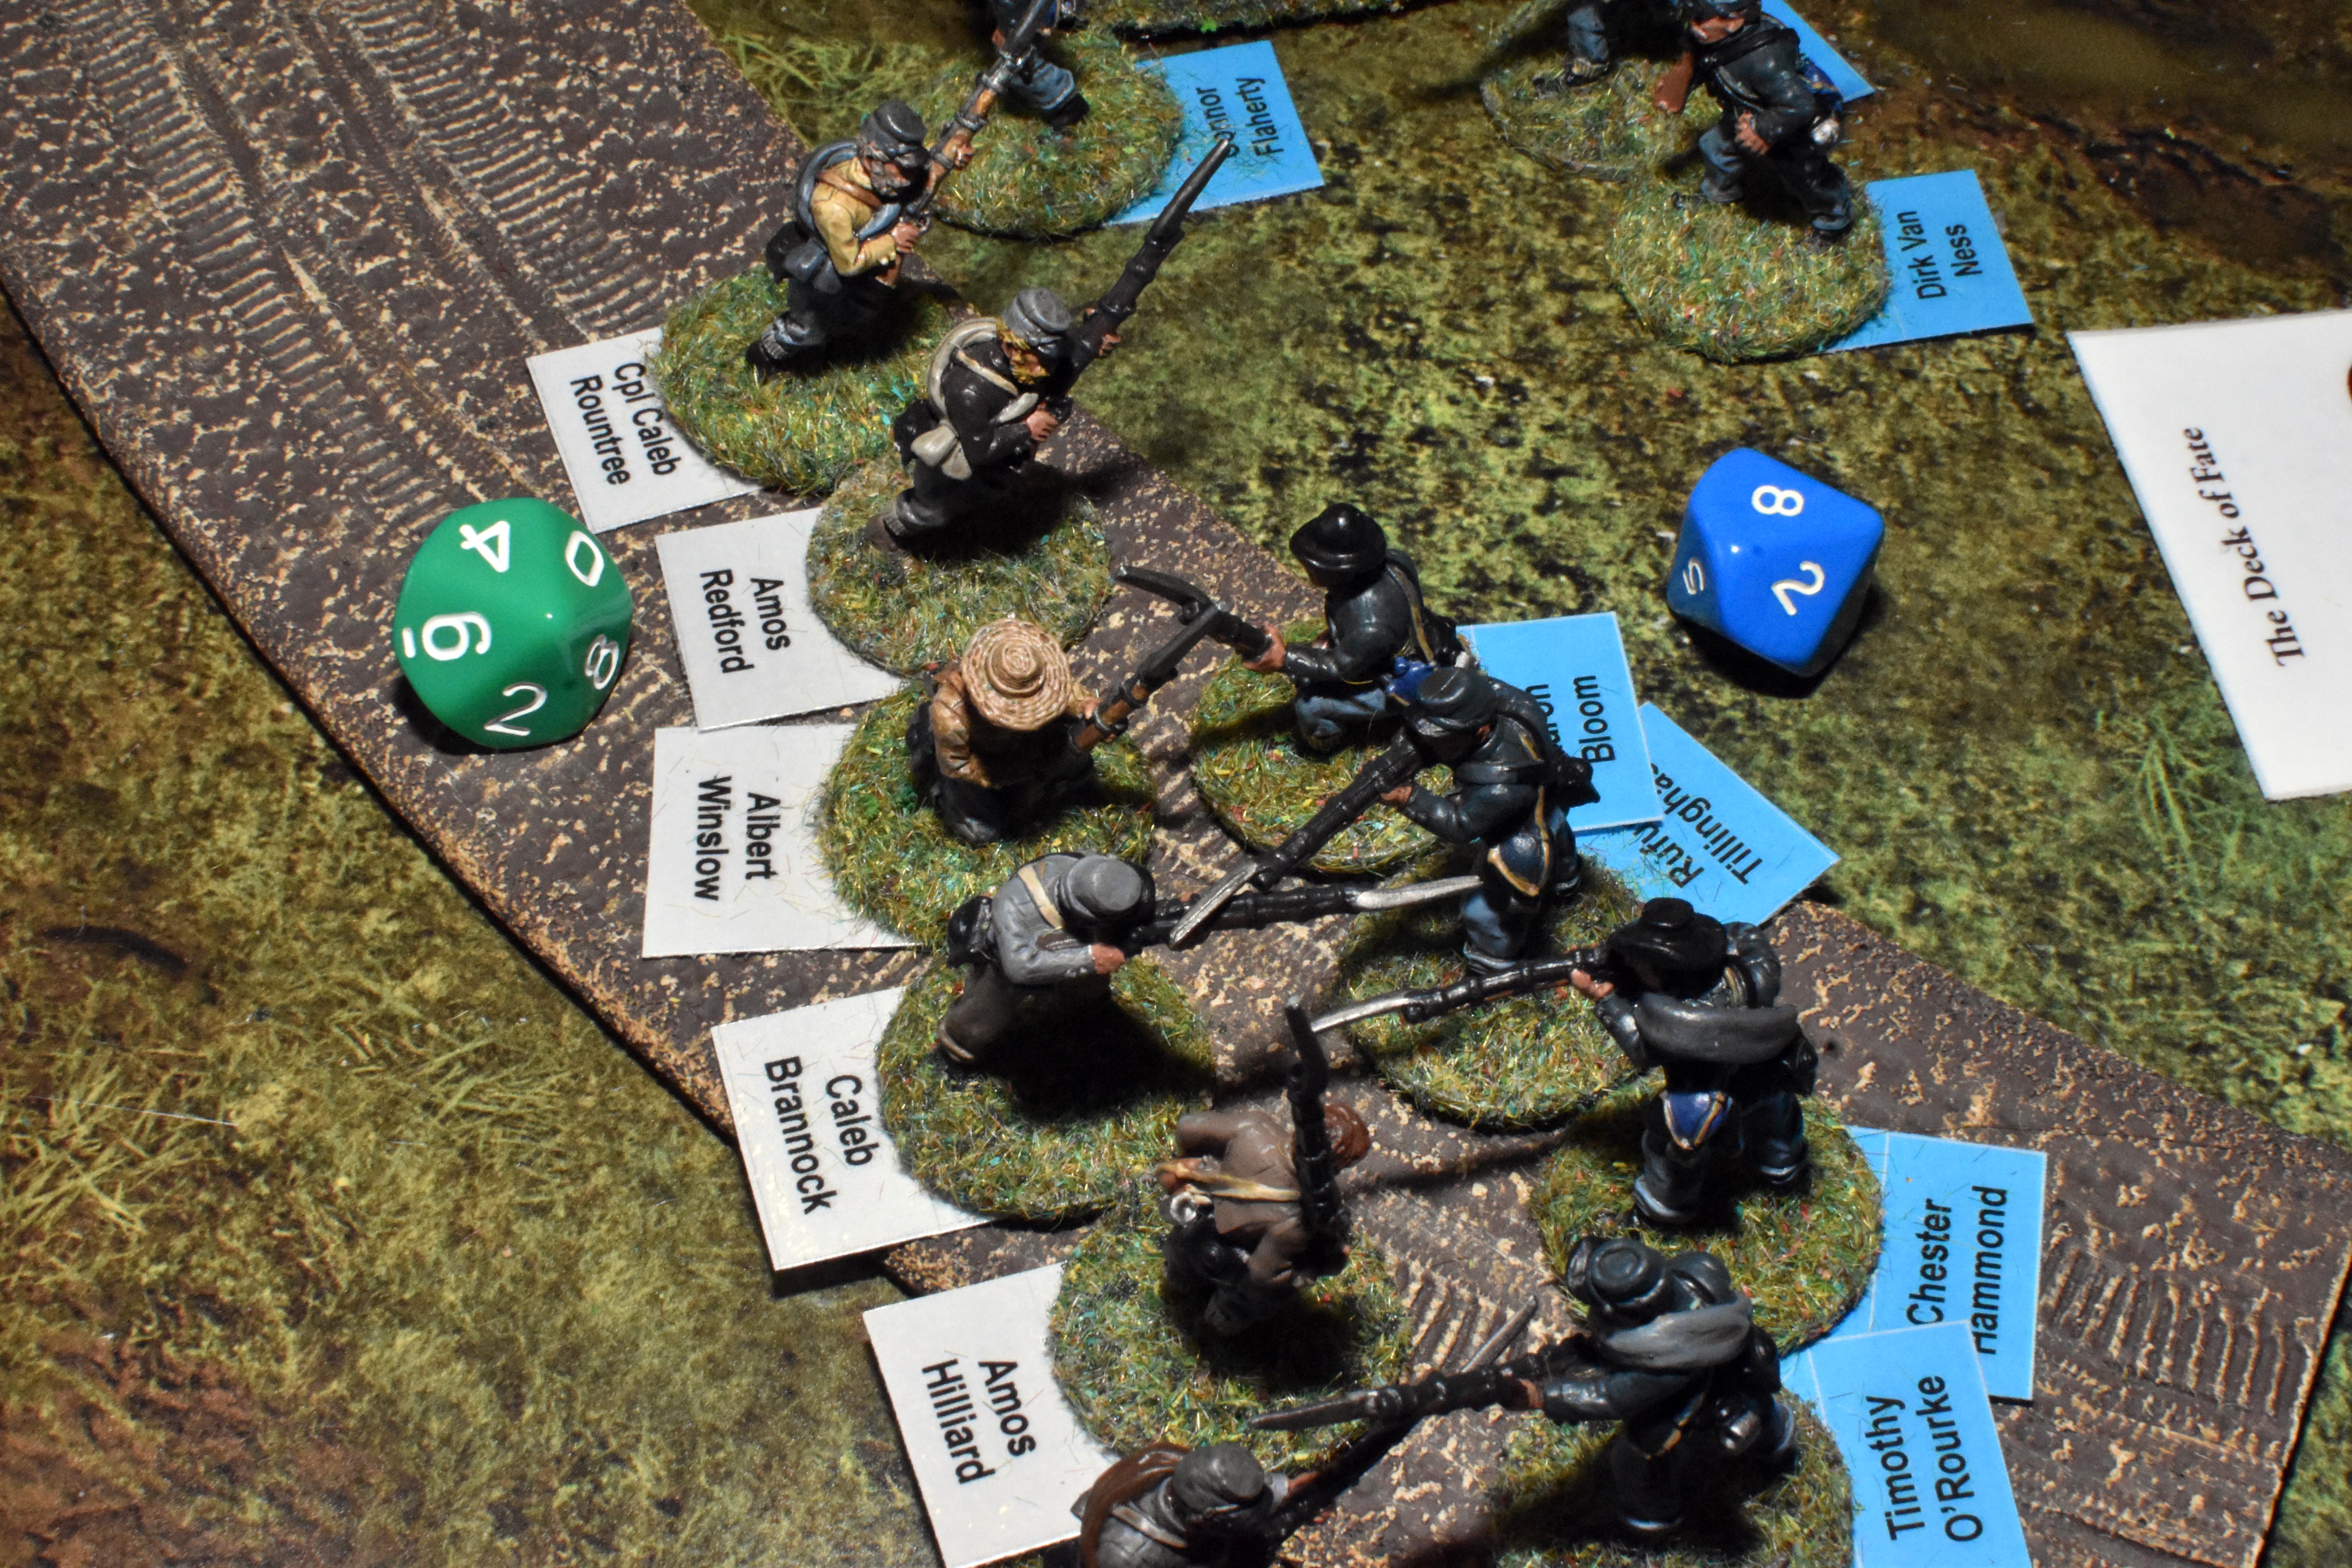
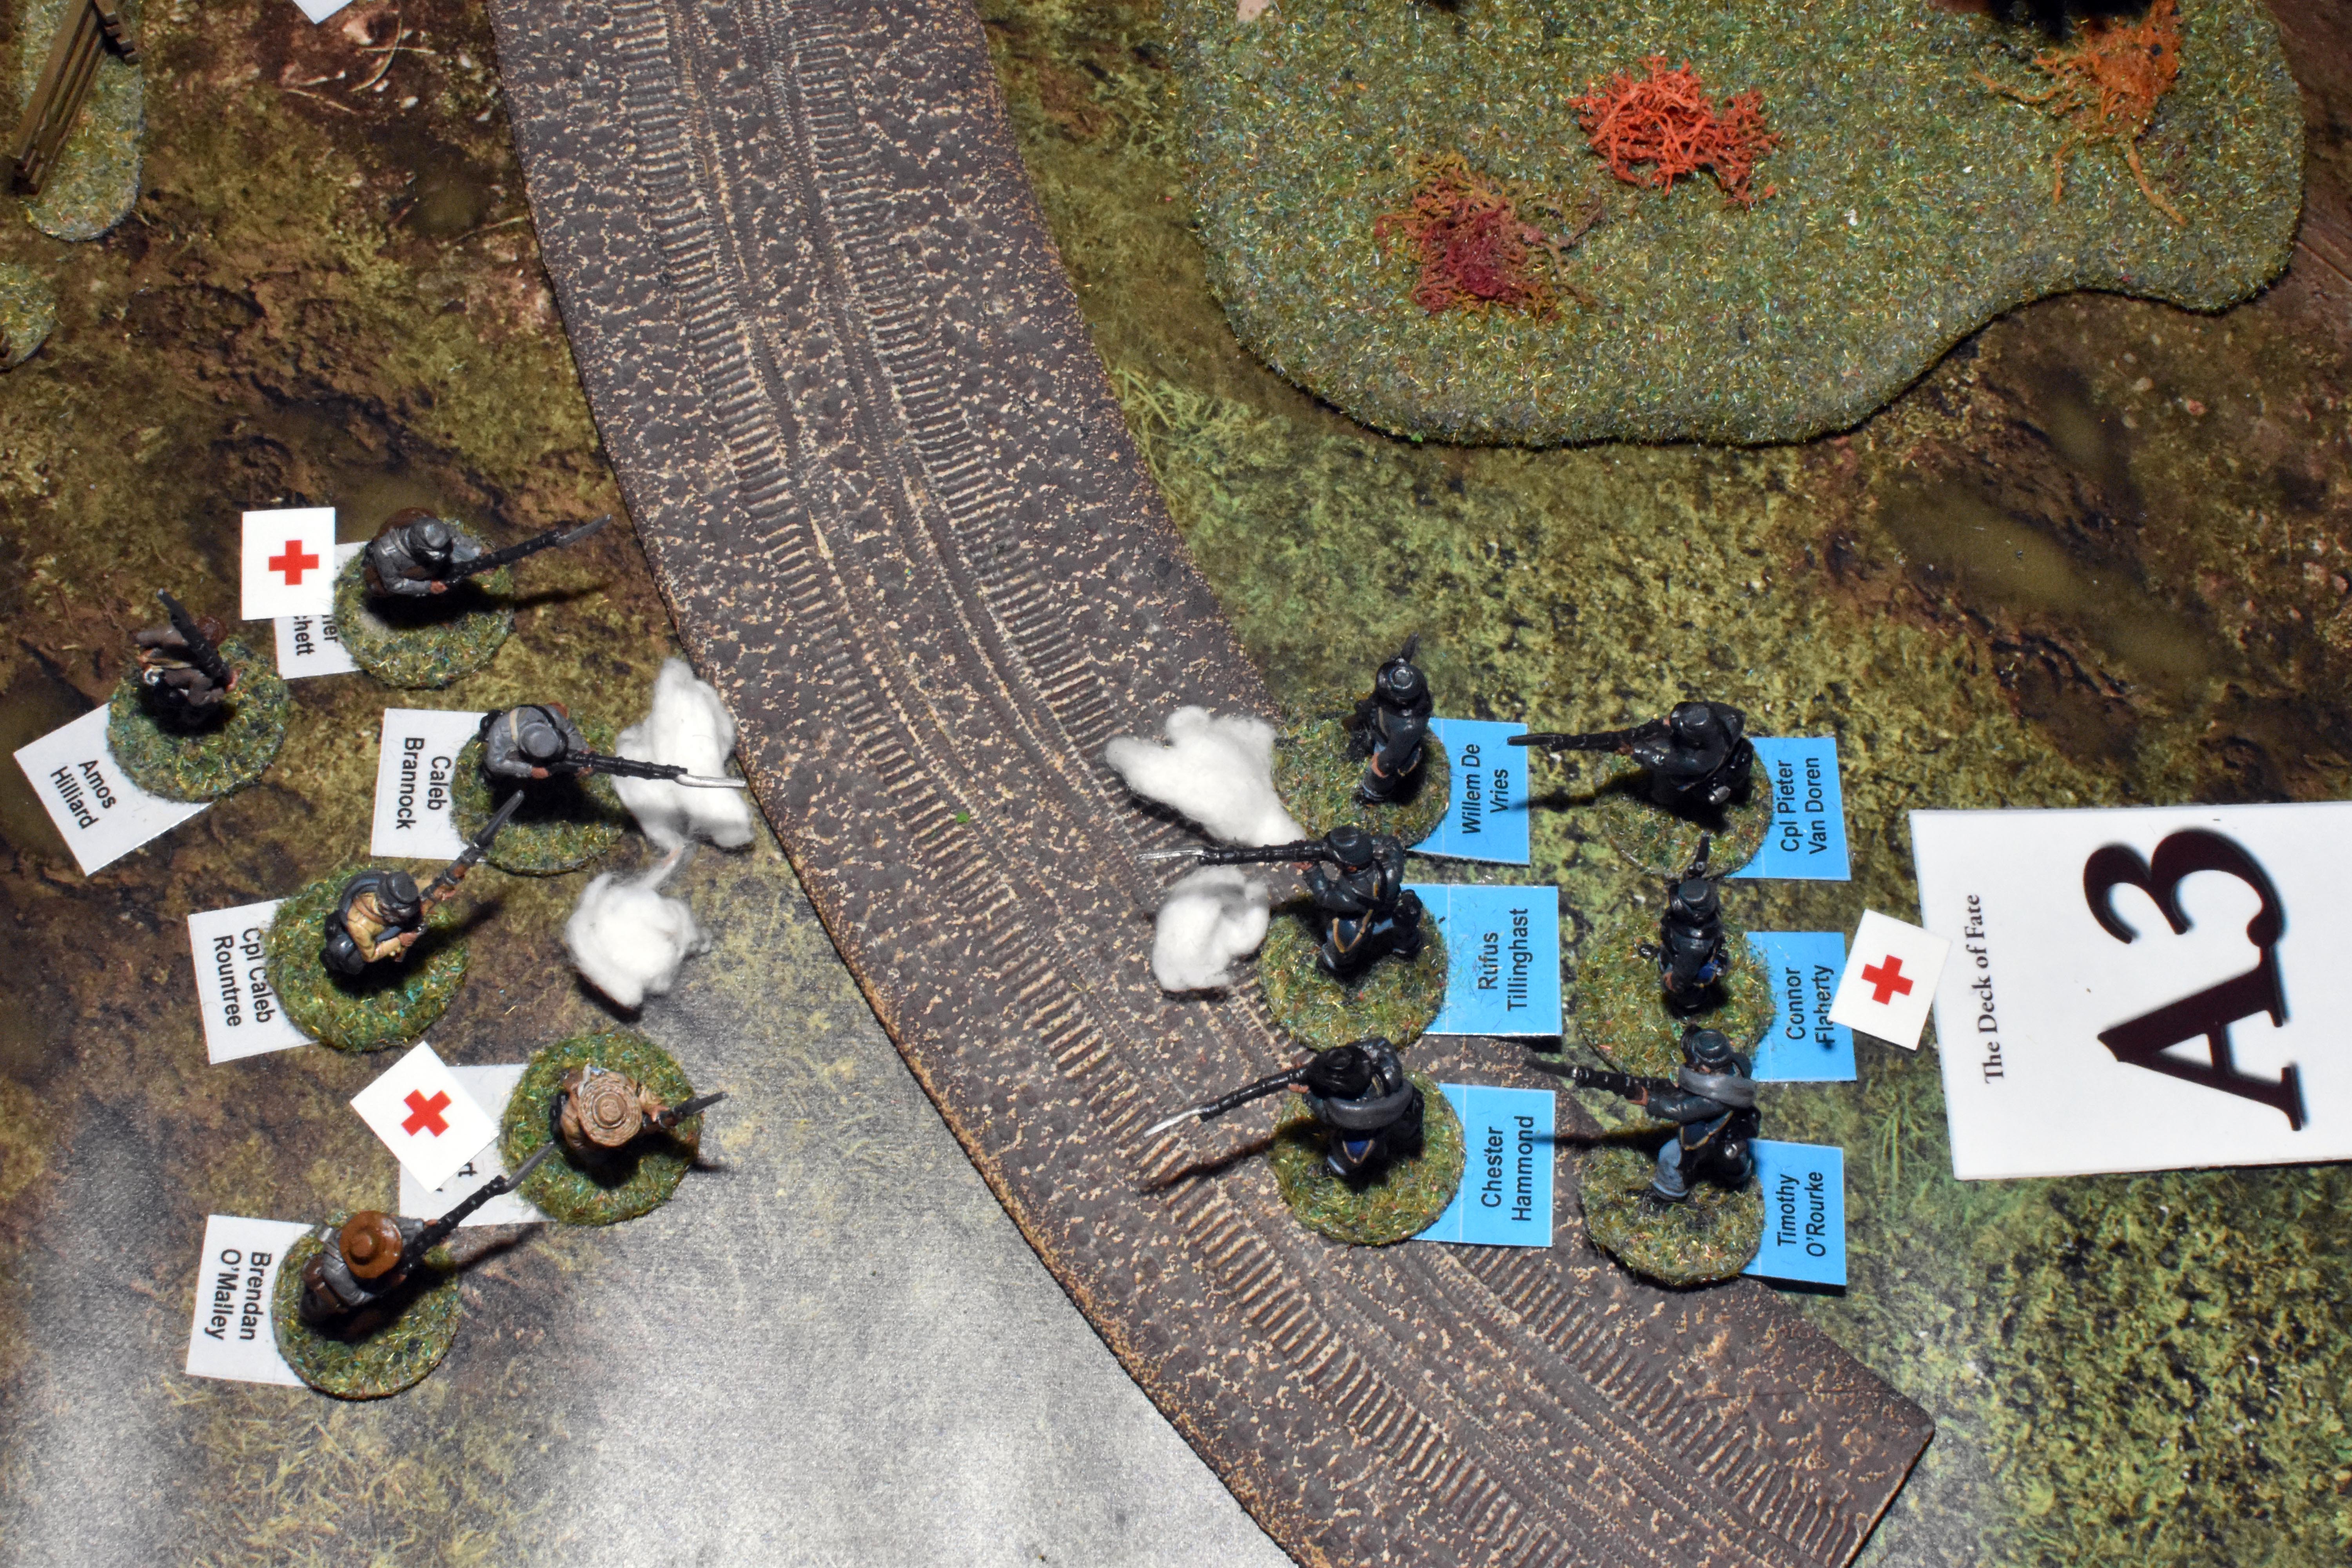
| Here Albert must retreat 3" wounded | Amos must retire 3" | Timothy must retire 3" | Brendan must retire 3" |
|
|
|
|
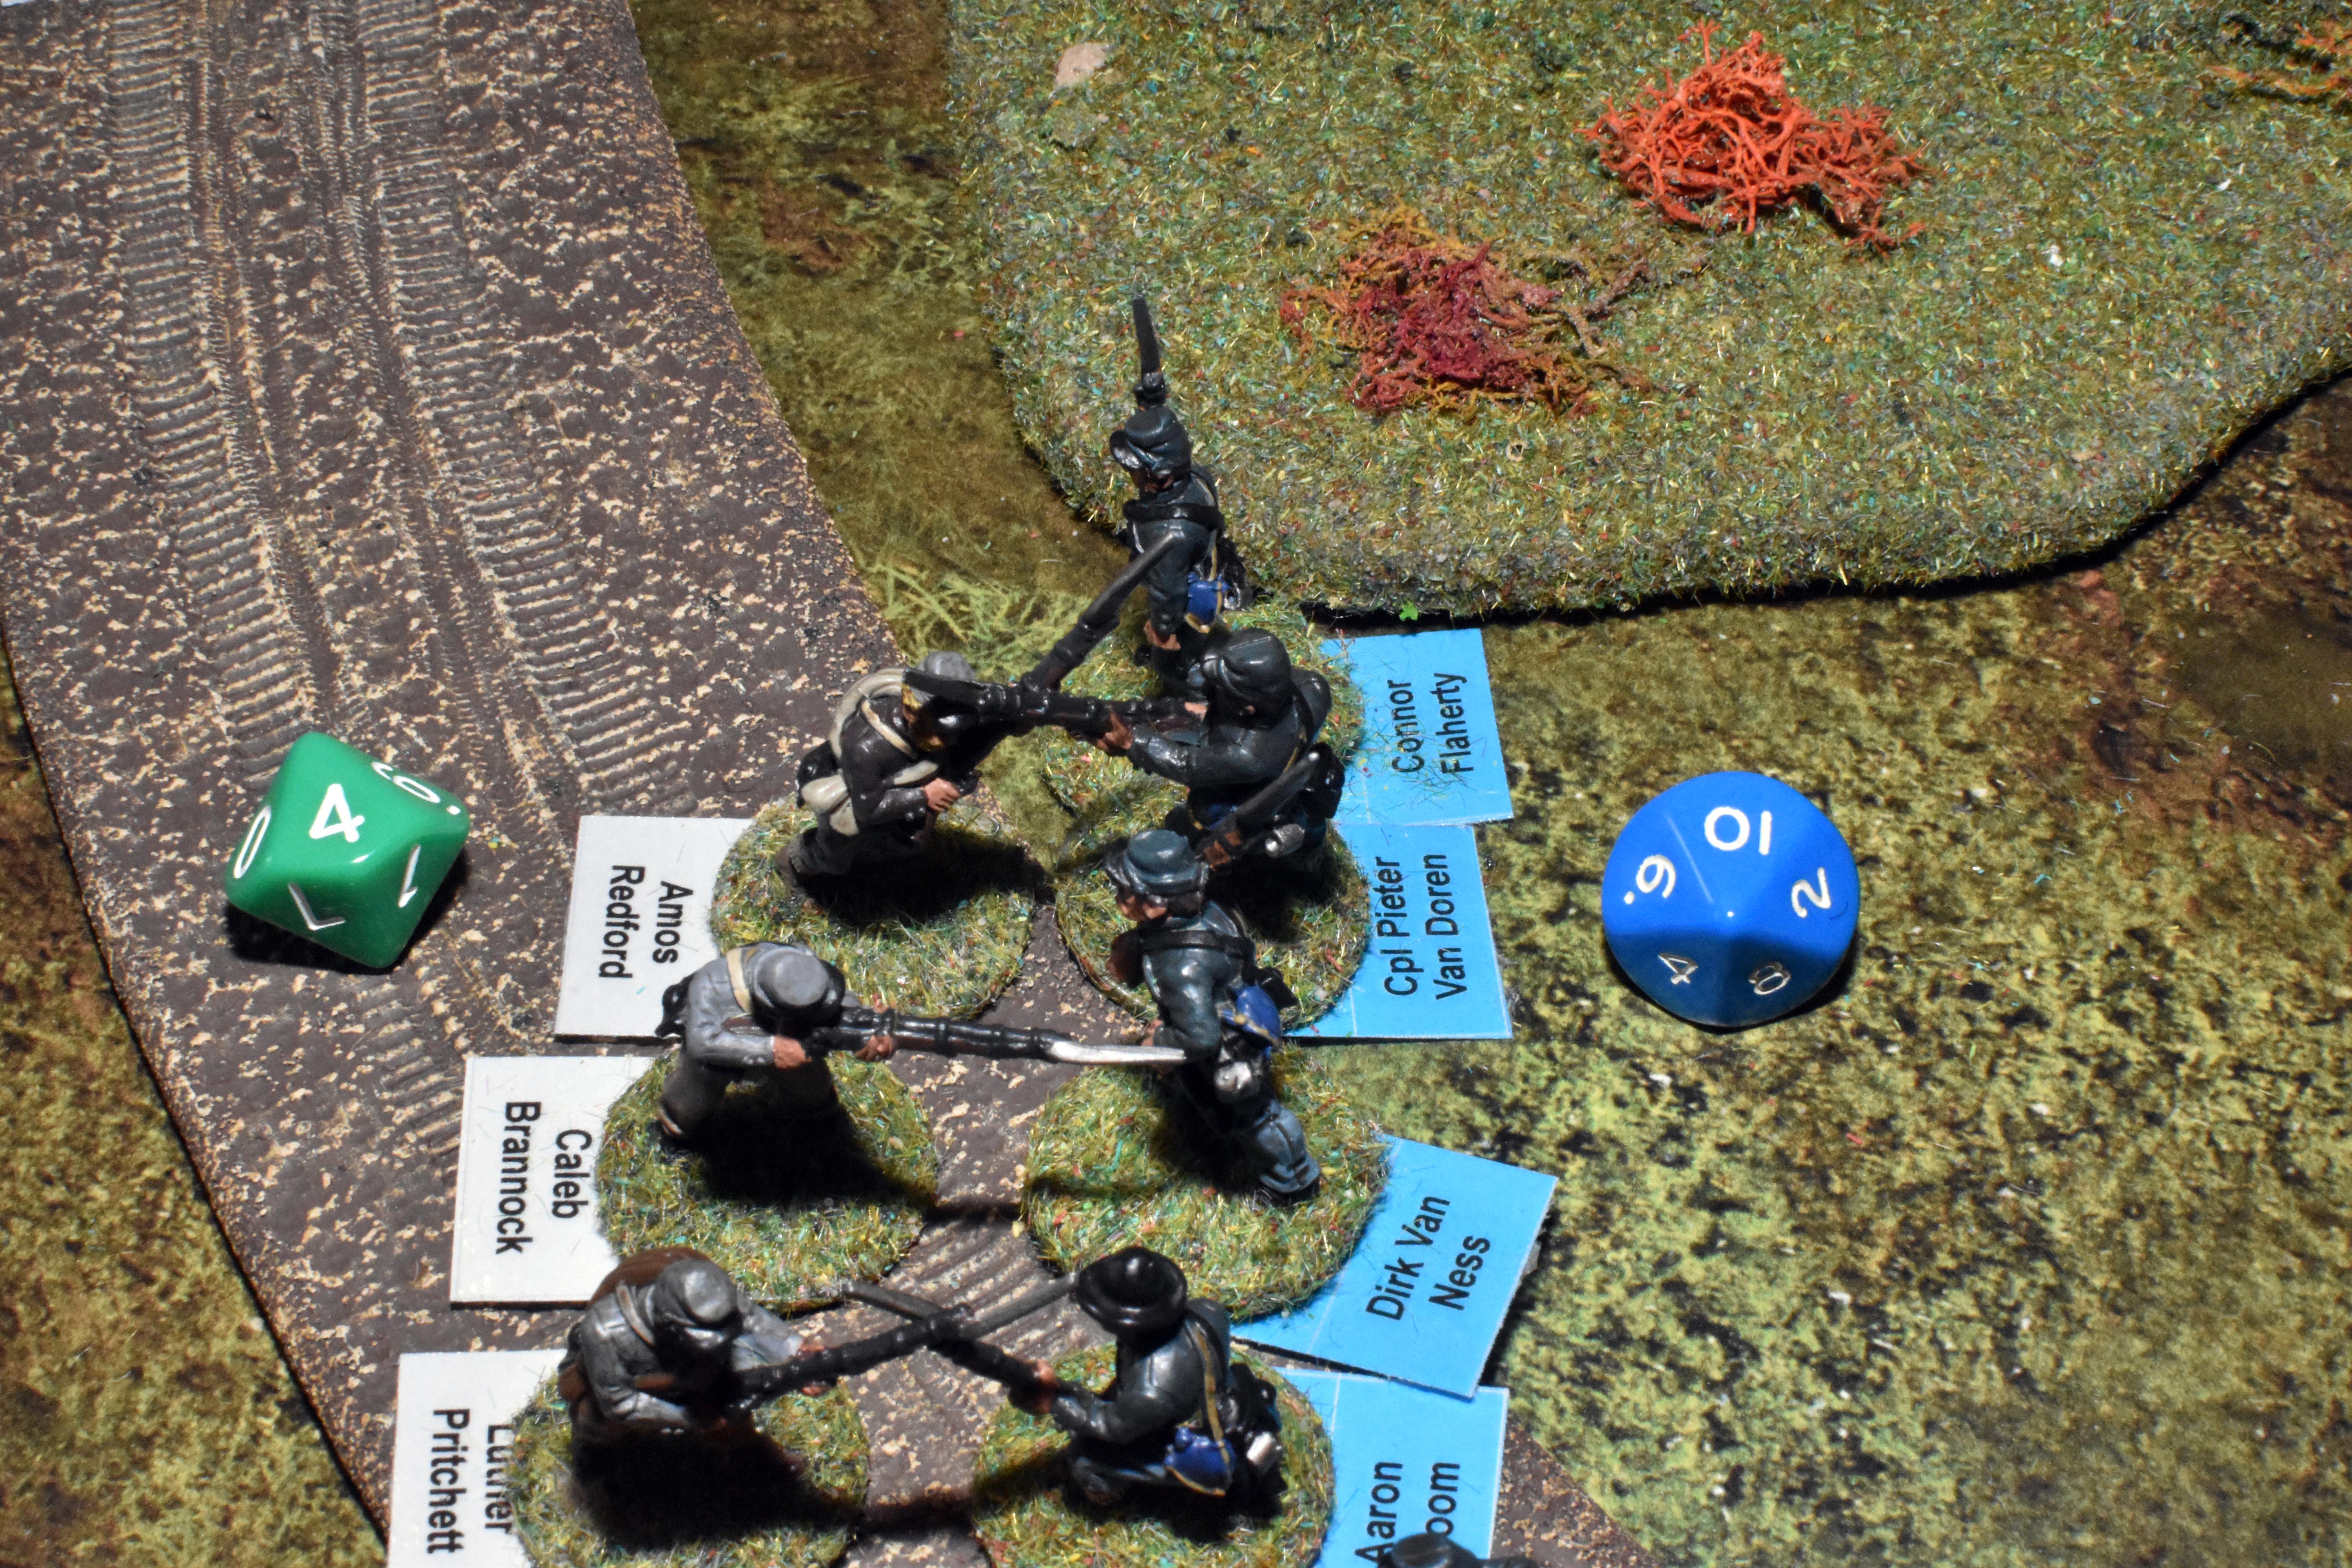
| It is the 2nd round and even with a +1 another rebel retires | And Corporal Van Doren completely fells a rebel | But now a Union soldier is dead with the +1 to the rebels making a difference of 5 | and another Yankee - has the fightback started? |
|
|
|
|
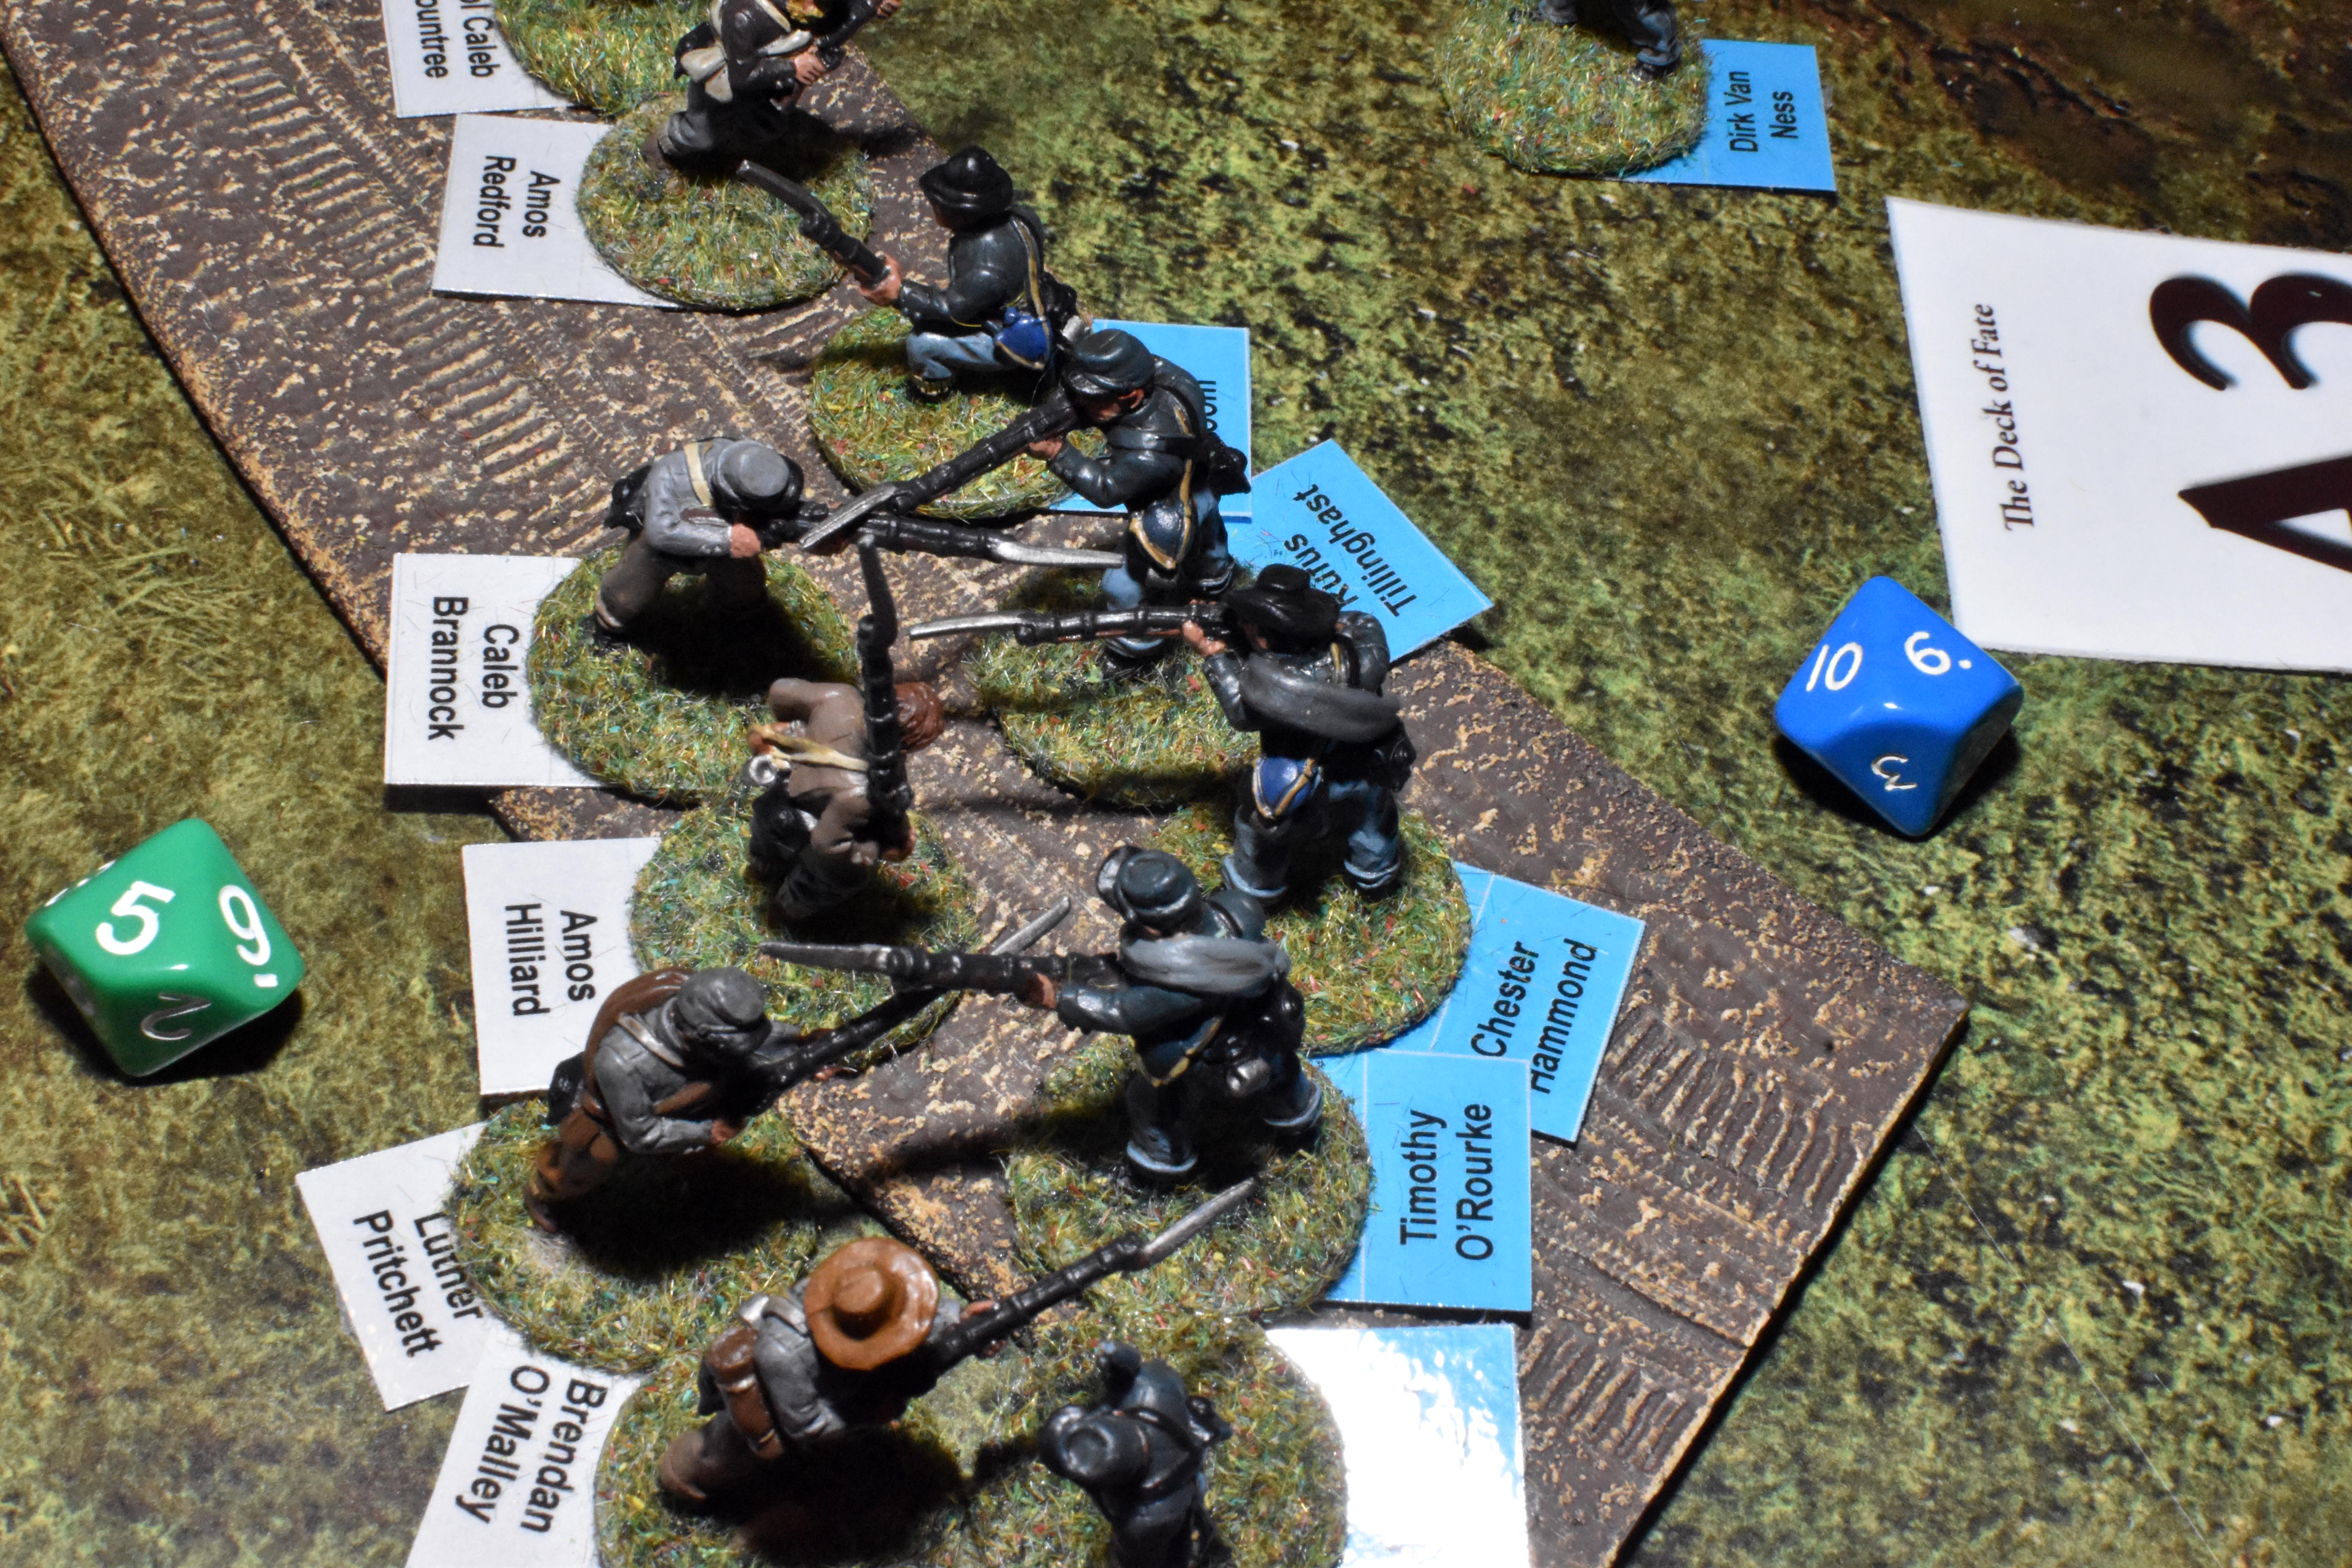
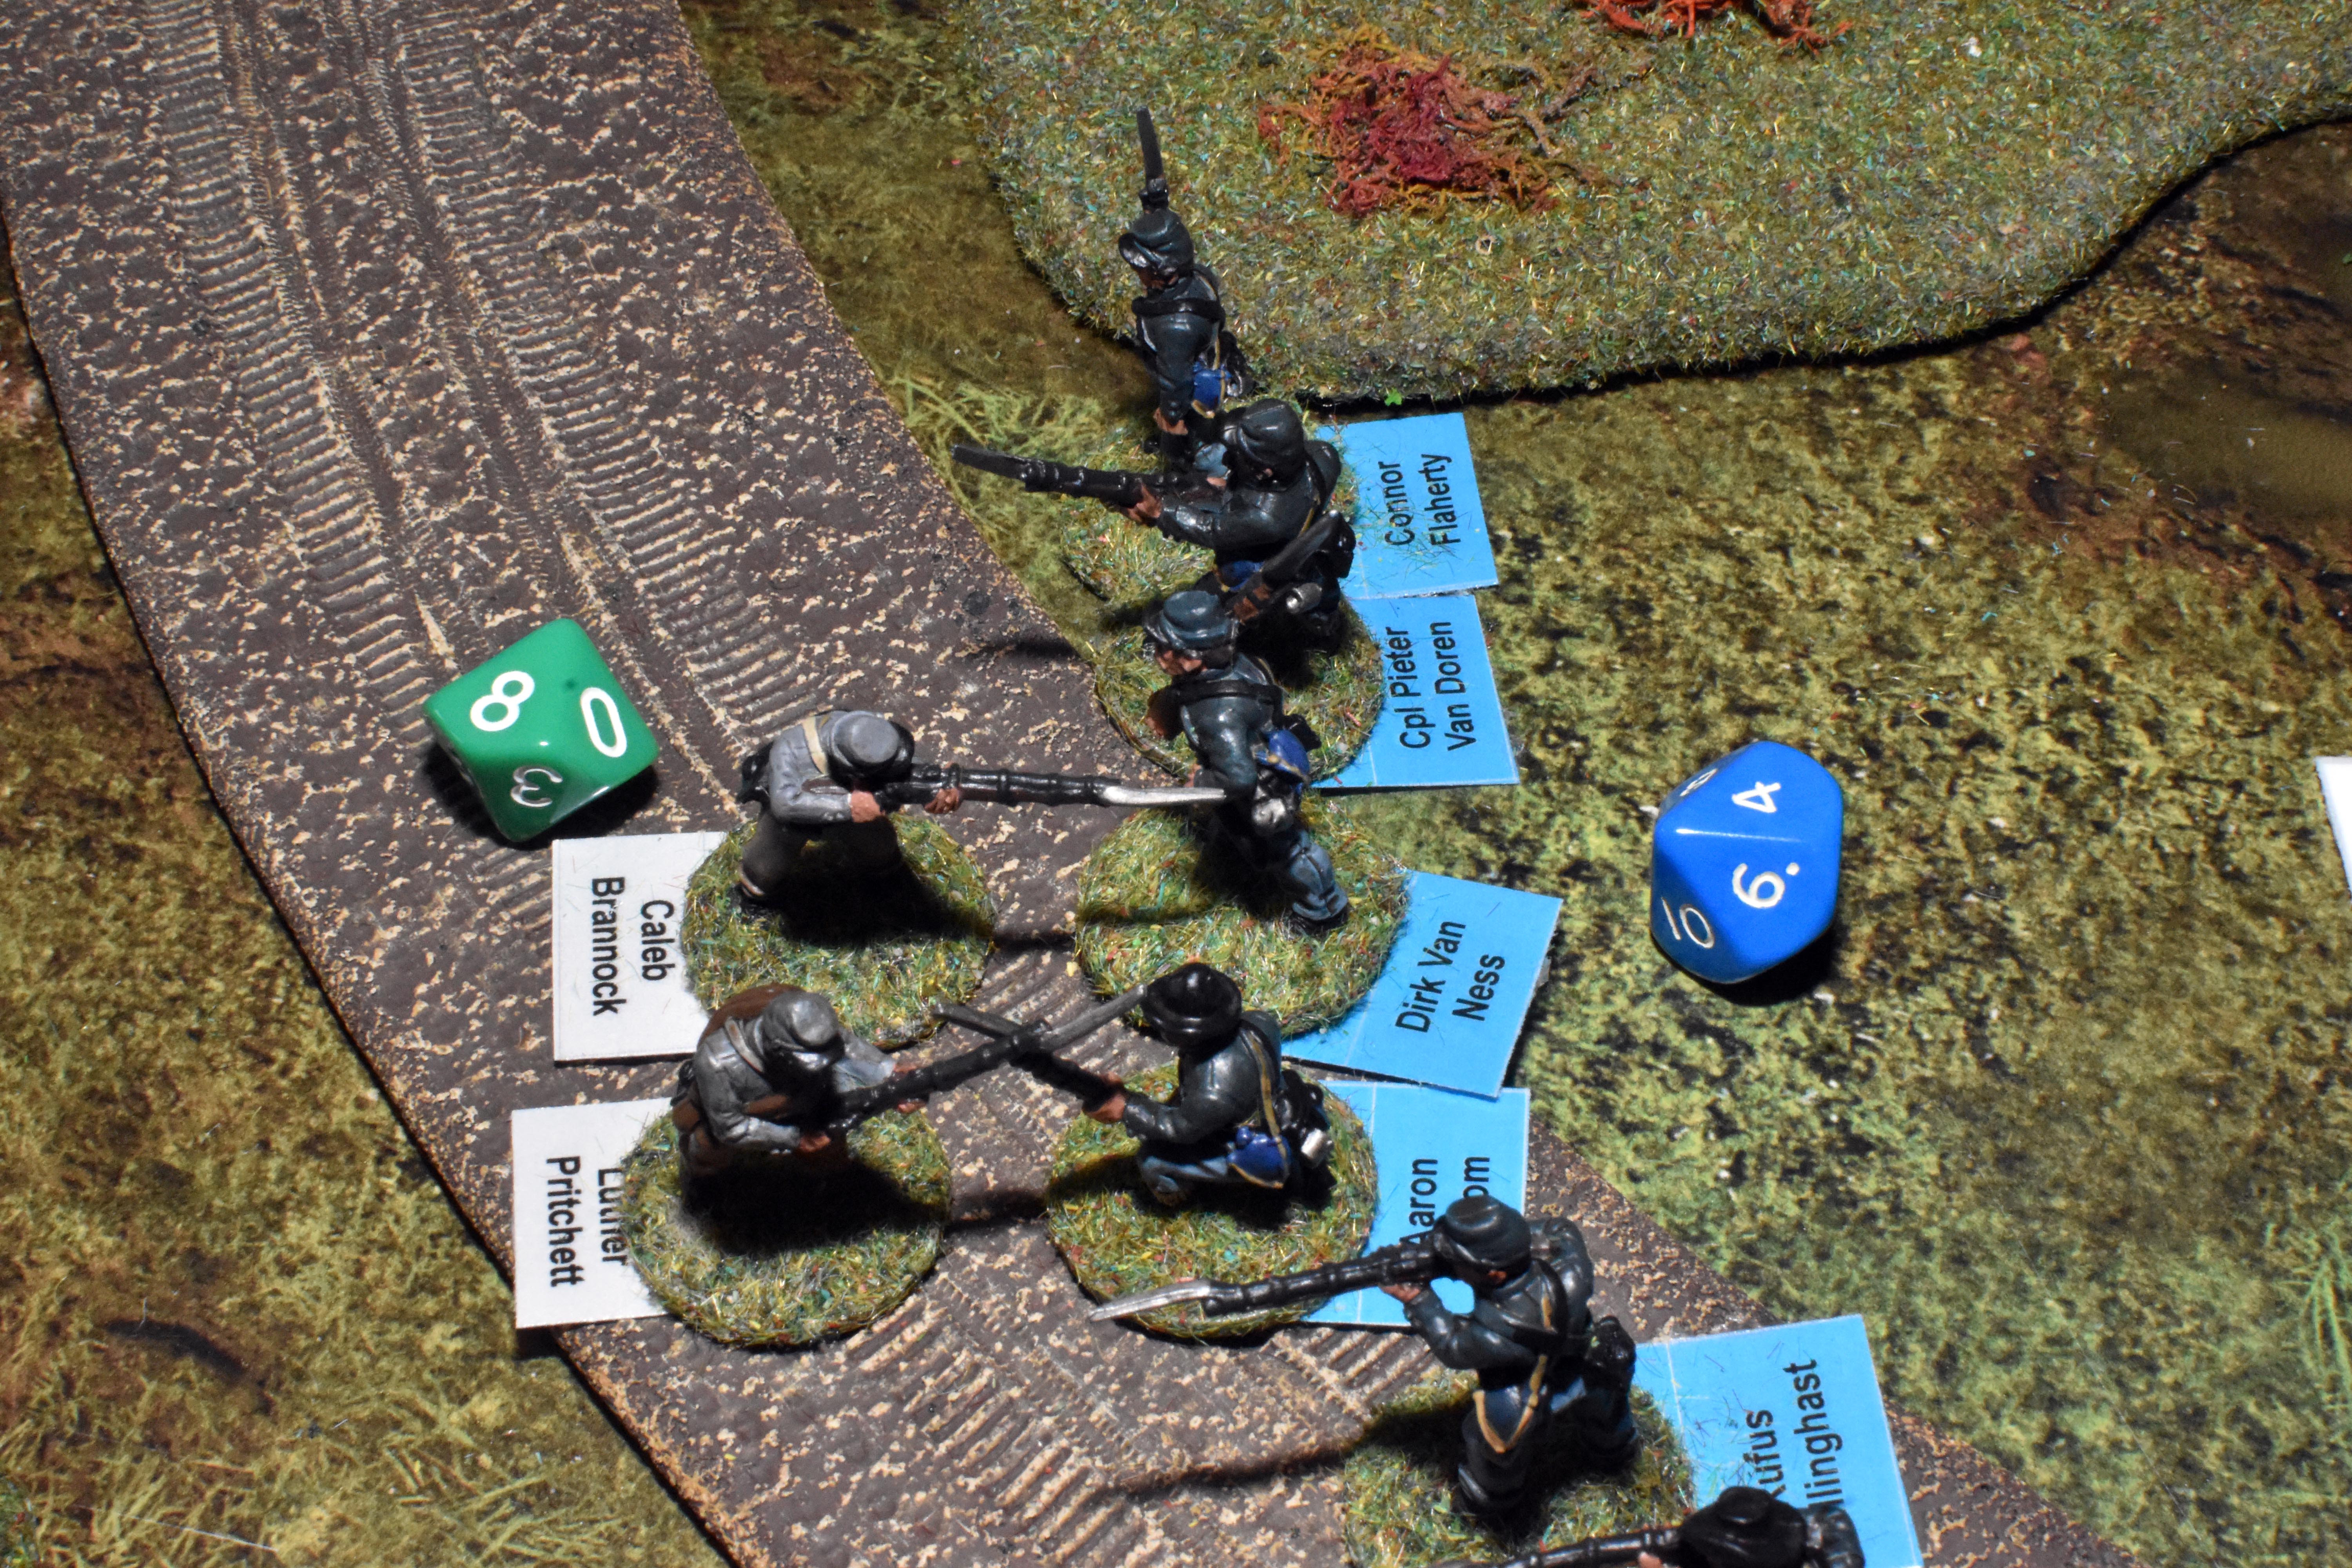
| Caleb and Luther are on fire. | weren't a Corporal he would have been wounded | but soon Caleb retreats exhausted | It's all down to Luther who with his +1 manages to draw |
|
|
|
|
| and draw again | but eventually outnumbered he is wounded | The rebels lose but their morale test is fine. They are exhausted, their muskets are empty but they did survive. The victors are allowed to withdraw up to 3" if they so desire but elect to stay in place and reform into Close Order. | Corporal Vollmar's men fire off a deadly volley that finishes off Lieutenant Whitman's section once and for all, those who weren't killed or wounded fled. They roll a d6 and 1-3 they leave the table , 4-6 they return to the colours... neither returned to the colours! |
|
|
|
|
| More Union soldiers emerge from the trees to pour more fire into the rebels | The Confederate without a leader still manage to pass their morale test for being under 50% | The exhausted rebels from the melee try to rally their wounded | The HQ moves up and tries to provide direction to the Corporaless unit before them. |
|
|
|
|
| On the other flank, the remaining two rebels voluntarily withdraw. Their day is done | A quick round of shooting from the church nudges the rebels back and wounds one. | The green Yankees on the extreme right flank begin to march to the sound of the guns. | Captain Hale sends Sergeant Turner to join the unit of Green Infantry without their corporal |
|
|
|
|
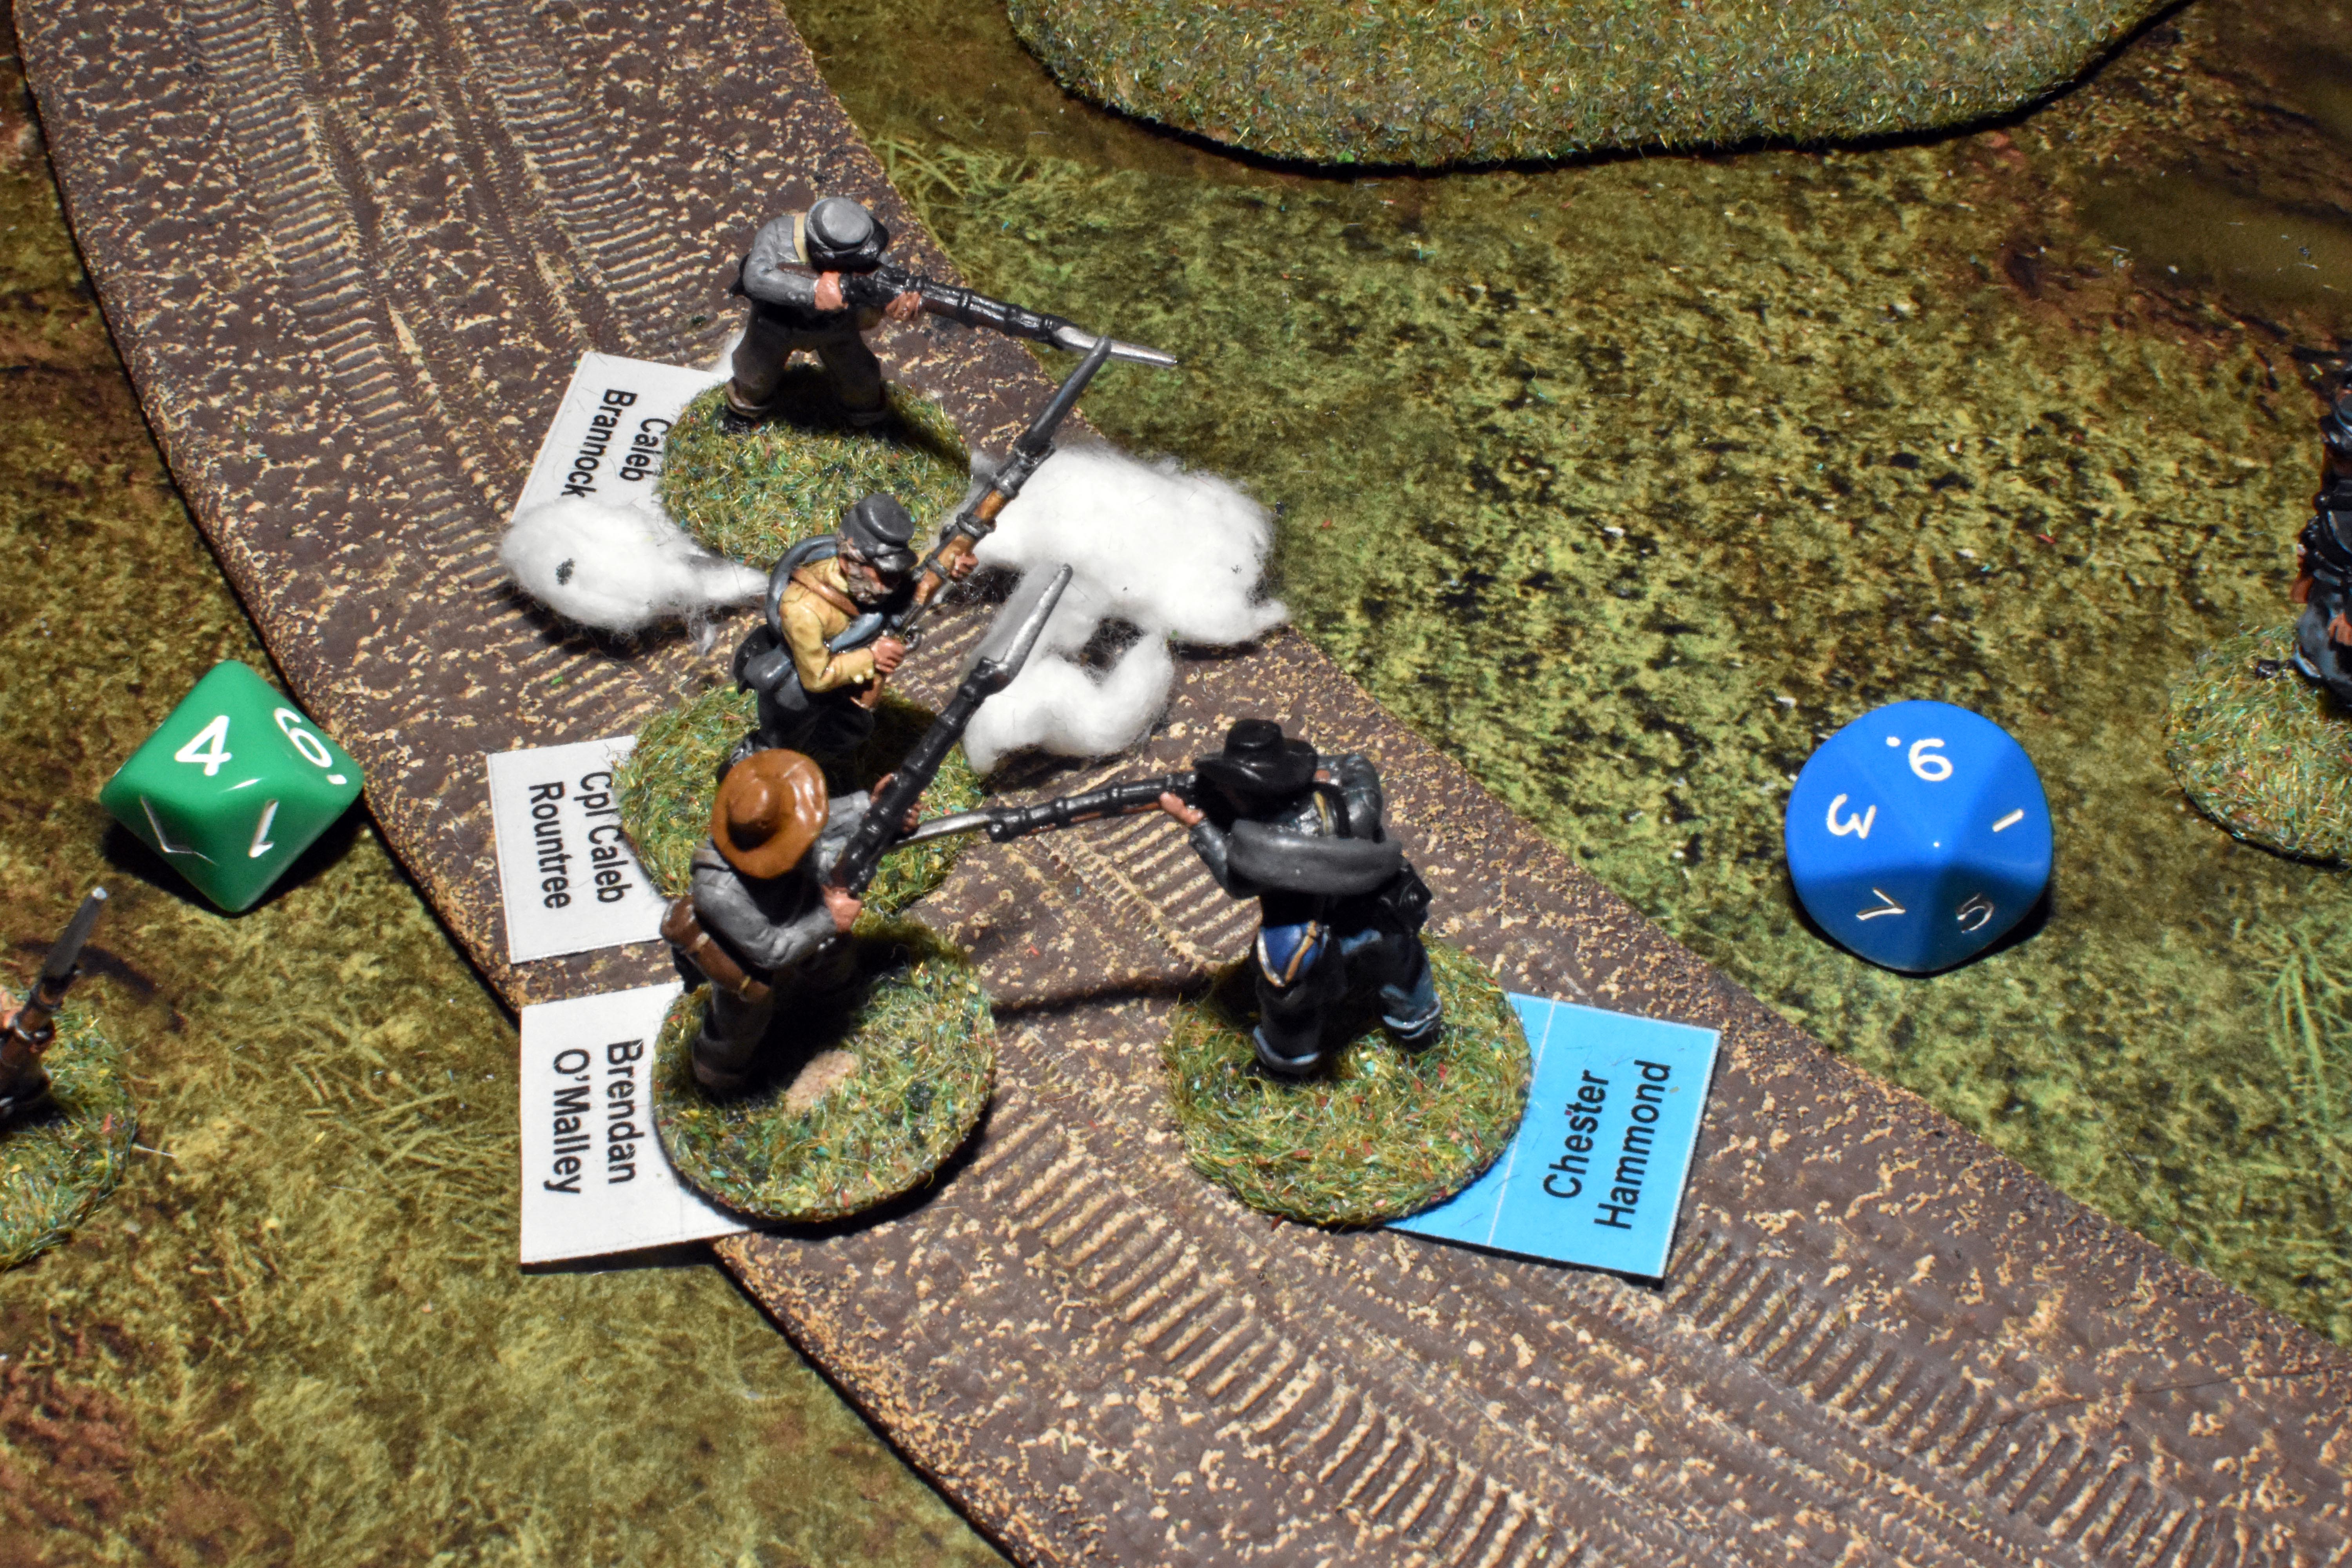
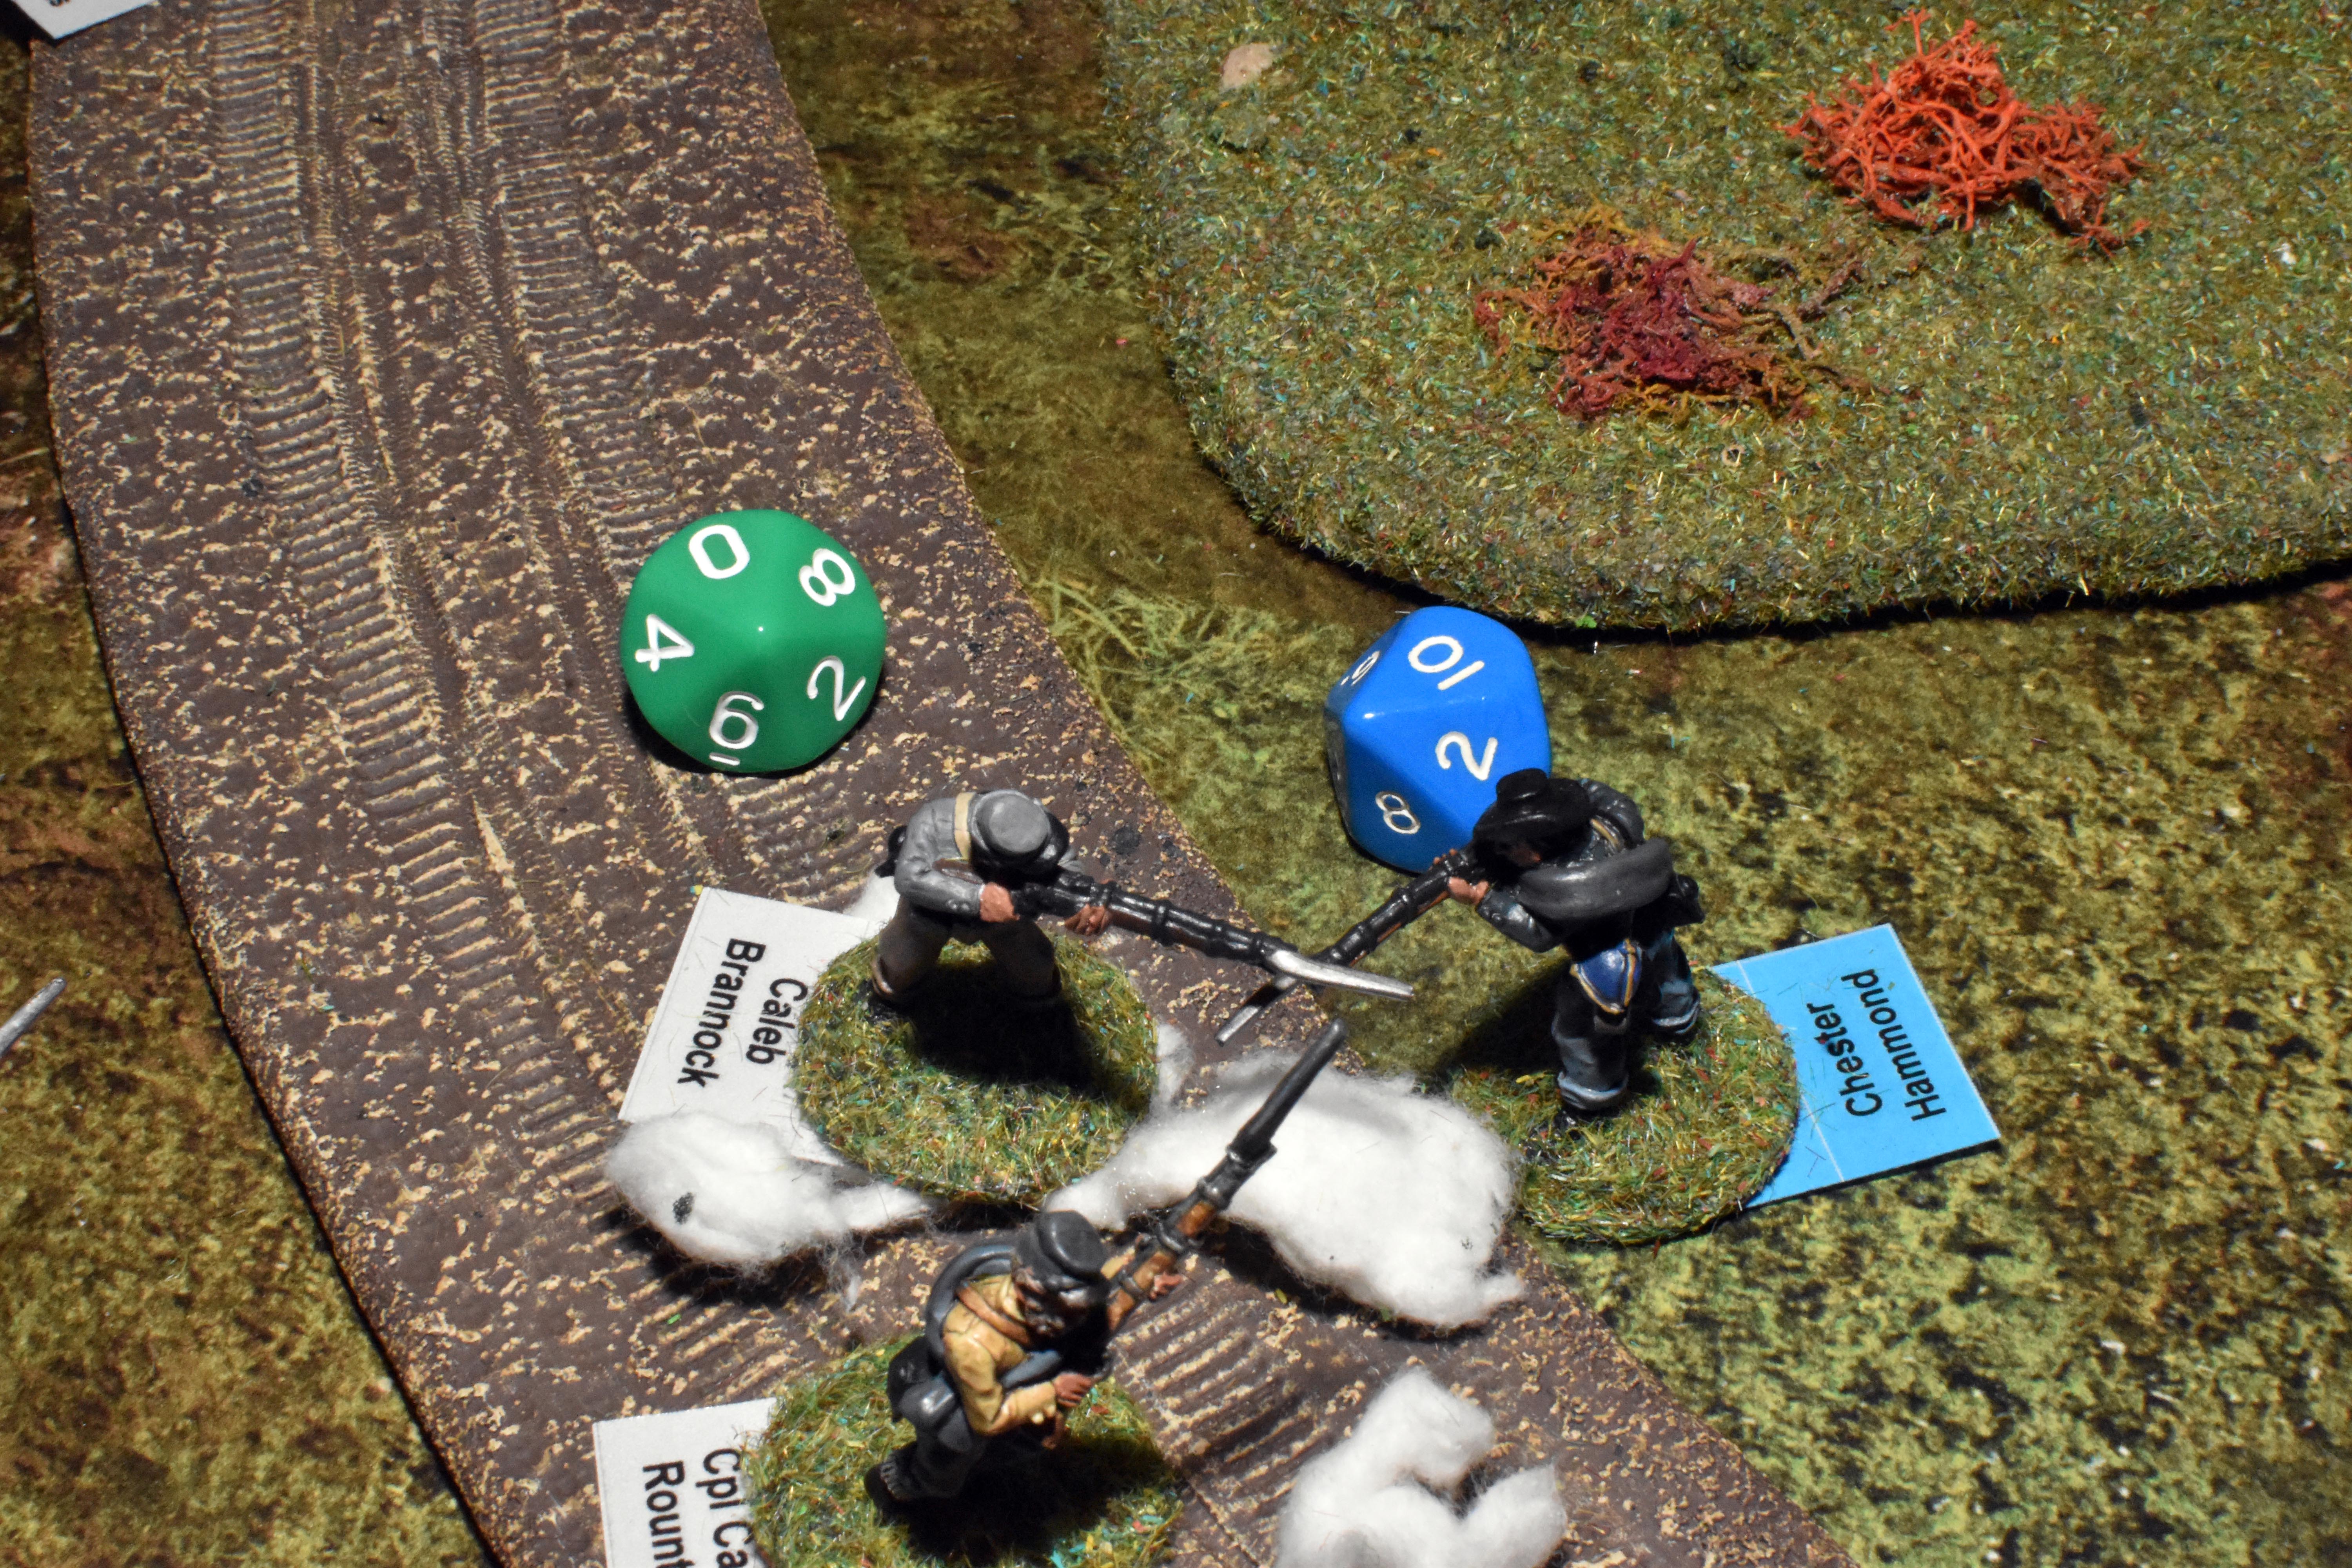
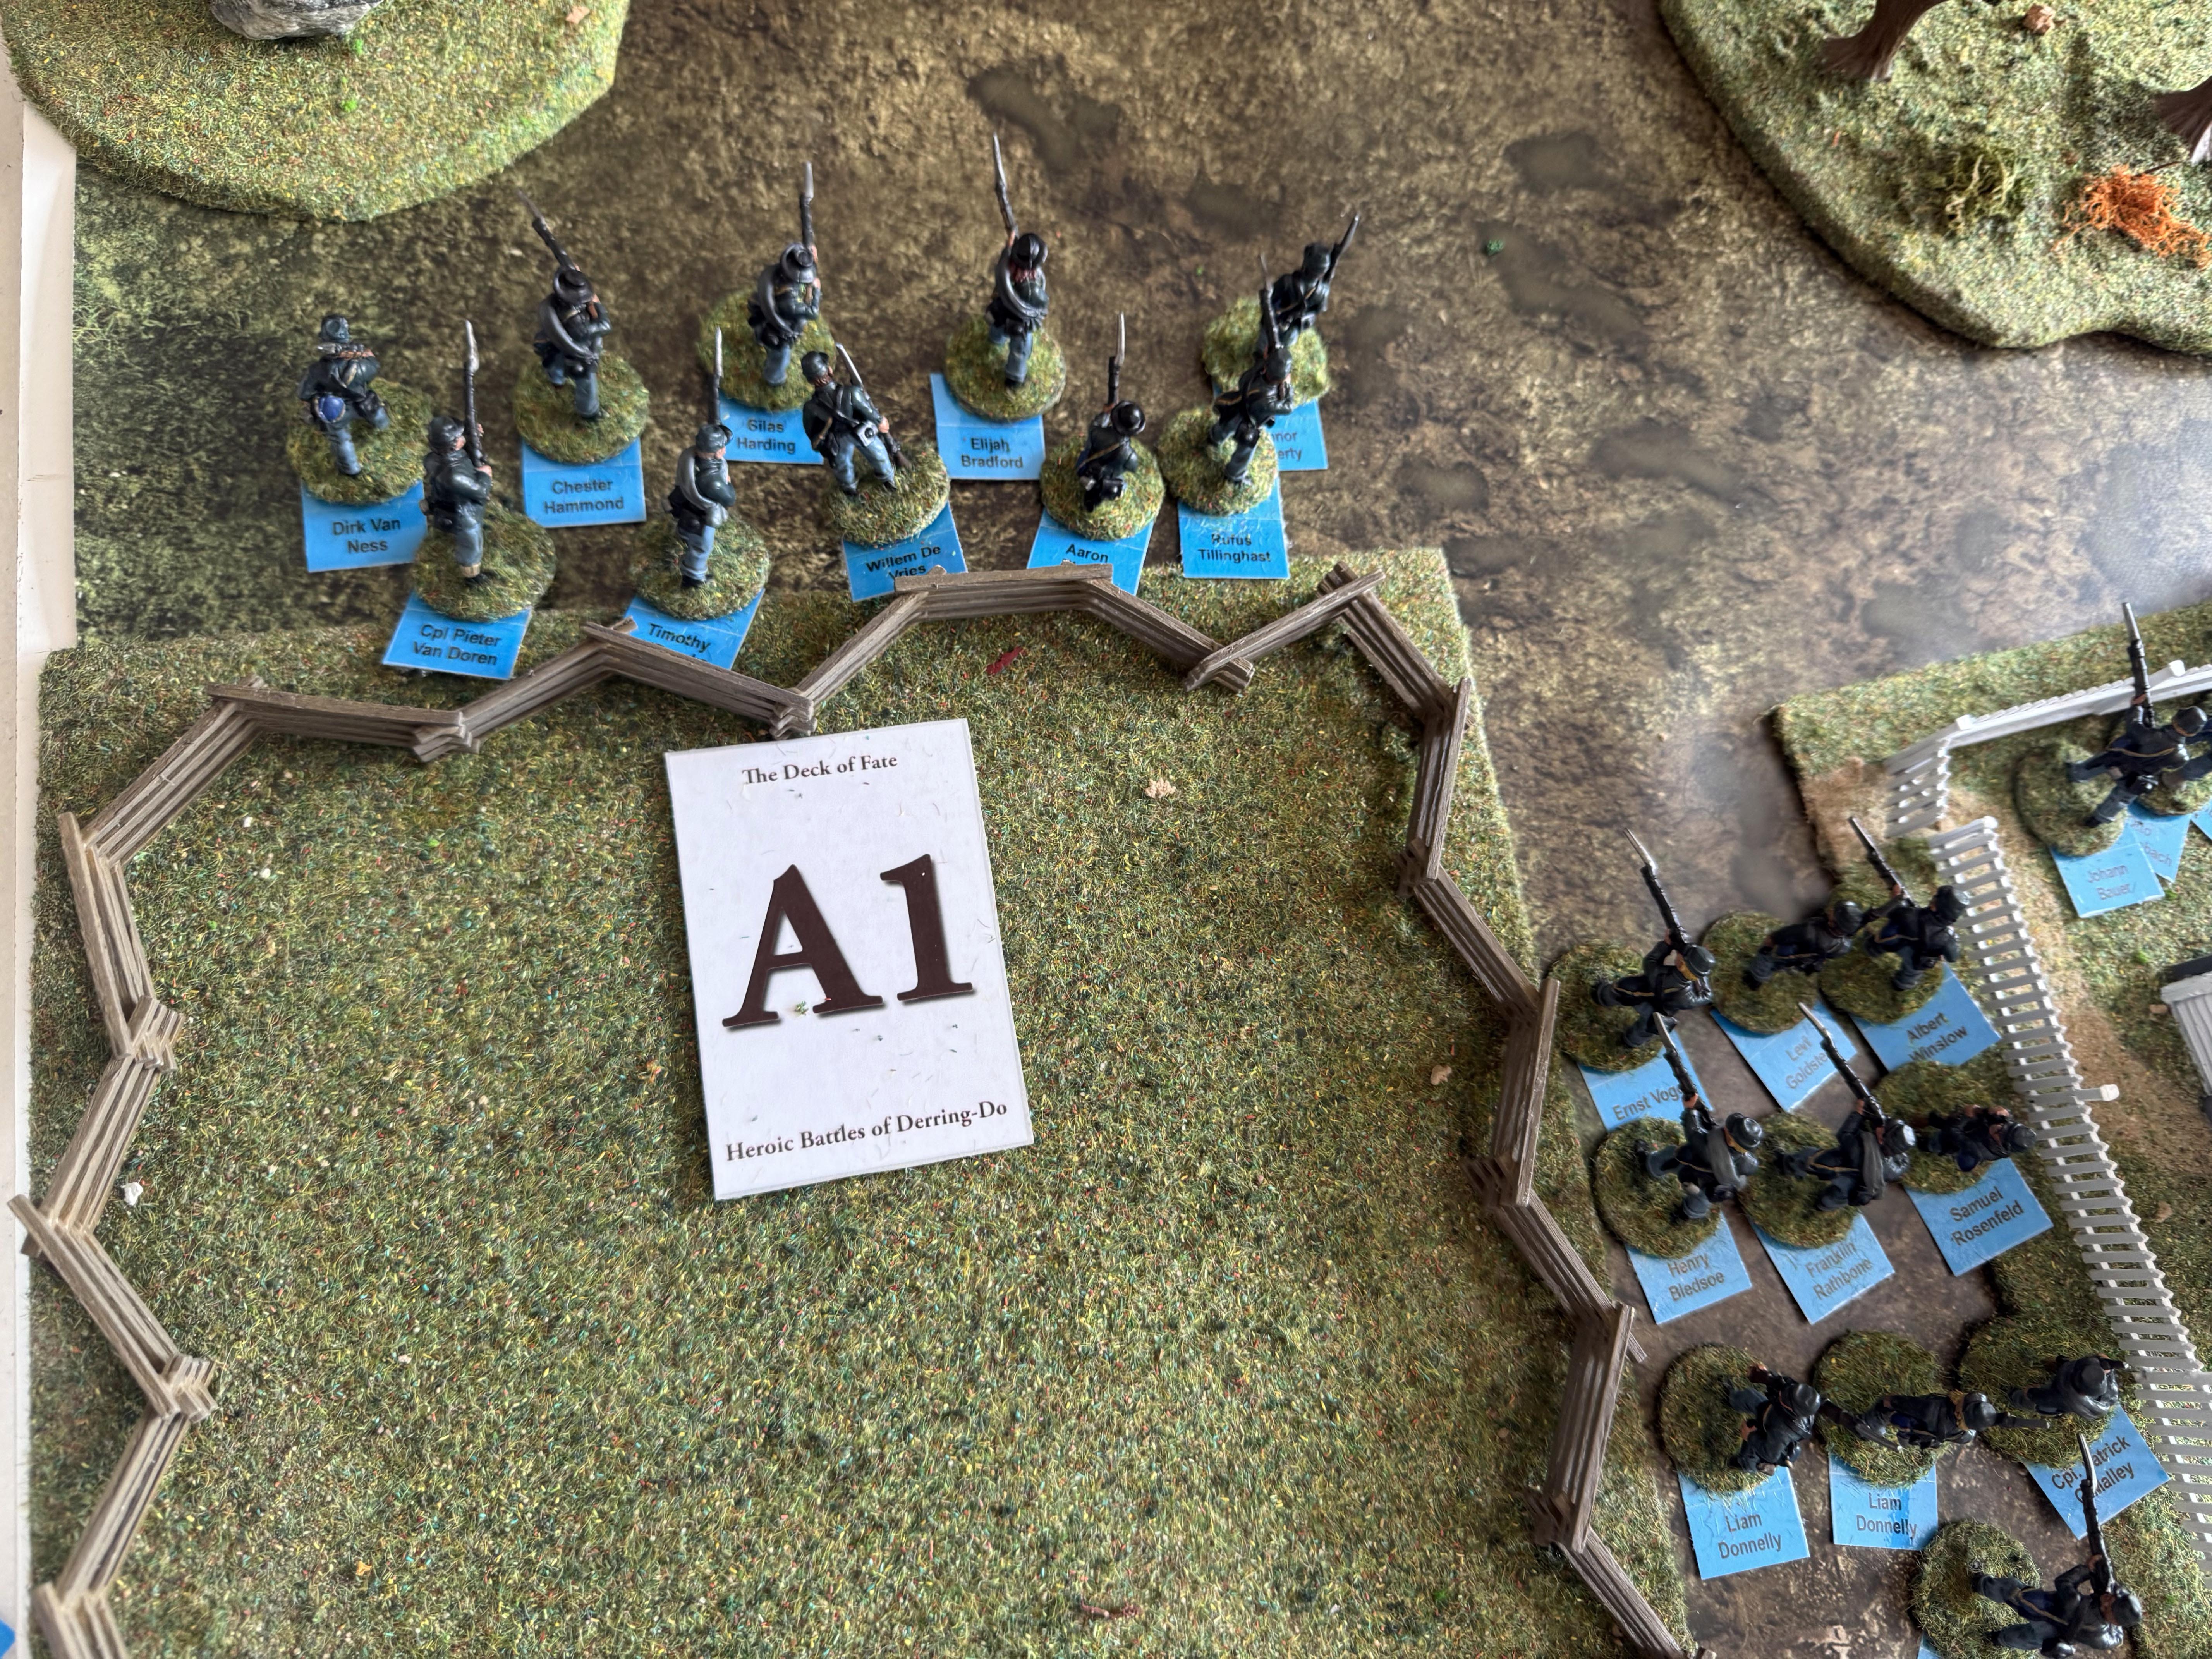
| Corporal Anderson reorganises his forces after having done some rallying previusly | The rebels holding their right flank decide to take the initiative and charge before they are on the receiving end. | This time they get their charge bonus and their aggressive bonus and their veteran bonus. The Union only gets their being in Close Order bonus. So a +2 in the first phase and +1 after for the rebels. | The rebels make short shrift of the tired Yankees with the exception of Chester Hammond who fights like a demon before he decides that the melee is eventually lost. |
|
|
|
|
| Even his loss he rolls a 10! Far from the Colours and HQ they roll a measly 4 on the 2d6 and the section is no more. 2 of them make their way back to the HQ the rest flee | But Corporal O'Malley comes rushing out of the trees and takes on the diminished and leaderless rebels. Despite the 3 to 1 advantage they get off to a rocky start. | But slowly the numbers begin to tell | And eventually the rebels are defeated |
|
|
|
|
| They roll poorly but being veterans and well trained and next to their HQ and Colours they only retreat an additional 6" rather than flee the battlefield | But the victors form up on the flank of the last unit in rude health | And that unit has yet more fire poured onto it from the church. | Captain McElhain realises the battle is done. He does not wish to lose the guns or colours and so concedes the battlefield. It was hard fought but the blue Bob was the victor today! |